
Dreampath: The Two Kingdoms: Chapter Five: Skyleaf Palace
Our Dreampath: The Two Kingdoms Walkthrough is fully prepared to aid you on your journey to the faraway Kingdom of Goldthorne where it's rumored a golden dragon lives who knows the secret to curing your sister. But beware, something sinister blocks your advances, and you'll need all the help you can get from our detailed instructions, custom marked screenshots, and simple puzzle solutions if you're ever going to find the cure and make it back in time to save your sister.
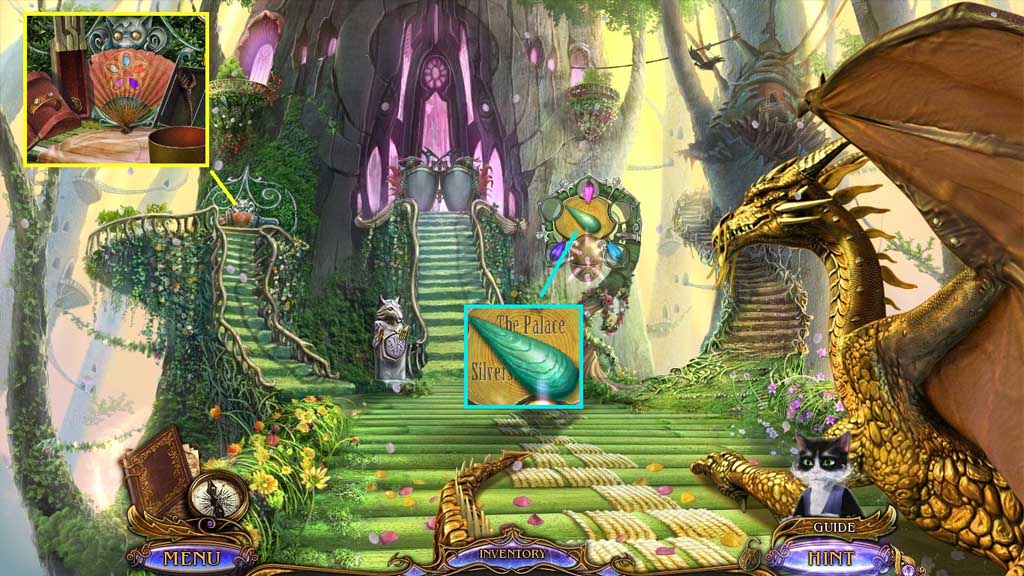
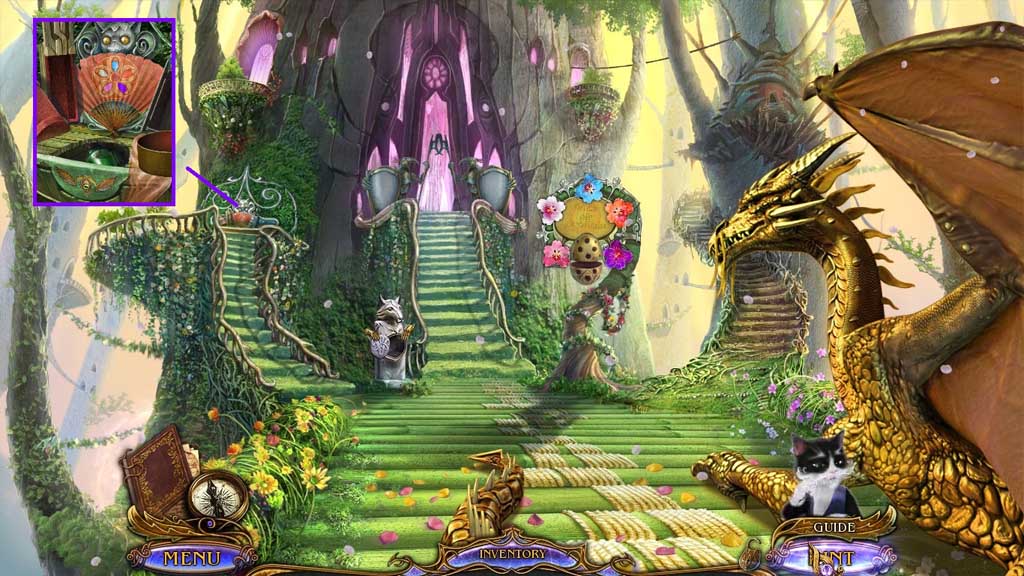
- Click the fan and boxes.
- Collect the bracelet half and the wand handle.
- Collect 1/ 3 gemstone teardrops.
- Move to the right.
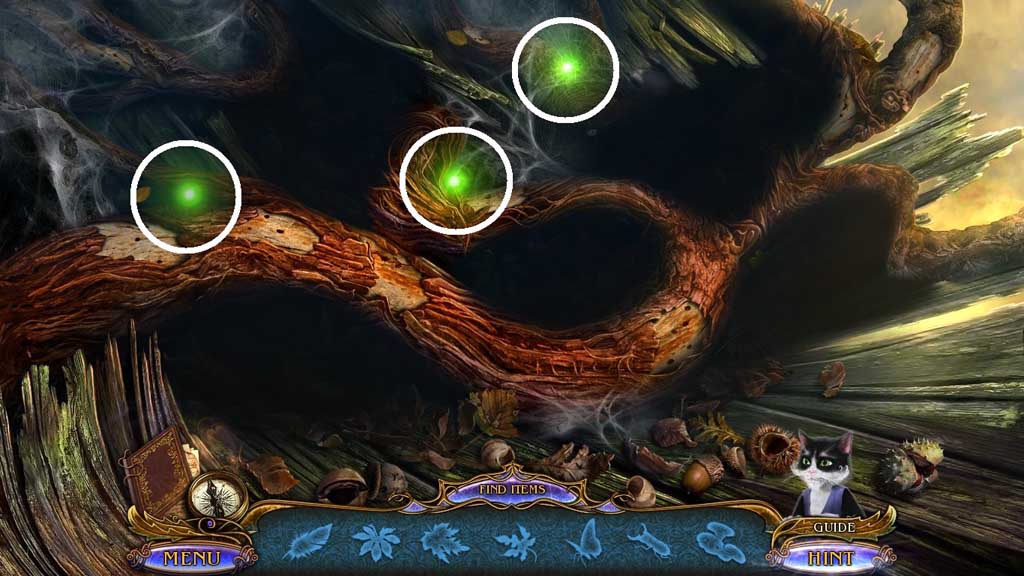
- Select the light bugs to illuminate the dark spots.
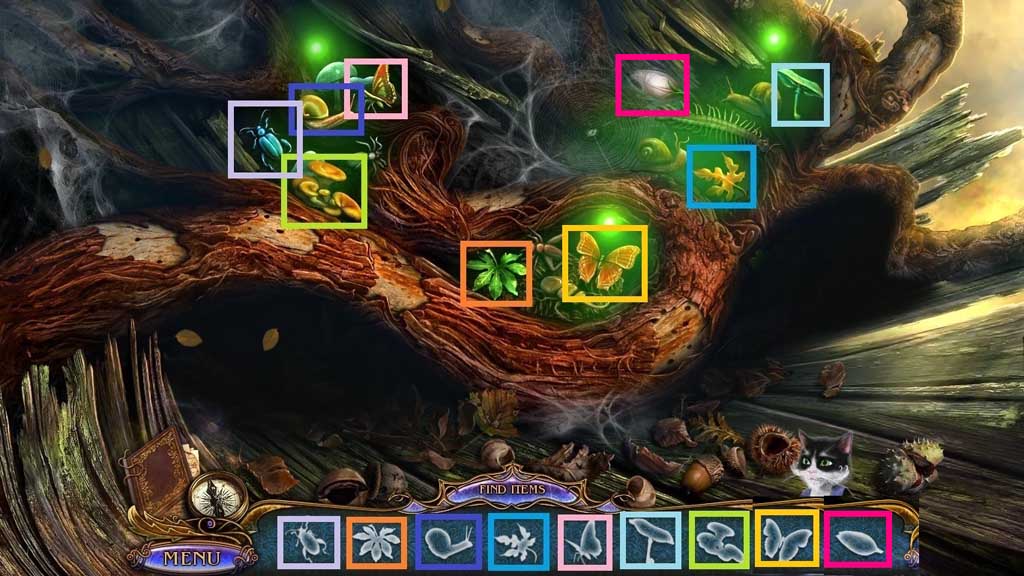
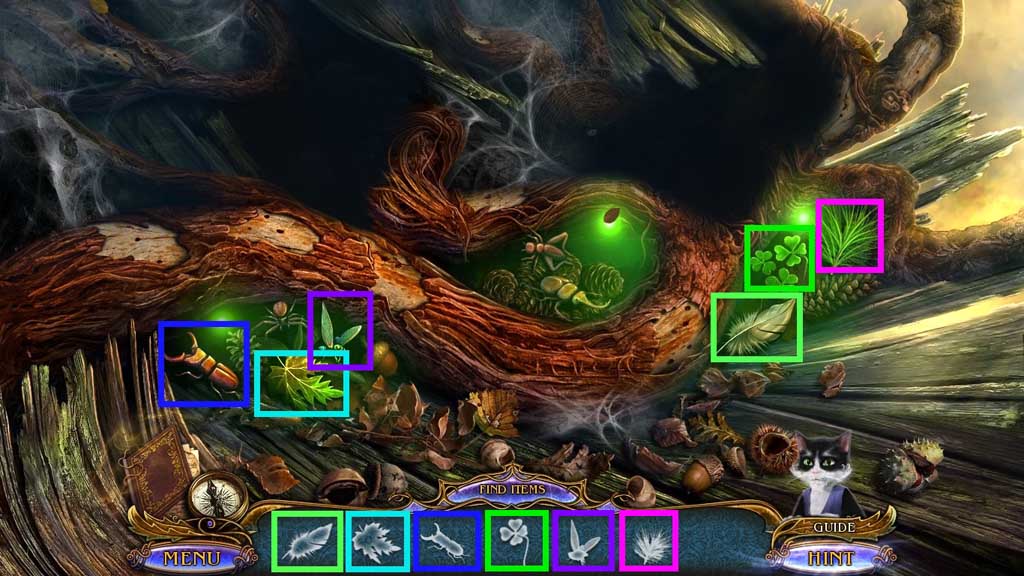
- Find the items.
- Collect the bud.
- Move ahead.
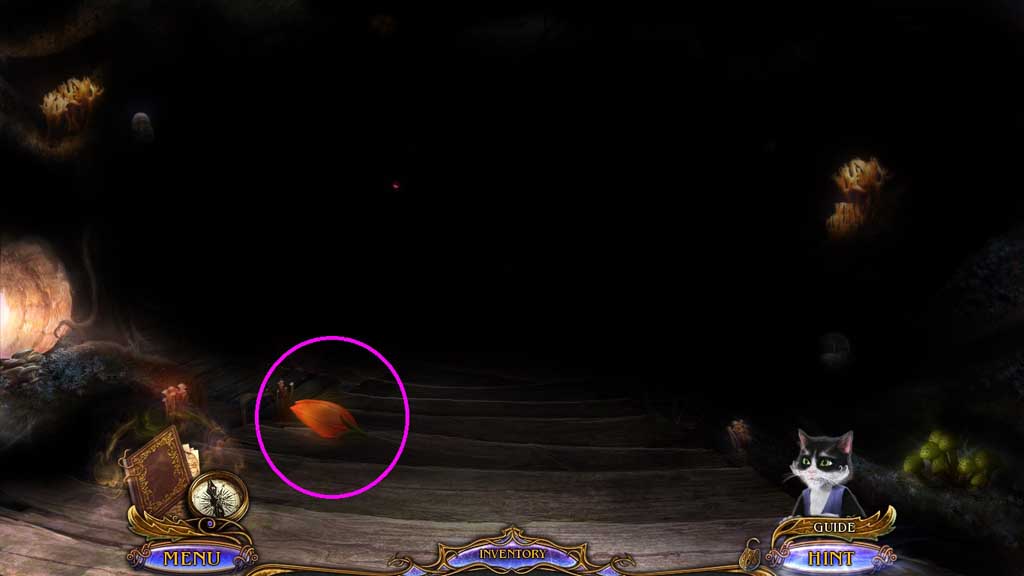
- Collect the bud.
- Move down 2x’s.
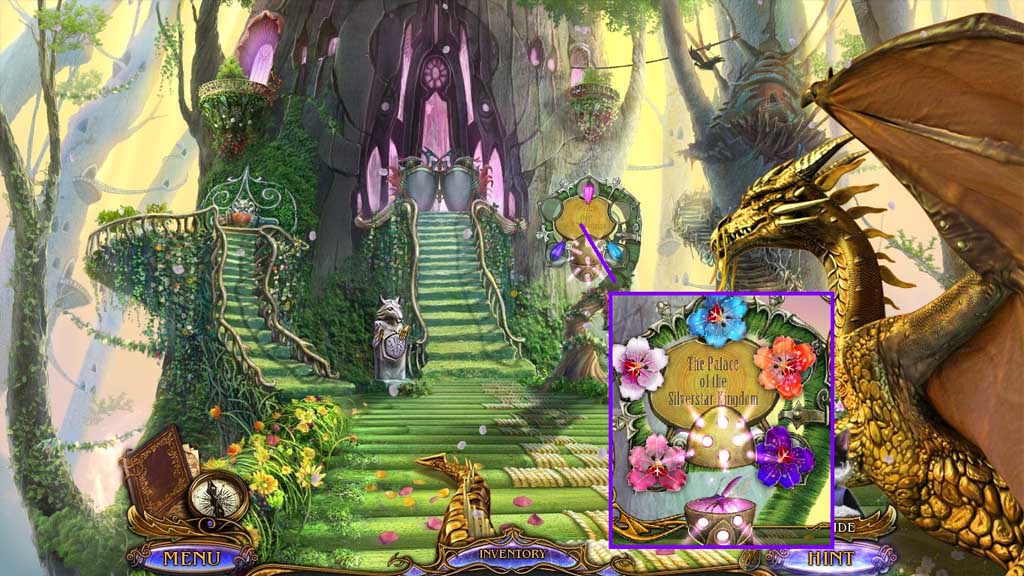
- Place the 2 buds onto the sign to trigger a mini game.
- Solve the puzzle by arranging the flowers correctly.
- Collect the magical firefly.
- Move to the Dark Lair.
- Use the magical firefly to illuminate the space.
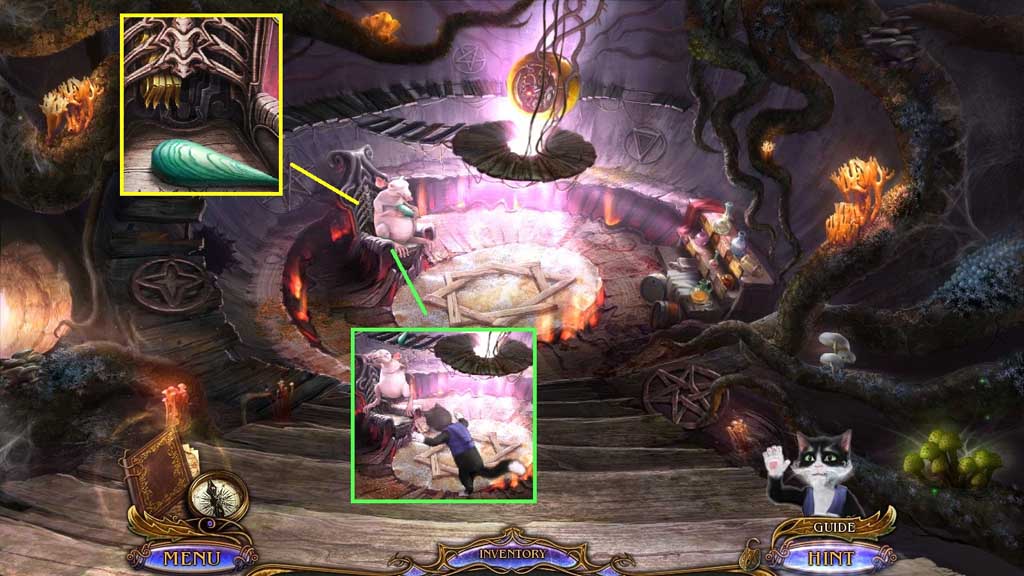
- Select Muir to remove the rat.
- Collect 2 /3 gemstone teardrops and the metal paw.
- Move down 2x’s.
- Attach the metal paw.
- Collect the starter lever.
- Move to the right.
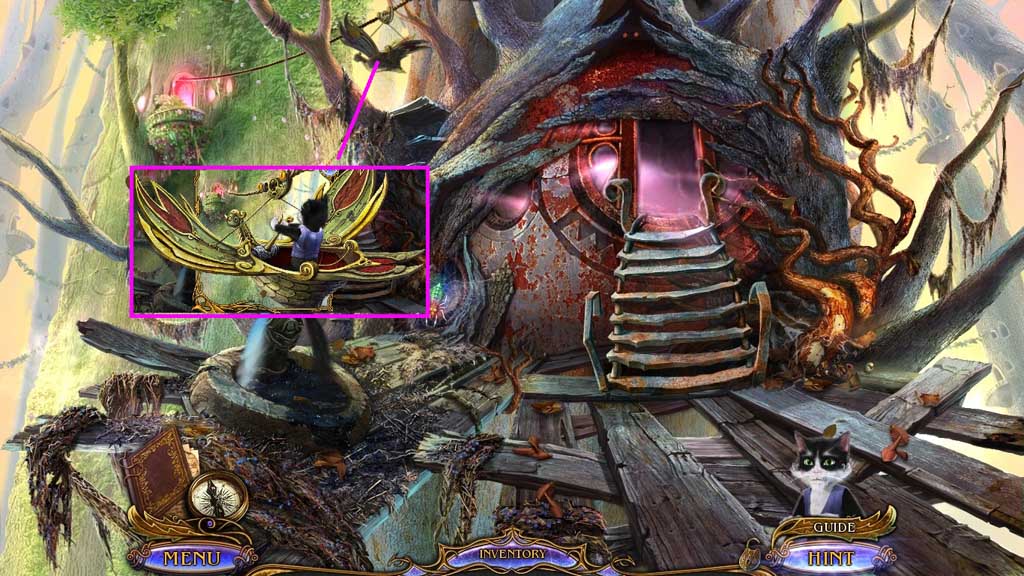
- Place the starter lever onto the bird and place Muir into it.
- Move down once.
- Speak to Muir; receive the corkscrew.
- Move to the Dark Lair.

- Insert the corkscrew; collect the cork.
- Move down once.
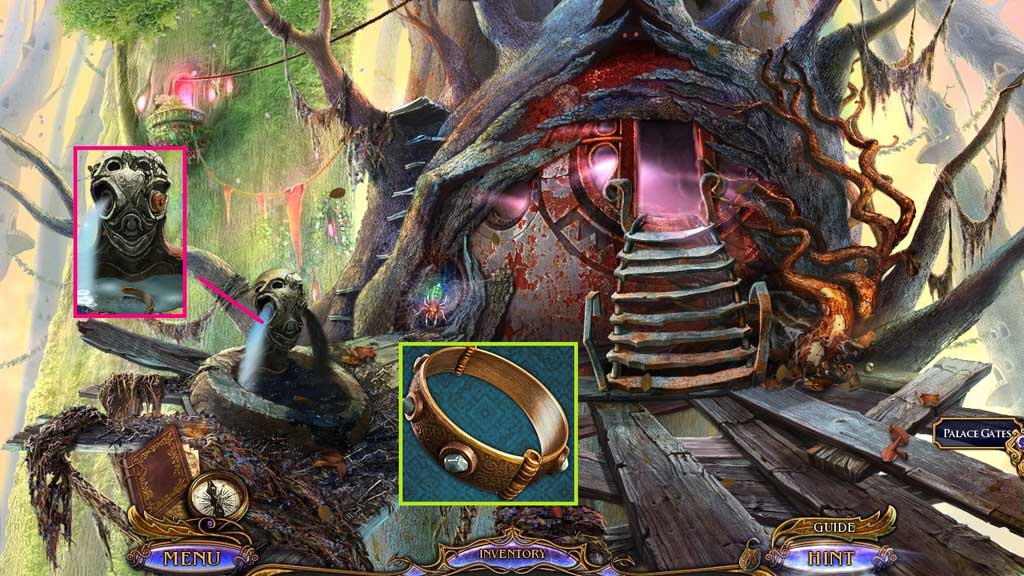
- Insert the cork; collect the bracelet half.
- Attach the 2 bracelet halves to create the bracelet.
- Move down once.
- Toss Muir the bracelet; receive the winding key.
- Insert the winding key to trigger a mini game.
- Solve the game by spotting the differences.
- Move ahead and click the hidden objects area.
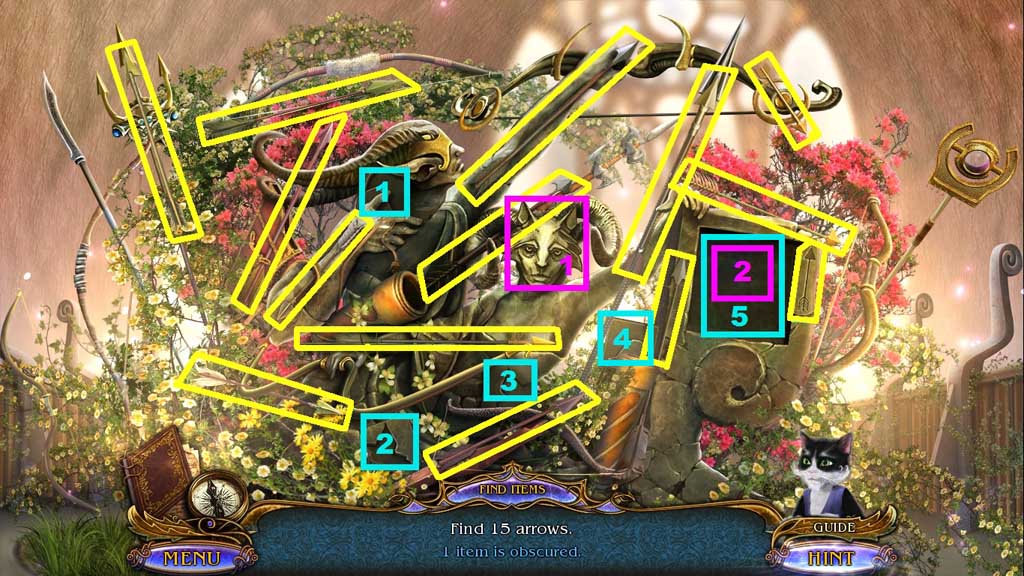
- Find the 15 arrows.
- Select the tile pieces and arrange them correctly.
- Insert the mask; collect the arrow.
- Collect the enchanted arrow.
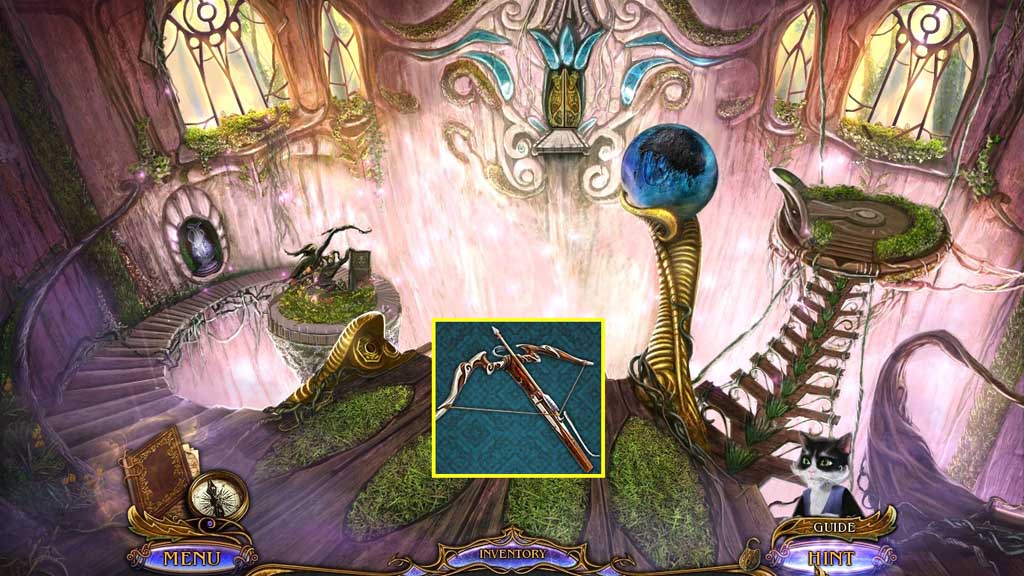
- Place the enchanted arrow into the crossbow to create the loaded crossbow.
- Move to the Corrupted Tree.
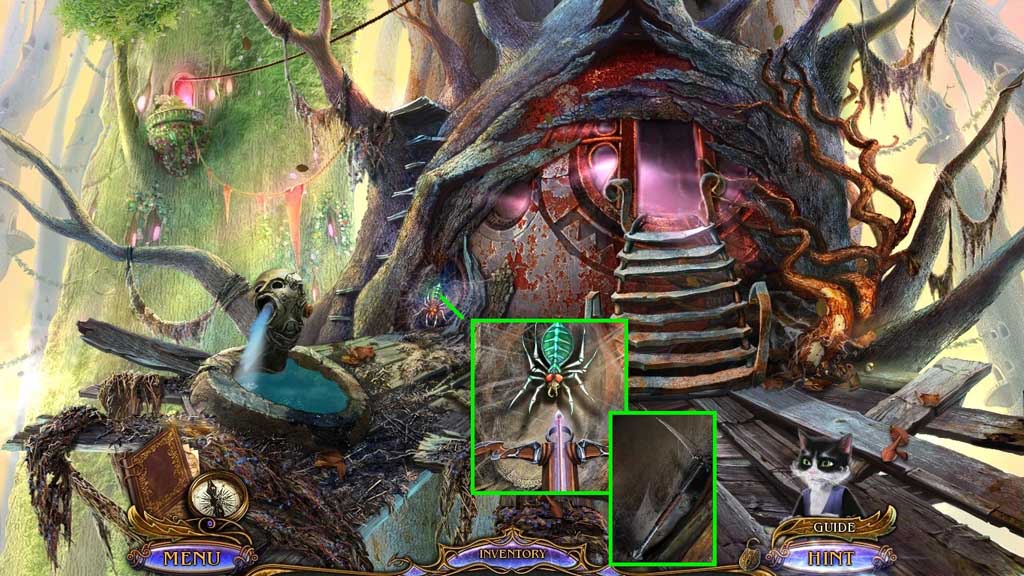
- Select the loaded crossbow to shoot toward the spider.
- Click the pieces of armor; collect the war hammer.
- Move to the Hall of Bridges.
- Smash the vase using the war hammer; collect the ancient symbol.
- Move to the Dark Lair.
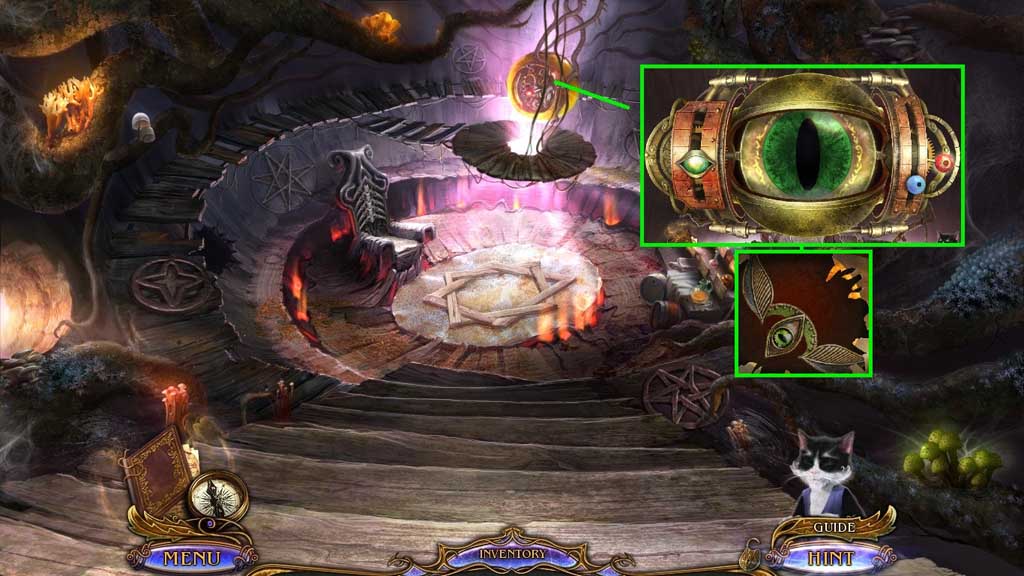
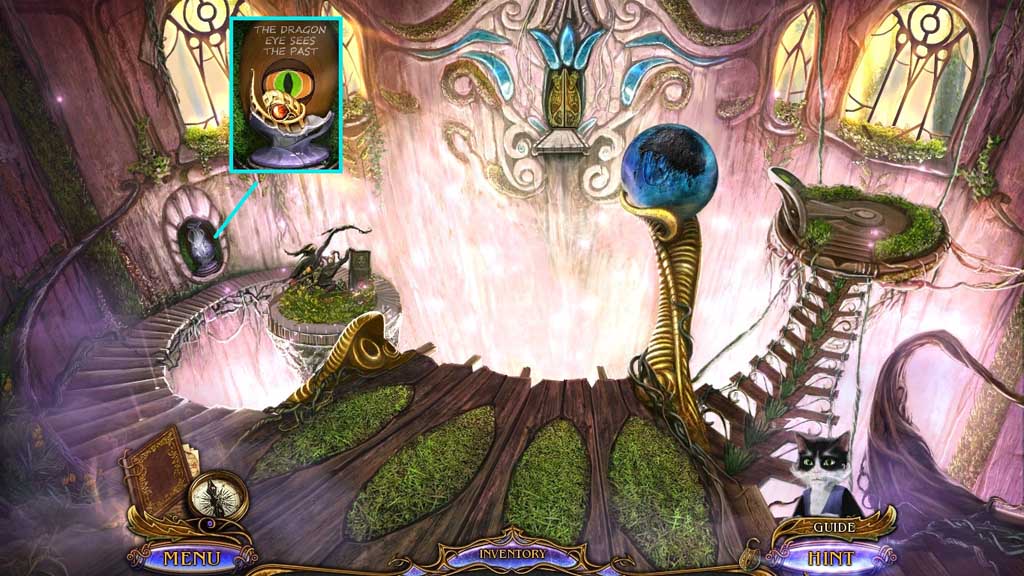
- Insert the ancient symbol to trigger a mini game.
- Solve the game by adjusting the feature of the eye correctly.
- Collect the secret sign.
- Move down 2x’s.
- Click the cloth; insert the secret sign.
- Collect the green potion.
- Move to the Dark Lair.
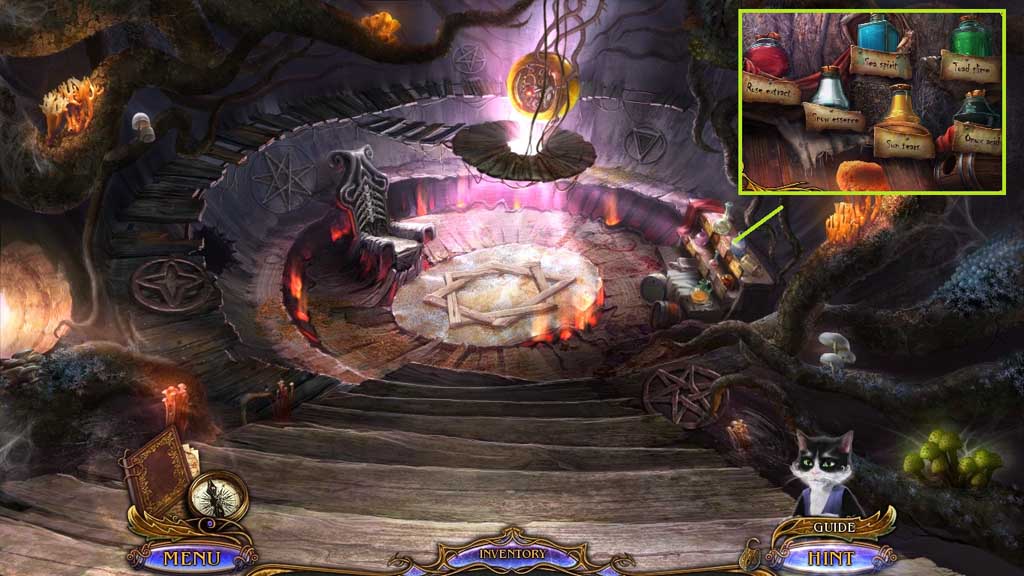
- Place the green potion onto the shelf to trigger a mini game.
- Solve the game by arranging the potions correctly.
- Collect the dry sponge.
- Move down once.
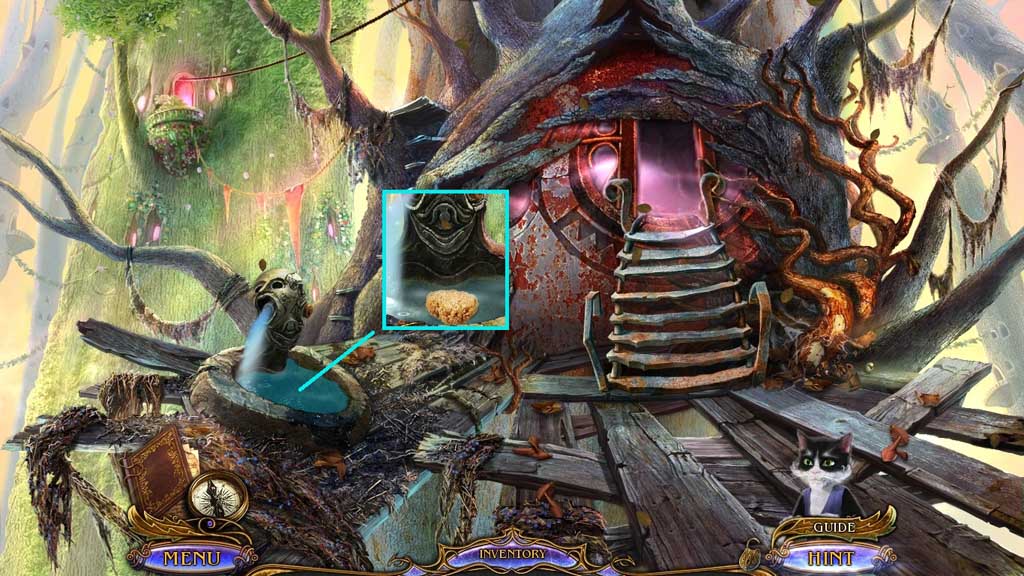
- Dip the dry sponge into the water; receive the wet sponge.
- Move to the Hall of Bridges.
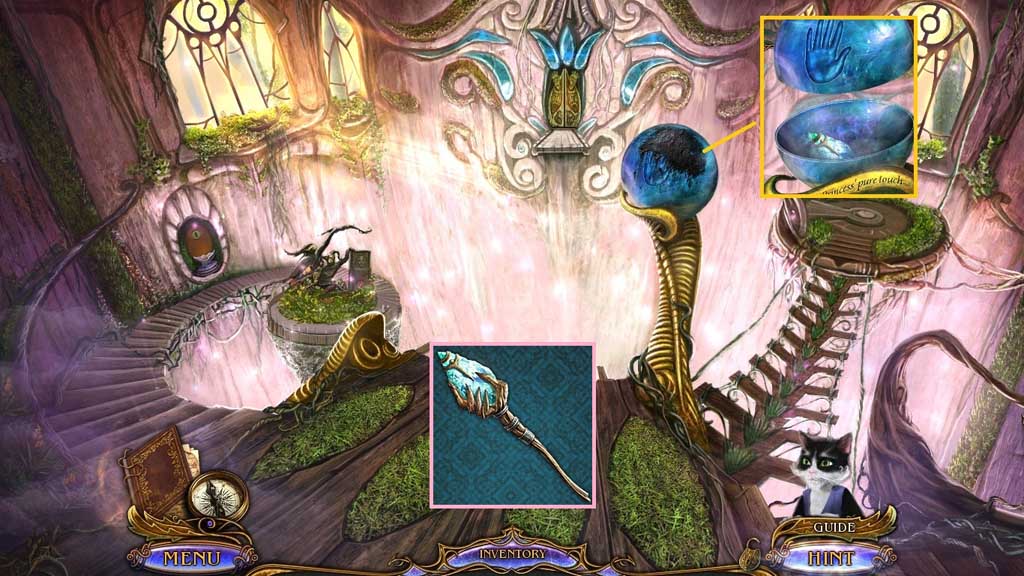
- Select the wet sponge to use on the orb; click it once.
- Collect the magical crystal.
- Attach the wand handle and the magical crystal to create the magic wand.
- Move to the Dark Lair.

- Select the magic wand to select the symbols in the correct sequence.
- Collect 3 /3 gemstone teardrops.
- Move to the Hall of Bridges.
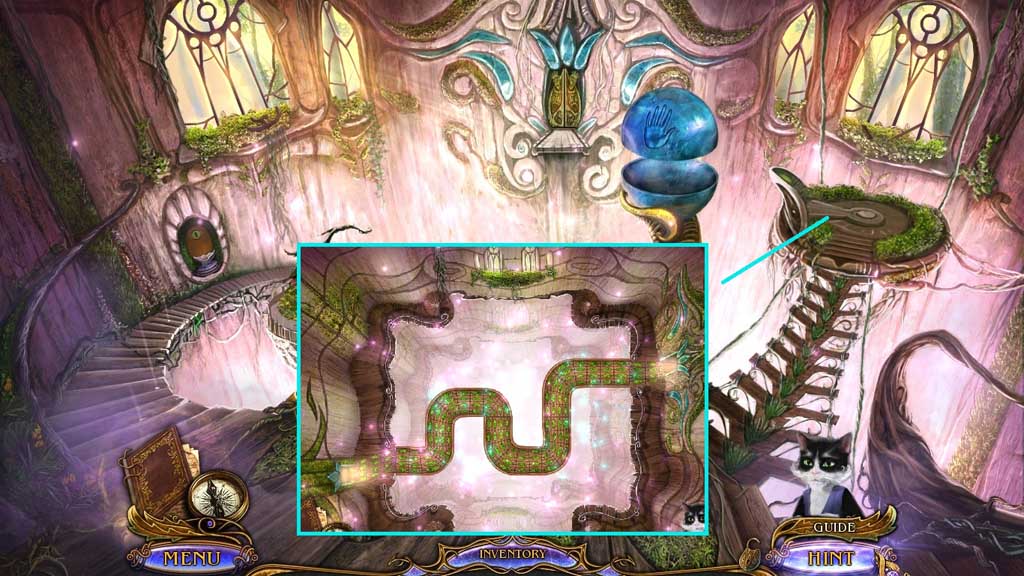
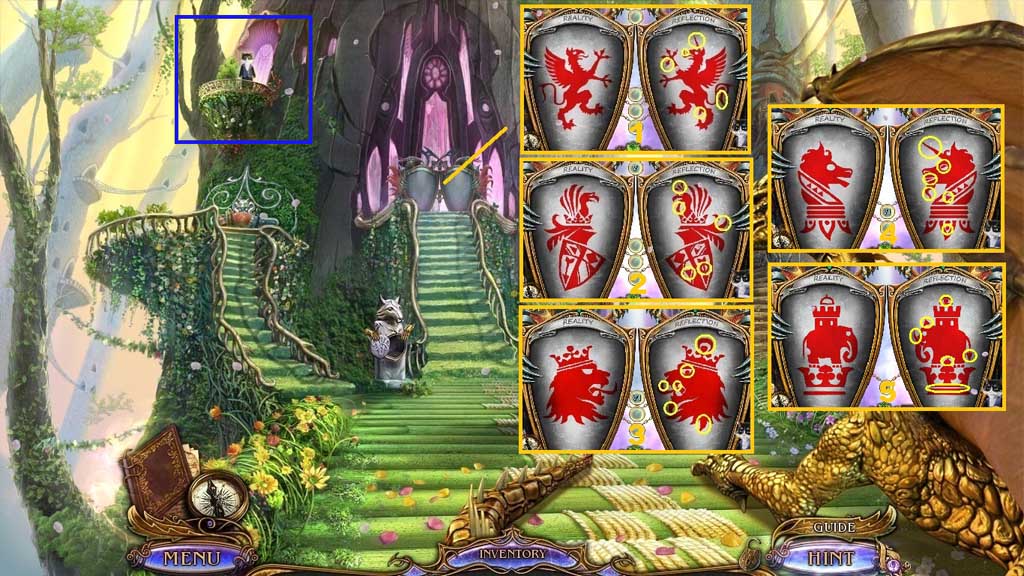
- Insert the 3 gemstone teardrops and click the stone to trigger a mini game.
- Solve the game by creating a path.
- Move ahead.
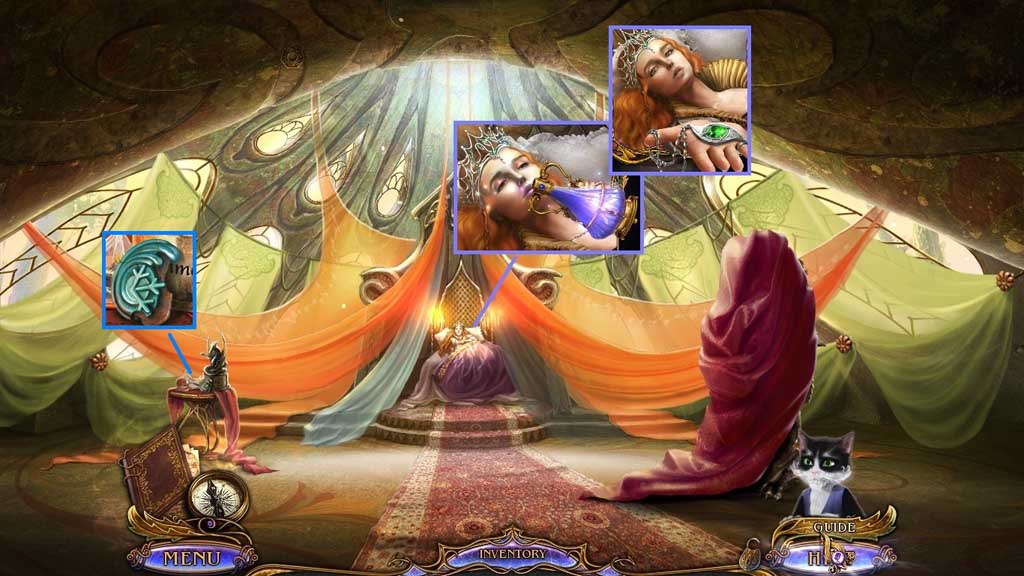
- Give the queen the elixir of life; collect the amulet of Silver Star.
- Collect the arc of ice.
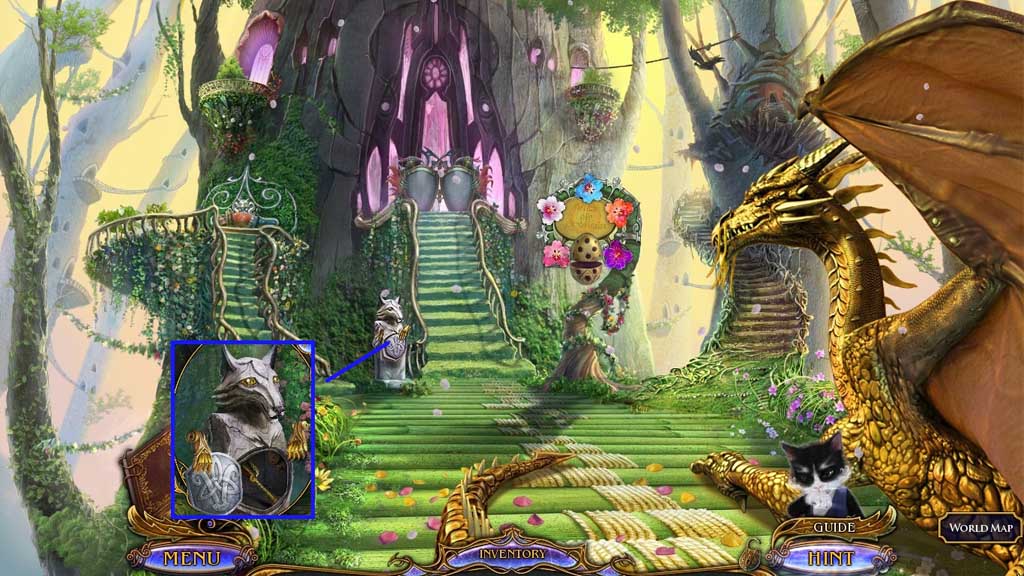
- Move to the Palace Gates.
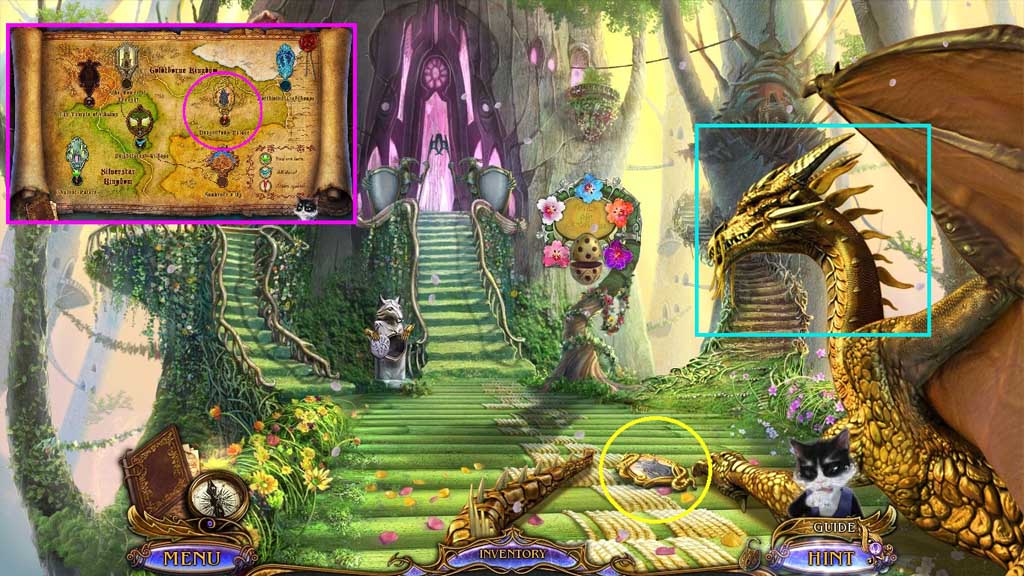
- Collect the marker: Dragonfang Palace.
- Click Raid.
- Place the marker: Dragonfang Palace onto the map; click it once.