
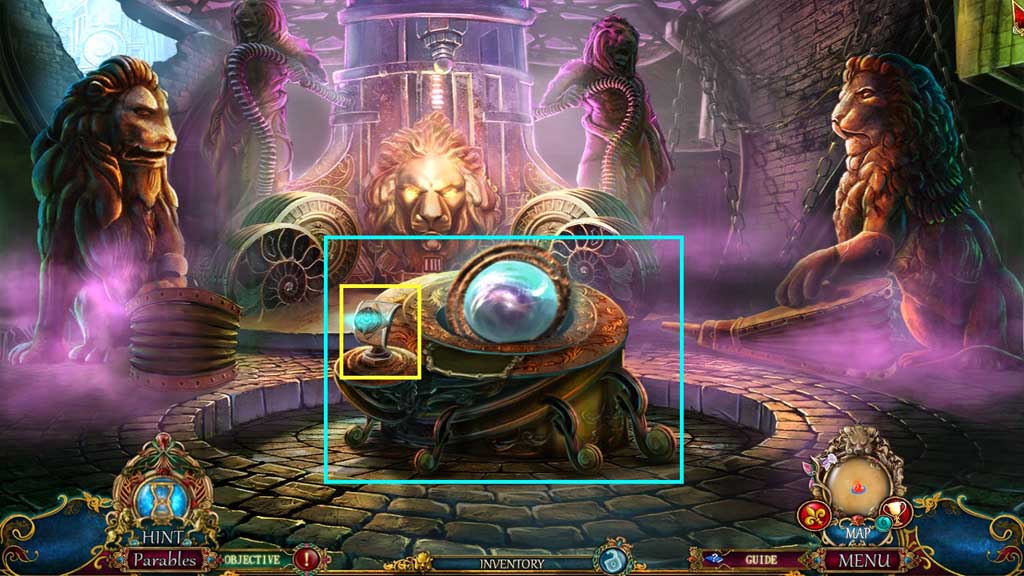
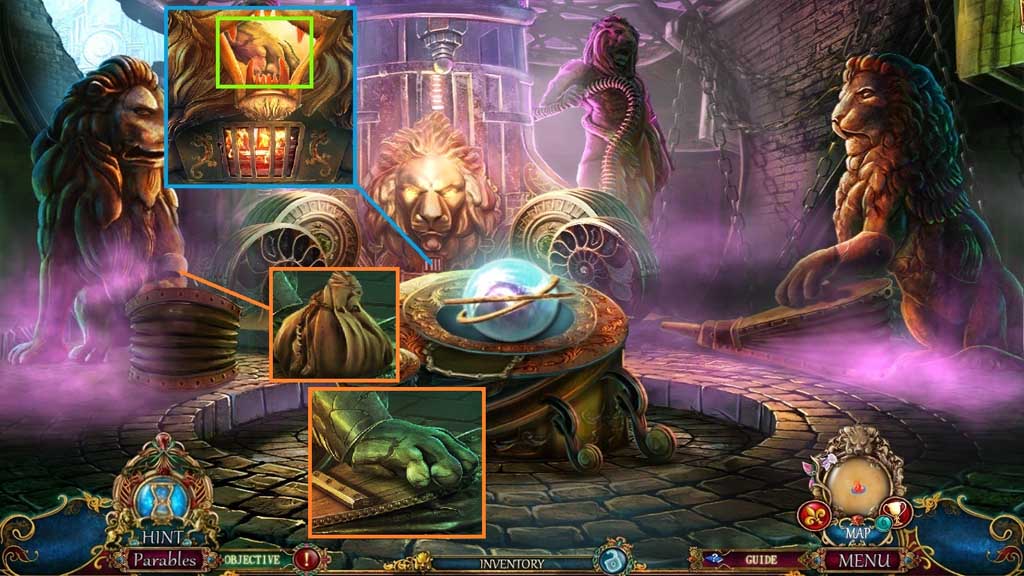
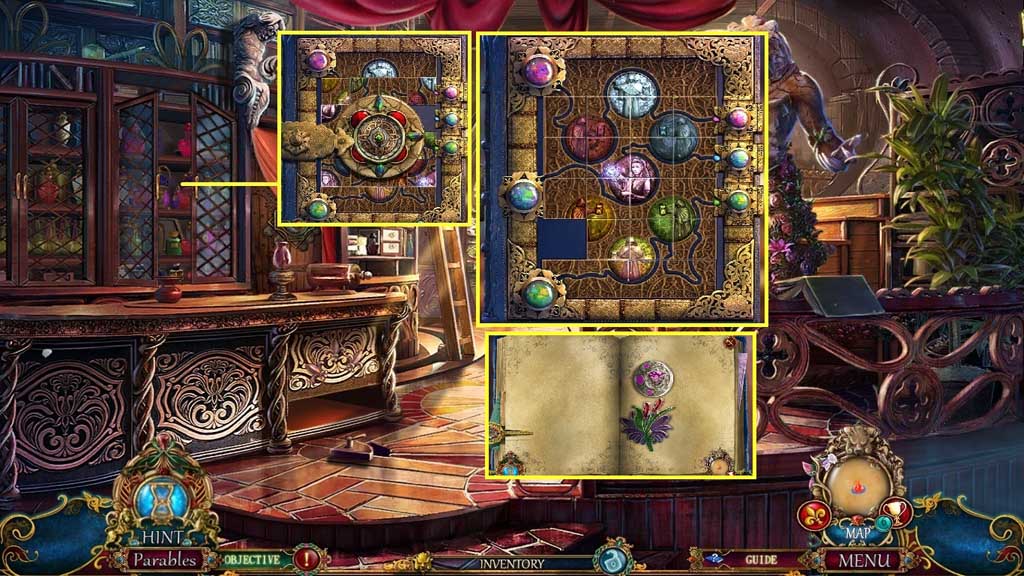
- Insert the master key and zoom in to trigger a mini game.
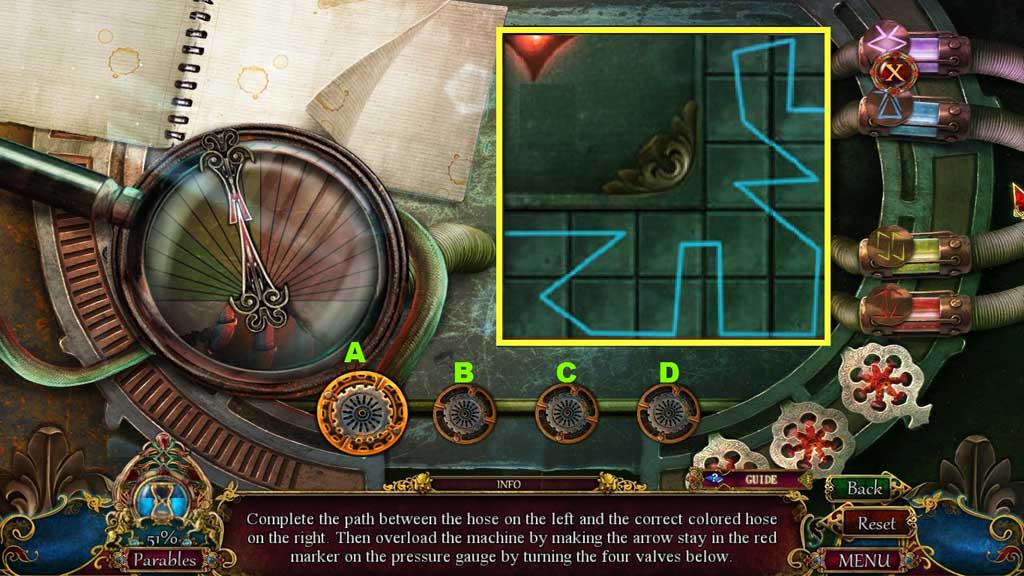
- Solve the game by aligning the tiles correctly, then clicking the valves in the correct sequence.
- Solution: C – D –A
- Another mini game will trigger.
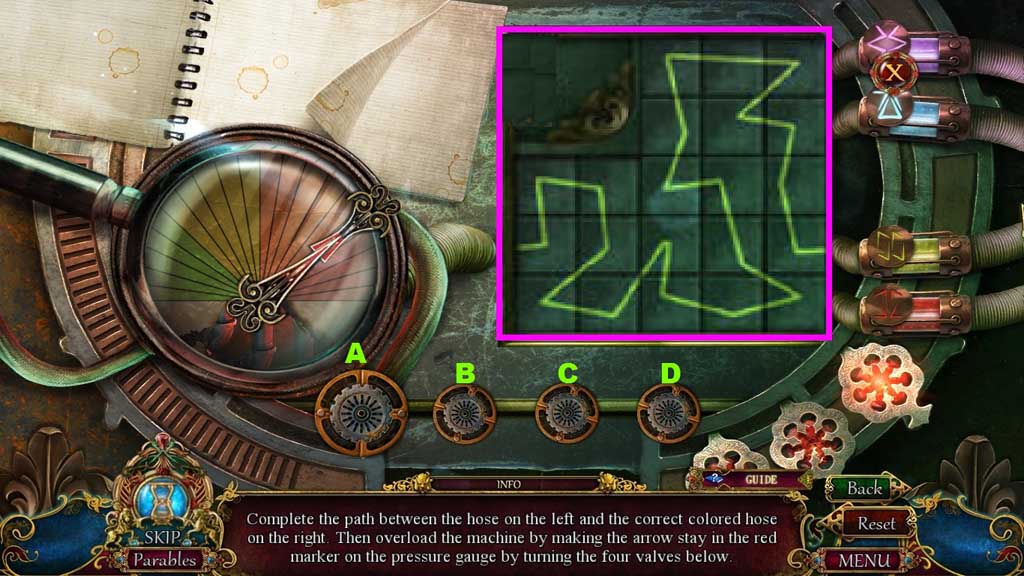
- Solve the game by aligning the tiles correctly, then clicking the valves in the correct sequence.
- Solution: C – B – D – B – C
- Another mini game will trigger.
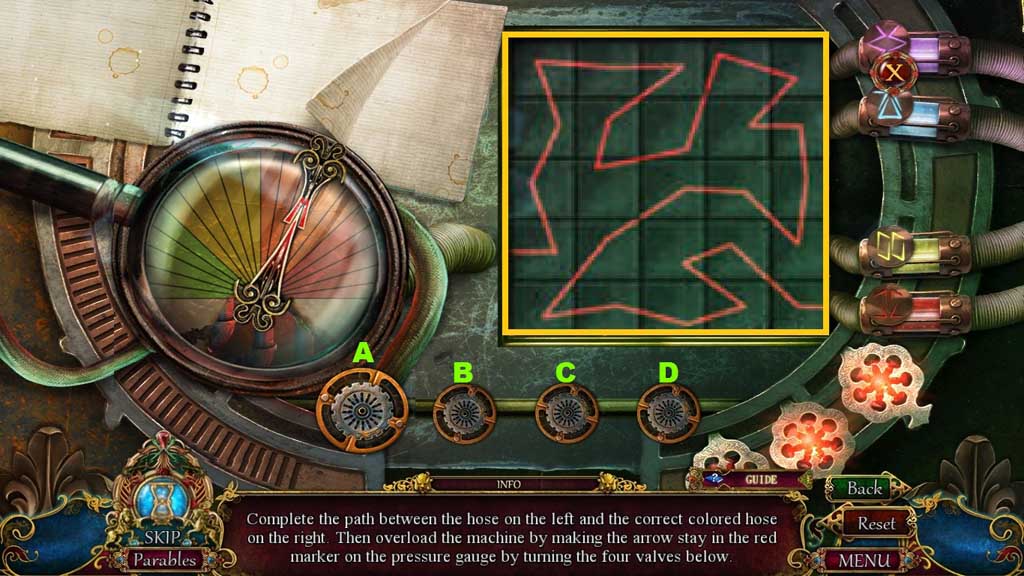
- Solve the game by aligning the tiles correctly, then clicking the valves in the correct sequence.
- Solution: C – B – C – B –C – B – D – B
- Insert the jeweled gecko; collect the stone paw.
- Collect the golden sand.
- Attach the stone paw.
- Move to the Shrine.
- Select the golden sand to use on the glowing figure.
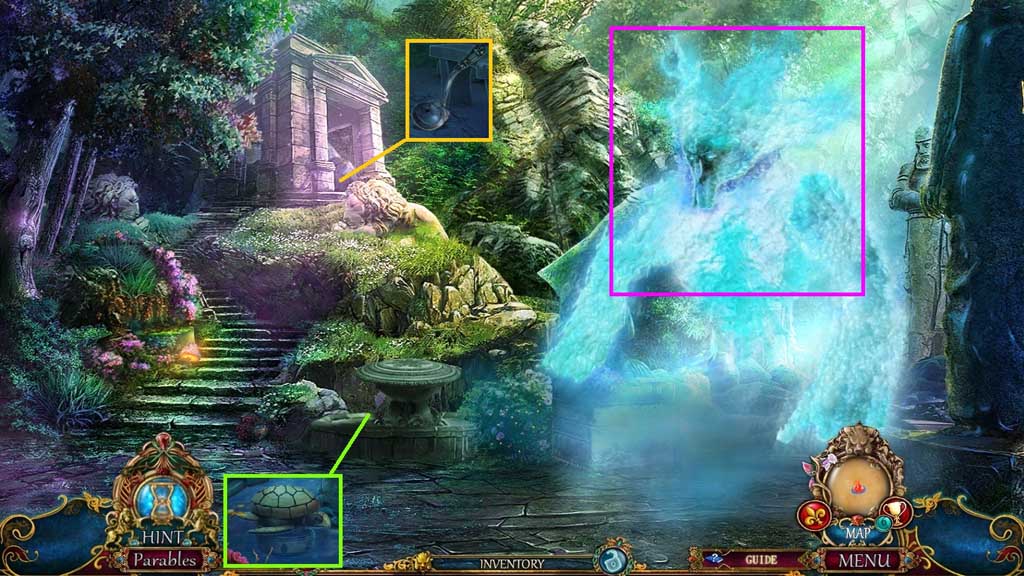
- Collect the turtle statue and the ladle.
- Move to the Temple Entrance.
- Speak to Eric.
- Collect the journal lock.
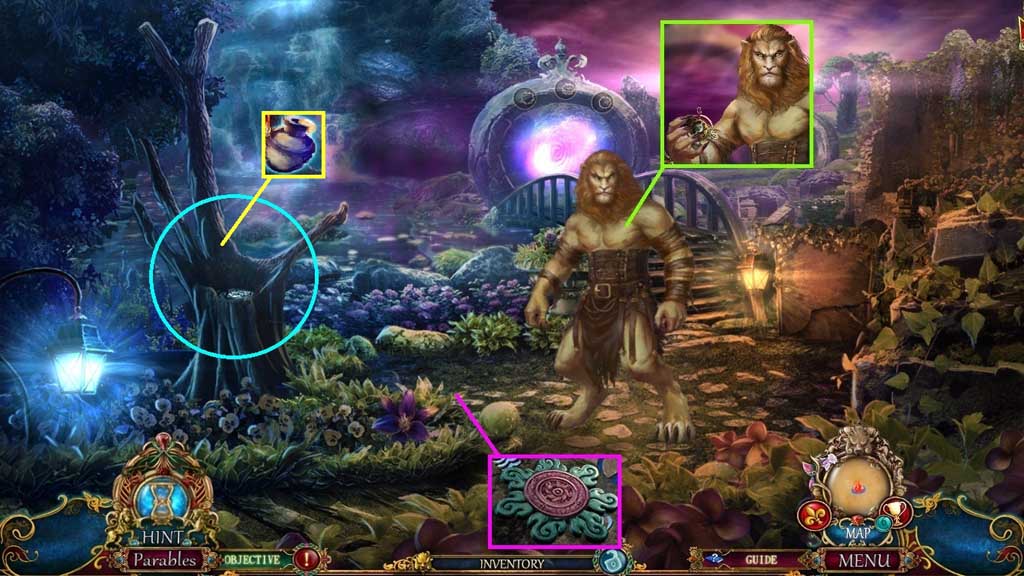
- Collect the floral medallion.
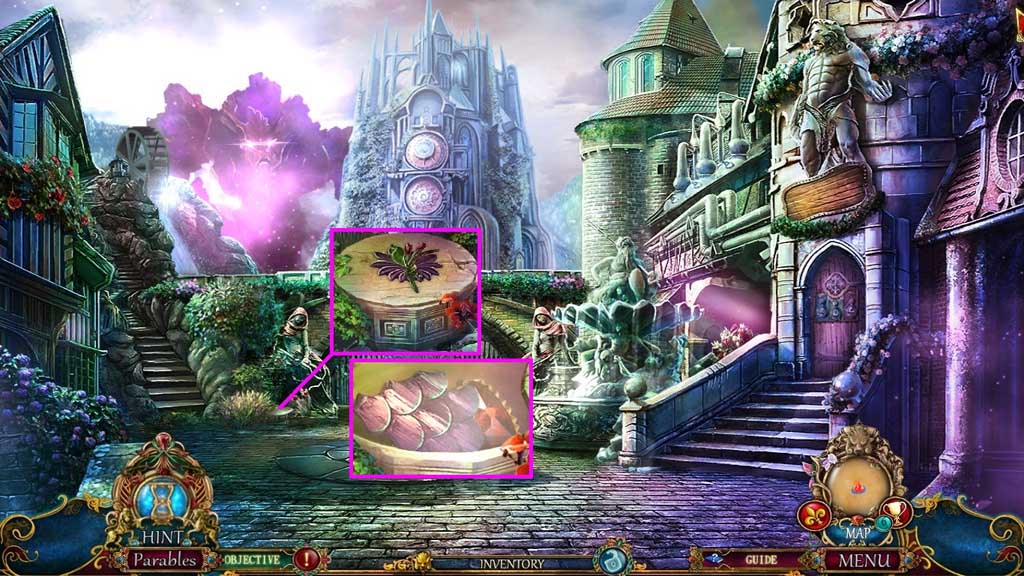
- Select the ladle to collect the golden leaves.
- Select the glass vial to collect the tree sap.
- Move down once.
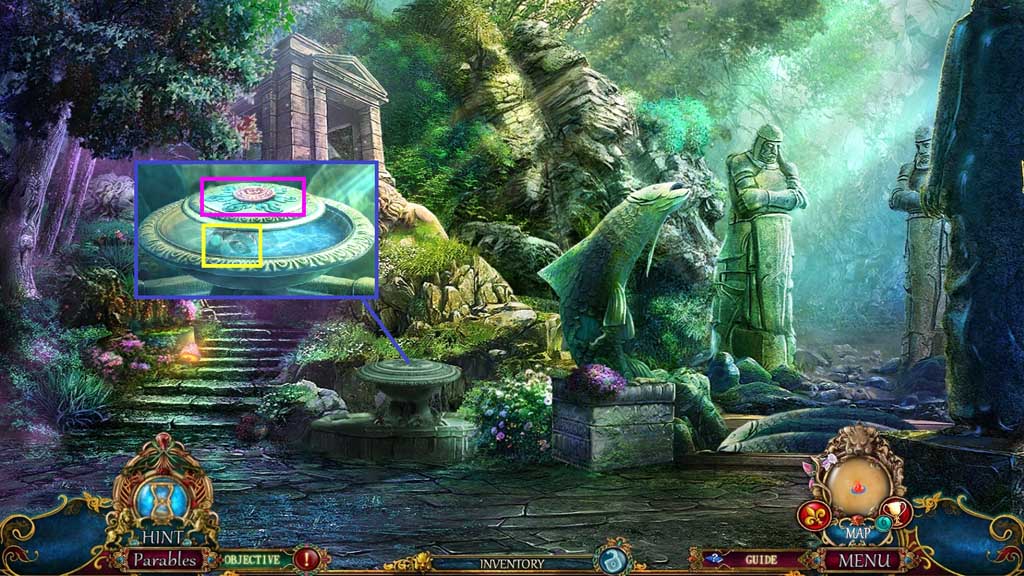
- Insert the floral medallion.
- Collect the eye of Luna.
- Move to the Perfume Shop.
- Insert the journal lock and the golden leaves.
- Click the journal to trigger a mini game.
- Solve the game by arranging the tiles to complete the image.
- Click the page 2x’s; collect the lavender insignia and the heart of Luna.
- Move down once and click the hidden objects area.
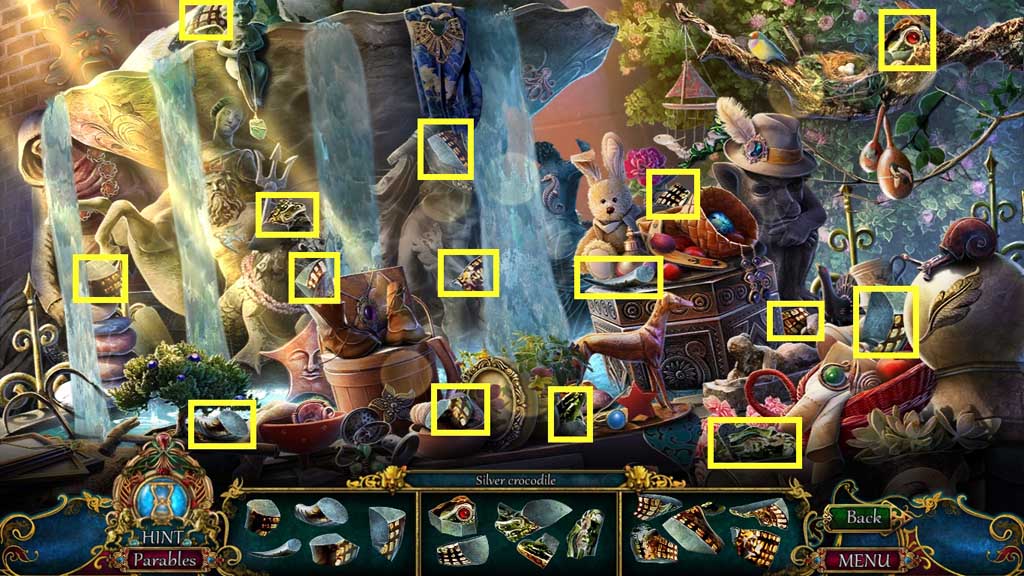
- Find the items.
- Collect the silver crocodile.
- Insert the lavender insignia; collect the stone scales and the ruby.
- Move to the Shrine.
- Insert the stone scales.
- Collect the breath of Luna.
- Move to the Temple Entrance.
- Insert the eye, breath and heart of Luna.
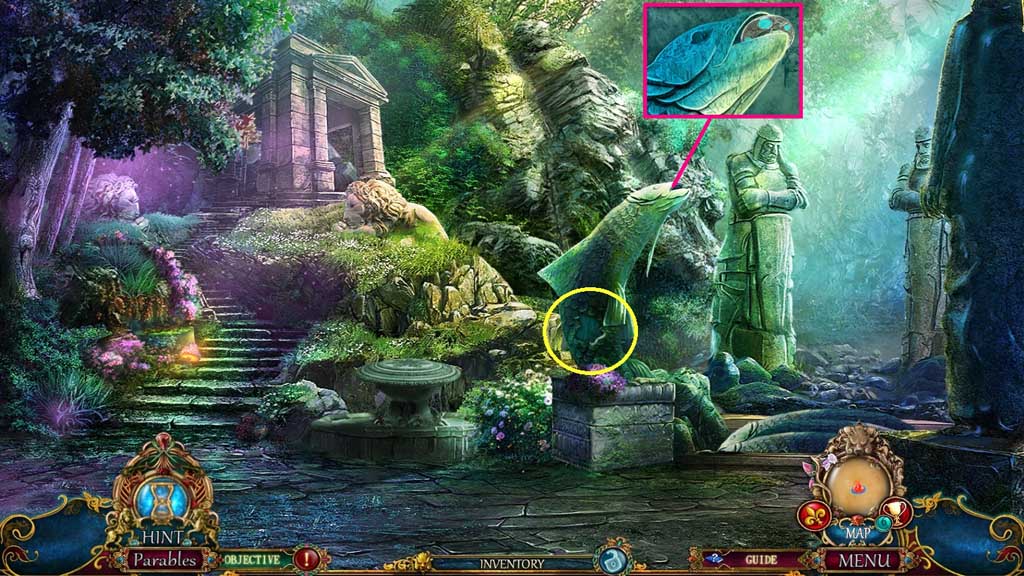
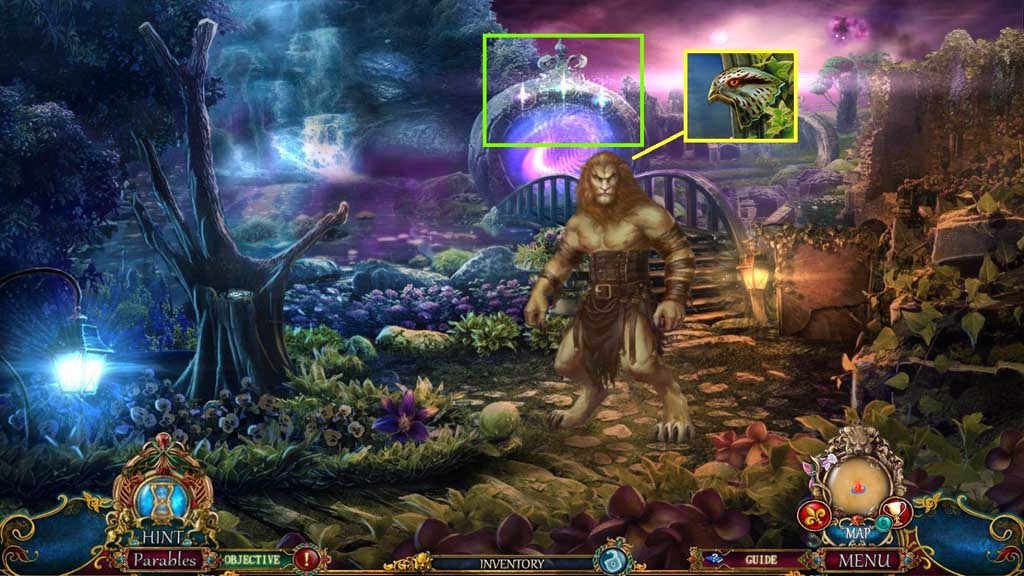
- Click the leaves aside; collect the eagle head.
- Click the hidden objects area.
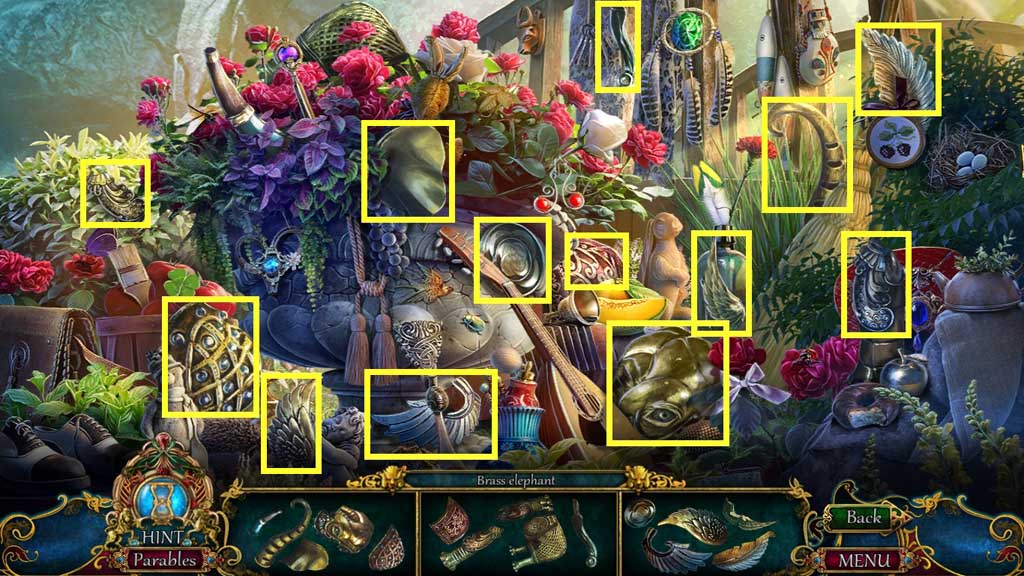
- Find the items.
- Collect the brass elephant.
- Insert the silver crocodile.
- Collect the water dragon emblem.
- Move to the Temple Ruins.