
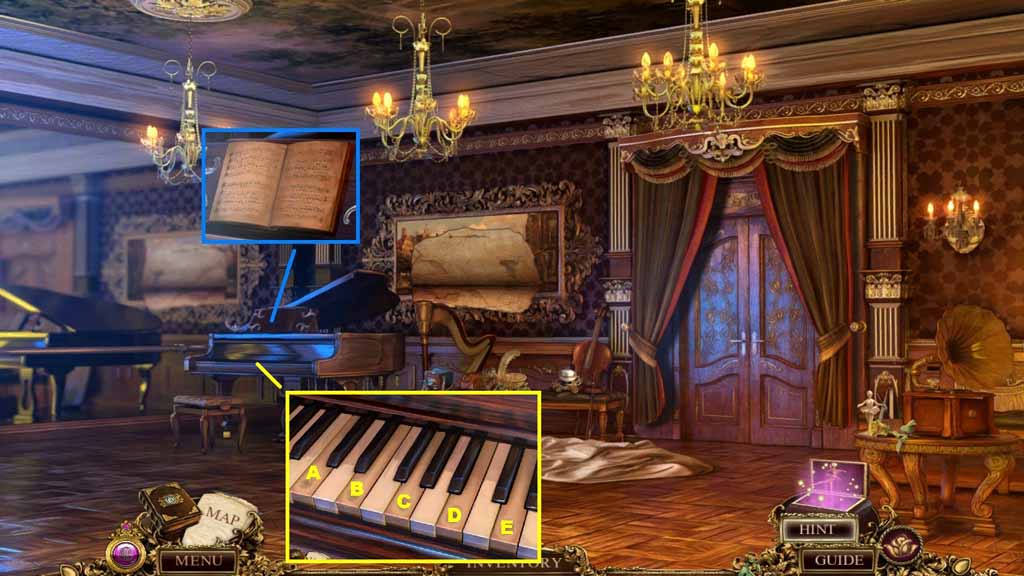
- Place the piano wire and the 2 music sheets onto the piano.
- Click the keys to trigger a puzzle.
- Solve the puzzle by completing the sequences correctly.
- Click the keys in the following order to solve:
- Round 1: C
- Round 2: C – A
- Round 3: C – A – D
- Round 4: C – A – D – B
- Round 5: C – A – D – B – C
- Round 6: C – A – D – B – C – E
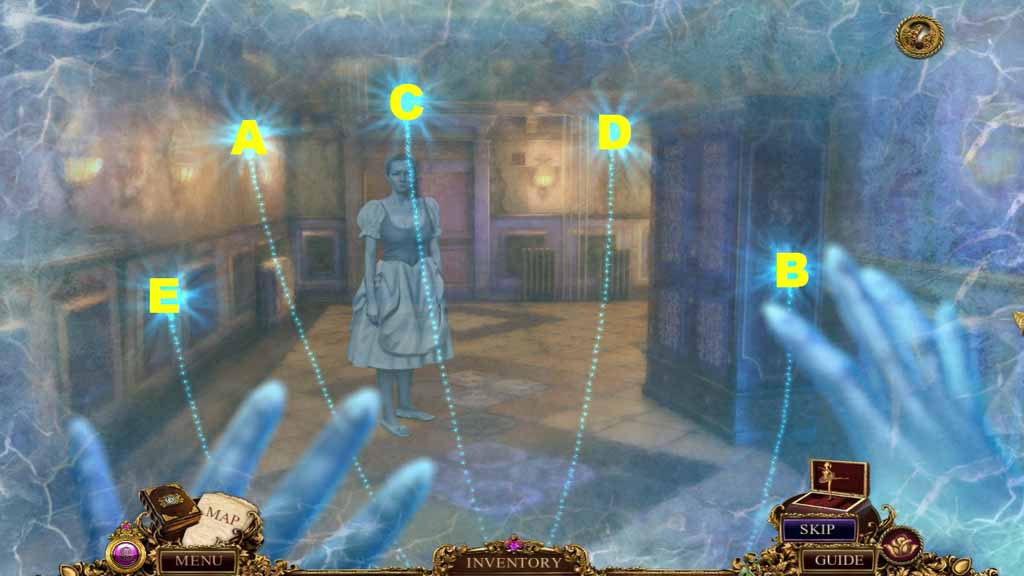
- Click the lights in the correct sequence.
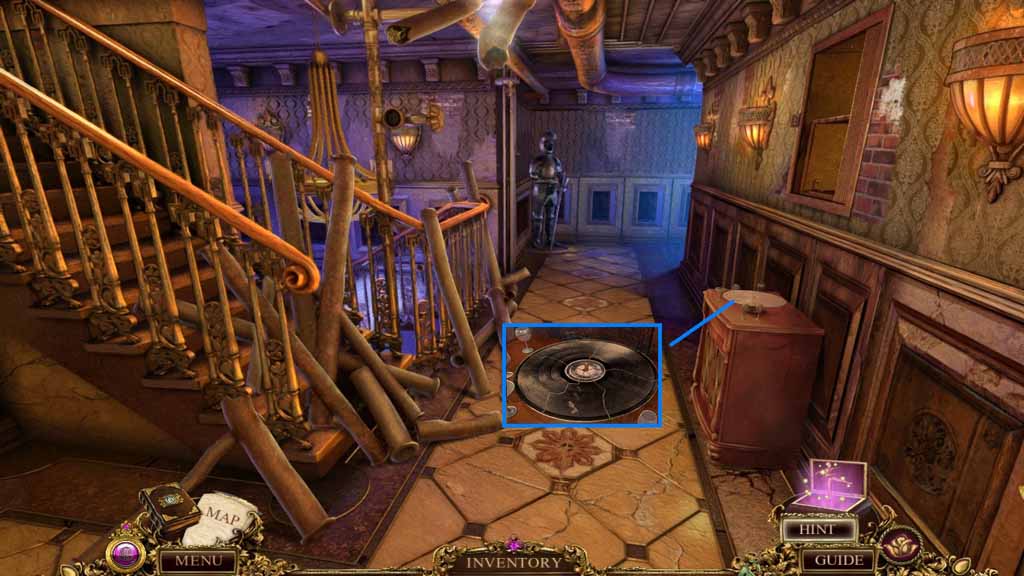
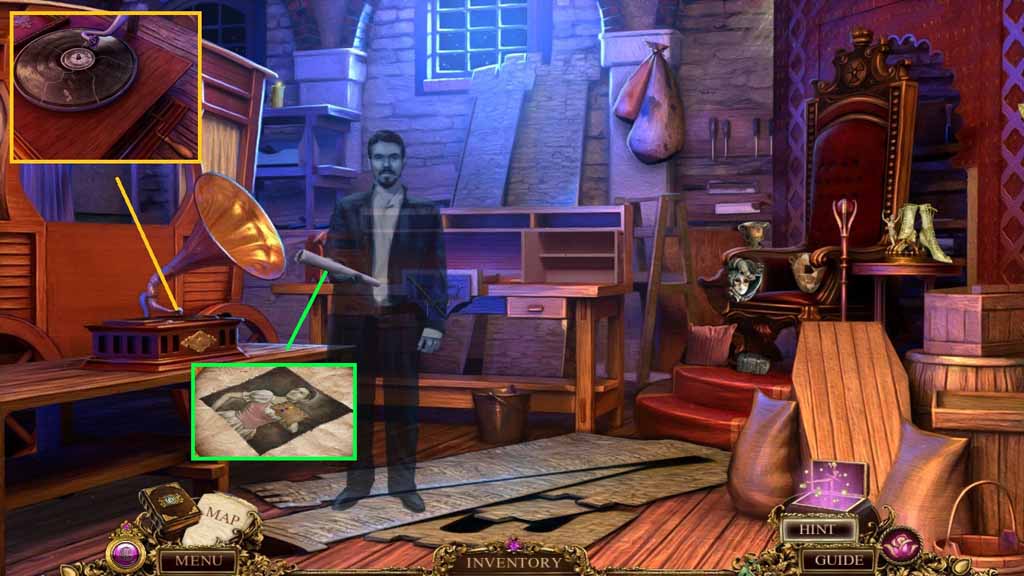
- Click the panel; collect the wooden disc.
- Collect 1 / 5 record fragments.
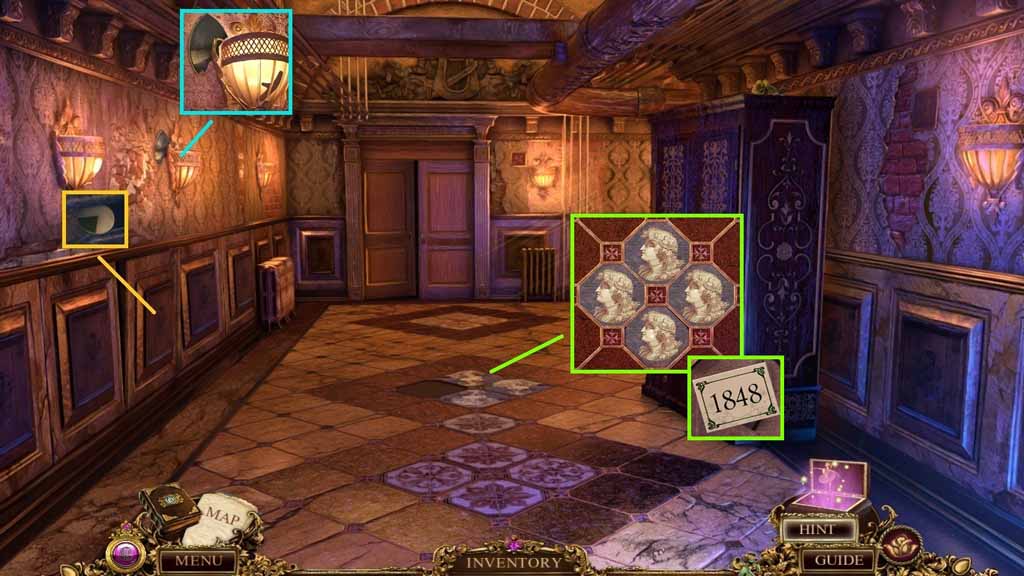
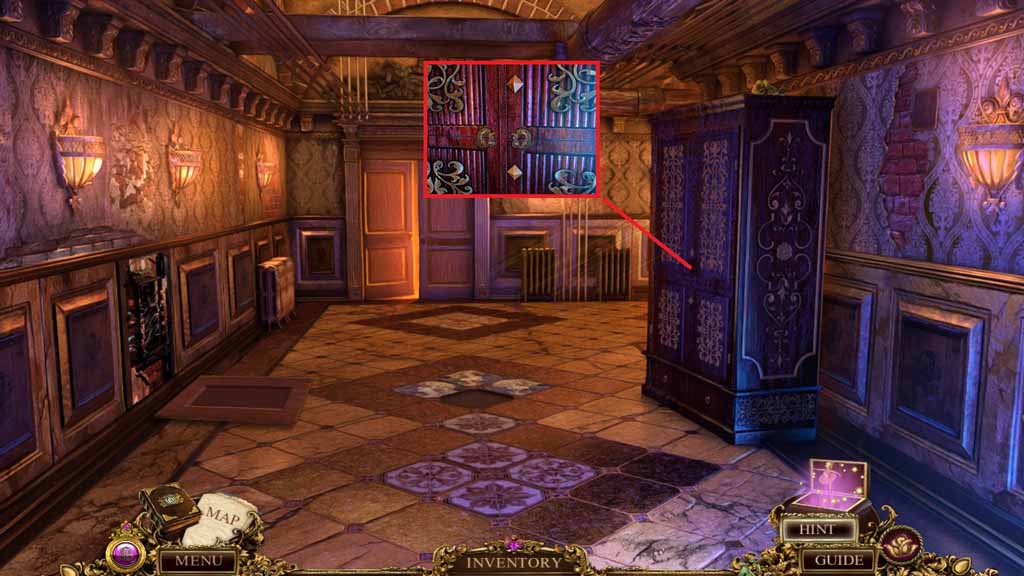
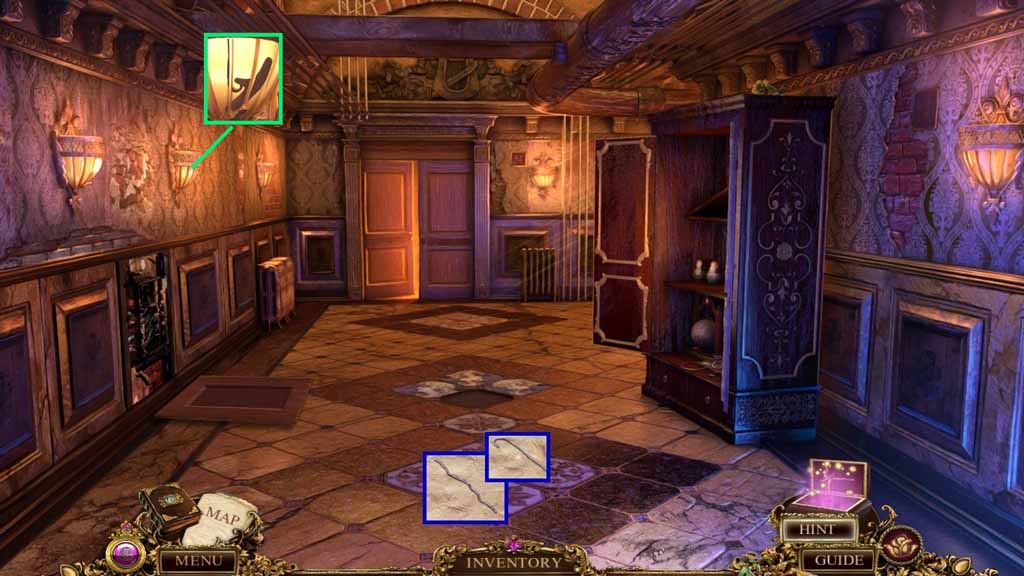
- Insert the decorative floor tile into the floor to trigger a puzzle.
- Solve the puzzle by switching the tiles into the correct alignment to match the tile on the left.
- Collect the label and the record fragment beneath it.
- Move to the Backstage Hallway.
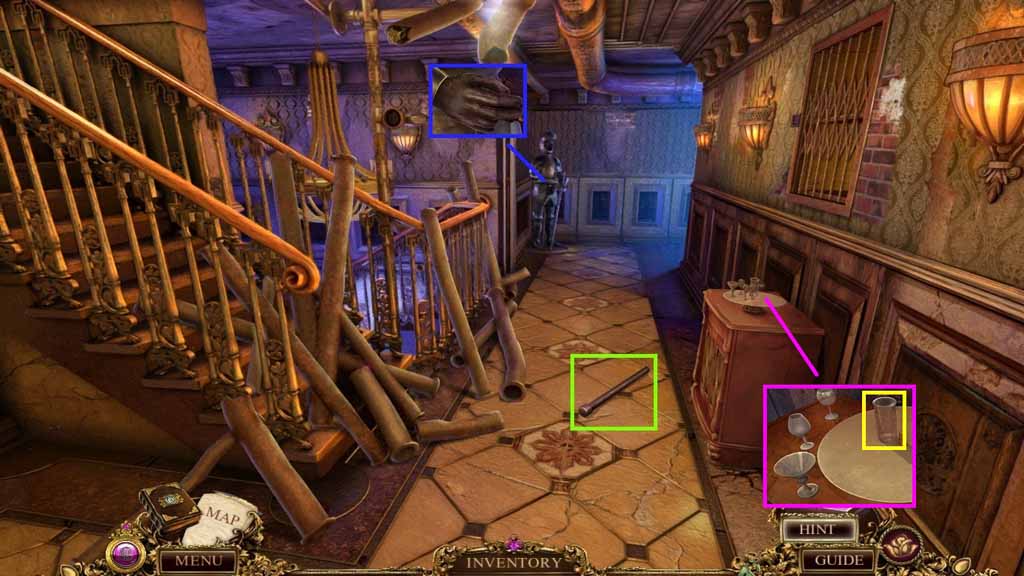
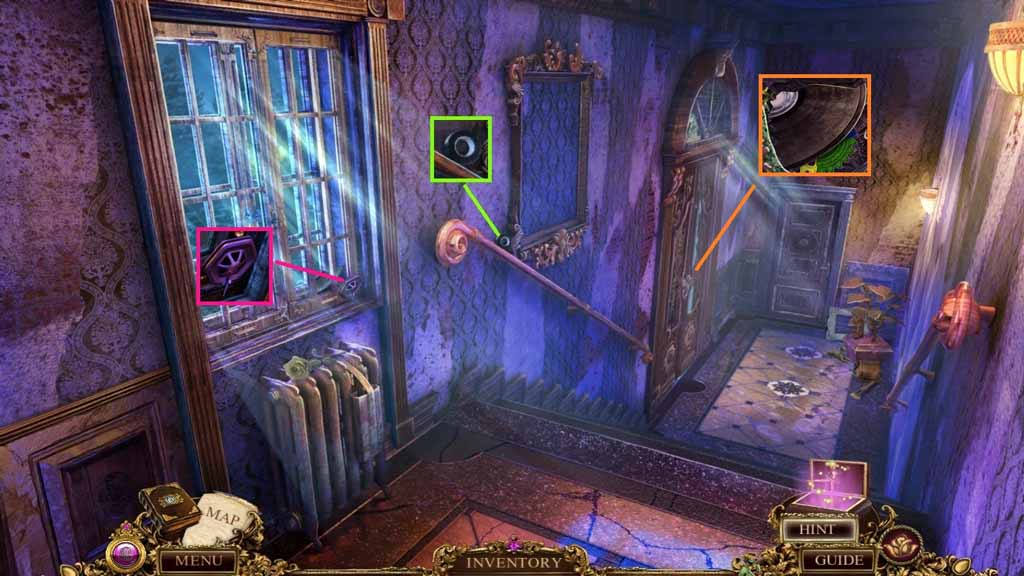
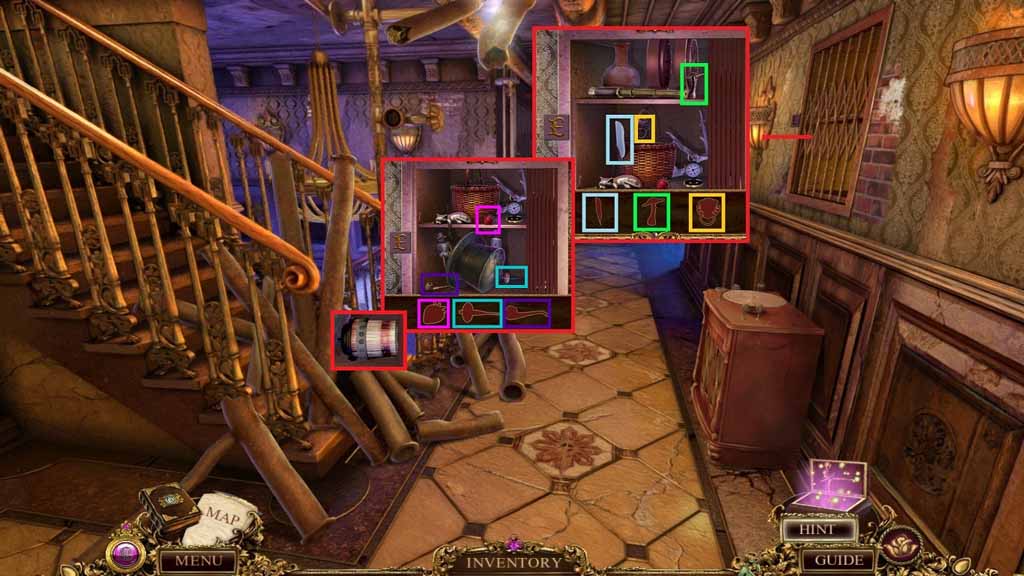
- Collect the metal rod.
- Click the sleeve and collect the glove.
- Click the glasses and collect the measuring beaker.
- Move to the Passageway.
- Speak to the ghost.
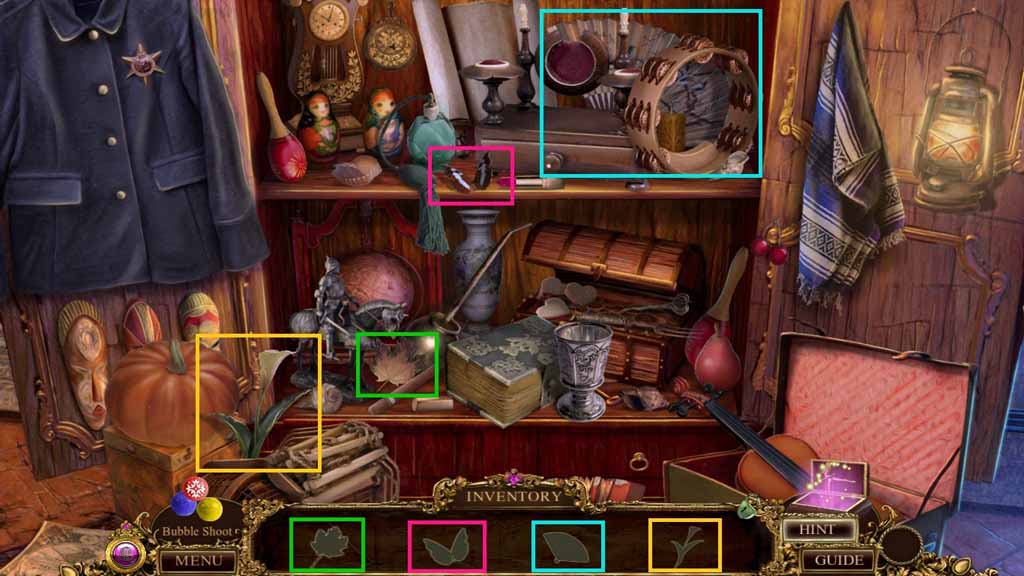
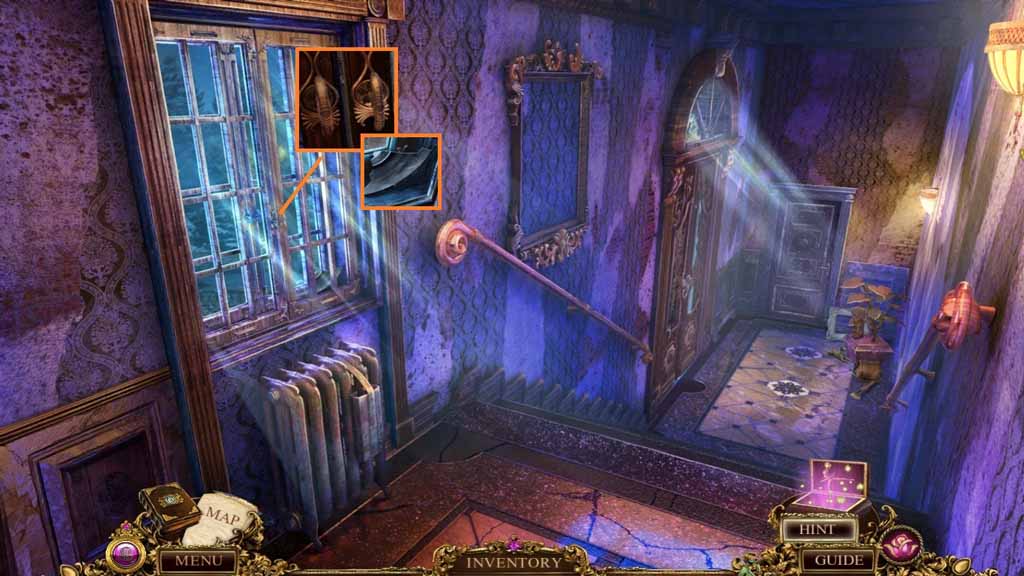
- Collect the electrical tape, the phonograph needle and the 3/5 record fragments.
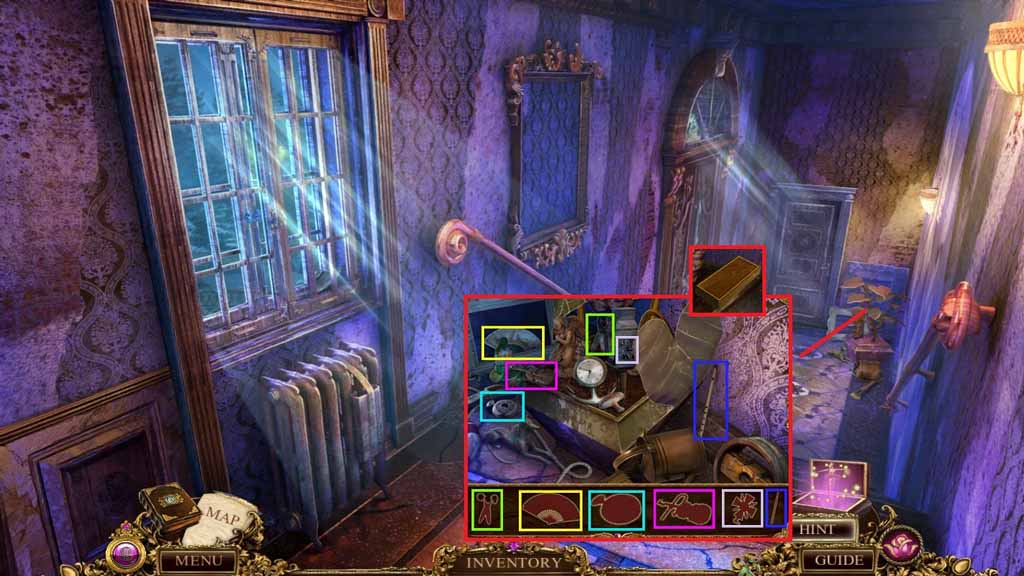
- Click the plant in the corner to trigger a hidden objects area.
- Find the silhouetted items.
- Collect the wooden block.
- Move to the Corridor.
- Select the glove to click the handle.
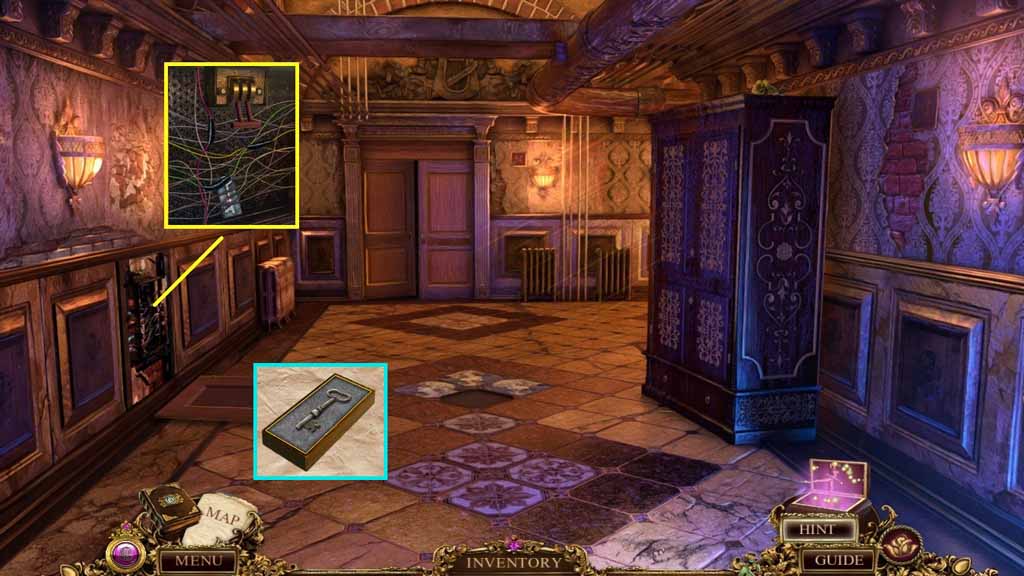
- Place the electrical tape onto the wires.
- Click the handle again and collect the key picture.
- Select the wooden block and place the key picture onto it.
- Collect the key block.
- Move to the Scene Shop.
- Collect the machine wheel, golden emblem and 4 /5 record fragments.
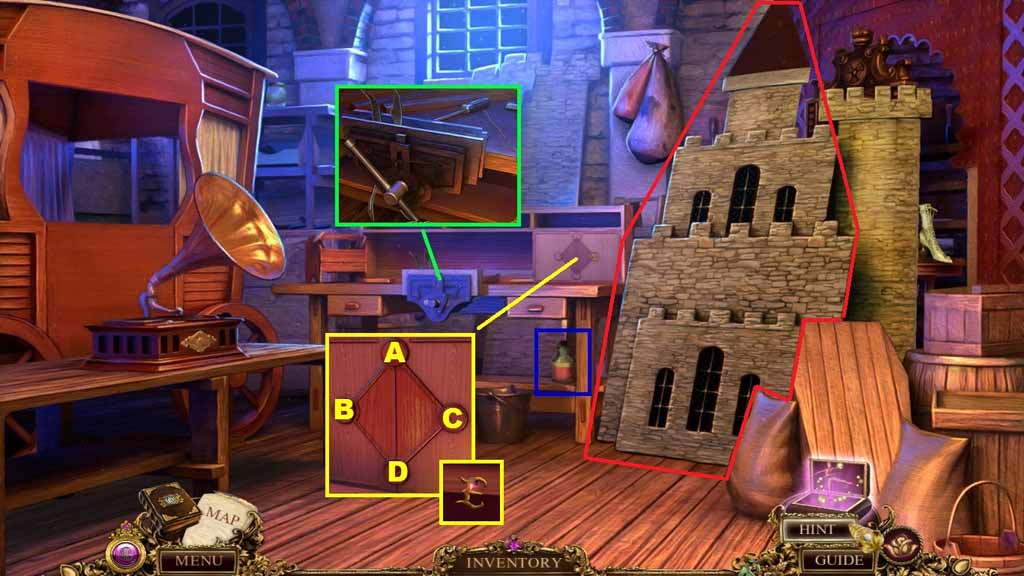
- Insert the key block into the slot to trigger a puzzle.
- Solve the puzzle by sliding the key picture into the lock.
- Collect the paintbrush.
- Move down once.
- Insert the Golden emblem into the door to trigger a hidden objects area.
- Find the silhouetted items.
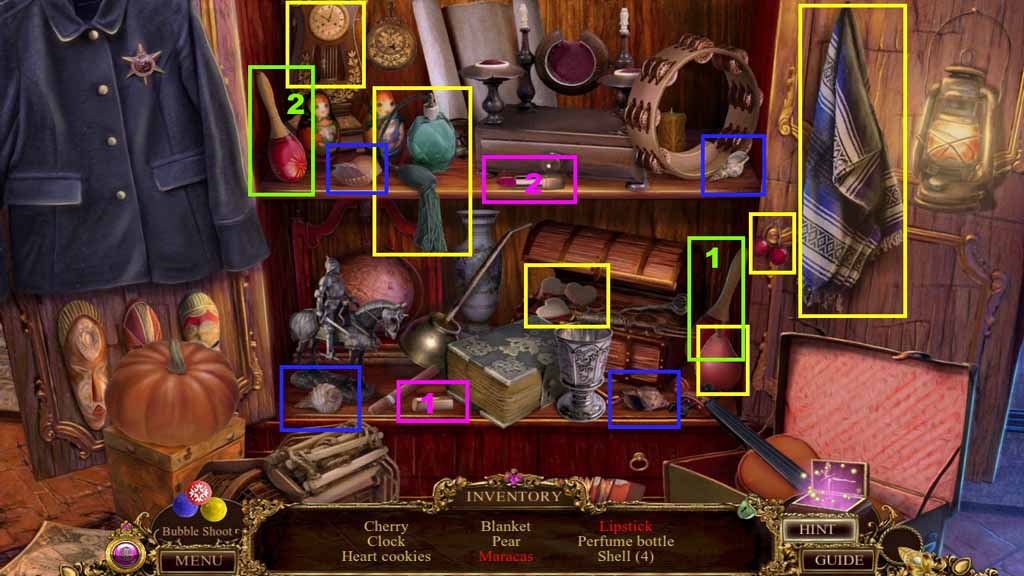
- Find the listed items.
- Collect the oil can.
- Move to the Backstage Hallway.
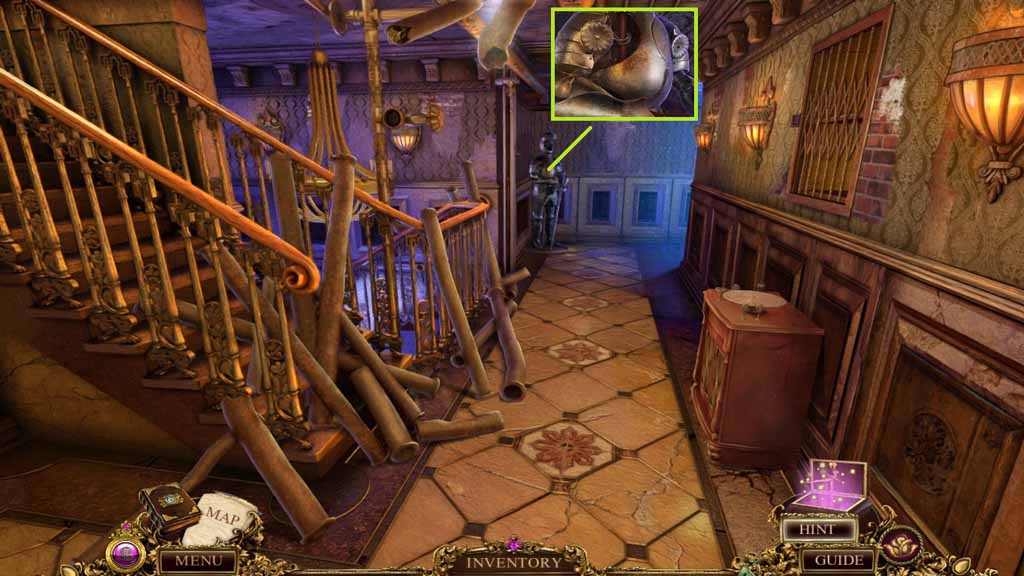
- Select the oil can to use on the armor.
- Collect the piece of rope.
- Move to the Scene Shop.
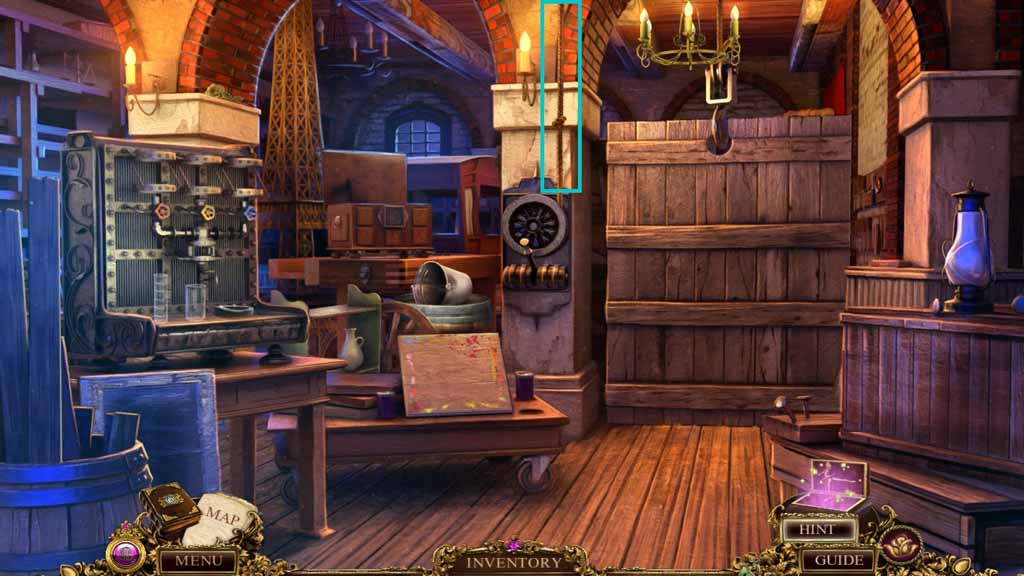
- Place the piece of rope onto the mechanism and click the handle.
- Move ahead into the Workshop.
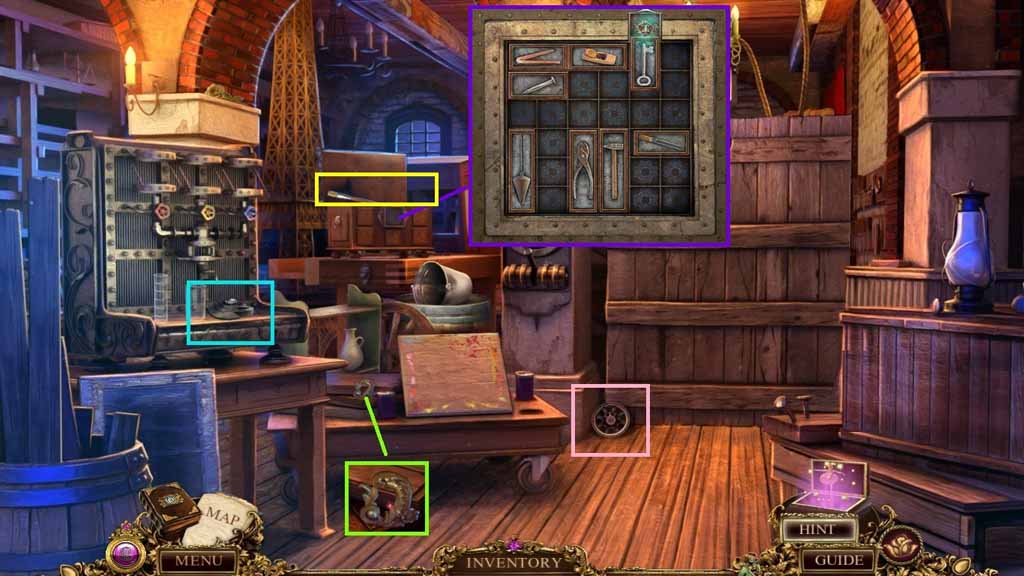
- Collect the metal wire.
- Insert the metal rod into the vise and click it once.
- Collect the bolt cutter parts.
- Collect the bottle of glue.
- Insert the wooden disc into the slot to trigger a puzzle.
- Align the discs correctly to solve the puzzle.
- Click the discs in the following order: C – C – C – A – A - A
- Collect the letter E.
- Click the wall to trigger a hidden objects area.
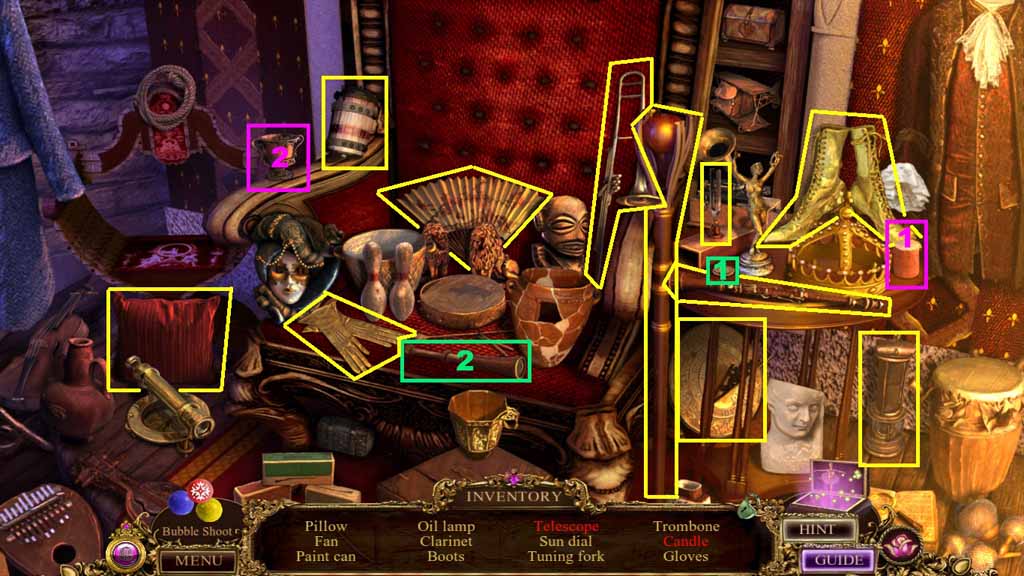
- Find the listed items.
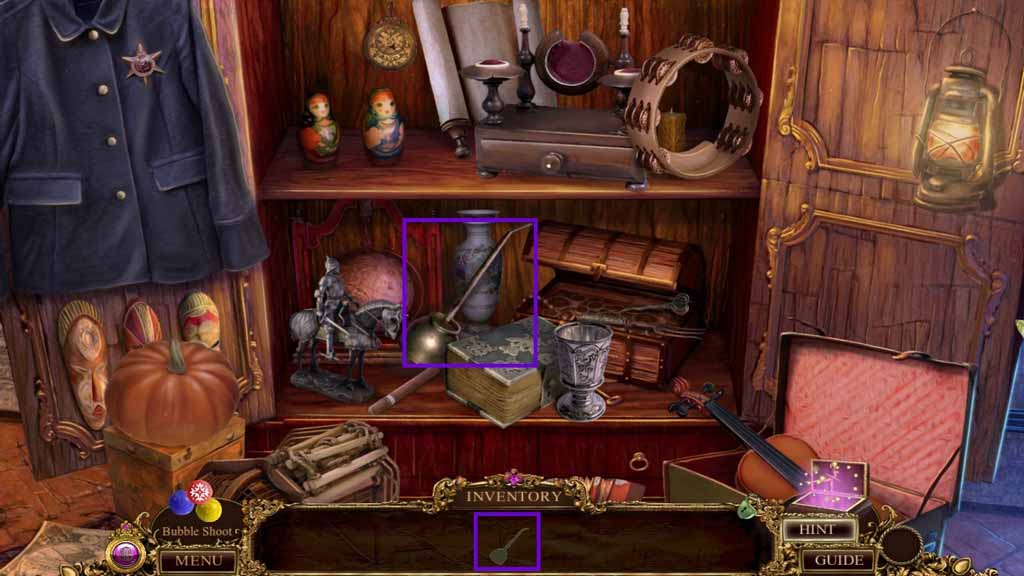
- Select the lens and insert it into the telescope; collect the telescope.
- Select the candle and place it into the candle holder; collect the candle.
- Collect 2 / 3 paint canisters.
- Move to the Corridor.
- Click the metal wire three times to collect the bent wire.
- Select the bent wire to collect the window handle.
- Move to the Backstage Hallway.
- Insert the letter E into the slot to trigger a hidden objects area.
- Find the silhouetted items.
- Collect 3 / 3 paint canisters.
- Move to the Passageway.
- Insert the window handle into the slot and click it once.
- Collect the 5/5 record fragments.
- Move down once.
- Select the bottle of glue and poor onto the disc.
- Place the five record fragments down and collect the glue record.
- Move to the Workshop.
- Place the phonograph needle onto the arm and click the glue record down.
- Click the handle.
- Collect the rolled painting.
- Unroll the painting and collect the recipe and faded painting.
- Move down once.
- Zoom into the mechanism.
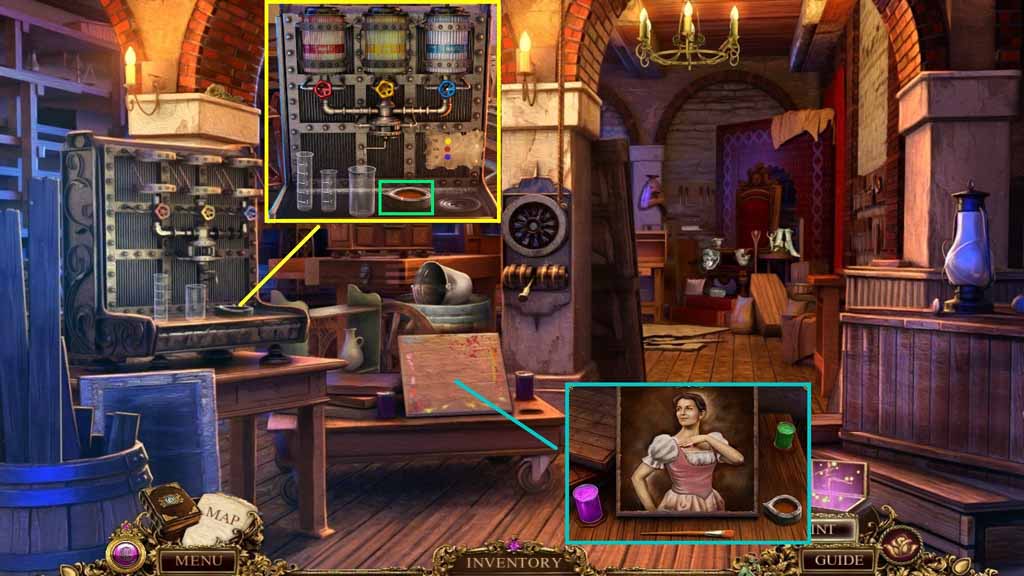
- Place the measuring beaker, the 3 paint canisters and the recipe down to trigger a mini puzzle.
- Solve the puzzle by using the recipe to create the correct color mix.
- Collect the mixed color.
- Place the faded painting, the mixed color and the paintbrush down to trigger a puzzle.
- Solve the puzzle by clicking and dragging the brush onto the canvas to restore the painting.
- Collect the painting.
- Move to the Passageway.
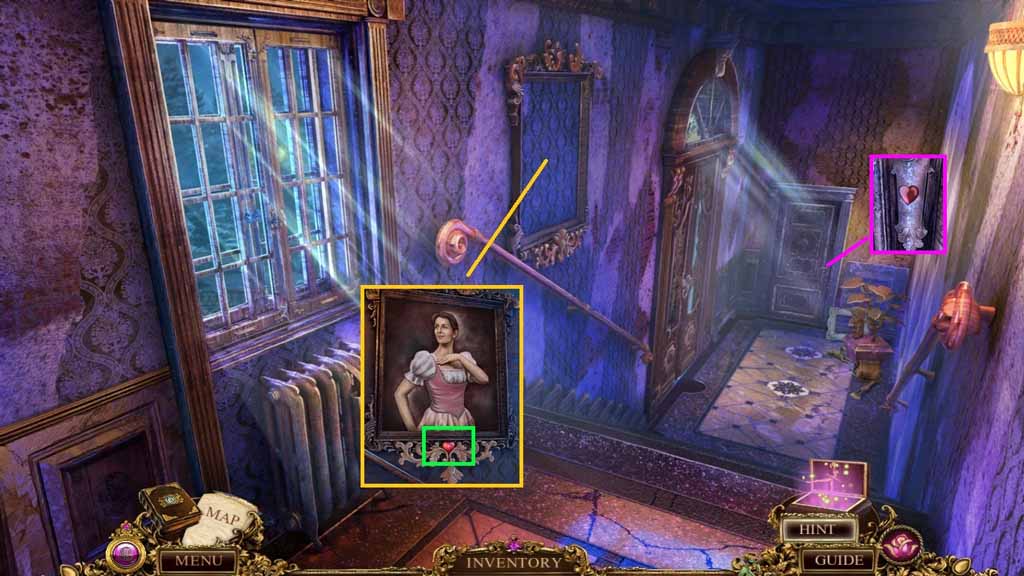
- Insert the painting into the frame; collect the crystal heart.
- Insert the crystal heart into the slot.
- Enter the Green Room.