
Web of Deceit: Deadly Sands: Chapter Four: Inside the Fisherman’s House
Use our Web of Deceit: Deadly Sands Walkthrough to help navigate the shifting sands of mystery as the body count continues to climb in this newest Web of Deceit adventure. When you don't know who to trust, turn to our detailed instructions, our beautiful custom screenshots, and easy-to-understand puzzle solutions to avoid drawing the wrath of this venomous killer.
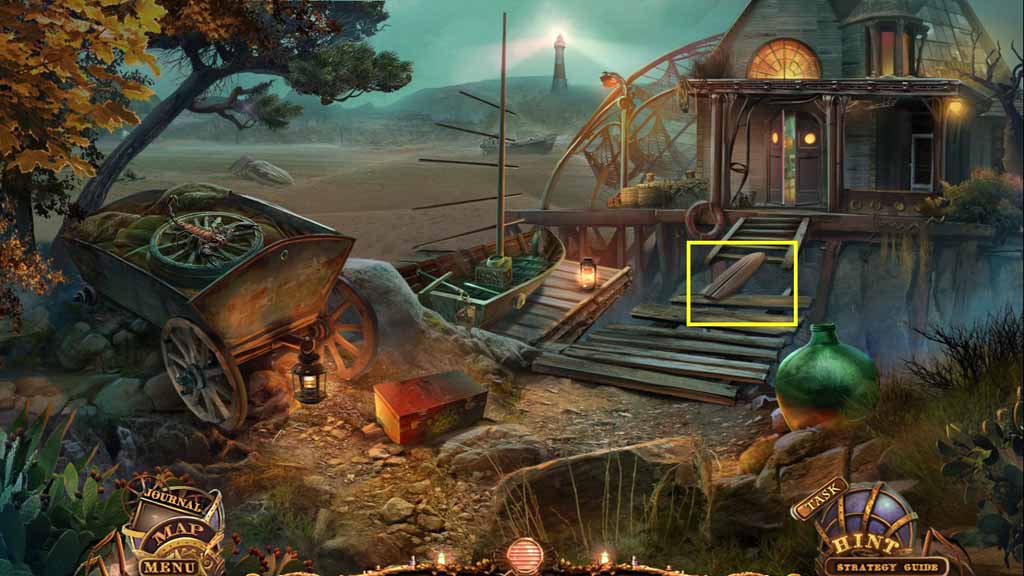
- Place the surfboard down.
- Move into the house.
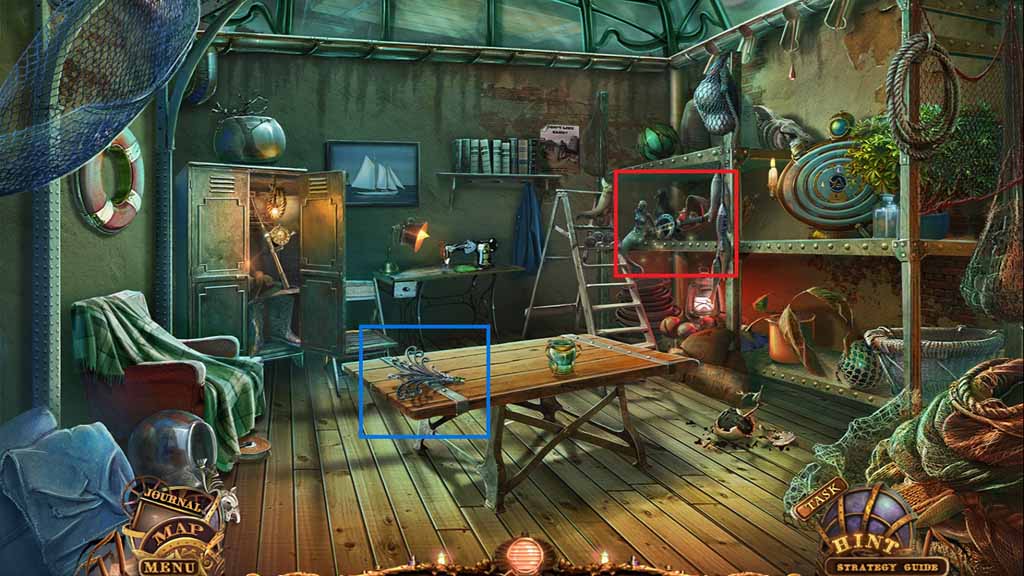
- Collect the whale spout.
- Click the hidden objects area.
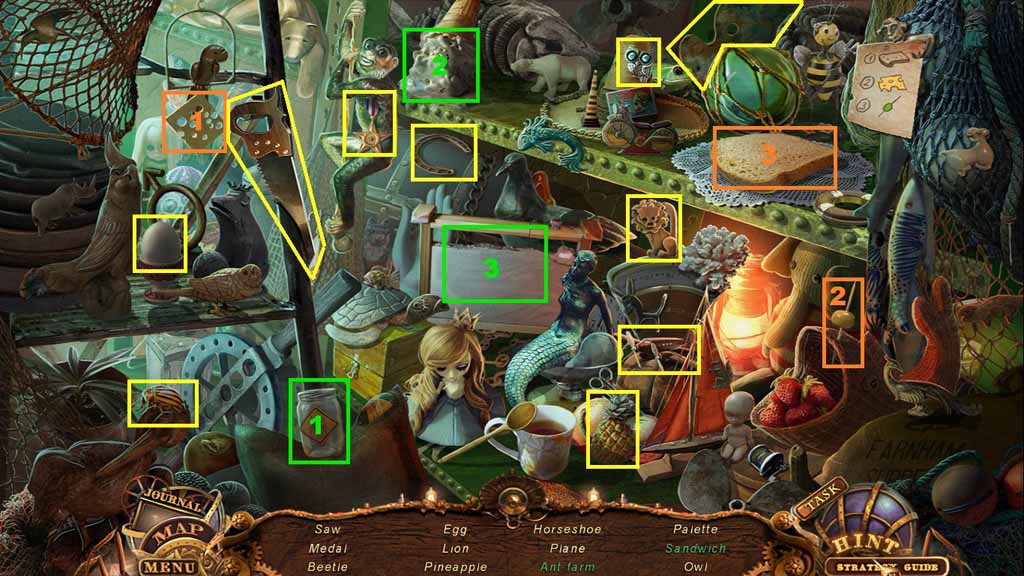
- Find the listed items.
- Select the cheese and place it onto the bread then select the olive and toothpick and place it into the bread and cheese; collect the sandwich.
- Select the jar and place it next to the ice cream and pour them into the ant farm; collect the ant farm.
- Collect the saw.
- Move down 2 times.
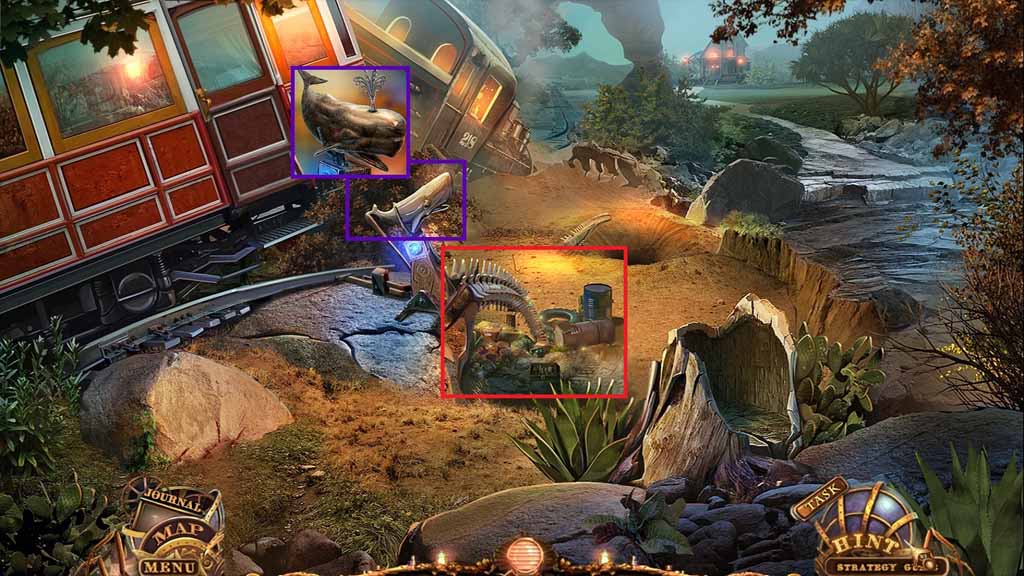
- Place the whale spout into the whale.
- Click the hidden objects area.

- Find the listed items.
- Select the key and insert it into the first aid kit; collect the bandage.
- Select the matches and use it to light the bomb; collect the pyramid and the brush.
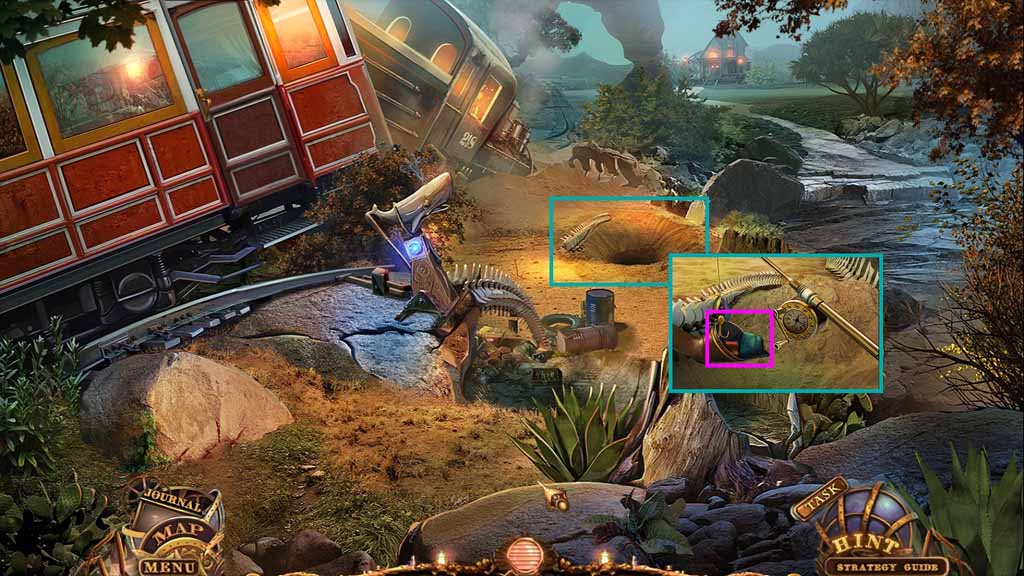
- Collect the compass.
- Move to the Compartment.
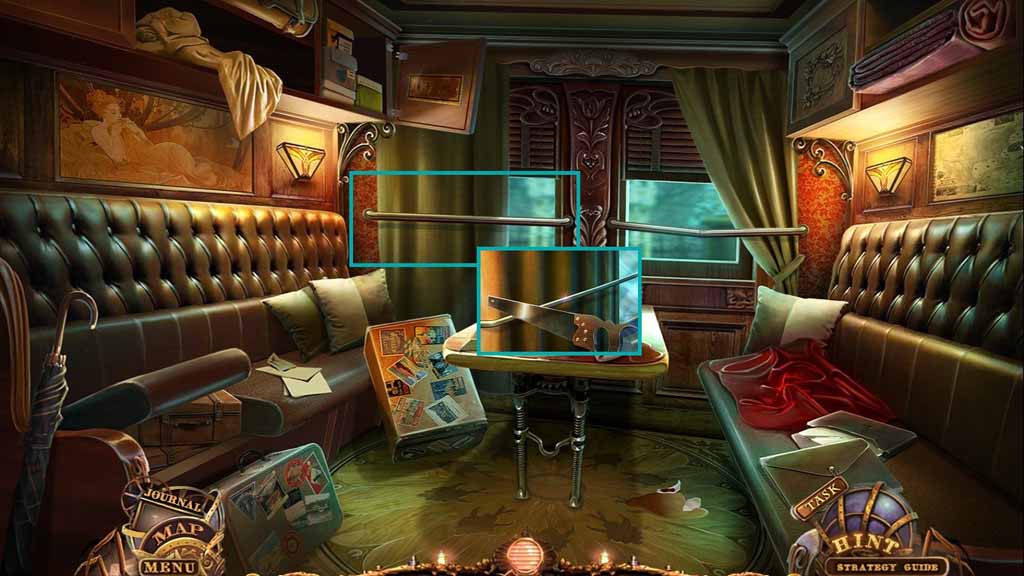
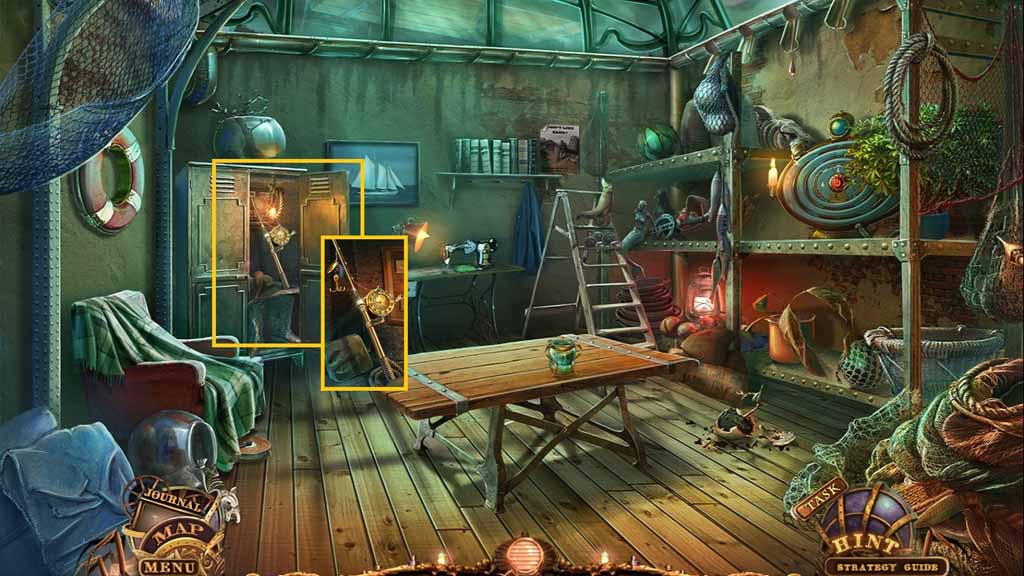
- Use the saw to cut the metal bar; collect the axle.
- Move to the Fishing Wharf.
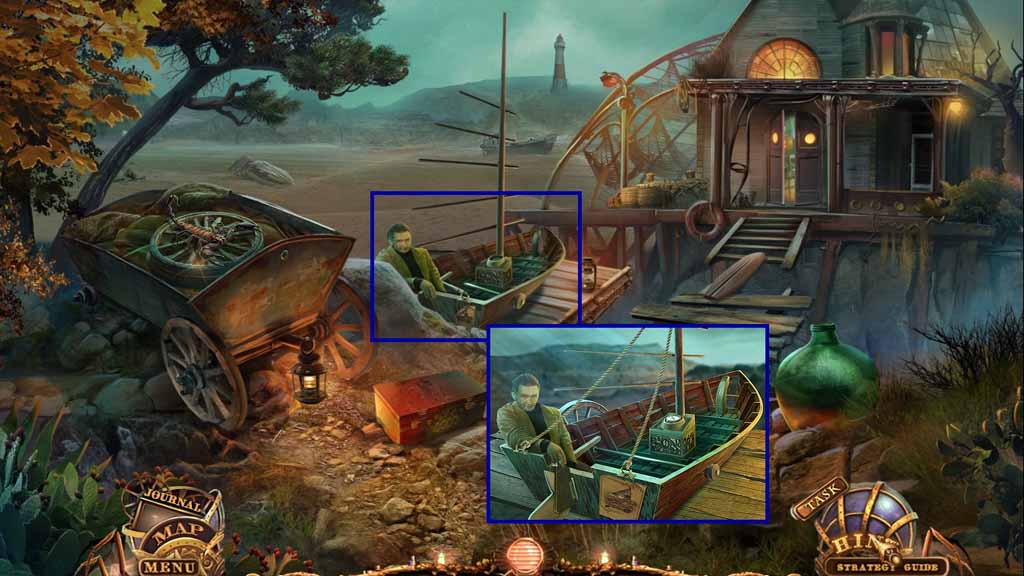
- Attach the fish tail, the axle, the rope and the compass onto the boat.
- Move ahead.
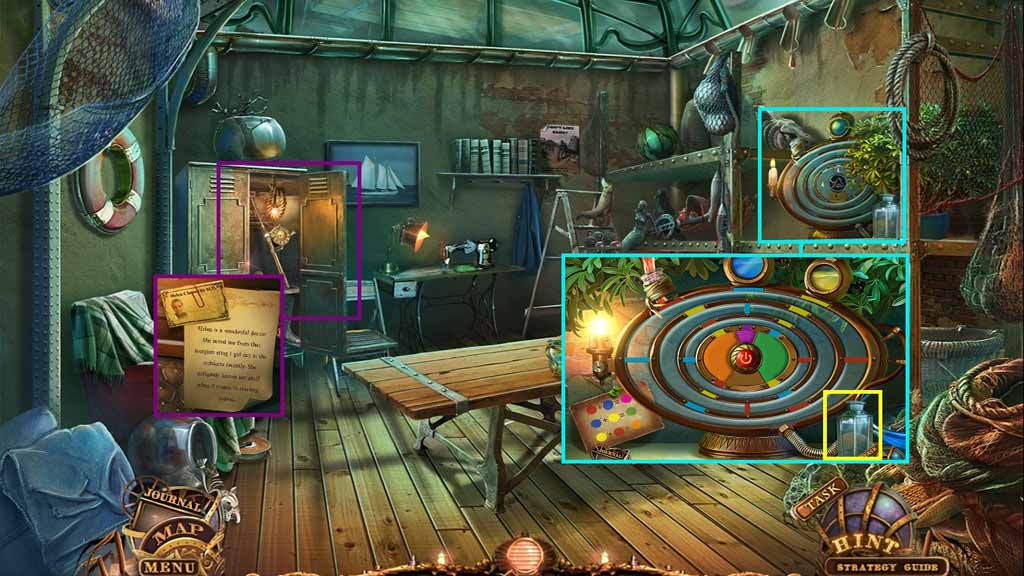
- Read the note.
- Attach the button onto the device to trigger a mini-game.
- Solve the game by mixing the correct colors.
- Click the button and collect the bottle with water.
- Move down once.
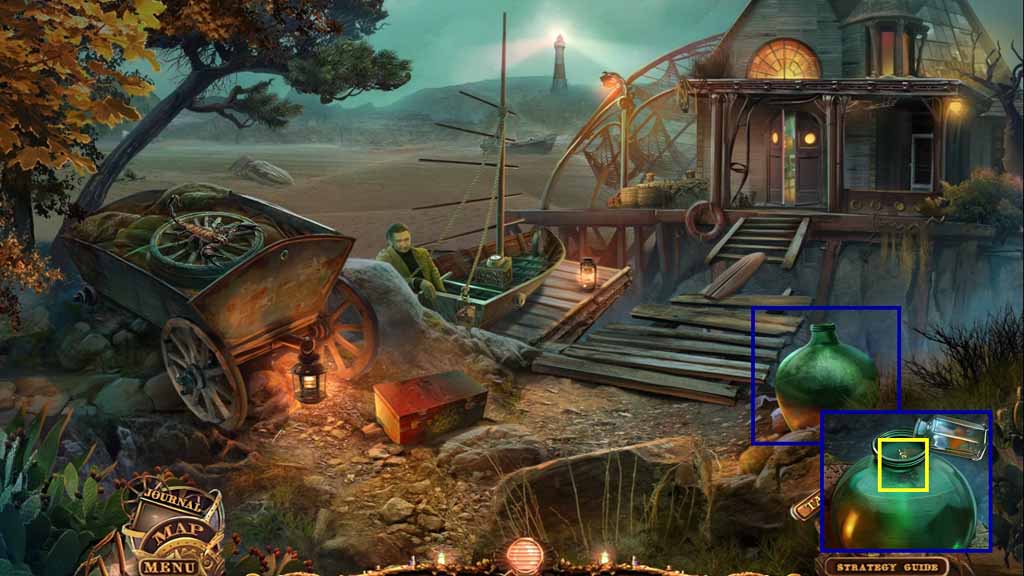
- Pour the bottle with water into the container; collect the lure.
- Move ahead.
- Place the lure onto the fishing rod; collect the fishing rod.
- Move down 2 times.
- Toss the fishing rod toward the boot; collect the sandpaper and the trouser leg.
- Move to the left.

- Select the sandpaper to use on the plate and expose the code.
- Move to the fishing Wharf.
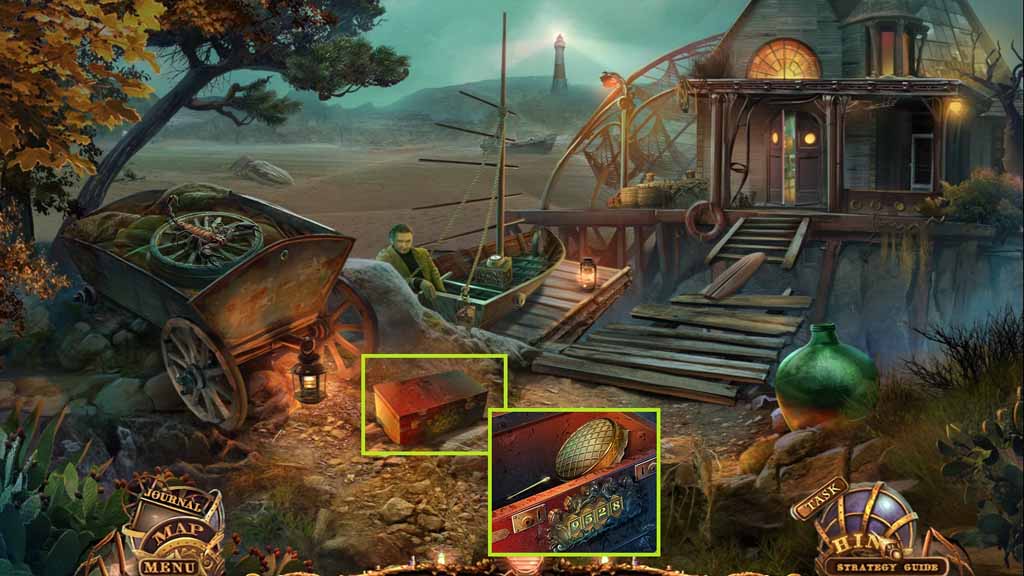
- Use the code to open the box.
- Collect the needle and the jar cover.
- Move ahead.
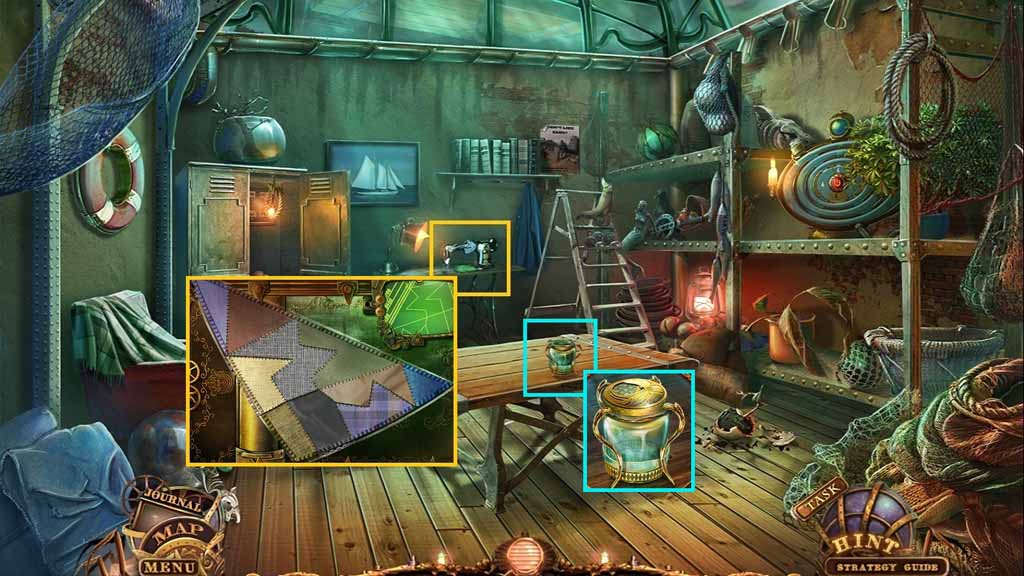
- Place the needle and the clamp into the sewing machine.
- Place the trouser leg and the shirt onto the machine to trigger a mini-game.
- Solve the game by sewing the pieces of the sail together; collect the sail.
- Place the jar cover and jar clamp onto the bottle.
- Collect the bottle for poison.
- Move down once.
- Place the bottle for poison next to the scorpion; collect the bottle with poison.
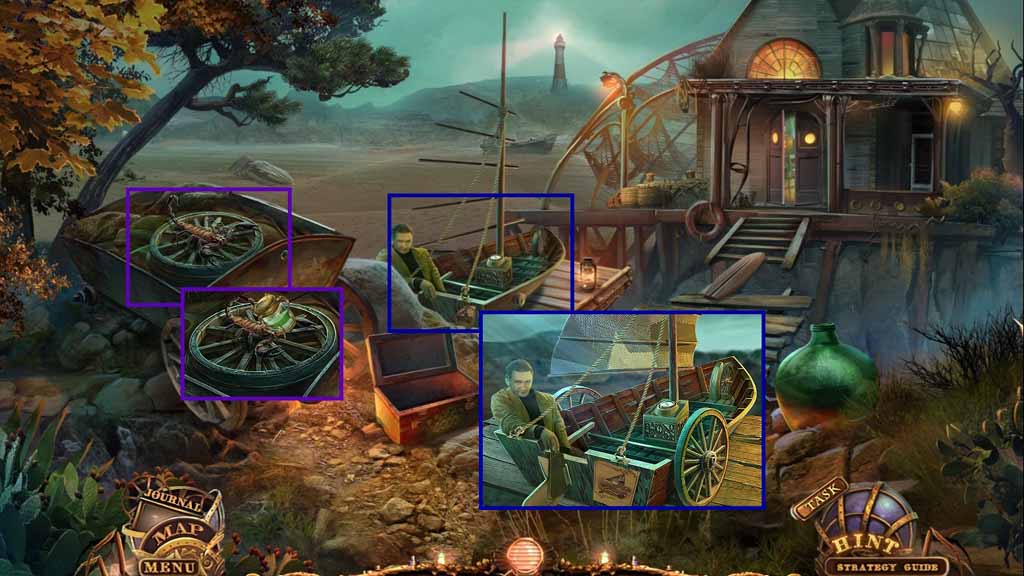
- Collect 2 / 2 wheels.
- Attach the 2 wheels and the sail onto the boat.
- Click the compass.
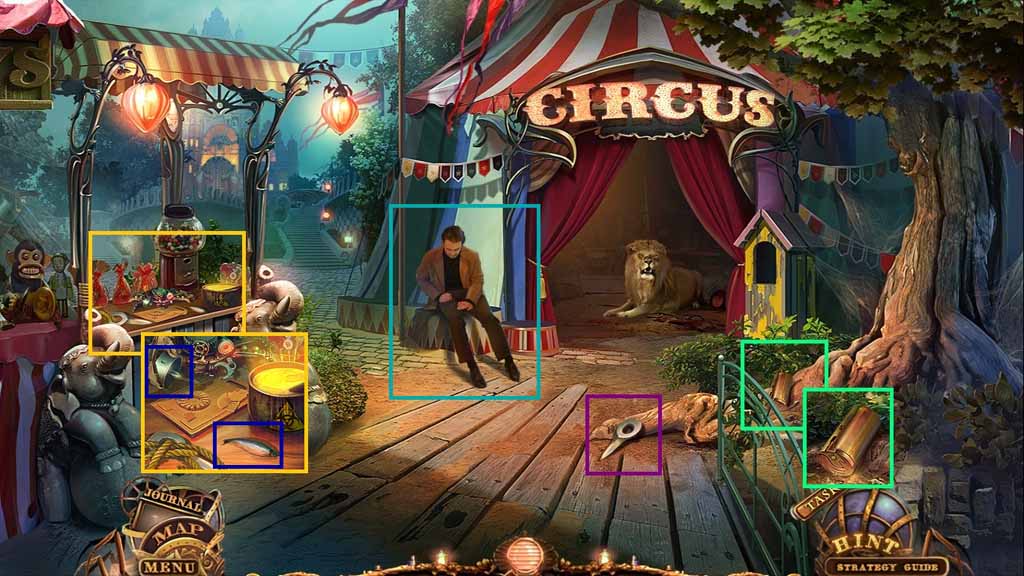
- Collect 1 / 3 climbing spikes.
- Collect the coffee-machine blade and the herring.
- Collect the cylinder.
- Speak to your uncle.
- Move ahead.
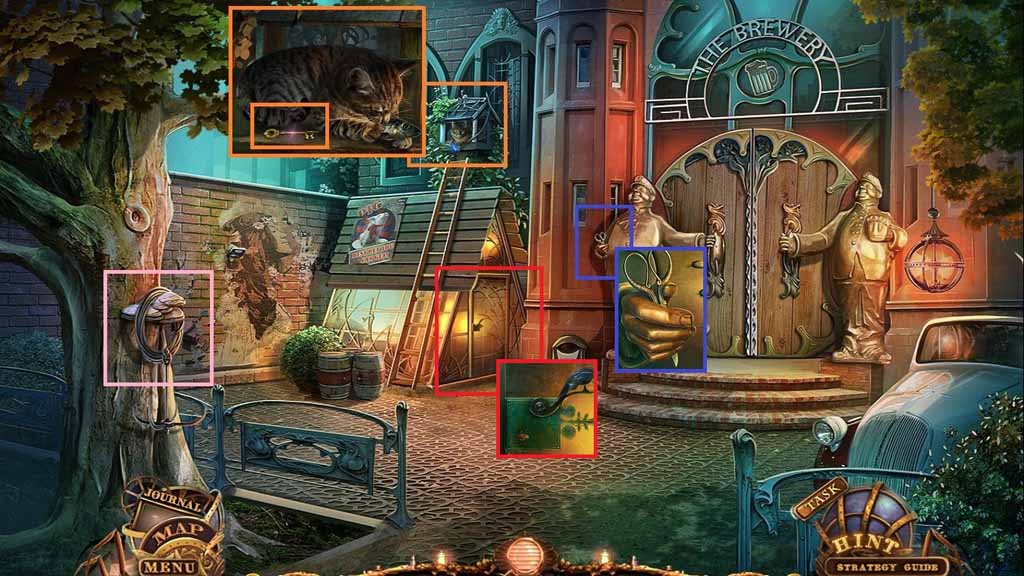
- Collect the grappling hook.
- Give the cat the herring; collect the shed key.
- Collect the scissors.
- Place the shed key into the lock and click it to access a hidden objects area.

- Find the listed items.
- Select the bottle and place it under the wine barrel (click the tap); insert the cork and attach the label and collect the wine bottle.
- Click the bird cage and collect the oak leaf.
- Collect 2 / 3 climbing spikes.
- Move down once.

- Use the analyzer to collect the treacle.
- Use the scissors to cut the rope and collect 3 / 3 climbing spikes.
- Move ahead.
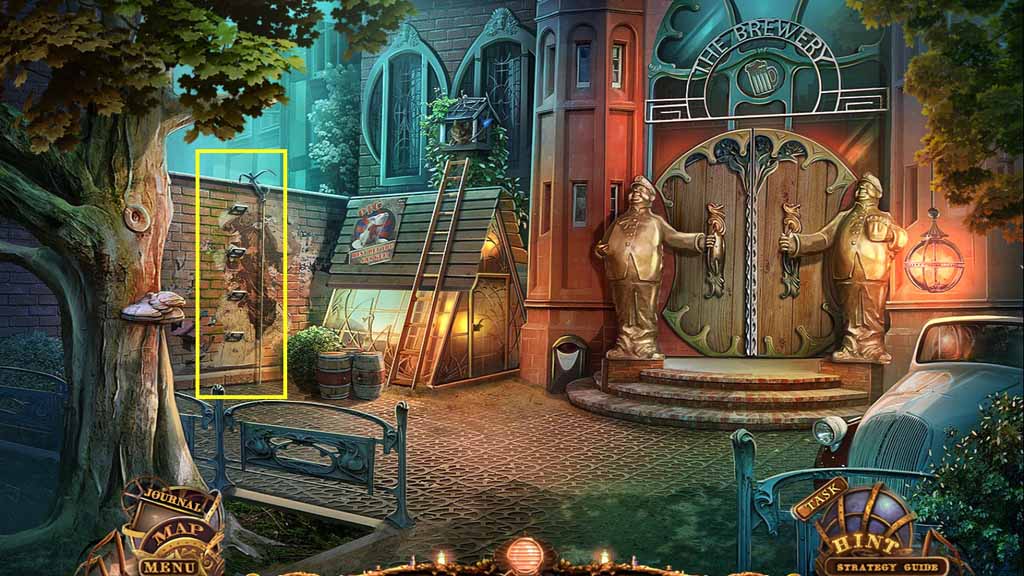
- Attach the 3 climbing spikes and the grappling hook onto the wall.
- Move up the wall and move to Sam’s Room.
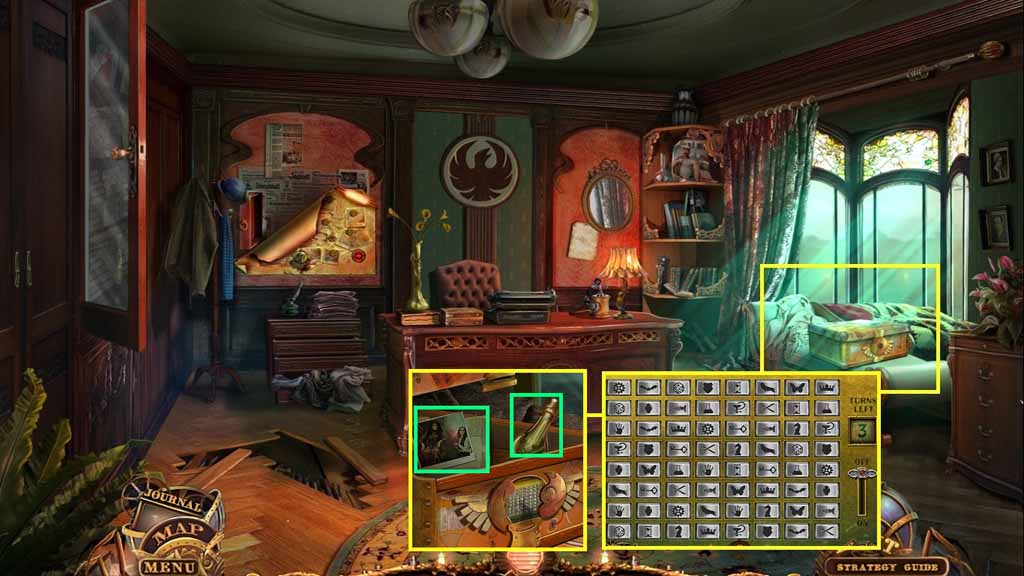
- Place the cylinder into the slot to trigger a mini-game.
- Solve the game by selecting matching icons in the same horizontal or vertical rows.
- Examine the photo; collect the glass bulb.
- Move to the Crossroads.

- Place the glass bulb into the niche.
- Move to the left.