
Unfinished Tales: Illicit Love: Chapter Four: At the Crossroads
Our Unfinished Tales Illicit Love Walkthrough is the perfect guide to help escort you through Thumbelina's adventures across the Floral Kingdom as she searches for a way to rescue her prince and stop the evil Raven Queen from marrying the man of her dreams! No CGG guide would be complete without our helpful step-by-step game instructions, custom screenshots, and solutions to each and every puzzle you'll encounter while playing Unfinished Tales Illicit Love. So whether you're stuck on a single puzzle or you just want the comfort of having a ready resource available, we hope you enjoy our Unfinished Tales Illicit Love Walkthrough.
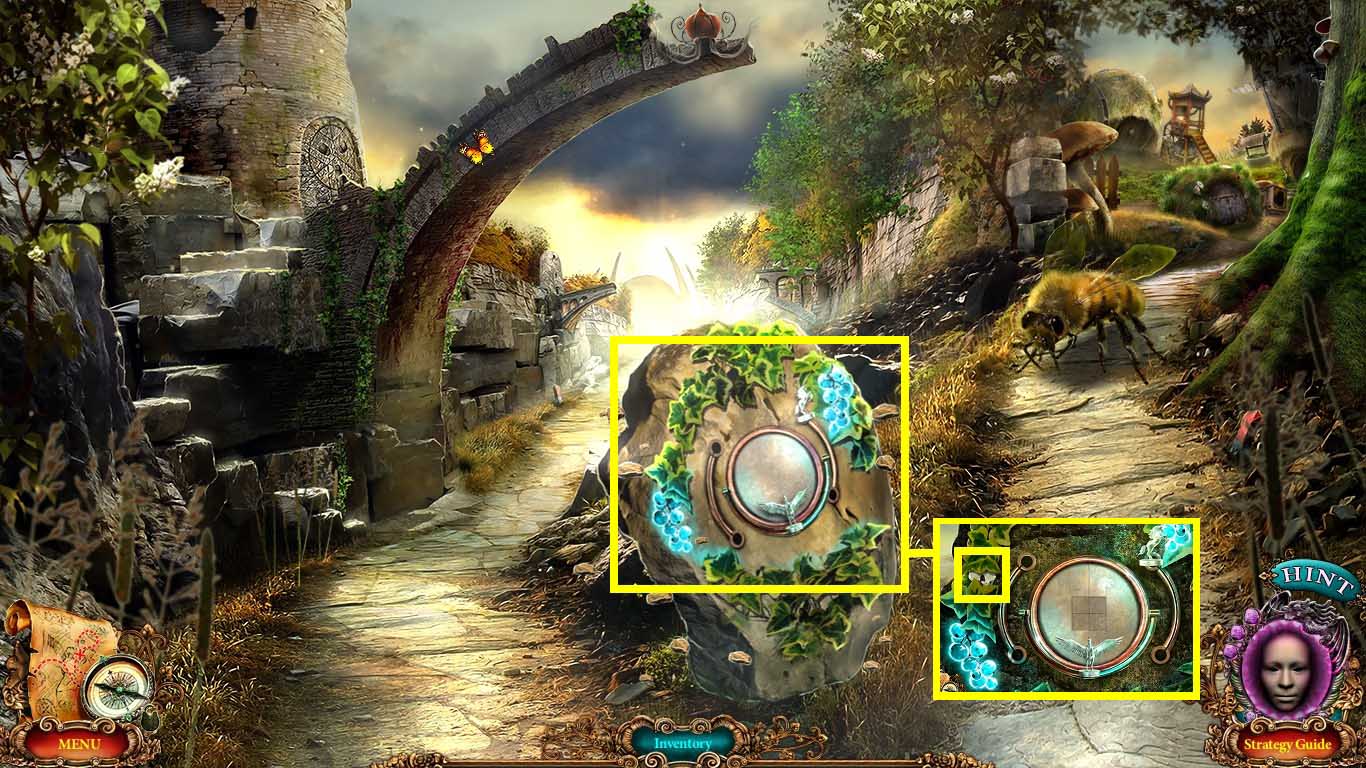
- Zoom into the stone.
- Collect the Cyclops skull.
- Move forward.
- Click anywhere to activate the cut scene.

- Zoom into the sentinel.
- Collect the sword.
- Zoom into the banner; use the sword on it.
- Collect the small key.
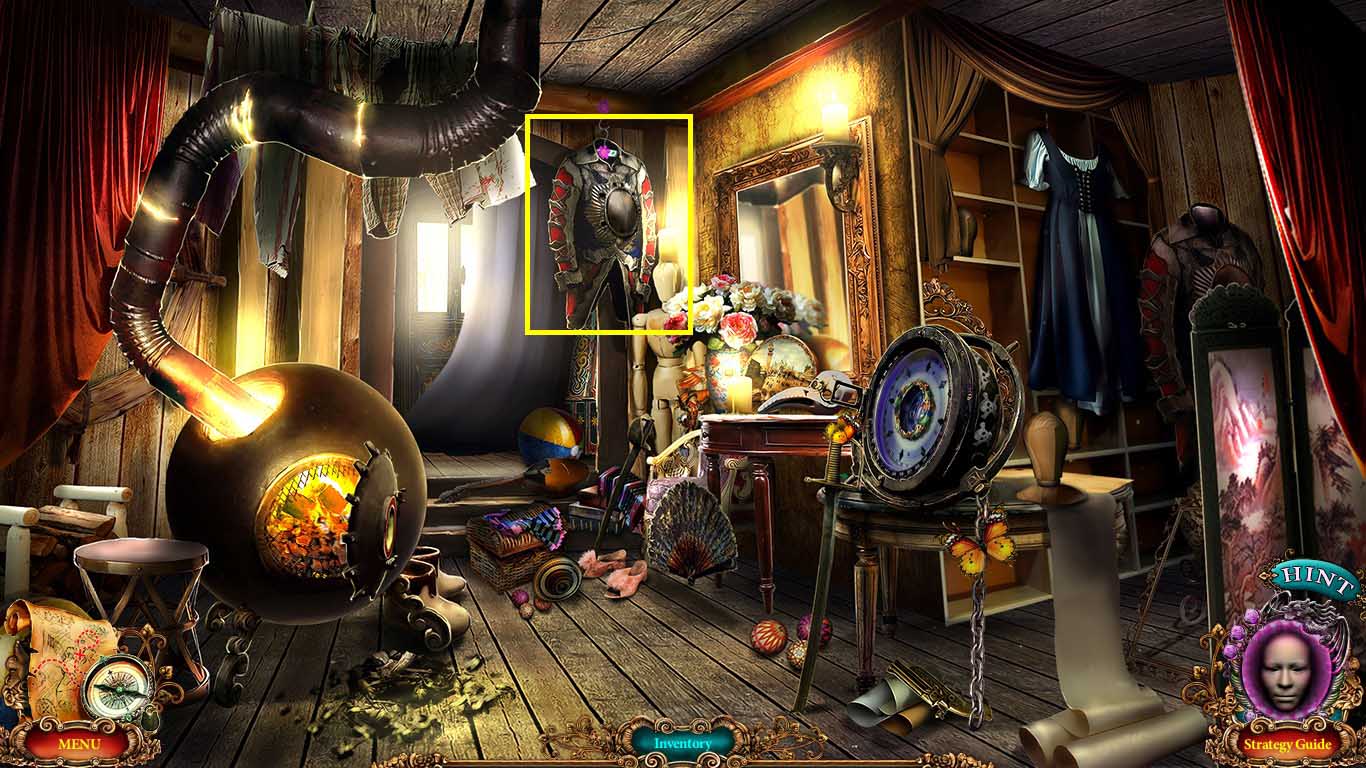
- Zoom into the dummy.
- Give the sword to him.
- A puzzle will trigger.
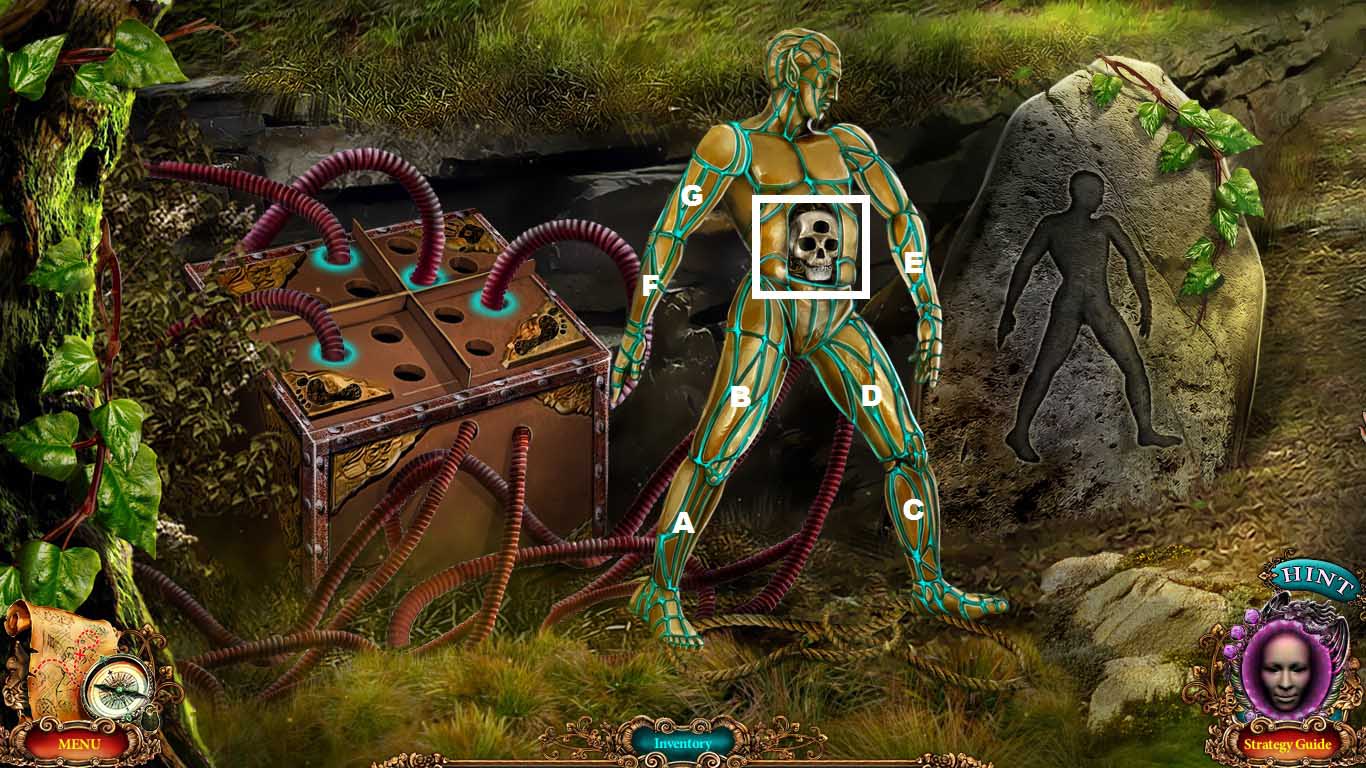
- Set the steam.
- Move the dummy’s limbs according to the stone diagram.
- Set the steam by moving the hoses to the marked holes.
-
Follow this pattern the set the limbs:
- A: 1x
- F: 2 xs’s
- C: 1x
- E: 1x
- G: 1x
- B: 1x
- D: 1x
- Collect the three eyed skull.
- Go back one scene.
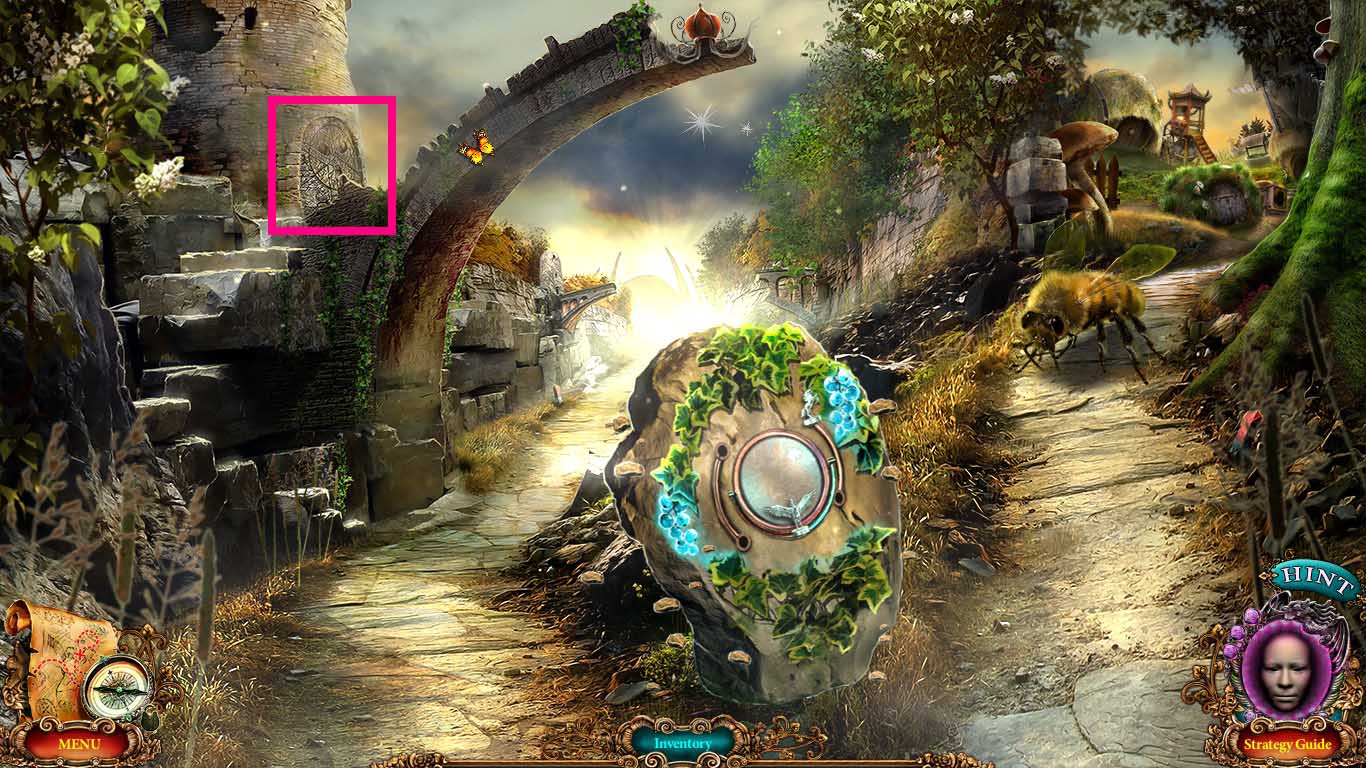
- Zoom into the tower door; insert the 3 skulls into the groove.
- Go into the destroyed tower.
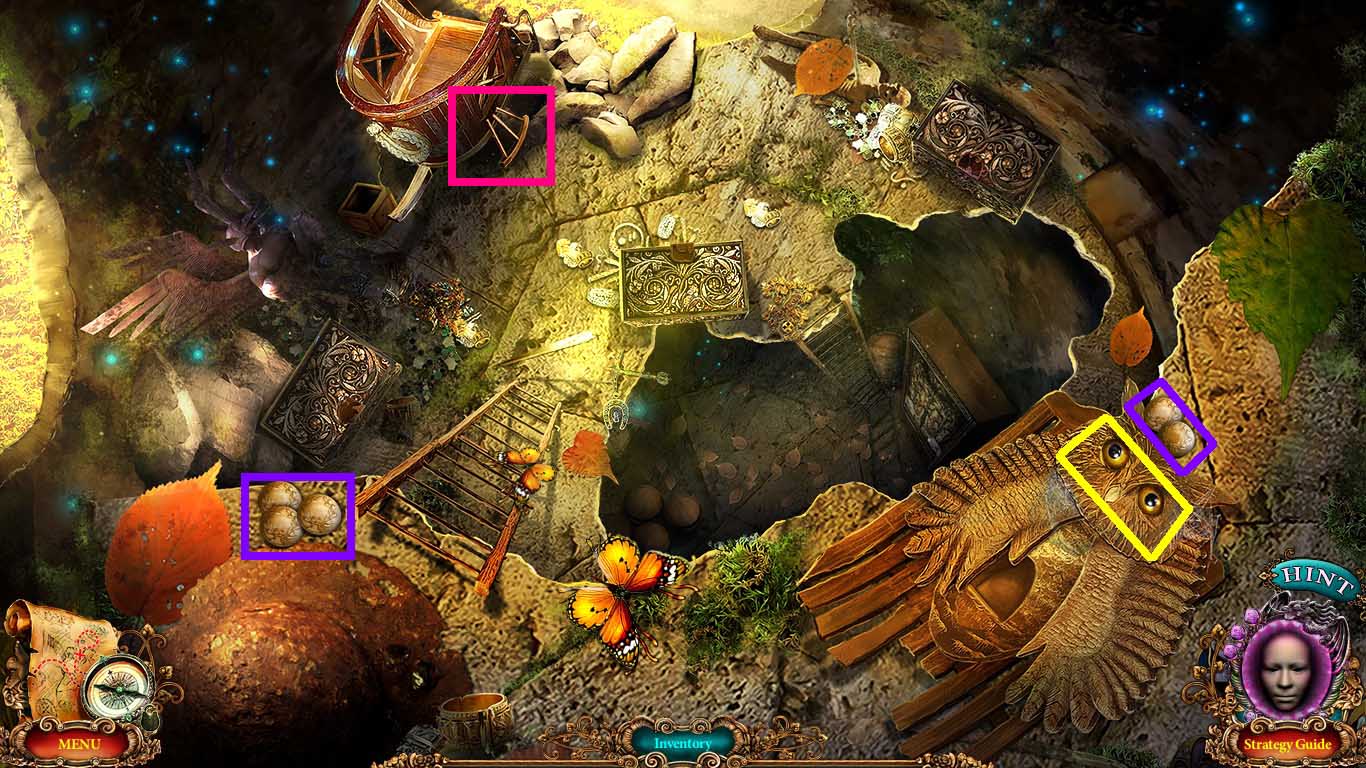
- Zoom into the owl.
- Collect the 2 eyes.
- Collect the coins 1 / 50 and 2 / 50, 3 / 50, 4 /50, 5 / 50.
- Zoom into the carriage; collect the wheel part 1 / 2.
- Go to the main tent.

- Zoom into the chair.
- Insert the 2 eyes onto the owl.
- Collect the carrot key.
- Go to the turtle ship.
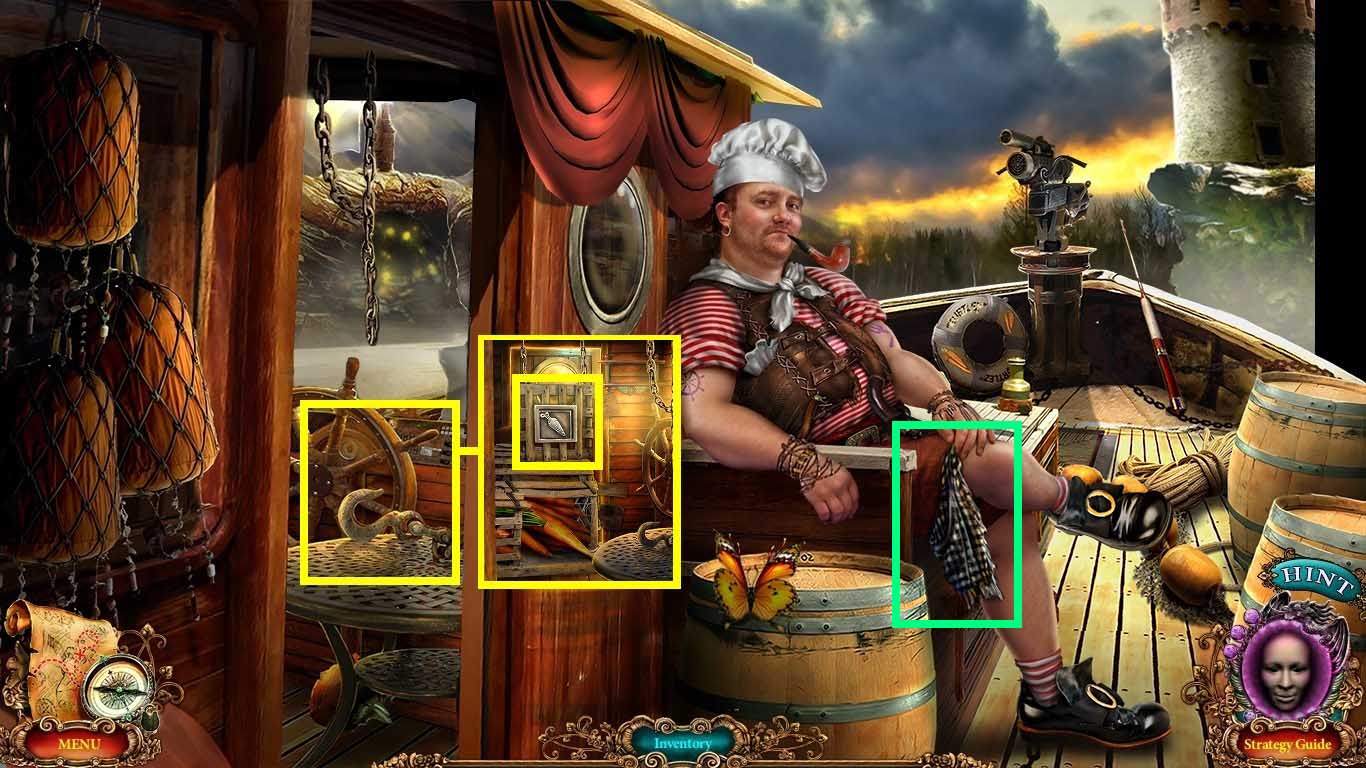
- Zoom into the doorway.
- Put the carrot key onto the crate.
- Click the crate; collect the carrot.
- Click the pirate; collect the neck tie.
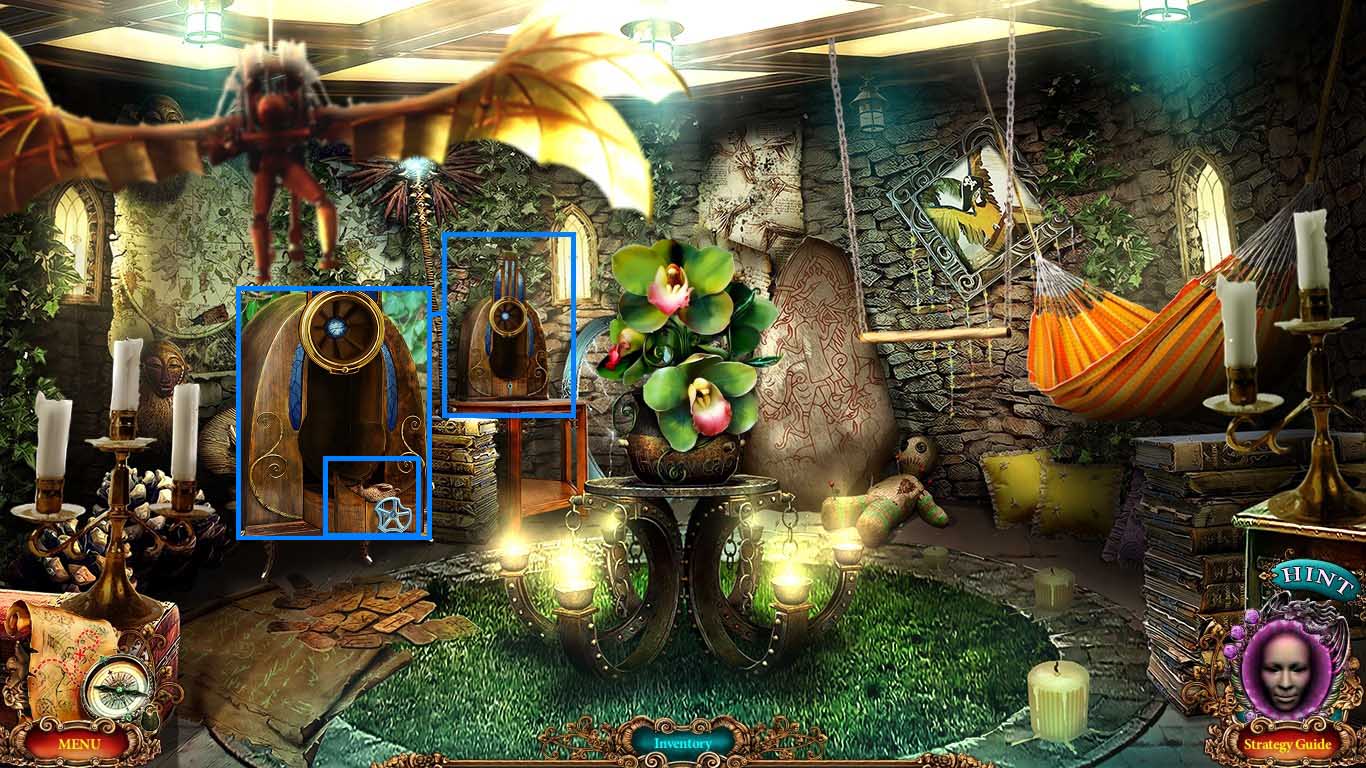
- Go to the wizard’s lab.
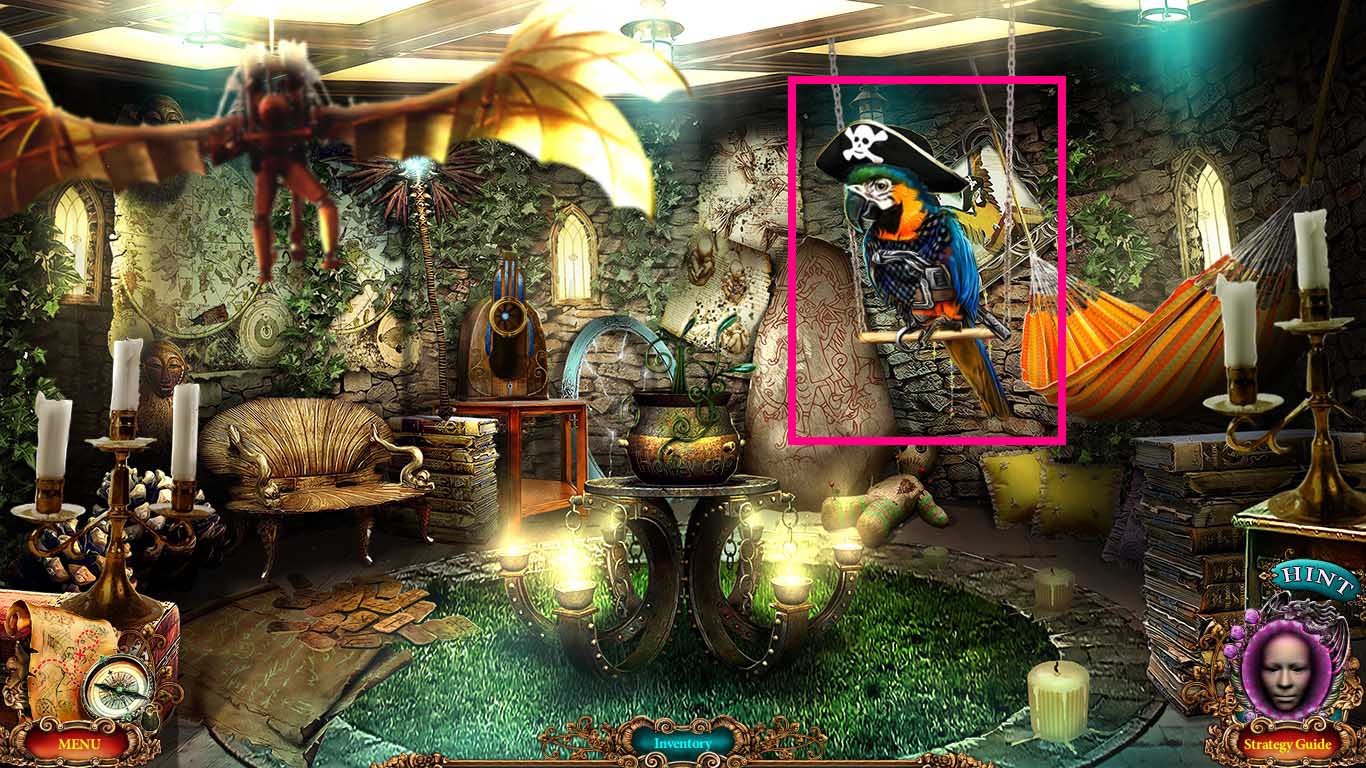
- Zoom into the parrot.
- Put the necktie onto it; collect the parrot.
- Go to the turtle ship.

- Give the pirate the parrot.
- Collect the mug.
- Zoom into the fishing rod and put the carrot onto the hook.
- Go to the grotto.
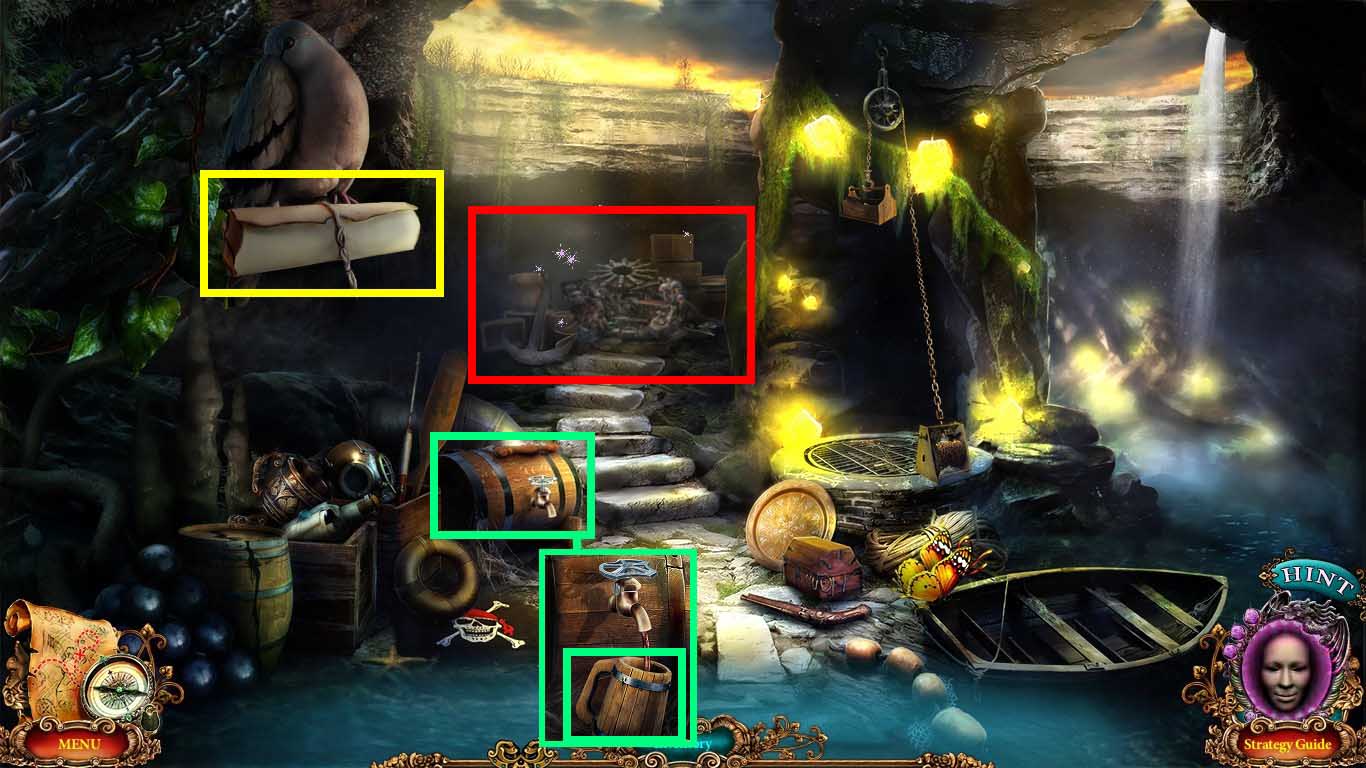
- Zoom into the barrel; place the mug under the tap.
- Click the tap and collect the mug of rum.
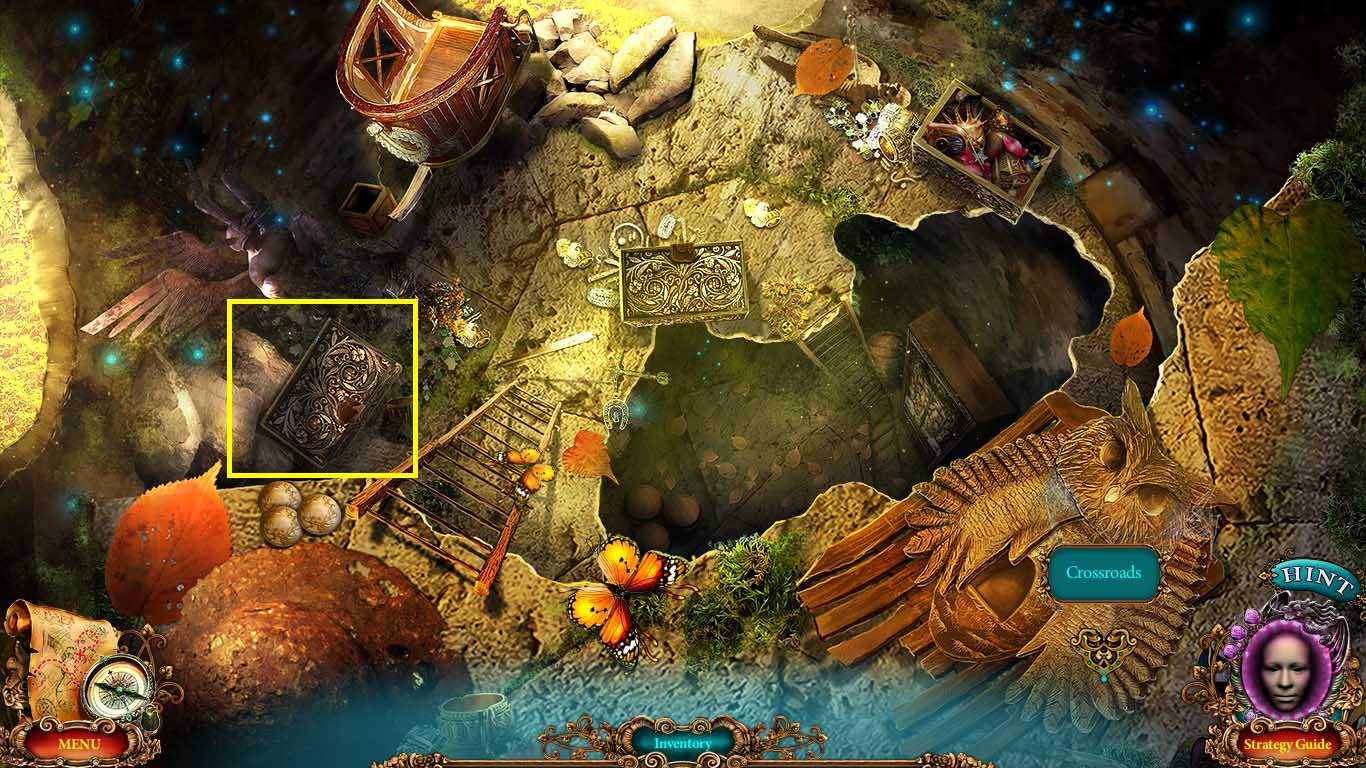
- Click the scroll.
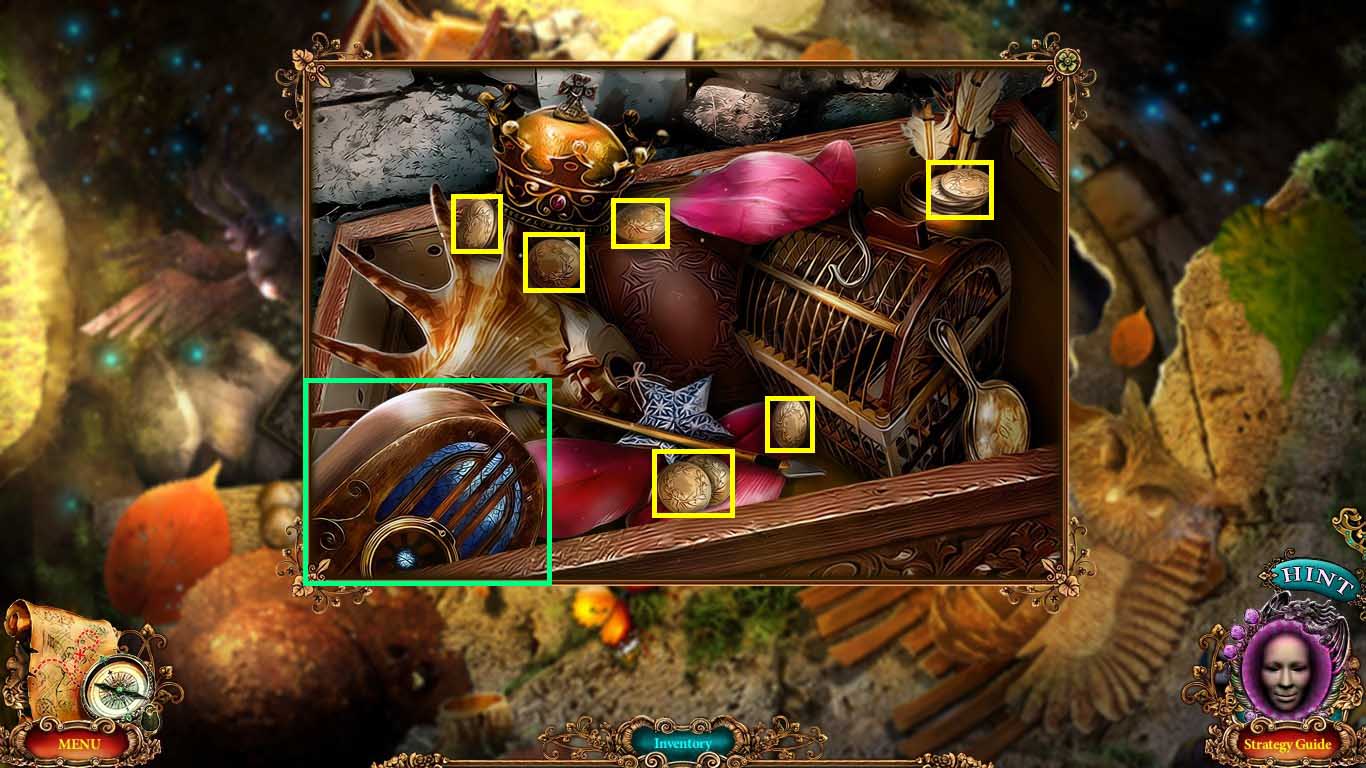
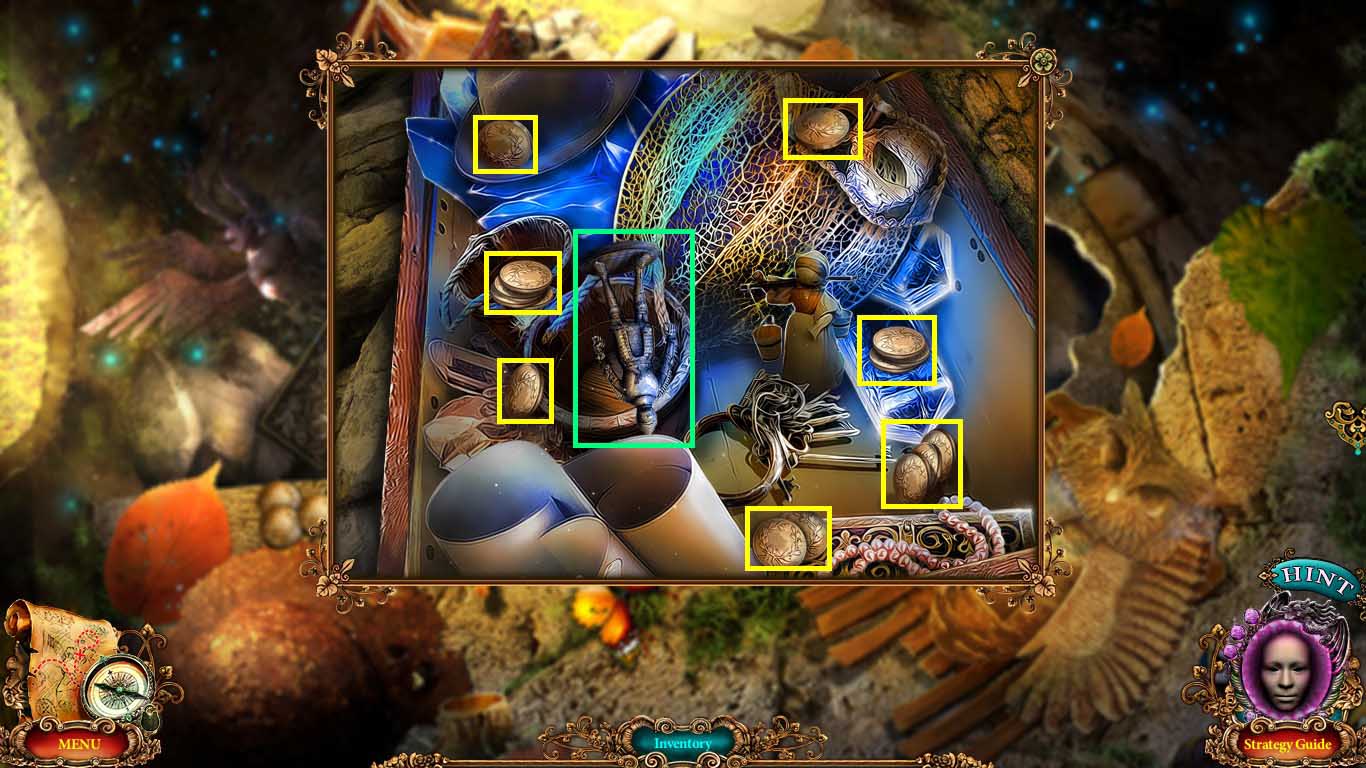
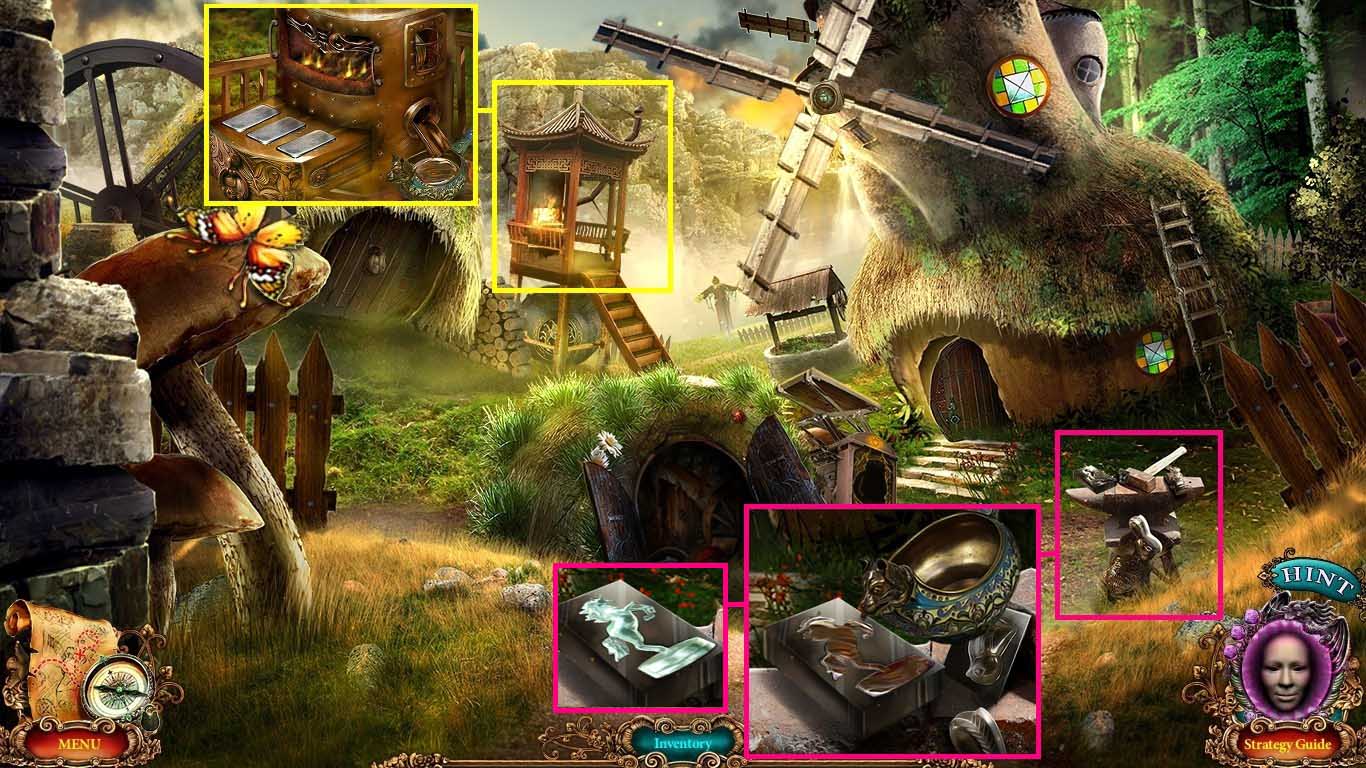
- Zoom into the top of the stairs to access the hidden objects area.
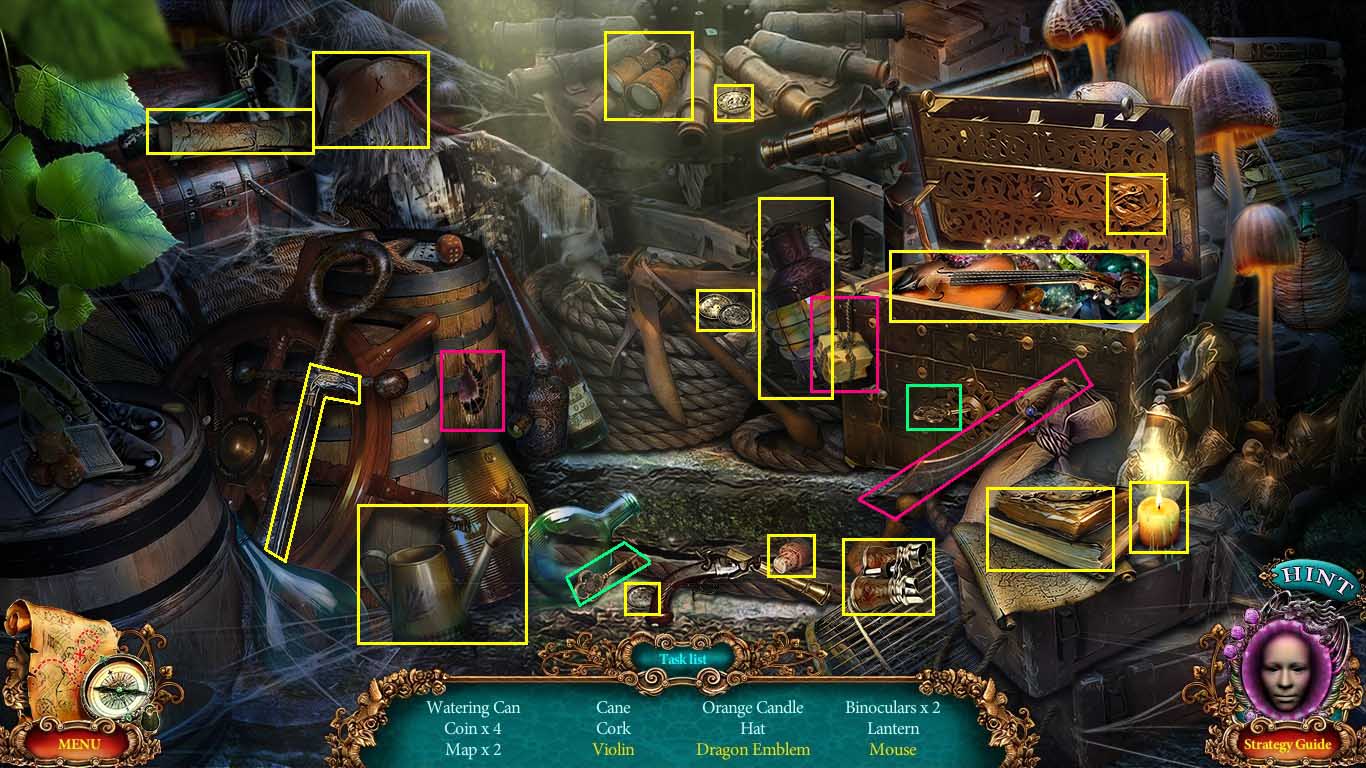
- Find the listed items.
- Use the keys to open the trunk; get the dragon emblem and violin.
- Use the saber on the rope to get the mouse.
- Collect the full watering can.
- Go to the wizard’s lab.
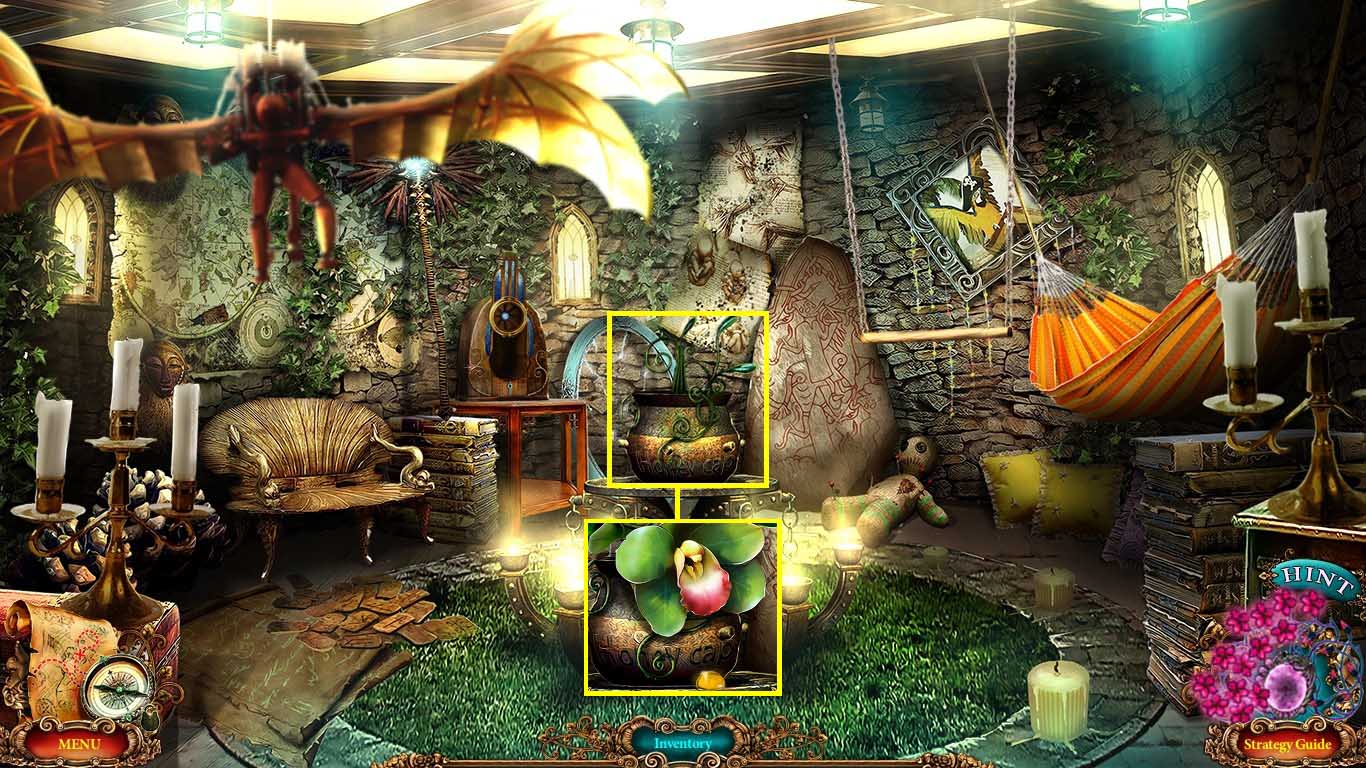
- Zoom into the plant; use the watering can on it.
- Click the flower and collect the nectar.
- Go to the turtle ship.
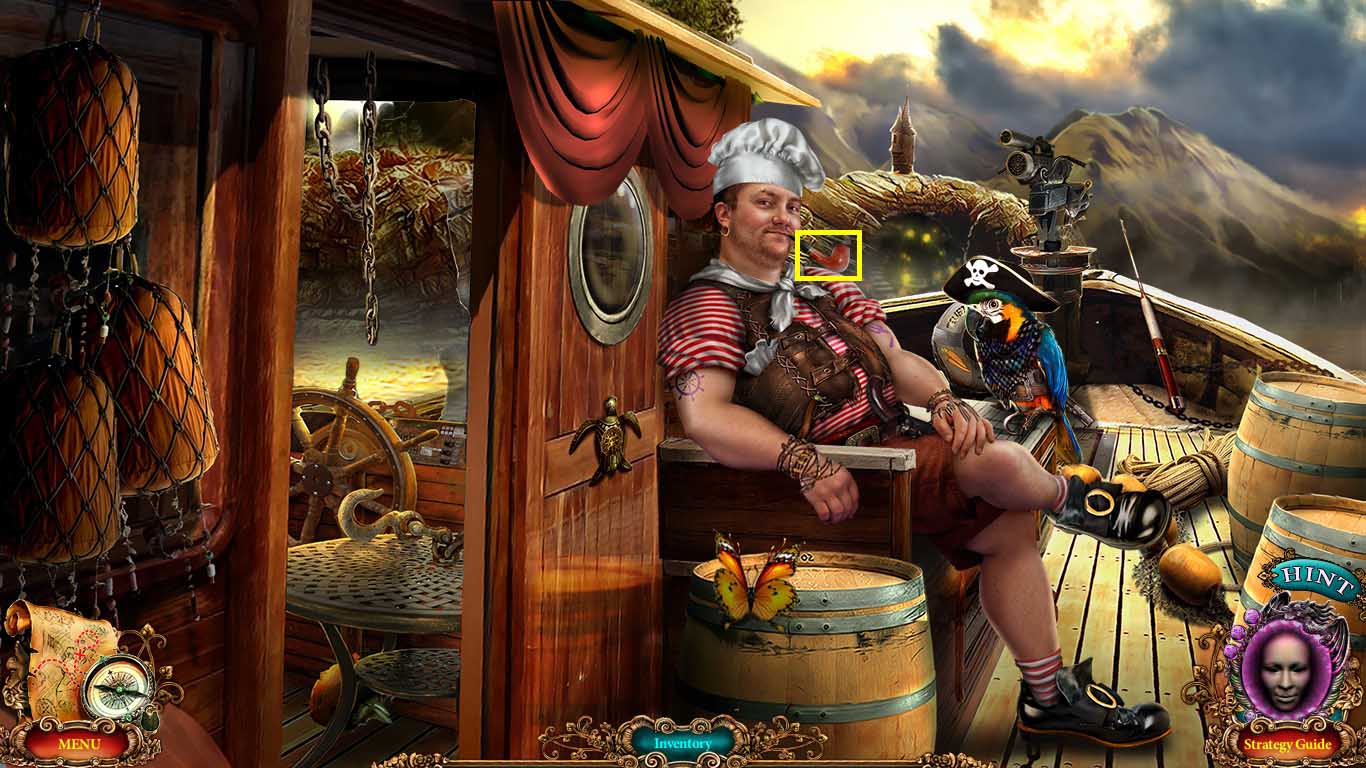
- Hand the pirate the mug of rum; collect a tobacco pipe.
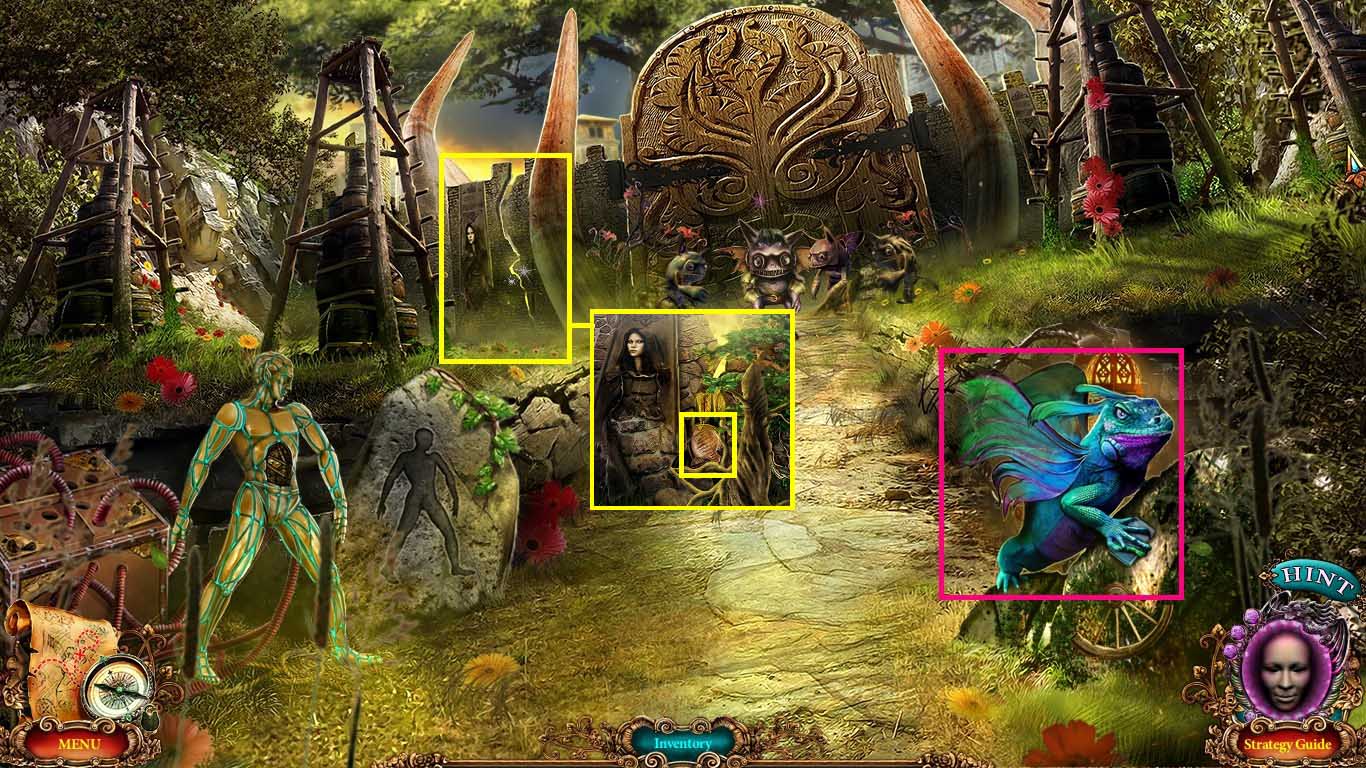
- Go to the crossroads.
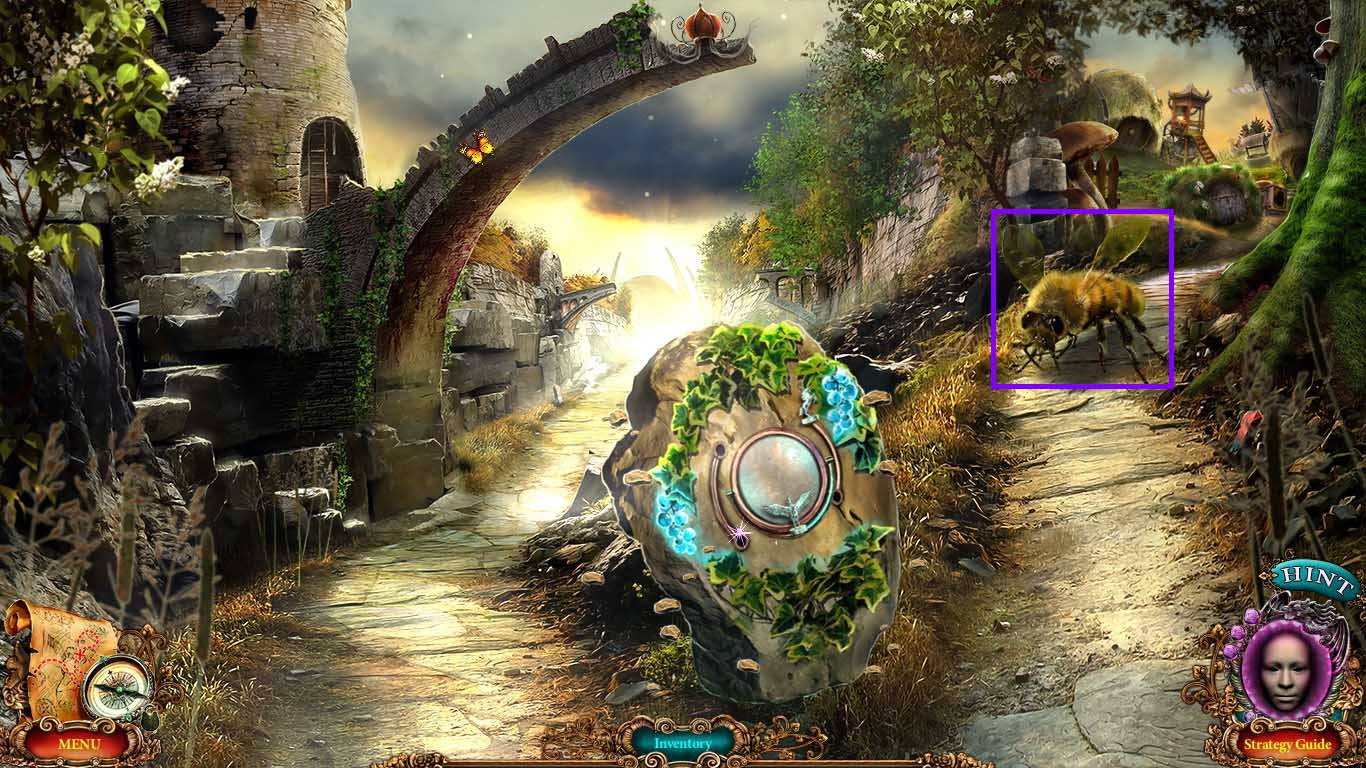
- Give the bee the nectar.
- Go up the path to the farmstead.
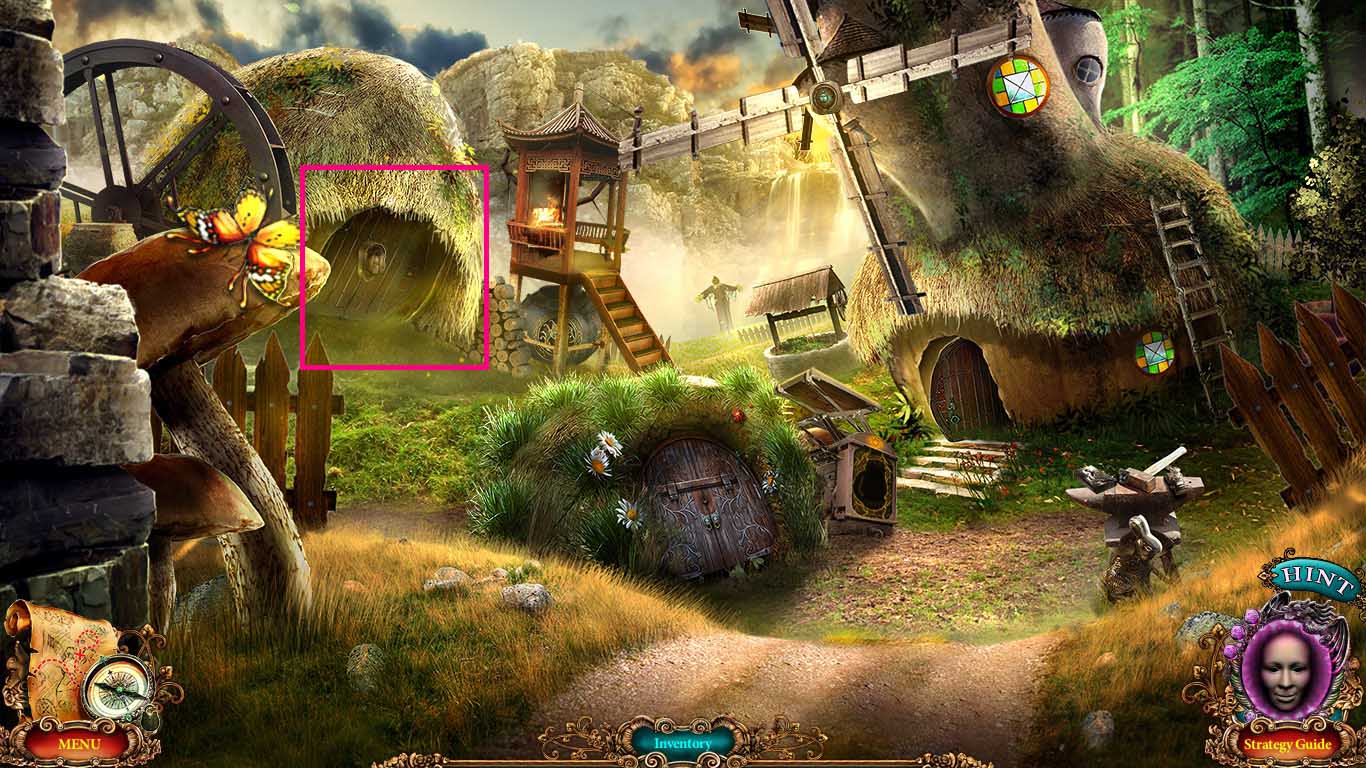
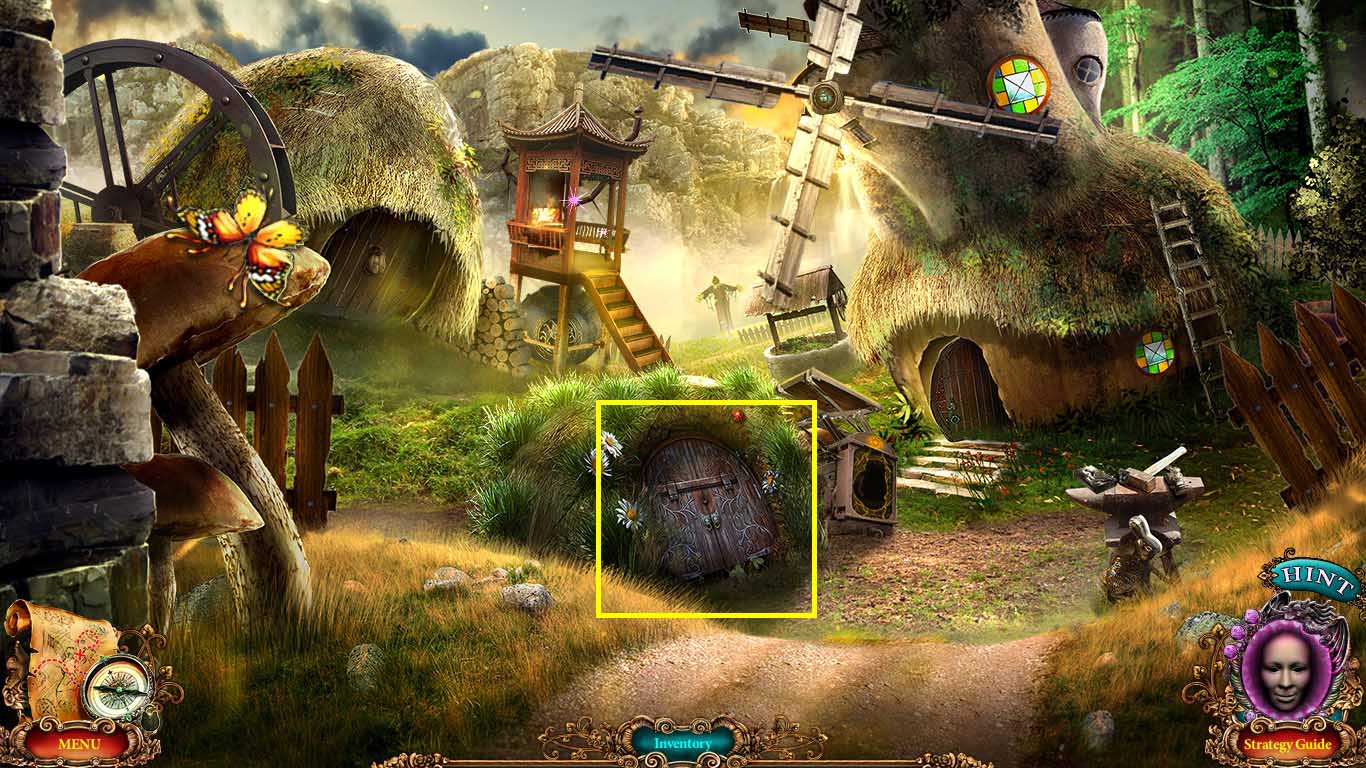
- Zoom into the hut door.
- Collect the rubber belt.
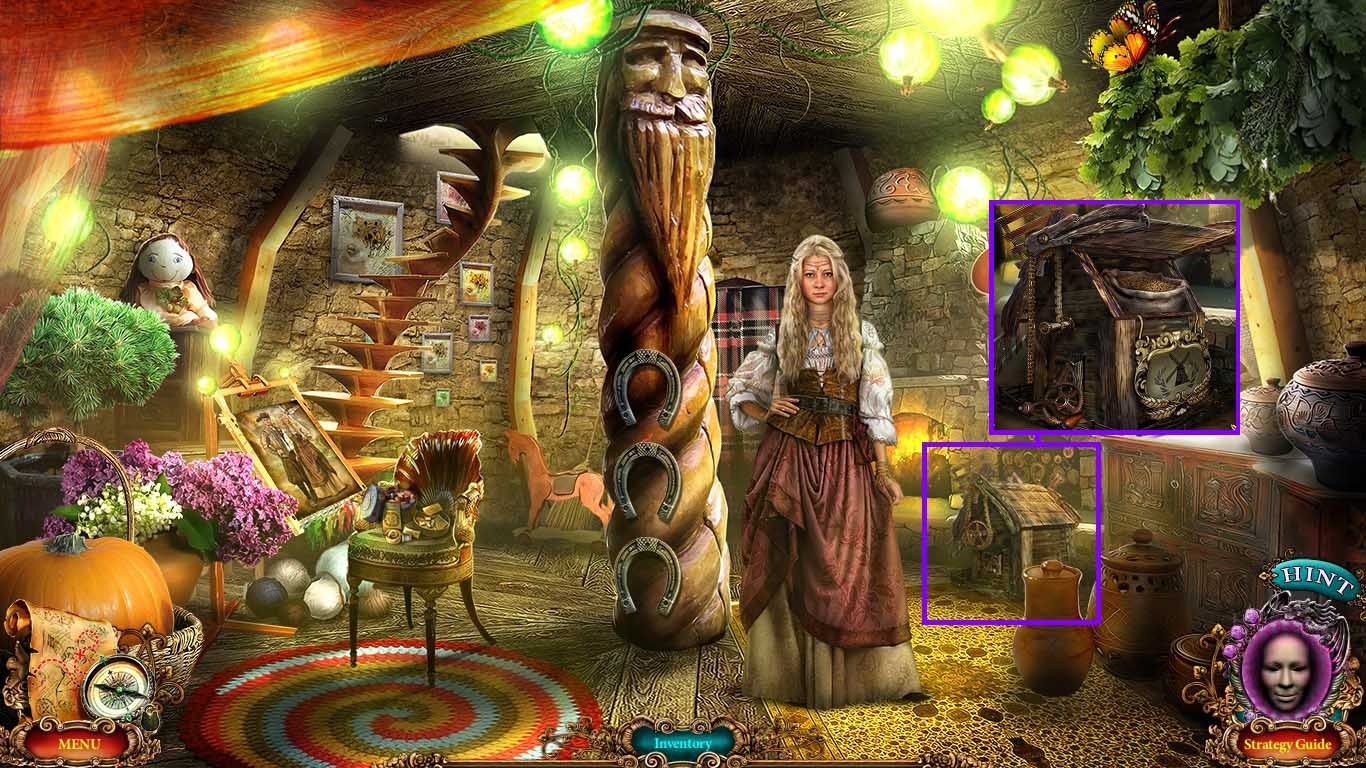
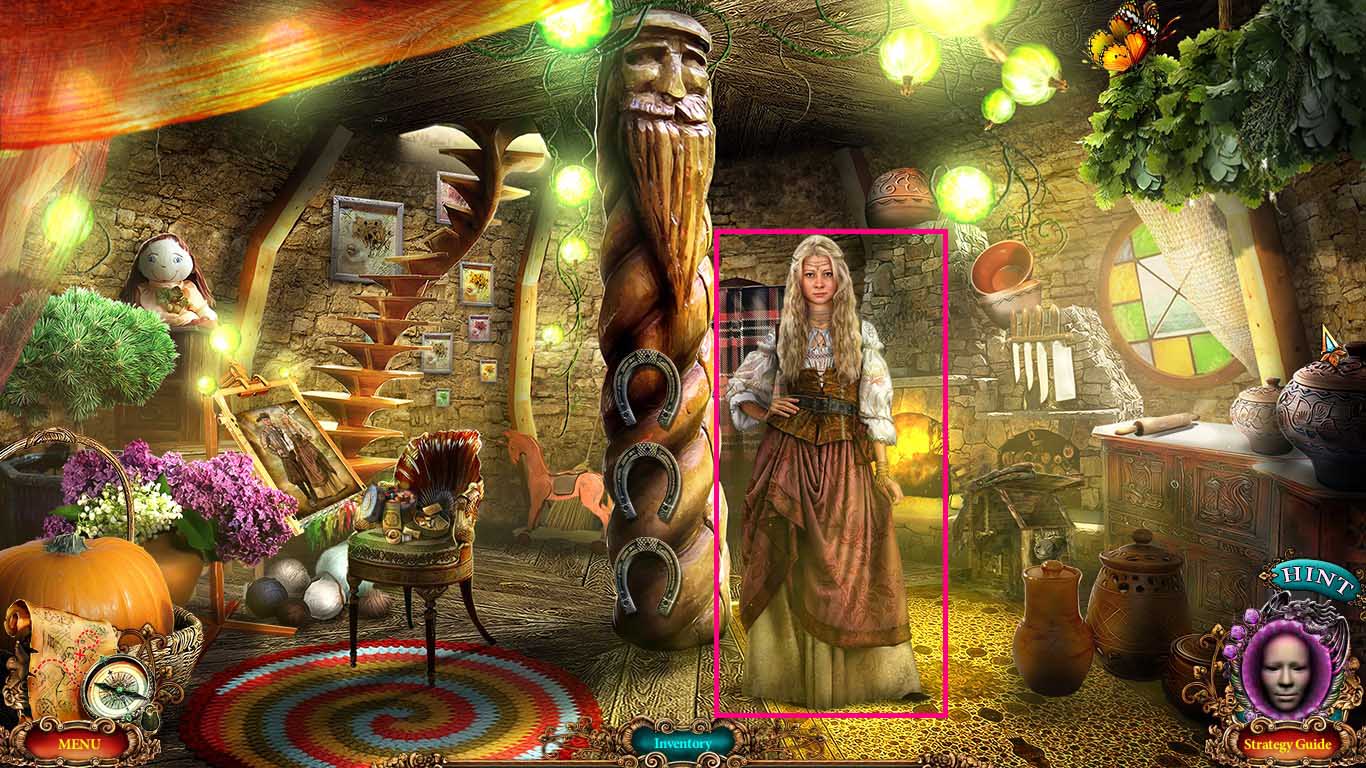
- Go into the farmhouse on the right.
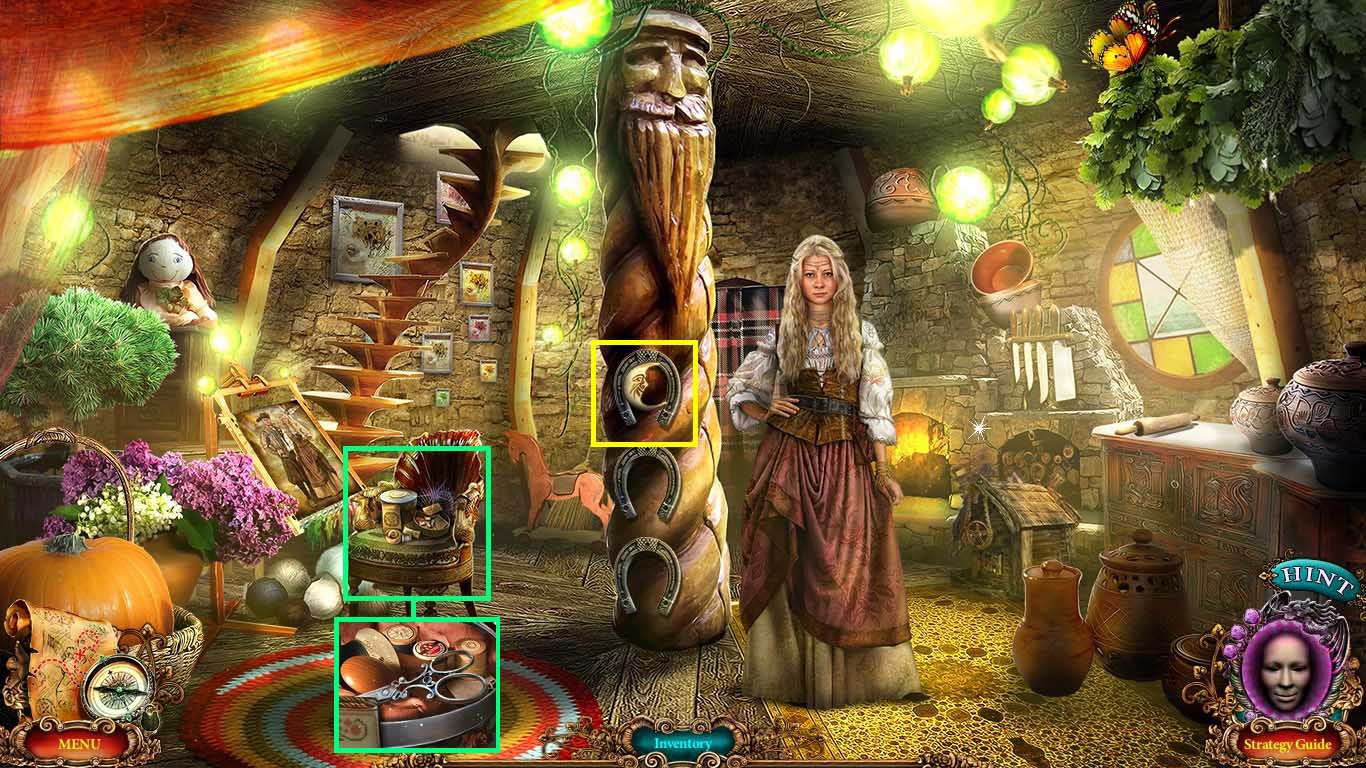
- Click Mary.
- Collect the moon sign.
- Zoom into the chair; use the small key on the box.
- Click the key two times and collect the scissors.
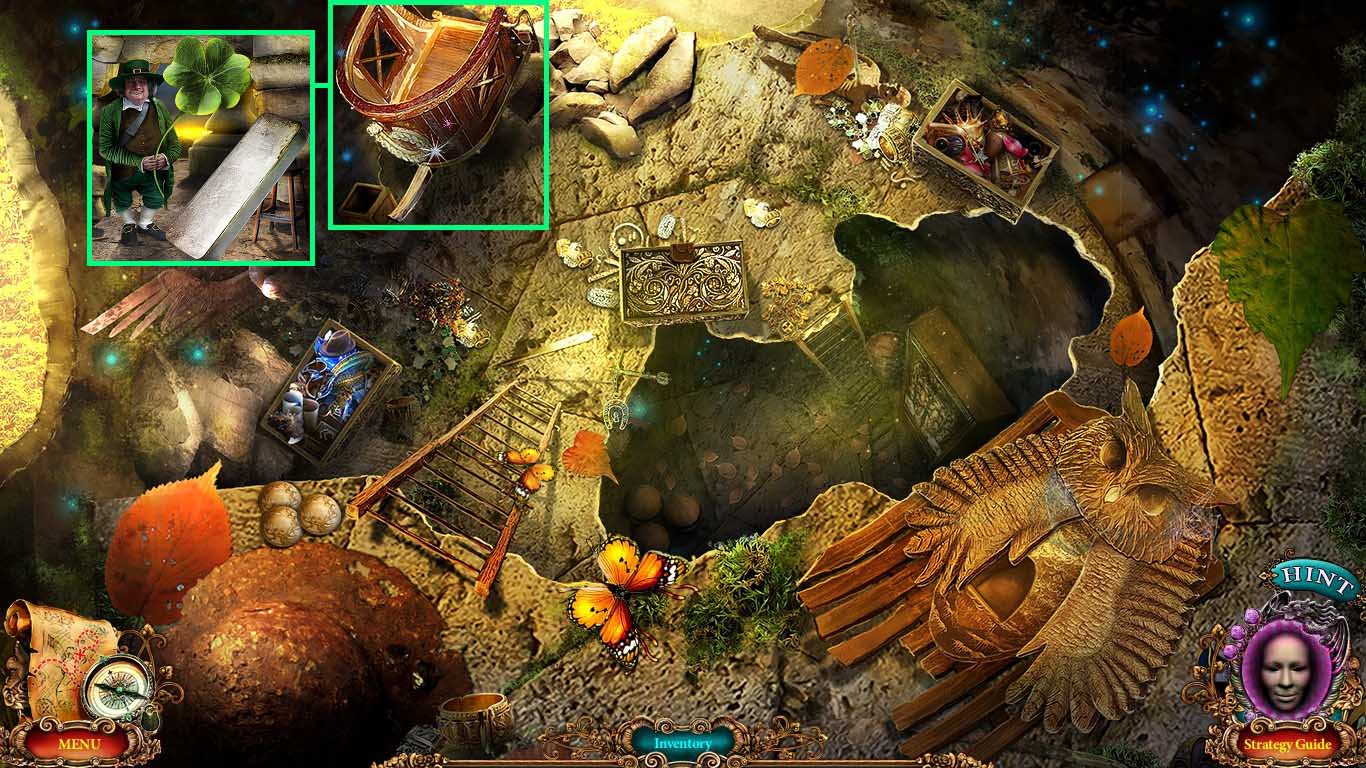
- Move up the staircase and go to the farmhouse attic.
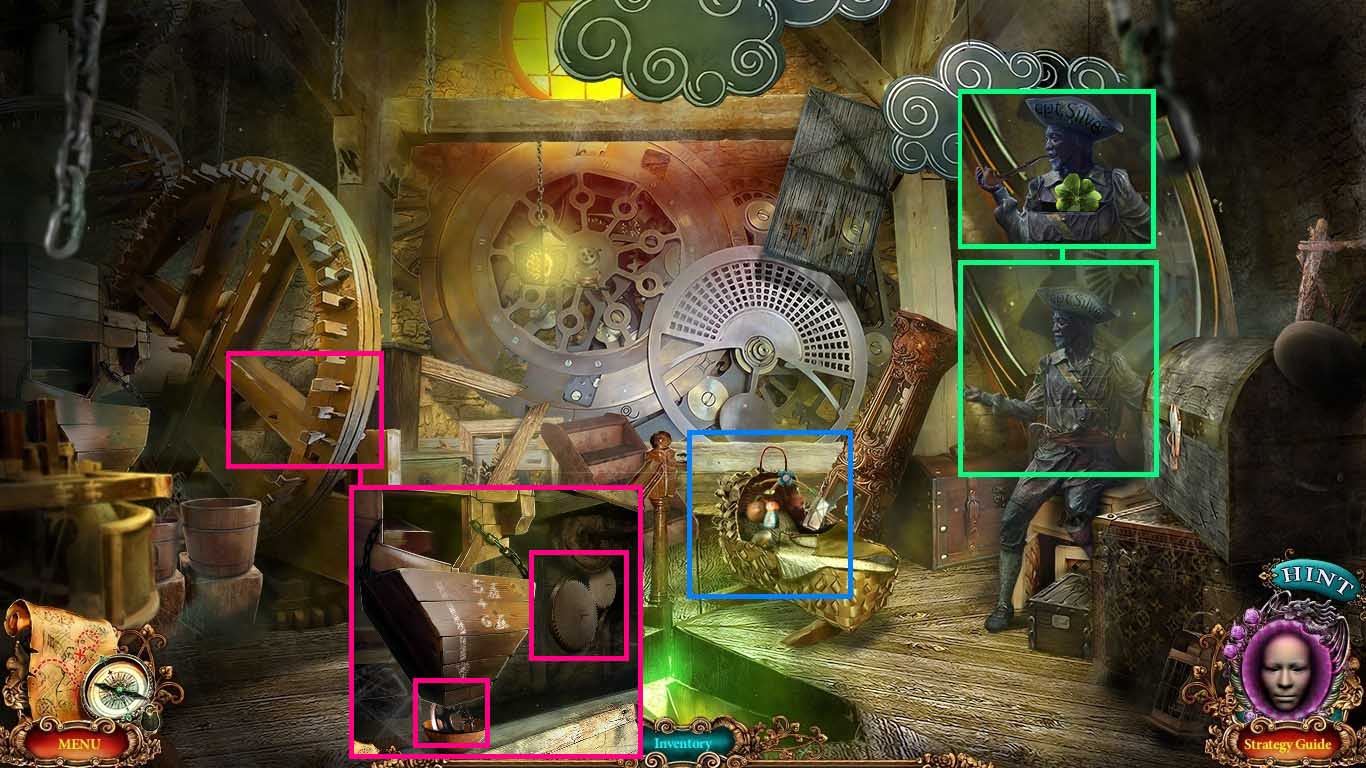
- Zoom into the pirate; put the tobacco pipe in his hand.
- Collect the clover.
- Zoom into the mill.
- Put the rubber belt on it.
- Collect the handle.
- Zoom into the cradle.
- Cut the strings with the scissors.
- Collect the silver bar 1 / 3.
- Go to the grotto.

- Zoom into the pulley; put the handle onto it.
- Click the handle and collect the screwdriver.
- Zoom into the barrel; use the screwdriver on the screws.
- Collect the valve.
- Go to the wizard’s lab.
- Zoom into the case.
- Put the valve into the hole.
- Click the valve and collect the bird symbol.
- Go to the destroyed tower.
- Zoom into the chest on the right.
- Insert the bird symbol into the chest.
- Collect the 10 coins.
- Insert the crystal ball into the case.
- Zoom into the opened chest; collect the windmill sign.
- Move to the farmhouse.
- Zoom into the small millhouse.
- Place the windmill sign onto the hooks.
- Put the handle on the gear; click it 3 times.
- Collect the grain sack and the cogwheel.
- Go to the farmhouse attic.

- Zoom into the mill.
- Put the sack of grain near the bin on the left for a puzzle to trigger.

- Place 6kg of grain into the 8kg bucket.
- Use the following pattern to solve the puzzle:
- (A, C) (C, B) (B, A) (C, B) (A, C) (C, B)
- Collect the flour.
- Go back one scene.
- Give Mary the flour.
- Collect the piece of pie.
- Go to the farmstead.
- Zoom into the cellar door; insert the cogwheel on it.
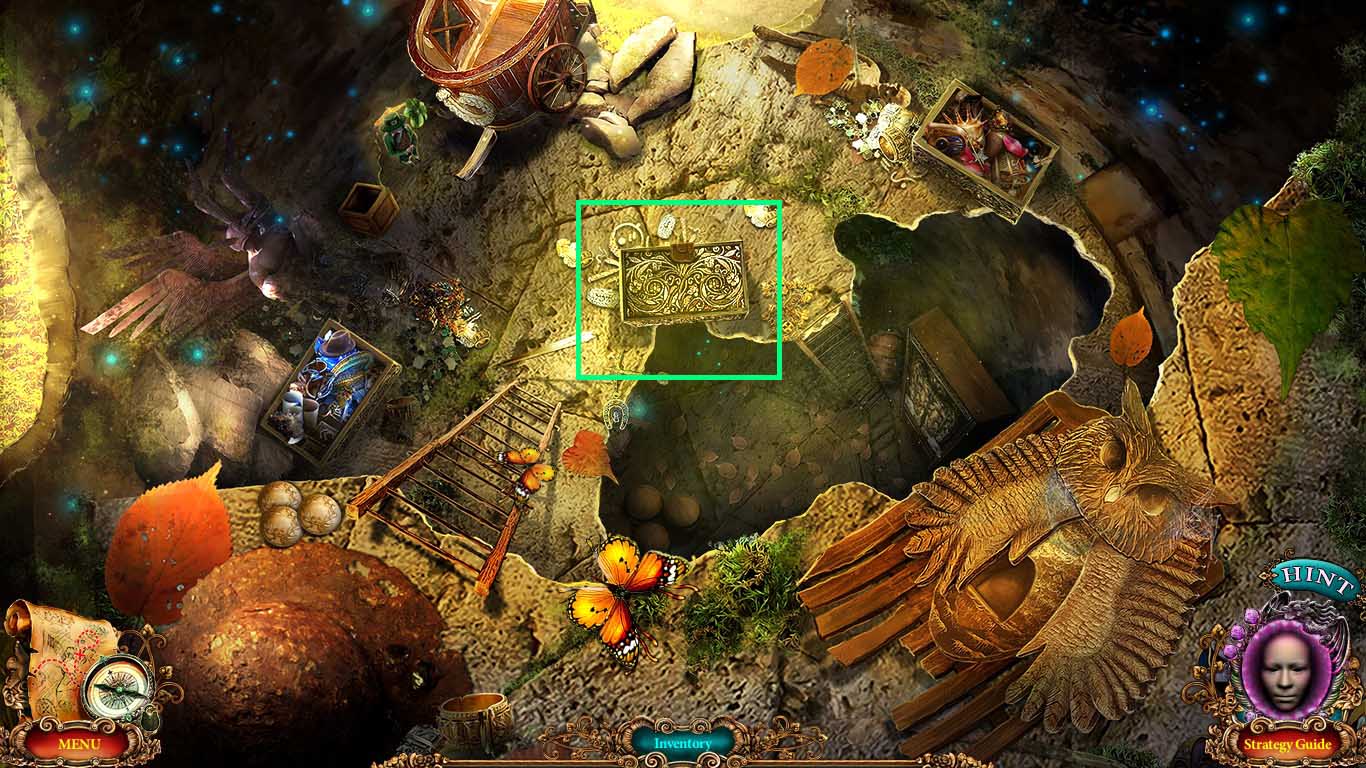
- Zoom into the opened cellar.
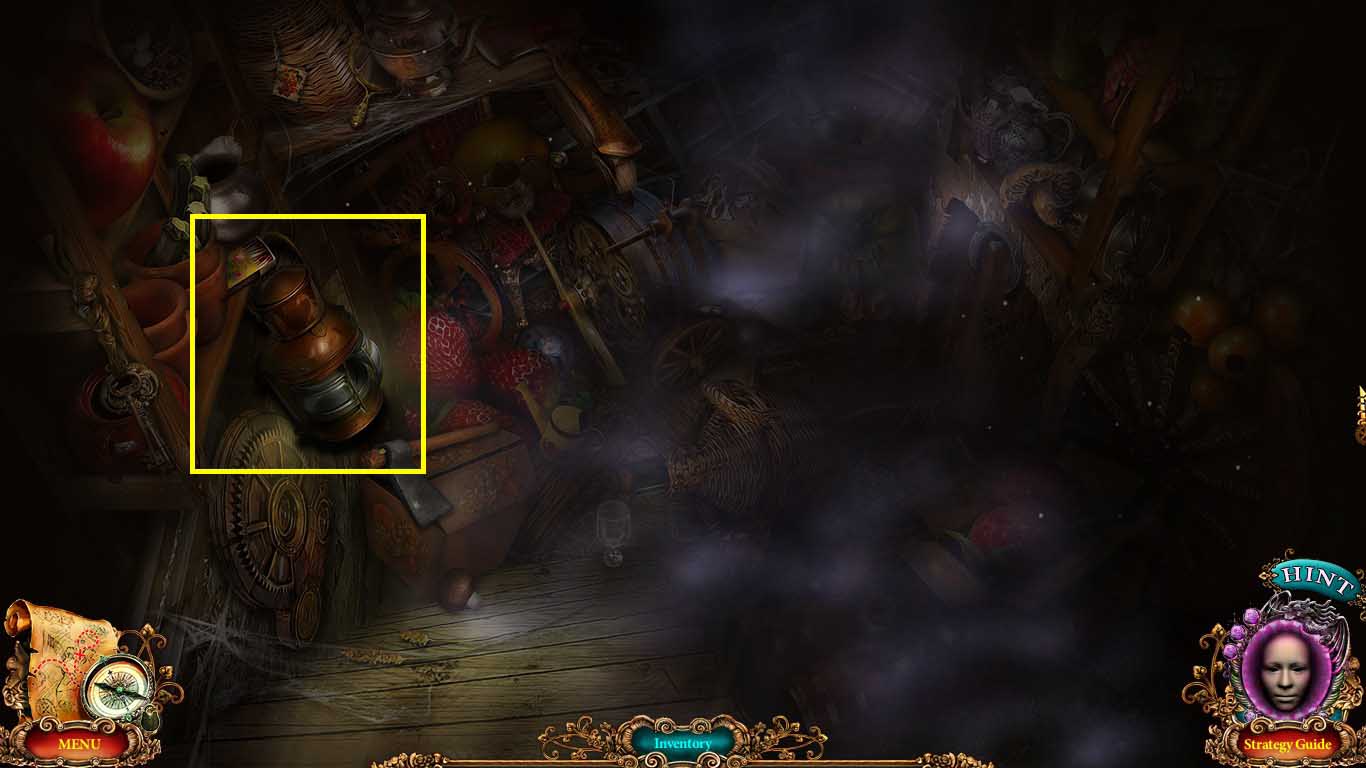
- Light the lantern with the matches to access the hidden objects area.
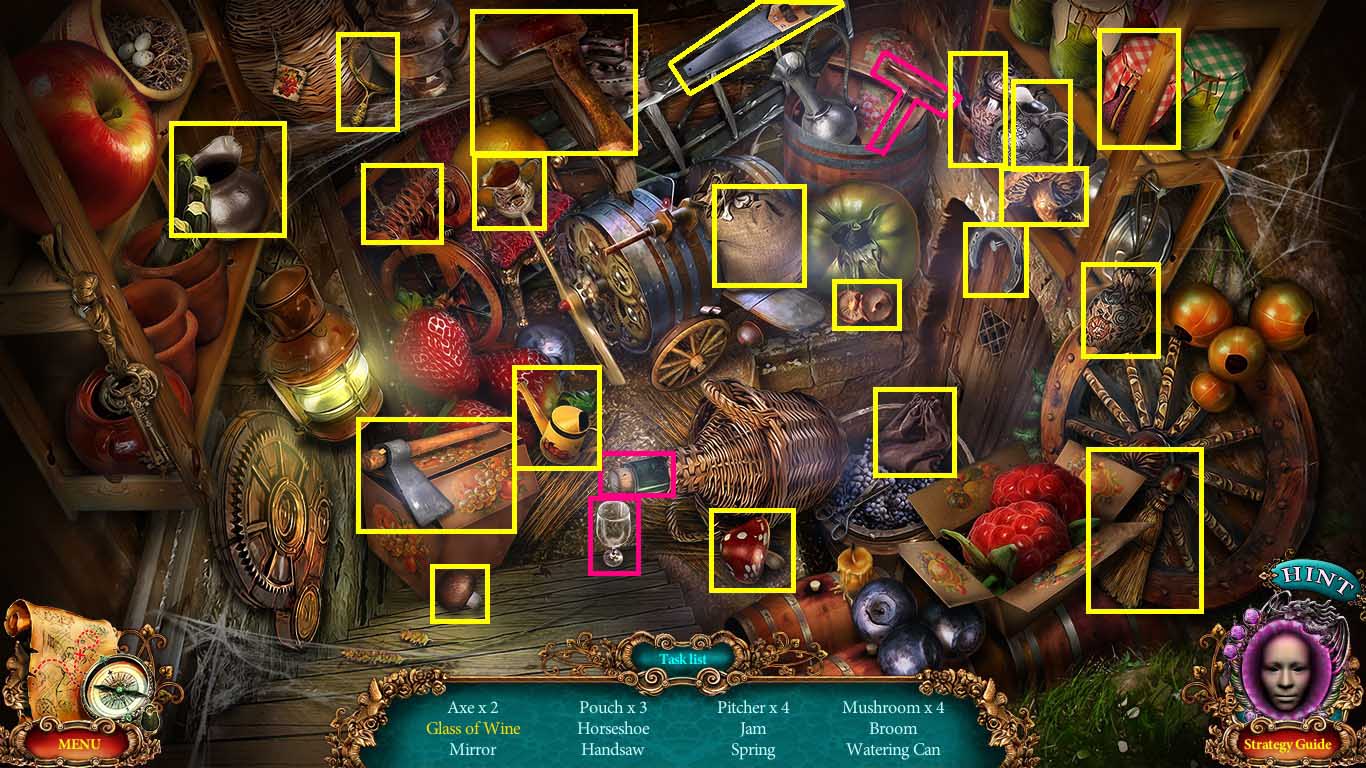
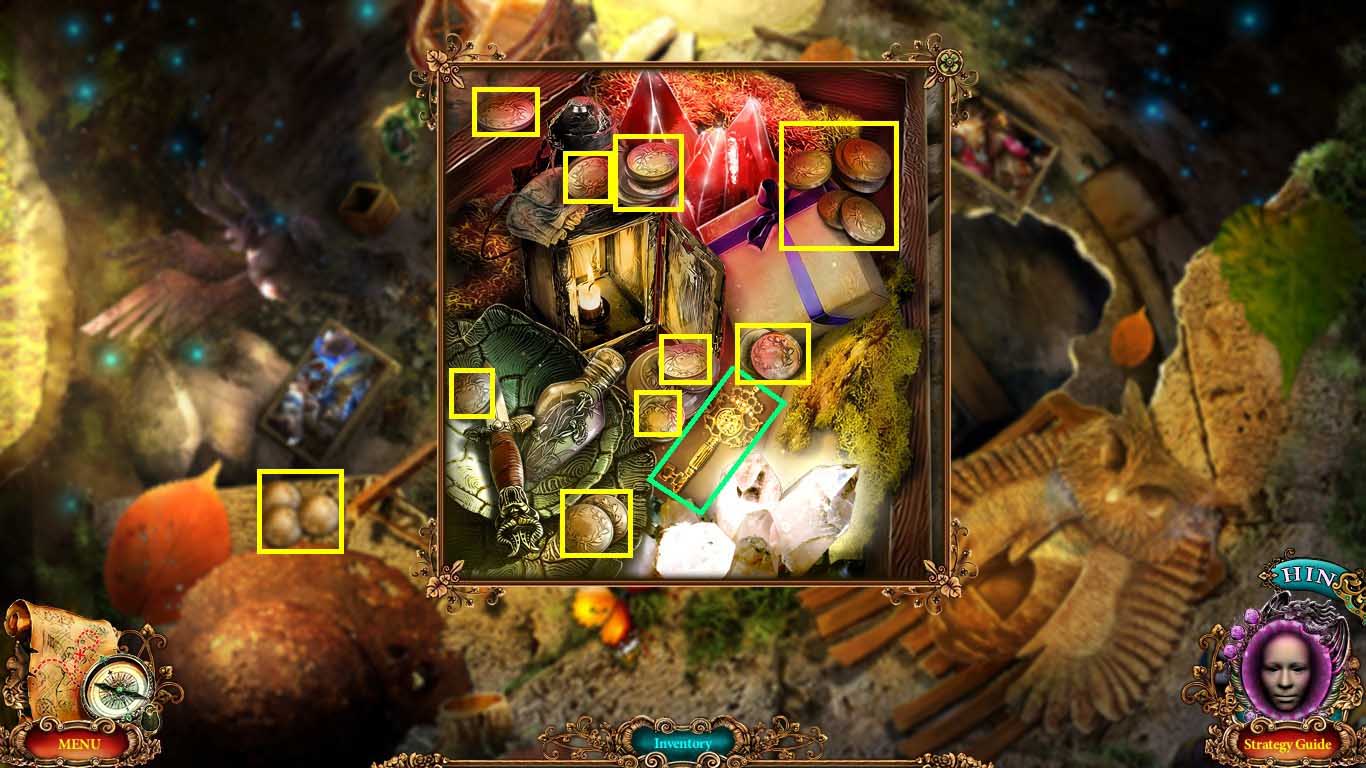
- Find the listed items.
- Get the glass of wine by using the cork on the corkscrew.
- Collect a spring.
- Move to the farmhouse attic.
- Zoom into the statue; put the spring by his knee.
- Collect the bonsai.
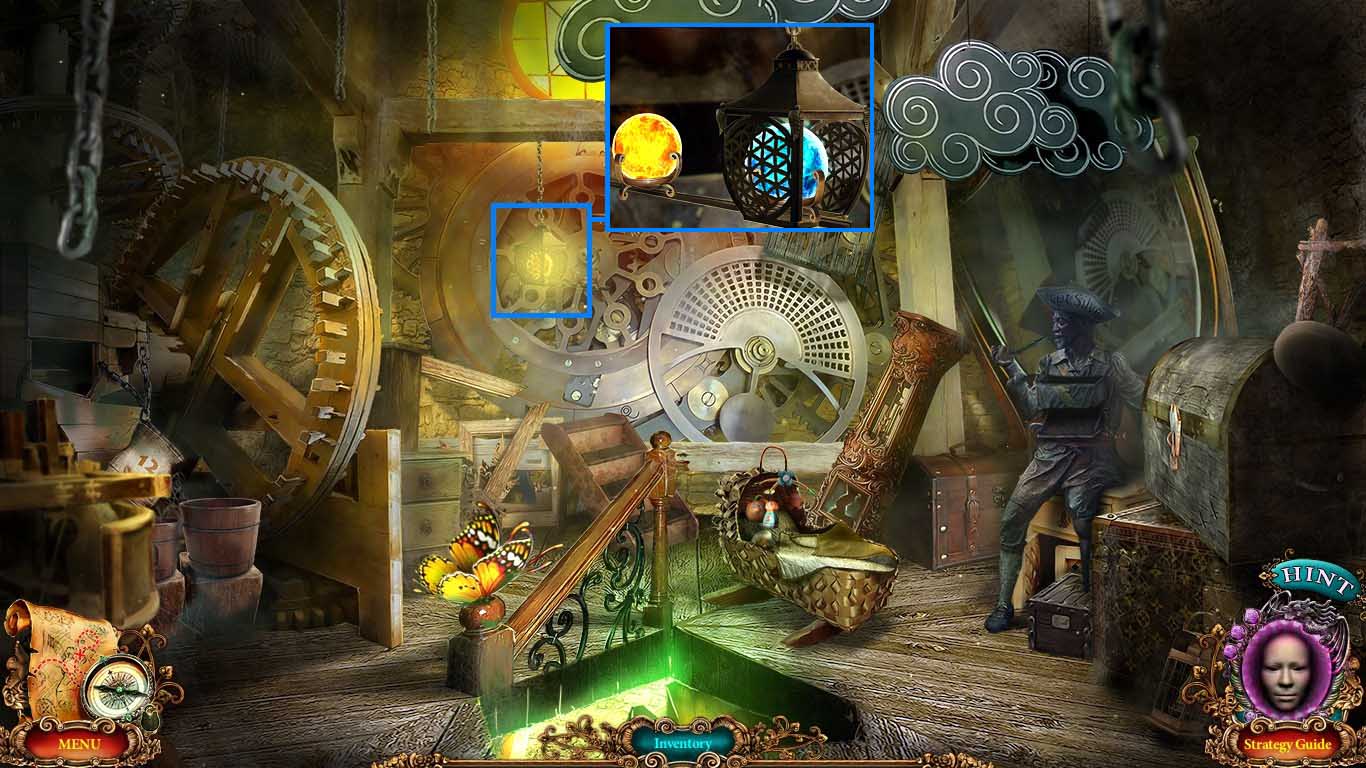
- Go to the crossroads.
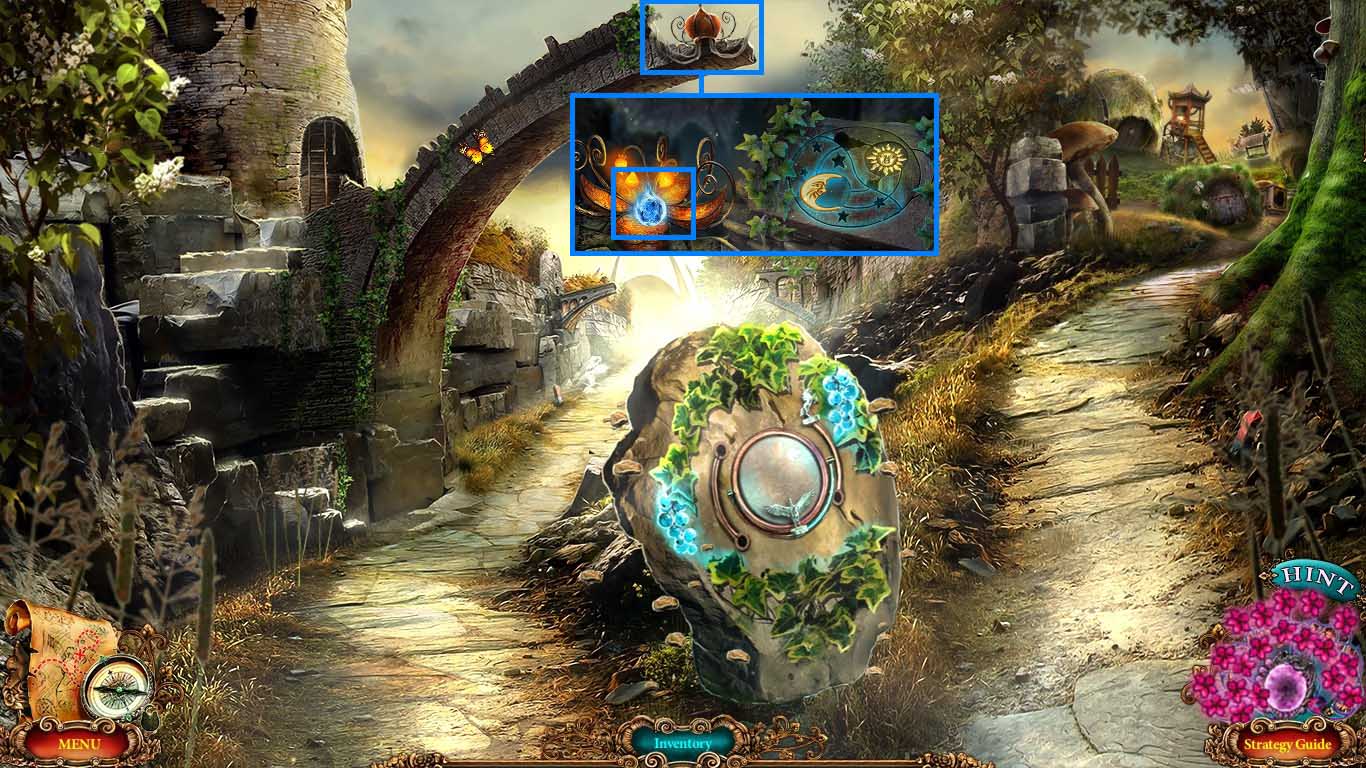
- Zoom into the lantern; insert the moon sign into the groove.
- Collect the signal light globe.
- Move to the farmhouse attic.
- Zoom into the semaphore and insert the semaphore globe onto the holder.
- Click the cord.
- Collect the magic flame.
- Move to the city gates.
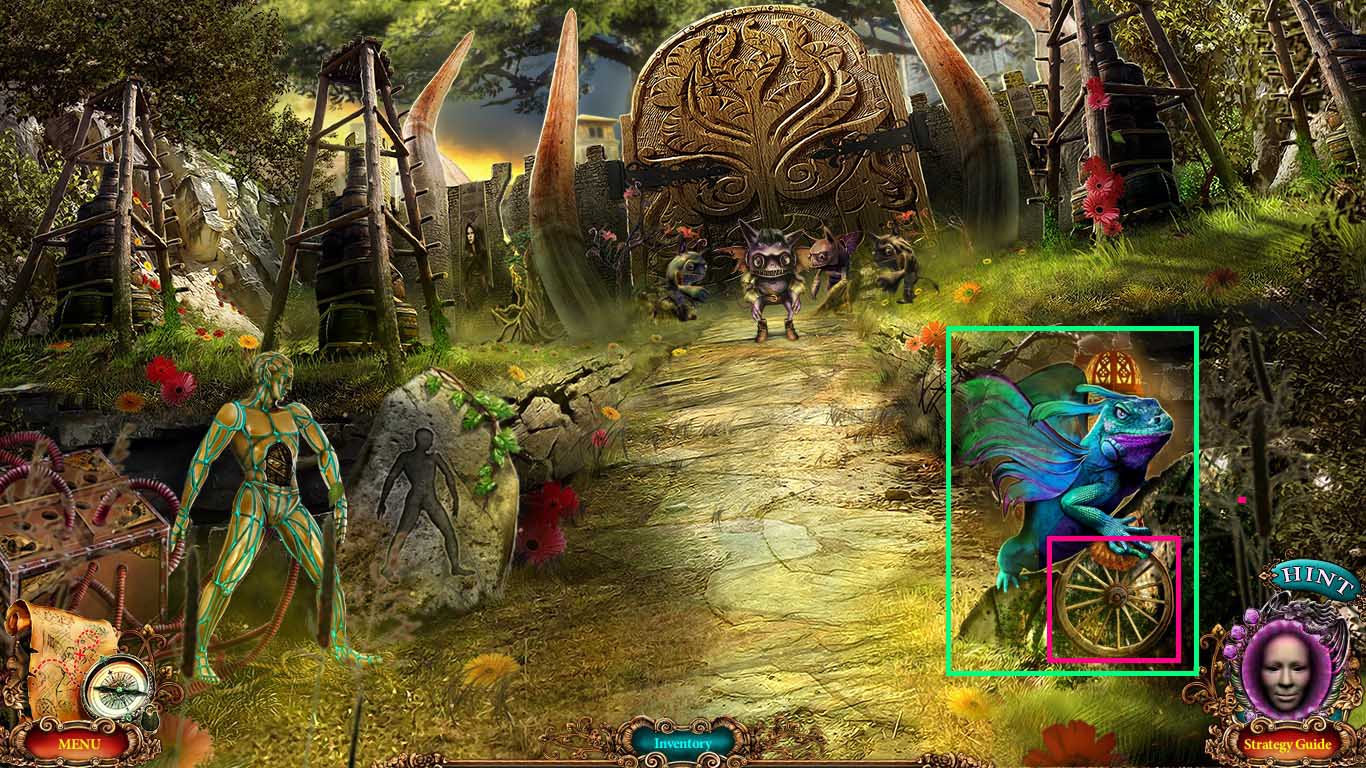
- Zoom into the dragon.
- Hand him the piece of pie.
- Collect a silver bar 2 / 3.
- Zoom into the cracked wall.
- Insert the bonsai into the dirt and collect the fish symbol.
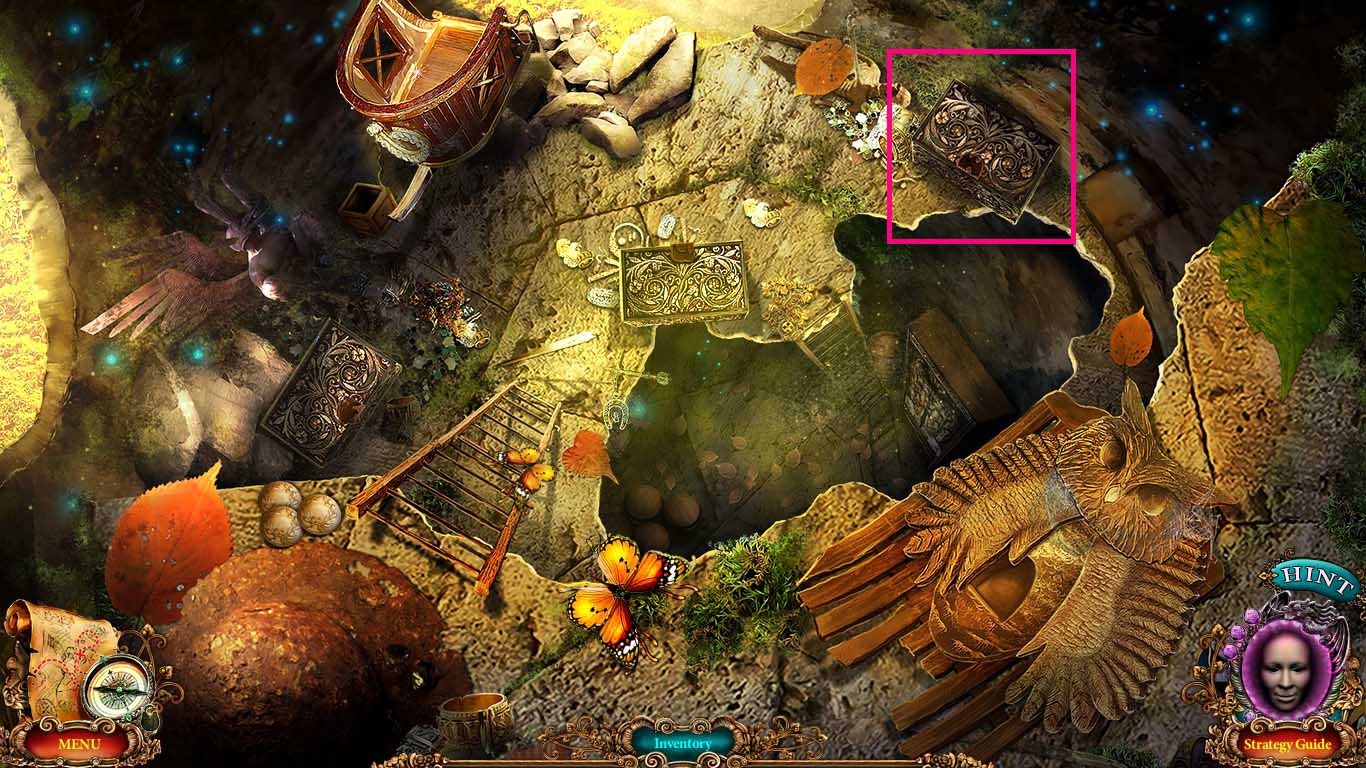
- Go to the destroyed tower.
- Click the chest on the left.
- Collect the 15 coins.
- Collect the theatre doll.
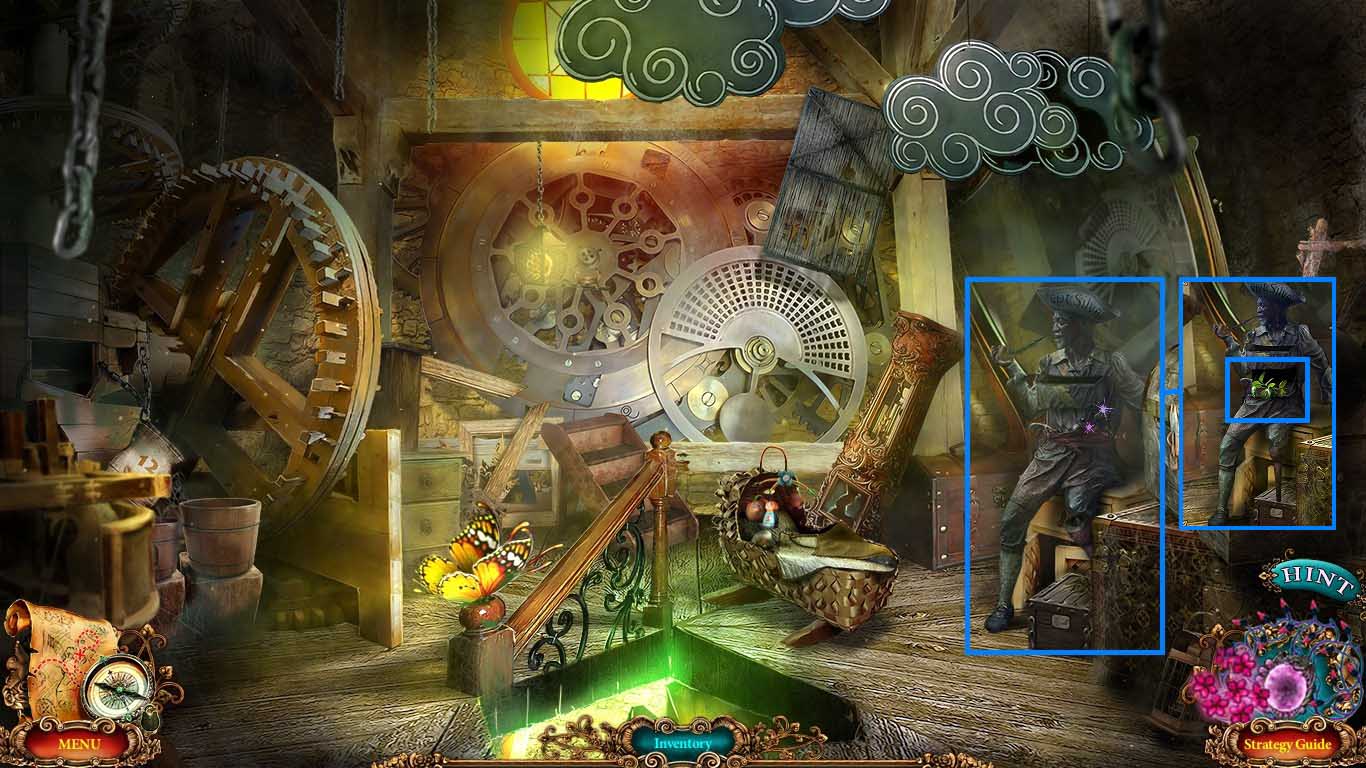
- Go to the travelling theatre.

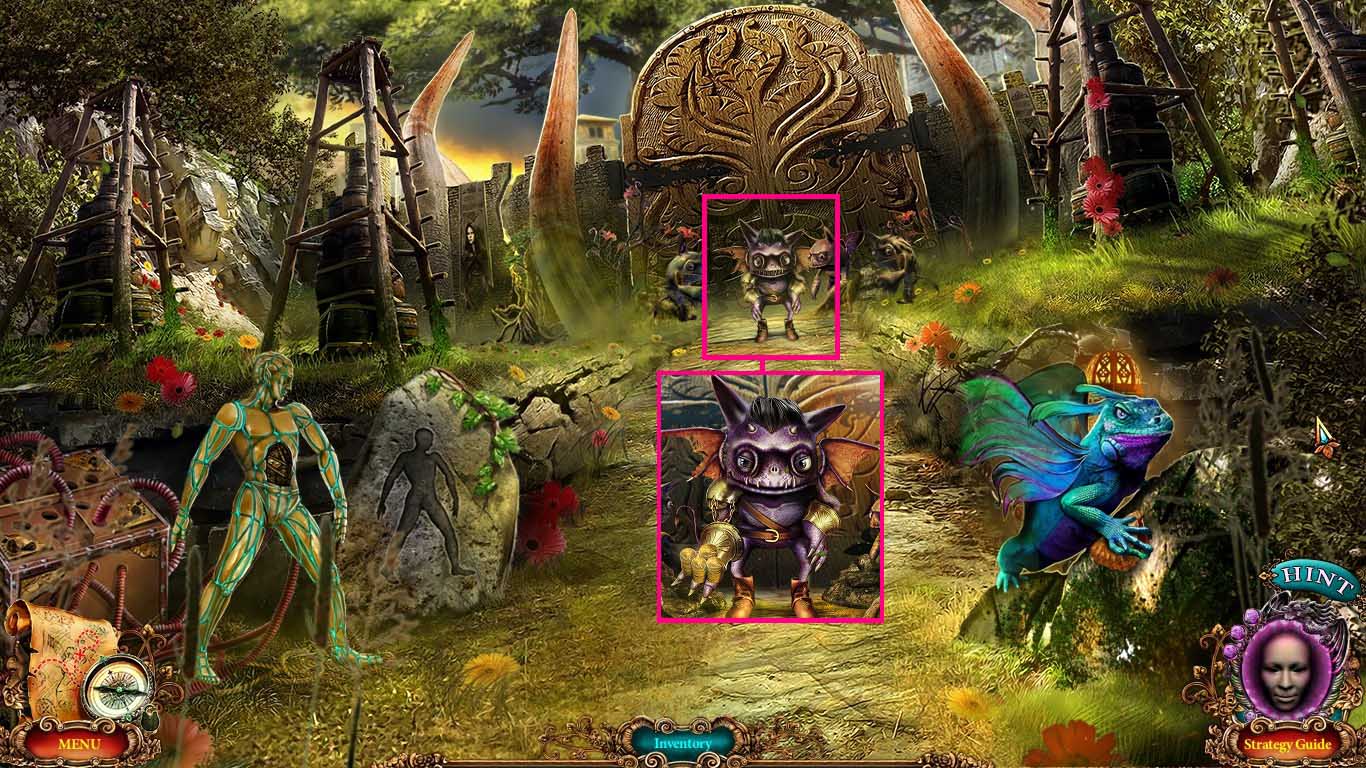
- Zoom into the theatre; put the doll on the stage.
- Put the accessories on the characters.
- Solve as shown above.
- Collect the face sign.
- Go to the dressing room.
- Zoom into the jacket.
- Insert the face sign into the middle to trigger a puzzle.
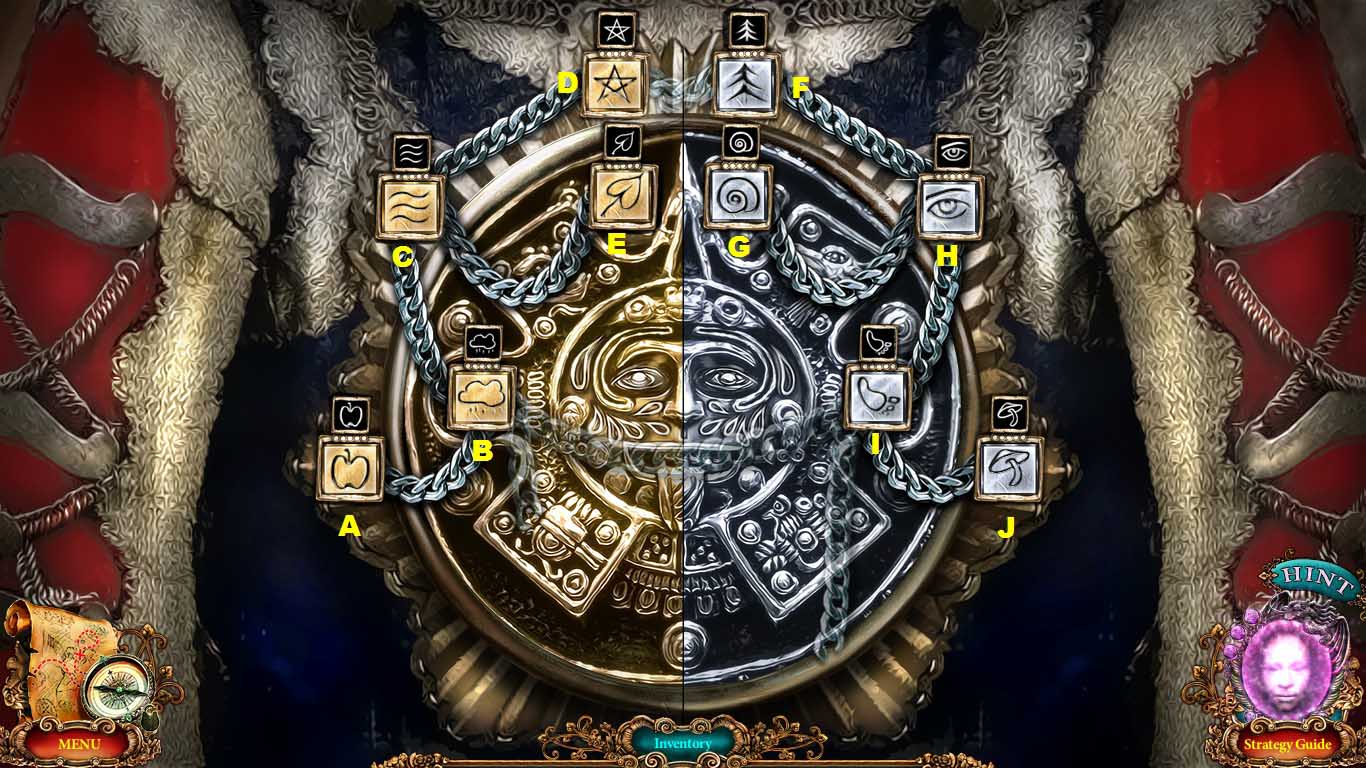
- Insert the silver and gold symbols into their grooves.
- Move the symbols around as follows:
- (B, C) (C, E) (I, B) (J, I) (B, A) (I, B) (B, A)(F, H) (I, H) (H, G) (J, I) (F, D) (H, F) (H, I) (I, J) (D, F) (F, H) (D, C).
- Collect the wheel part 2 / 2.
- Go to the city gates.
- Zoom into the dragon; put the 2 wheel parts on the broken wheel.
- Collect the carriage wheel.
- Go to the destroyed tower.
- Zoom into the carriage; put the carriage wheel on the axle.
- Click the wheel.
- Give the leprechaun the clover and collect the silver bar 3 / 3.
- Move to the farmstead.
- Zoom into the smelt mill; insert the 3 silver bars into the tray.
- Insert the magic flame into the groove; collect the scoop of silver.
- Zoom into the anvil; put the scoop of silver into the mold.
- Use the magic snowflake on the filled mold.
- Collect the silver unicorn.
- Go back one scene.
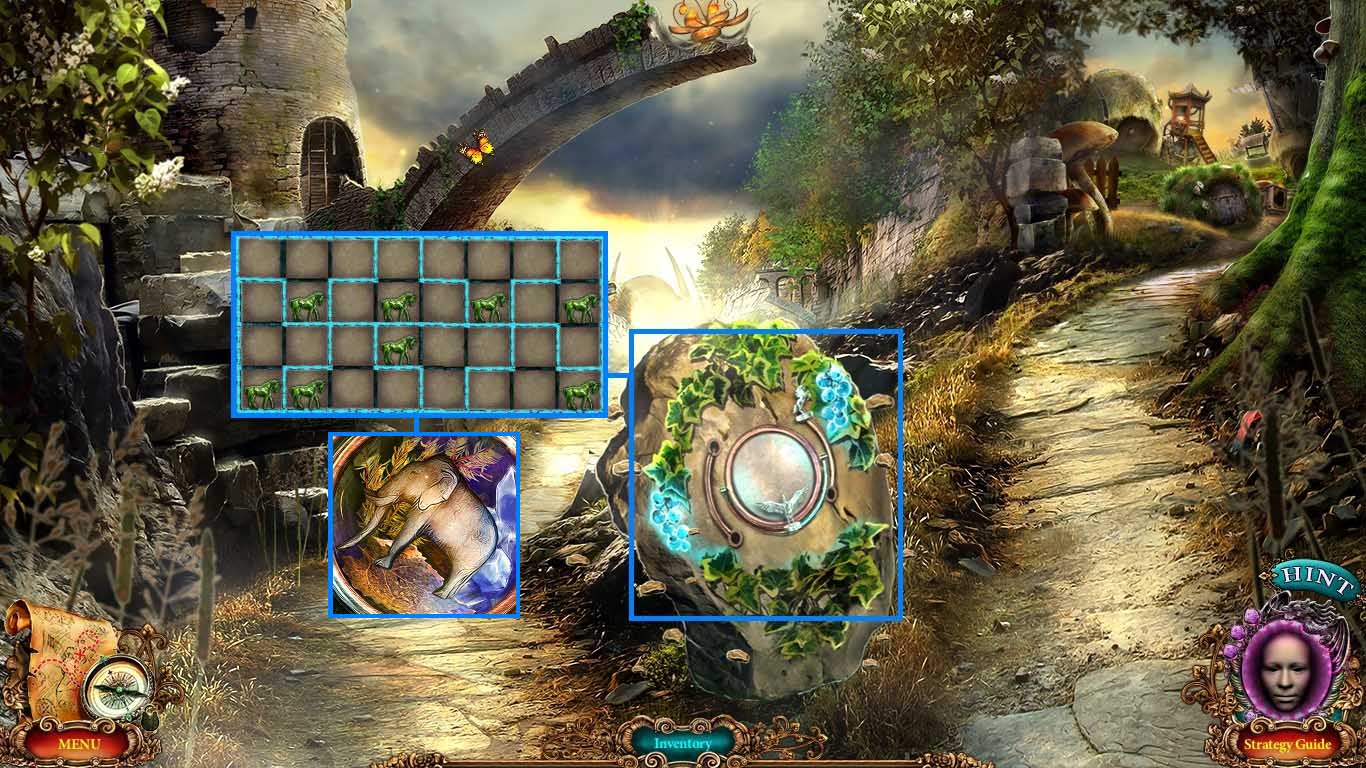
- Zoom into the center stone.
- Insert the silver unicorn onto the slot on the left to trigger a puzzle.
- Put the horses into the “T” shaped enclosures.
- Solve as shown above.
- Collect the elephant symbol.
- Move to the destroyed tower.
- Zoom into the center chest.
- Insert the elephant symbol.
- Collect the 20 coins.
- Collect the royal key 1 / 5.
- Move to the city gates.
- Zoom into the guards.
- Click the center guard; put the 50 coins into his hand.
- Move forward into the floral city.