
Surface: Game of Gods: Chapter Four: Finding Jim
Our Surface: Game of Gods Walkthrough will serve as your strategy guide as you roll the dice of a deadly game you've unwittingly agreed to play. Your friends Jim, Kevin, and Maggie have already been caught in the game's grip and now it's up to you to rescue them and see your way to the end of the game! Lucky for you our custom marked screenshots, detailed game instructions, and simple puzzle solutions are here to help you make it safely through this deadly encounter.
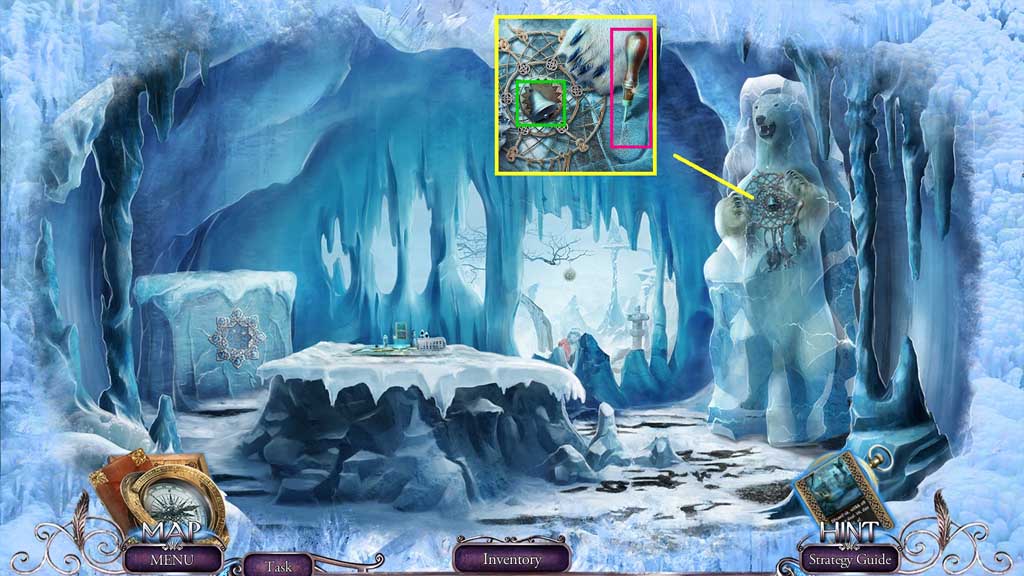
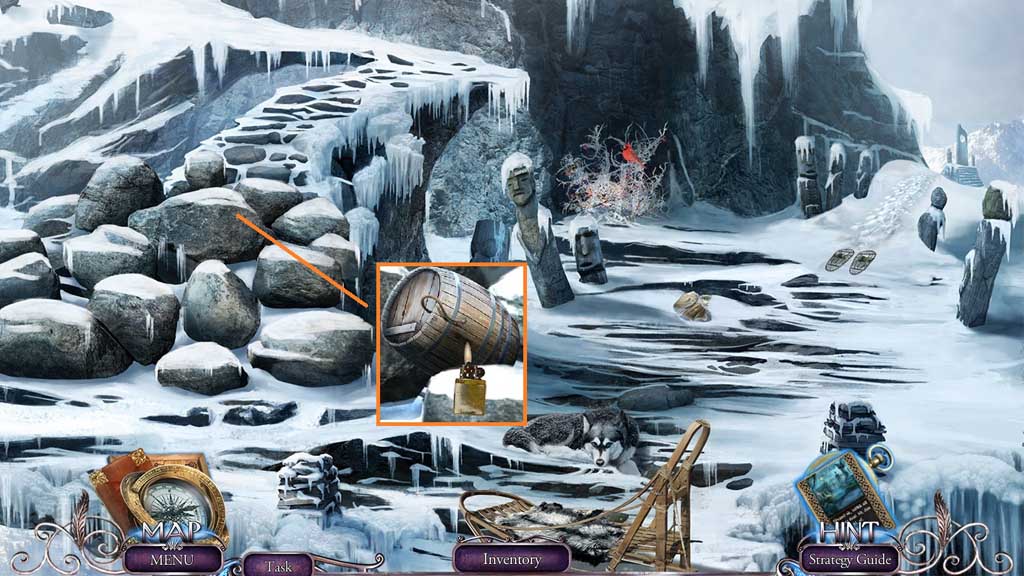
- Collect the 1st bell and the awl.
- Move ahead.
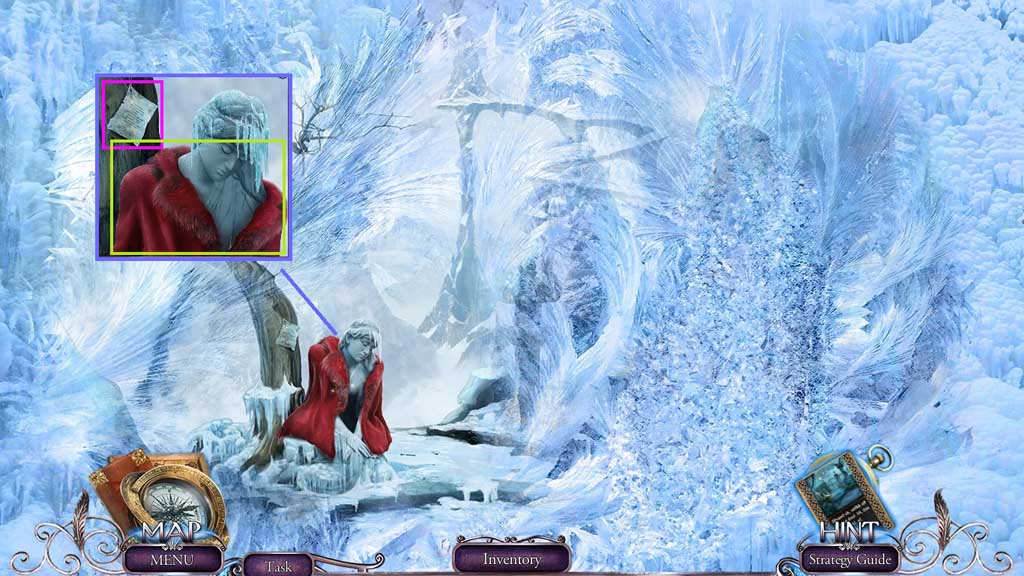
- Read the note; collect the coat.

- Select the awl to collect the cloth and click it 4x’s.
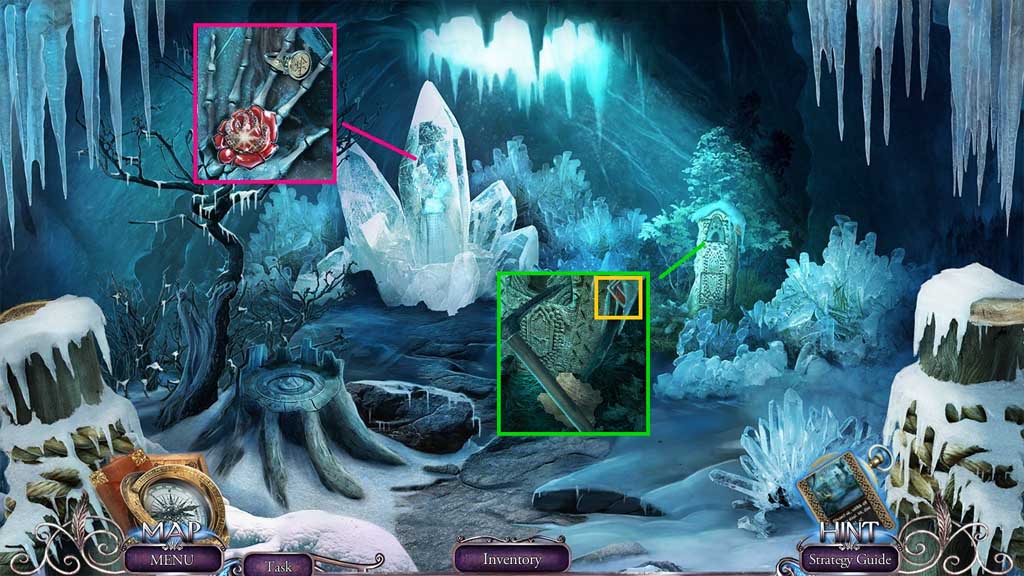
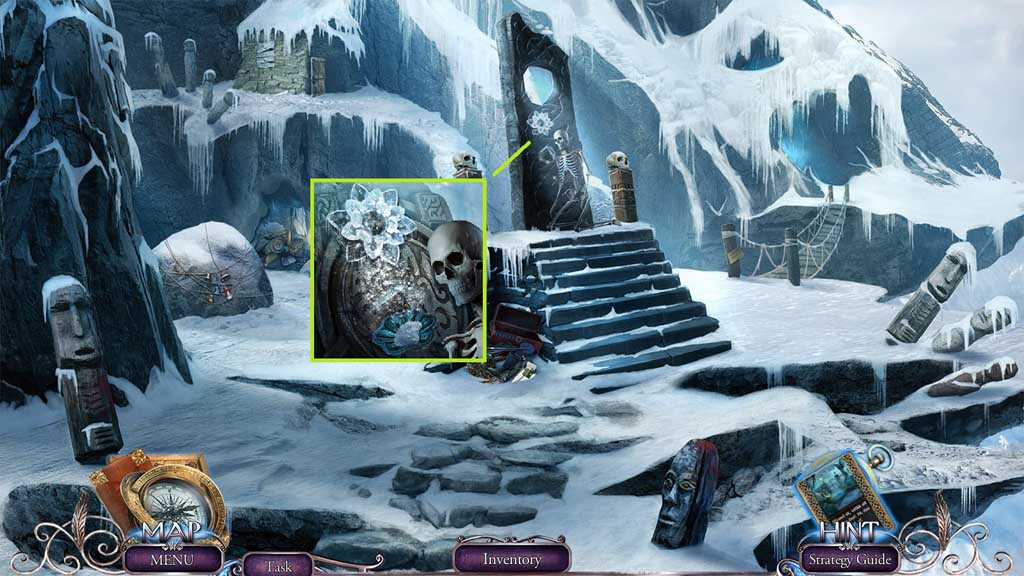
- Collect 1 /2 switches and the snowflake amulet.
- Read the note.
- Move down once.
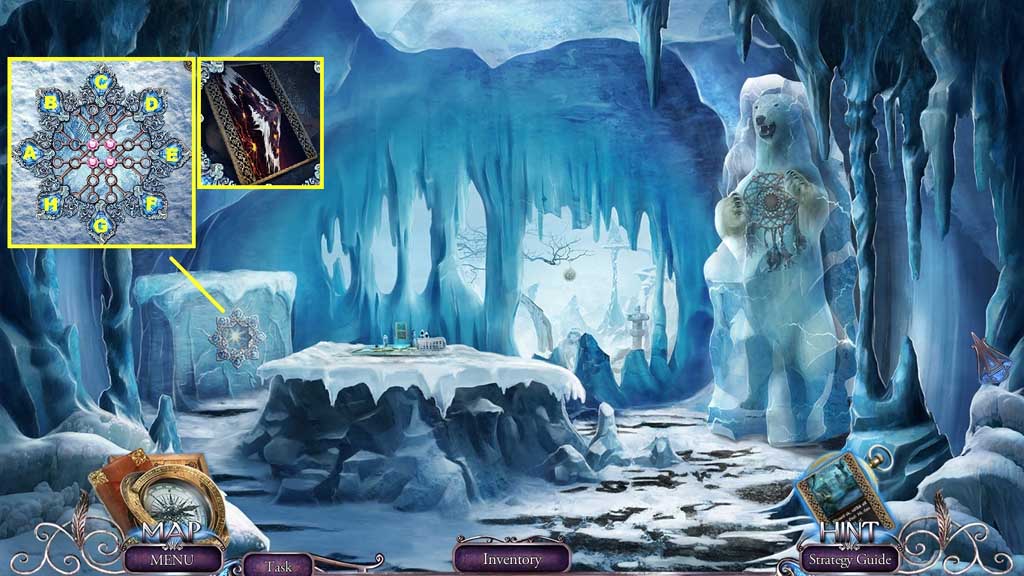
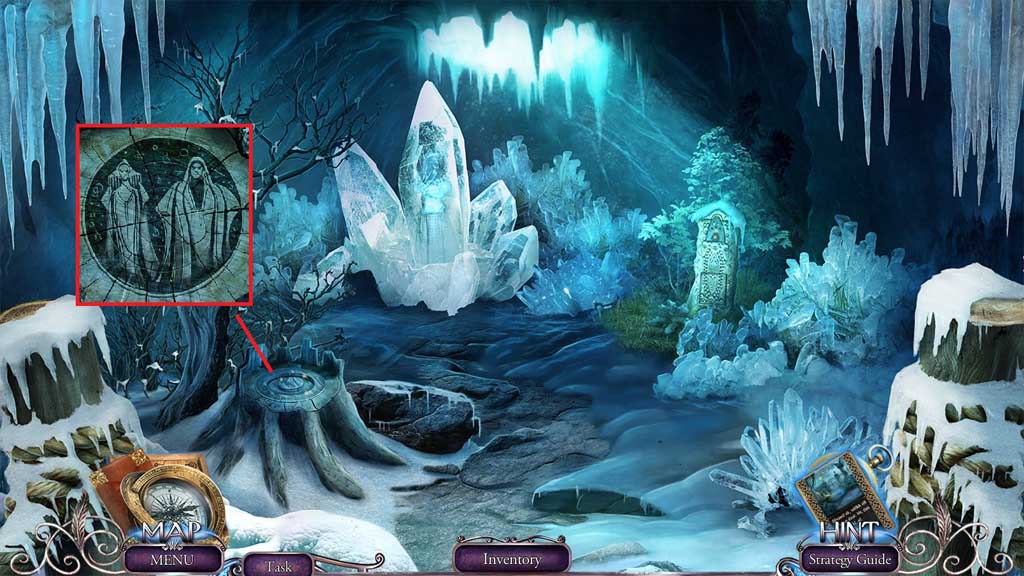
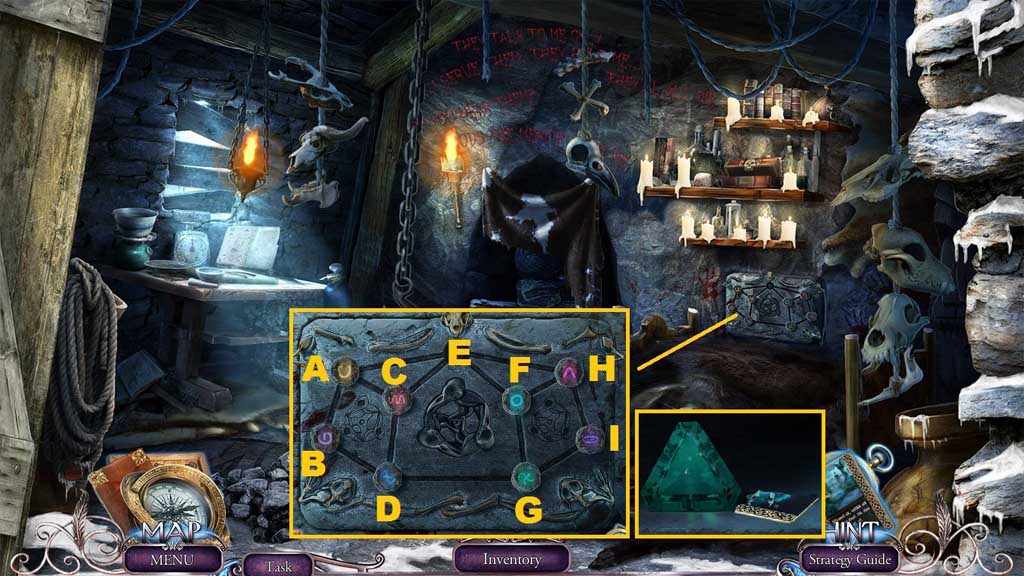
- Insert the snowflake amulet to trigger a mini game.
- Solve the game by clicking the blue jewels to align the red jewels in the center.
- Use the following sequence to solve: A x 3 – C – F – A – B – C – D – G – D – F x 2
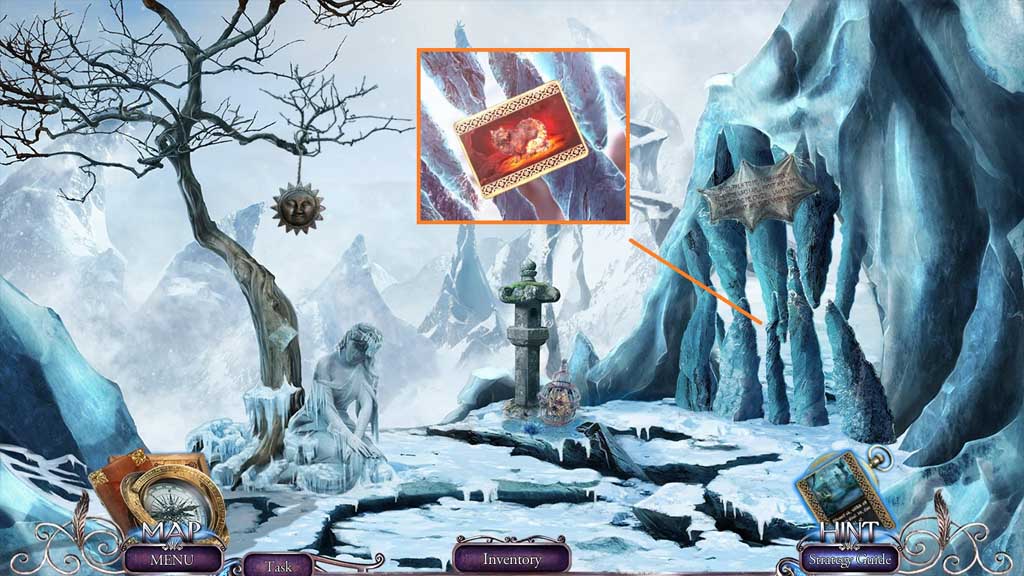
- Collect the magic card.
- Read the note.
- Click the magic card to trigger a mini-game.
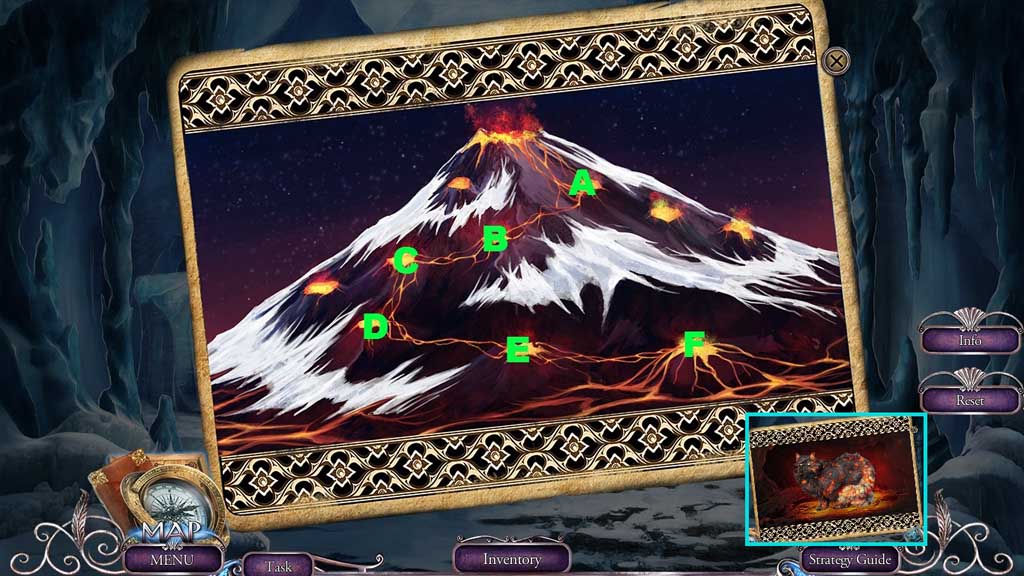
- Solve the game by guiding the lava correctly down the volcano.
- Collect the lava card.
- Move ahead.
- Place the lava card to open the blockage.
- Move ahead.
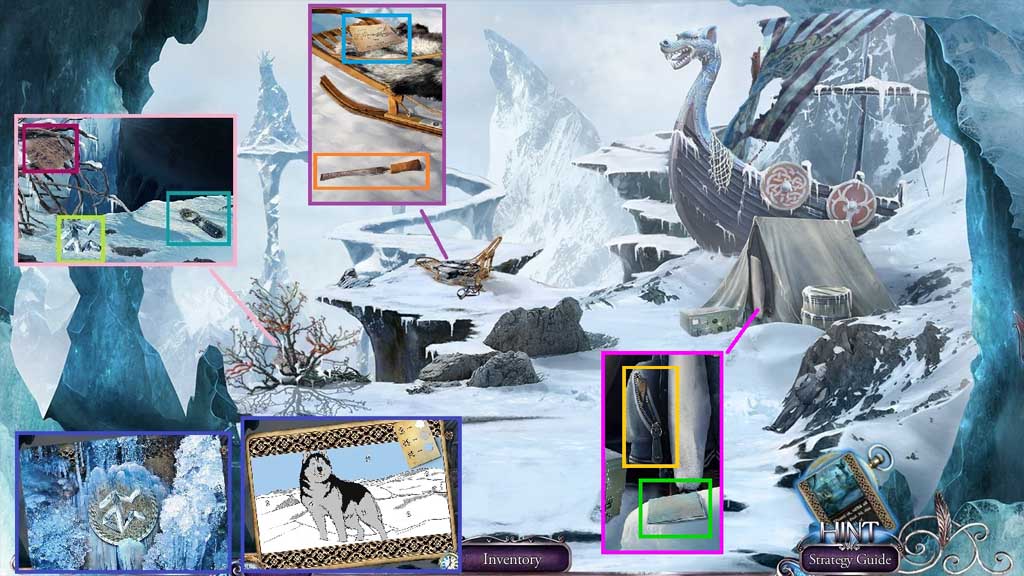
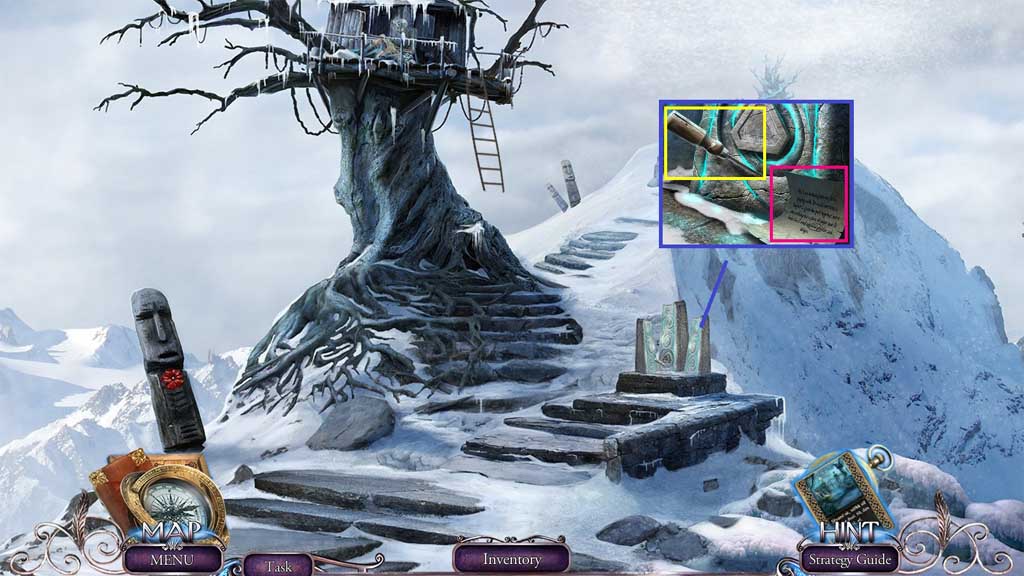
- Read the note; collect the frost rune and the zipper.
- Attach the frozen card and the frozen rune to trigger a mini game.
- Solve the game by coloring the card correctly based on the symbols.
- Collect the snow dog card.
- Read the instructions; collect the file.
- Attach and click the zipper; collect the pen knife.
- Read the note.
- Move down once.
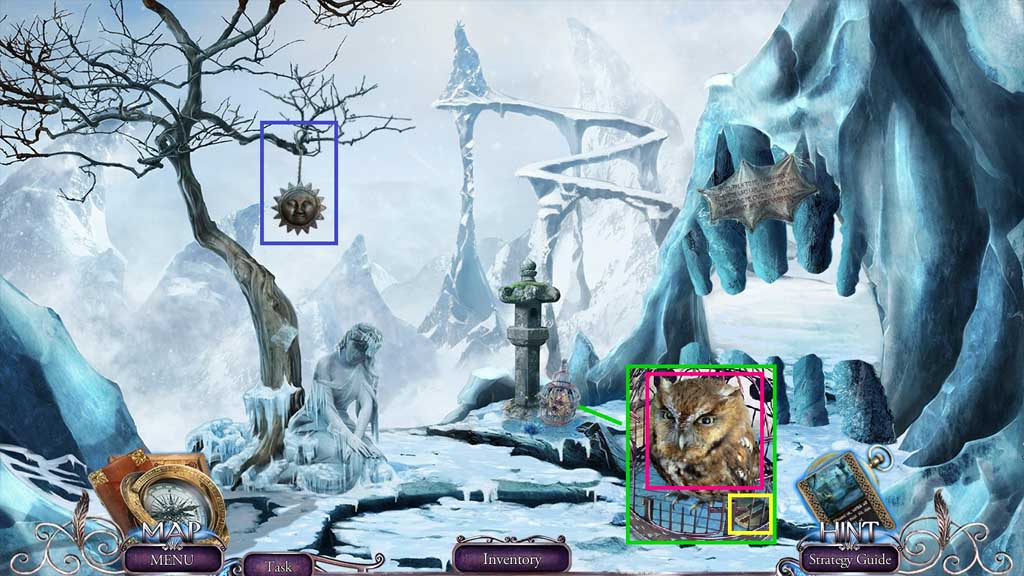
- Select the file to saw through the cage.
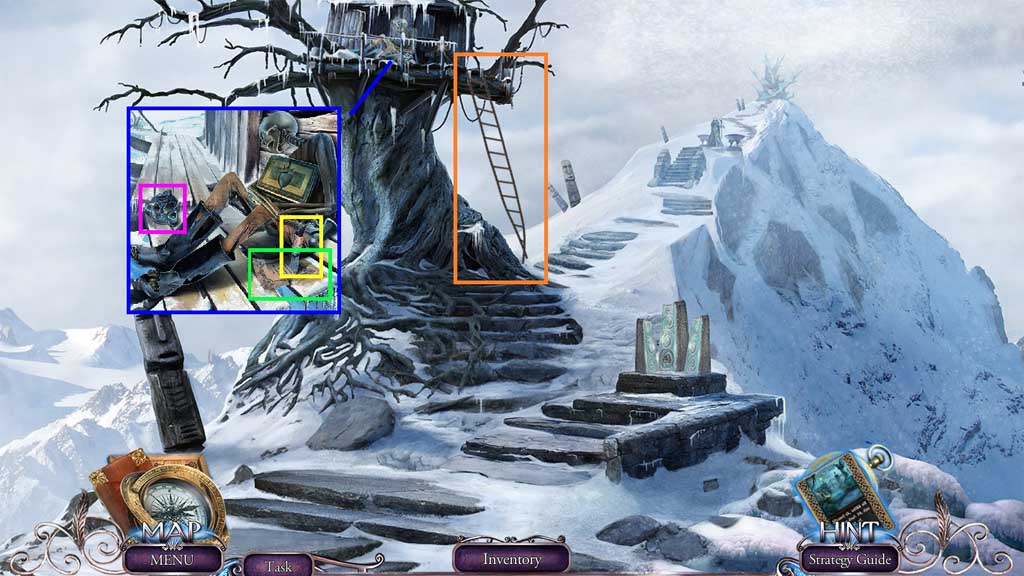
- Collect the owl and 2 /2 switches.
- Select the owlet to collect the sun totem and the hook.
- Move ahead to the Bridge.
- Attach the 2 switches and click the 3 switches that match the symbols.
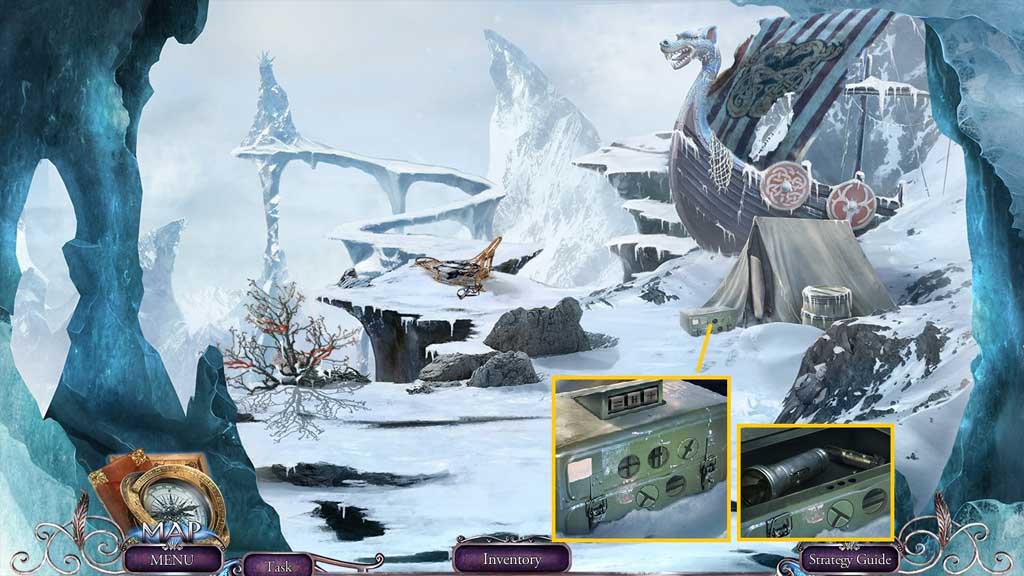
- Collect the flashlight and bolt.
- Move down 2x’s.

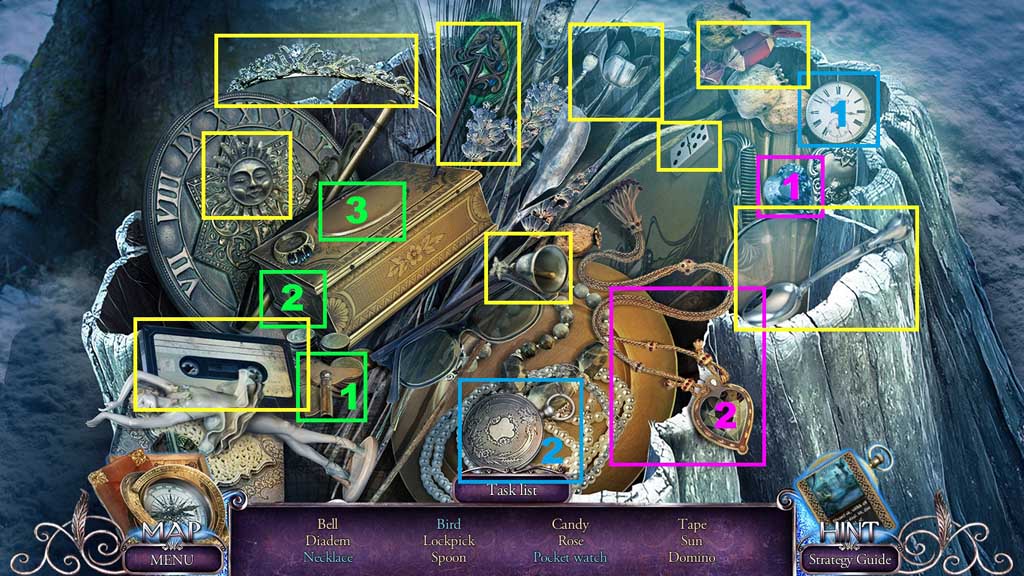
- Insert the sun totem into the polar bear to trigger a hidden objects area.
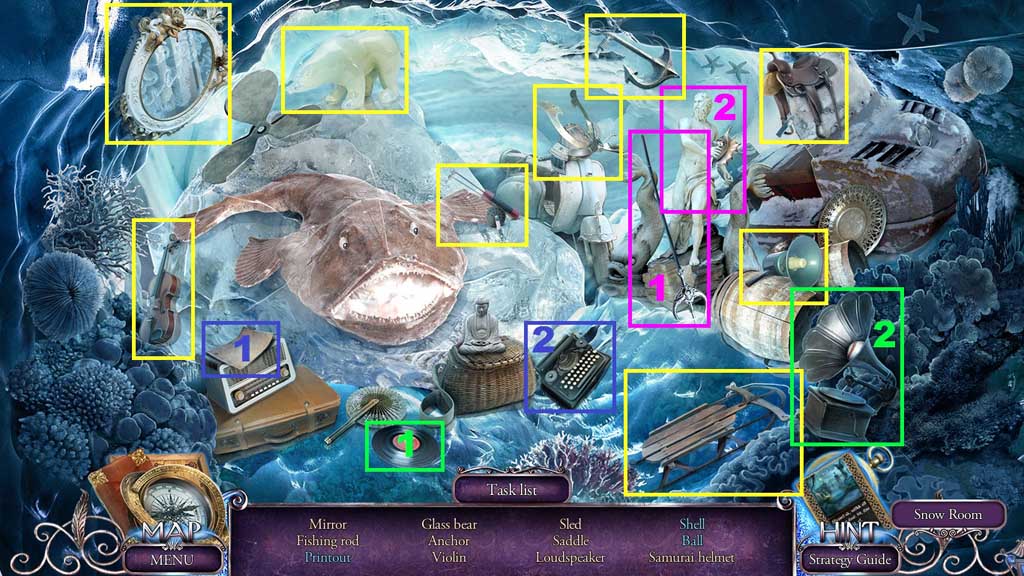
- Find the items.
- Place the paper into the typewriter; collect the printout.
- Select the trident and place it into Neptune’s hands; collect the shell.
- Place the record onto the gramophone; collect the ball.
- Collect the fishing rod.
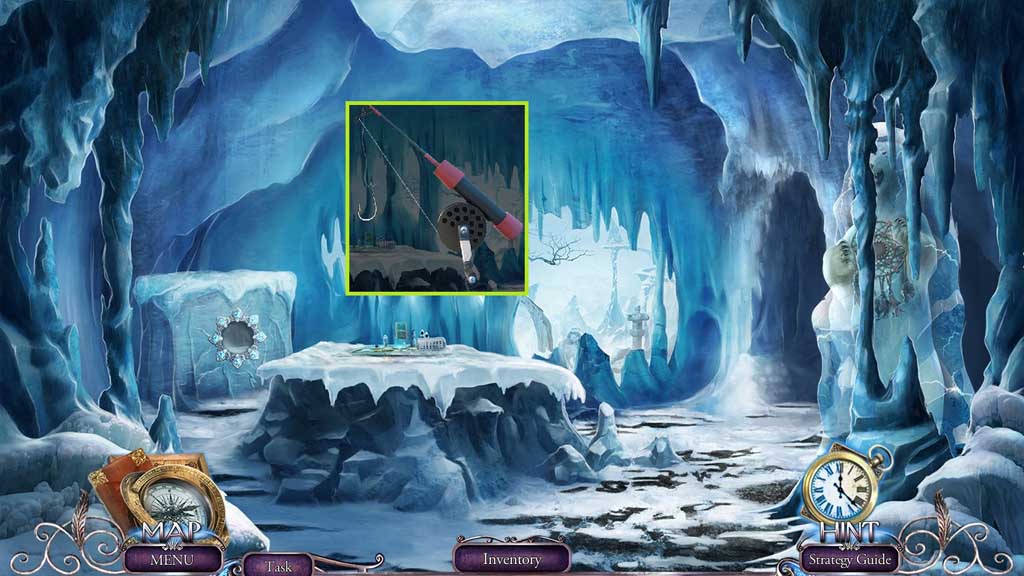
- Attach the hook onto the fishing rod; collect the fishing rod.
- Move ahead 2x’s.
- Place the flashlight into the branches.
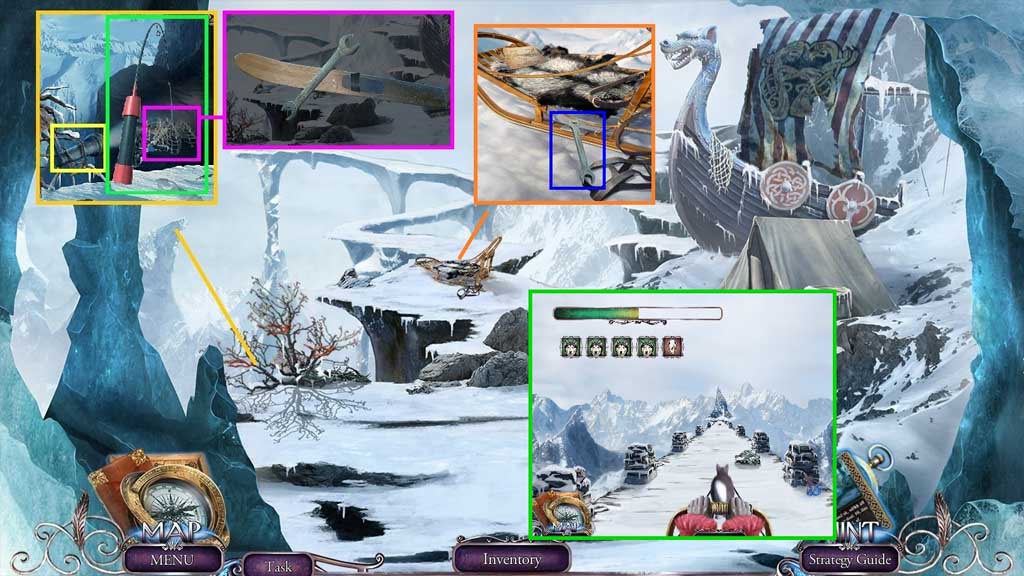
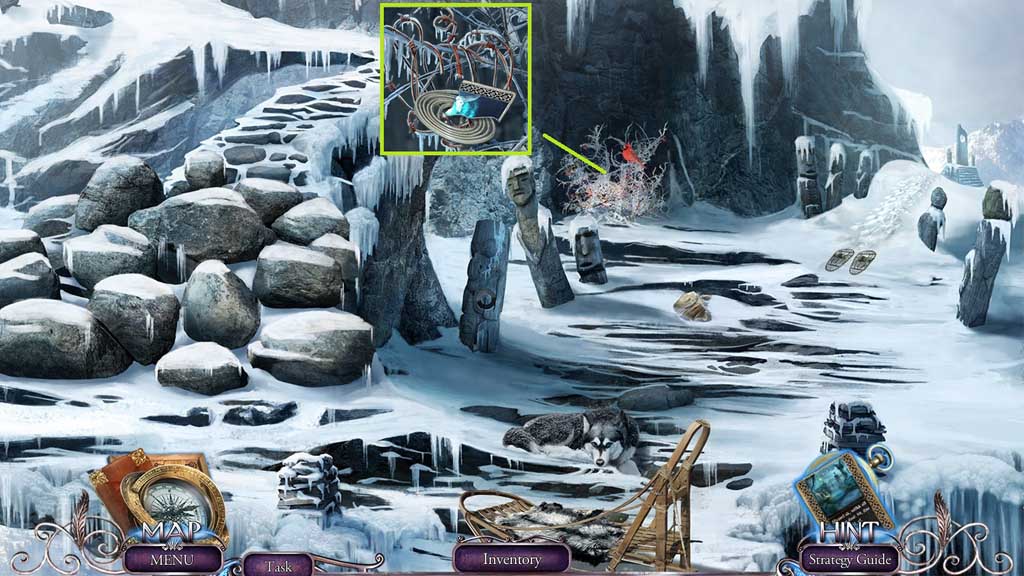
- Select the fishing rod to collect the entangled net; use the pen knife on the net to collect the wrench and ski.
- Remove and replace the ski and bolt; secure them using the wrench.
- Place the snow dog card onto the sled to trigger a mini game.
- Solve the game by guiding the dog around the obstacles.
- Use the following sequence to solve: center – right – right – left – center – right – center – left – center – right – center – right – center – right – right – right – right – left – center – right – center – right – center – left – right
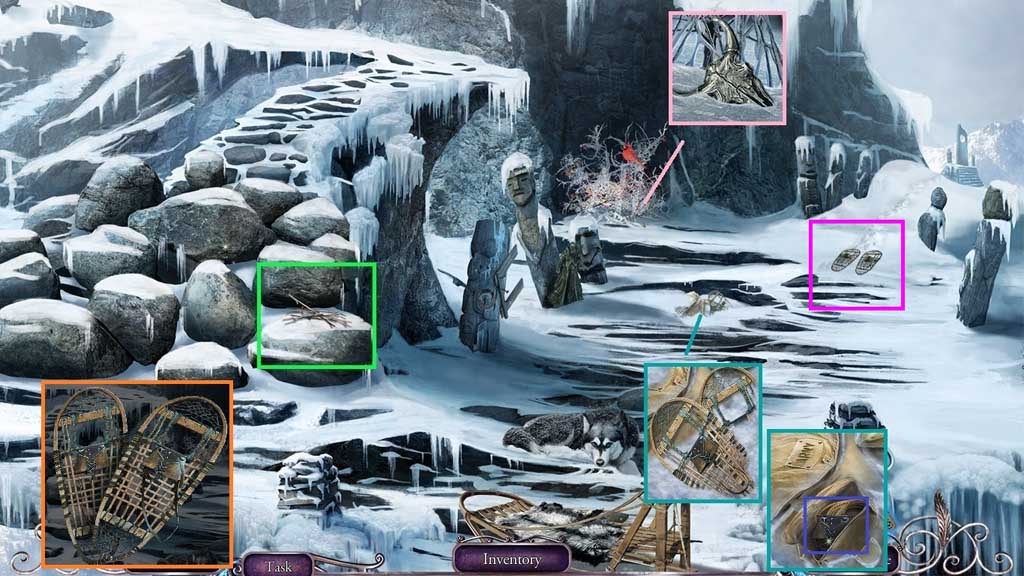
- Collect the pile of sticks.
- Collect the knap sack button.
- Collect the damaged snow shoe and click the snow away.
- Select the knap sack button and attach it onto the knap sack; click it open.
- Collect the belt and rope.
- Select the damaged snow shoes, the pile of sticks, the rope and the belt to create the snow shoes.
- Place the snow shoes on the path and move ahead.

- Collect the 2nd bell and place both bells to trigger a mini game.
- Solve the game by clicking the bells in the correct sequence.
- Use the following pattern to solve: (A – B – C) (D – E – E –A) (A – A – A –E – C)
- A hidden objects area will trigger.
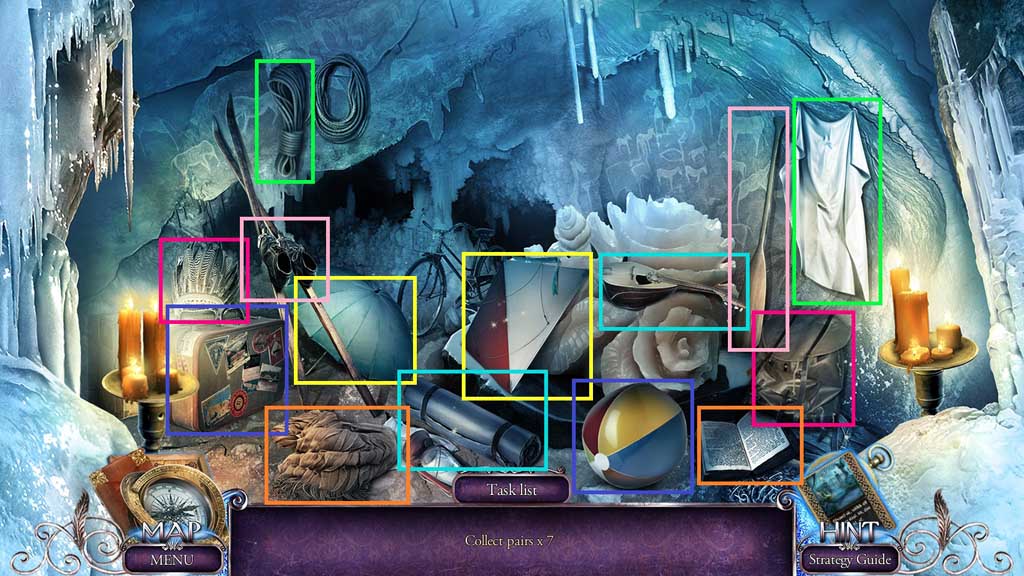
- Find the paired items.
- Collect the mysterious card.

- Select the mysterious card to trigger a mini game.
- Solve the game by connecting the 5 crystals without letting the ball touch the lines you are creating.
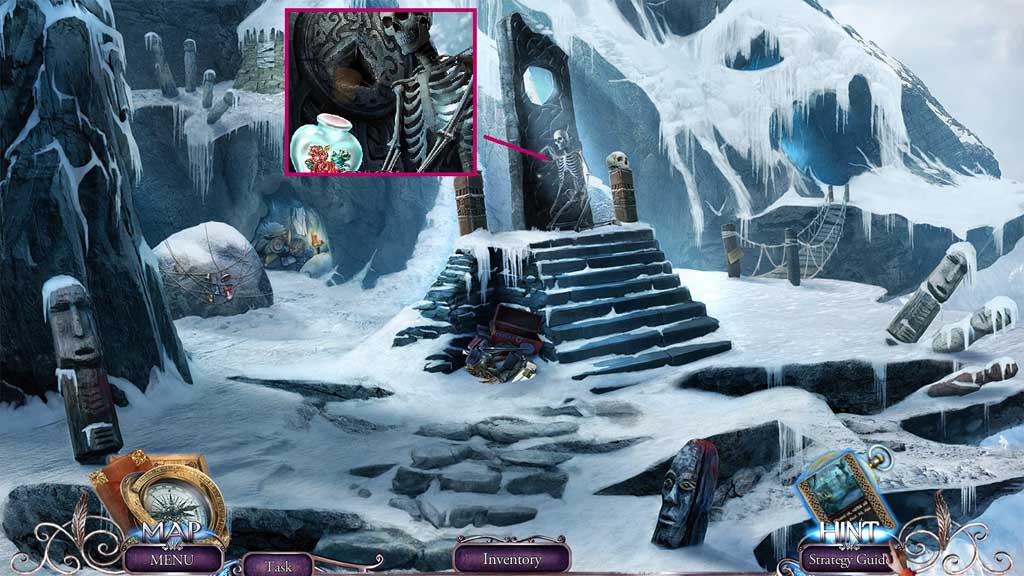
- Collect the release prisoner card.
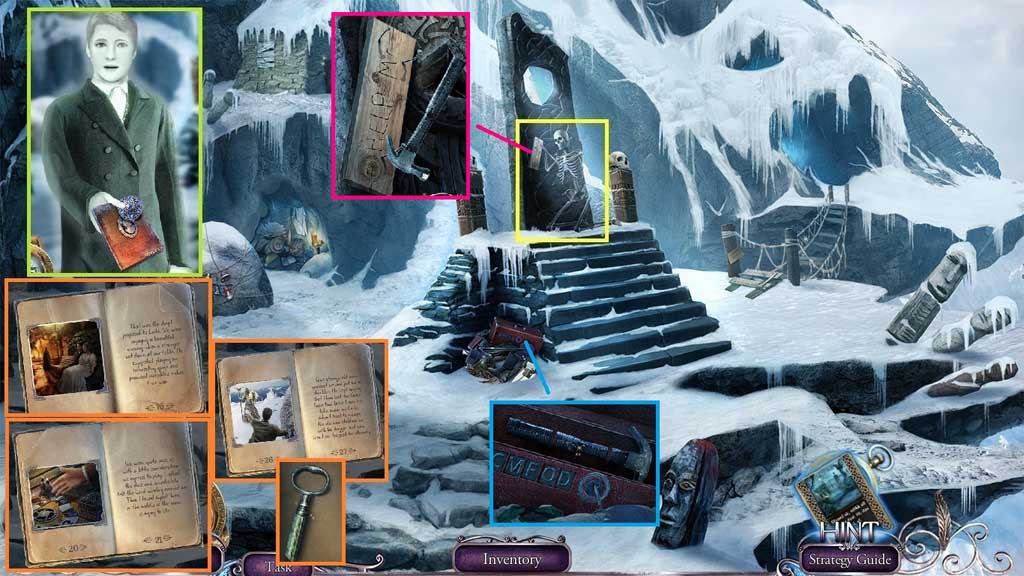
- Select the release prisoner card to use on the skeleton.
- Collect the defense amulet and the ghost book.
- Click the ghost book open and flip the pages.
- Reassemble the 3 photos and collect the silver key; use it to collect the hammer.
- Select the hammer to collect 1 / 6, 2 / 6 and 3 /6 nails and the 1st wooden plank.
- Move down once.

- Select the hammer to collect 4 /6, 5 /6 and 6 /6 nails and the 2nd wooden plank.
- Select the 2 wooden planks, the 6 nails and the hammer to create the bridge fragment.
- Move ahead.
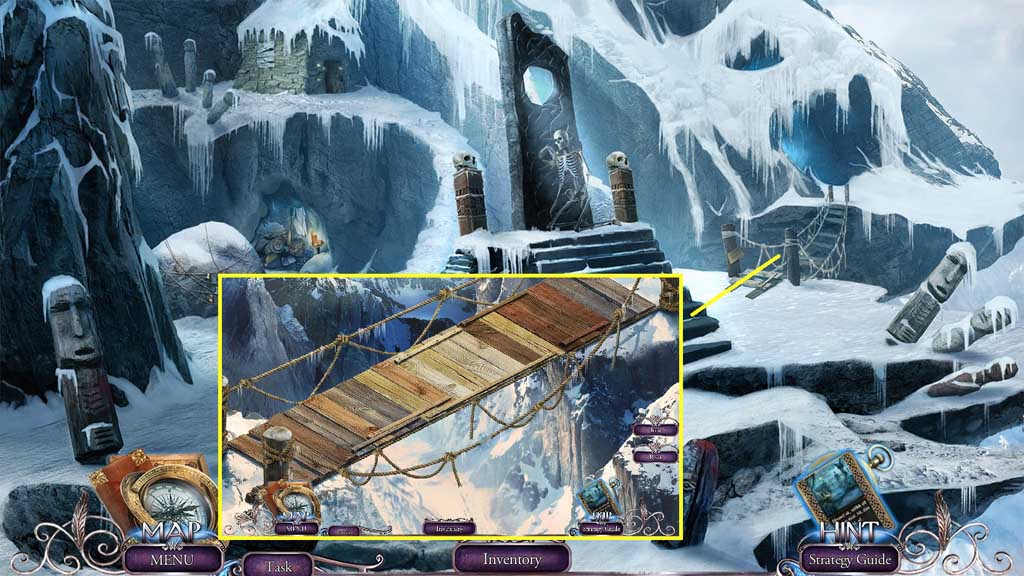
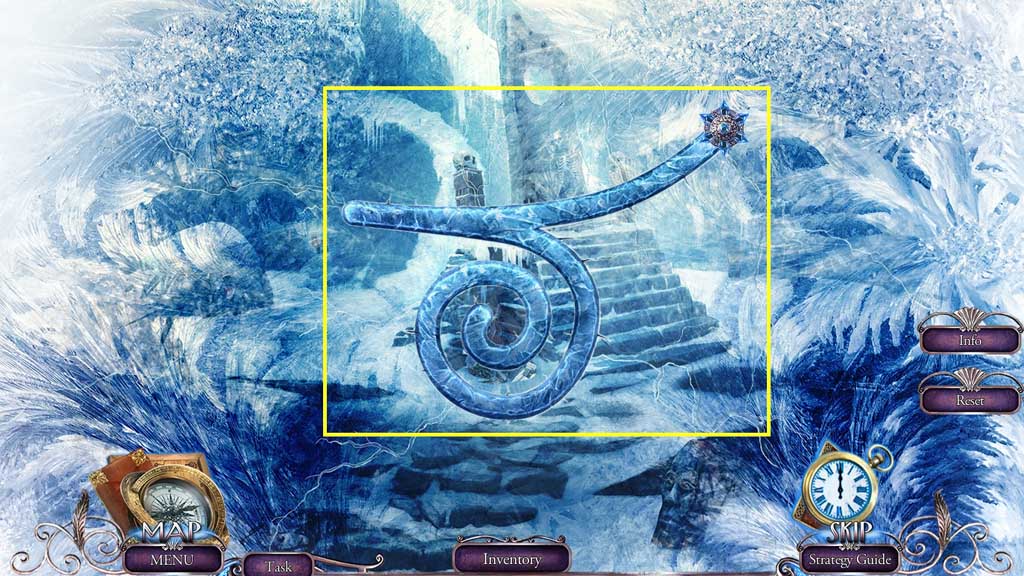
- Place the bridge fragment to trigger a mini game.
- Solve the game by restoring the bridge.
- Move ahead.

- Collect the pickaxe handle.
- Move down 2x’s.
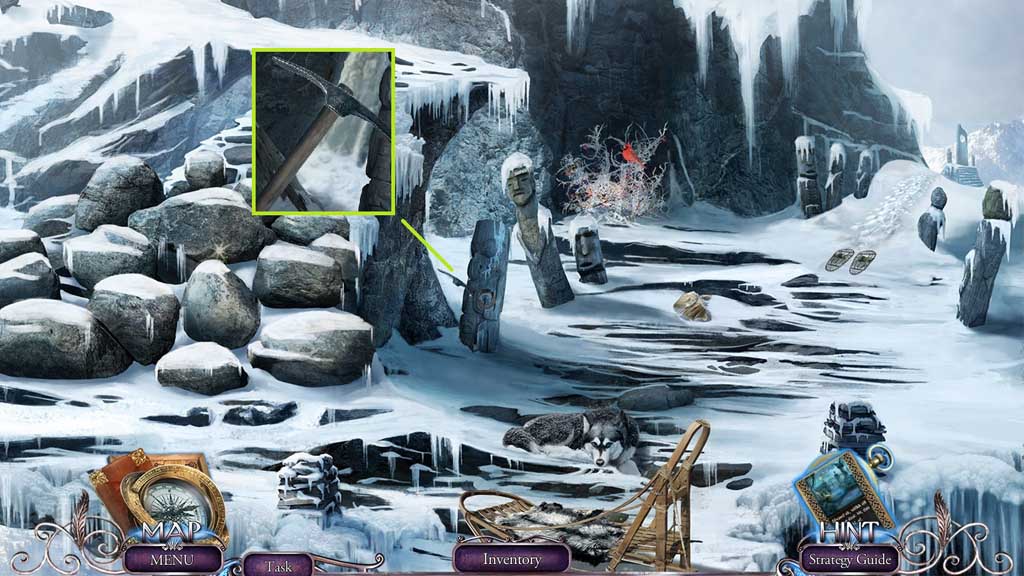
- Attach the pickaxe handle; collect the pickaxe.
- Move ahead 2x’s.
- Select the pickaxe to collect the 2nd precious flower and the signet ring.
- Select the pickaxe to collect the Letter “T.”
- Move down once.
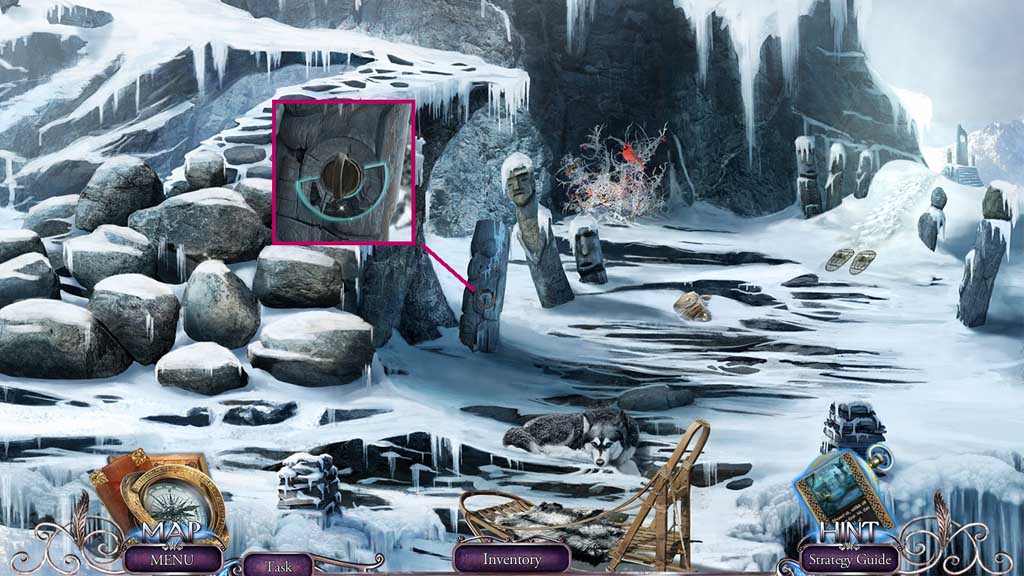
- Insert the defense amulet to trigger a mini game.
- Solve the game by dragging the amulet through the rune.
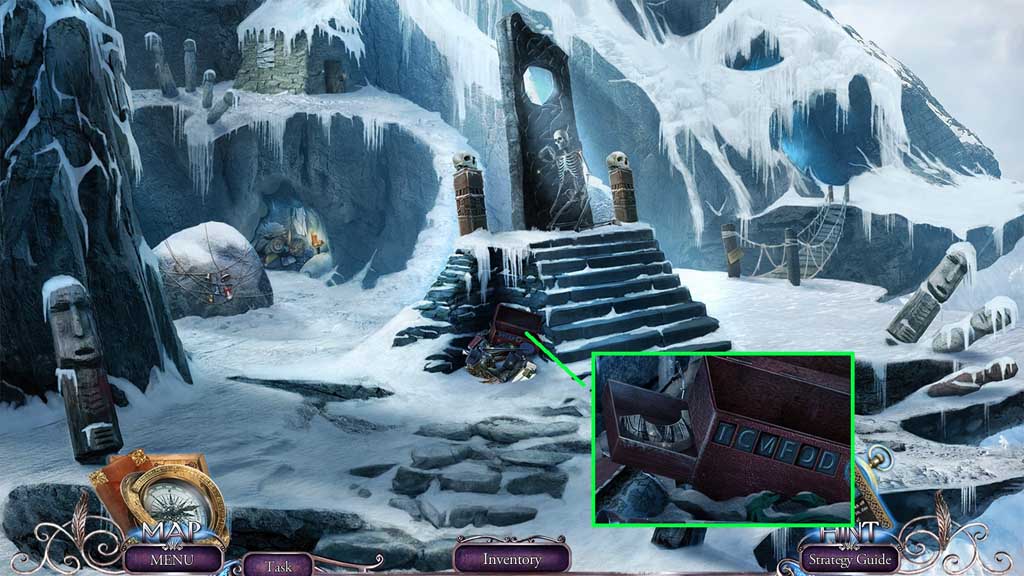
- Insert the letter “T.”
- Click the letters T – O – M.
- Collect the 1st wooden disk half.
- Move down once.
- Insert the signet ring; collect the 2nd wooden disk.
- Move ahead 2x’s.
- Insert the 2 wooden disks and restore the image.
- Click the hidden objects area.
- Find the items.
- Select the gem and place it into the heart; collect the necklace.
- Select the wind up key and place it into the box; collect the bird.
- Select the clock face and insert it into the case; collect the pocket watch.
- Collect the lock pick.
- Move down once.
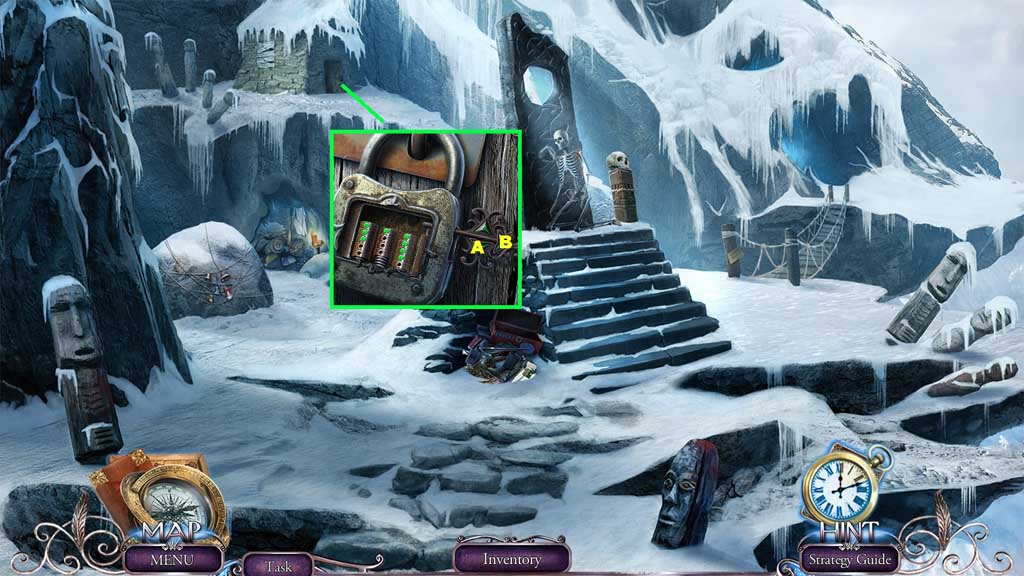
- Insert the lock pick to trigger a mini game.
- Solve the game by opening the lock.
- Use the following sequence to solve: A x 3 – B – A – B – A x 4 – B
- Move into Madman’s House.
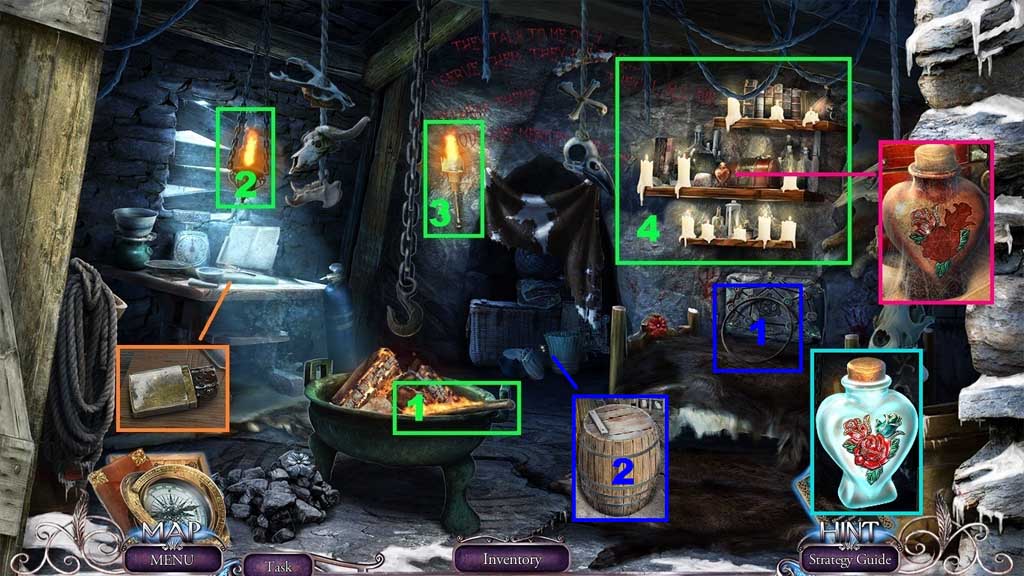
- Select the stick and use it to ignite the torches and candles.
- Collect the lighter.
- Collect the hearts bottle and insert the 2 precious flowers to create 0 /2 vials of souls.
- Collect the barrel rim and place it onto the barrel, place the lid and collect the barrel.
- Move down once.
- Select the 0 /2 vials of souls to collect 1 /2 vials of souls.
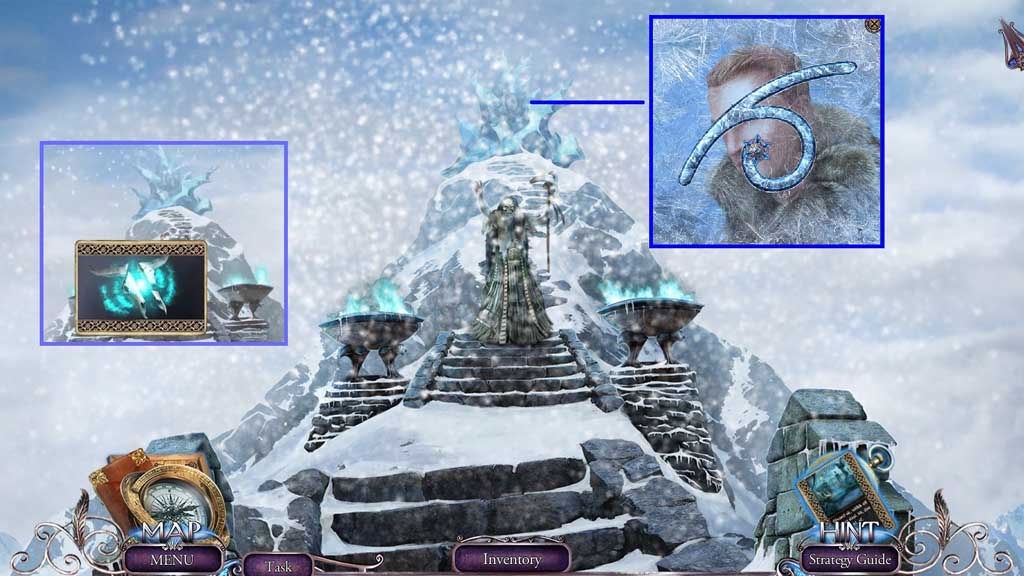
- Move to the Ice Meadow.

- Select the 1 /2 vials of souls to collect the vial of souls; place it into the groove.
- Collect the silver skull and 1 /4 card pieces.
- Move to the Madman’s Hut.
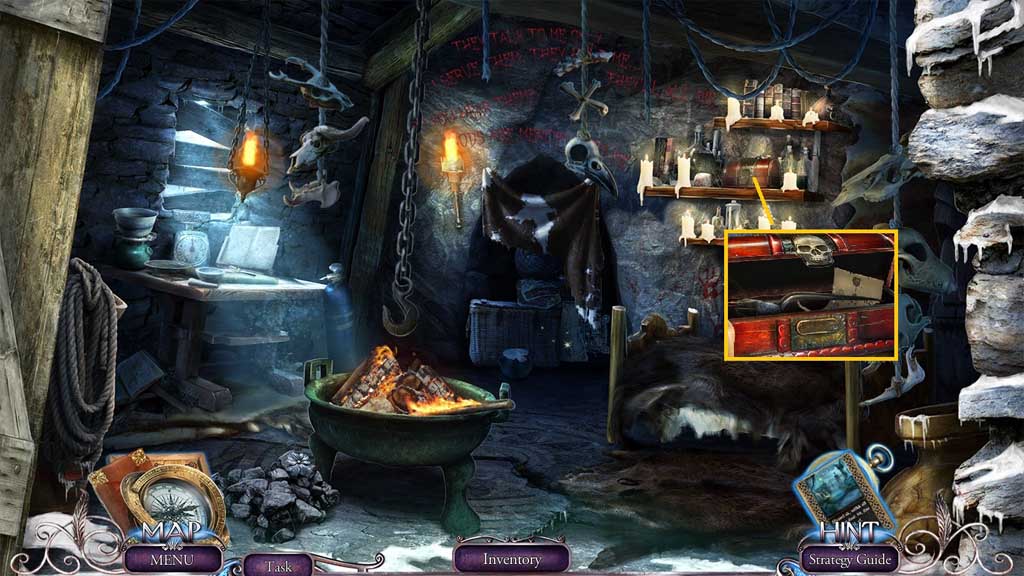
- Insert the silver skull; collect the wire cutters and the explosive recipe.
- Move down 2x’s.
- Select the wire cutters to collect 2/ 4 card pieces and the fuse.
- Move to the Madman’s Hut.
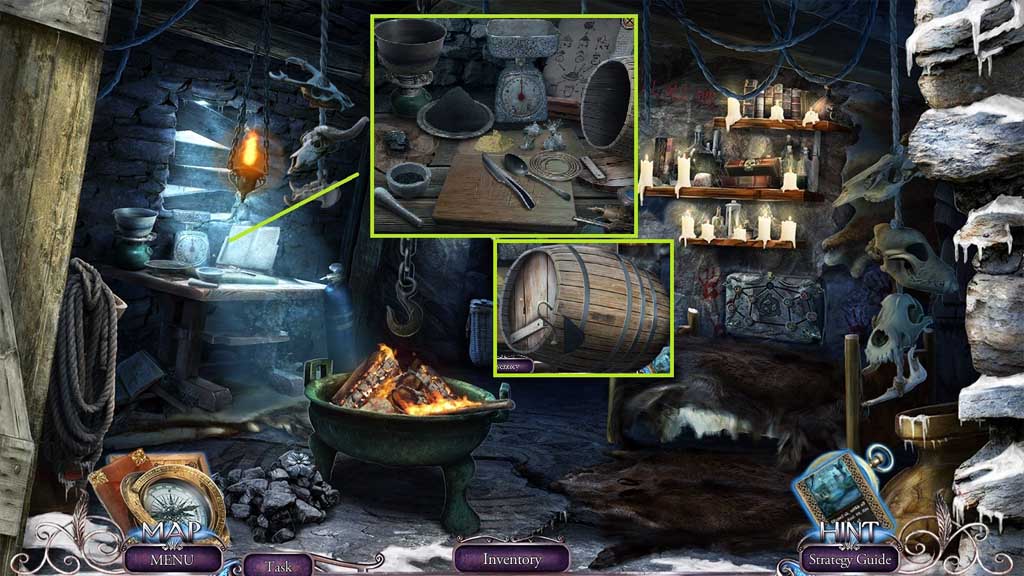
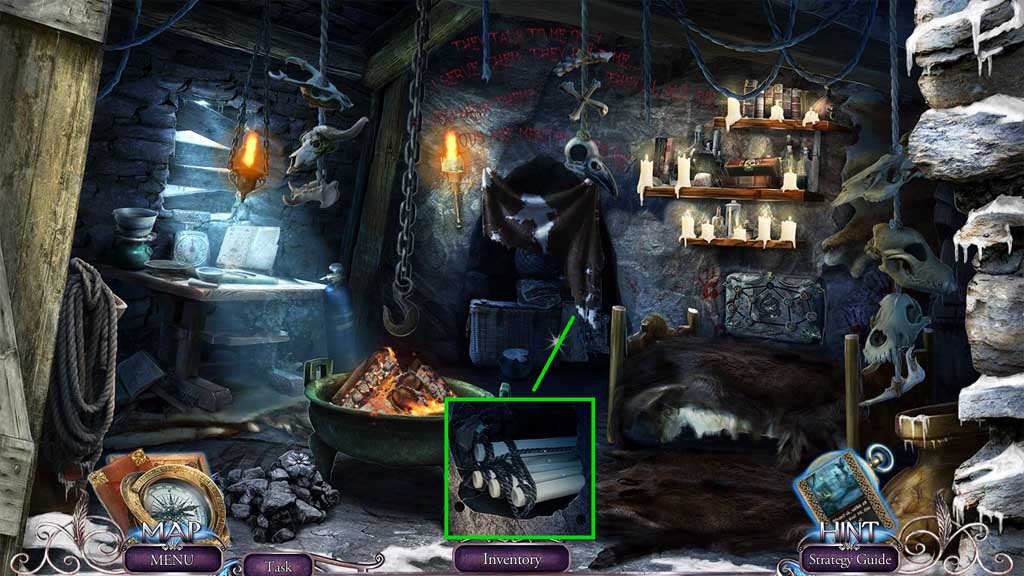
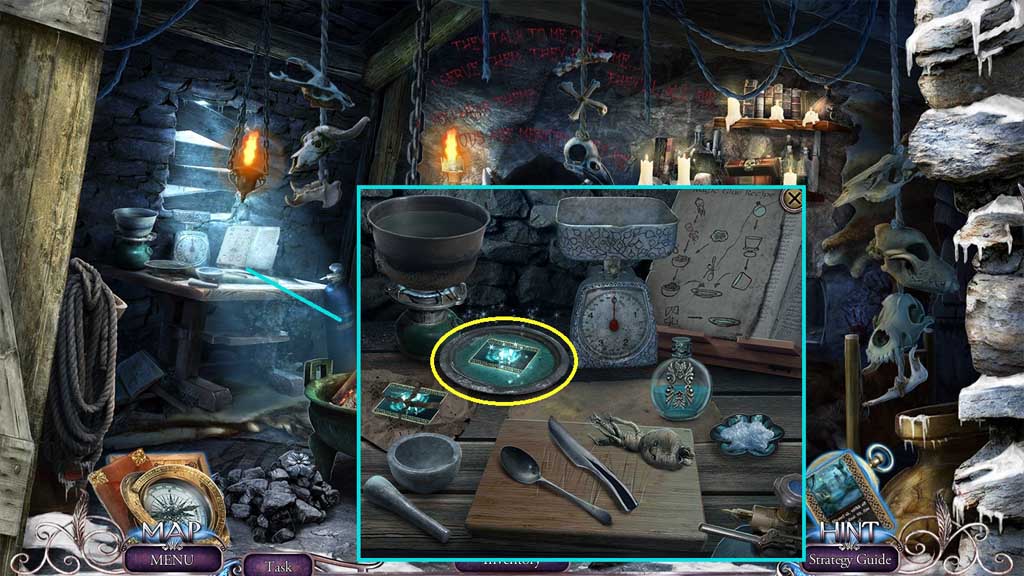
- Click the table.
- Place down the barrel, the fuse and the explosives recipe onto the table.
- Place the charcoal into the mortar and crush it using the pestle.
- Select the spoon 2x’s to place the charcoal into the scales bowl.
- Pour the bowl onto the plate.
- Follow the same process using the 3 spoonfuls of sulfur.
- Place the 4 saltpeter crystals onto the scale and place them onto the plate.
- Select the spoon to stir the mixture on the plate.
- Select the plate and pour it into the barrel; attach the lid and fuse.
- Collect the barrel of explosives.
- Move down 2x’s.
- Select the barrel of explosives; place it into the rocks and ignite it using the lighter.
- Move to the Mountain Slope.
- Collect the screwdriver.
- Read the note.
- Move to the Madman’s Hut.
- Select the screwdriver to collect the rope ladder piece.
- Move to the Mountain Slope.
- Place the rope ladder onto the partial ladder.
- Collect the amulet of ravens and the harp stone.
- Read the note.
- Move to the Madman’s Hut.
- Insert the amulet of ravens to trigger a mini game.
- Solve the game by aligning the runes correctly.
- Use the following sequence to solve: H – I – G – D – B – A – C – E – H – I – G – D – B – A – E – F – G – D – B – A- C – E – A – B – C – D – E
- Collect the gem and 3 /4 card pieces.
- Move to the Mountain Slope.
- Insert the gem.
- Collect 4 /4 card pieces and the knight’s amulet.
- Insert the knight’s amulet; collect the bottle of viscous liquid and the magic glue recipe.
- Move down once.
- Select the sharp stone to collect the shovel.
- Move to the Ice Meadow.
- Select the shovel to uncover and collect 0 /2 ice flower pollen and the mandrake root.
- Select the 0 /2 ice flower pollens to collect 1 /2 ice flower pollens.
- Move down once.
- Select the 1 /2 ice flower pollens to collect 2 /2 ice flower pollens.
- Move into the Madman’s Hut.
- Click the potion table.
- Place the magic glue recipe, the ice flower pollen, the mandrake root, the bottle of viscous liquid and 4 card pieces onto the table.
- Select the knife to slice the mandrake and place the pieces into the mortar along with the ice flower pollen.
- Select the pestle to crush it.
- Pour the mixture onto the plate.
- Pour the viscous liquid into the bowl on the burner and then into the plate; use the spoon to stir it.
- Place the card pieces onto the plate to create the anti-magic card.
- Move to the Mountain Slope and move ahead.
- Select the anti-magic card to trigger a mini game.
- Solve the game by attaching and dragging the defense amulet through the rune.