
Sea of Lies: Burning Coast: Chapter Six: Enter into Quarantine
Trust our Sea of Lies: Burning Coast Walkthrough when you have no where left to turn and your chances of survival from this nightmare situation you've found yourself in are dwindling. Our detailed gaming instructions, custom marked screenshots, and simple puzzle solutions are willing and waiting to stand between you and this dangerous madman who has you in his clutches.
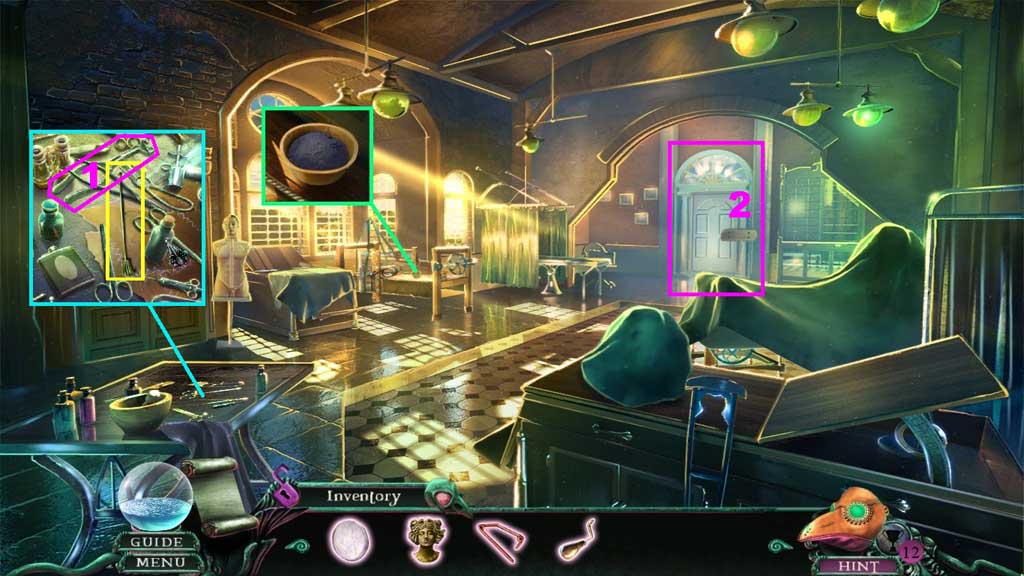
- Collect the polishing dust.
- Click the tools; collect the claw retractor.
- Click the tools; collect the forceps and use them to remove the nails.
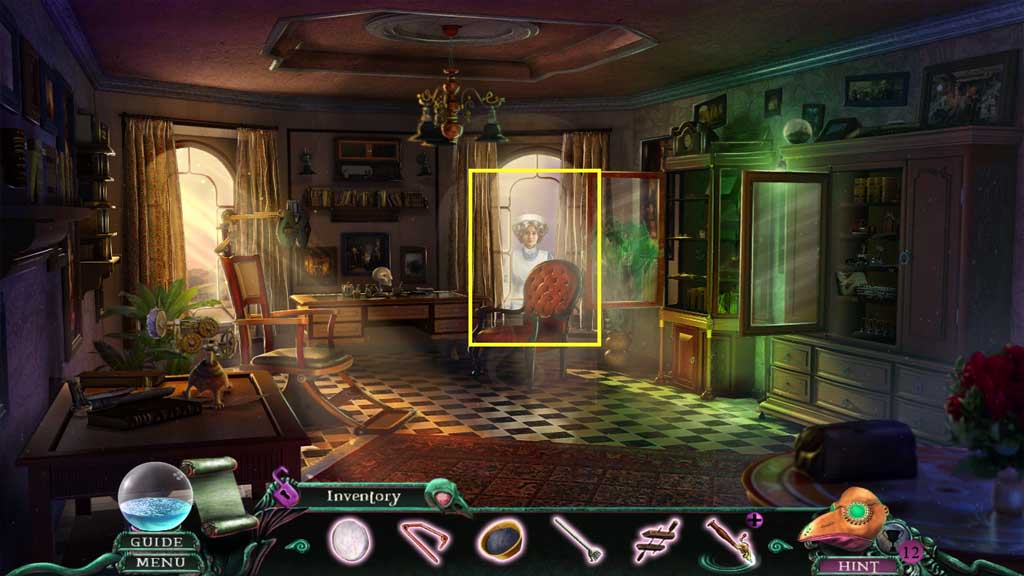
- Move ahead to the Ophthalmology Room.
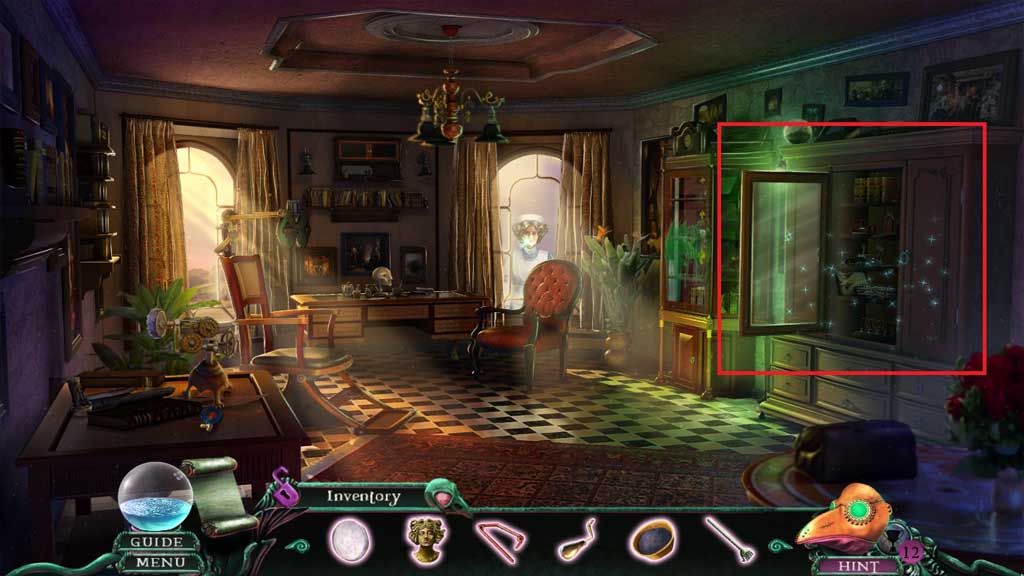
- Click the cupboard to trigger a hidden objects area.
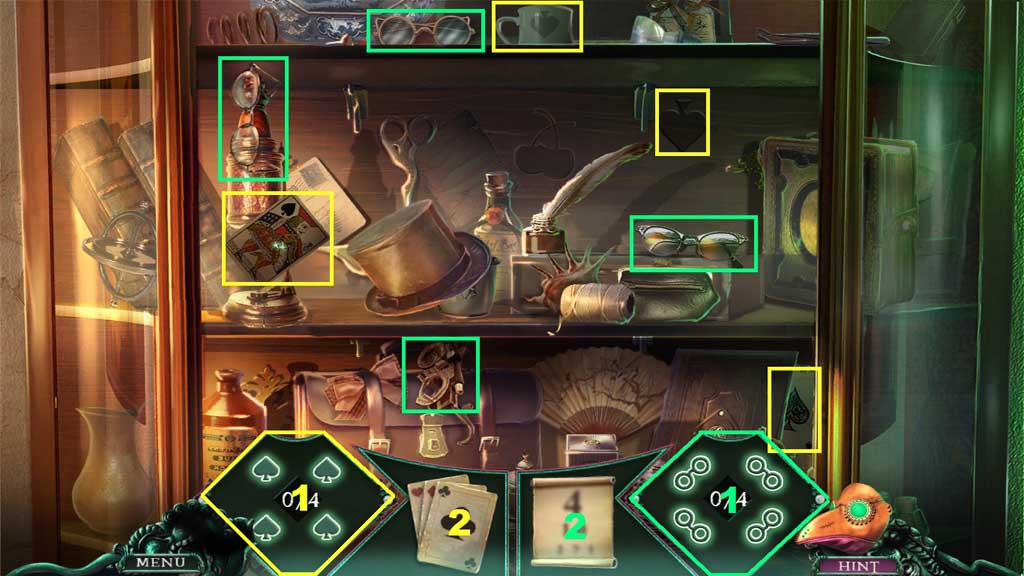
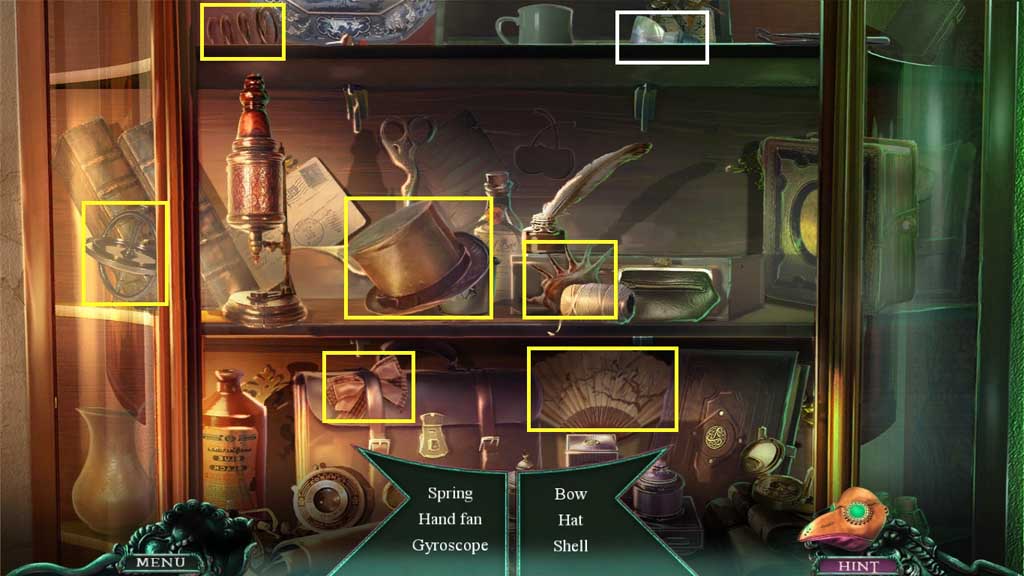
- Find the items.
- Collect the eye drops.
- Collect the small pump.
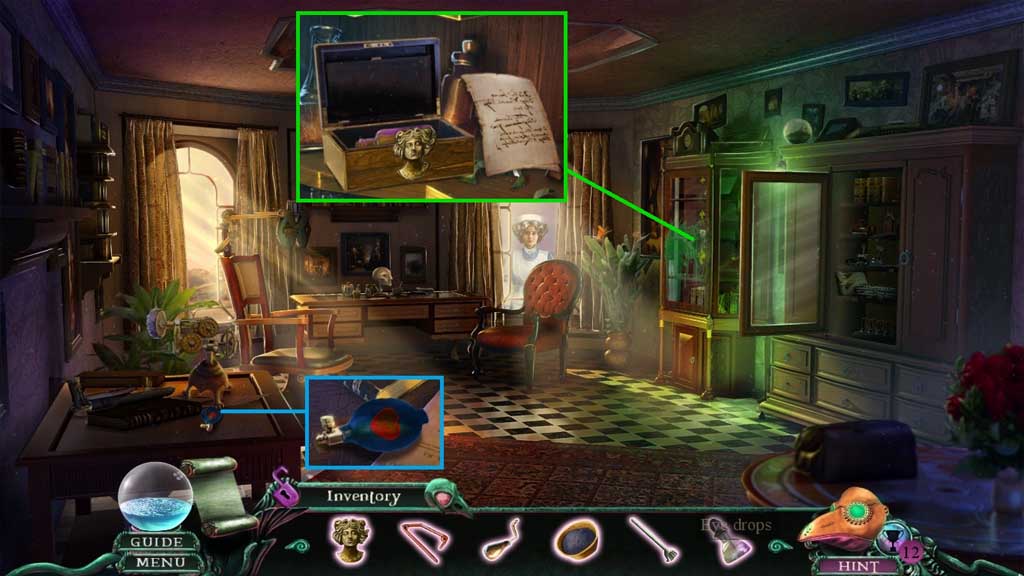
- Click the cupboard open.
- Collect the note and insert the goddess emblem.
- Collect the wheel and the acetone bottle.
- Move down once.

- Click the handle and the rope.
- Attach the wheel and crank; click it once.
- Click the box open; collect the incomplete reagent.
- Read the note; click the cloth.
- Collect the carpentry vise.
- Select the eye drops and the acetone bottle onto the incomplete reagent to receive the reagent.
- Click the mannequin; attach the small pump to trigger a mini game.
- Solve the game by adjusting the squares to create a continuous stream from pump to heart.
- Collect the broken brace.
- Move ahead.
- Give the reagent to the nurse.
- Move to the left to the Archive.
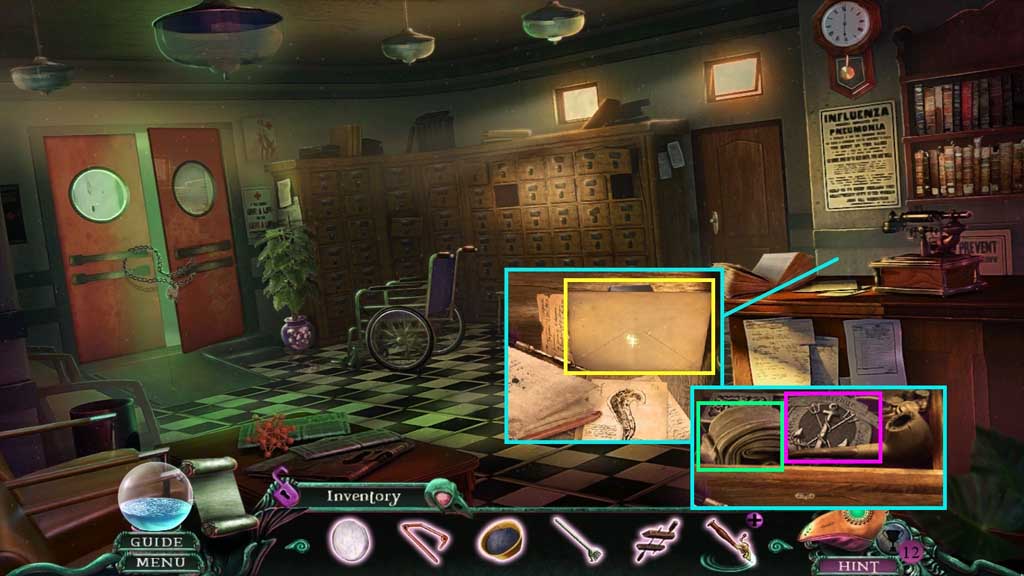
- Collect the note and the unreadable note.
- Click the box open.
- Collect the Loredge crest and the transmission belt.
- Move down once.
- Attach the transmission belt.
- Collect 1 /2 black gems and the broken magnifier.
- Move ahead.

- Place the scratched lens and use the polishing dust on it.
- Place the broken magnifier; click the cracked lens.
- Place the unreadable note and collect the magnifying glass and the drawer clue.
- Move down once and to the left.
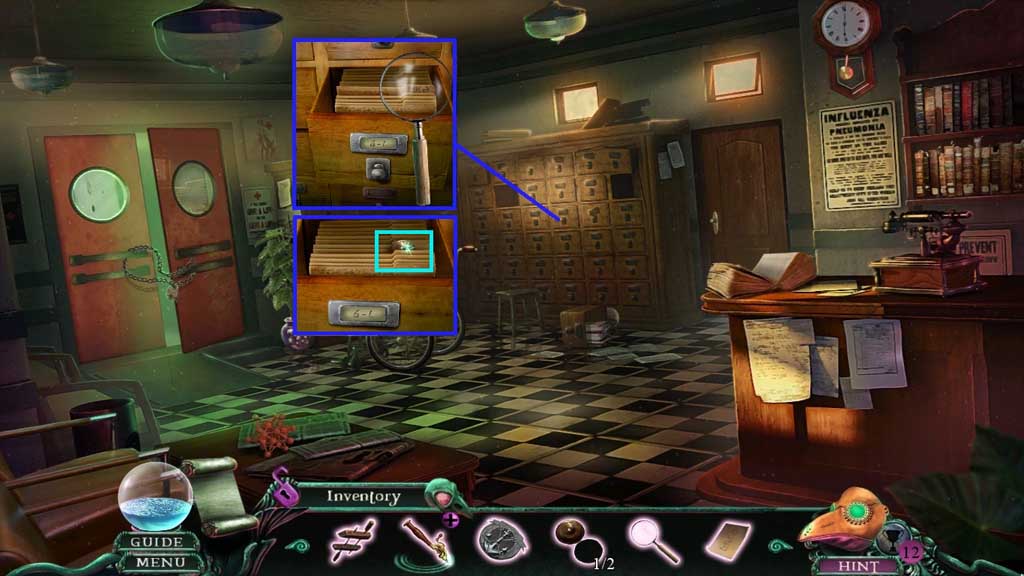
- Place the drawer clue down and click the drawer open.
- Collect the file and 2 /2 black gems.
- Move down once and to the right into the Ophthalmology Room.
- Insert 2 /2 black gems.
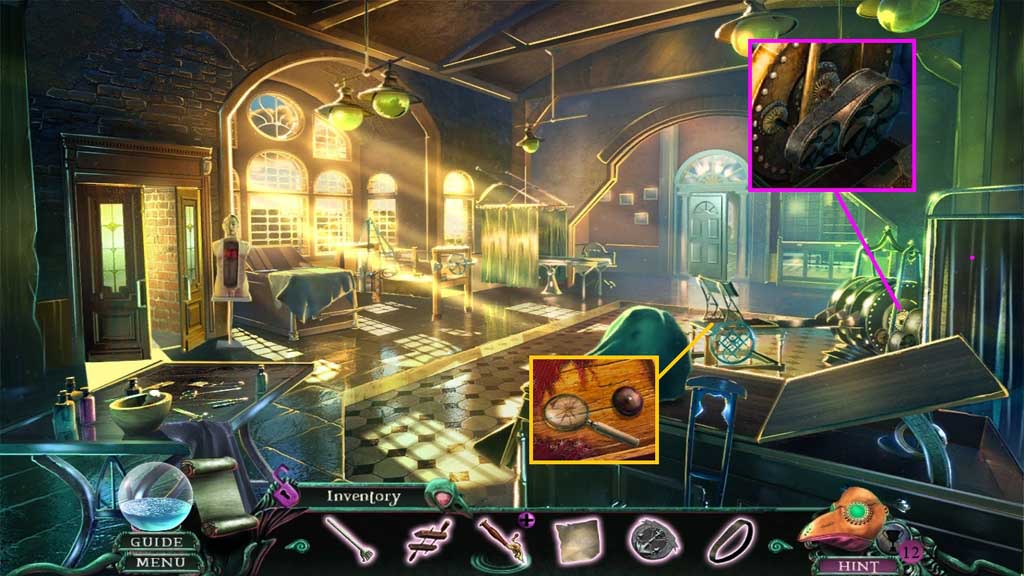
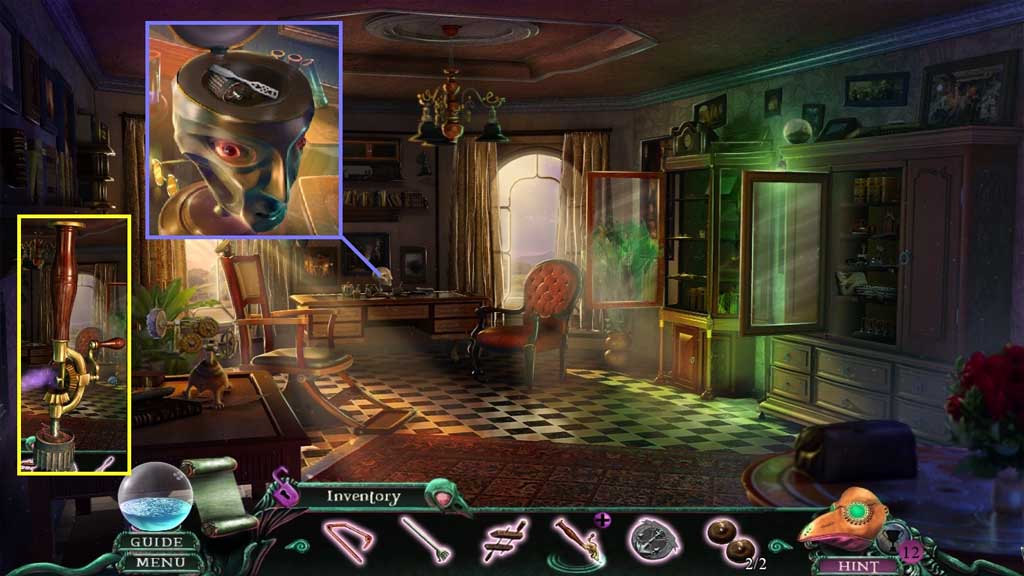
- Collect the tongue depressor and the drill part.
- Click the broken brace and attach the drill part and small clamp; receive the brace drill.
- Move down once and to the left into the Archive.

- Select the brace drill to use on the door lock.
- Move to the right into the Hospital Yard and click the hidden objects area.
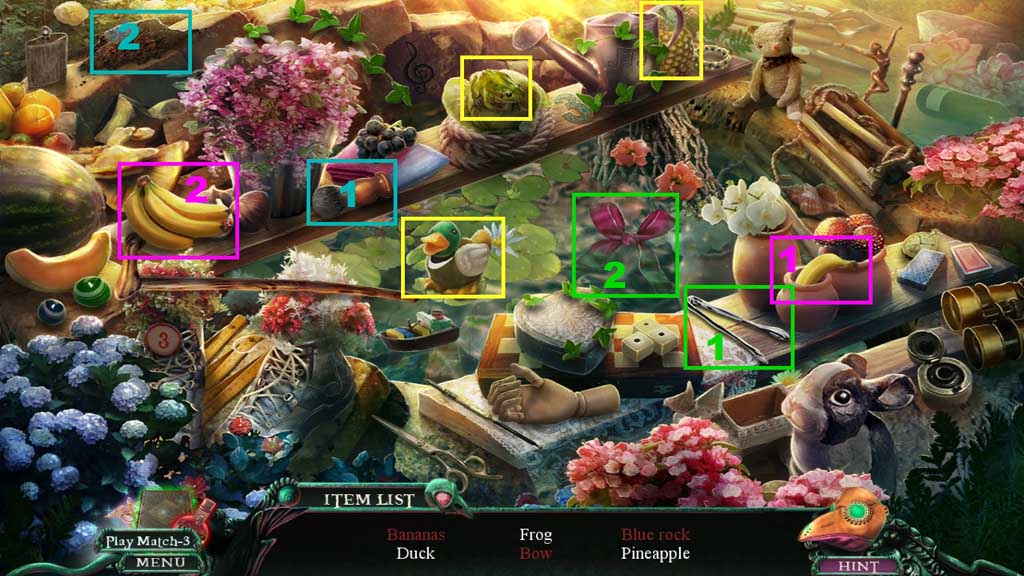
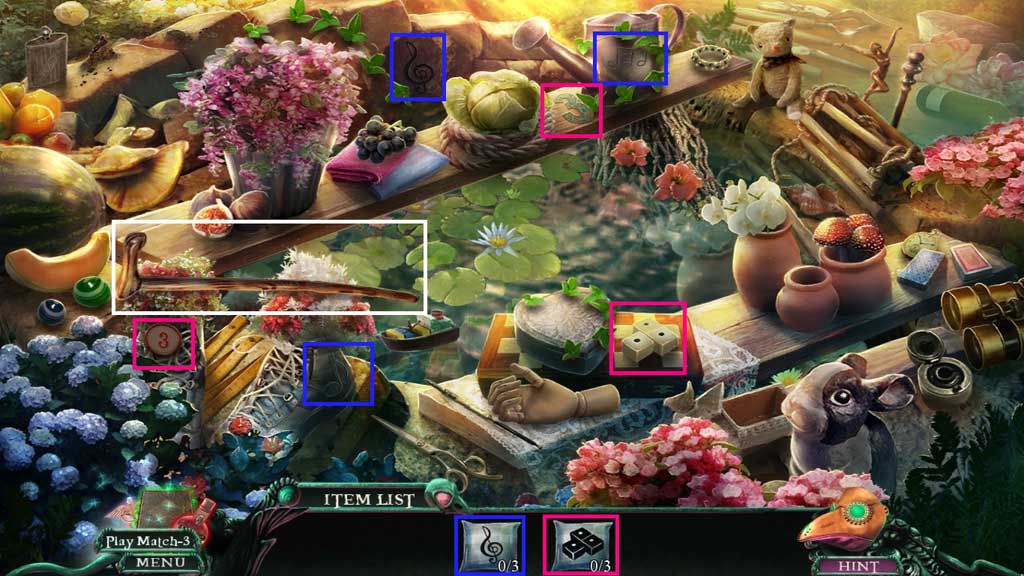
- Find the items.
- Collect the walking cane.
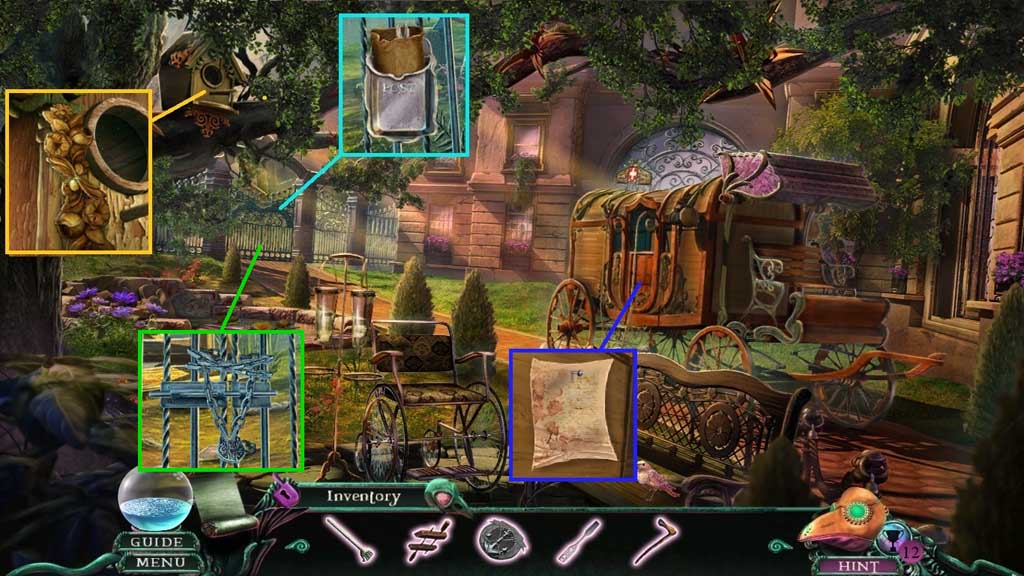
- Select the tongue depressor to open the mailbox.
- Click the envelope.
- Collect the garden clippers.
- Collect the gilded ornament.
- Insert the Loredge crest into the carriage door.
- Read the note.
- Collect the gate key and insert it into the gate.
- Move left to the Woods.
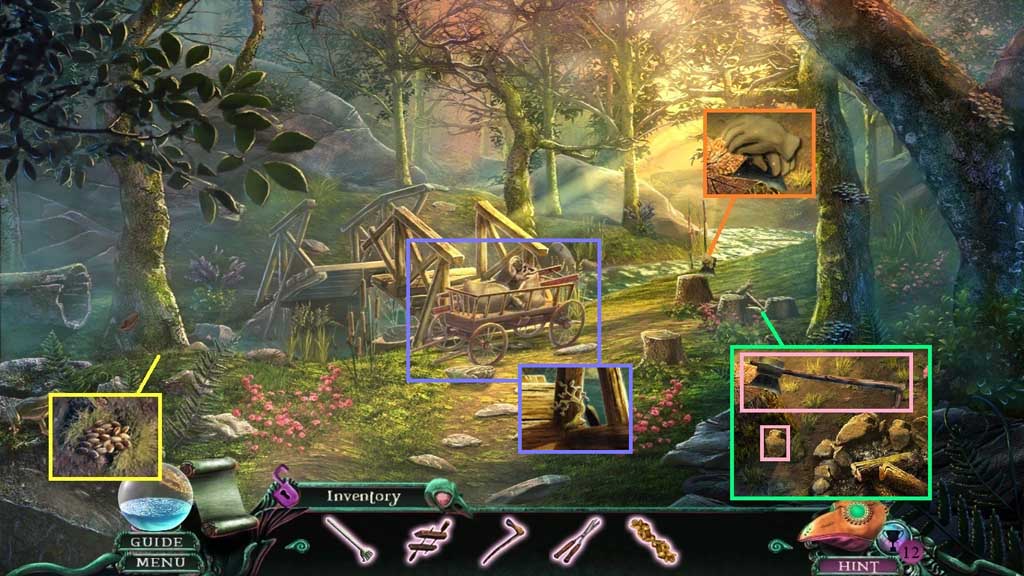
- Collect the seeds.
- Collect 1 /3 beekeeper’s sets.
- Place the walking cane onto the axe head.
- Select the stone to strike the axe.
- Collect the improvised axe.
- Click the cart items and the cart aside.
- Zoom into the bridge; collect the tree badge.
- Move down once into the Hospital Yard.
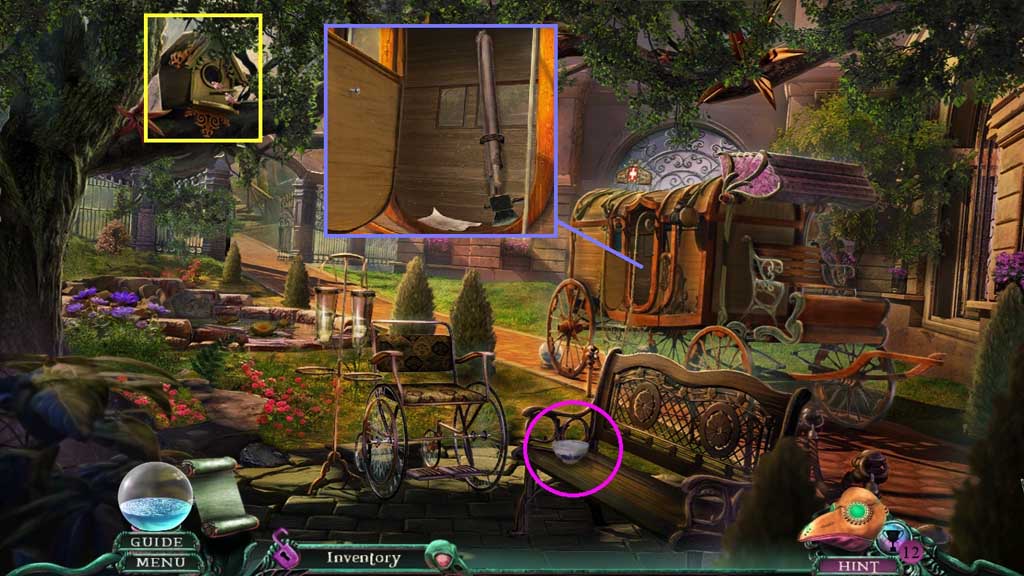
- Place the seeds into the birdhouse.
- Collect the cup.
- Select the improvised axe to collect the medical stretcher.
- Move left to the Woods.
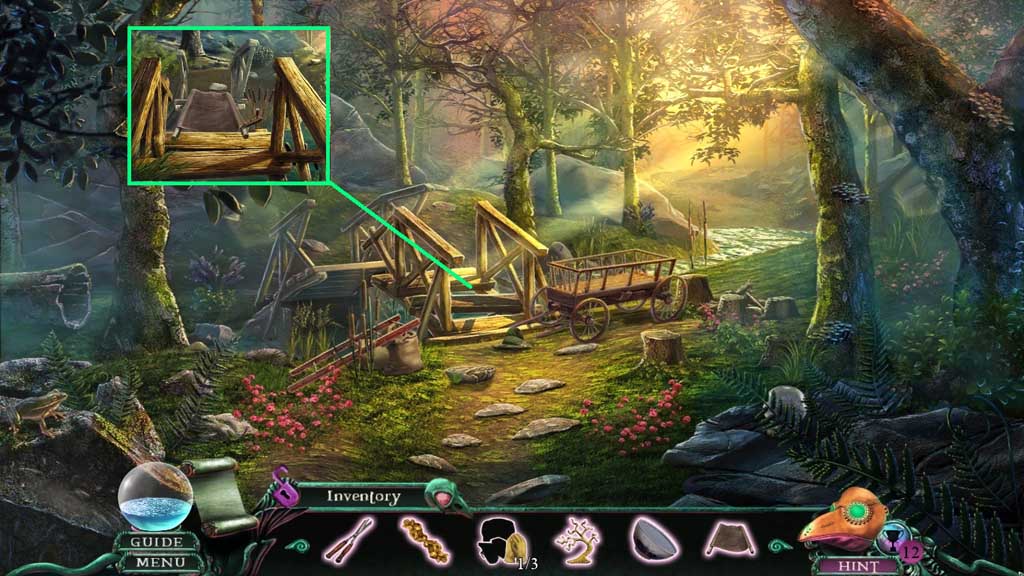
- Place the medical stretcher across the bridge gap.
- Select the carpentry vise to secure it.
- Move ahead.