
Nightmares from the Deep: Davy Jones: Chapter Five: Into the Mines
Our Nightmares from the Deep Davy Jones Walkthrough will serve as your stalwart companion as you brave the pirate vessel of the infamous Davy Jones. Our detailed, step-by-step instructions, custom marked screenshots, and simple puzzle solutions will help you survive your latest encounter with the dreaded pirate and his crew.
- Collect the lampshade.
- Move to the Kitchen and zoom into the trap door to access a hidden objects area.

- Find the pictured items.
- Collect the looped rope.
- Click the lamp lid and pour in the liquid from the oil can.
- Click the lid and use the burning splinter to light the wick.
- Attach the lampshade.
- Collect the oil lamp.
- Move to the Tunnels.

- Select the oil lamp to illuminate the darkness.
- Collect the planks.
- Place down the looped rope and the planks to fix the broken track.
- Move into the Labyrinth.
- Select the oil lamp to illuminate the darkness.
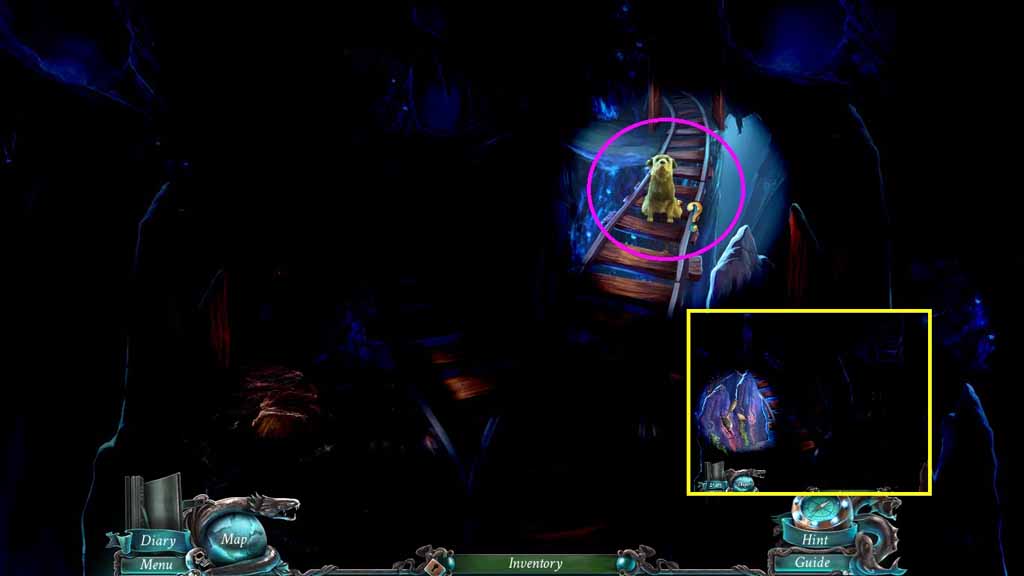
- Follow the dog to the right.
- Click the cover and click the lever.
- Move to the right and move straight ahead.
- Uncover and click the lever; move left.
- Uncover and click the lever; move straight ahead.
- Uncover and click the lever; move to the left.

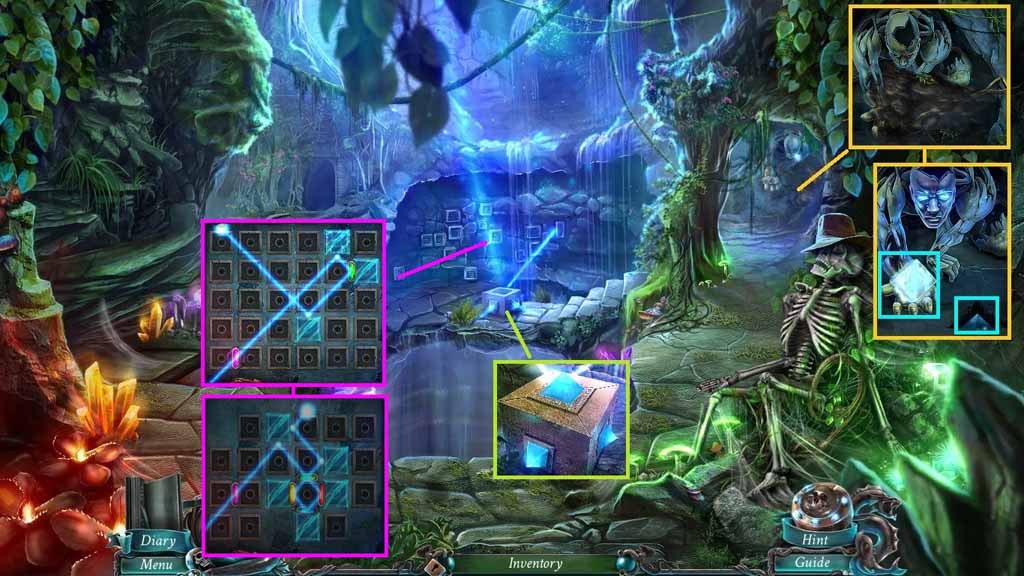
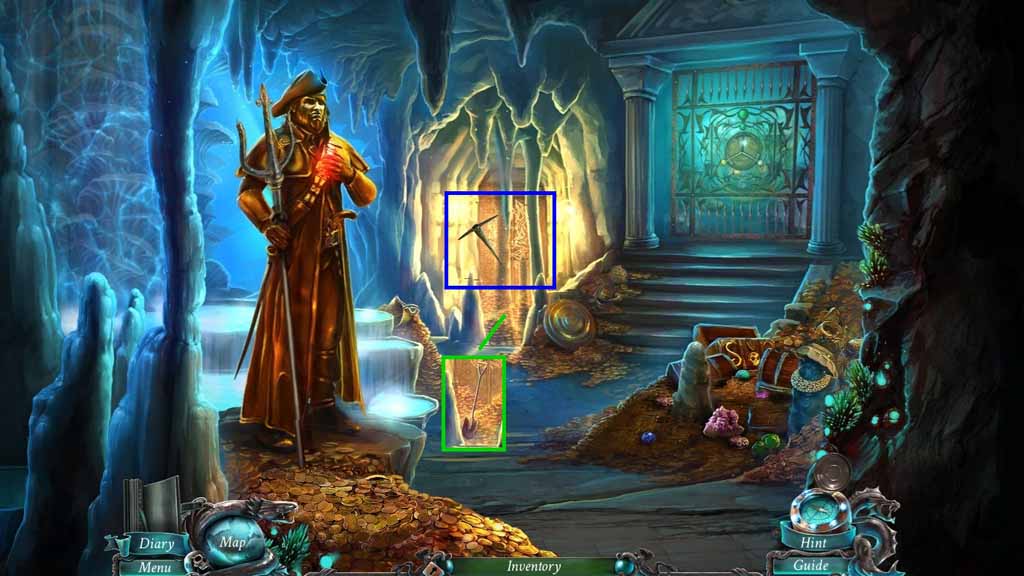
- Collect the spade and the pickaxe.
- Select the pickaxe to slide the slab.
- Zoom into the hole to trigger a puzzle.
- Solve the puzzle by sliding the blocks to free the metal block.
- Move ahead to the Hideout.
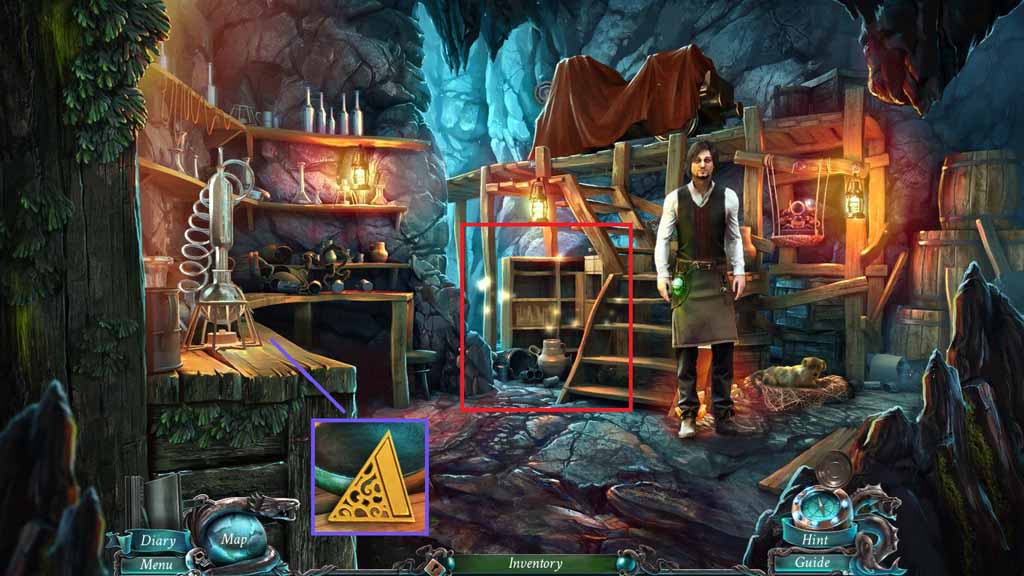
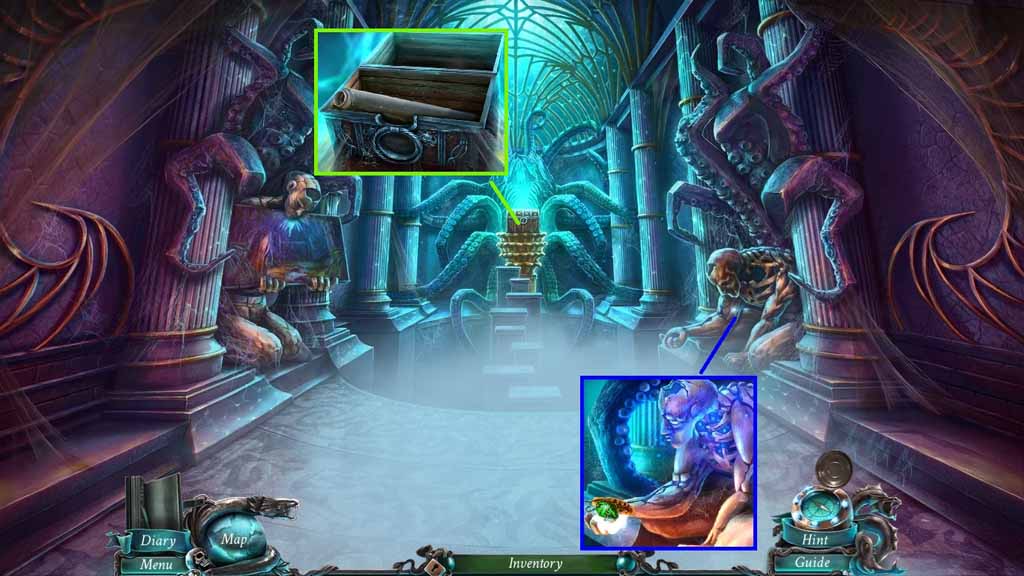
- Collect the emblem.
- Click the shelf to trigger a hidden objects area.
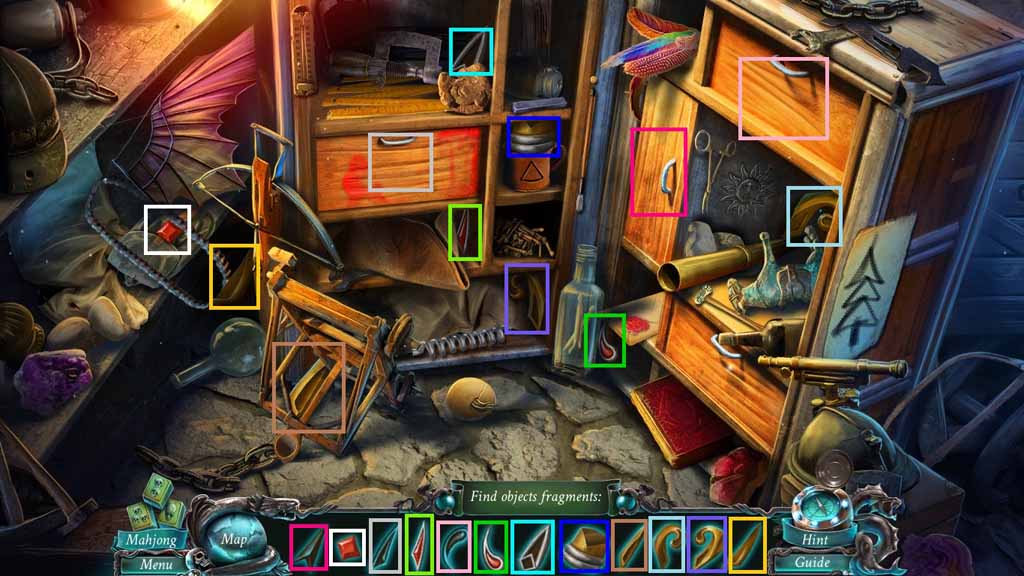
- Find the pictured items.
- Collect 1 / 2 tridents teeth.
- Move to the Tunnels.
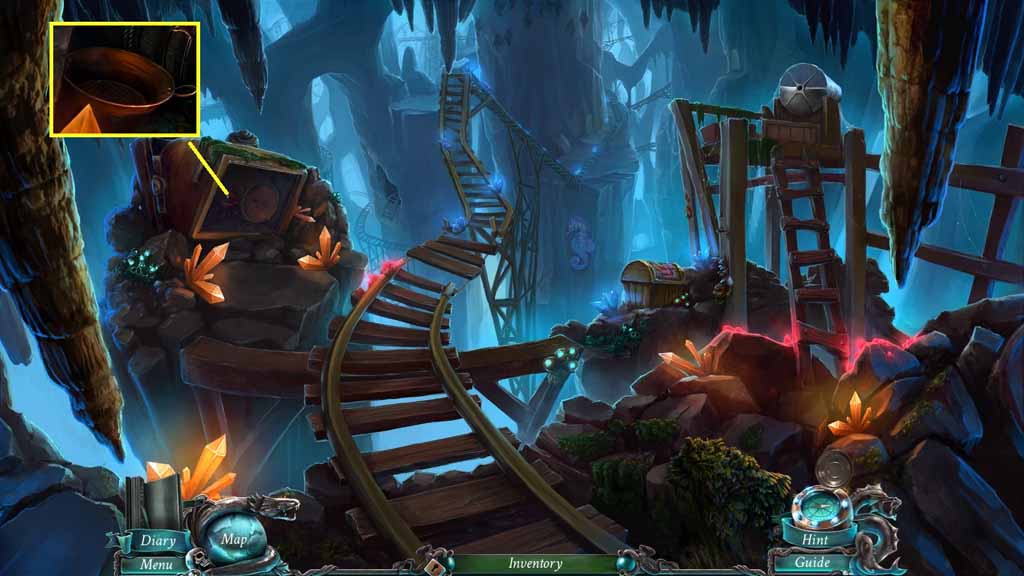
- Select the oil lamp to illuminate the darkness.
- Collect the strainer.
- Move back once.
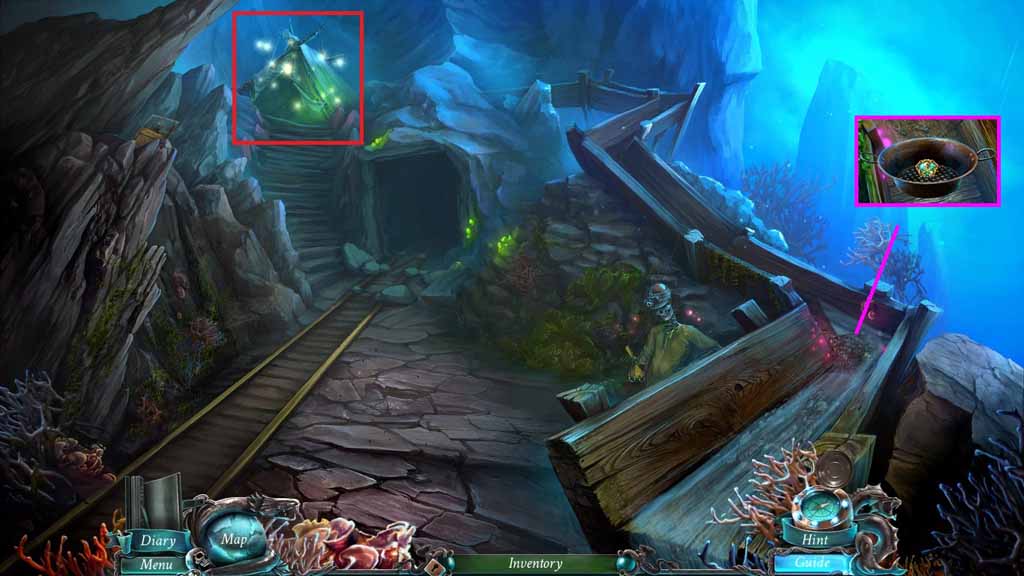
- Select the strainer to use in the chute.
- Collect the doubloon.
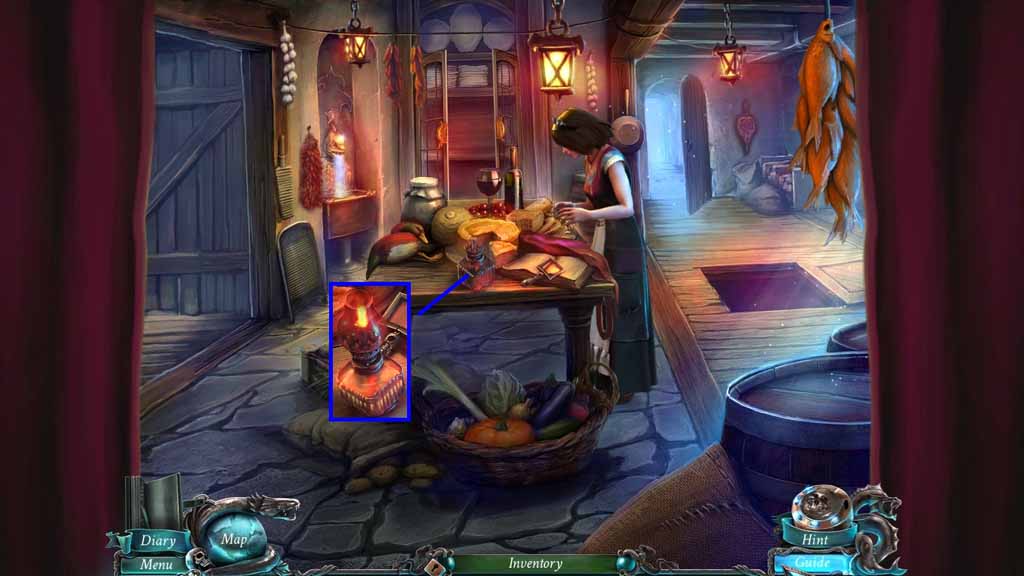
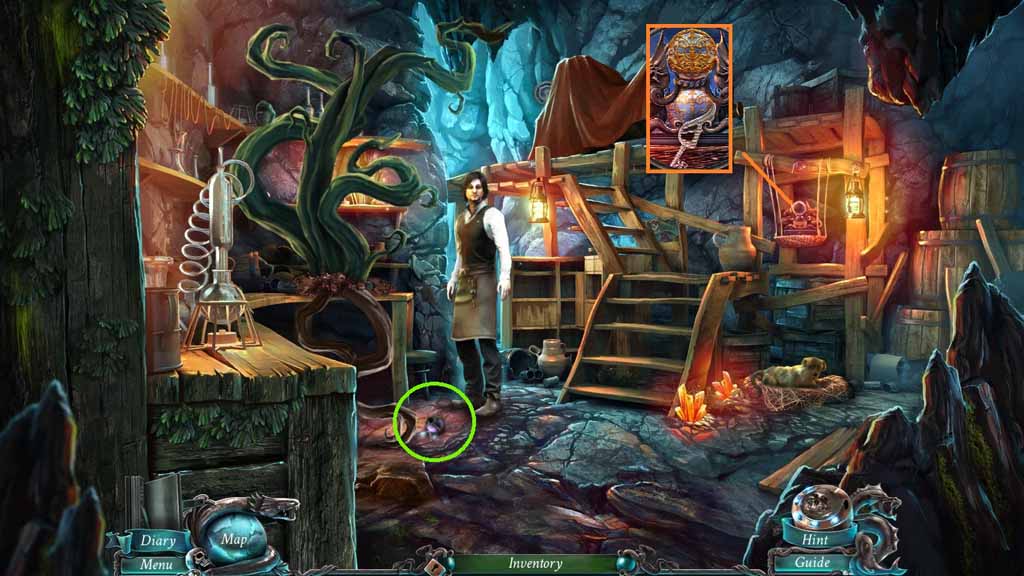
- Click the tent to trigger a hidden objects area.
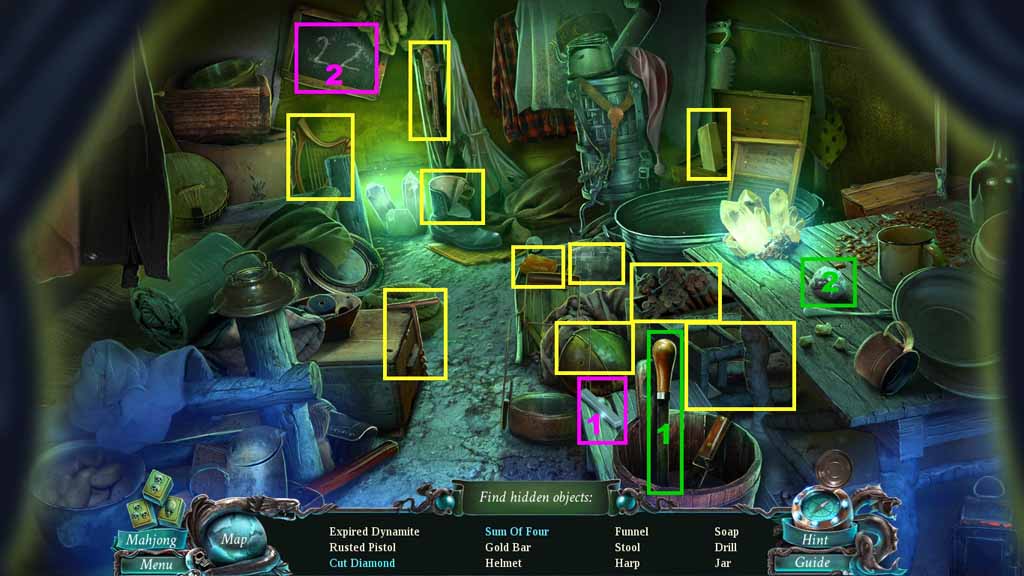
- Find the listed items.
- Select the file and use it on the stone; collect the cut diamond.
- Select the chalk to create and collect the sum of four.
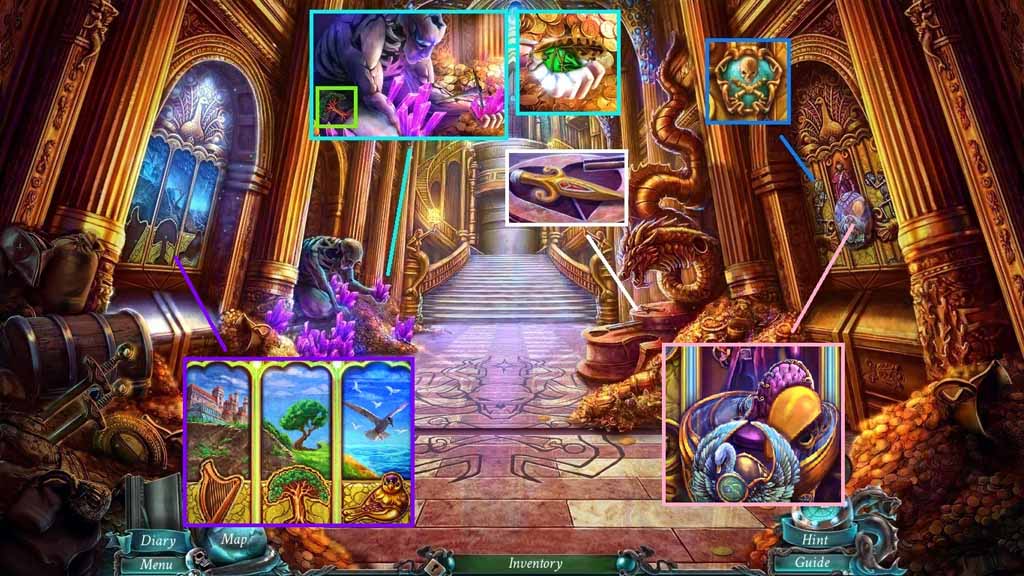
- Collect the harp.
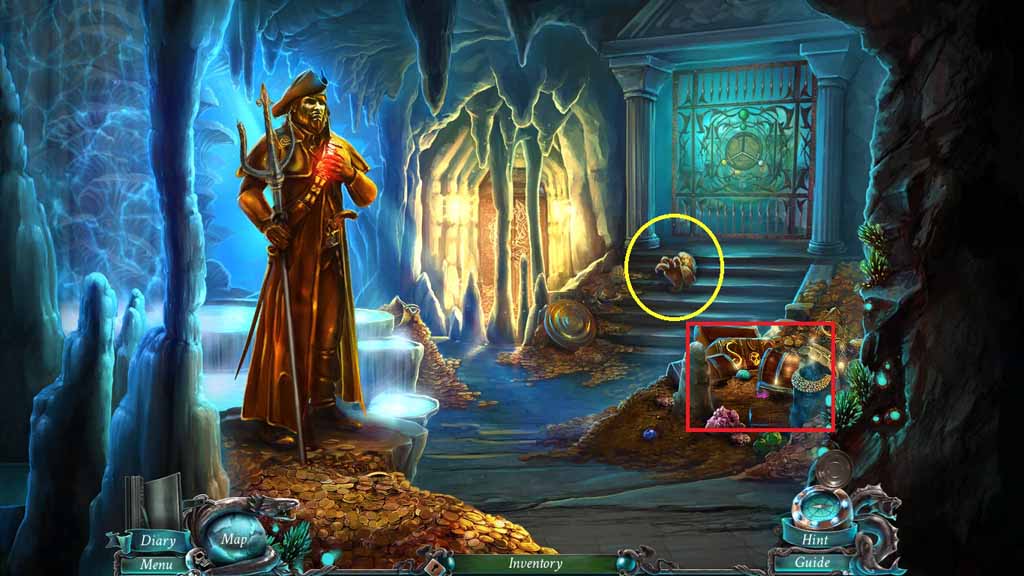
- Move to the Chamber.
- Select the spade to dig the dirt around the statue.
- Insert the emblem into the slot; collect the pyramid.
- Place the doubloon into the guardian’s hand and collect 3 /3 puzzle pieces.
- Place the pyramid into the box.
- Place the puzzle pieces into the wall to trigger a puzzle.
- Solve the puzzle by arranging the crystals correctly.
- Move into the Niche.
- Collect the dragon’s paw.
- Zoom into the treasure to trigger a hidden objects area.

- Find the pictured items.
- Collect the hourglass bulb.
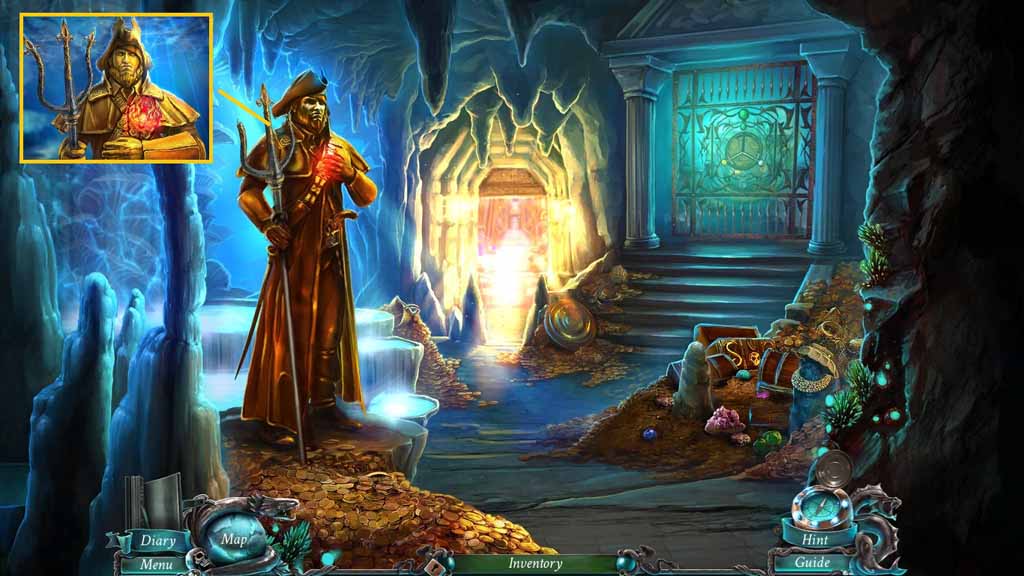
- Move to O’Malley.
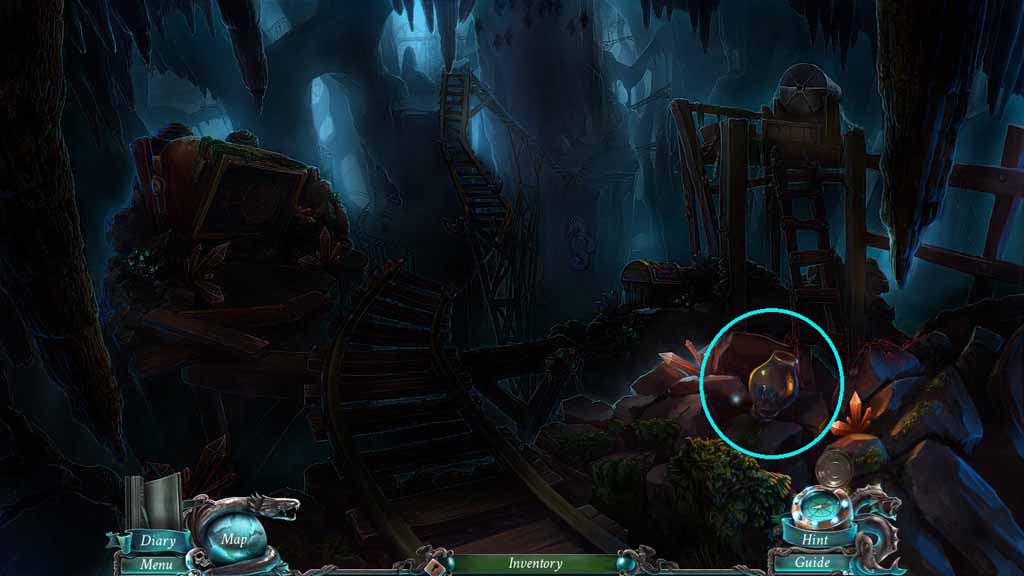
- Collect the potion vial.
- Place the hourglass bulb into the hourglass.
- Collect the cage key.
- Move to the Entrance.

- Select the cage key to open the cage.
- Collect the decorative bird.
- Move to the Niche.
- Select the pickaxe to remove the stalagmite.
- Select the spade to remove the gold and jewels.
- Click the door open and move into the Golden Cave.
- Collect the doubloon and the trident tooth.
- Collect the tree.
- Select the pickaxe to smash the crystals into the statue’s hand.
- Place the doubloon into the statue’s hand and collect 1 /4 voodoo crystals.
- Insert the tree, the decorative bird and the harp into the picture to trigger a mini game.
- Solve the game by switching the background tiles in the correct alignment.
- Click the sarcophagus; collect the golden heart.
- Move back once.
- Place the trident’s teeth onto the trident.
- Collect the Davy Jones’s symbol.
- Move ahead.
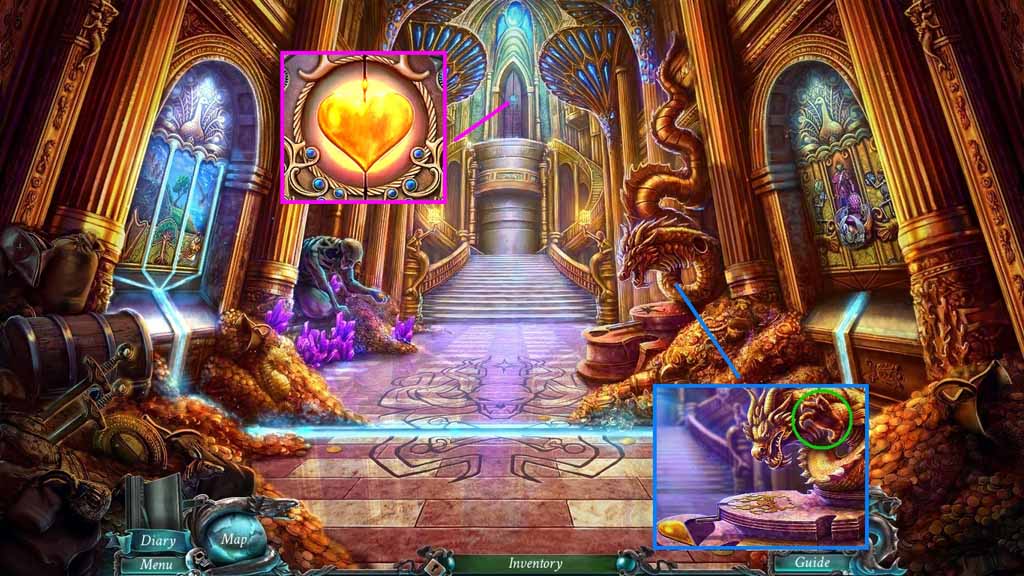
- Place the dragon’s paw, Davy Jones’s symbol and the golden hearts into their correct spaces.
- Click the dragon’s paw; collect the whole heart.
- Insert the whole heart into the slot.
- Move into the Secret Vault.
- Collect the doubloon to trigger a puzzle.
- Solve the puzzle by re-aligning the parts to create a completed image.
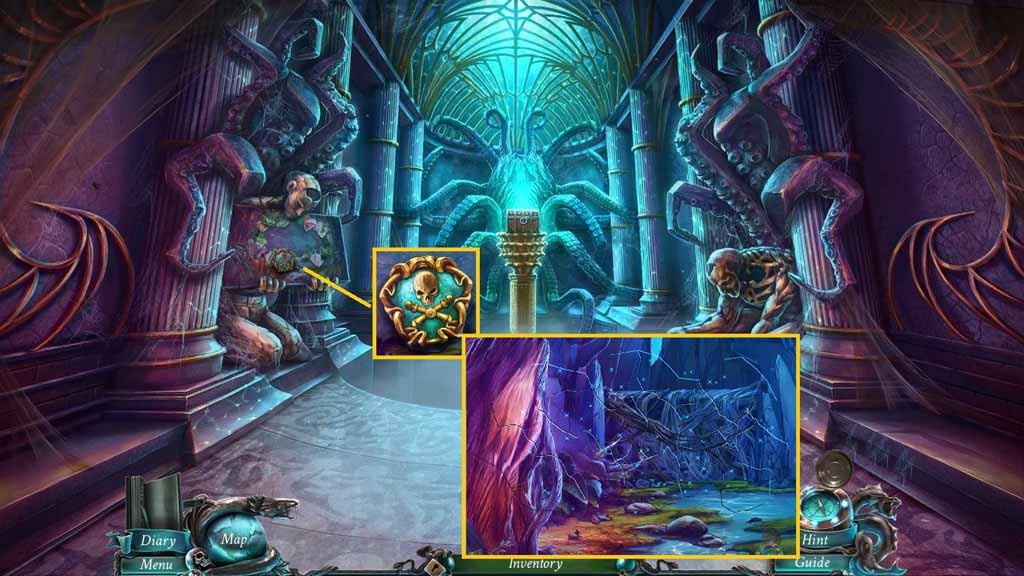
- Remove the cobwebs and insert the doubloon into the statue’s hand.
- Collect 2 /4 voodoo crystals.
- Click the chest and remove the cobwebs.
- Collect the painting.
- Move to O’Malley and click the shelf to trigger a hidden objects area.
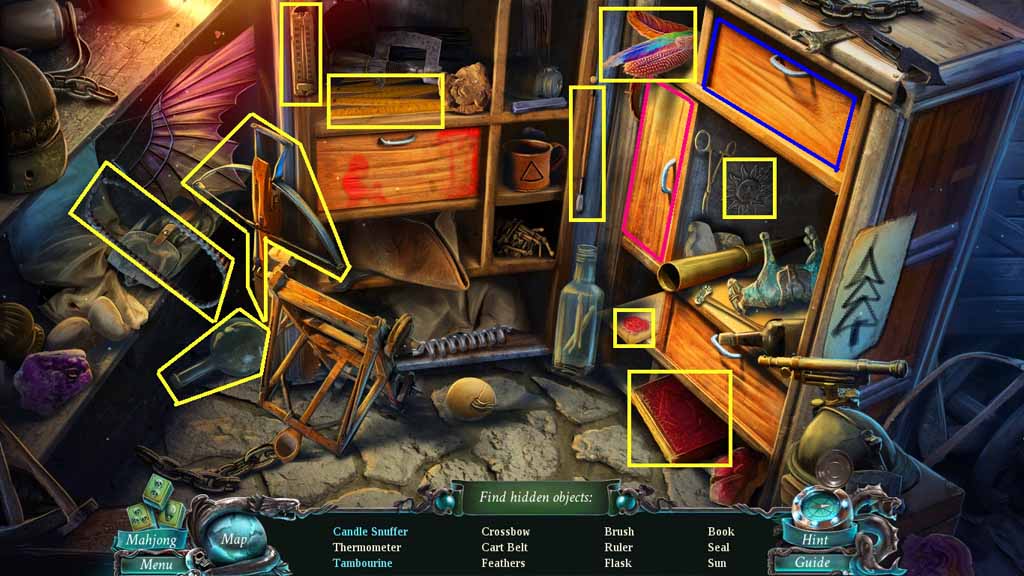
- Find the listed items.
- Click the side door; collect the candle snuffer.
- Click the top drawer; collect the tambourine.
- Collect the cart belt.