
Nearwood: Chapter Two: Over the Mountains
Our Nearwood Walkthrough will prove to be a valuable companion as you travel through this magical world in search of Jane's father and a way to drive the shadow creatures from the land. Rely on our detailed, point-by-point instructions, our beautiful custom screenshots, and our solutions to all the puzzles you'll encounter to help set the past wrongs to right and free the time keepers from their prison.
General Information & Tips
Chapter One: Welcome to Nearwood
Chapter Two: Over the Mountains
Chapter Three: Gnomes
Chapter Four: The Tree of Greatness
Ask for help in the comments below!
Chapter One: Welcome to Nearwood
Chapter Two: Over the Mountains
Chapter Three: Gnomes
Chapter Four: The Tree of Greatness
Ask for help in the comments below!

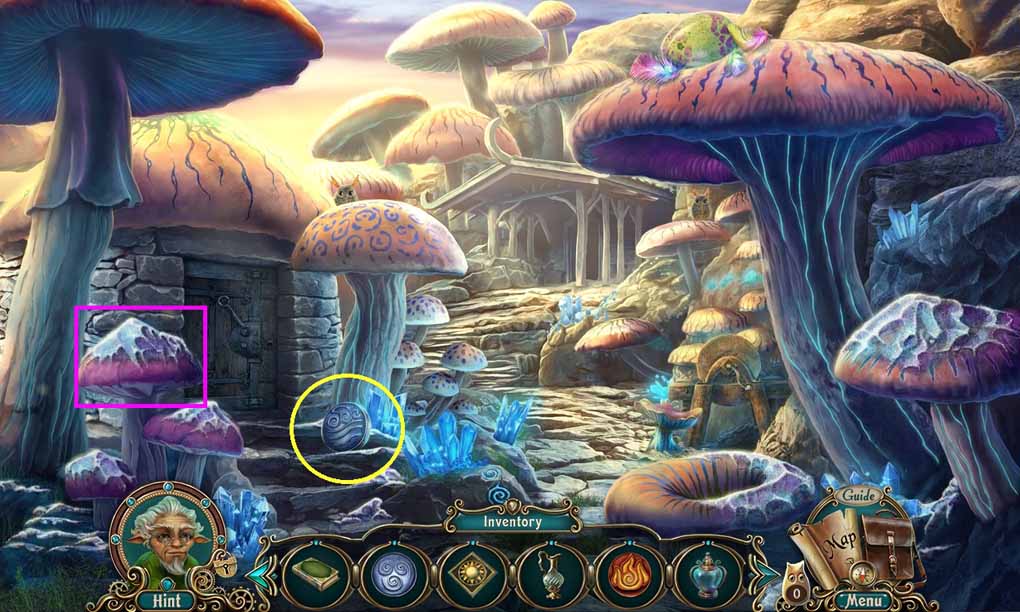
- Click the gate and insert the gate key.
- Click the handle.
- Move into the Garden.
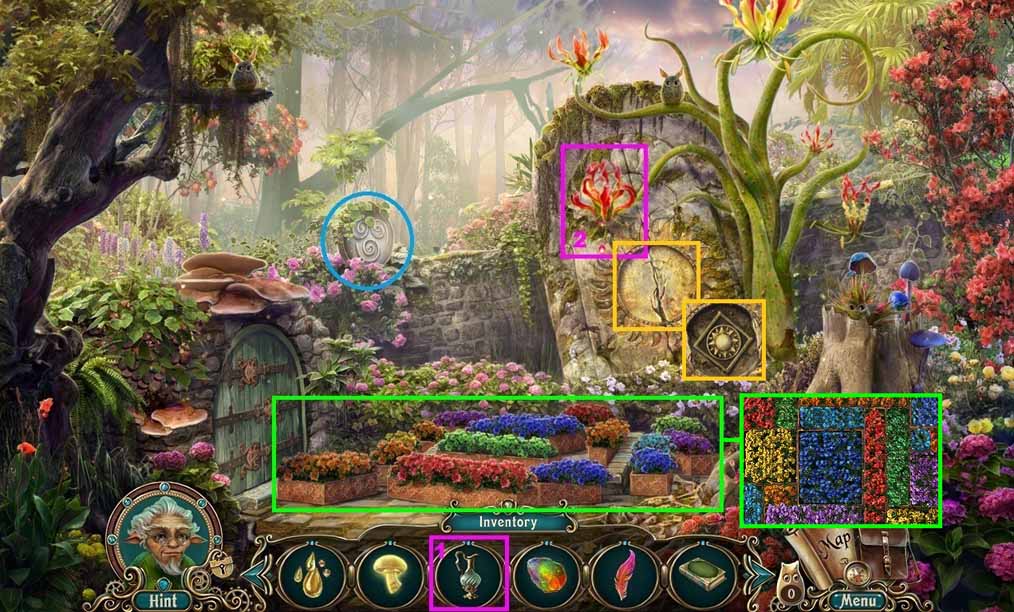
- Click the tree flower.
- Place the crystal pitcher beneath it to collect the tree flower nectar.
- Collect the air figurine.
- Click the flower bed to trigger a puzzle.
- Solve the puzzle by aligning the pieces to fit into the square while making sure that none of the same colors are adjoining.
- Click the crevice and collect the sun symbol.
- Move to your Parent’s House.
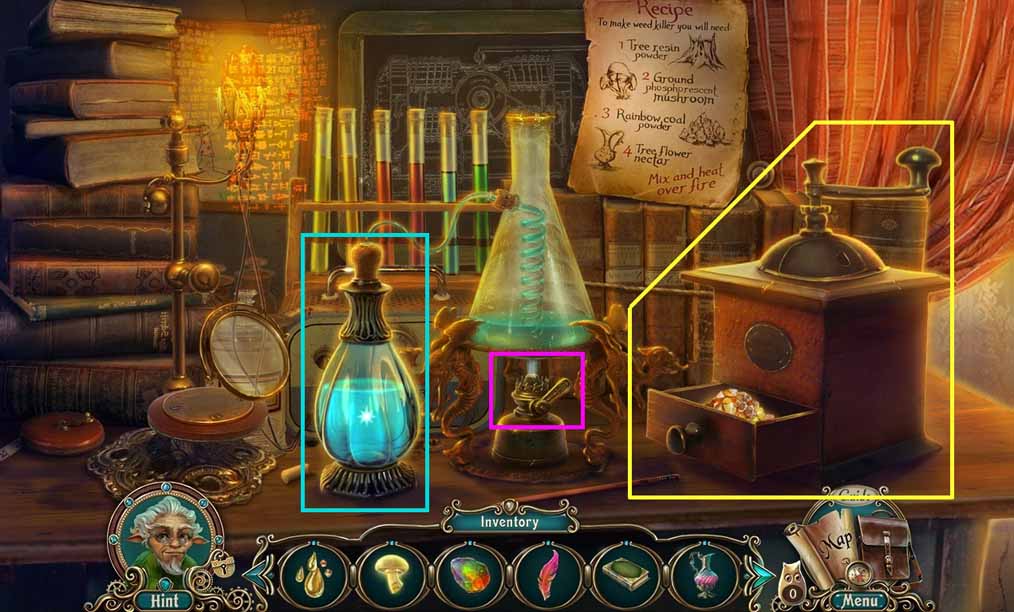
- Click the flasks.
- Place the tree sap into the grinder.
- Collect the tree sap powder and place it into the flask.
- Select the glowing mushroom and place it into the grinder.
- Collect the mushroom powder and place it into the flask.
- Select the rainbow coal and place it into the grinder.
- Collect the coal powder and place it into the flask.
- Select the tree flower nectar and place it into the flask then click the handle.
- Collect the weed killer.
- Move to the Crossroads.
- Select the weed killer and use it on the plant.
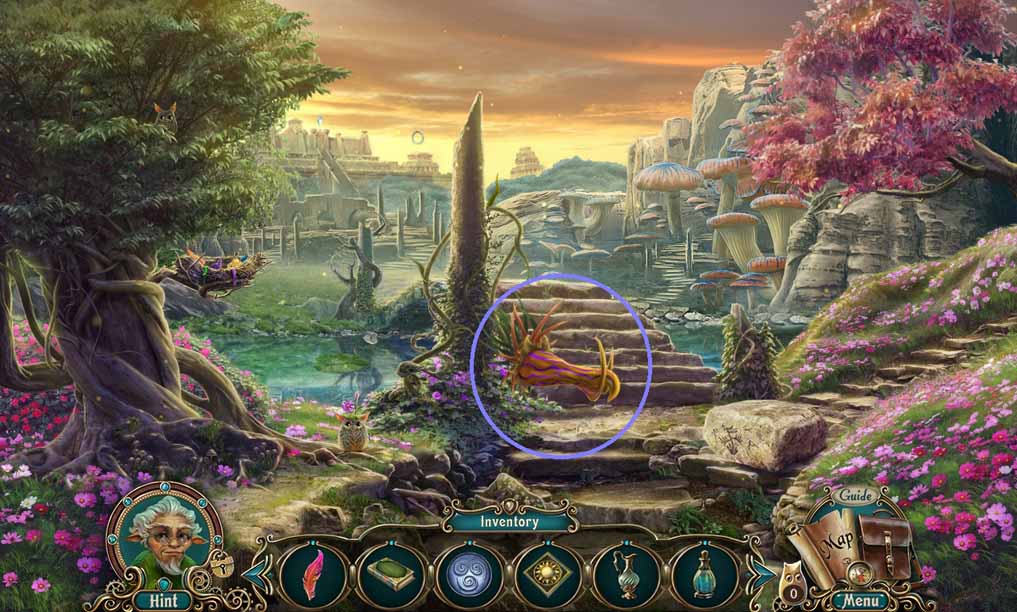
- Move ahead and to the left to the Courtyard.
- Collect the empty jar and the fire figurine.
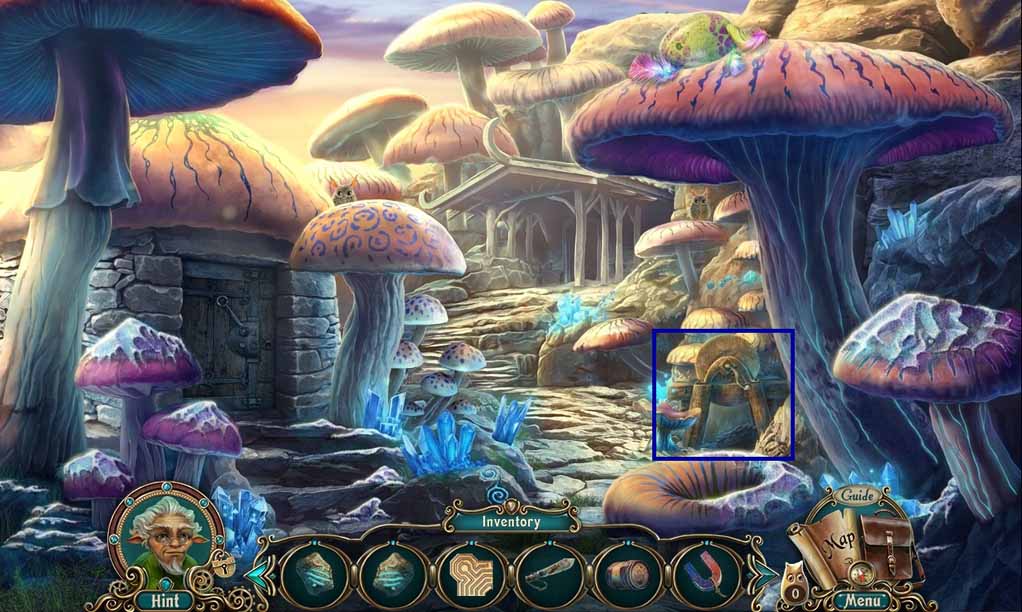
- Move down and click the upper right area to move to the Cliffs.
- Collect the mushroom spores and the water figurine.
- Move ahead to the Mountain Cave.
- Collect the sweet syrup.
- Read the page.
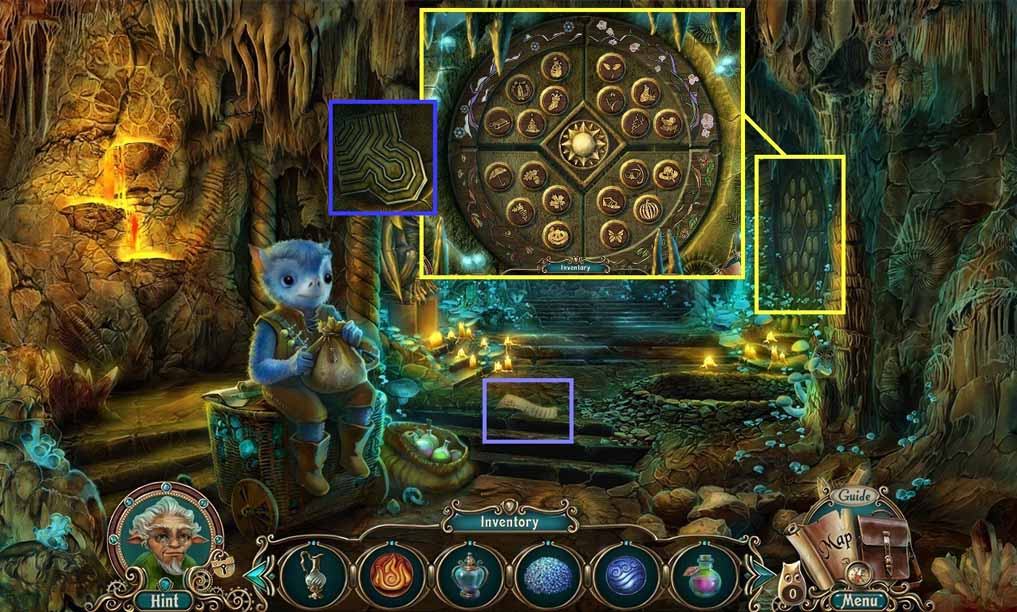
- Click the wall and insert the sun symbol to trigger a puzzle.
- Solve the puzzle by arranging the sections according to the 4 seasons.
- Collect the maze stone.
- Move down once.
- Click the crystals and place the empty jar down.
- Select the sweet syrup and place it into the jar.
- Collect the captured fireflies.
- Move to the Statue.
- Click the door.
- Insert the water, air and fire figurines to trigger a hidden objects area.

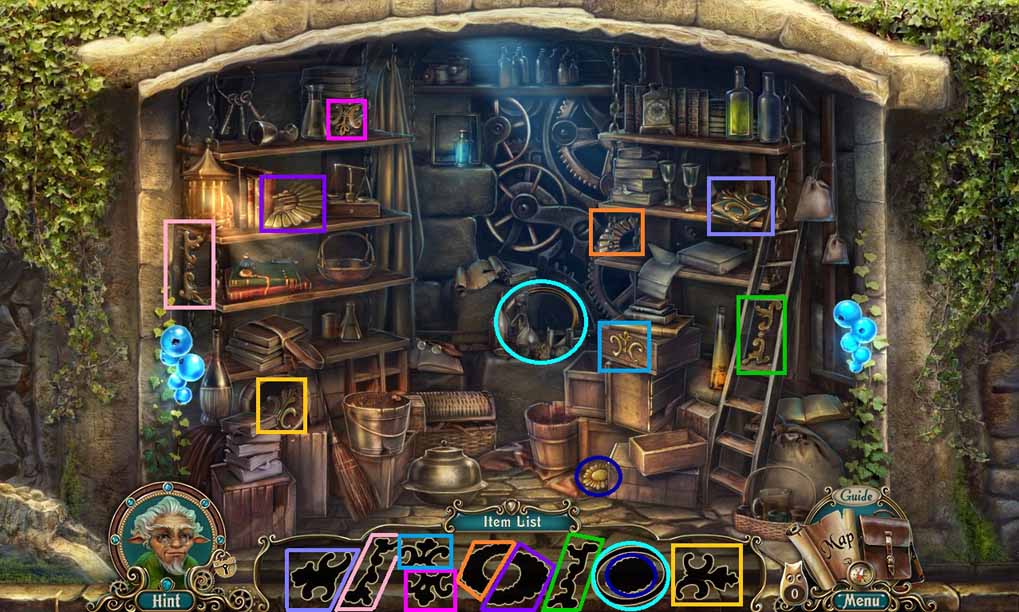
- Find the silhouetted items.
- Collect the Coat of Arms.
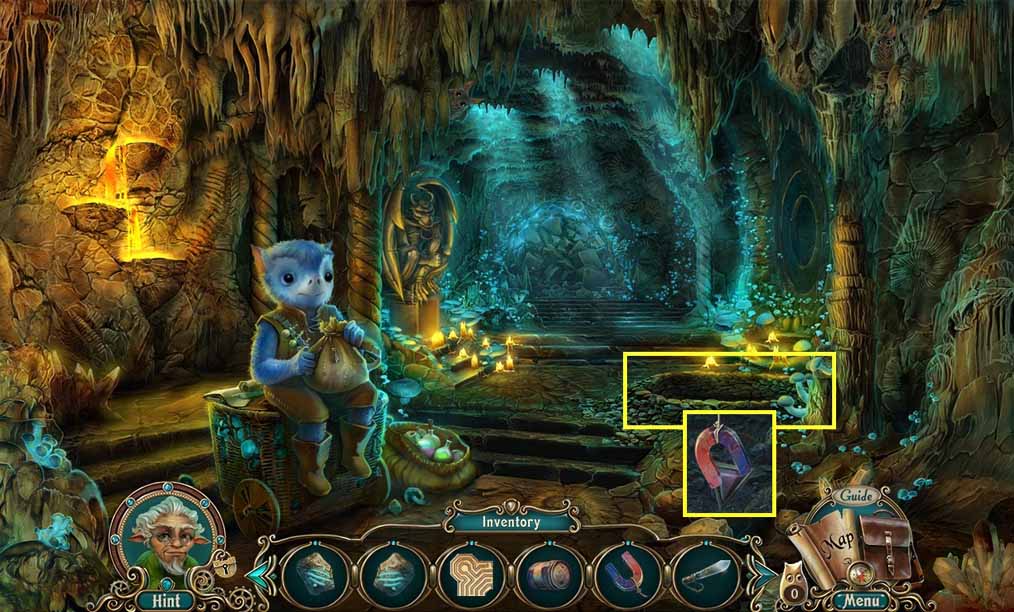
- Move to the Bells and click the upper right area of the scene.
- Place the captured fireflies down.
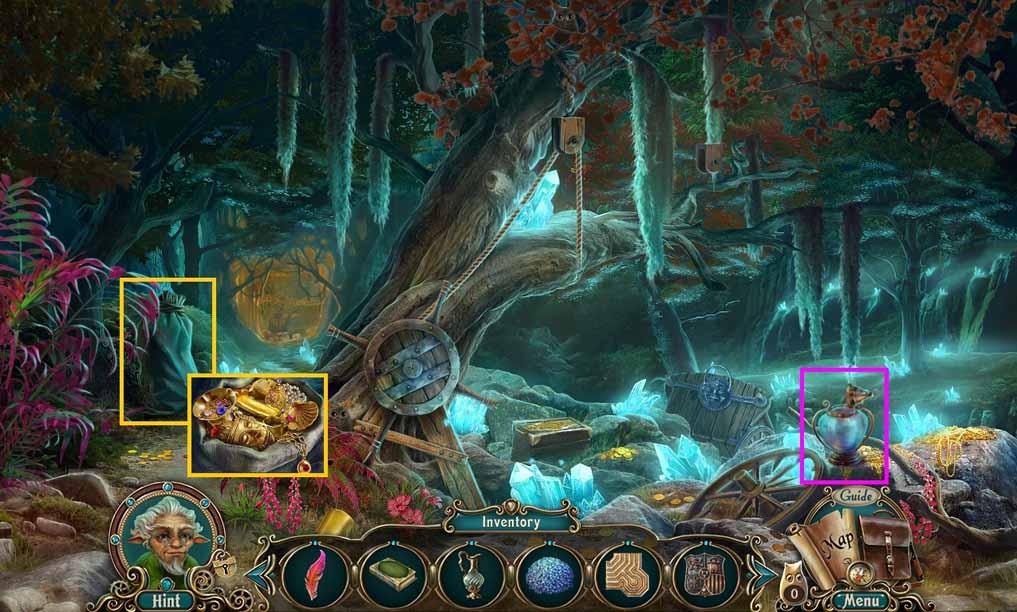
- Click the sack; collect the rope.
- Click the valuables 3 times and collect the gold bar.
- Move ahead to the Forest.
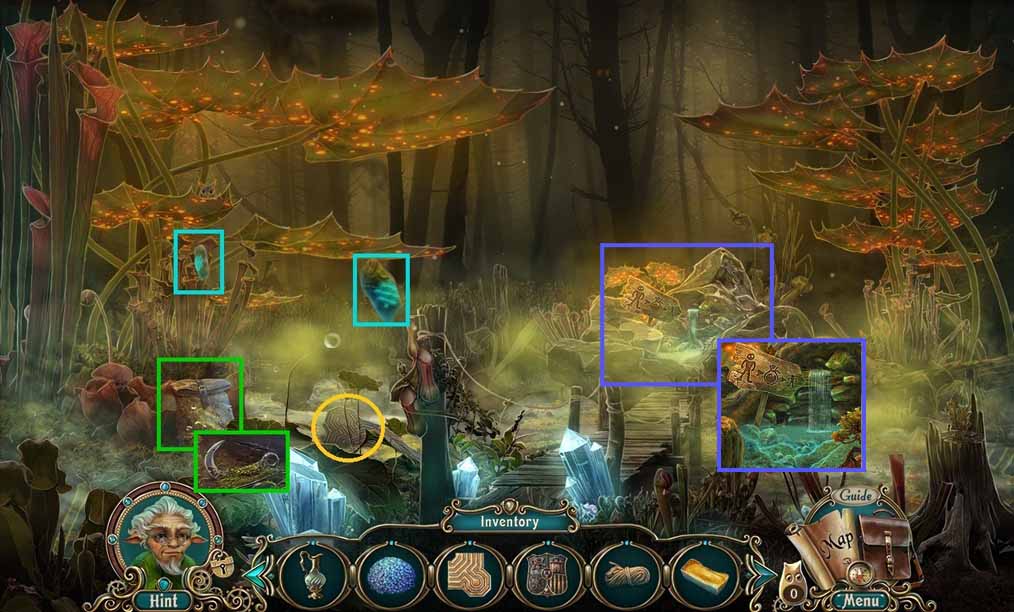
- Place the mushroom spores on the bridge.
- Collect the 2nd maze stone, the 1st and the 2nd floating stones.
- Click the backpack 2 times and collect the hook.
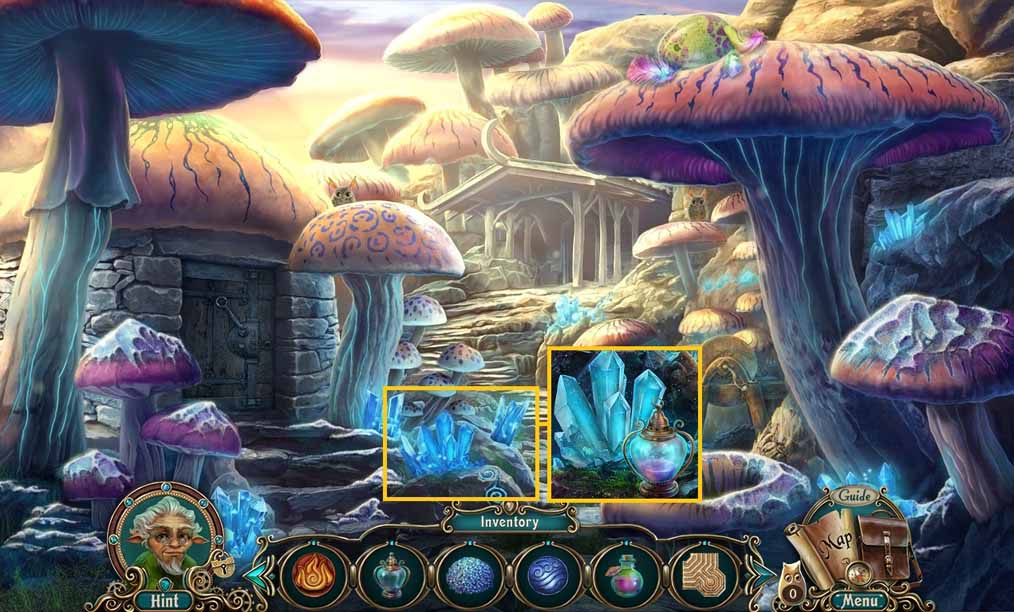
- Click the fountain and place the crystal pitcher into it; collect the shrink water.
- Move down once.
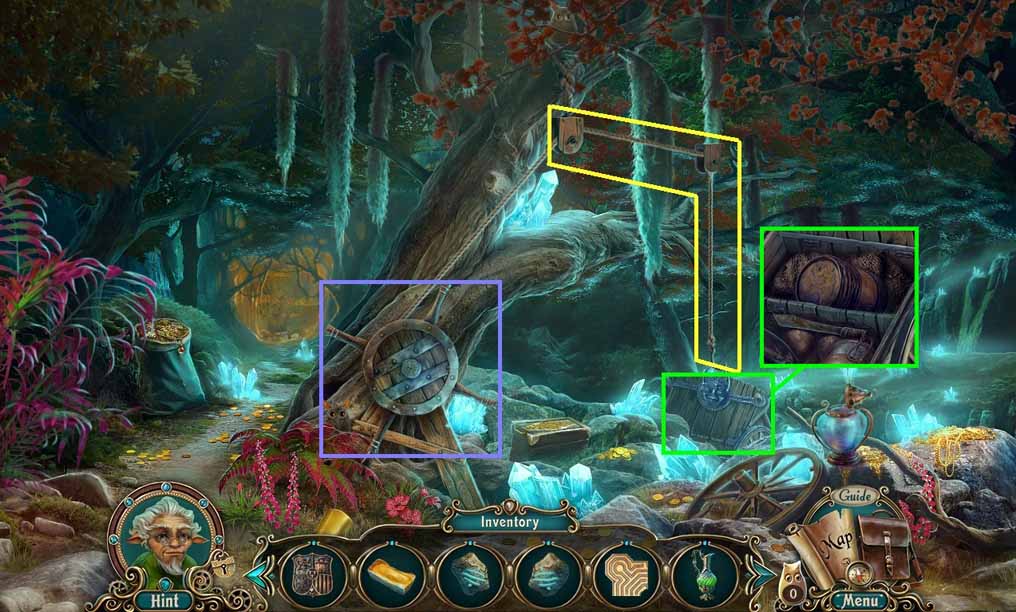
- Attach the rope and the hook onto the pulley.
- Click the cart; click the hook.
- Click the wheel.
- Zoom into the cart and insert the Coat of Arms.
- Collect the dull machete and the gunpowder barrel and the net.
- Move ahead.
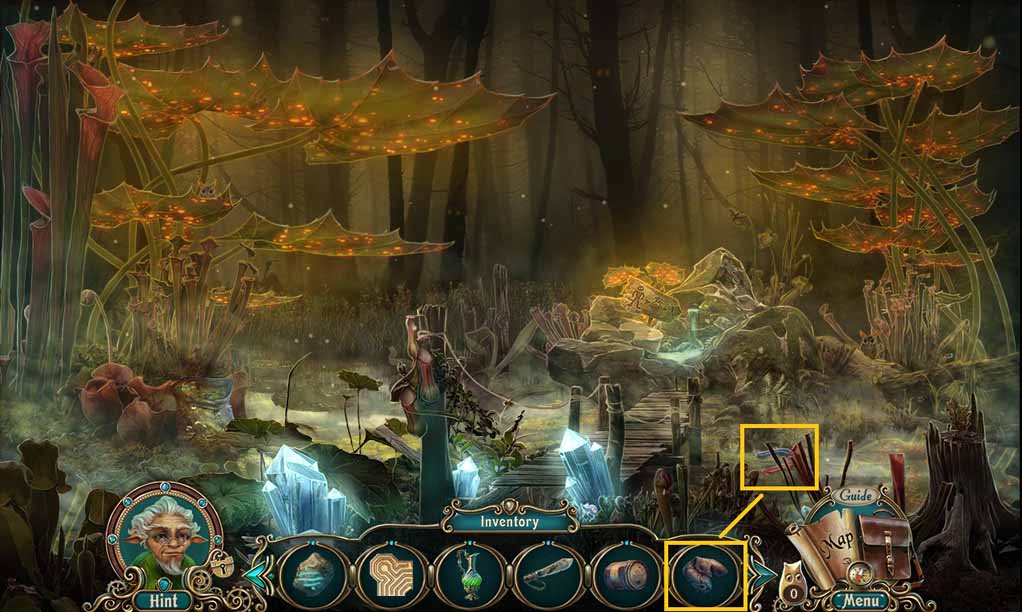
- Select the net to collect the magnet.
- Move to the Courtyard.

- Click the apples and pour the shrink water onto them.
- Collect the shrink apple and give it to the creature.
- Move to the Cliffs.
- Click the grinding stone and place the dull machete onto it.
- Click and drag the handle to collect the sharp machete.
- Move ahead.
- Click the well.
- Select the magnet to collect the cellar rivet.
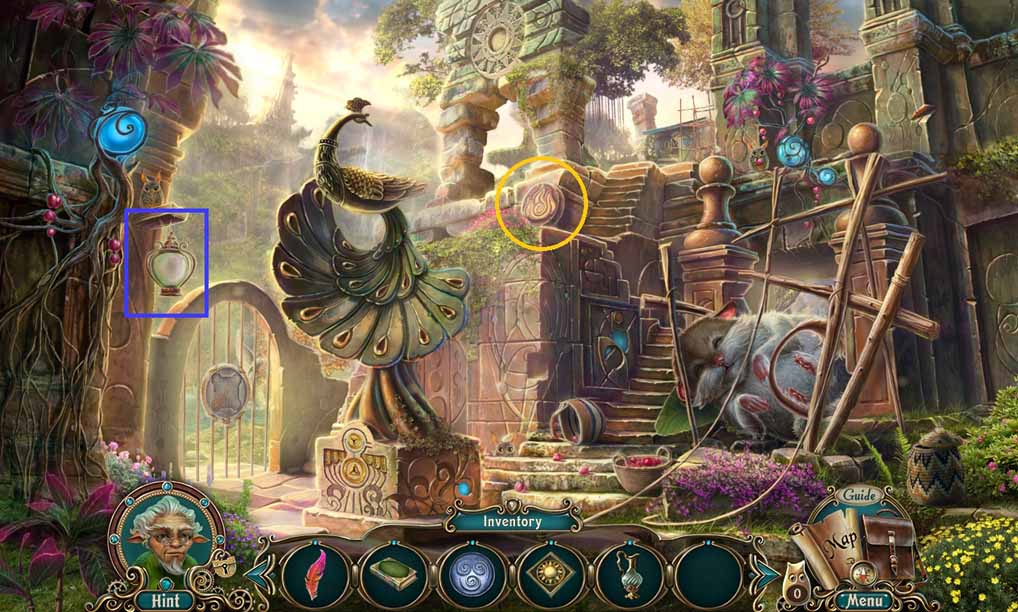
- Move to the Statue.
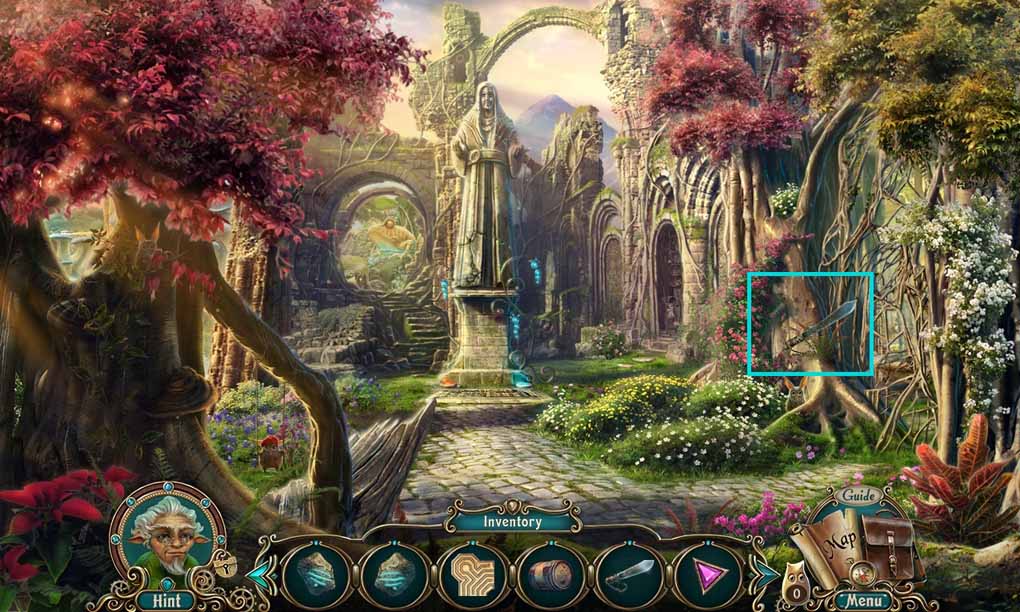
- Select the sharp machete and use it to clear the branches.
- Move to the right to the Fountain.
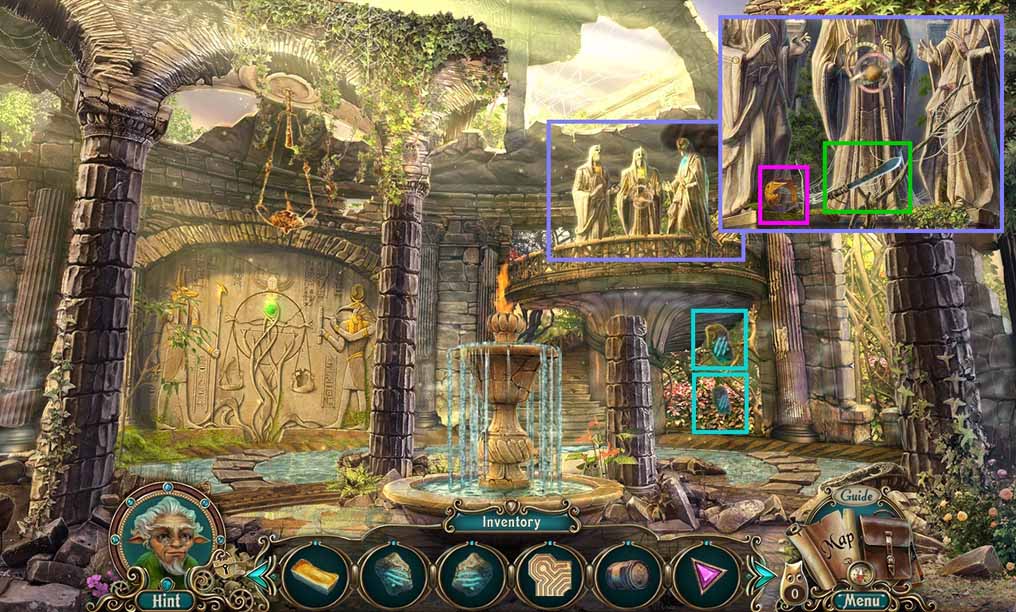
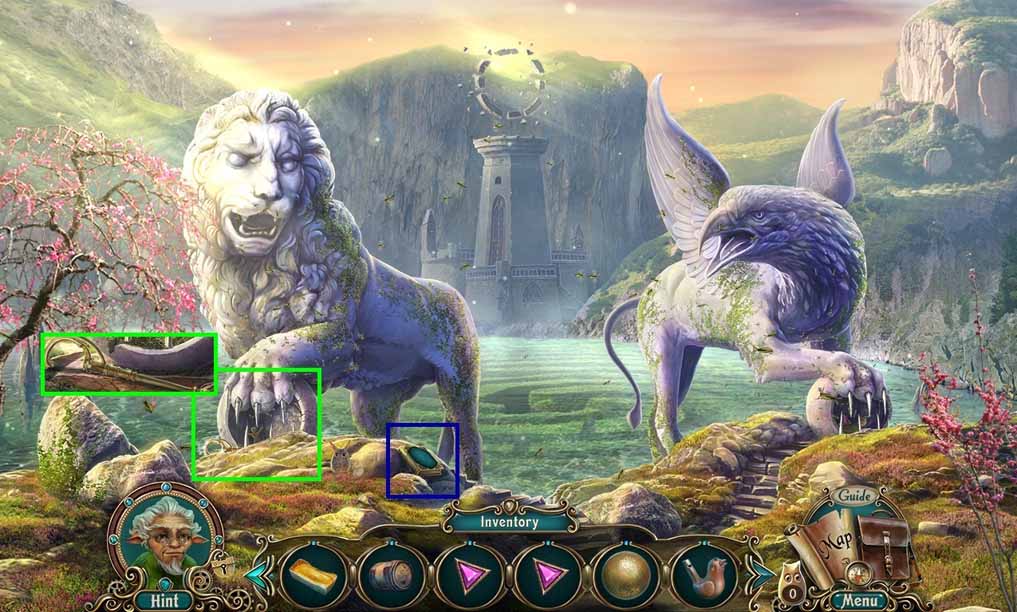
- Collect the 3rd and 4th floating stones.
- Click the statues and collect the bronze crown.
- Select the sharp machete and use it on the branch; collect the web thread.
- Move to the Cliffs.
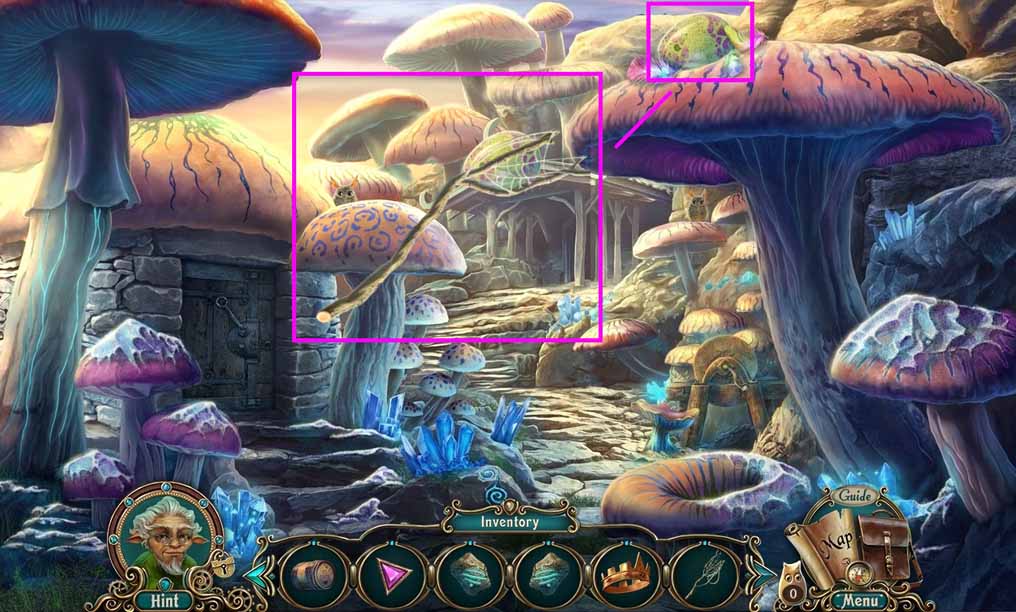
- Select the web thread and use it to collect the Phoenix egg.
- Move to the Courtyard and move to the right to the Chessboard.
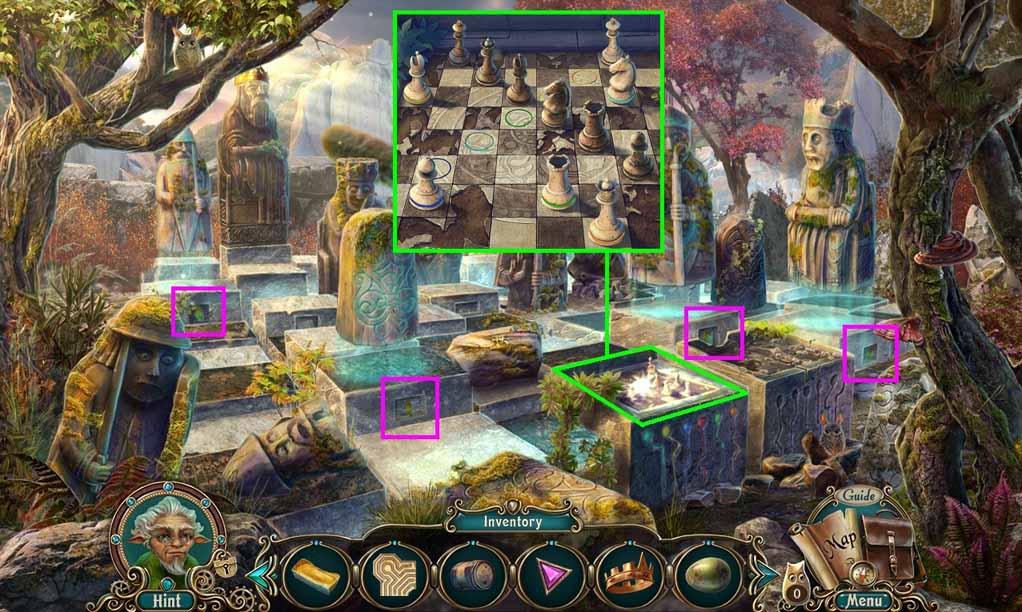
- Zoom into the statues.
- Place the 1st, 2nd, 3rd and 4th floating stones into the spaces.
- Click the chessboard to trigger a puzzle.
- Solve the puzzle by moving the chess pieces to the color matched areas of the board.
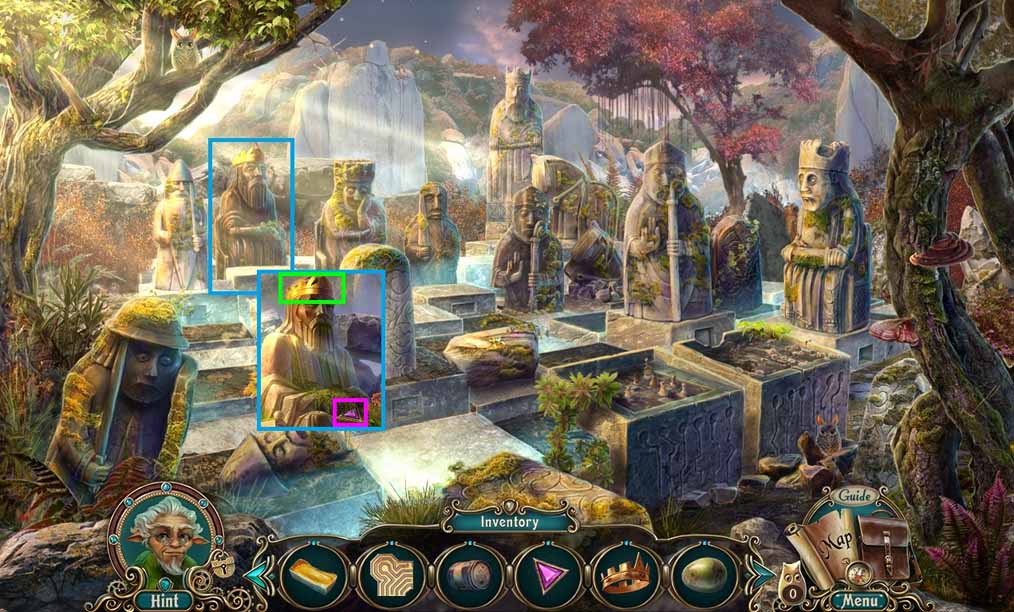
- Click the king.
- Collect the golden crown and the 2nd cellar rivet.
- Move to the Fountain.
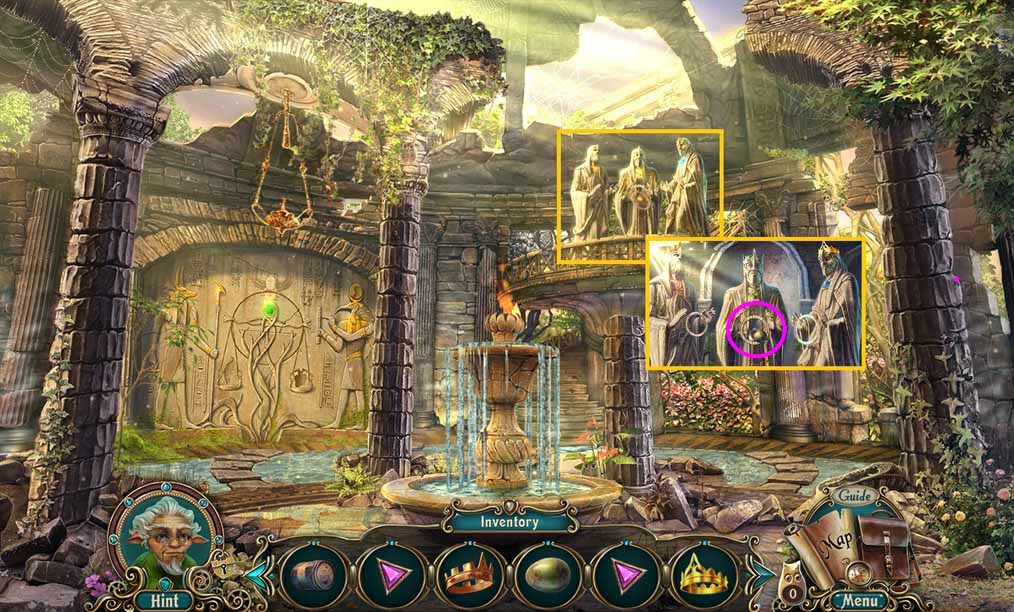
- Click the statues.
- Place the bronze and golden crowns onto them; collect the scepter ball.
- Move down.
- Click the archway to trigger a hidden objects area.
- Find the silhouetted items.
- Collect the stucco.
- Move to the Gnome Village.
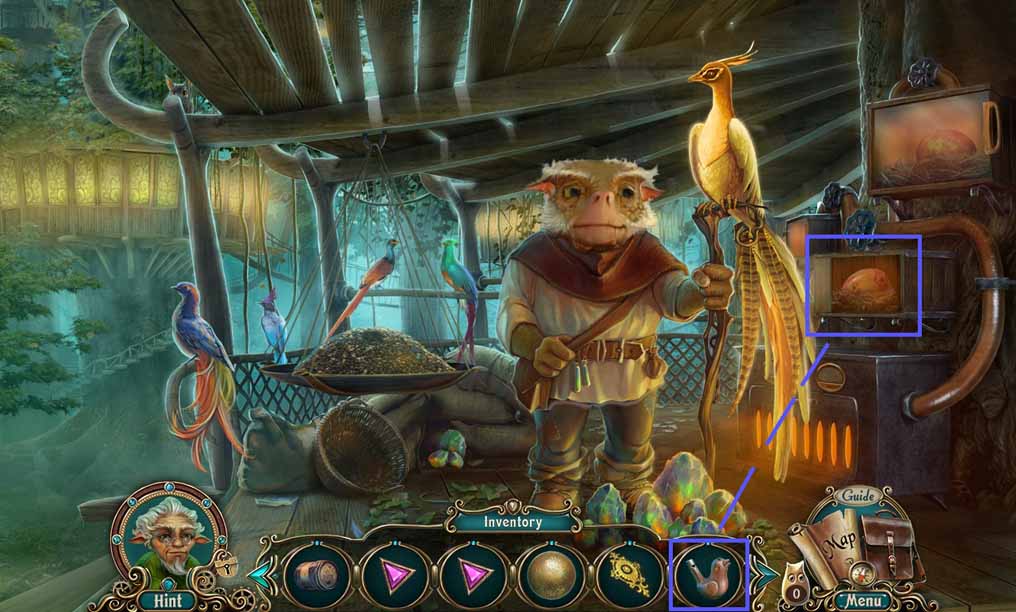
- Click the furnace.
- Place the Phoenix egg into the nest; collect the bird whistle.
- Move down once and go to the right.
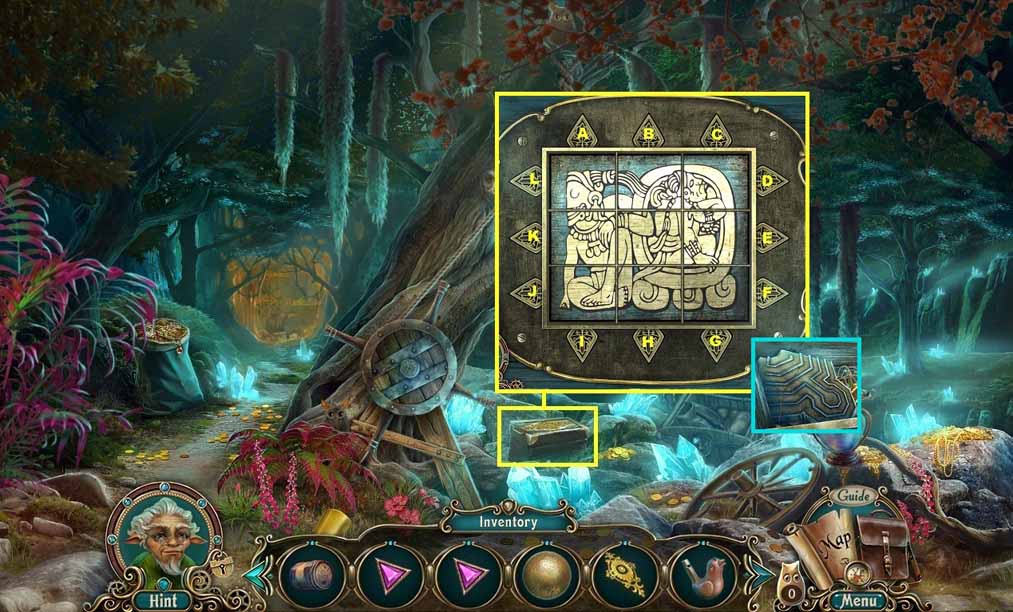
- Click the chest and insert the stucco.
- Click the plaque to trigger a puzzle.
- Solve the puzzle by arranging the tiles to create a completed picture.
- Click the arrows in the following sequence to solve.
- E – E – C – C - E – H – G – G - F – C – J
- Collect the 3rd maze stone.
- Move to the Courtyard.
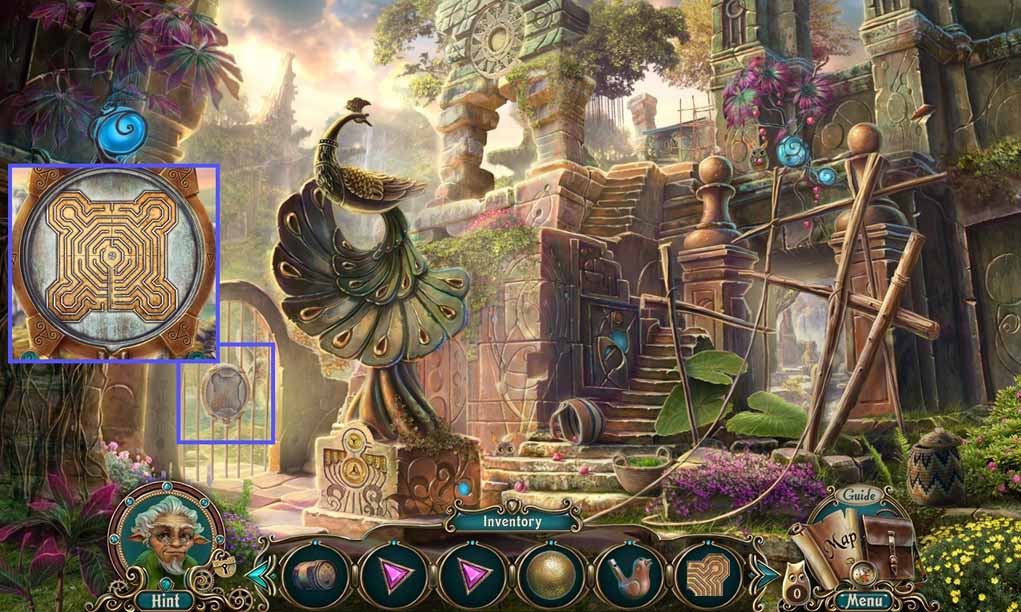
- Zoom into the gate and insert the 1st, 2nd and 3rd maze stones to trigger a mini-game.
- Solve the mini-game by selecting arrows on the maze to guide the ball to the exit.
- Move left to the Lake.
- Select the bird whistle to use on the insects.
- Collect the Book: History.
- Click the statue; collect the scepter handle.
- Move to the Mountain Cave.

- Click the gargoyle.
- Place the scepter handle and the scepter ball into its hand.
- Collect the aurum sign and the golden heart.
- Move to the Courtyard.

- Click the control console and insert the aurum sign.
- Insert the gold inlay; click the lever.
- Place the Phoenix feather into the liquefied gold; collect the golden feather.
- Move to the Fountain.
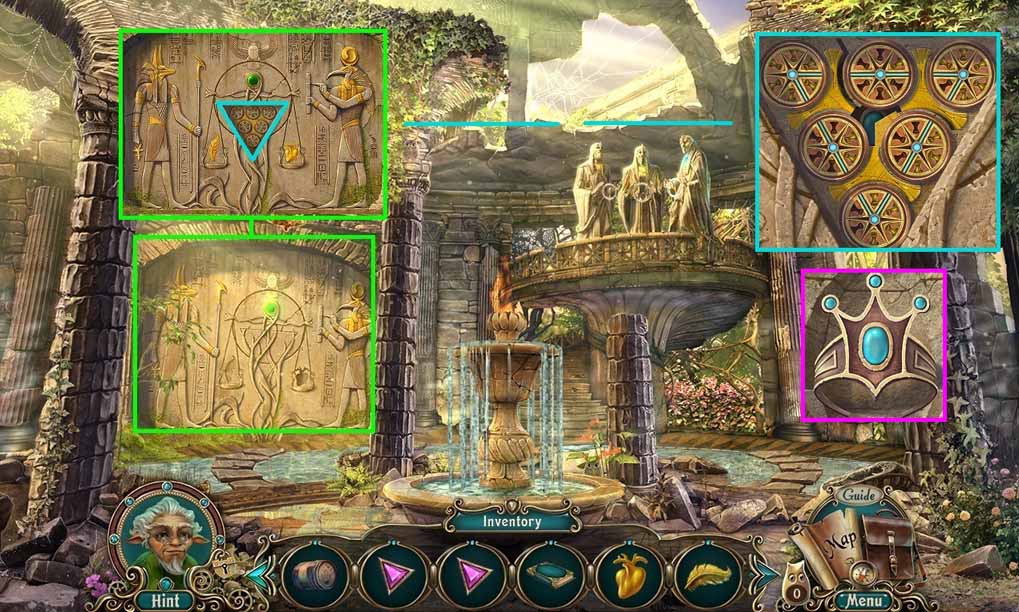
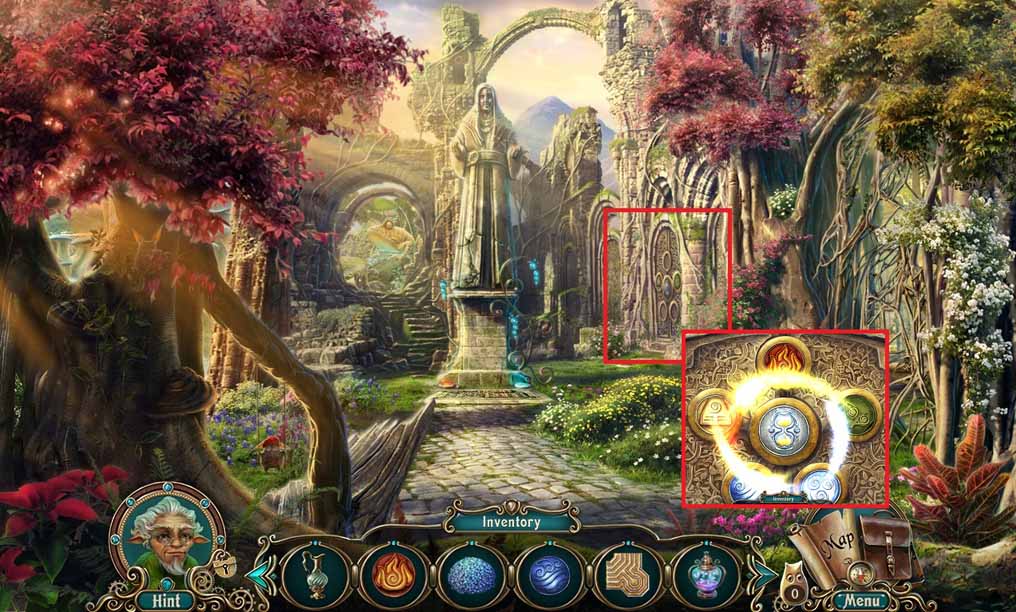
- Click the wall and insert the golden feather and the golden heart.
- Click the compartment to trigger a puzzle.
- Solve the puzzle by moving the weights from one dial to another to create a triangle with blue lines.
- Collect the gryphon ring.
- Move to the Lake.
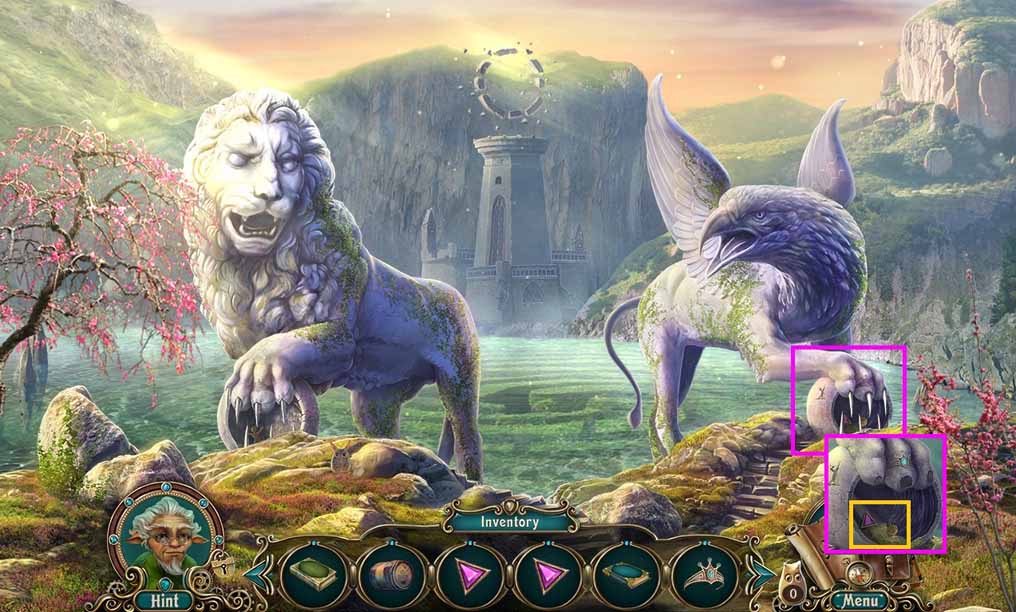
- Click the statue and insert the gryphon ring.
- Collect the 3rd cellar rivet and pebble.
- Return to the Garden.
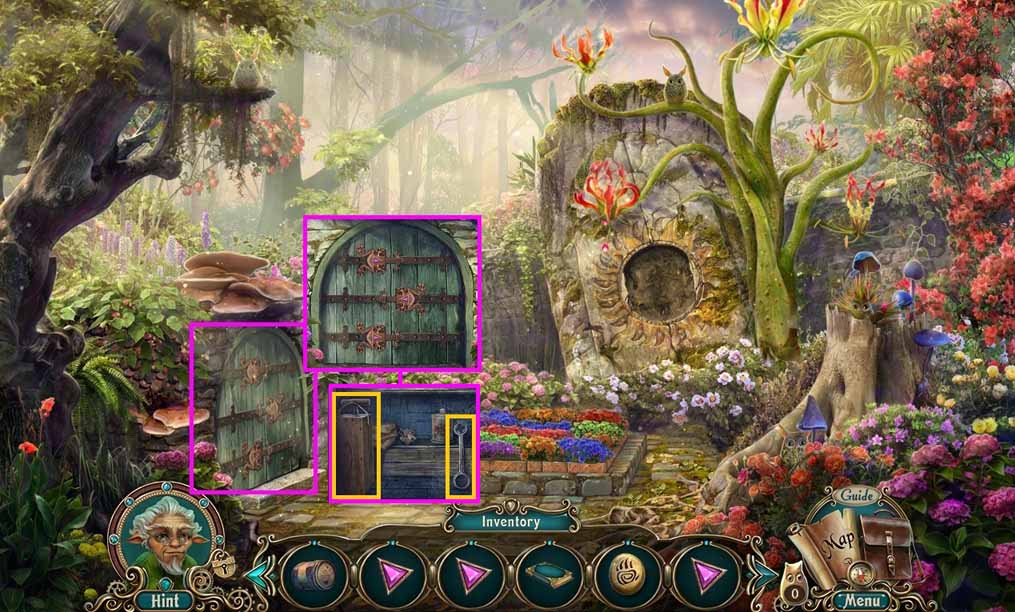
- Click the door.
- Insert the 1st, 2nd and 3rd cellar rivets and click them each once.
- Collect the detonator and the door handle.
- Move to the Cliffs.
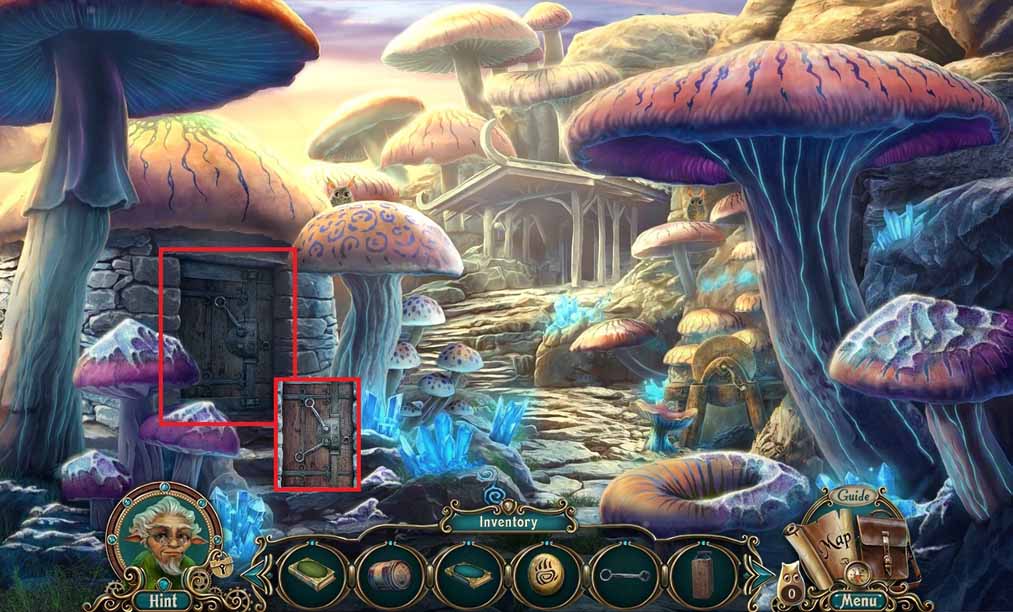
- Click the door and attach the door handle.
- Click the handle.
- Zoom into the hut to access a hidden objects area.
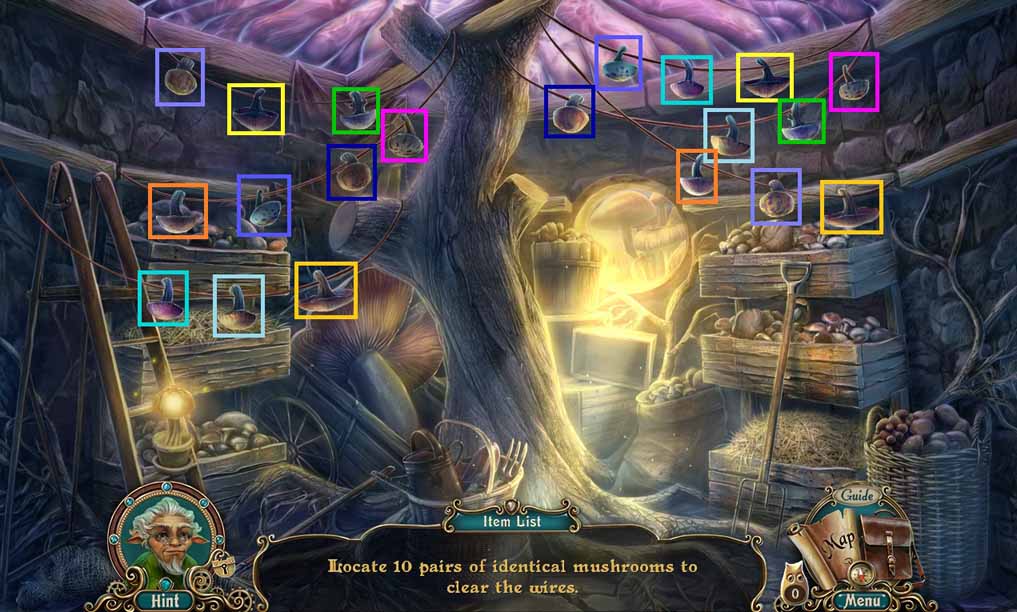
- Find the mushroom pairs.
- Collect the wire.
- Move ahead.
- Click the rubble.
- Place the gunpowder barrel onto it.
- Insert the wire into the gunpowder and attach the detonator.
- Click the detonator.
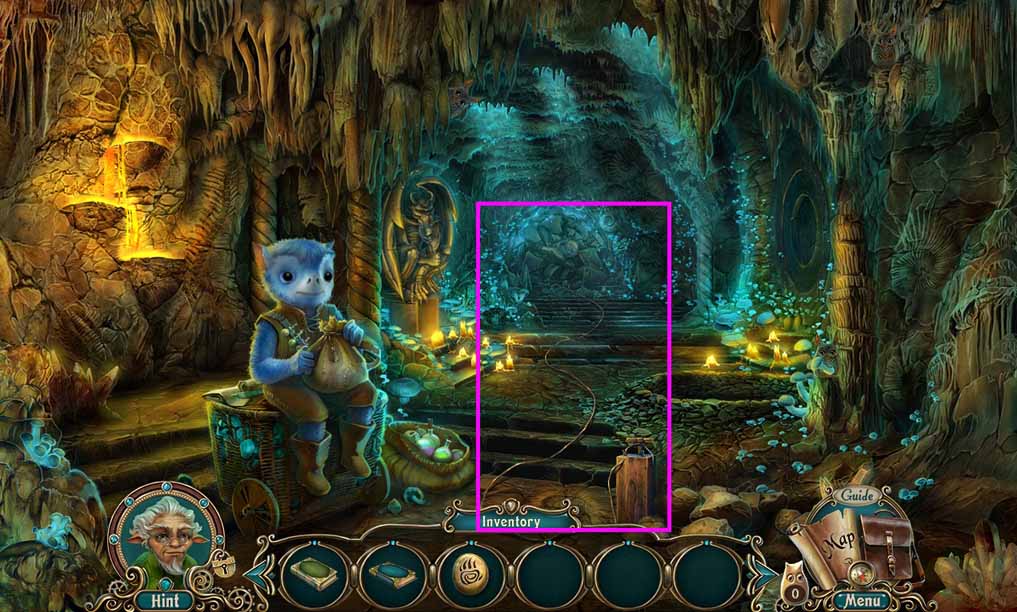
- Move ahead to the Vista.
General Information & Tips
Chapter One: Welcome to Nearwood
Chapter Two: Over the Mountains
Chapter Three: Gnomes
Chapter Four: The Tree of Greatness
Ask for help in the comments below!
Chapter One: Welcome to Nearwood
Chapter Two: Over the Mountains
Chapter Three: Gnomes
Chapter Four: The Tree of Greatness
Ask for help in the comments below!