
Mystery Case Files: Key to Ravenhearst: Chapter 6 Enter the Secret Room
Mystery Case Files: Key to Ravenhearst Walkthrough tackles the latest challenge to your hidden object sleuthing skills as you return to Ravenhearst Manor once more in search of the missing pages of Emma Ravenhearst's diary. If you need a clue, look to our colorful screen shots and informational guide to help you unravel this latest mystery!
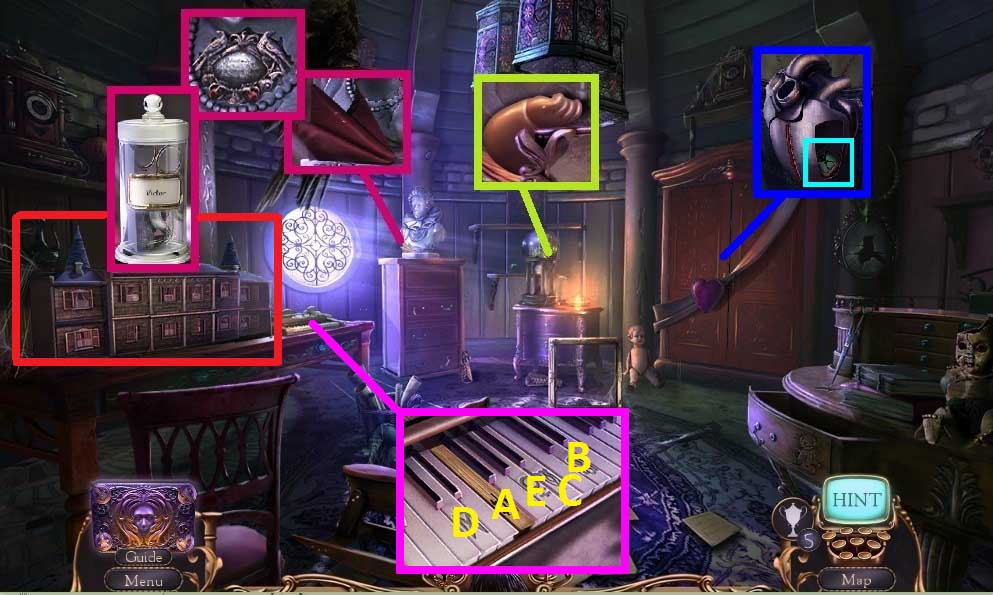
- Collect the handkerchief.
- Insert and click the ornate plaque.
- Collect the scissors and the doll arm.
- Click the door 2x’s.
- Click the heart and select the fake blood to pour into it.
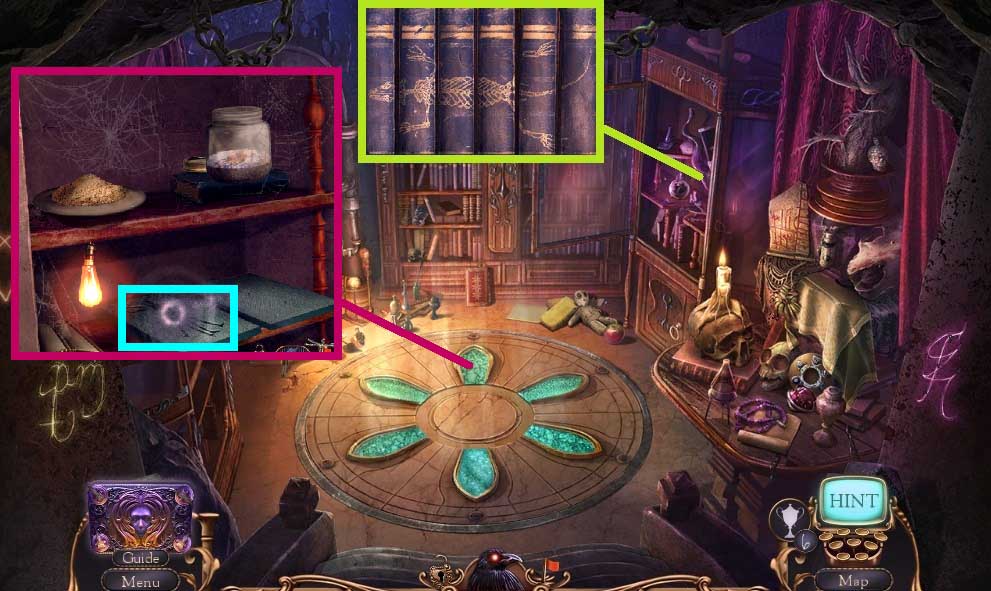
- Collect 1/ 3 tiles.
- Attach the piano key; play the keys
- A hidden objects area will trigger.
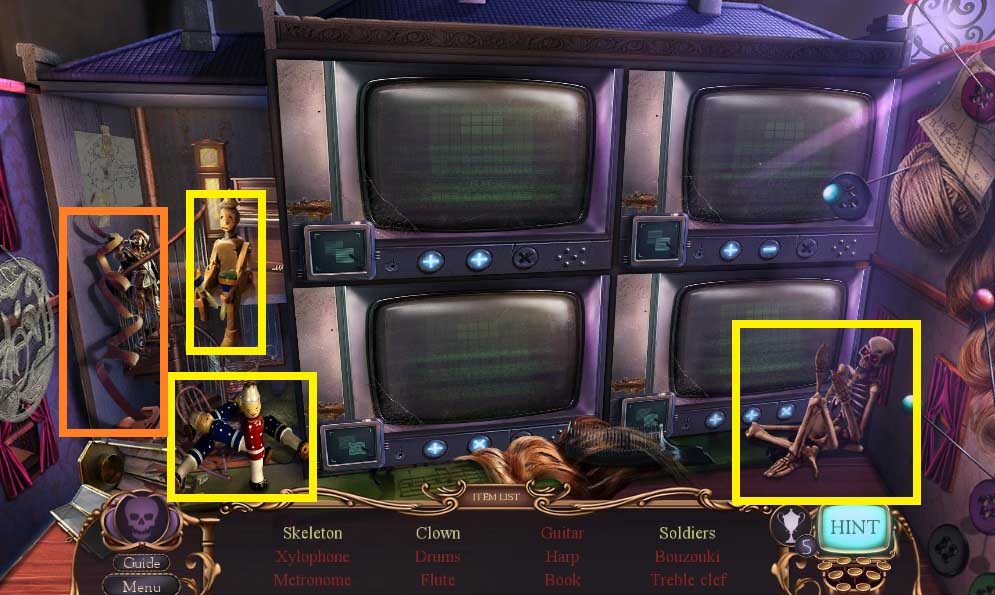

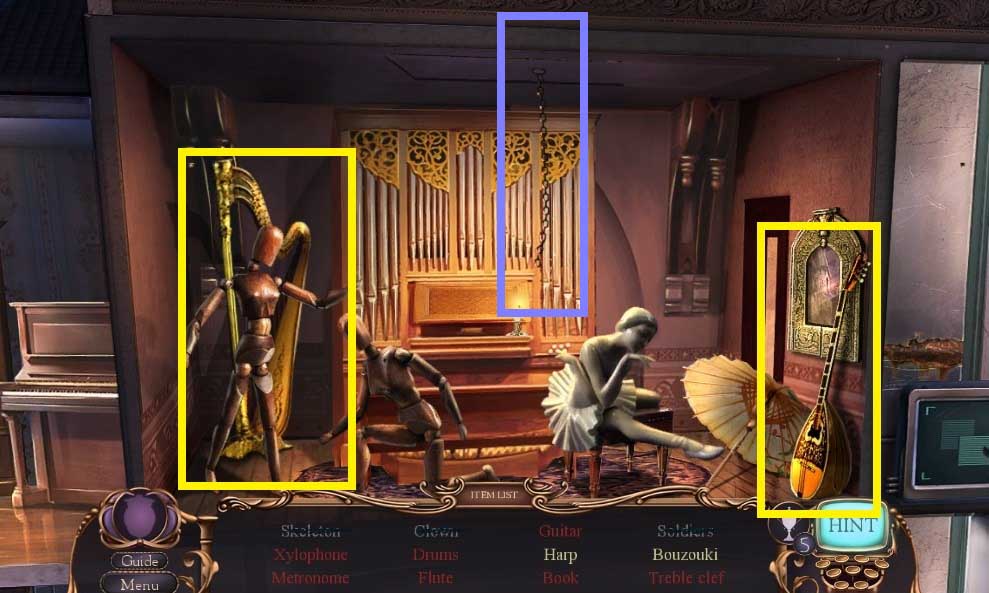
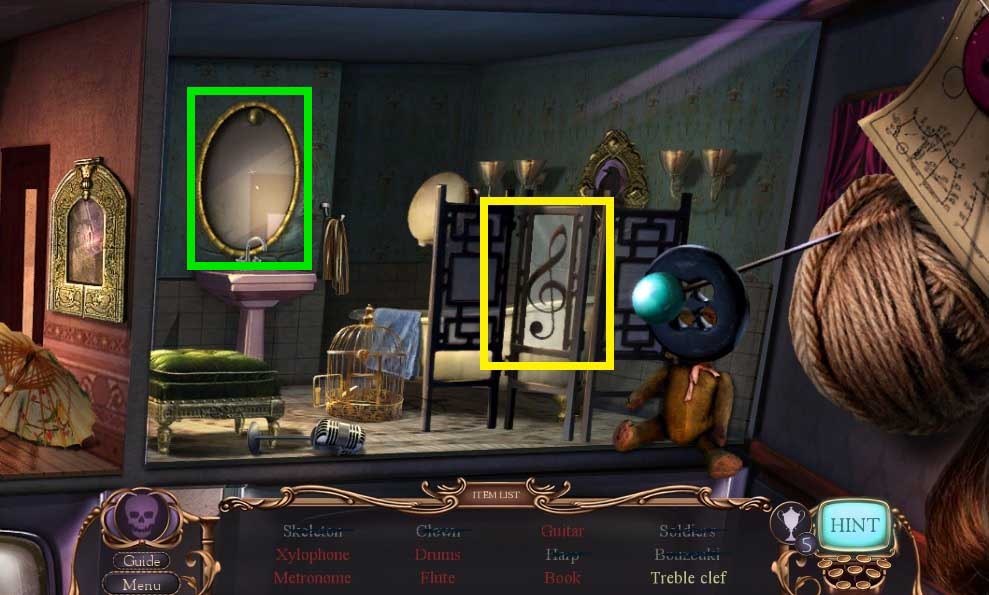
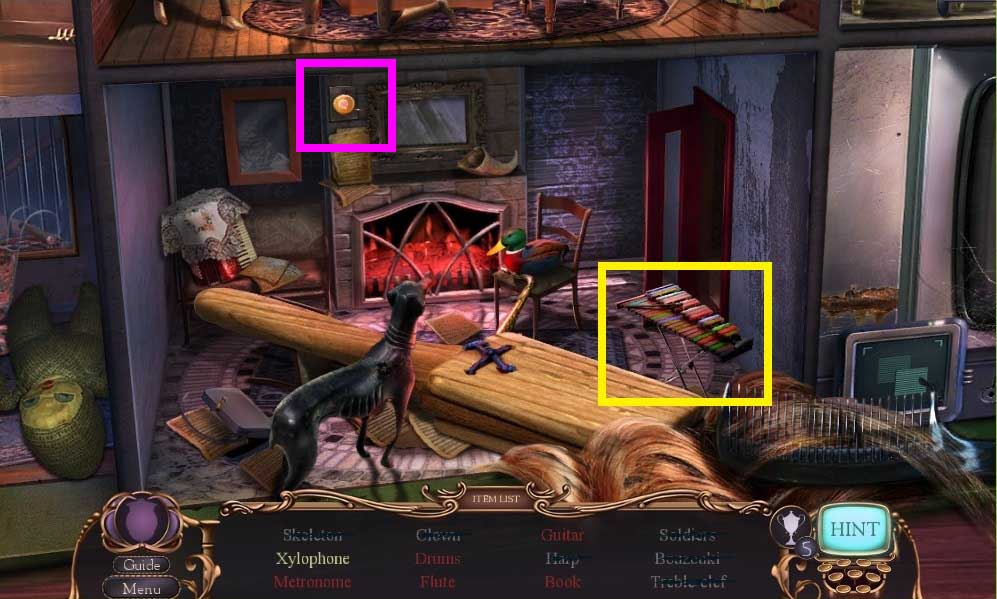
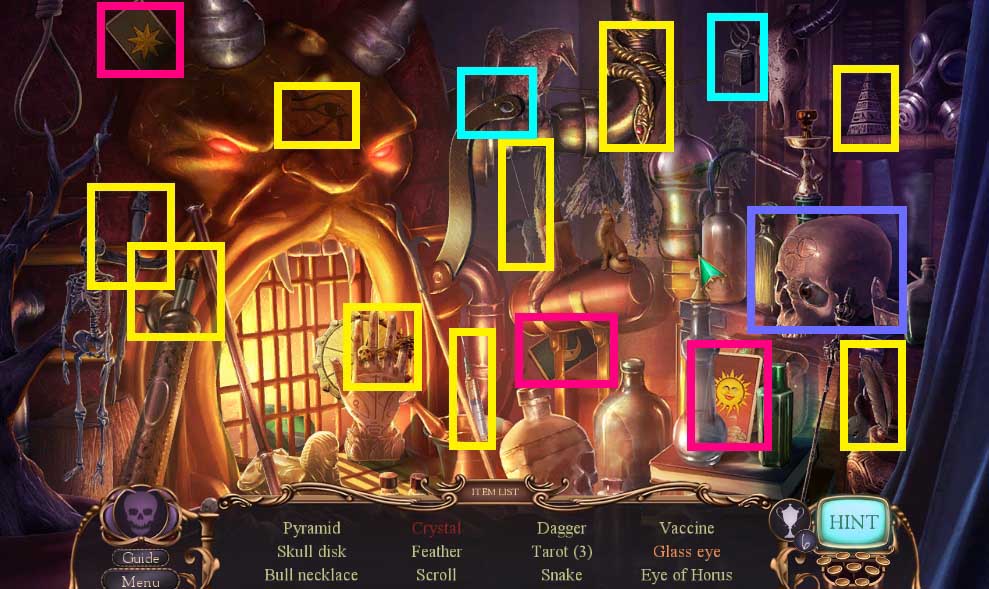
- Find the items.
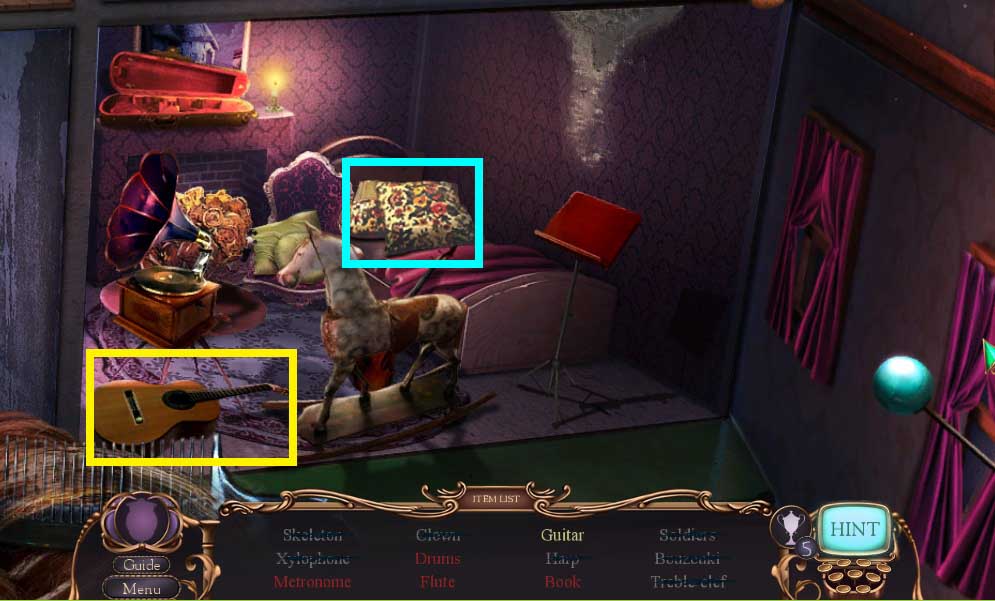
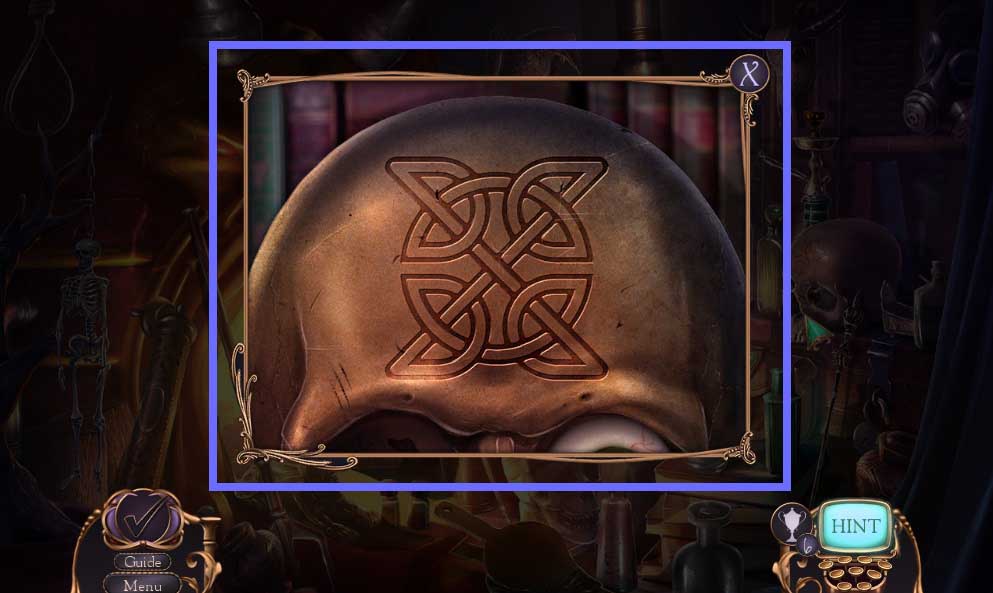
- Click and drag the cursor to recreate the shape shown.
- Collect the ribbon.
- Move to the Bathroom.
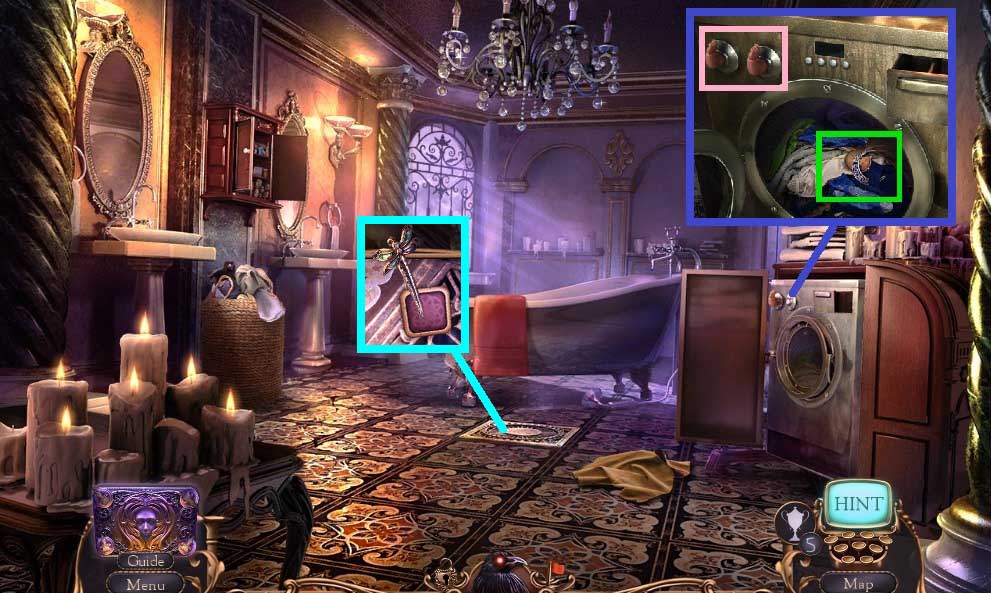
- Attach the doll arm.
- Read the note and click the item aside.
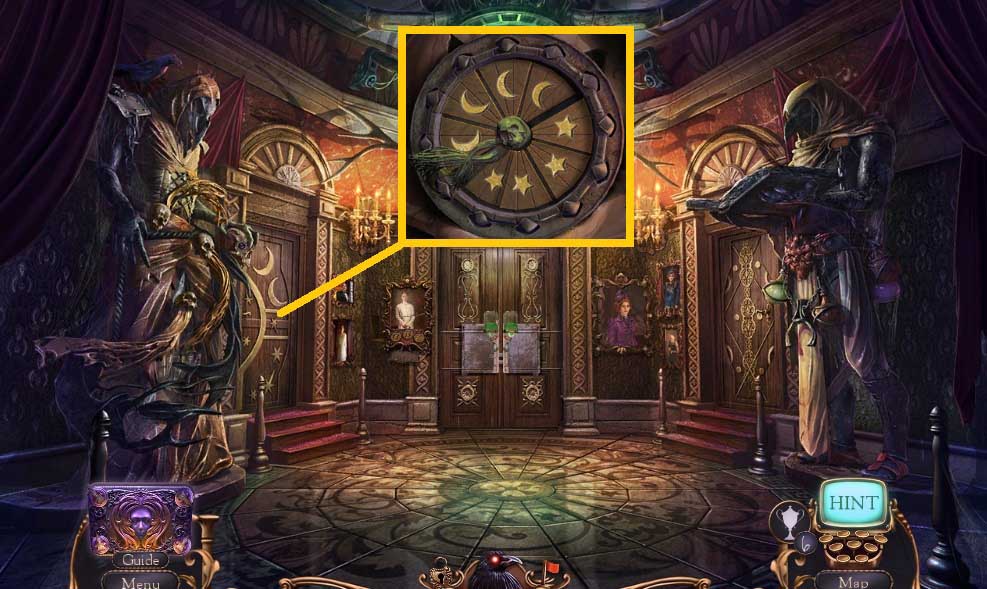
- Collect the crescent moon and the game token.
- Collect 2 /3 tiles using the hair clip.
- Move to the Secret Room.
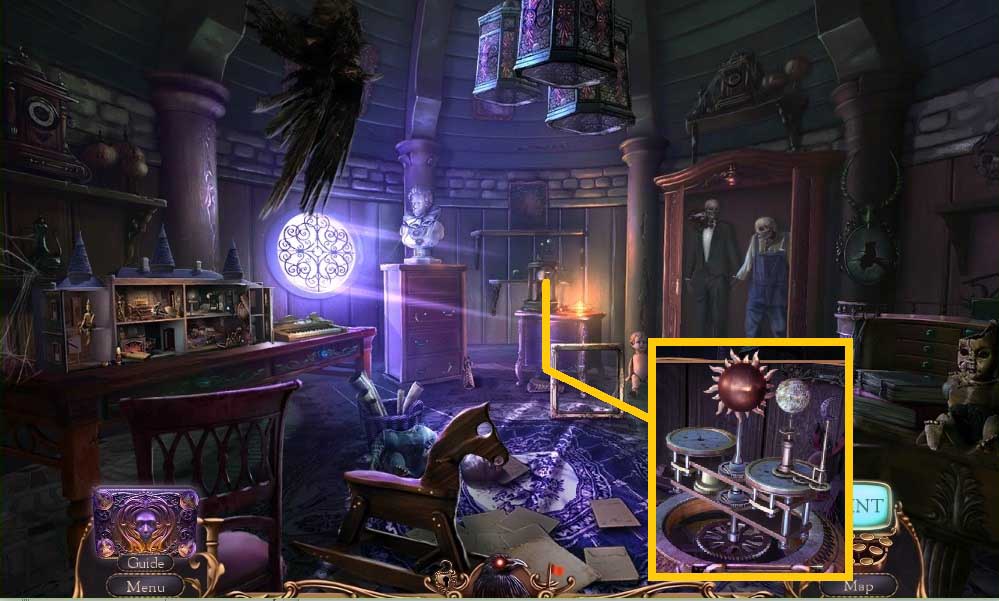
- Attach the earth and the crescent moon.
- Collect the bronze sun.
- Move to the Anteroom.
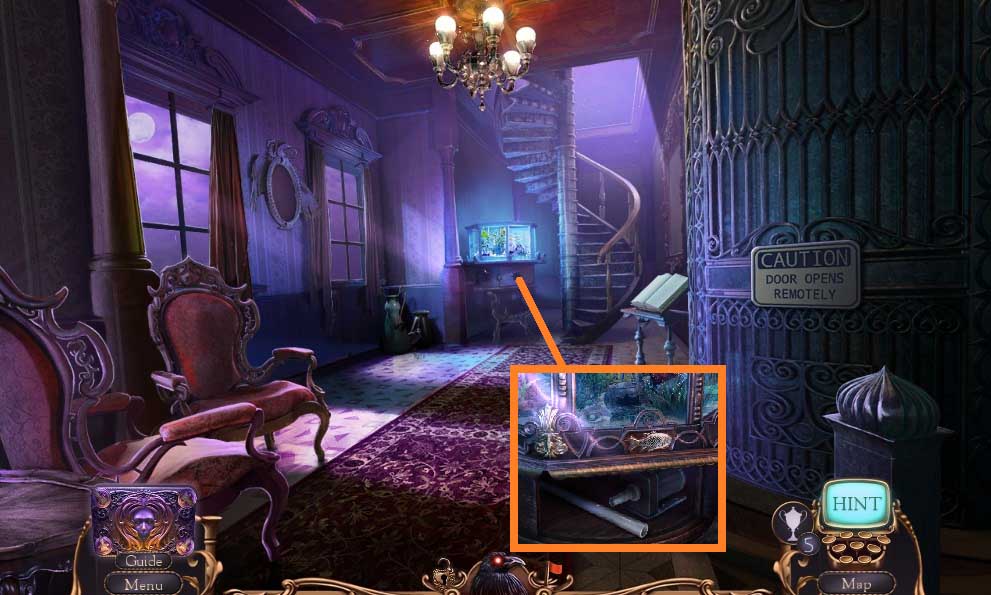
- Attach the bronze sun; collect the plastic pipe.
- Move to the Panic Room.
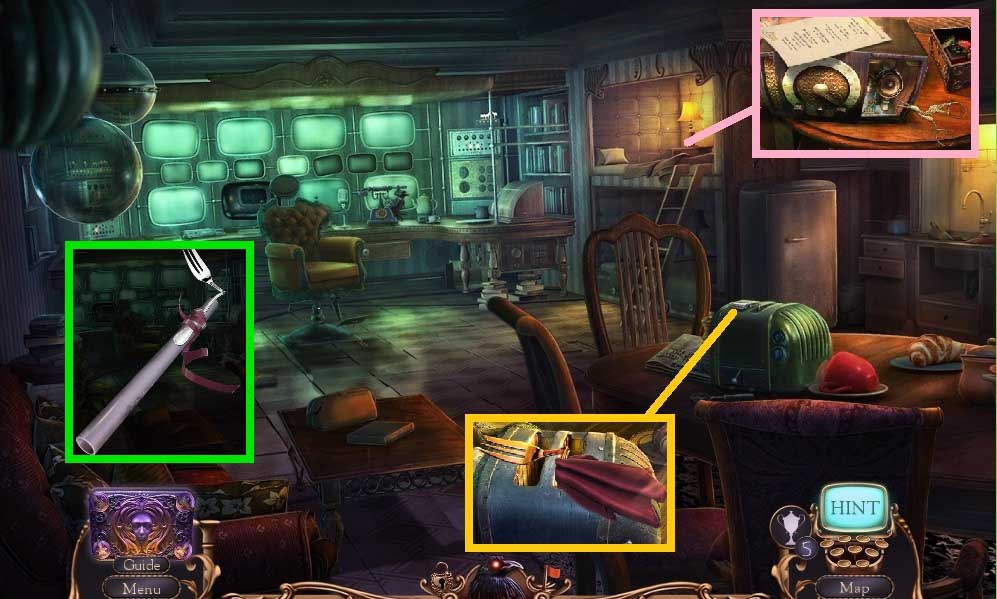
- Select the scissors to collect the speaker.
- Select the handkerchief to collect the bent fork.
- Place the bent fork and ribbon onto the plastic pipe.
- Move to the Aviary.
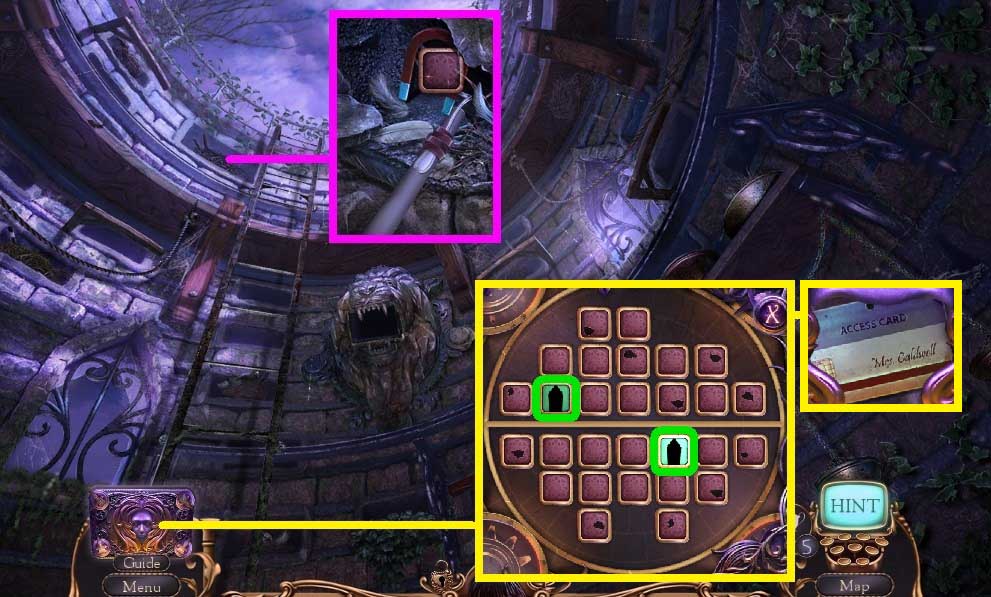
- Select the reaching pole to collect the magnet and 3/ 3 tiles.
- Click Alister’s enigma and insert the 3 tiles to trigger a mini game.
- Solve the game by finding the pairs.
- Collect the security card.
- Move to the Panic Room.

- Insert the security card.
- Click the levers in ABC order.
- Move to the Anteroom.
- Move into the Elevator.
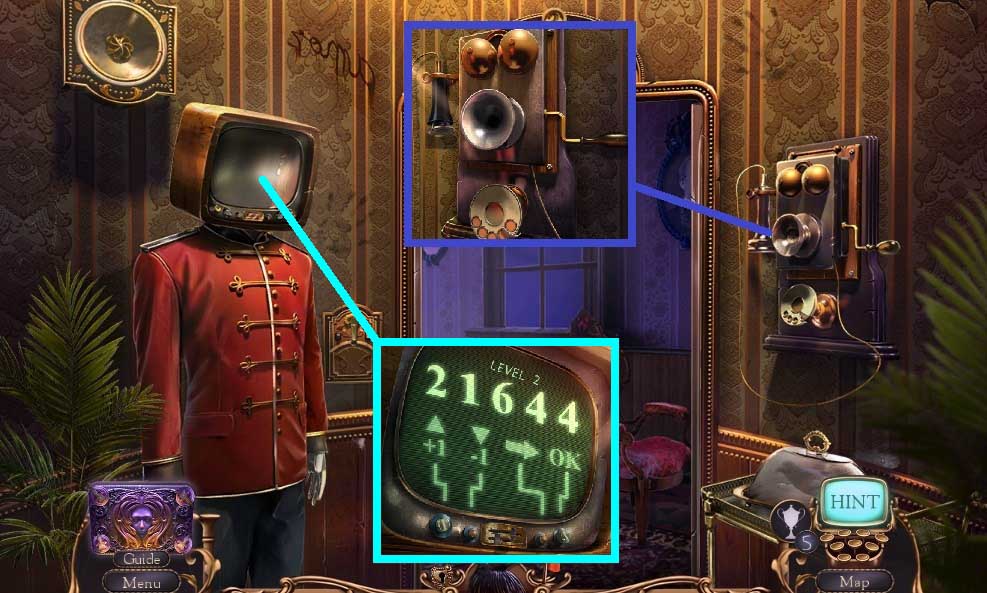
- Click the handle, click the receiver 3x’s and attach the speaker.
- Click the handle to begin the conversation.
- Zoom into the TV screen enter the code 2 – 1 – 6 – 4 – 4 .
- Leave the elevator.
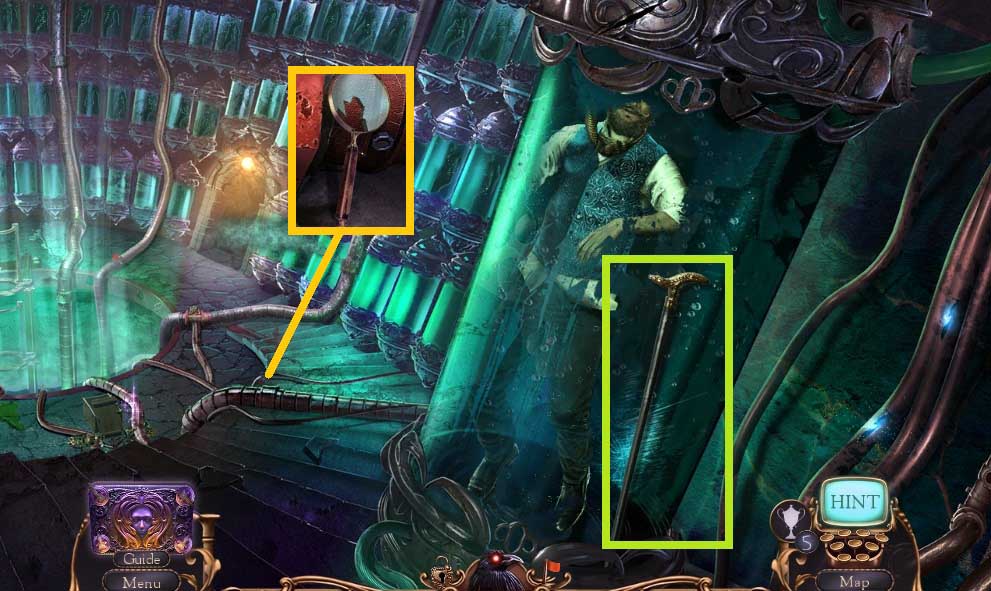
- Collect the walking stick and the magnifier frame.
- Zoom to the left.
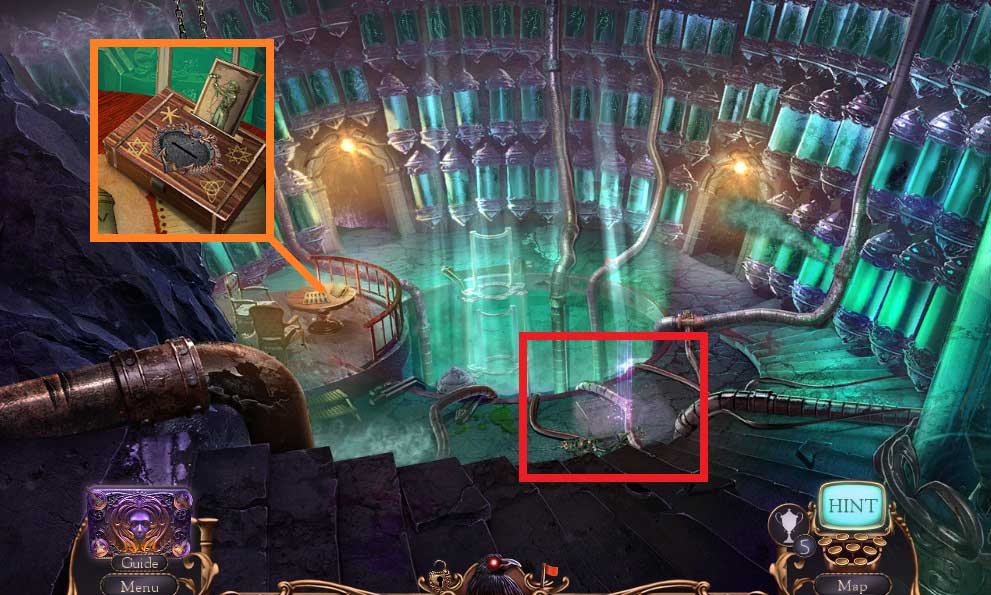
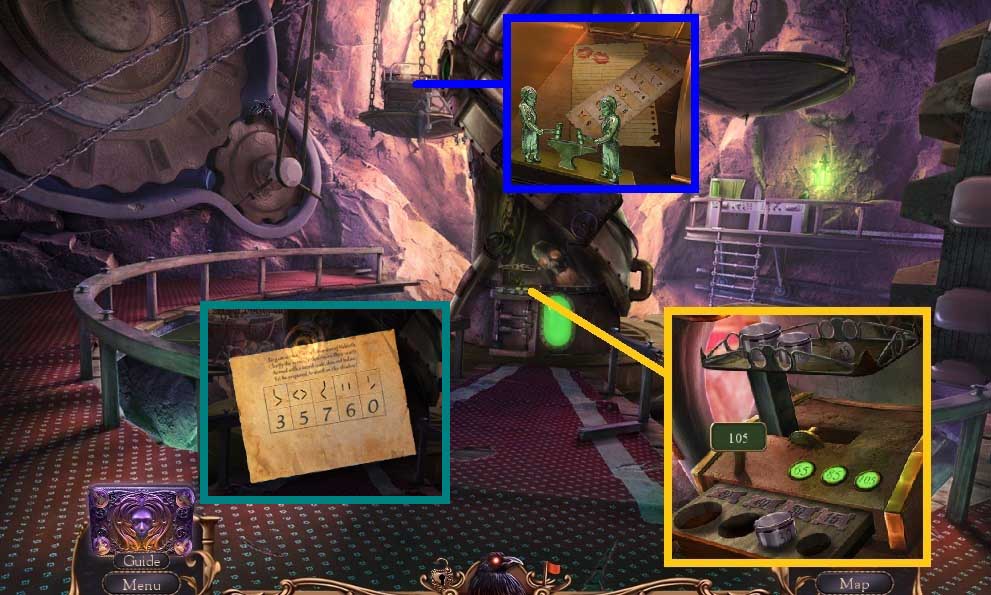
- Read the note.
- Insert the game token; collect 1 /2 blacksmiths.
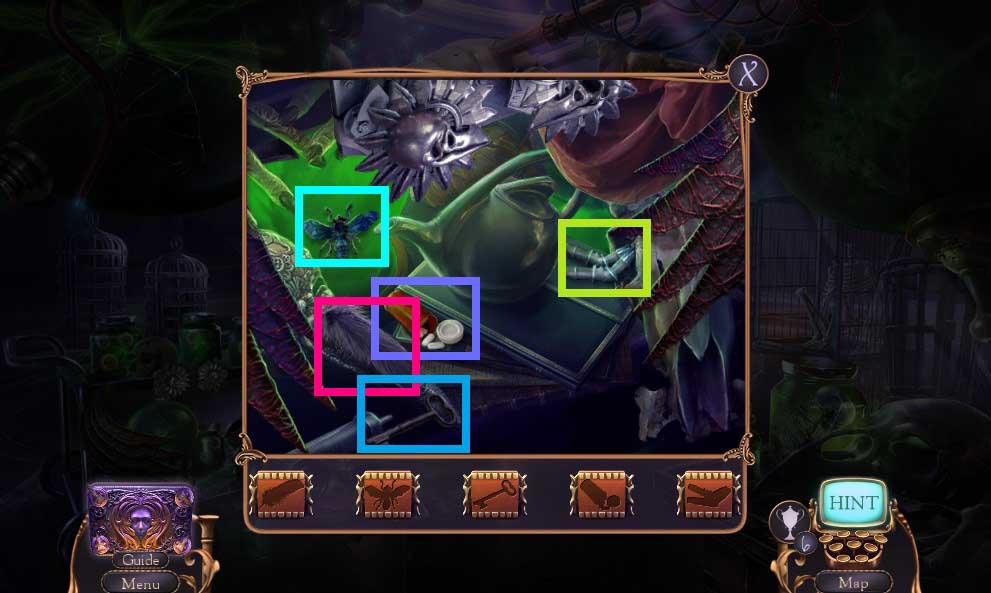
- Click the hidden objects area.
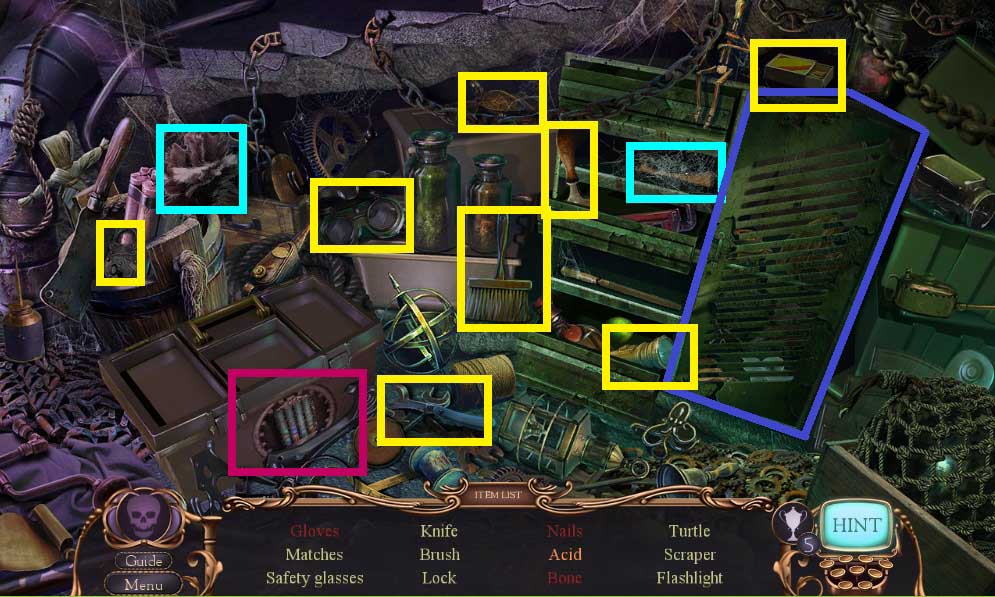
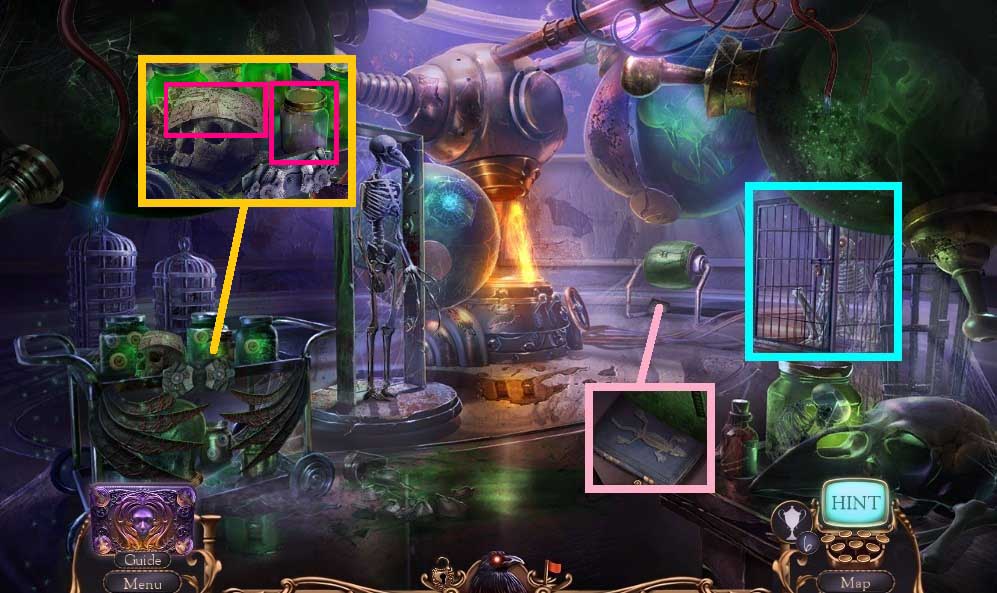
- Find the items.
- Collect the acid.
- Select the magnet to collect the green button.
- Click the green button and collect the broken controls.
- Move to the Cliff Terrace.

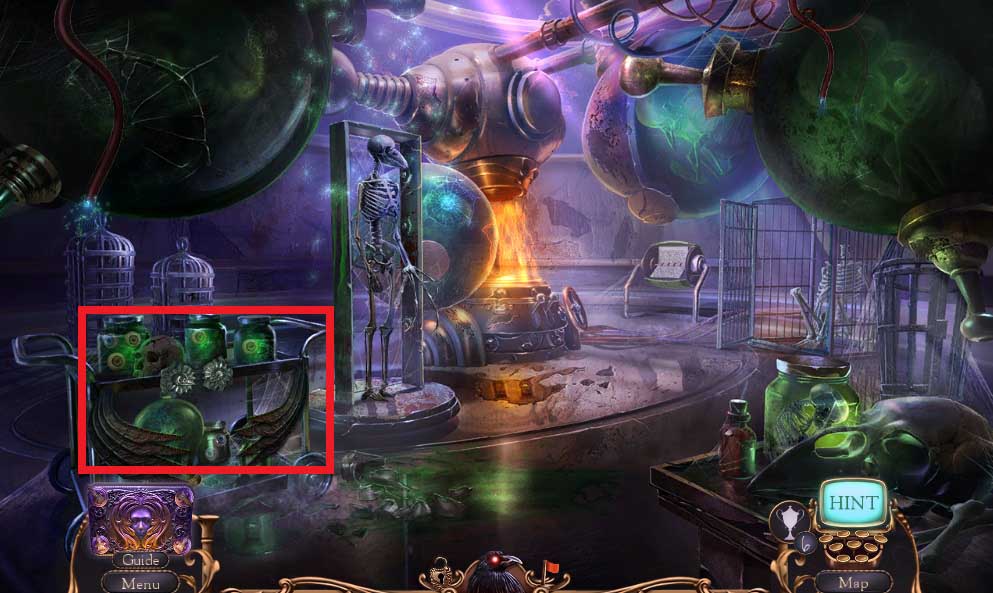
- Collect 1 / 2 horns & the silicone glue.
- Select the walking stick to crack the ground; collect 2 /2 blacksmiths.
- Collect the sword using the acid.
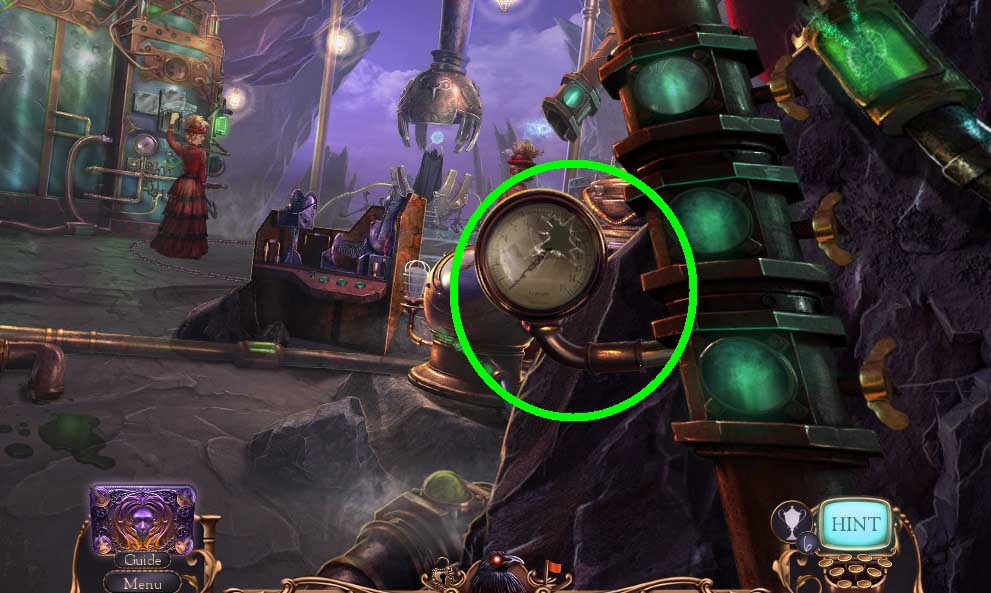
- Move down once.
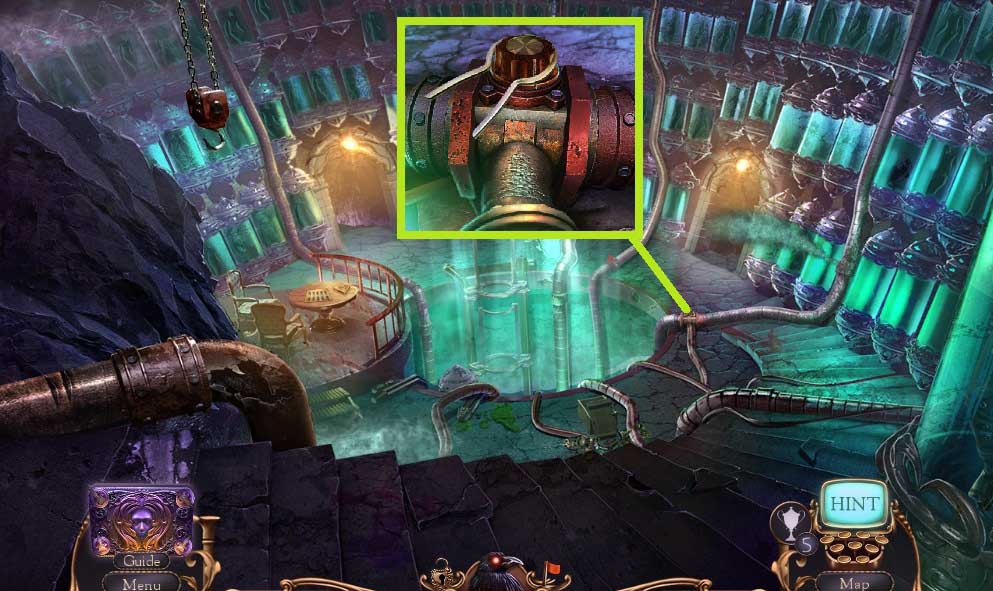
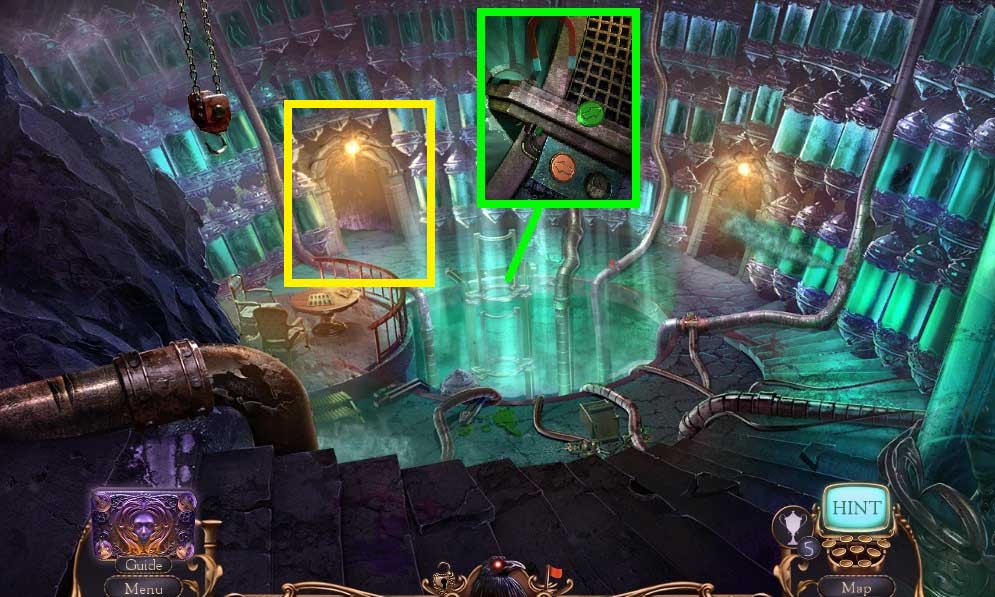
- Select the silicone glue and the jar opener to use on the pipe.
- Move to the Mechanism Chamber.
- Collect the torn canvas & the graphite pencil.
- Select the sword to jam the cogs.
- Read and click the note.
- Attach the broken controls to trigger a mini game.
- Solve the game by arranging the board as shown in the diagram.
- Collect the controls.
- Move down once.
- Select the graphite pencil to mark the pods.
- Collect the paper code.
- Attach the controls and click the green button.
- Collect the star buckle.
- Move to the Cliff Terrace.
- Insert the star buckle.
- Click the symbols to trigger a hidden objects area.
- Find the items.
- Collect the cannonball.
- Move to the Mechanism Chamber.
- Insert the cannonball to trigger a mini game.
- Solve the game by distributing the weights according to the buttons.
- Insert the 2 blacksmiths & collect the symbol cipher; place it onto the paper code.
- Fill in the boxes according to the symbols.
- Collect the 5 digit code.
- Move to the elevator.

- Click the screen enter the code 3 – 5 – 7 – 6 - 0
- Move to Alister’s Revival Hall.
- Zoom into the mechanism and play the mini game.
- Solve the game by solving the puzzles within.
- Collect the metal file.
- Arrange the bulbs correctly.
- Zoom to the left.
- Click the handle; collect the lens.
- Select the metal file to cut the chain.
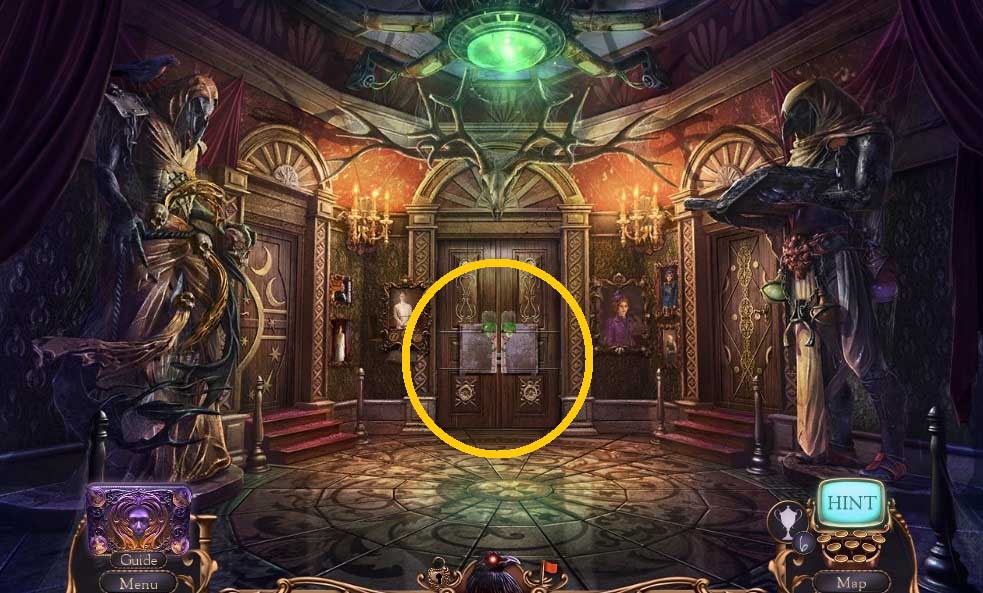
- Move into the Crossroad Hall.
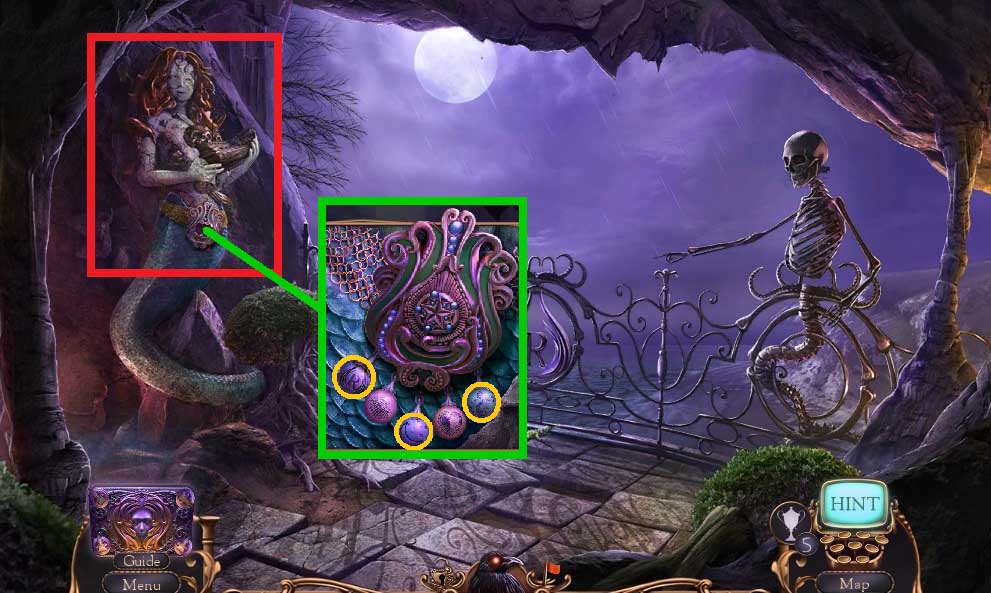
- Read the note.
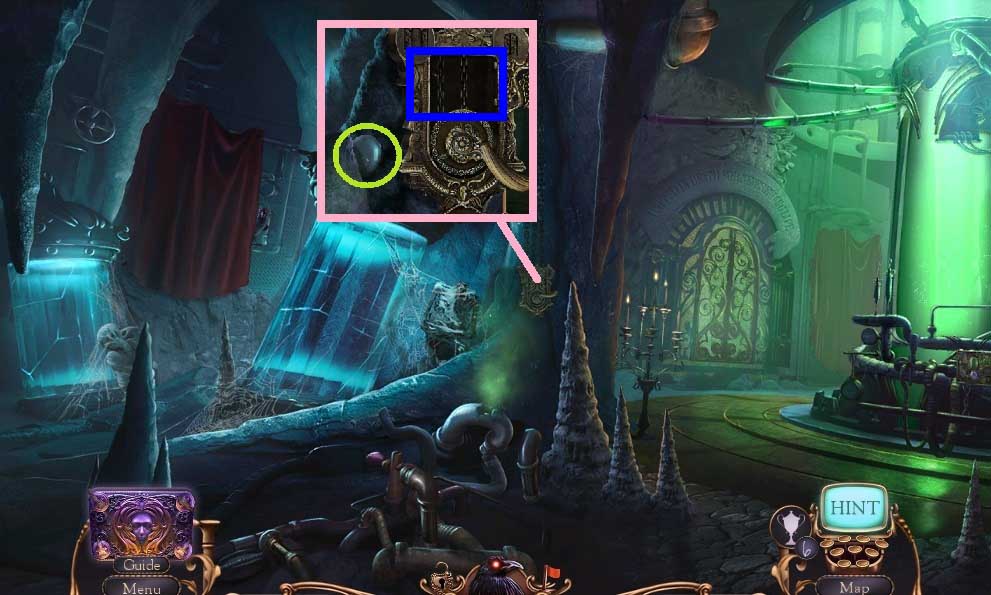
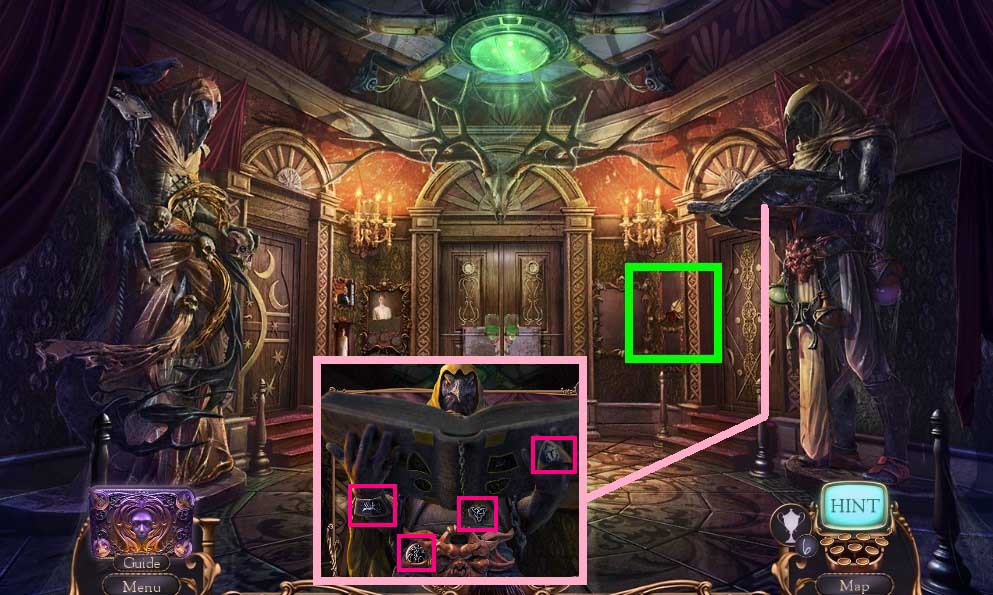
- Click the symbols to collect the talisman.
- Move to the Knowledge Repository.
- Insert the talisman; collect the hand.
- Read the note and collect the flying hourglass.
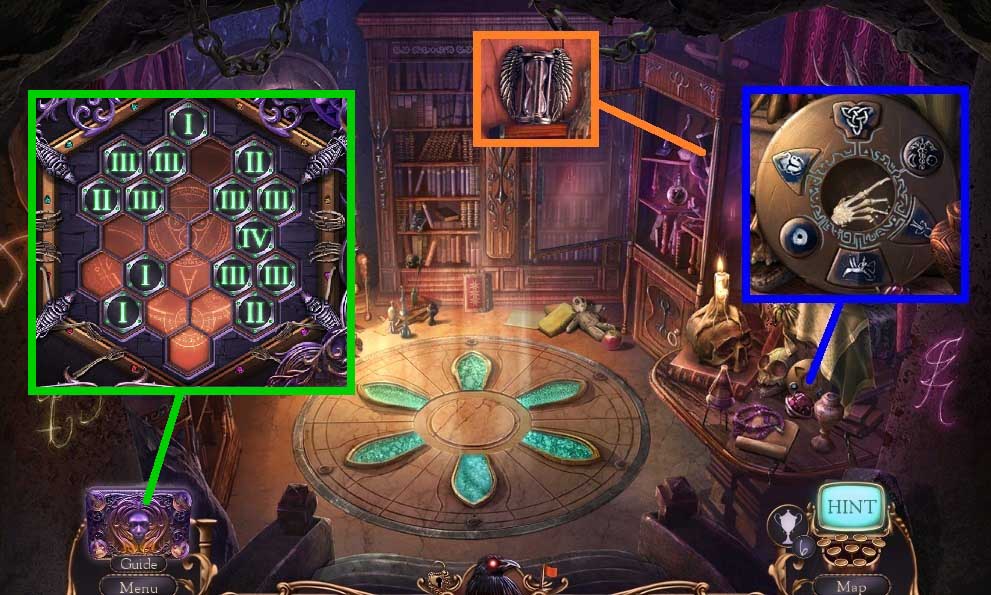
- Click Alister’s enigma and insert the hand to trigger a mini game.
- Solve the game by arranging the tiles correctly.
- Collect 1 /2 raven cogs.
- Move down once.
- Insert the flying hourglass; collect the padlock piece.
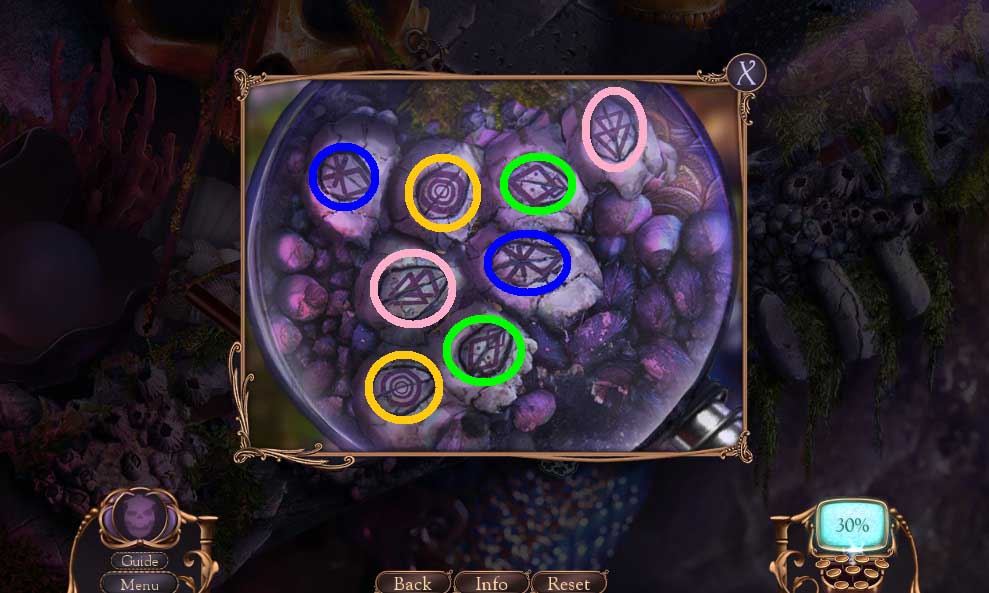
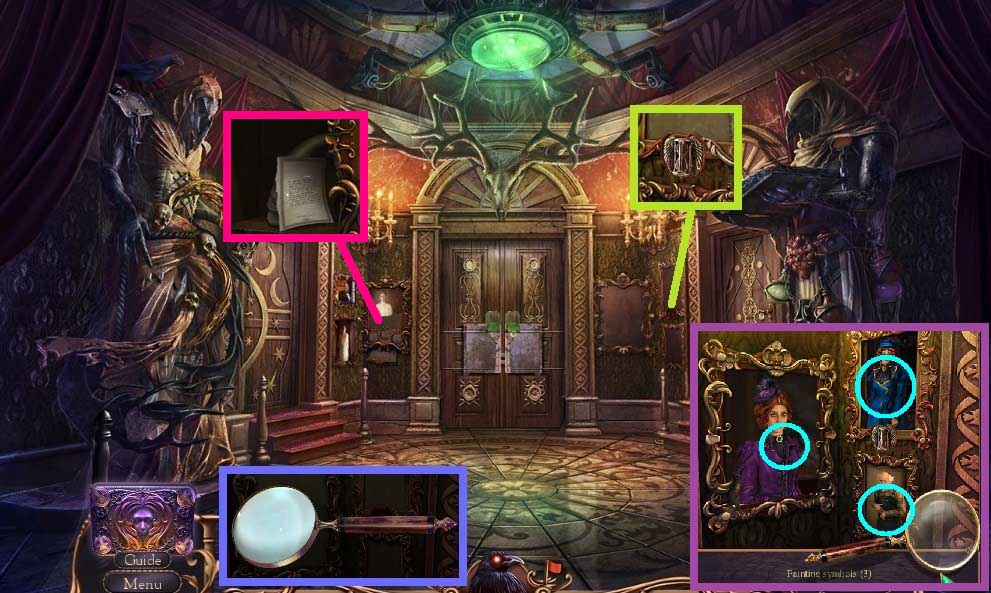
- Zoom into the magnifier and replace the glass; use it to find the 3 symbols.
- Collect the painting symbols.
- Insert the torn canvas and the painting symbols; insert them as follows: V – A - B.
- Read the note and collect 2 / 2 horns.
- Move to the Knowledge Repository.
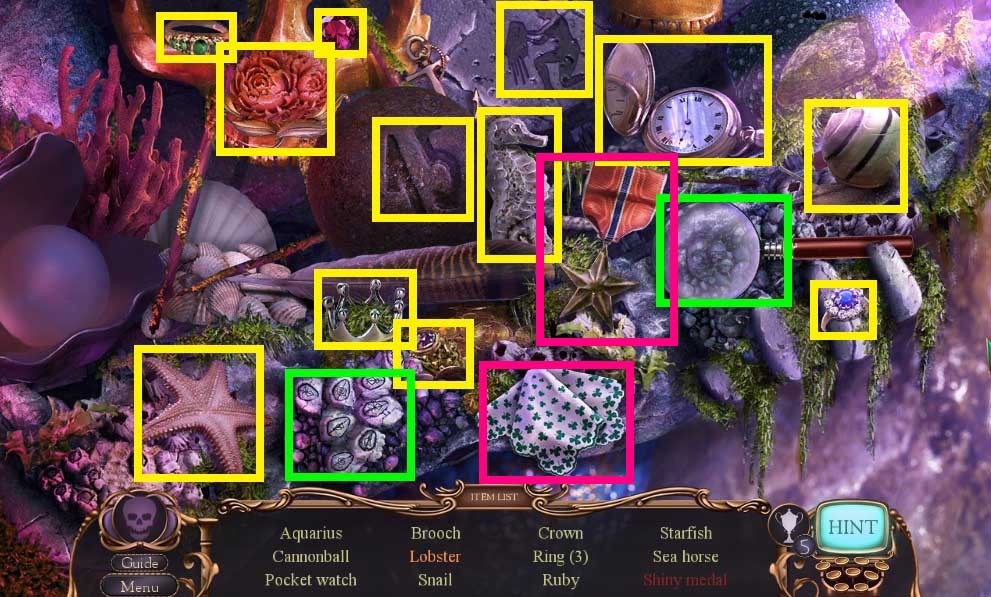
- Attach the 2 horns to trigger a hidden objects area.
- Find the items.
- Collect the skull disk.
- Move down once.
- Insert and click the skull disk 2x’s.
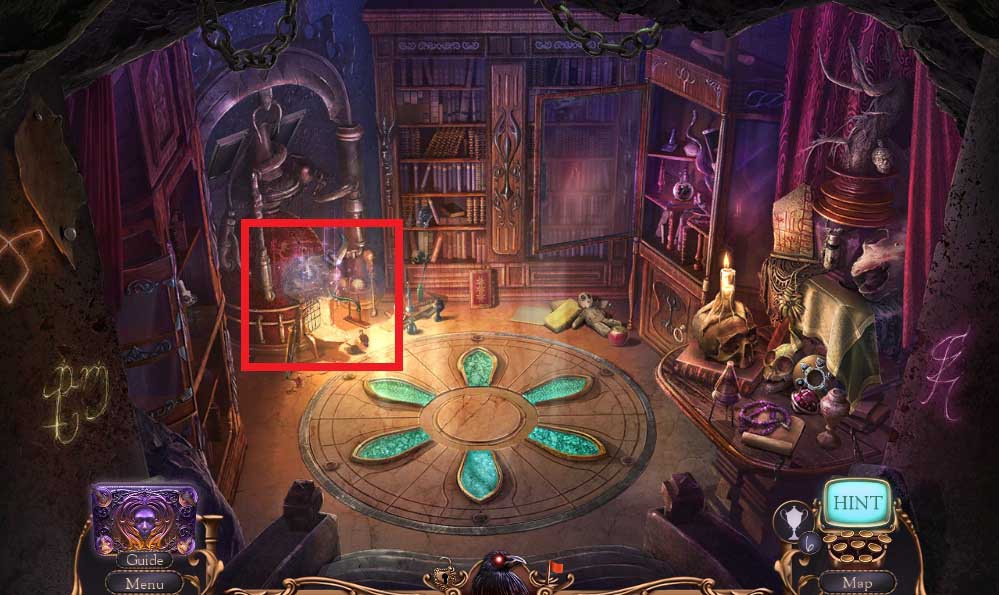
- Move to the Laboratory.
- Collect the book.
- Insert the padlock piece; collect the skull.
- Collect the jar of plaster and the casting instructions.
- Move to the Knowledge Repository.
- Insert the book and arrange them correctly.
- Click the panels and zoom left; click the panel again.
- Place the casting instructions down and the jar of plaster.
- Follow the instructions.
- Collect the Vitruvian man.
- Move to the Laboratory.
- Insert the Vitruvian man; examine the notes.
- Collect the belt.
- Move to Alister’s Revival Hall.
- Attach the skull; collect the skeleton key.
- Move to the Knowledge Repository click the riser and zoom to the right.
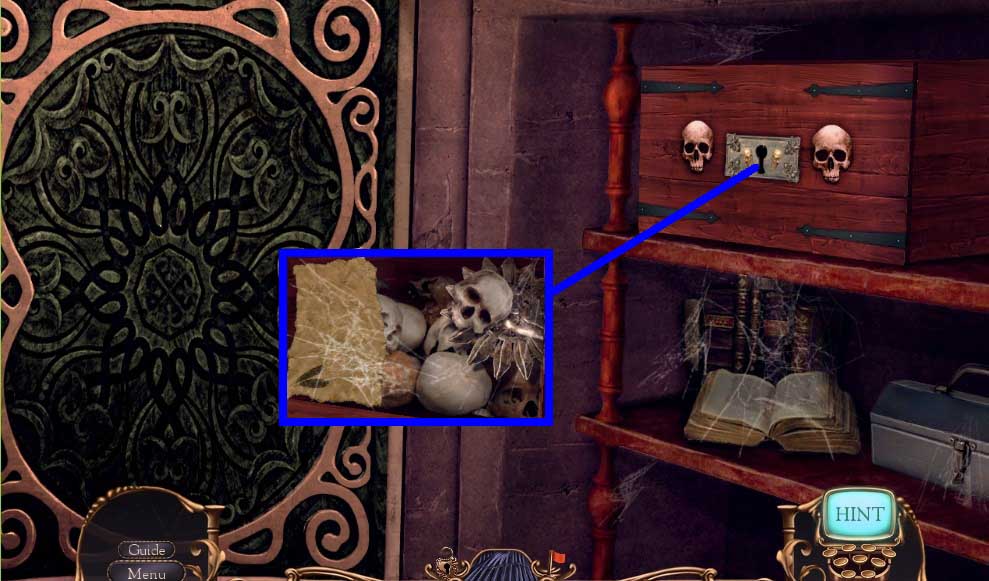
- Insert the skeleton key.
- Read the note; click the skull.
- Collect 2 /2 raven cogs.
- Move to the Laboratory.
- Insert the 2 raven cogs and the belt to trigger a hidden objects area.
- Find the items.
- Collect the tubes.
- Move down once.
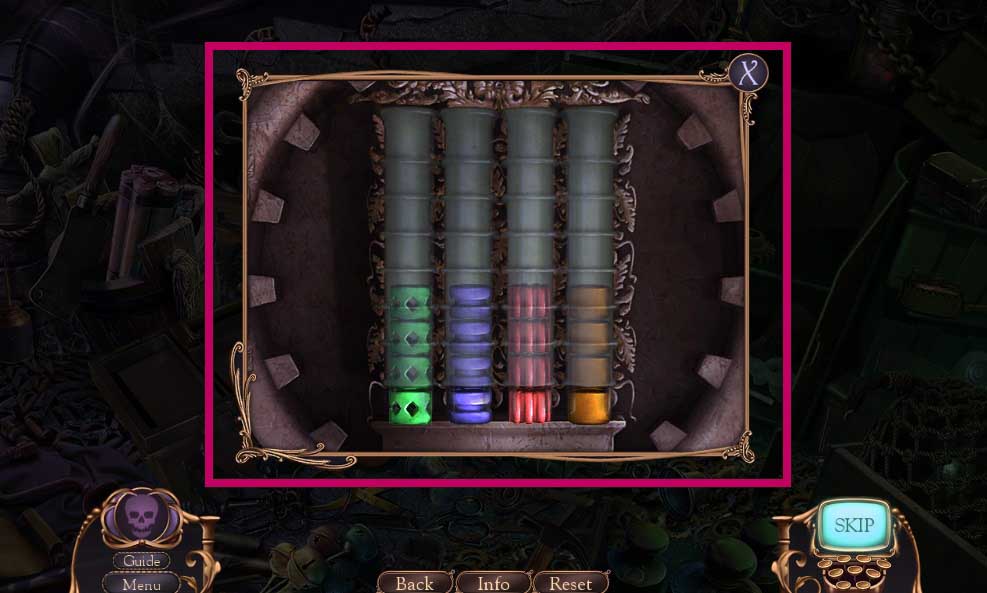
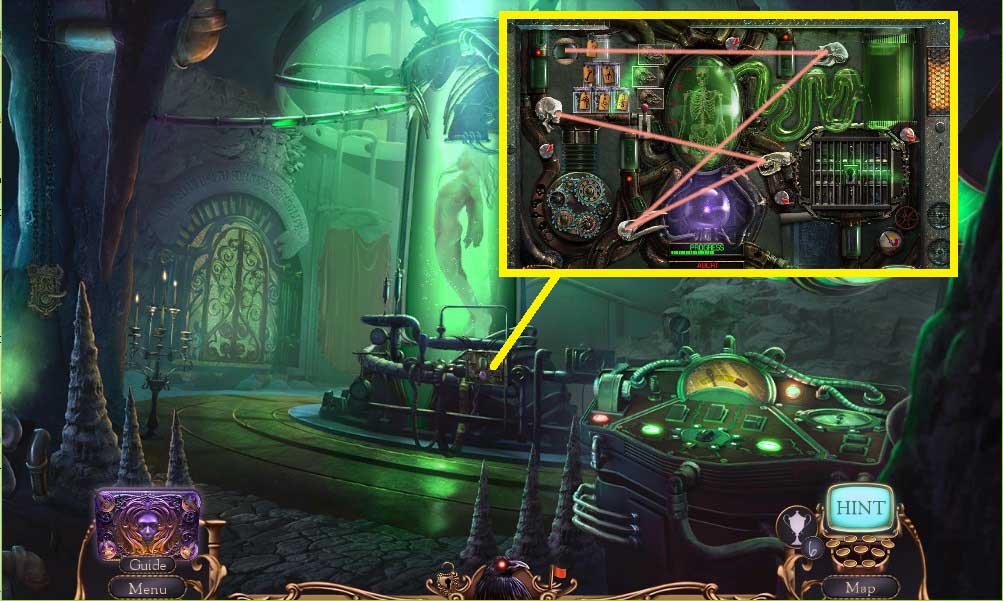
- Insert the tubes and click the levers to trigger a mini game.
- Solve the game by connecting the tubes correctly.
- Move to the Soul Collector Chamber.
- Click the broken pipe.
- Move ahead once.
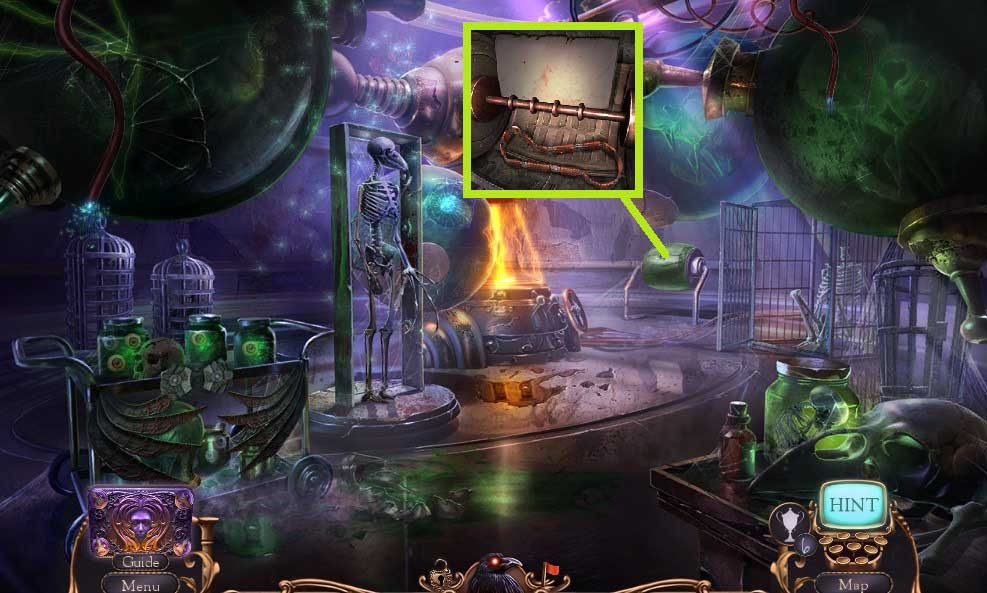
- Click the valve; collect the pipe piece.
- Move down once.
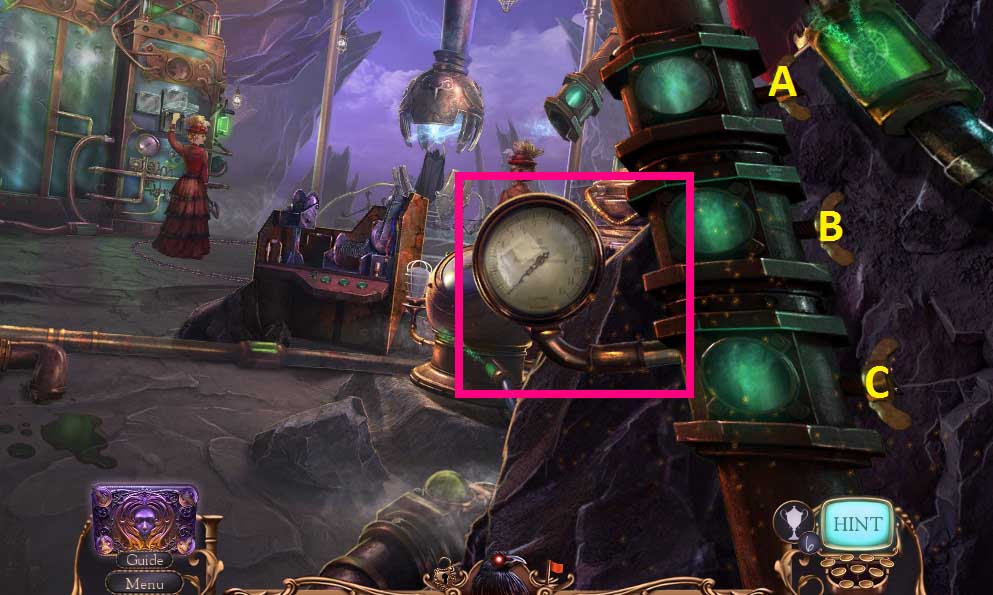
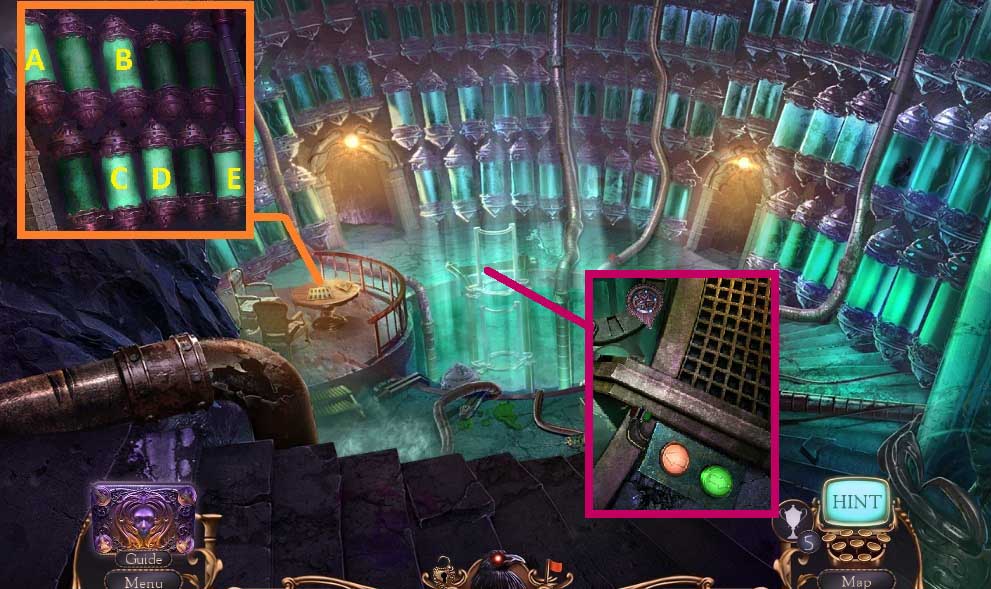
- Attach the pipe pieces.
- Click them in the following order: C – A – C- B – B
- Move ahead once.

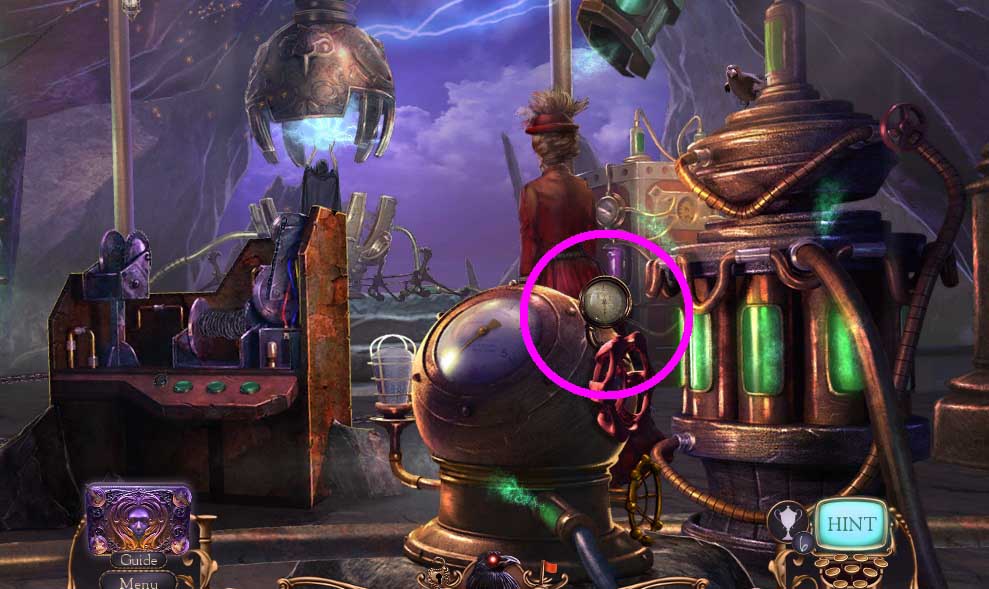
- Click the valve.
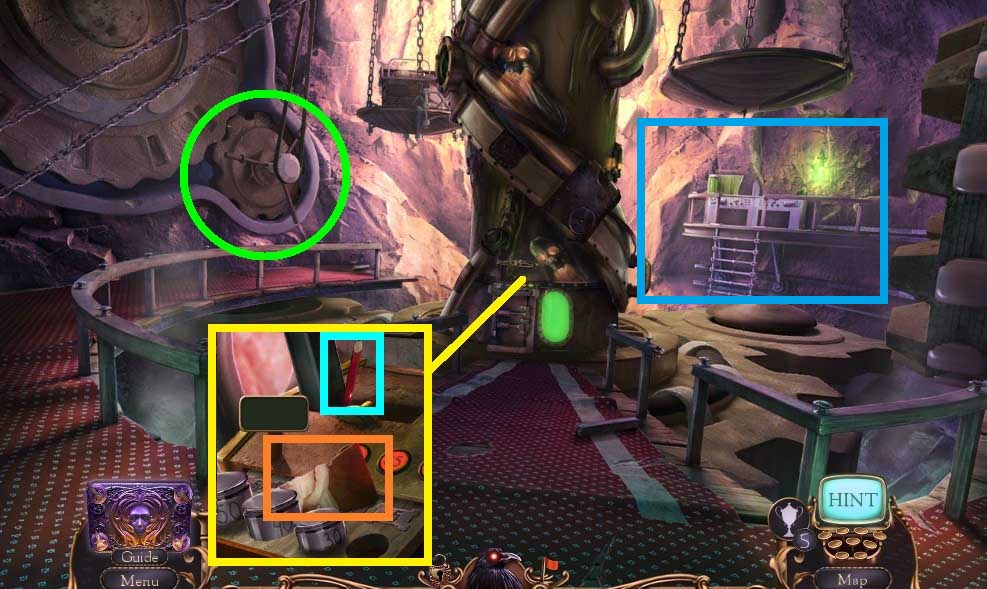
- Zoom into the workstation.
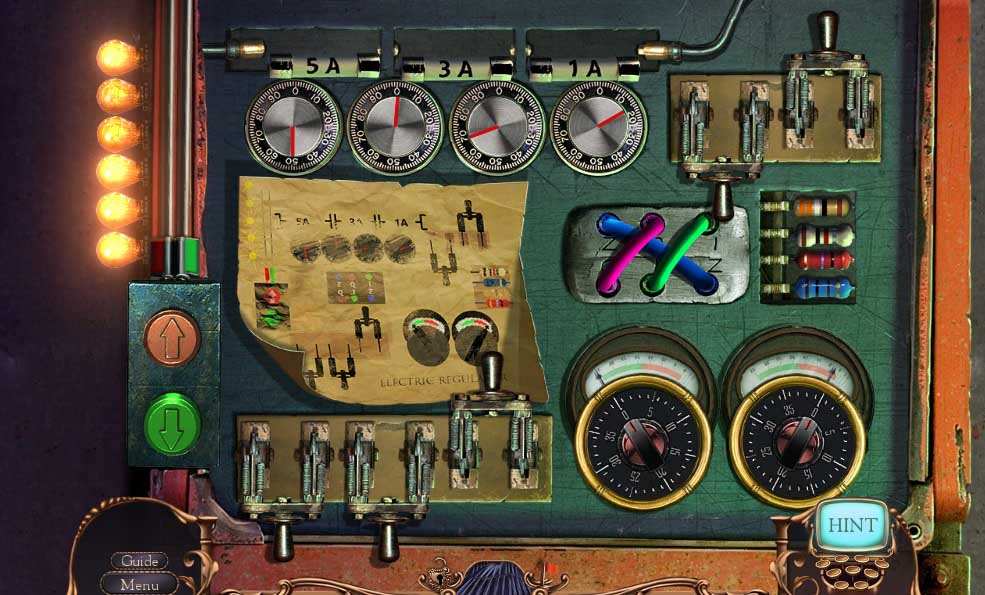
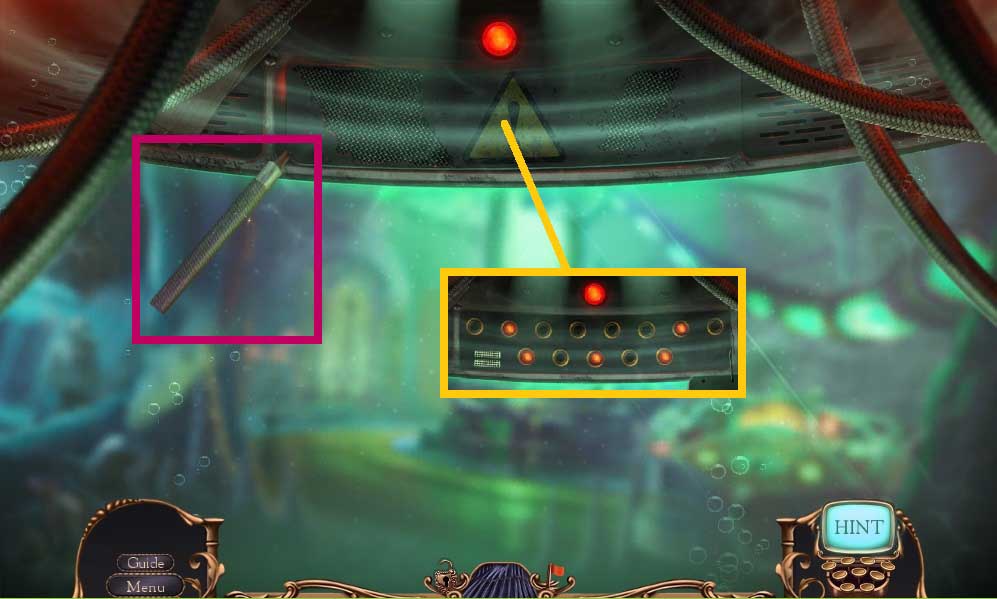
- Align the wires correctly and click the switch.
- Click the buttons as follows: A-B-B
- Move left to trigger a mini game.

- Adjust the valves correctly to get the liquid flowing.
- Congratulations! You have successfully completed the main game of Mystery Case Files: Key to Ravenhearst