
Love Chronicles: A Winter's Spell: Chapter Two: Meet the Dwarf
Our Love Chronicles: A Winter's Spell Walkthrough is ready to assist you as you bundle up and prepare for this exciting new adventure in the Love Chronicles series. Your daughter has been taken by an evil wizard who intends to use her to awaken the Ice Queen! Trust our detailed game instructions, our custom marked screenshots, and our simple puzzle solutions to help you defeat this threat to your kingdom and rescue your beloved daughter!
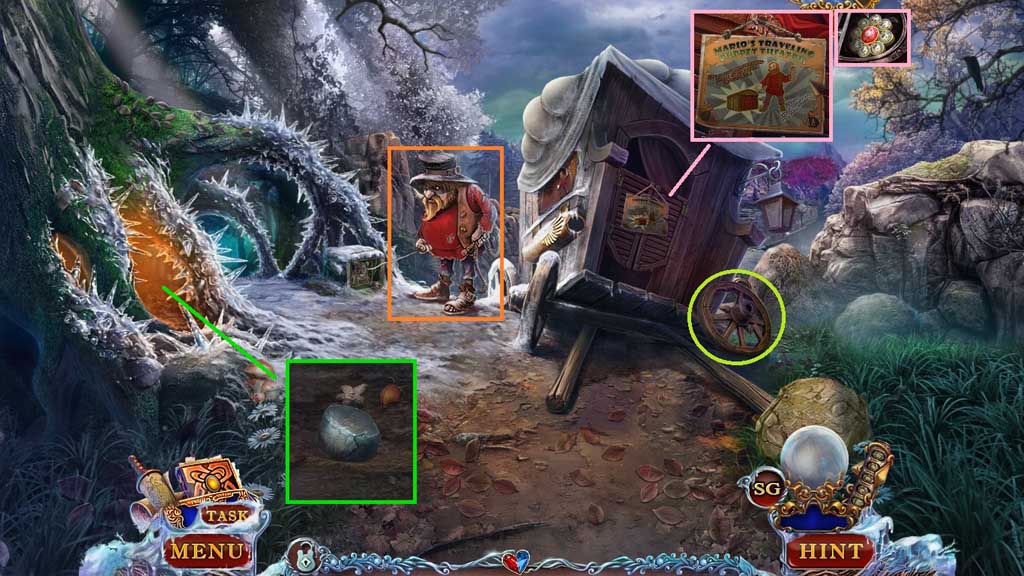
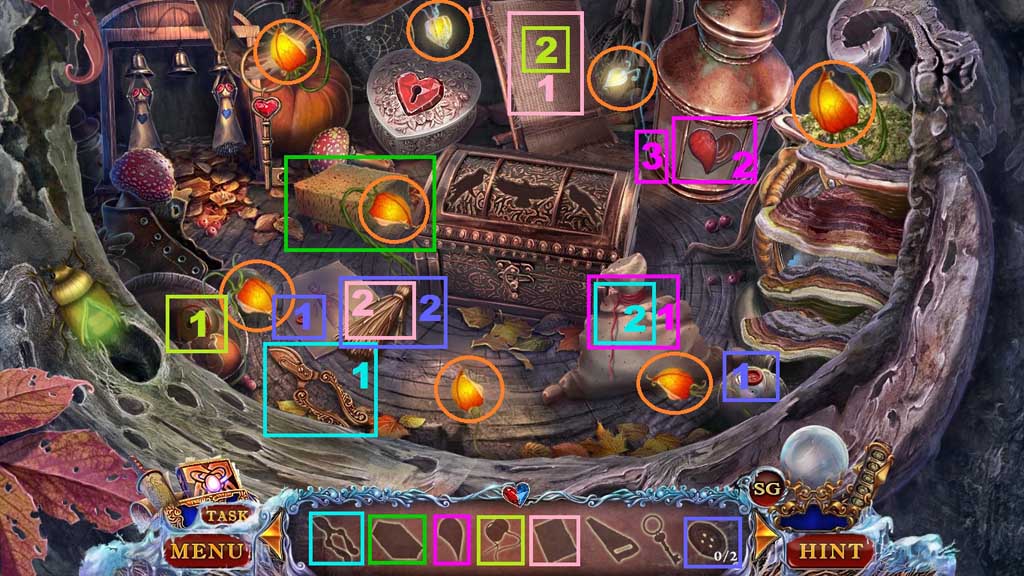
- Speak to the Dwarf.
- Zoom into the cavernous hole.
- Collect 1 /7 puzzle pieces.
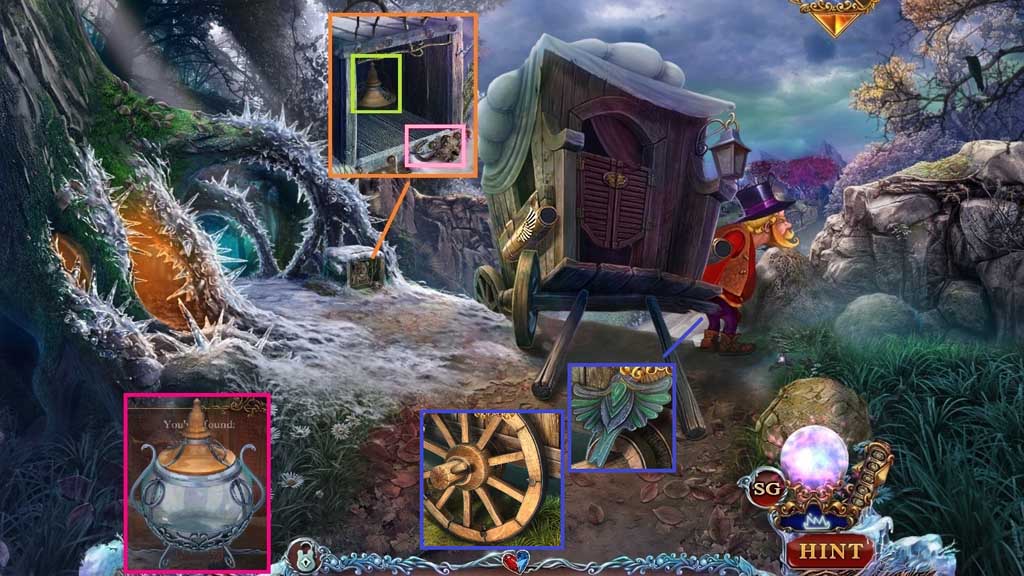
- Collect the stone.
- Collect the wheel.
- Examine the sign; collect the brooch.
- Move to the left.

- Collect 2 /7 puzzle pieces and the stick.
- Collect the wood plank and 3/ 7 puzzle pieces.
- Collect the broken bucket.
- Collect 3 /3 hearts.
- Select the broken tiara and place the 3 hearts and the brooch onto it to create the tiara flower.
- Select the stone to collect the figure’s arm.
- Move down 2x’s.

- Select the stick to collect the tiara and place the tiara flower onto it.
- Collect 4/ 7 puzzle pieces and the broken figurine.
- Place the wooden plank across the stream.
- Collect 5 /7 puzzle pieces, figure’s leg and 1 /3 wooden tokens.
- Select the broken figurine and attach the figure’s leg and arm; collect the theatre figurine.
- Select the stick to collect the open lantern.
- Collect 6 /7 puzzle pieces.
- Move ahead.
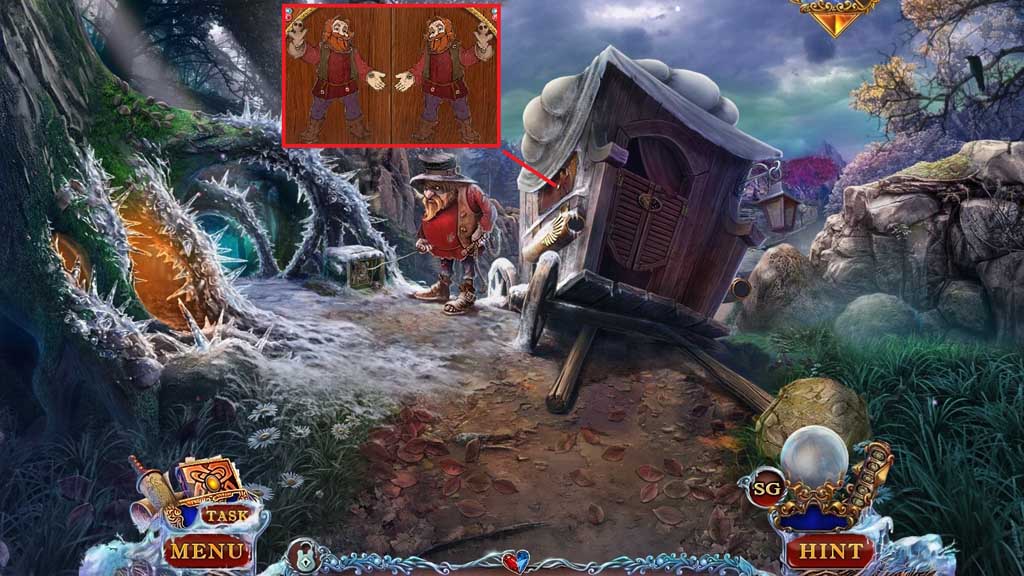
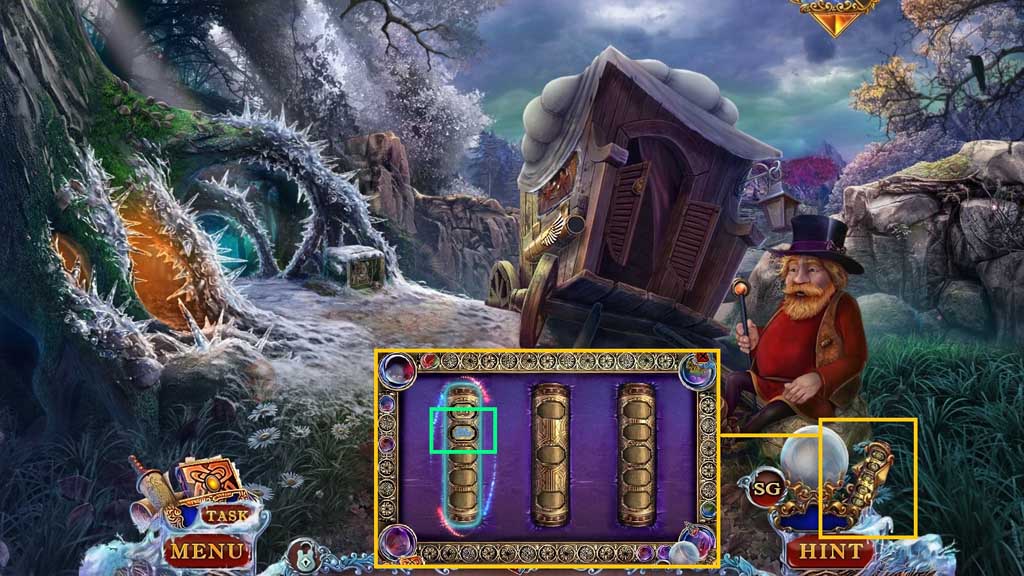
- Place the theatre figurine into the side of the carriage and adjust the head and limbs as shown in the figure.
- Click the hidden objects area.

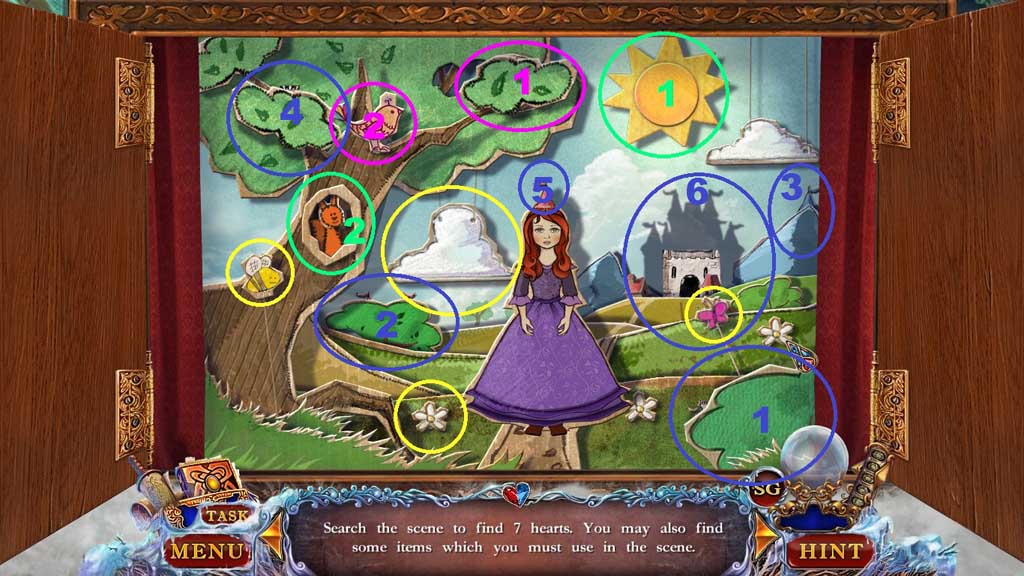
- Find the items and place them correctly into the scene.
- Collect 7 /7 puzzle pieces.
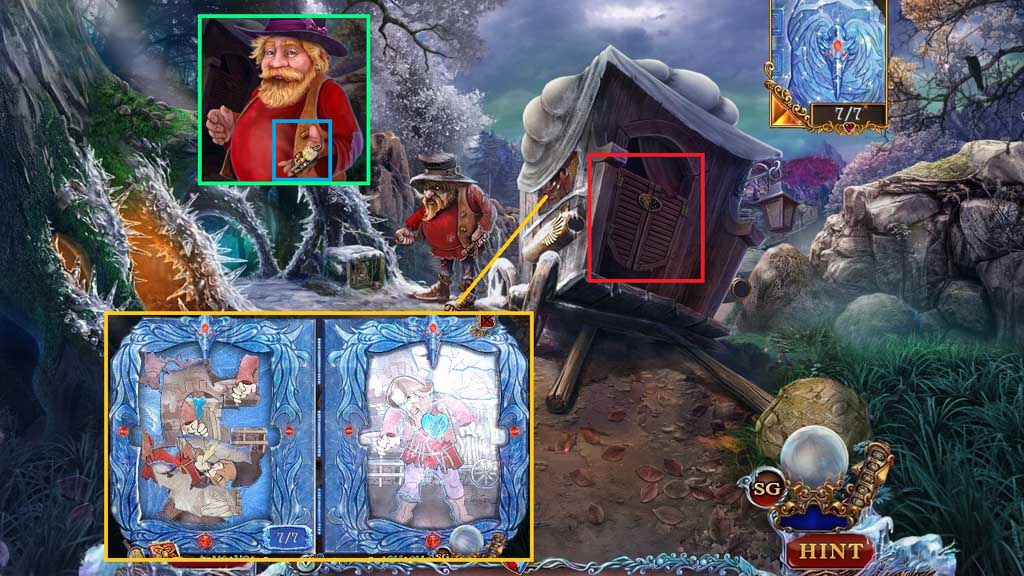
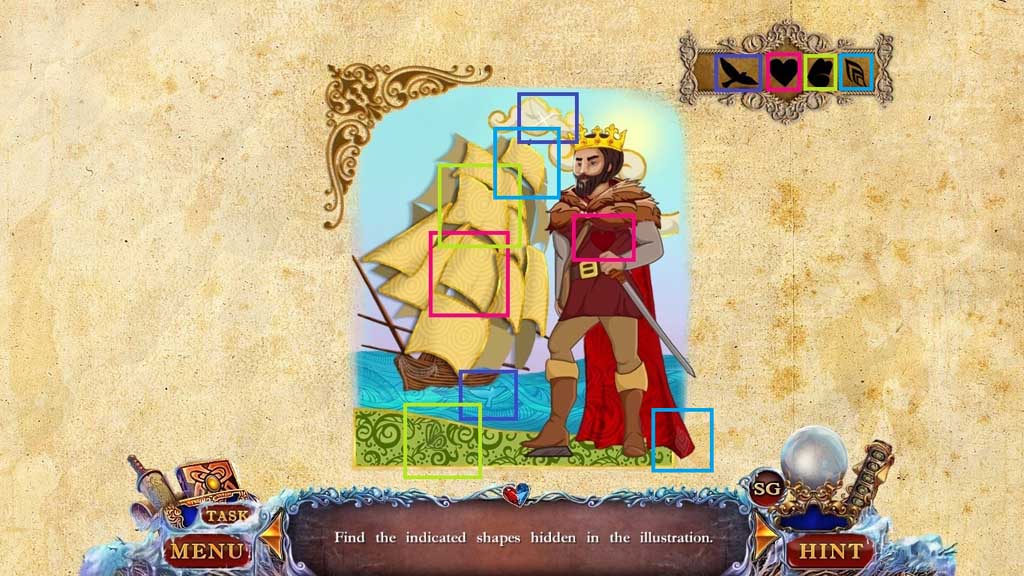
- Click the icy book.
- Restore the image.
- Collect the cage key and the mask.
- Attach the mask to trigger a hidden objects area.

- Find the items.
- Collect the rune.
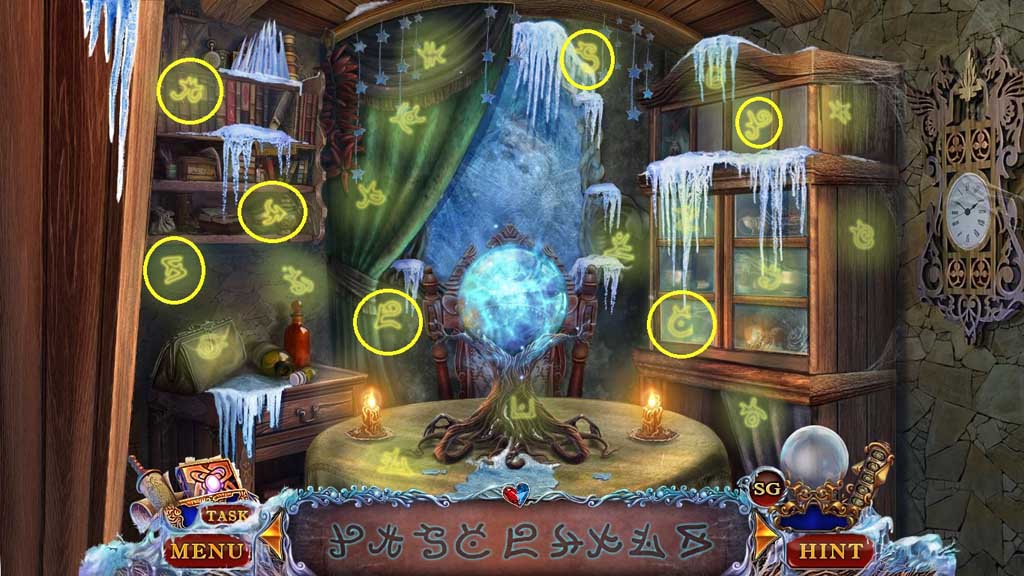
- Click the history scroll.
- Click the glowing rune.
- A hidden objects area will trigger.
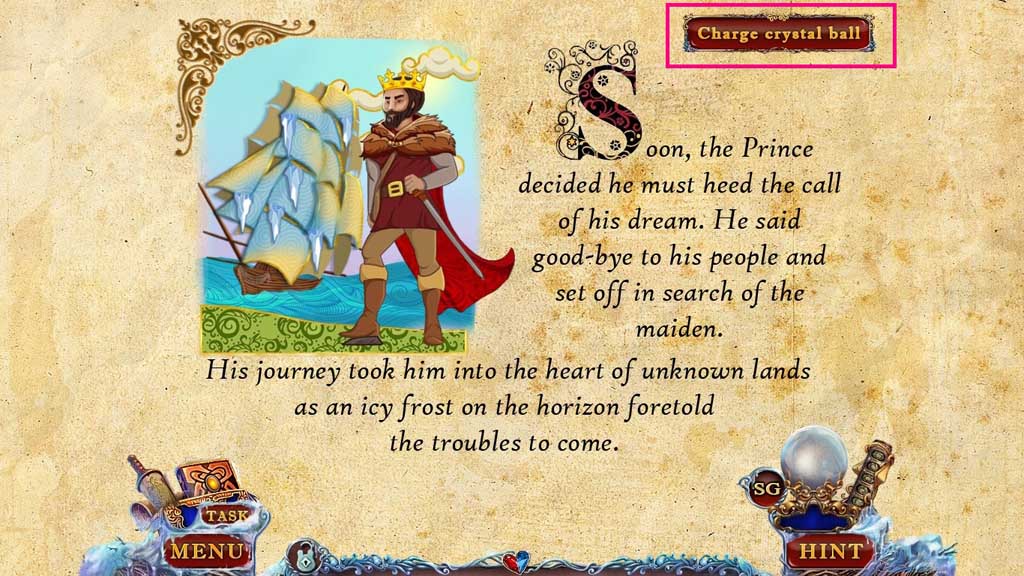
- Find the items.
- Click the charge crystal ball button.
- Insert the cage key; collect the lantern lid.
- Select the open lantern and attach the lantern lid; collect the empty lantern.
- Collect the bird figurine.
- Attach the wheel.
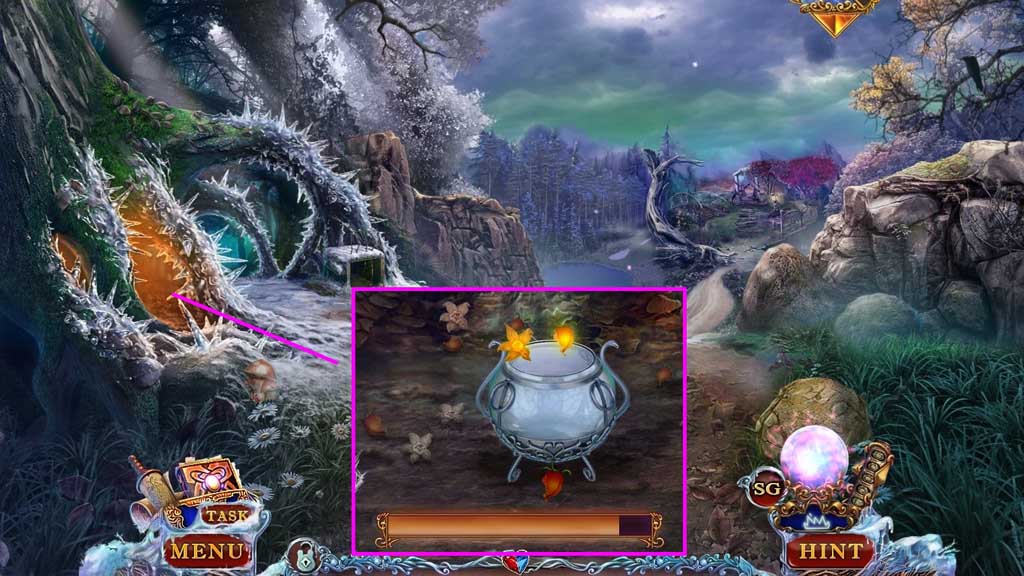
- Zoom into the cave and place down the empty lantern.
- Move the lantern to collect the lighted seeds until the bar is full.
- Collect the lantern.
- Move to the left.
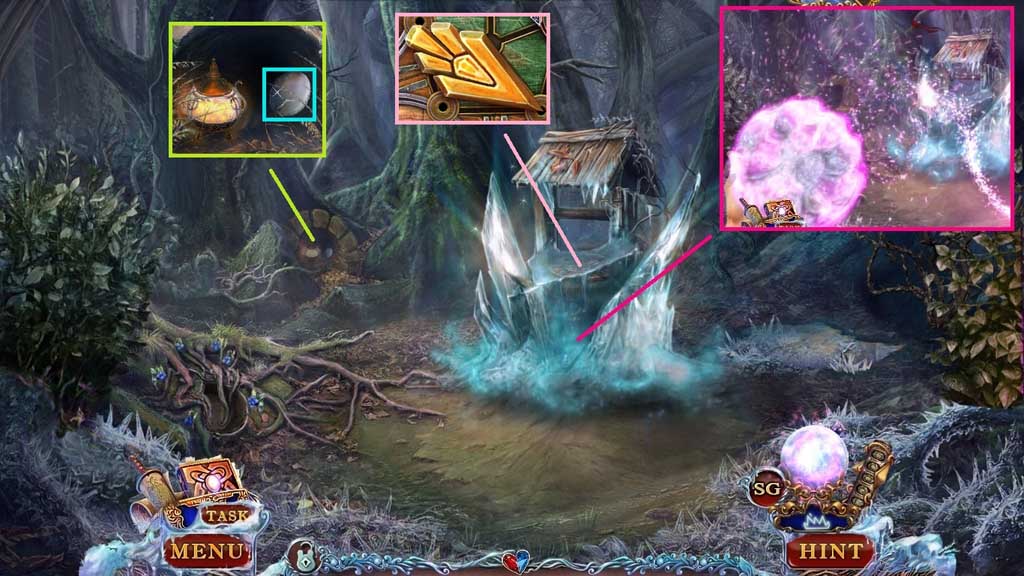
- Place the lantern into the cavernous area; collect the lens.
- Select the crystal ball to break the spell.
- Collect the lantern key.
- Move down 2x’s.
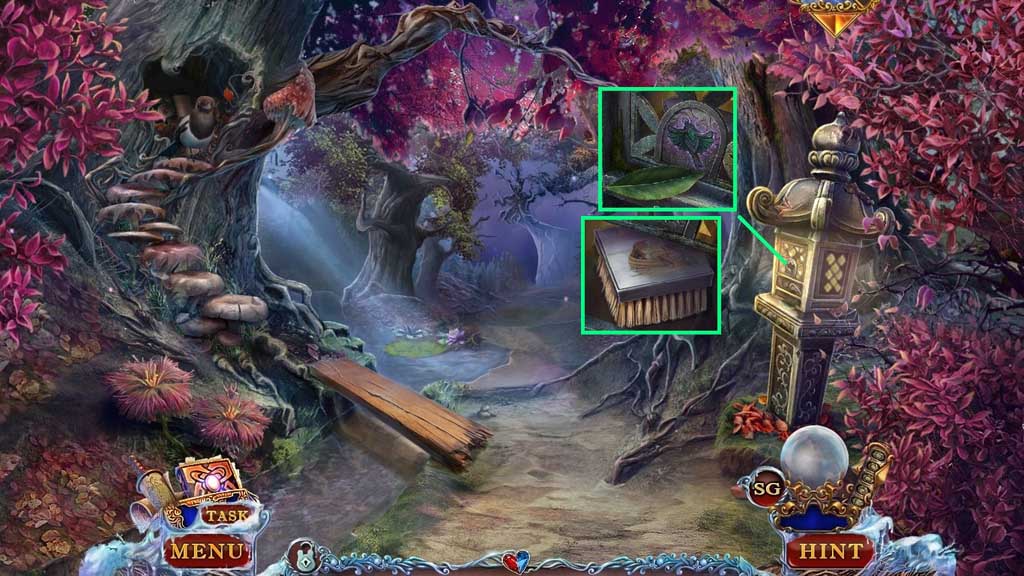
- Click the leaf; insert the bird figurine.
- Collect the brush.
- Move to the Well.
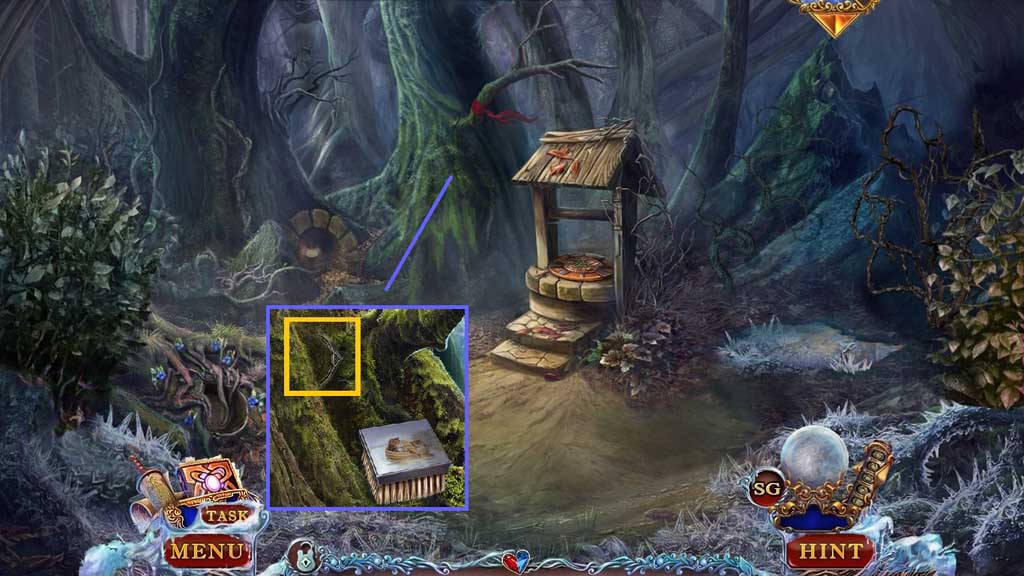
- Select the brush to scrub the moss.
- Collect 2 /3 wooden tokens.
- Move down one and forward once more.

- Insert the lantern key.
- Click the door and collect the yellow stone.
- Move to the right.
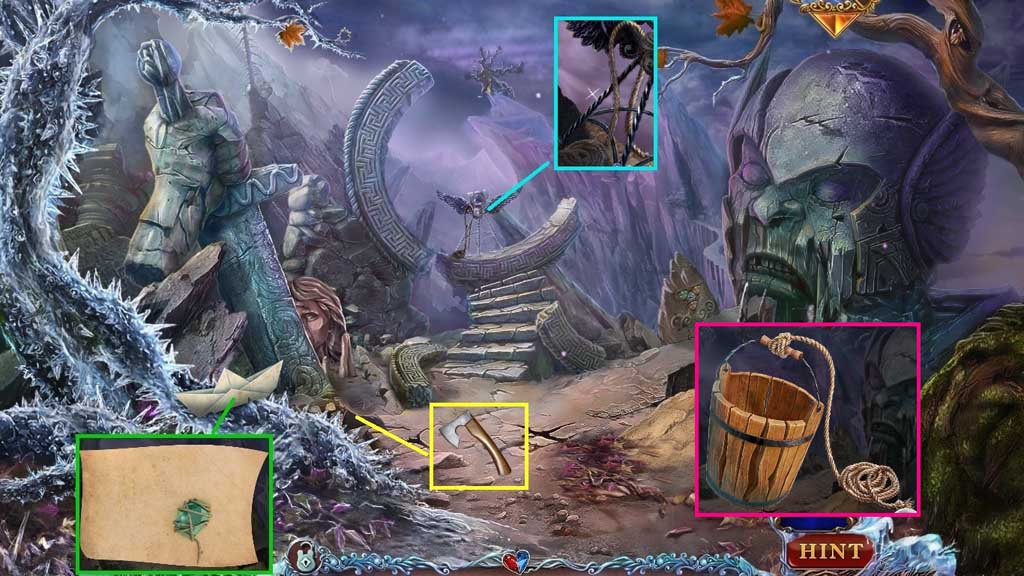
- Collect the paper boat and click it several times; collect the eye.
- Click the stones; collect the axe.
- Collect the rope and attach it to the broken bucket to collect the empty bucket.
- Move to the Well.
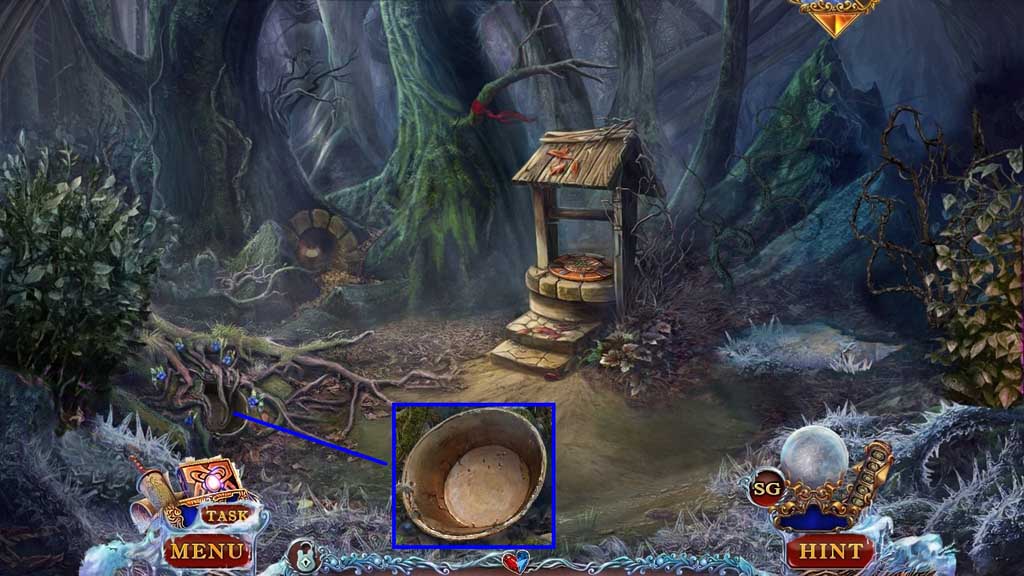
- Select the axe to cut the vines; collect the bowl and moon.
- Move to the Warrior.
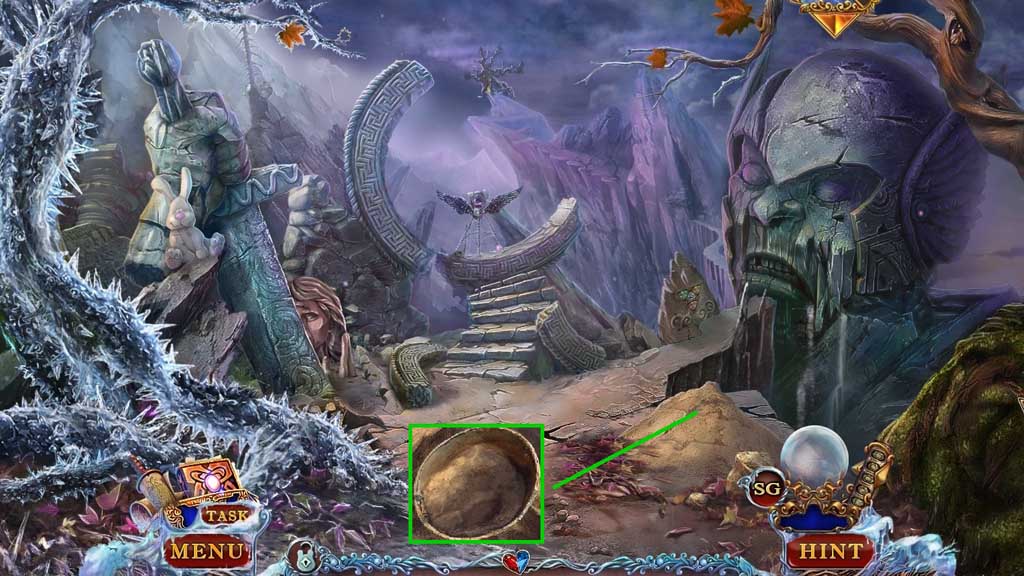
- Select the bowl to collect the bowl of sand.
- Collect 1 /2 colored tile.
- Move down once.
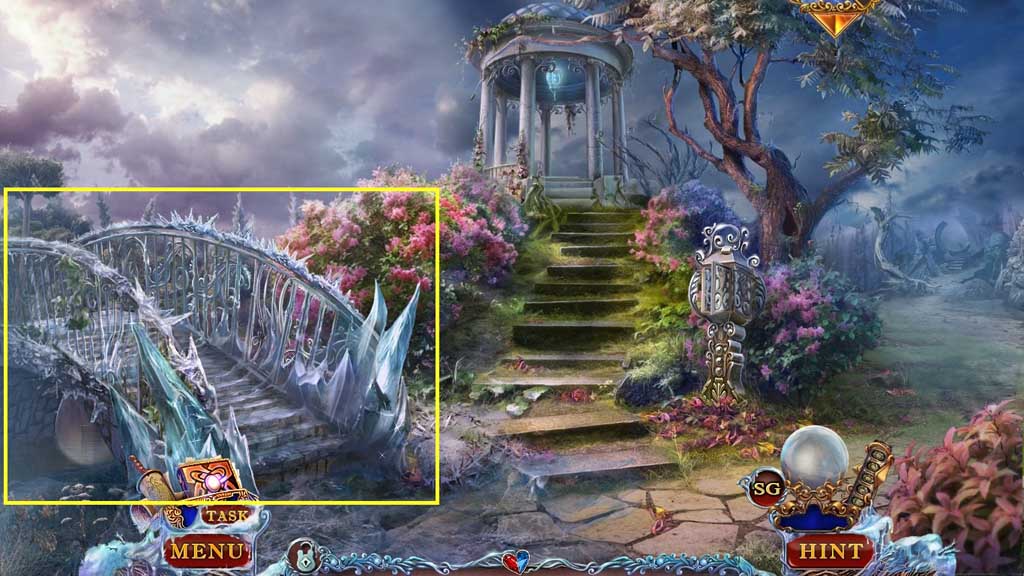
- Select the bowl of sand to pour onto the icy bridge.
- Move to the left.
- Insert the eye.
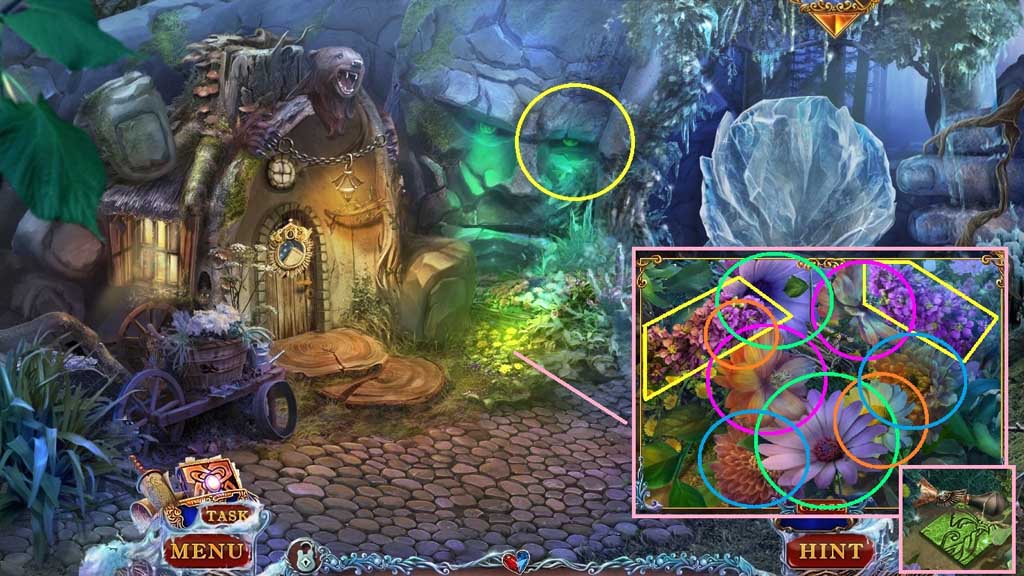
- Click the flowers to trigger a mini game.
- Solve the game by clicking the flower pairs.
- Collect 2 /2 colored tiles and the horn.

- Read the note and insert the moon.
- Set the clock as shown.
- Collect the key and insert it into the lock to trigger a hidden objects area.
- Find the items.
- Collect the ice raven.
- Insert the ice raven.
- Collect the red stone.
- Move down once.
- Zoom into the steps.
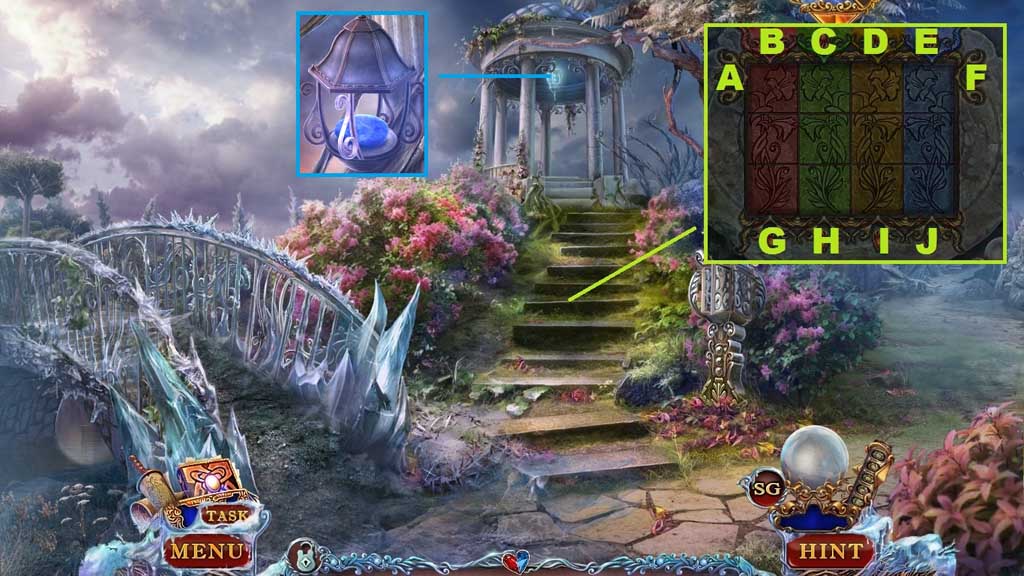
- Insert the 2 colored tiles to trigger a mini game.
- Solve the game by arranging the tiles into their color matched columns.
- Use the following sequence to solve: A – B – F – G – F – F –C –A –B – C – C –D – E –A – A – H- A – A – A – B – A – G – A – A
- Collect the blue stone.
- Move down 2x’s.

- Select the horn to use on the bird and trigger a hidden objects area.

- Find the items.
- Collect 3/ 3 wooden tokens.
- Move to the Well.

- Click the well cover and insert the 3 wooden tokens to trigger a mini game.
- Solve the game by arranging the tokens correctly based on the animal traits.
- Select the empty bucket to collect the bottle with scroll.
- Click and drag the bottle; collect the bottle with scroll.
- Move to the Warrior.
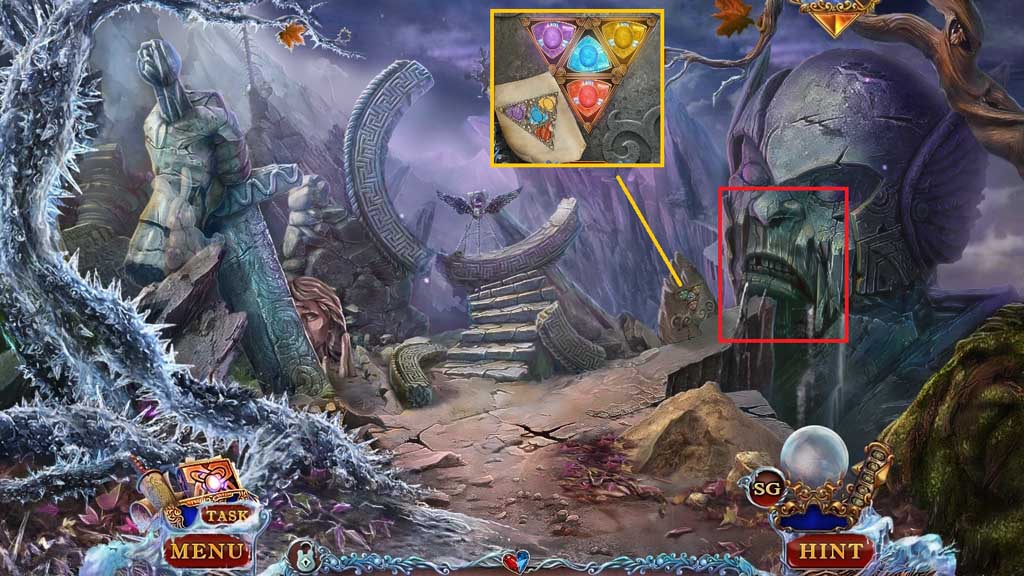
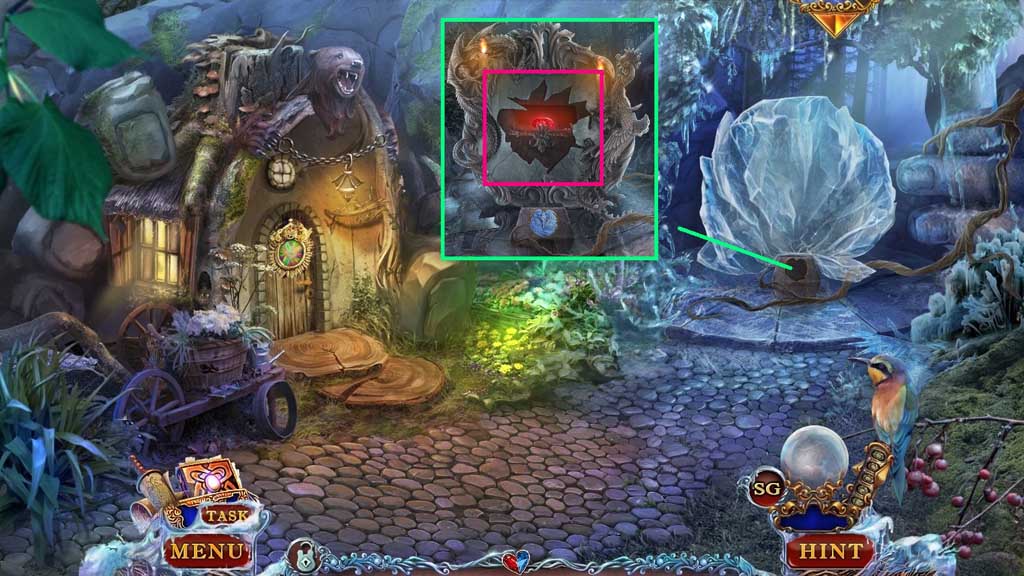
- Insert the red – yellow and blue stones.
- Adjust the triangles as shown to trigger a hidden objects area.

- Find the items.
- Collect the broken spyglass.
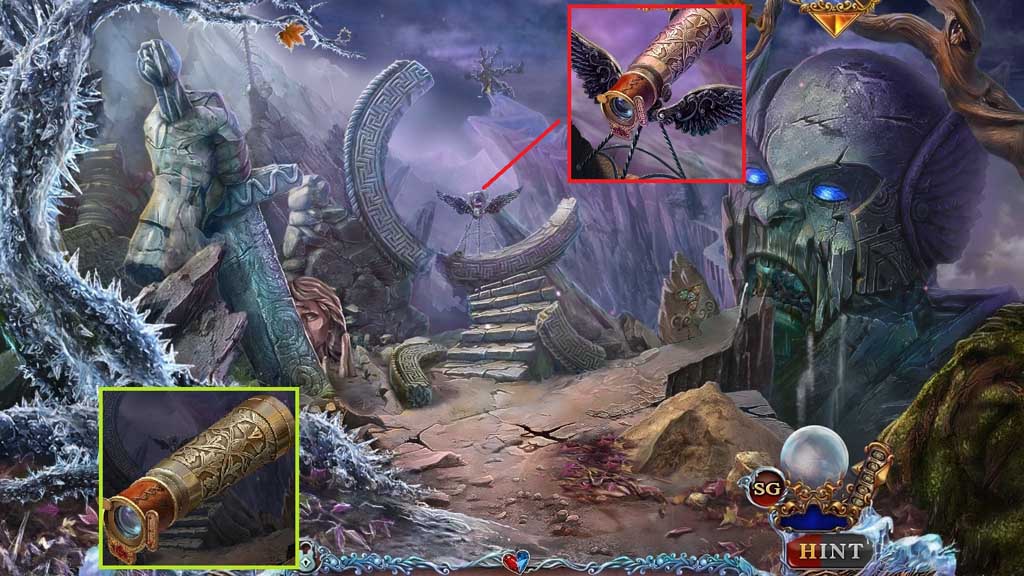
- Place the lens onto it to collect the spyglass.
- Attach the spyglass onto the stand and click it once to trigger a hidden objects area.
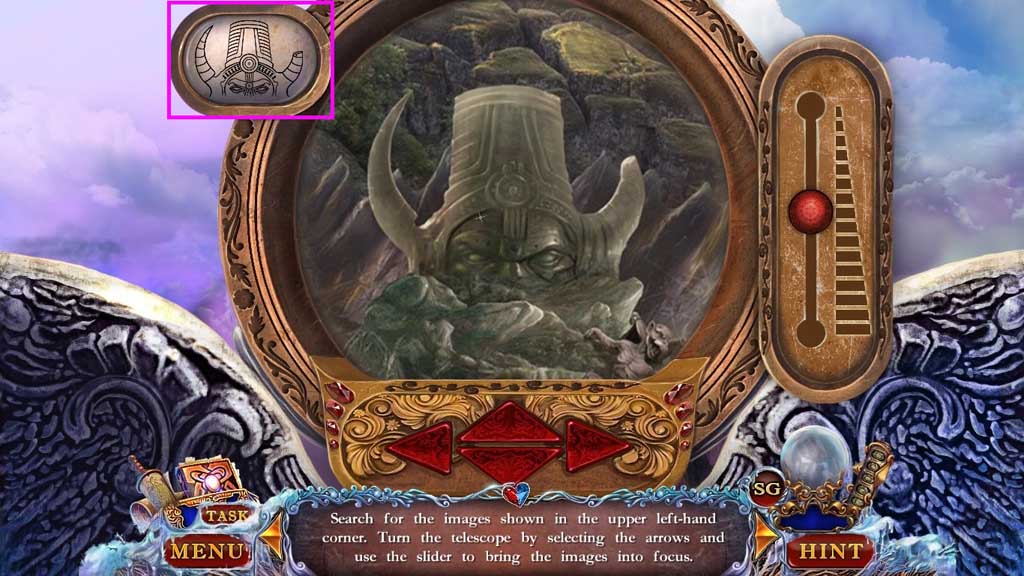
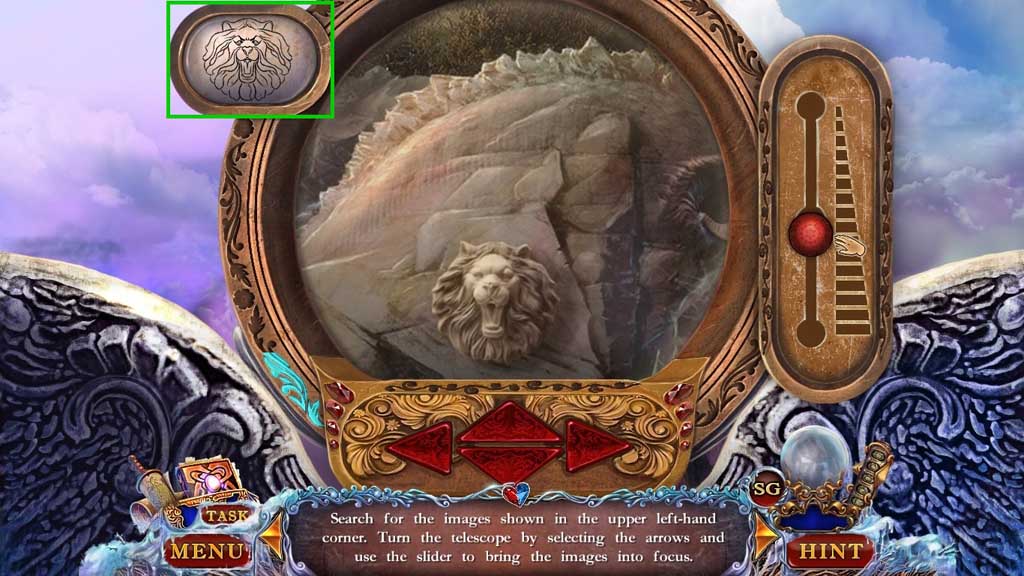
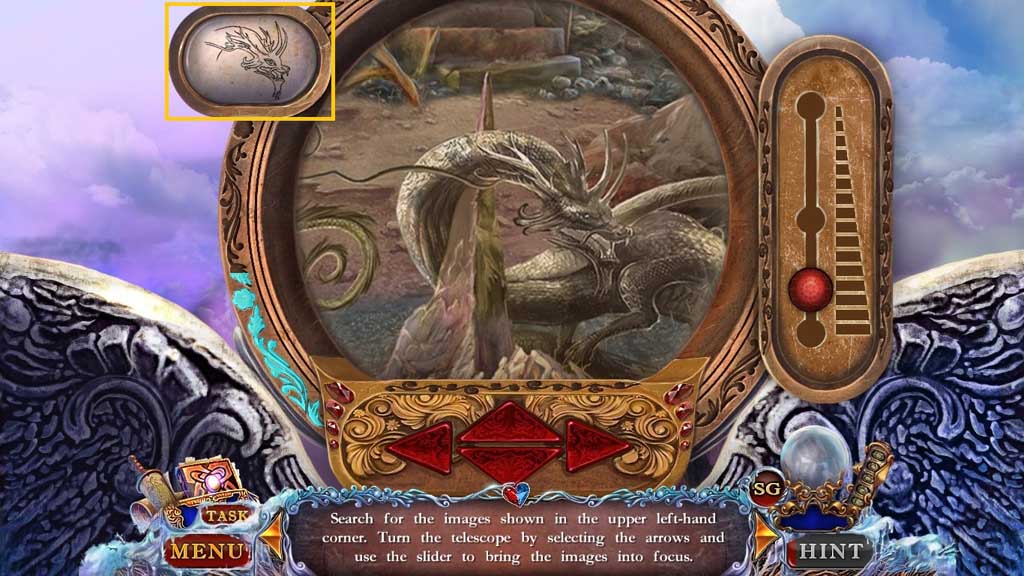
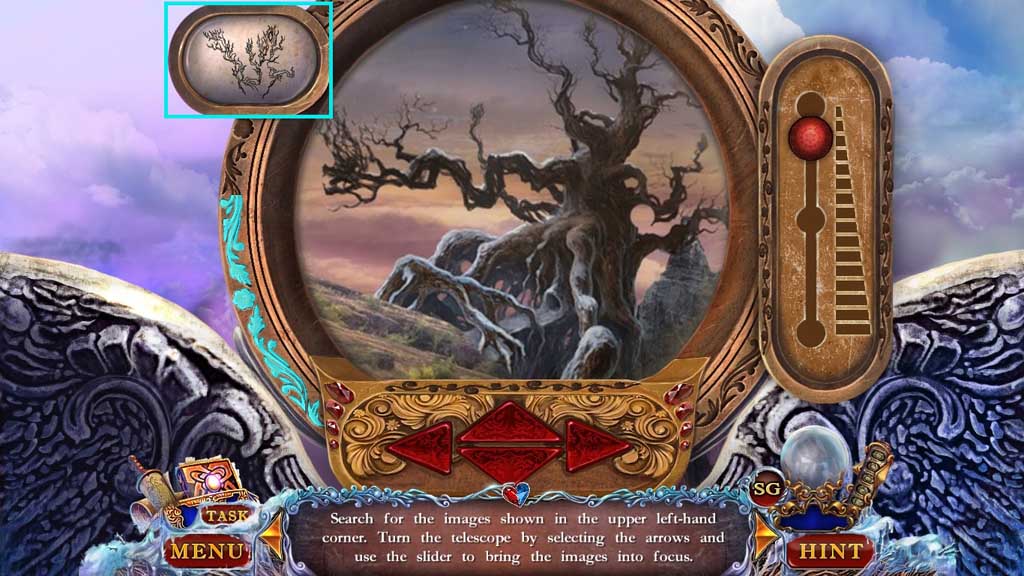
- Find the images and adjust the focus to clarify them.