
Invasion: Lost in Time: Chapter Five Torion
Our Invasion Lost in Time Walkthrough is loaded with helpful tips and screen shots to lead you through the adventure of a lifetime. Travel to far off lands and through time to uncover mysteries that seem to defy space and time. Help Mike to uncover the truth behind the strange discoveries of modern technology in ancient ruins and the sinister reasons behind them. He will need you to help him figure out this bizarre mystery, but hurry because time is not on your side!
General Information & Tips
Chapter One The Exploration Begins
Chapter Two Egypt
Chapter Three The Ancient World
Chapter Four Shukaras
Chapter Five Torion
Ask for help in the comments below!
Chapter One The Exploration Begins
Chapter Two Egypt
Chapter Three The Ancient World
Chapter Four Shukaras
Chapter Five Torion
Ask for help in the comments below!
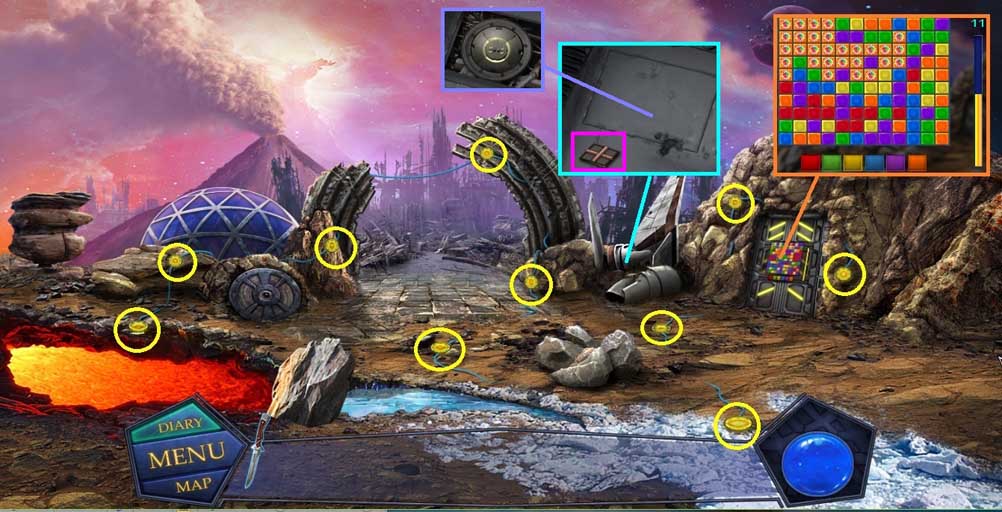
- Click the buttons to trigger a mini game.
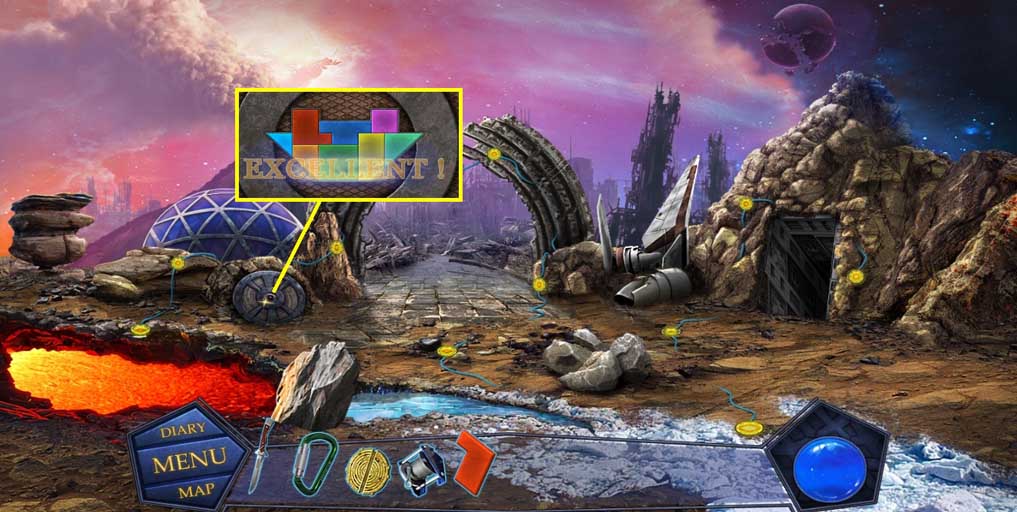
- Click all of the cubes into the same color block.
- Collect the part of the puzzle and use the knife to open the compartment.
- Collect the fuel cell.
- Move into the cave.
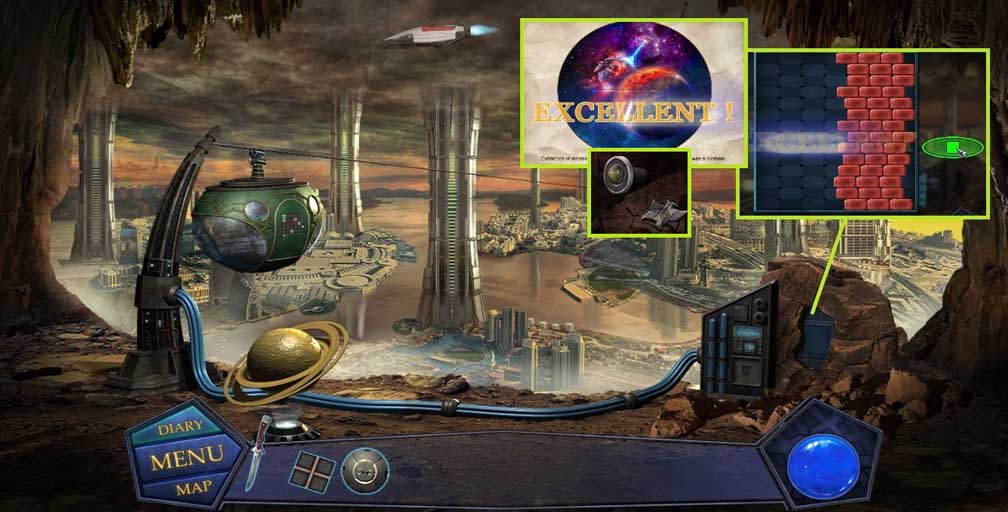
- Zoom into the stone to trigger a mini game.
- Stop the bricks to create the wall, and then assemble the image.
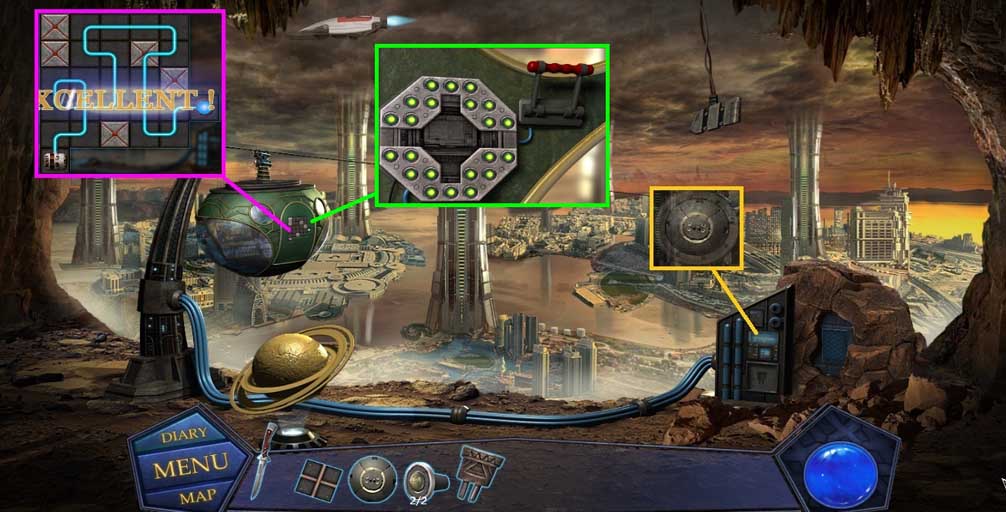
- Collect the amynet and 1 /2 lamps.
- Move down once.

- Zoom into the rock; insert the amynet.
- A mini game will trigger; solve the game by turning all of the blocks blue.
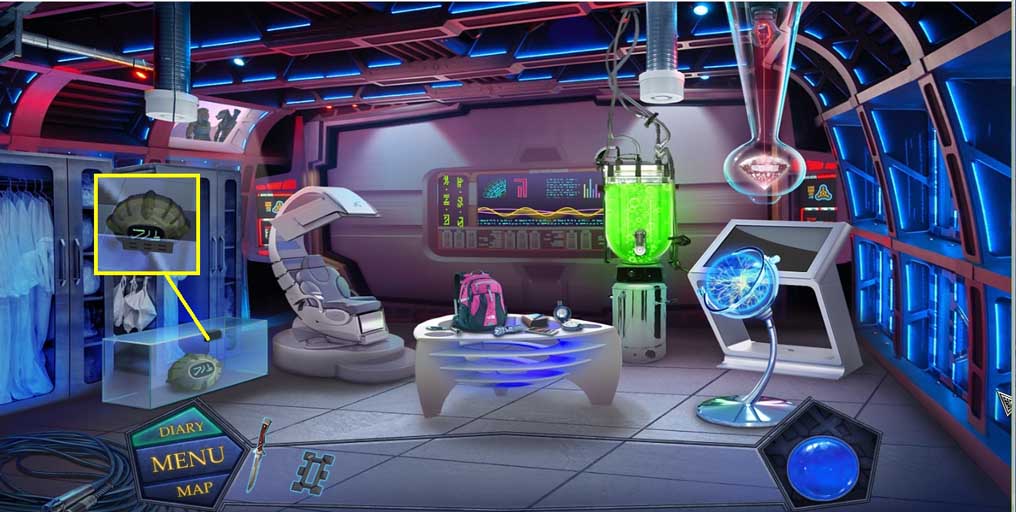
- Collect 2 /2 lamps and the detail.
- Move into the cave.
- Insert the detail; use the knife to remove the corrosion.
- Insert the fuel cell.
- Insert the puzzle piece and align the pieces correctly.
- Insert the 2 lamps and click the lever; zoom into the lamps and click them on.
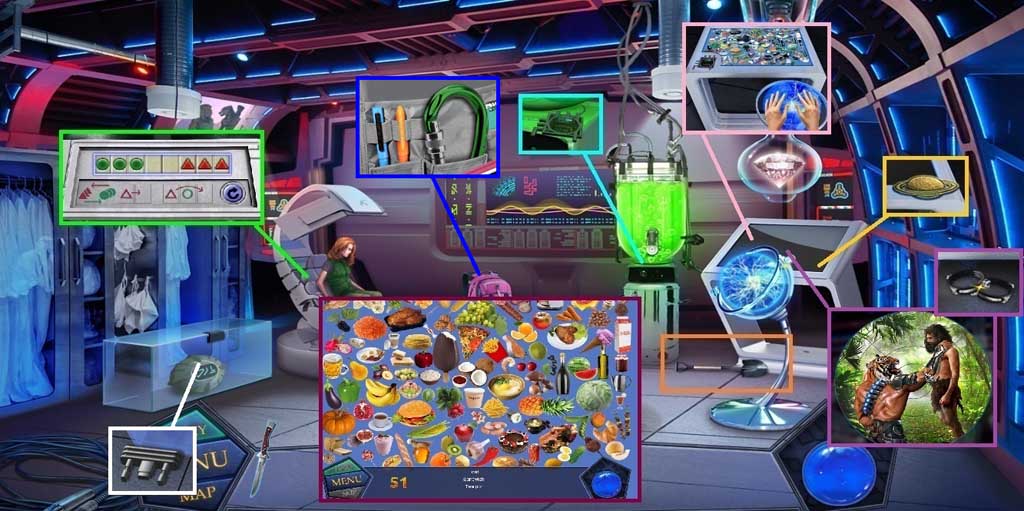
- Collect the shovel.
- Zoom into the chair; move the triangles to the right and the circles to the left.
- Assemble the image correctly.
- Zoom into the cooler; collect the computer key.
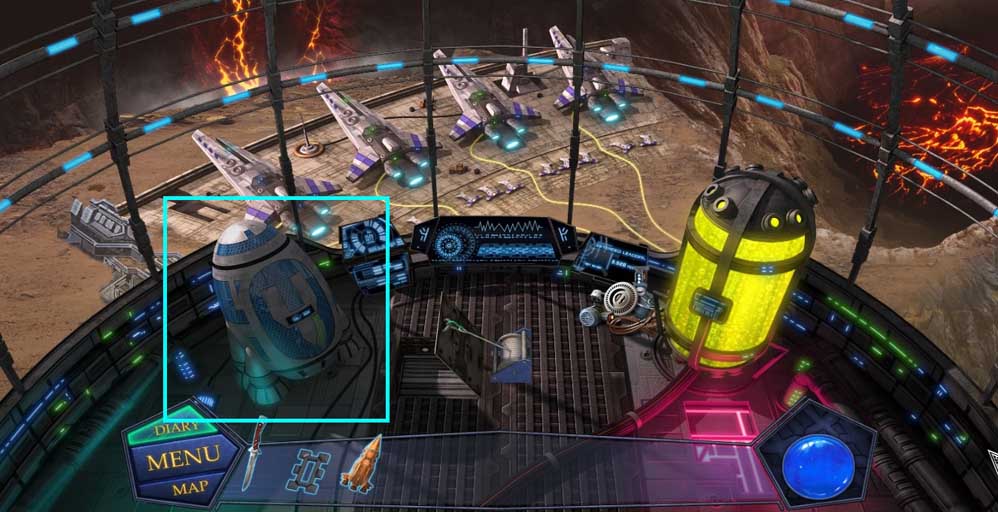
- Collect the planet.
- Insert the computer key; find the items.
- Assemble the image; collect the clamps.
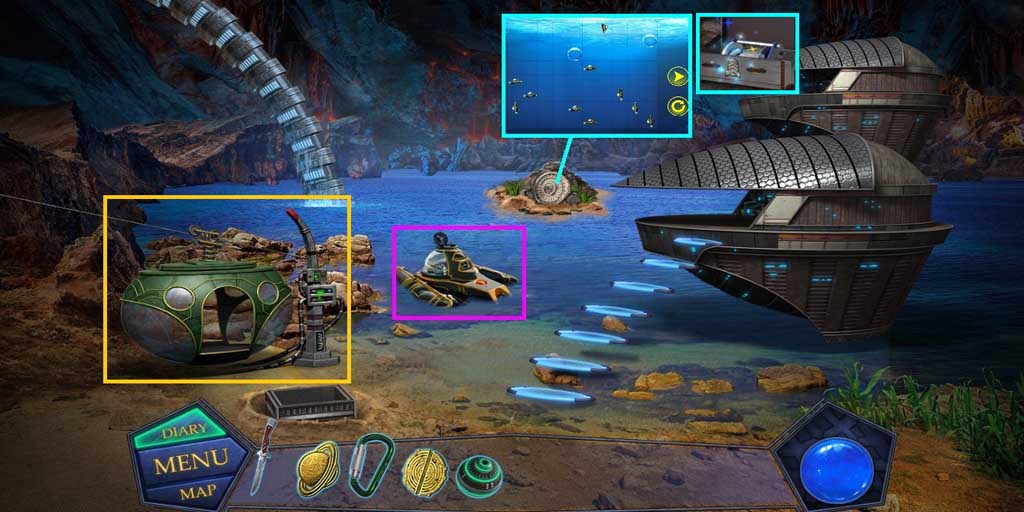
- Collect the bathyscaph key.
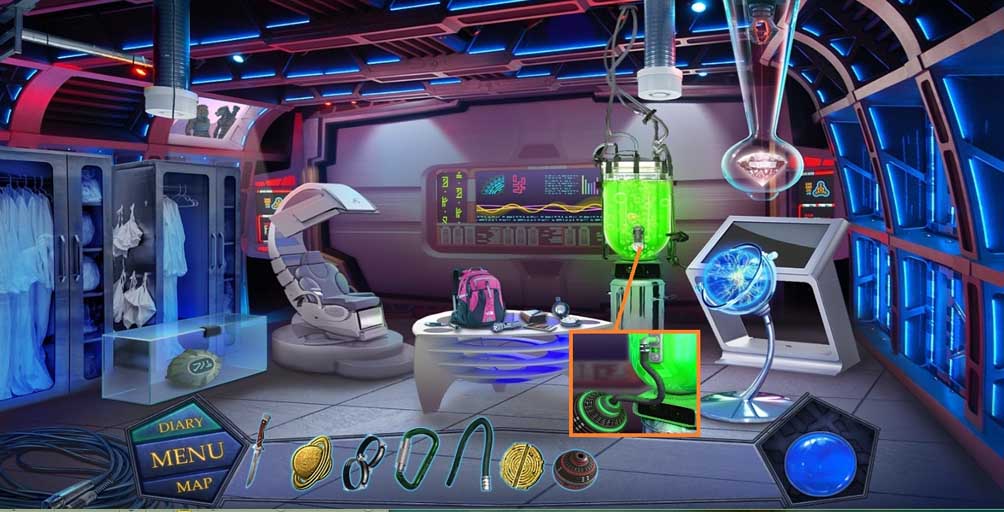
- Zoom into the backpack; collect the snap hook.
- Move down once.
- Use the shovel to uncover the chest.
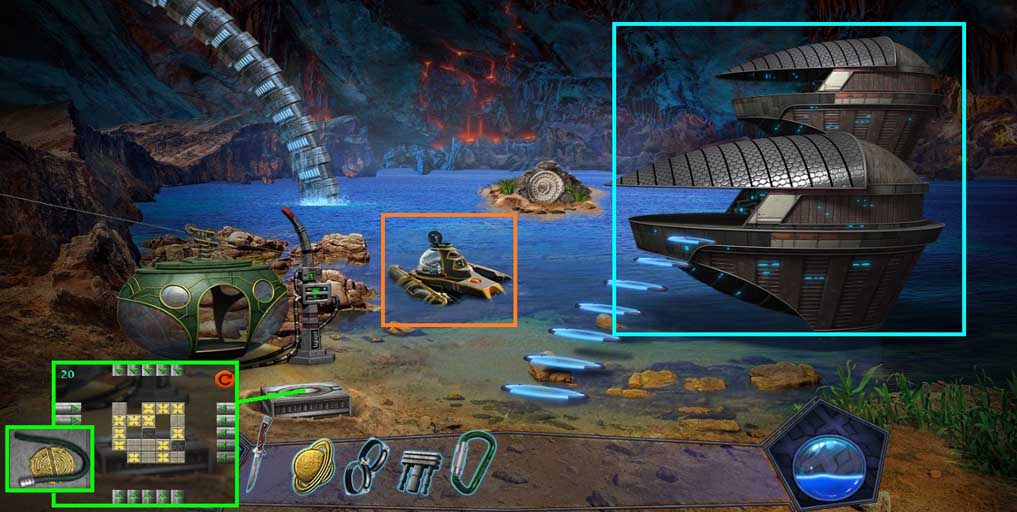
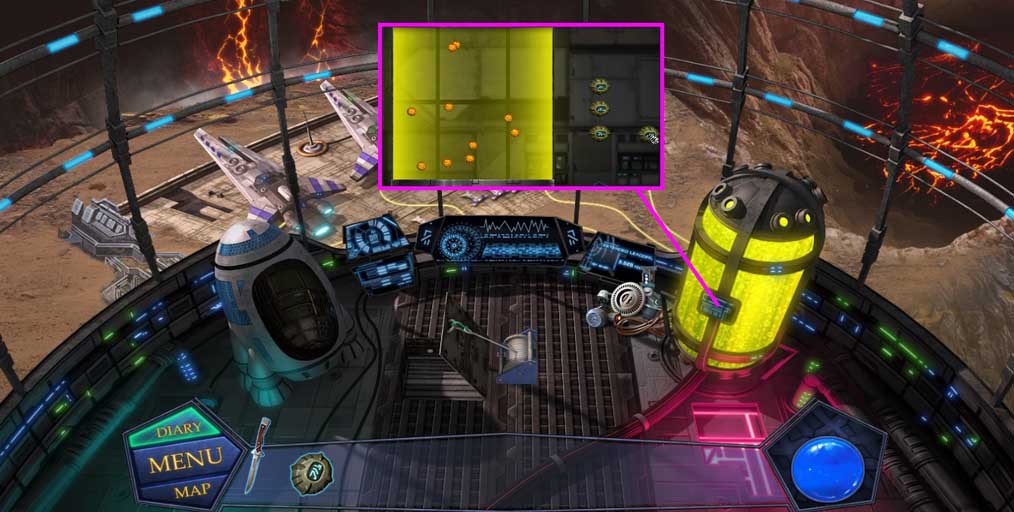
- Cover the cross sections using the boxes in 20 moves; collect the hose and amulet.
- Zoom into the hatch and insert the bathyscaph key; collect the empty capsule.
- Enter the hub on the right.
- Place the empty capsule the hose and clamps; collect the capsule with fuel.
- Move down once.
- Place the capsule with fuel into the hatch.
- Zoom into the stump; adjust the bathyscaph keys to crash into one another.
- Collect the hoist.
- Enter the transporter on the left.
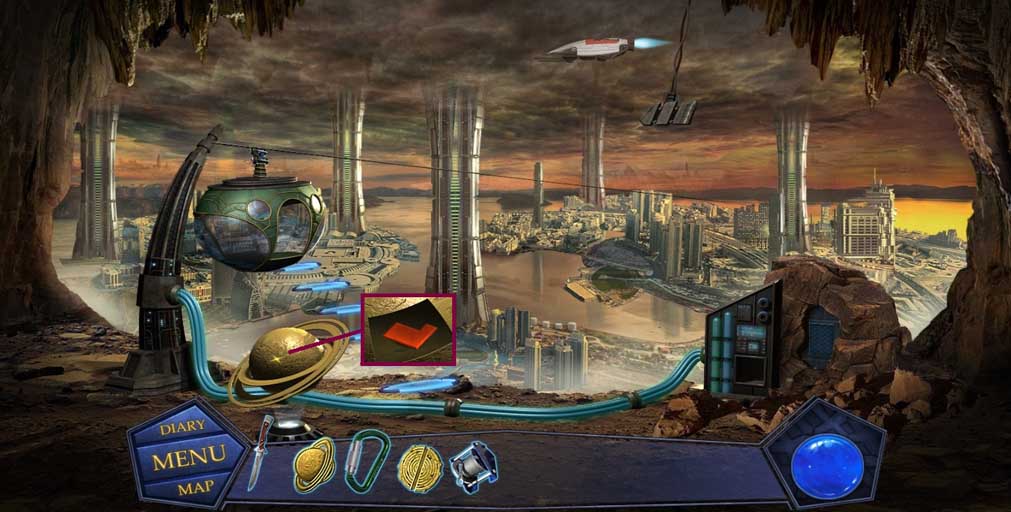
- Insert the planet; collect the part of the puzzle.
- Move down once.
- Insert the puzzle part and complete the puzzle.
- Move ahead.
- Place the hoist onto the floor and attach the snap hook.
- Insert the amulet; collect the box key.
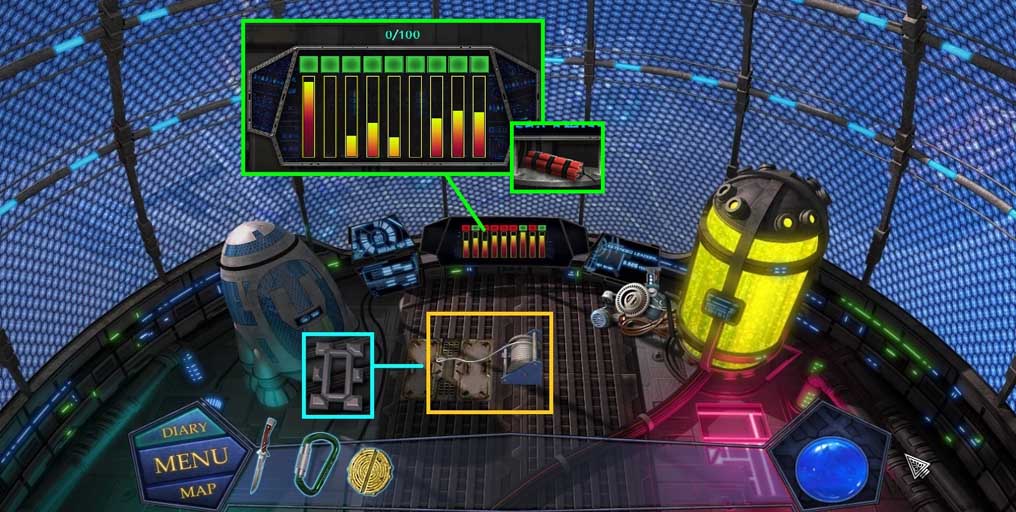
- Zoom into the light board; ensure that the indicator is green when it reaches the top square.
- Collect the dynamite.
- Move down once.
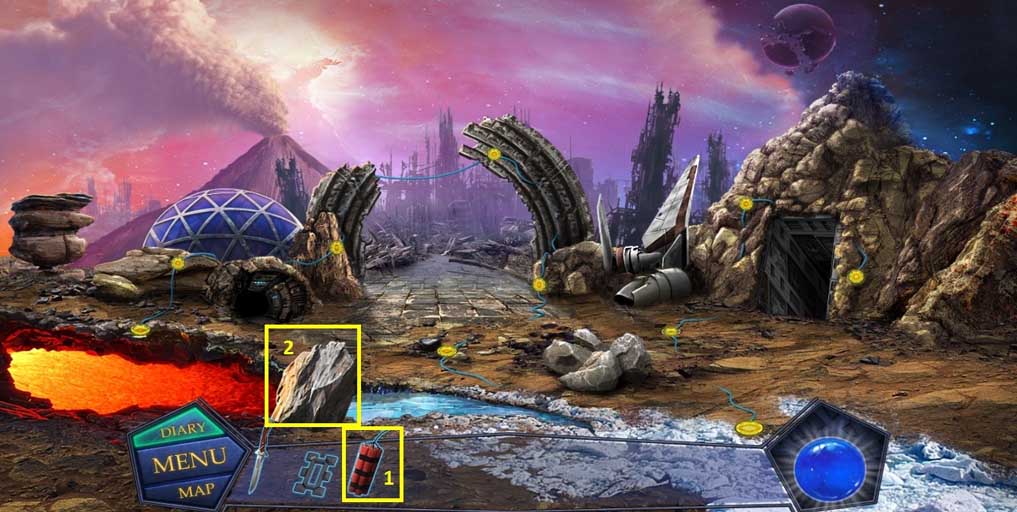
- Place the dynamite next to the stump.
- Zoom into the crack.

- Find the items.
- Collect the rocket figure.
- Move left down the hatch.
- Insert the rocket figure.
- Move down once and to the right; enter the transporter and move into the hub.
- Insert the box key; collect the bomb.
- Move down once into the transporter, down once again and to the left hatch.
- Place the bomb to trigger a mini game.
- Solve the game by blowing away all of the balls.
- Congratulations! You have successfully completed the main game of Invasion Lost in Time!
General Information & Tips
Chapter One The Exploration Begins
Chapter Two Egypt
Chapter Three The Ancient World
Chapter Four Shukaras
Chapter Five Torion
Ask for help in the comments below!
Chapter One The Exploration Begins
Chapter Two Egypt
Chapter Three The Ancient World
Chapter Four Shukaras
Chapter Five Torion
Ask for help in the comments below!