
Grim Tales: The Vengeance: Chapter Four: Mural
Our Grim Tales: The Vengeance Walkthrough will guide your steps as you courageously brave the past searching for clues that will lead you to your niece's killer. Trust in our detailed instructions, our custom marked screenshots, and our simple puzzle solutions to see you through this exhausting investigation where a dark presence lies lurking in the shadows, waiting for its chance to strike.
General Information & Tips
Chapter One: Trial
Chapter Two: Elizabeth
Chapter Three: The Ring
Chapter Four: Mural
Chapter Five: Diary
Chapter Six: Rescue
Ask for help in the comments below!
Chapter One: Trial
Chapter Two: Elizabeth
Chapter Three: The Ring
Chapter Four: Mural
Chapter Five: Diary
Chapter Six: Rescue
Ask for help in the comments below!

- Read the clue.
- Use the machete on the fallen branch; collect the stone feather, the massive key and the branch.
- Move down once.
- Insert the massive key.
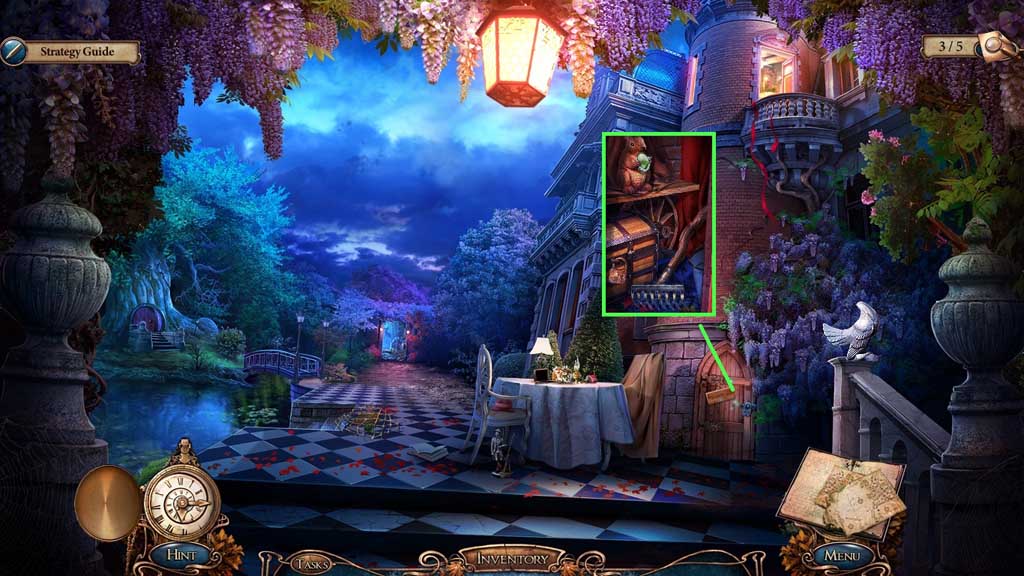
- Attach the branch onto the rake; collect the rake and the nut amulet.
- Move ahead.
- Use the rake on the leaves and insert the nut amulet.
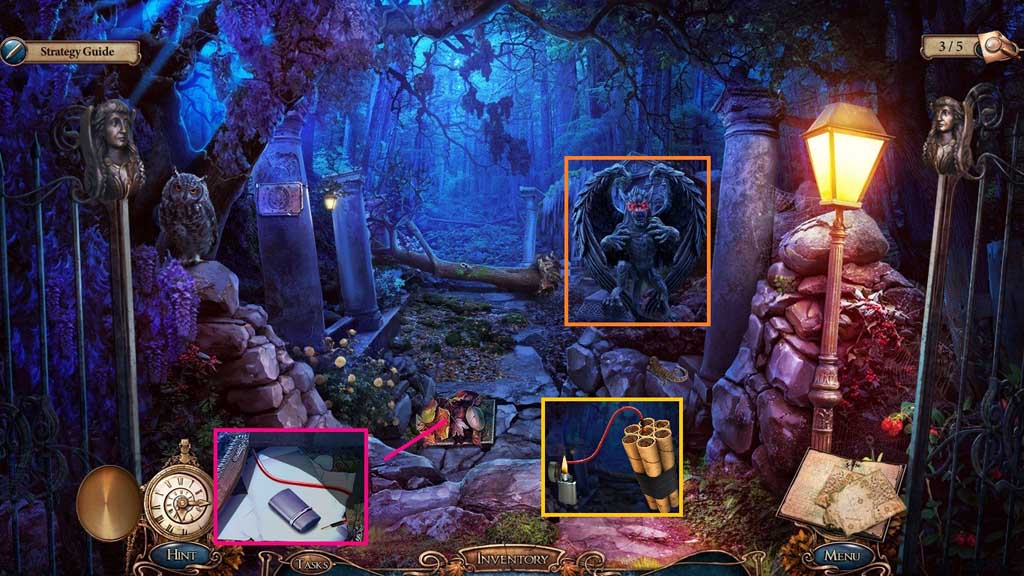
- Collect the fuse and lighter.
- Click the dynamite and attach the fuse; ignite it using the lighter to receive the explosives.
- Toss the explosives toward the demon.
- Move ahead.
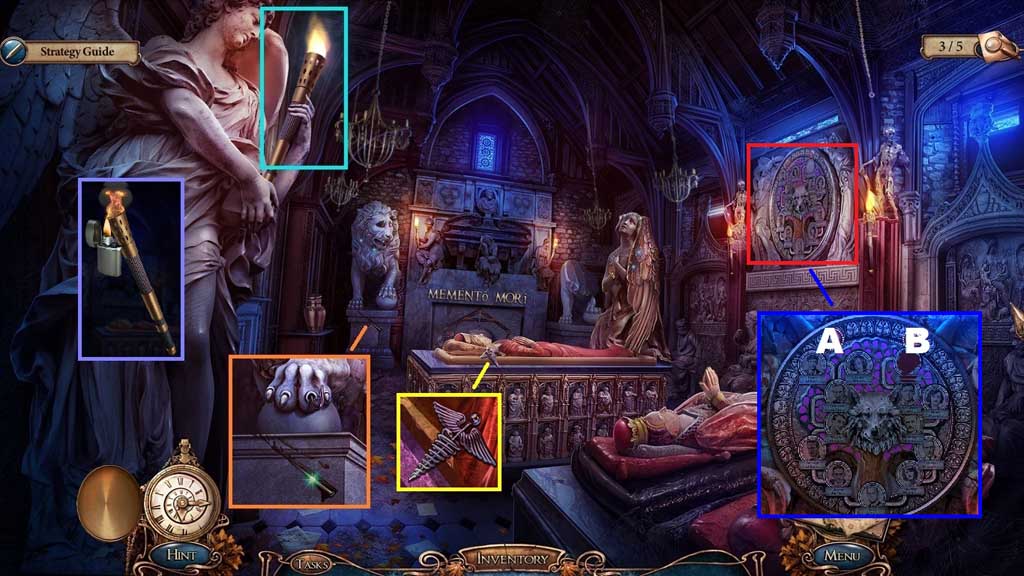
- Click the extinguished torch 2 times and use the vial of kerosene on it.
- Use the lighter to ignite it; collect the lit torch and place it into the holder.
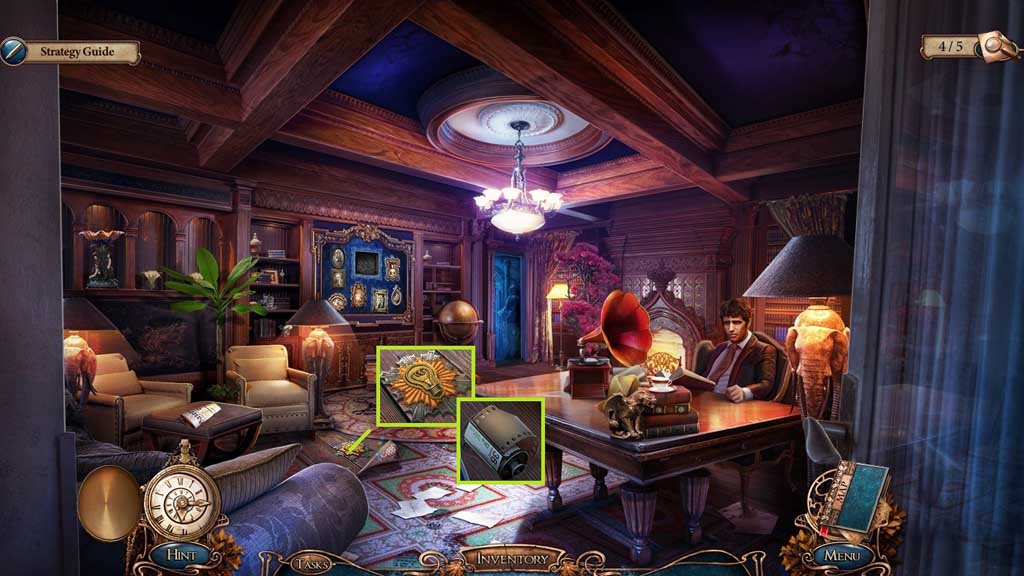
- Collect the nail and the medicine amulet.
- Click the mini game.
- Solve the game using the clue you found on the road.
- Use the following solution: B – B – A – B – A – A
- Click the hidden objects area.
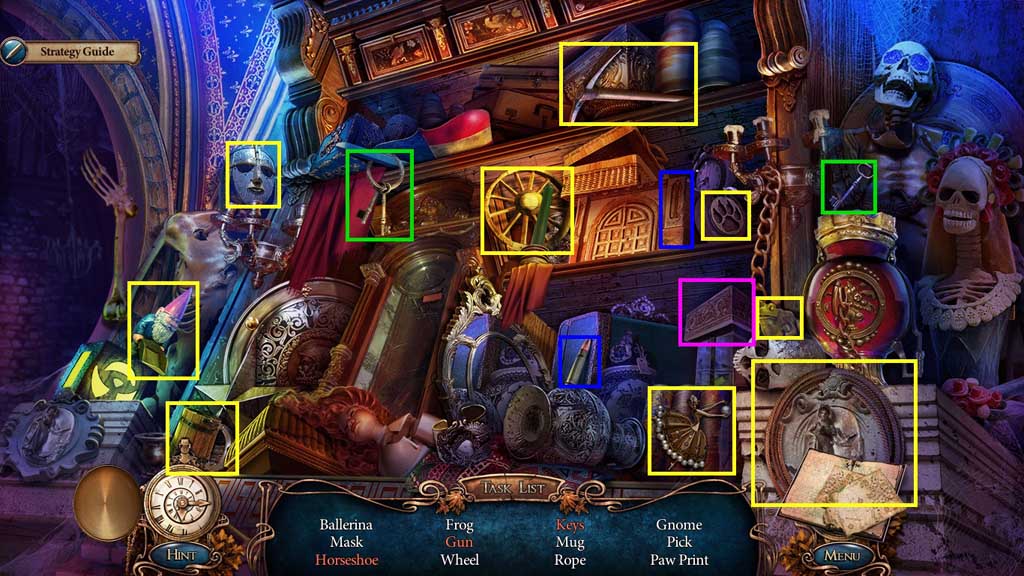
- Find the listed items.
- Click the box; collect the horse shoe.
- Select the bullet and place it into the groove; collect the gun.
- Select the key and place it with the others; collect the keys.
- Collect the pick.
- Move to the Treehouse.
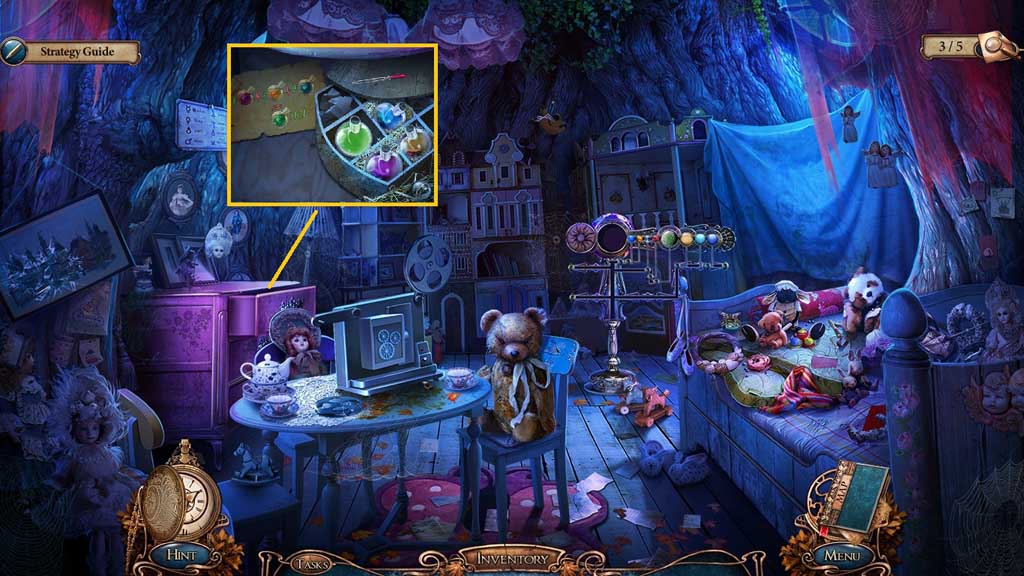
- Insert the medicine amulet; place the pipette down to trigger a mini game.
- Use the pipette to distribute the liquids based on the diagram.
- 1 – purple, 3 – yellow, 2 – blue
- Collect the hydrochloric acid and the pipette.
- Move down once.
- Pour the hydrochloric acid onto the lock; collect the crowbar.
- Move to the Vault.
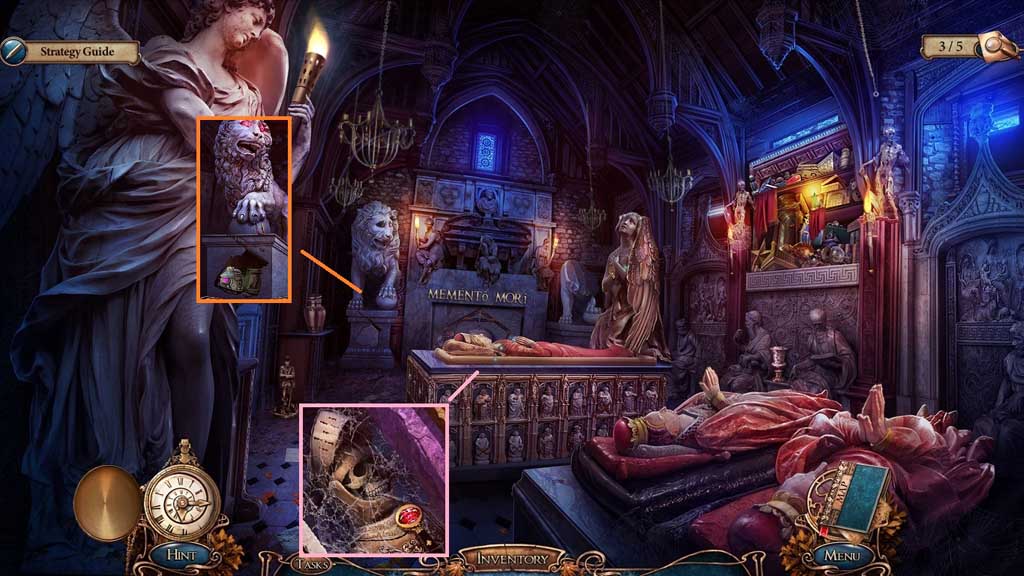
- Use the crowbar on the sarcophagus; select the nail to collect the ruby.
- Use the pick to break the pedestal.
- Place the ruby into the lion; collect the hook part, the man’s photo and 3 /4 mural pieces.
- Move down 2 times.
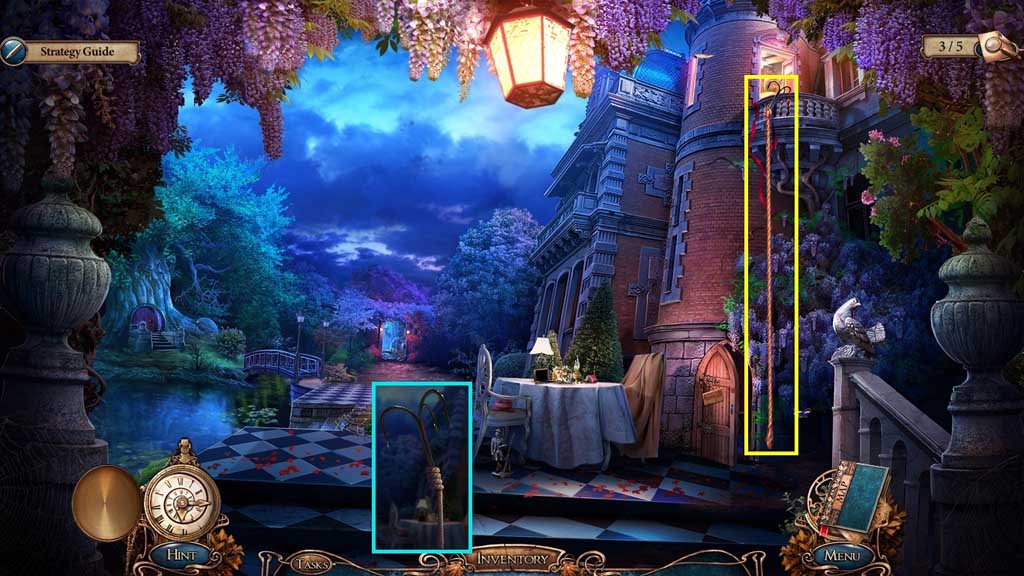
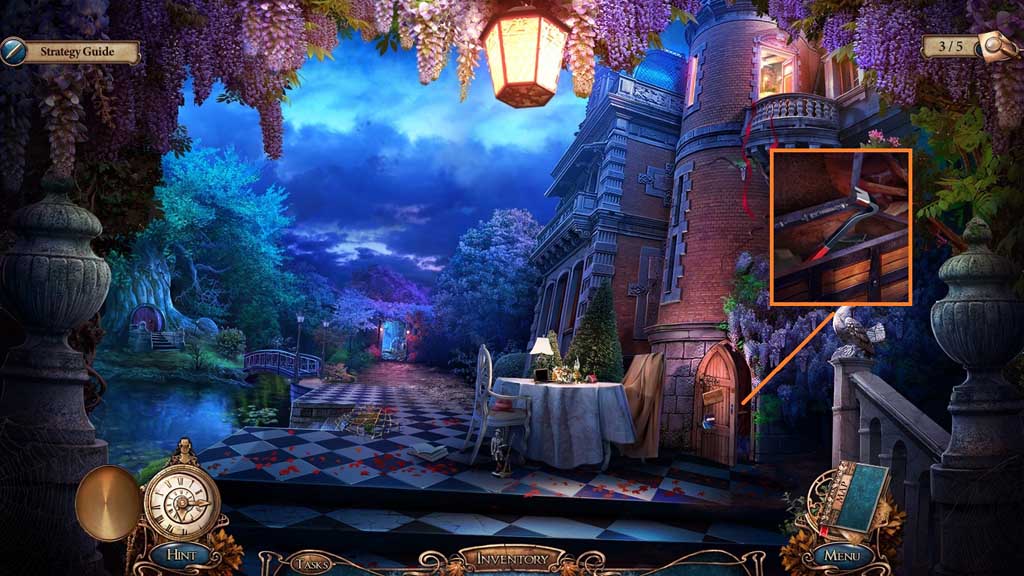
- Attach the 3 hook parts onto the rope to collect the grappling hook.
- Toss the grappling hook onto the balcony.
- Move to the right.

- Collect the camera lens, Elizabeth’s photo and the disclaimer clue.
- Hang the man’s photo along with the children’s and Elizabeth’s photos to trigger a mini game.
- Align the pictures correctly to solve the game.
- Collect the decorative book and the note amulet; insert the note amulet.
- Collect the screwdriver and use it to remove the screws; collect the cage lever.
- Insert the decorative book to trigger a mini game.
- Solve the game by aligning the cannon correctly to shoot the 4 towers.
- Move ahead.
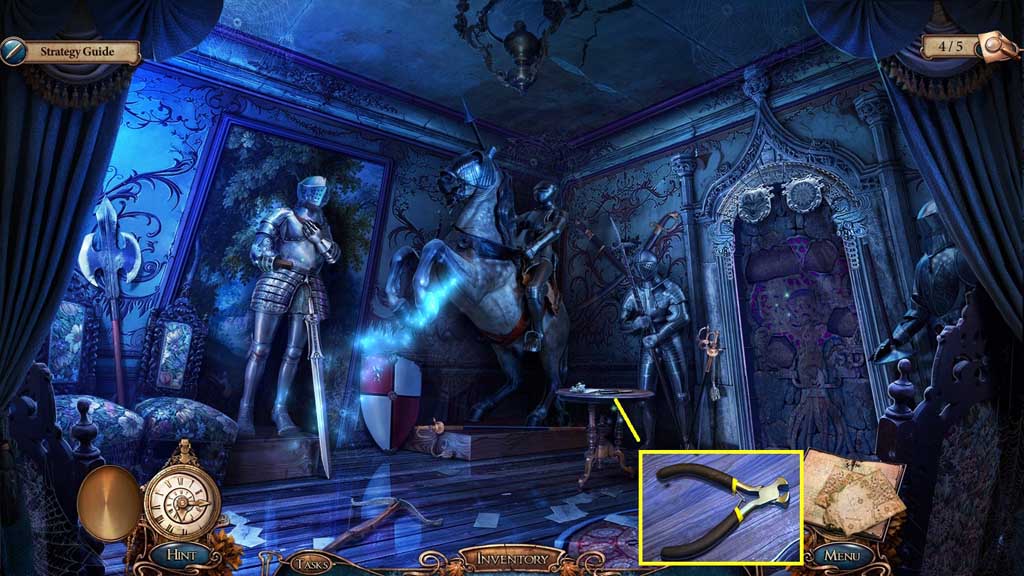
- Collect the clippers.
- Move to the Kennels.
- Attach the cage lever and click it once.
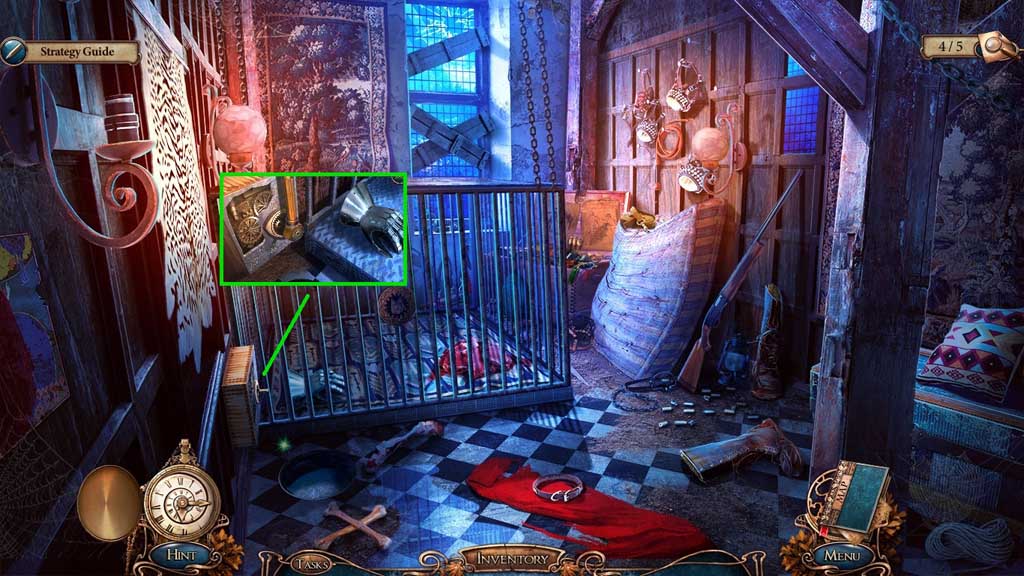
- Collect the iron glove.
- Move down once.
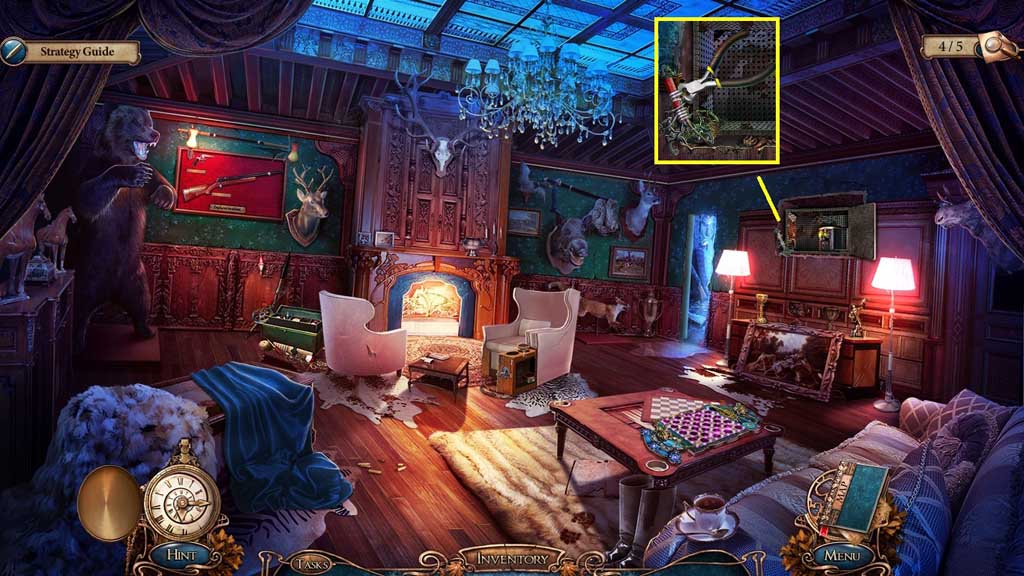
- Use the clippers on the wire; collect the hilt.
- Move to the Heraldic Armory.

- Attach the iron glove and the hilt.
- Collect the straight razor and use it to cut the necklace.
- Collect the silver rose and the cord.
- Use the cord to fix the brush; collect the dust broom.
- Move to the Vault.
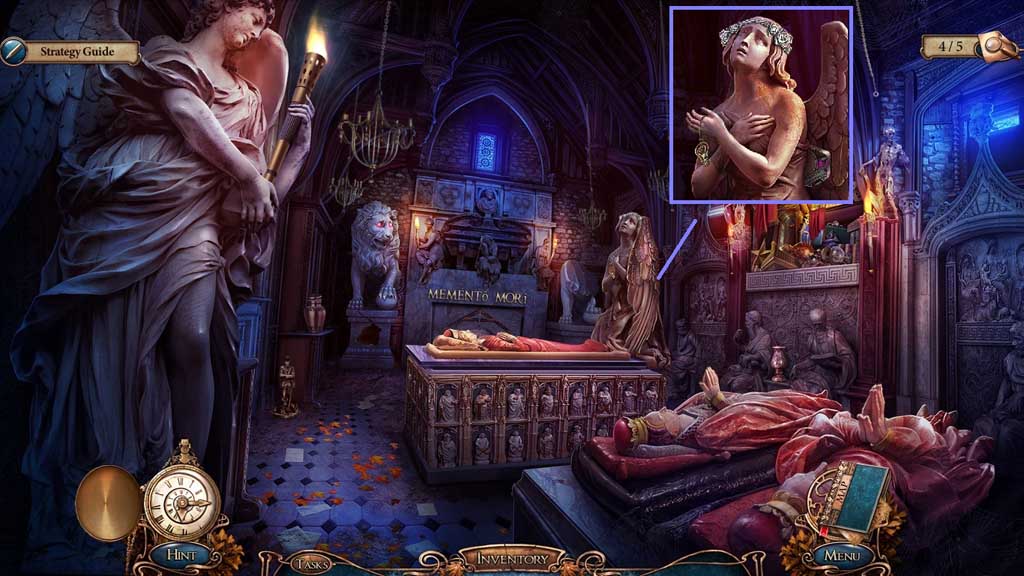
- Place the silver rose and the stone feather onto the angel; collect the light bulb and 4 /4 mural pieces.
- Move to the Study.
- Insert the light bulb; collect the film.
- Move ahead.
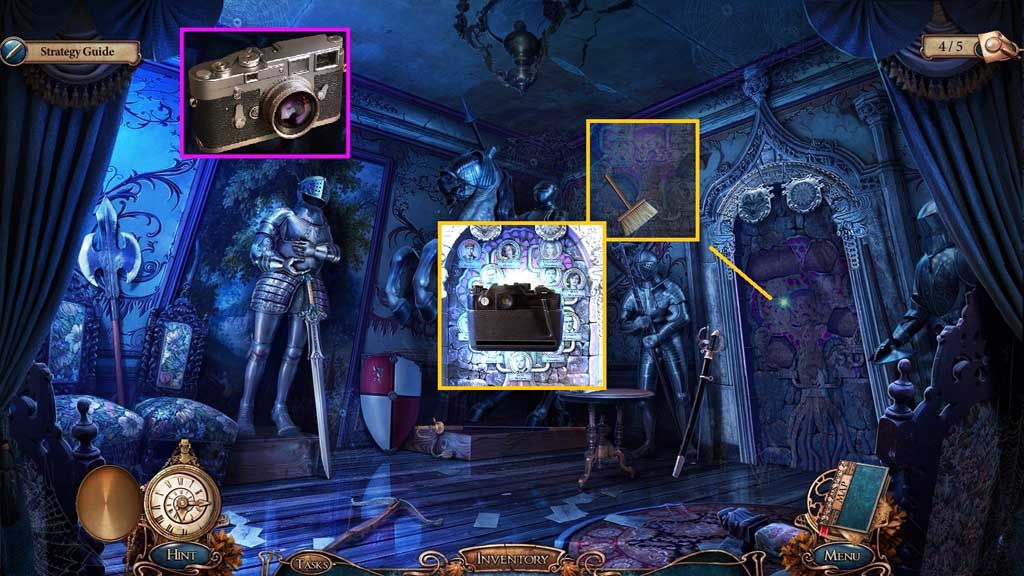
- Click the broken camera; attach the camera lens and the film.
- Collect the camera.
- Use the dust broom on the mural; place the mural pieces onto it.
- Select the camera to take a picture of it and receive the picture clue.
- Click the Show All button.
General Information & Tips
Chapter One: Trial
Chapter Two: Elizabeth
Chapter Three: The Ring
Chapter Four: Mural
Chapter Five: Diary
Chapter Six: Rescue
Ask for help in the comments below!
Chapter One: Trial
Chapter Two: Elizabeth
Chapter Three: The Ring
Chapter Four: Mural
Chapter Five: Diary
Chapter Six: Rescue
Ask for help in the comments below!