Emberwing: Lost Legacy: Chapter Nine: The Tower
Our Emberwing: Lost Legacy Walkthrough is prepared to help you take your place as a legendary Emberwing and fight alongside the dragons in order to protect their most valuable treasure and rescue your son. Use our detailed step-by-step instructions, our custom marked screenshots, and our simple solutions to all the puzzles you'll encounter to discover the truth behind your heritage and help the dragons overcome their fiercest adversary.
General Information & Tips
Chapter One: Of Dragons and Elves
Chapter Two: The Dragon's Lair
Chapter Three: The Golem
Chapter Four: The Dragon Elixir
Chapter Five: The Crossings
Chapter Six: A Way into The Forge
Chapter Seven: A Dragon Enslaved
Chapter Eight: The Bear Dwarves
Chapter Nine: The Tower
Chapter Ten: The Greatest Treasure
Ask for help in the comments below!
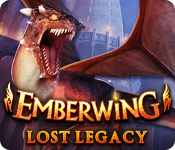
- Take the Scarebear.
- Click to zoom in on the crates.
- Use the Hammer on the crate.
- Take the Music Sheet.
- Click to zoom in on the dummy.
- Take the Door Handle.
- Go forward.
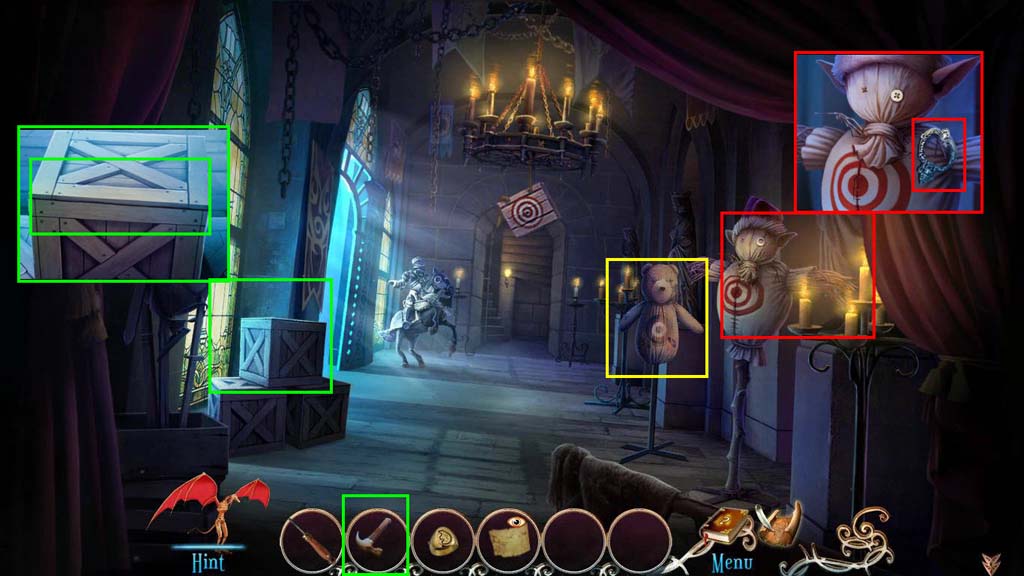
- Click to zoom in on the armor.
- Read the note.
- Use the Hammer on the dents.
- Take the Breastplate.
- Click to zoom in on the trapdoor.
- Use the Door Handle on the door.
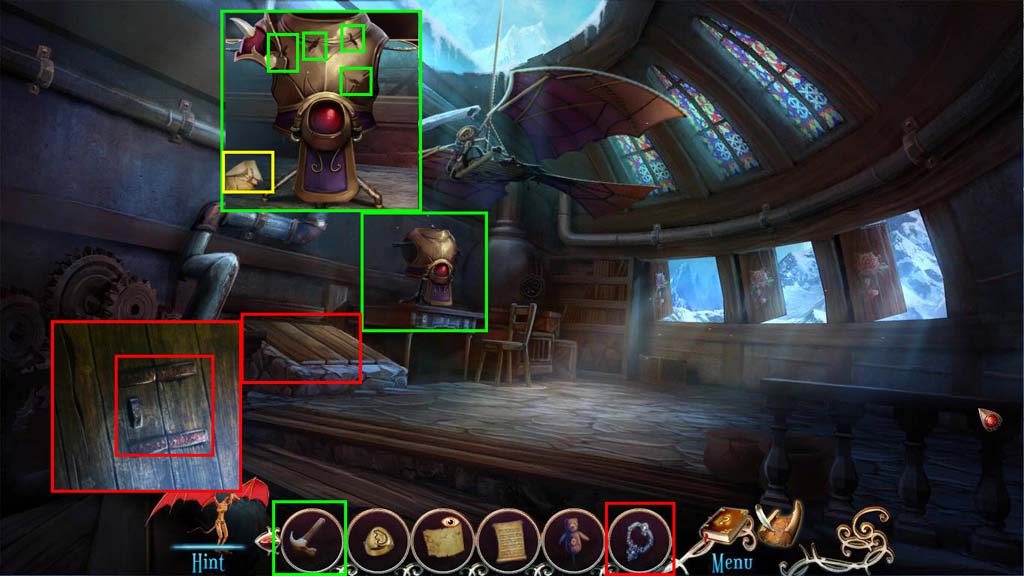
- Play the HOG.
- Find all the items.
- You will receive the Scissors.
- Go to the Ledge.
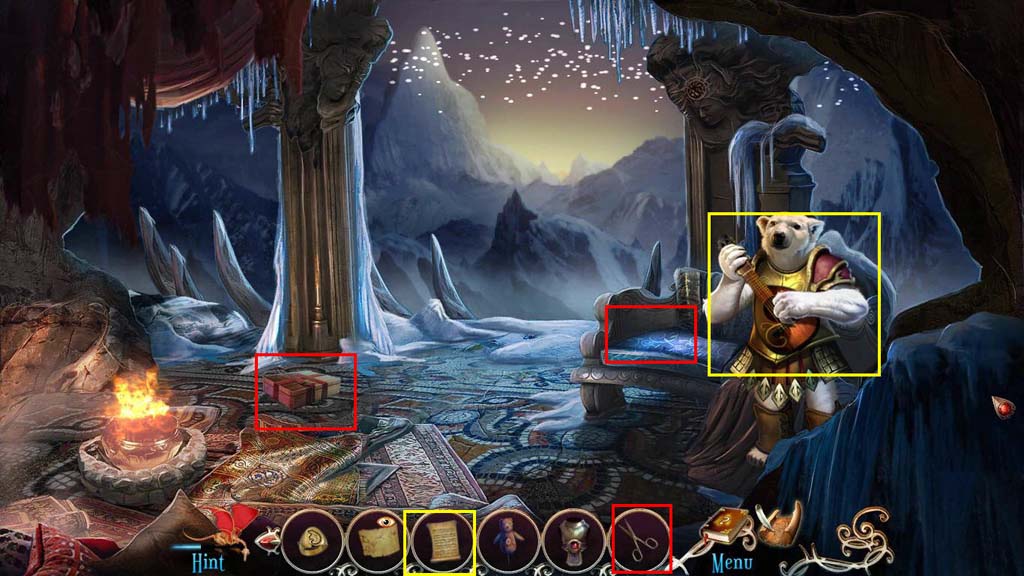
- Give the Music Sheet to the Bear.
- Click on the box on the ground to zoom in.
- Use the Scissors to open the box.
- Take the Needle and Thread.
- Click to zoom in on the seat.
- Use the Scissors on the cushion.
- Take the Cottons Stuffings.
- Go to the Battleroom.
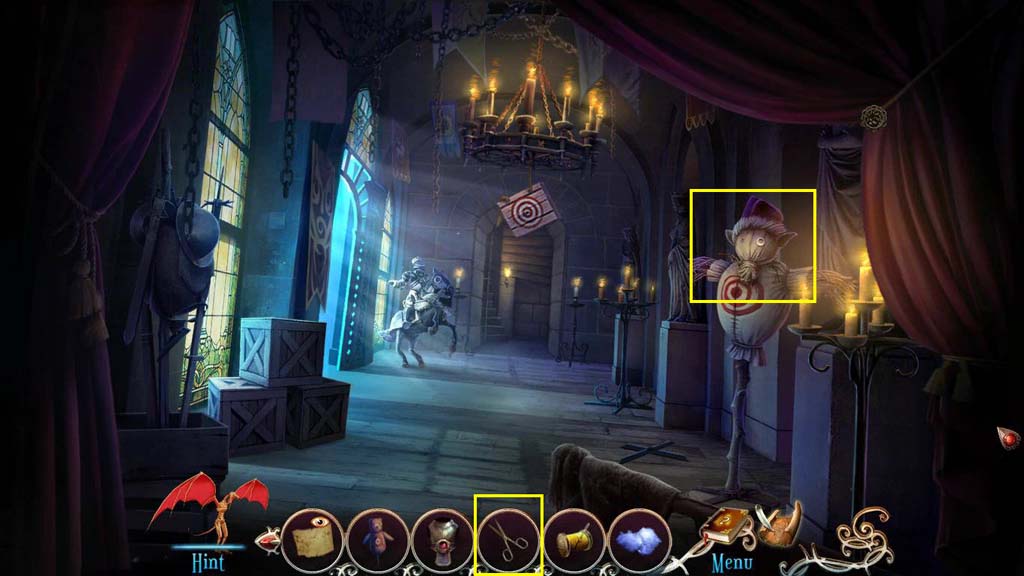
- Click on the dummy to zoom in.
- Use the Scissors on the button to get the Clothes Button.
- Go to the Cabin Clearing.
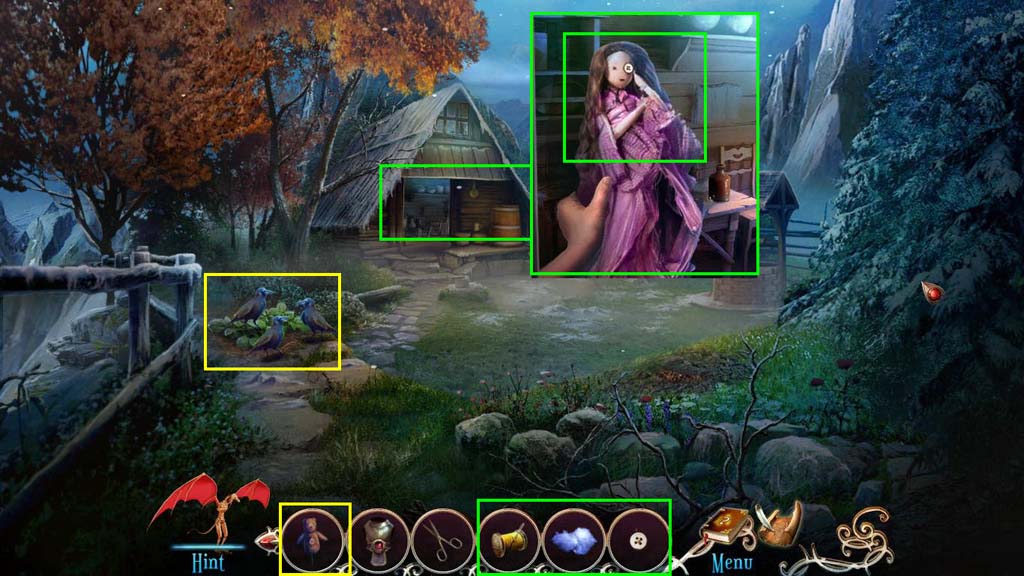
- Use the Scarebear where the birds are.
- Click on the cabin to zoom in.
- Use the Clothes Button on the doll.
- Use the Needle and Thread on the button.
- Use the Cotton Stuffings on the doll.
- Use the Needle and Thread on the doll.
- Take the Crossings Doll.
- Go to the Vault of History.
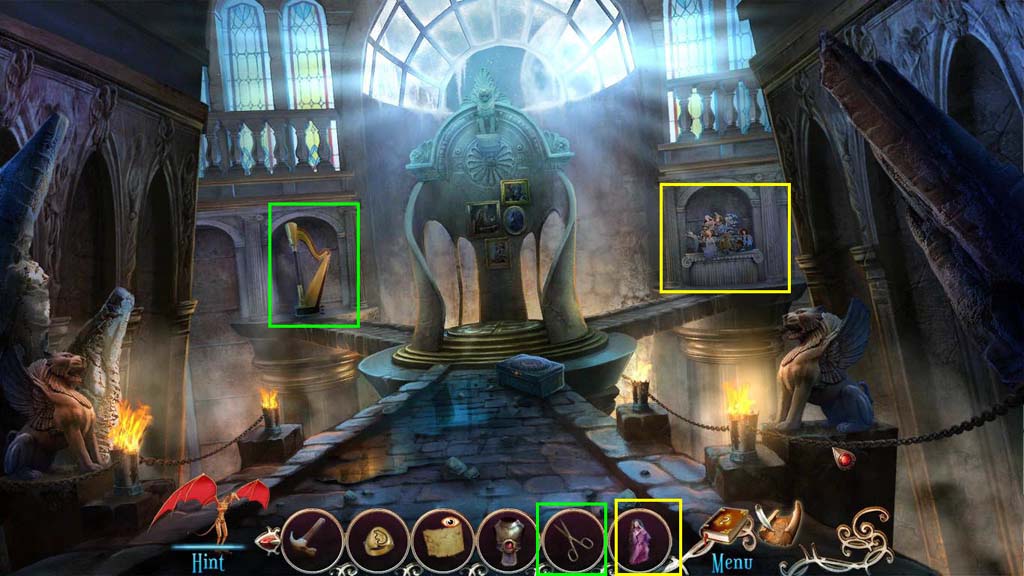
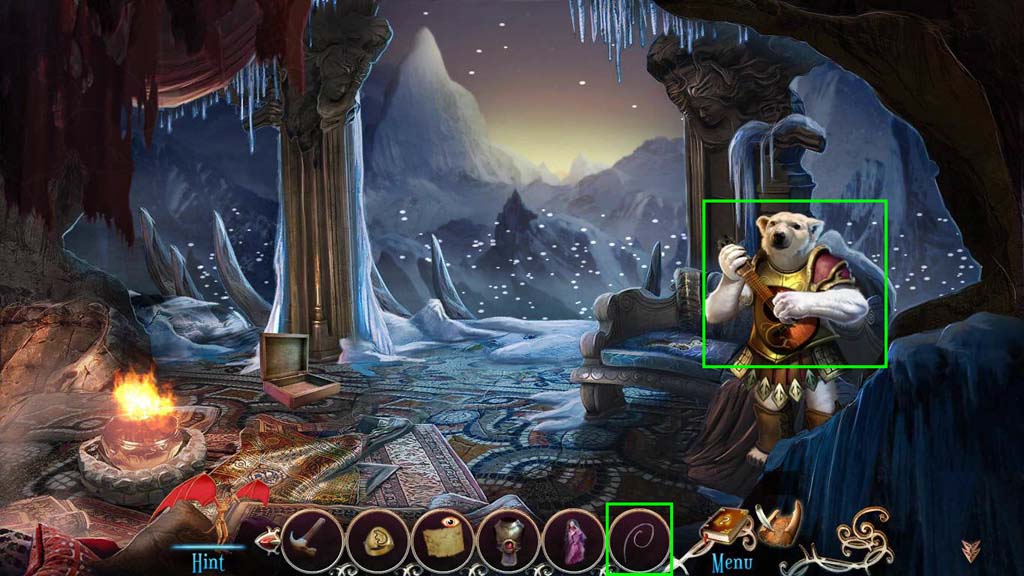
- Click to zoom in on the harp.
- Use the Scissors on the Harp.
- Take the Instrument String.
- Click to zoom in on the dolls.
- Use the Crossing Doll on the dolls.
- Take the Gem.
- Go to the Ledge.
- Give the Instrument String to the Bear.
- You will receive the Lucky Pin.
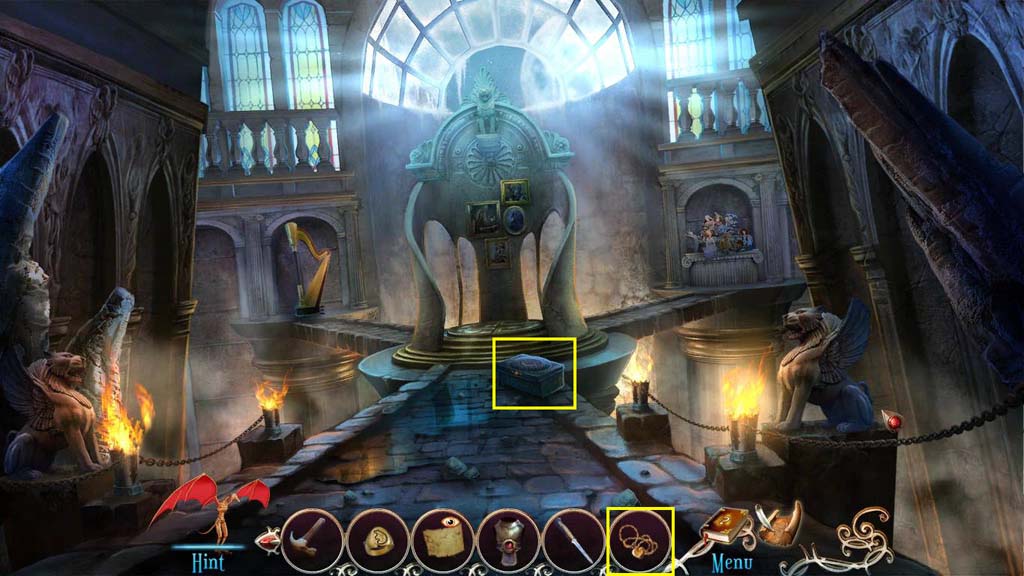
- Go to the Throne Room.
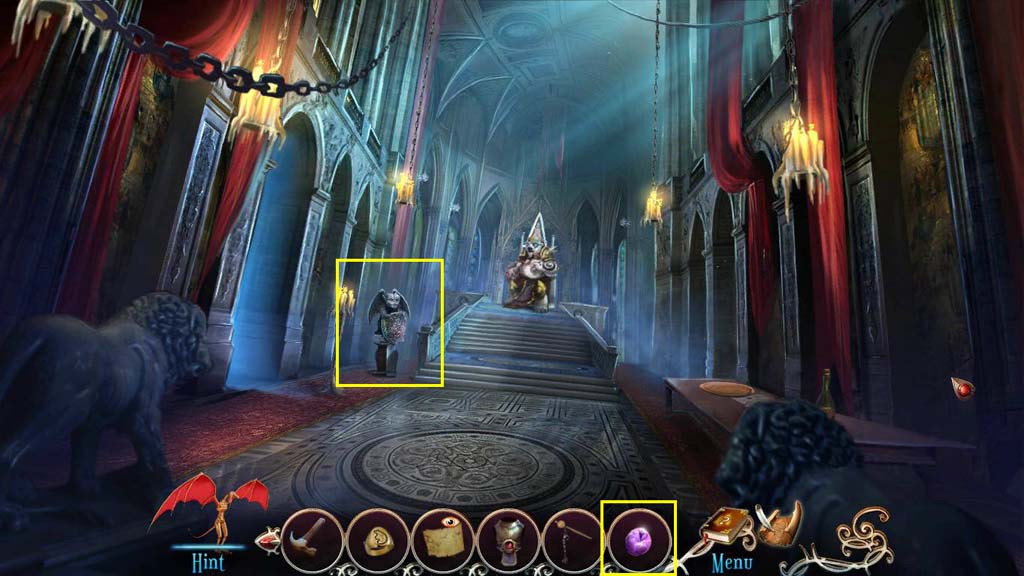
- Click to zoom in on the gargoyle.
- Use the Gem on the Gargoyle.
- Take the Shield.
- Go to the Battleroom.
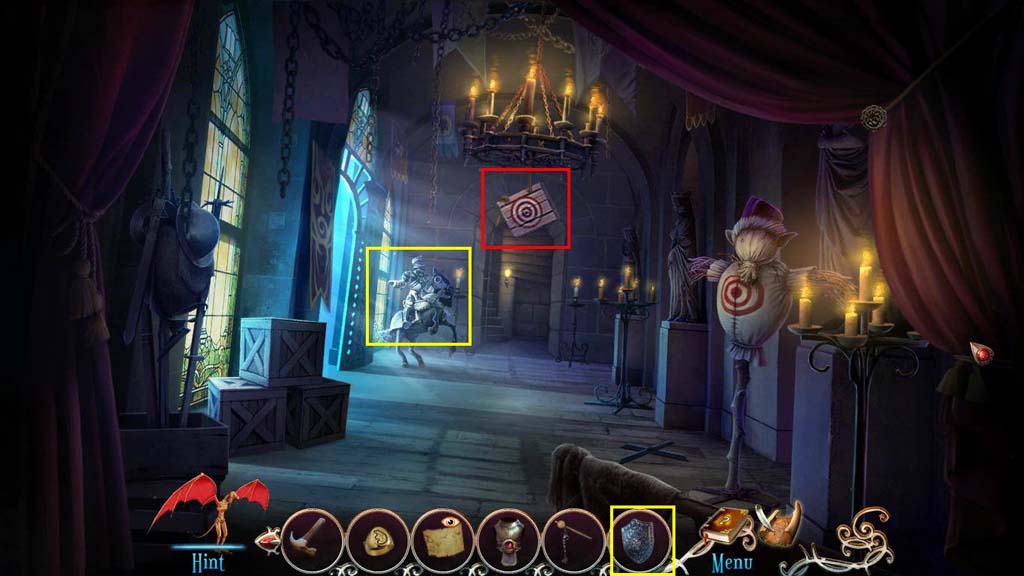
- Click on the knight to zoom in.
- Use the Shield on the knight.
- Take the Crossbow.
- Use the Crossbow on the target.
- Take the Throwing Knife.
- Go to the Spire Lobby.
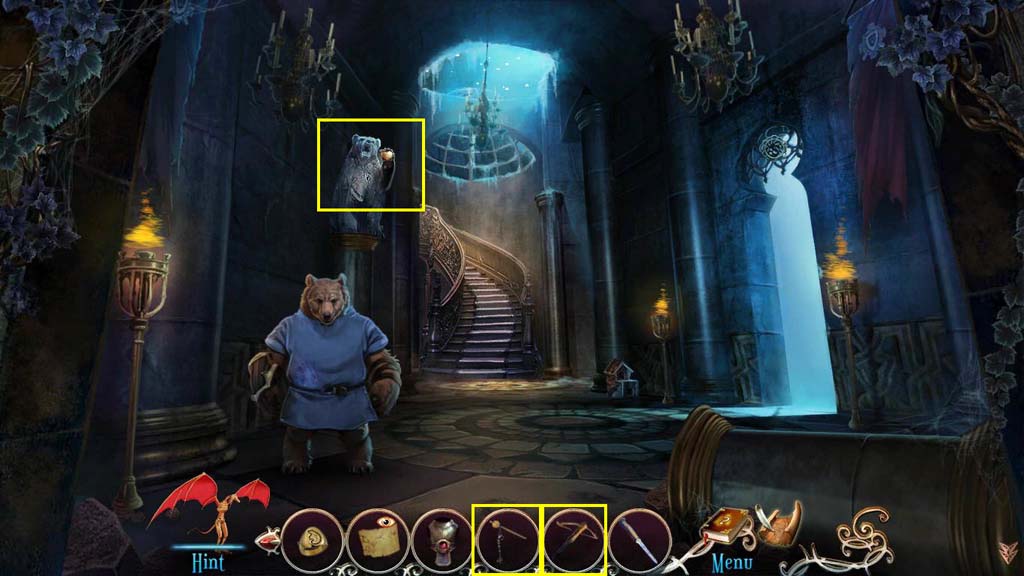
- Click to zoom in on the bear statue.
- Use the Crossbow on the heart.
- Click to zoom in on the heart.
- Use the Lucky Pin on the heart.
- Take the Bear Heart.
- Go to the Vault of History.
- Click to zoom in on the chest.
- Use the Bear Heart on the chest.
- Take the Helmet.
- Go to the Spire Lobby.
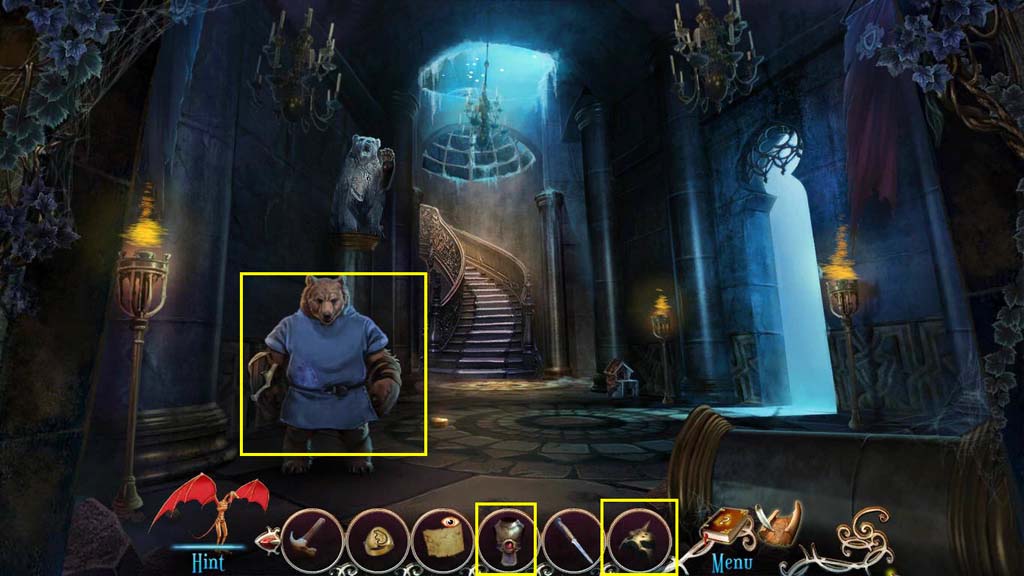
- Give the bear the Breast Plate and the Helmet.
- Take the Fur Pouch.
- Go to the Cabin Clearing.
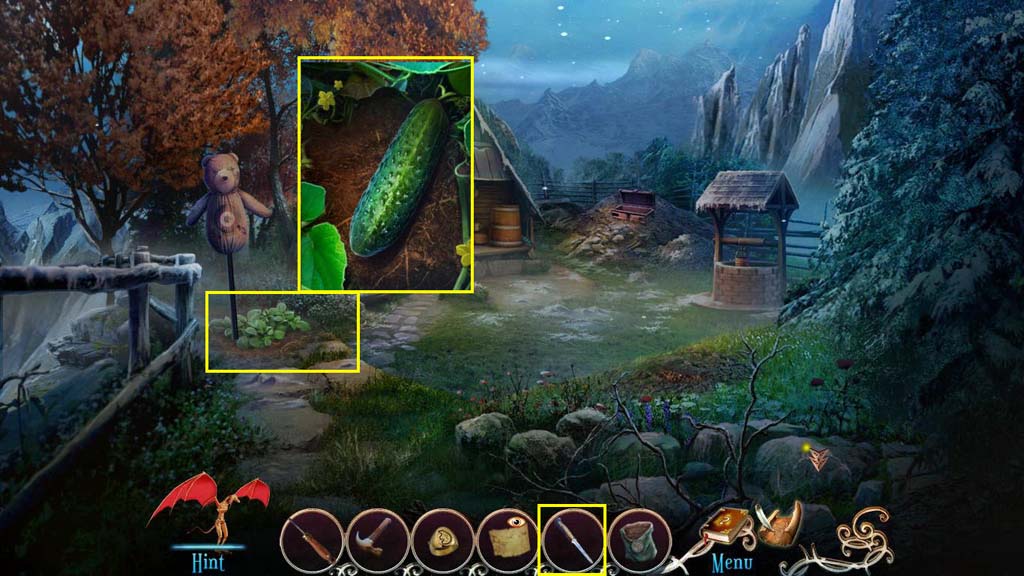
- Click to zoom in on the cucumber.
- Use the Throwing Knife to get the Cucumber Piece.
- Go back to the Spire Lobby.
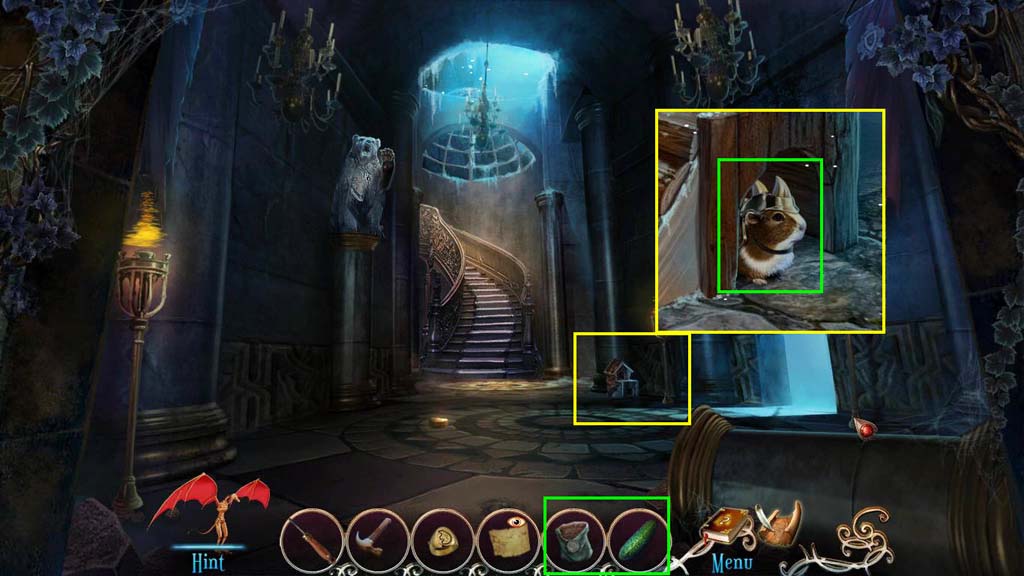
- Click to zoom in on the pet house.
- Use the cucumber and the Fur Pouch in the guinea pig.
- Take the armored guinea pig.
- Go to Across the Moat.
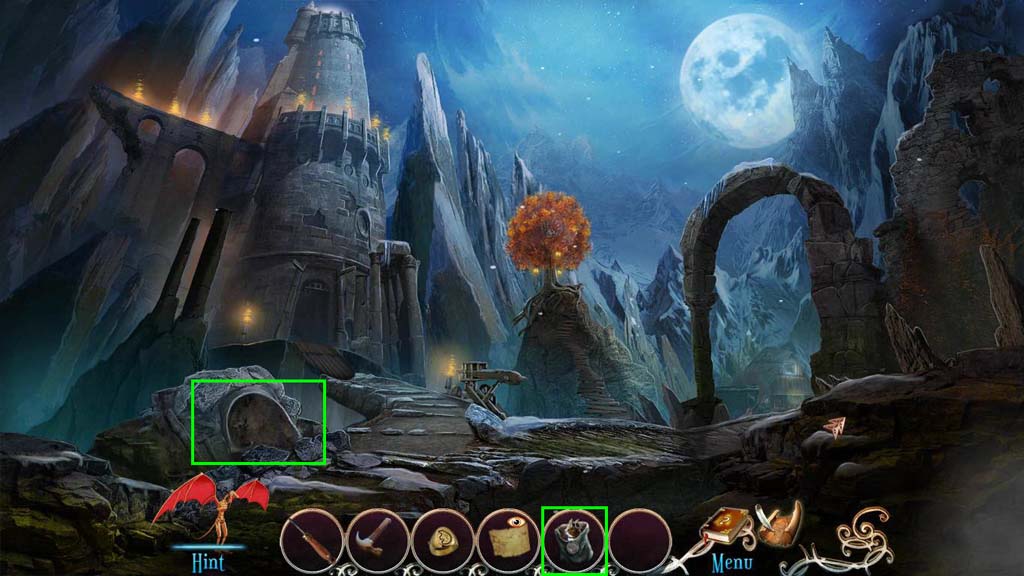
- Click to zoom in on the hole.
- Use the Armored Guinea Pig on the hole.
- Take the Screw.
- Go to the Toy Workshop.
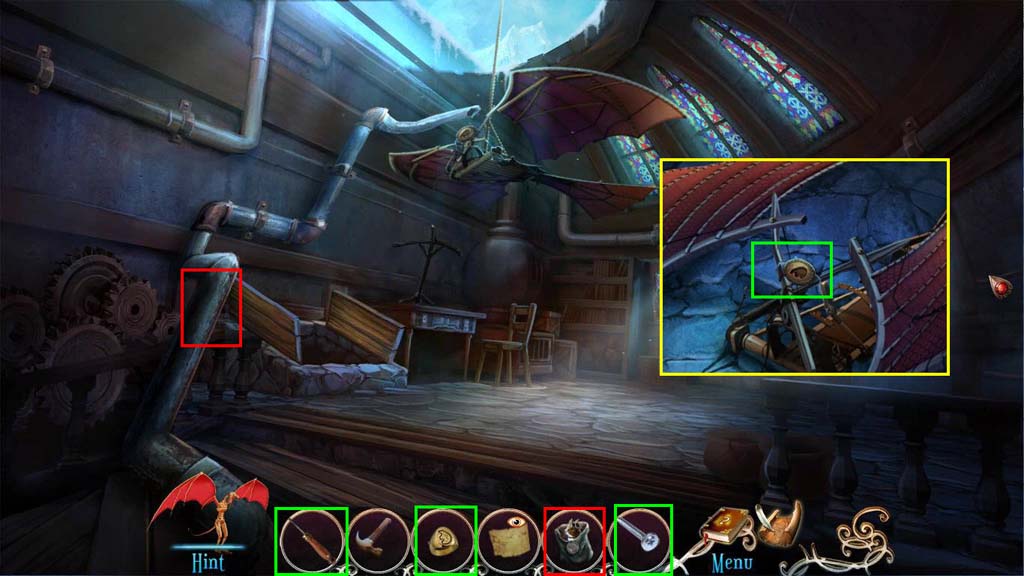
- Use the Armored Guinea Pig on the pipe.
- Click to zoom in on the kite.
- Use the Signet Ring on the kite.
- Use the Screw on the Kite.
- Use the Screwdriver on the screw.
- Take the Big Kite.
- Go to the Ledge.
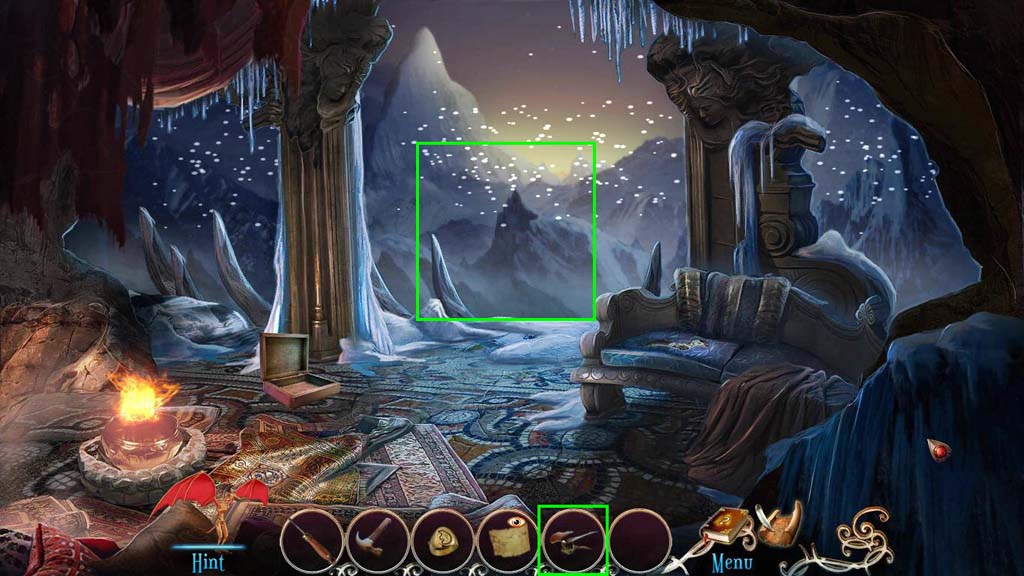
- Use the Ledge on the opening.
- Take the Crystal 1/4 from the king.
- Click on the kite to go to the mountains.
General Information & Tips
Chapter One: Of Dragons and Elves
Chapter Two: The Dragon's Lair
Chapter Three: The Golem
Chapter Four: The Dragon Elixir
Chapter Five: The Crossings
Chapter Six: A Way into The Forge
Chapter Seven: A Dragon Enslaved
Chapter Eight: The Bear Dwarves
Chapter Nine: The Tower
Chapter Ten: The Greatest Treasure
Ask for help in the comments below!
Chapter One: Of Dragons and Elves
Chapter Two: The Dragon's Lair
Chapter Three: The Golem
Chapter Four: The Dragon Elixir
Chapter Five: The Crossings
Chapter Six: A Way into The Forge
Chapter Seven: A Dragon Enslaved
Chapter Eight: The Bear Dwarves
Chapter Nine: The Tower
Chapter Ten: The Greatest Treasure
Ask for help in the comments below!