
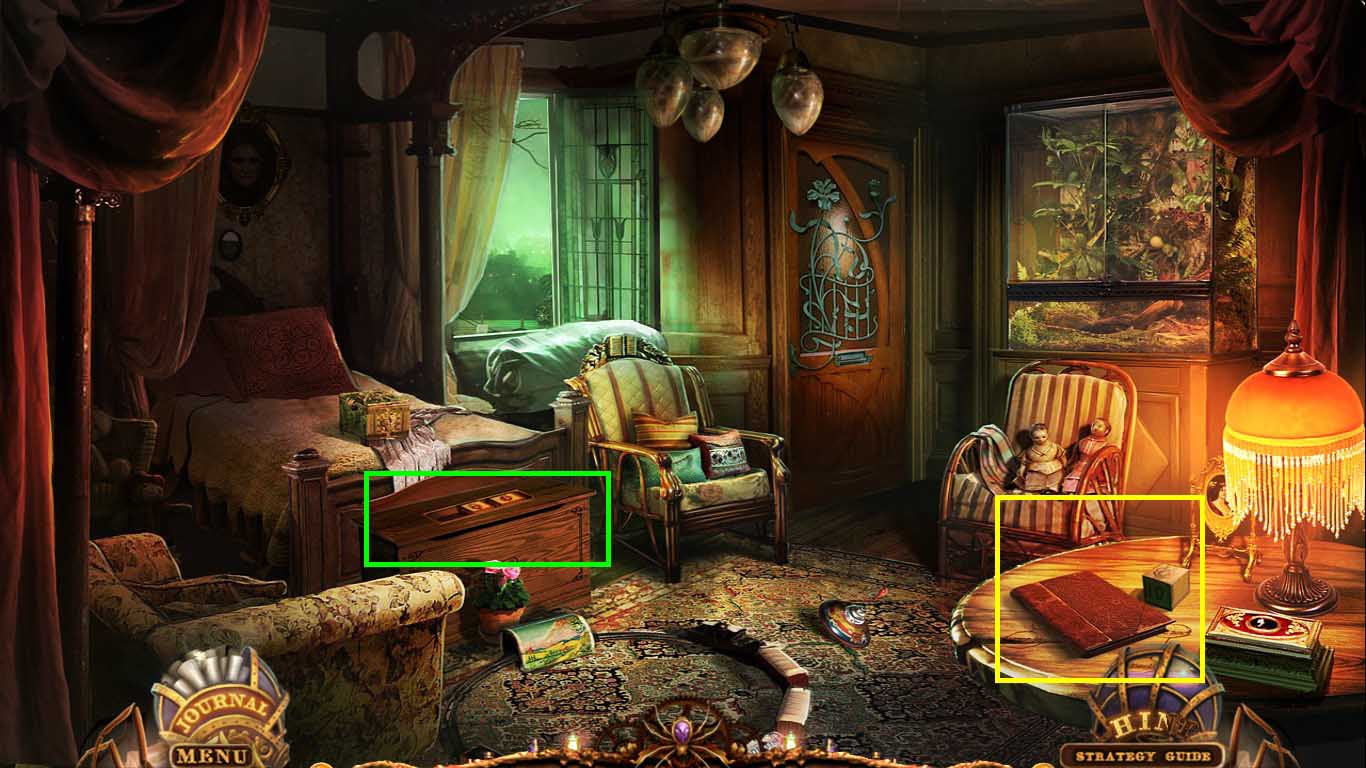
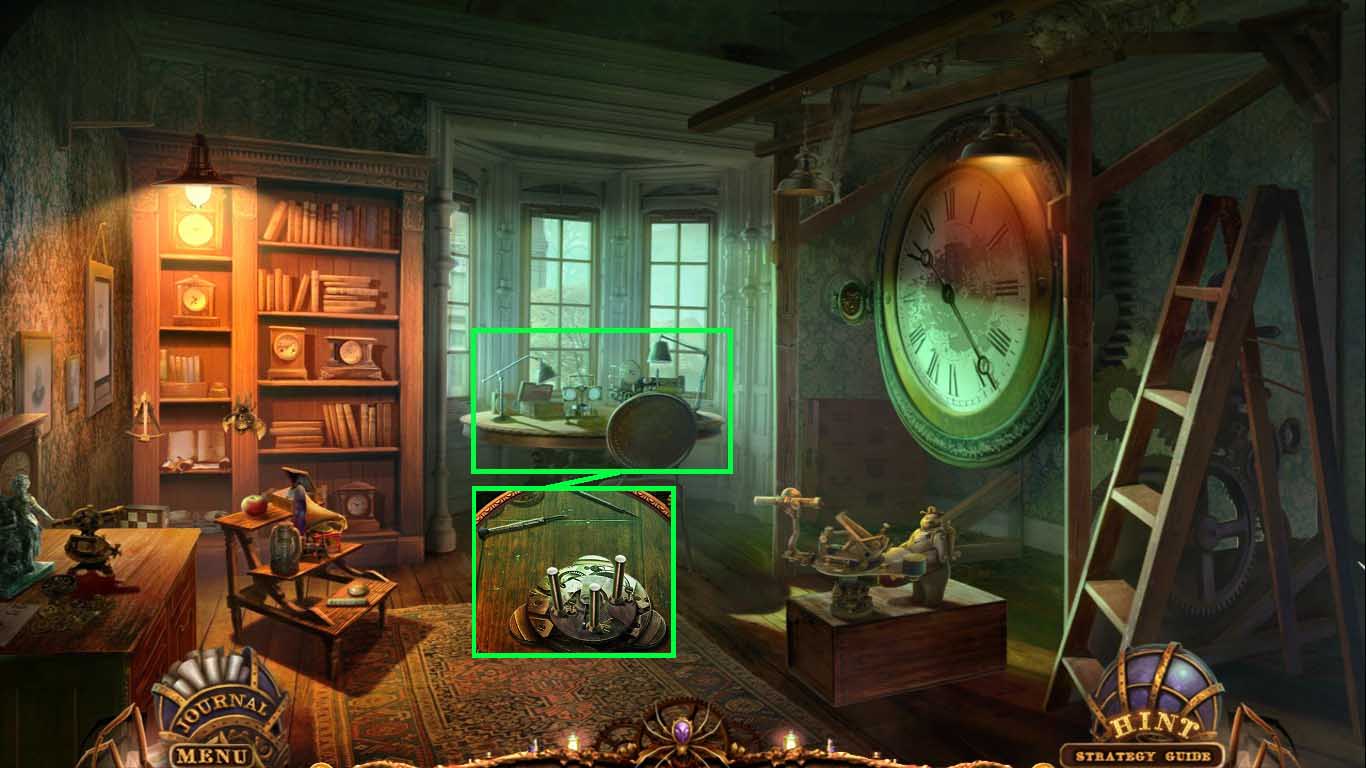
- Zoom into the table.
- Collect the cube and read the diary.
- Zoom into the chest.
- Insert the cube into the tray.
- Click the chest again to access a hidden objects area.
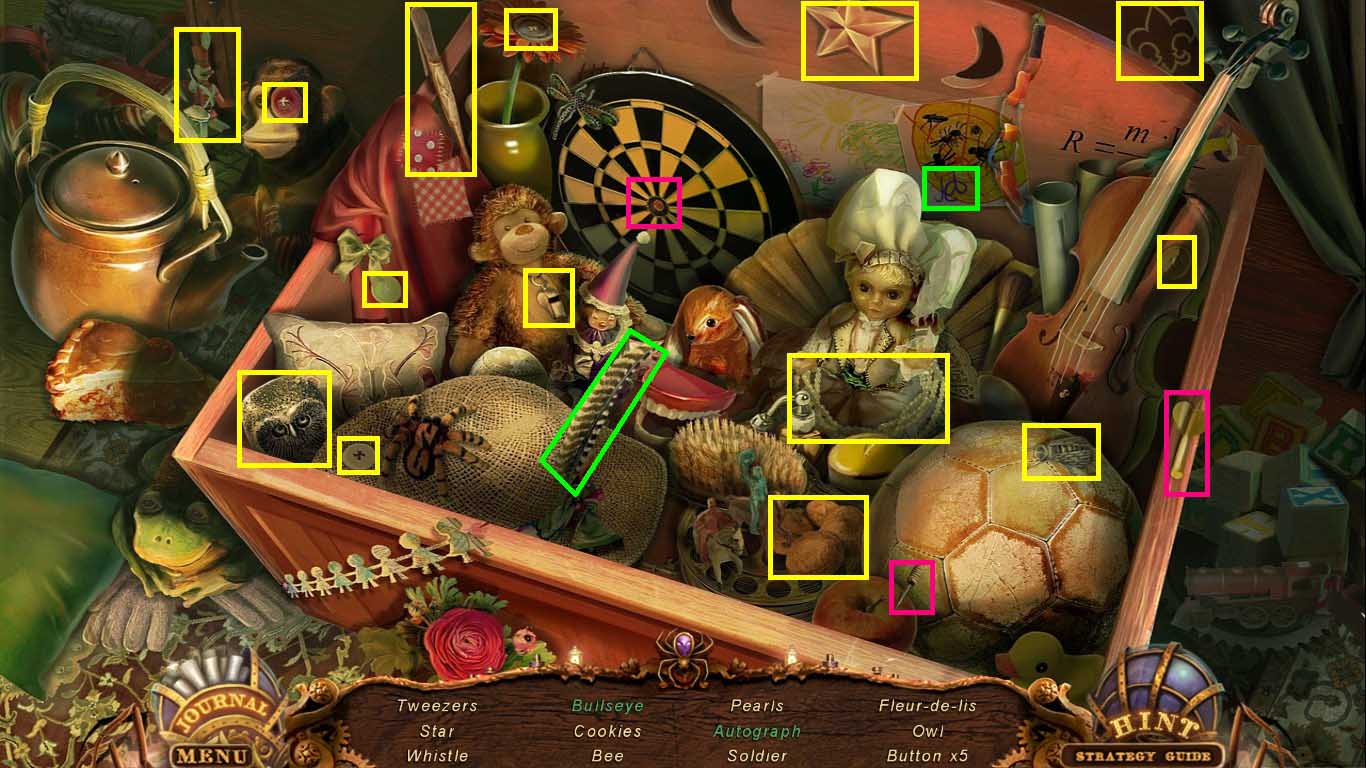
- Find the listed items.
- Place the point onto the dart.
- Shoot the dart onto the board to create the bull’s eye.
- Place the quill on the paper to create an autograph.
- Collect the tweezers.

- Click the window to access the cut-scene.
- Click the mother.
- Zoom into the terrarium; collect the stone and cloth.
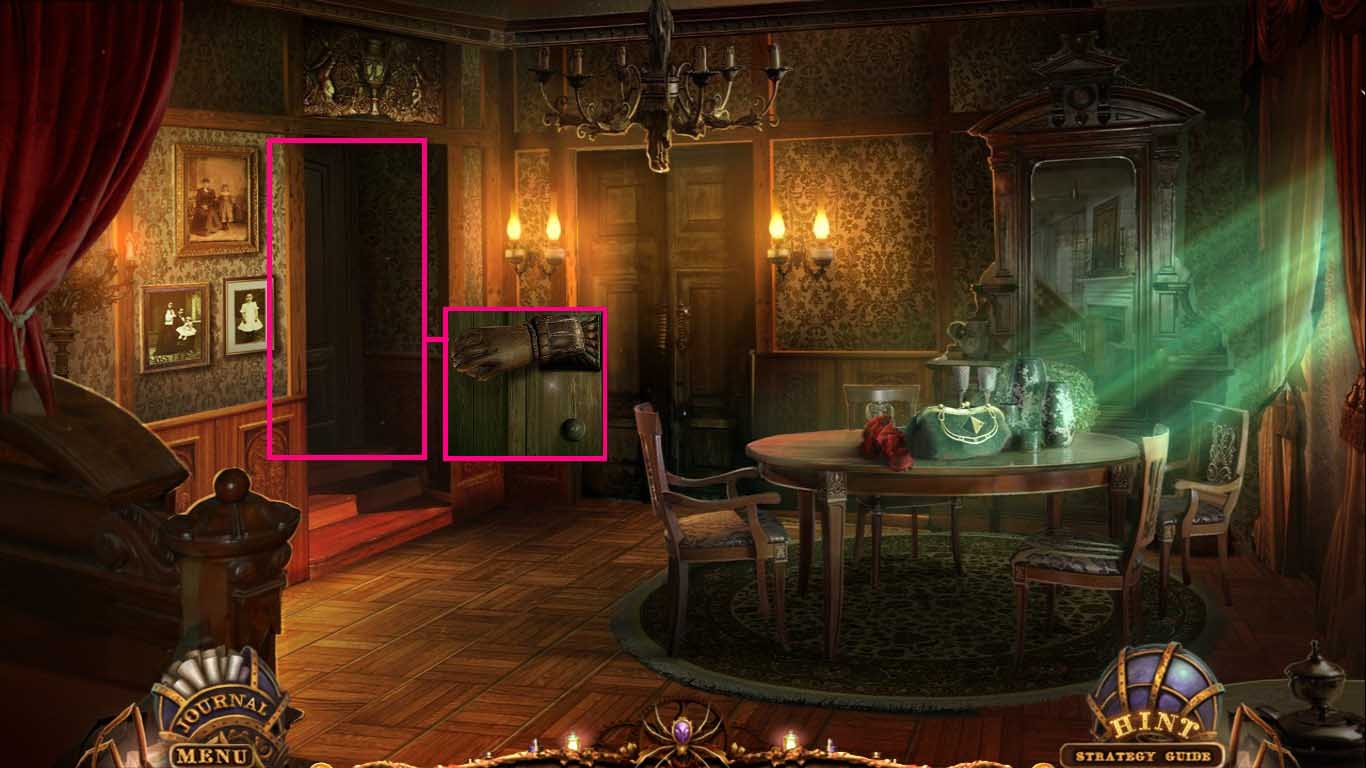
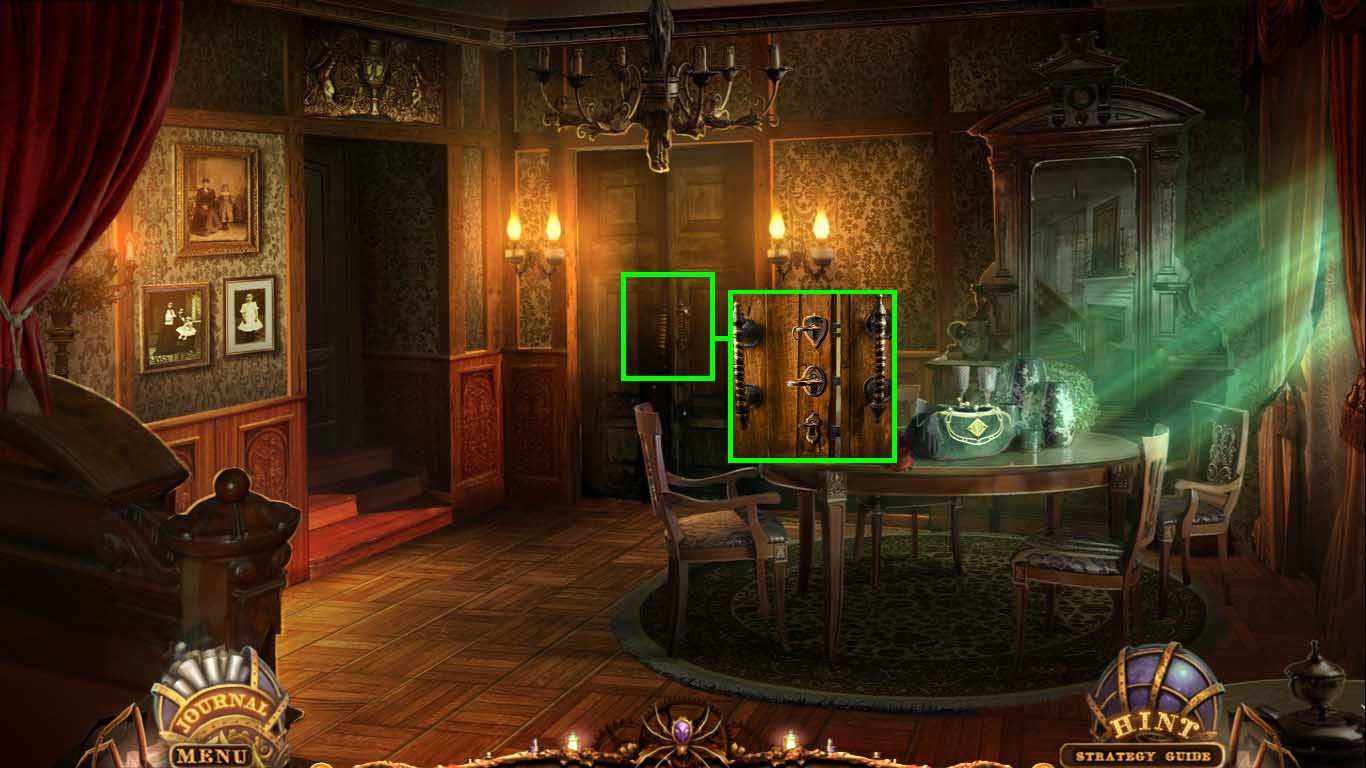
- Zoom into the door latch.
- Click the cover.
- Use the tweezers to pull back and unlock the door.
- Move forward.
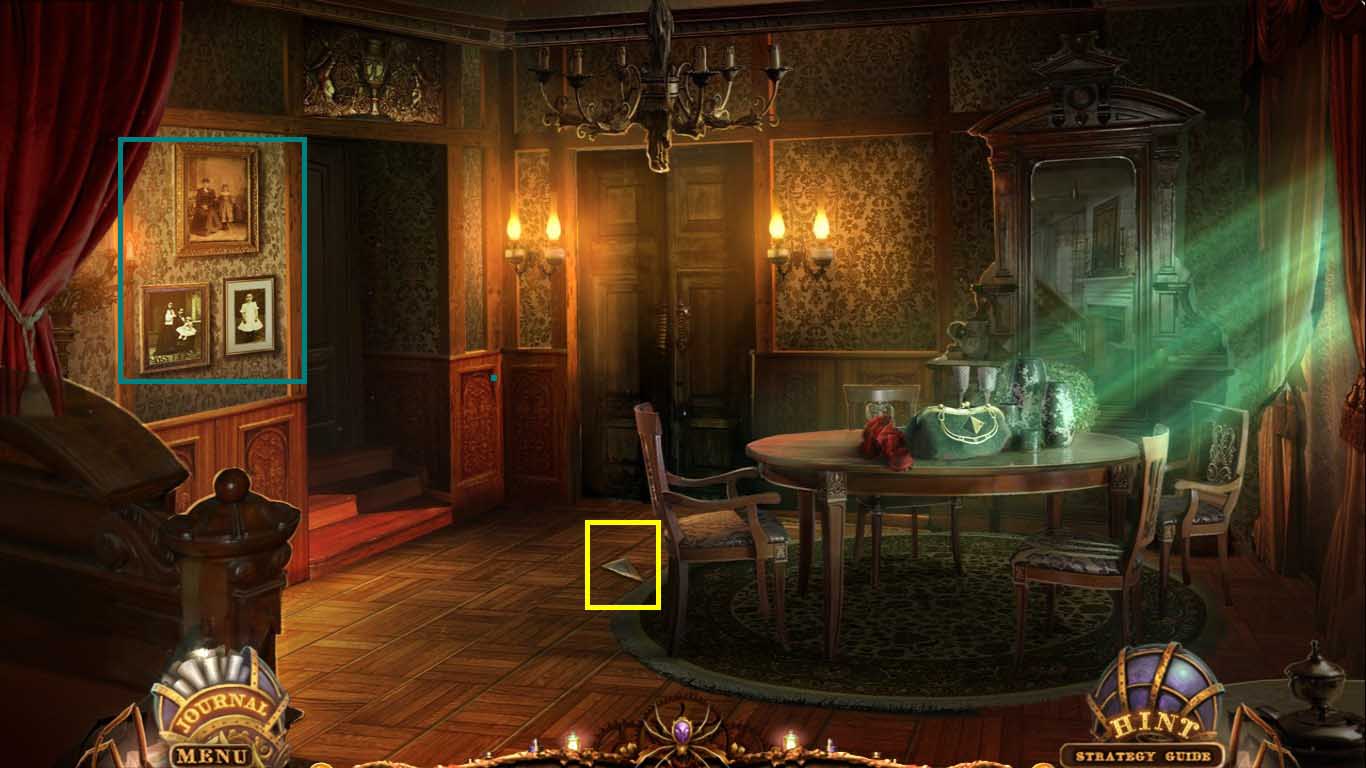
- Zoom into the photographs.
- Collect the glass.
- Go to Morgana’s room.
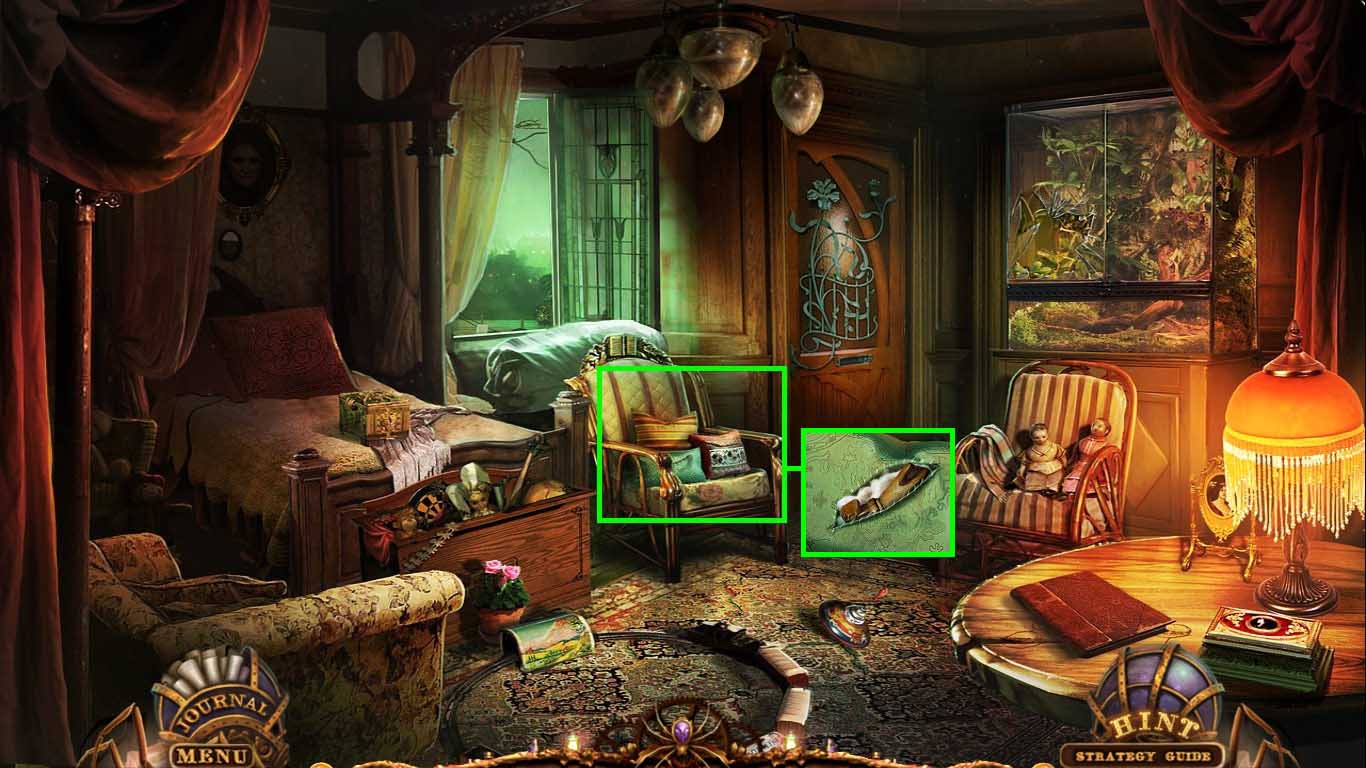
- Zoom into the chair.
- Cut the pillow with the glass.
- Collect the handle.
- Go to the hall.
- Zoom into the door.
- Use the handle on the door.
- Go to mother’s room.
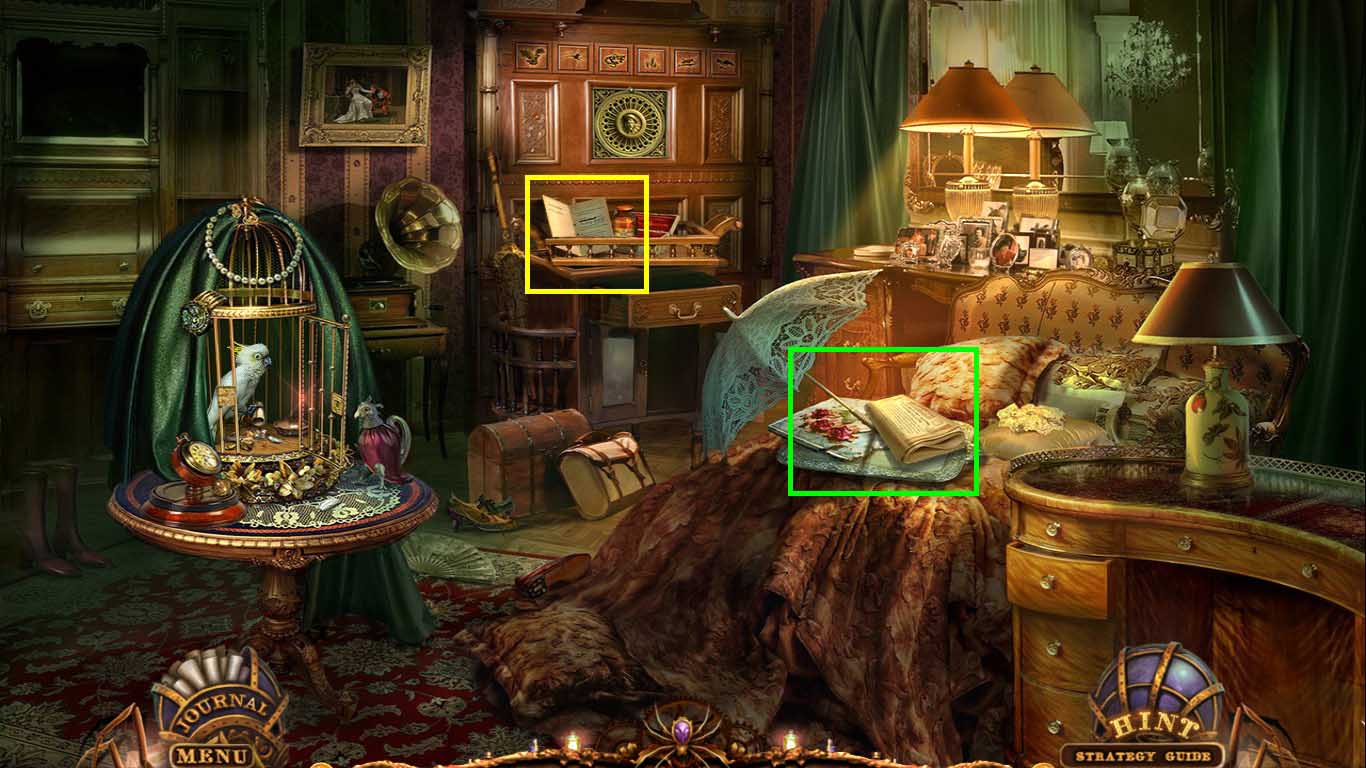
- Zoom into the lounge; read the newspaper and collect the triangle.
- Zoom into the table; read the diagnosis.
- Walk down.
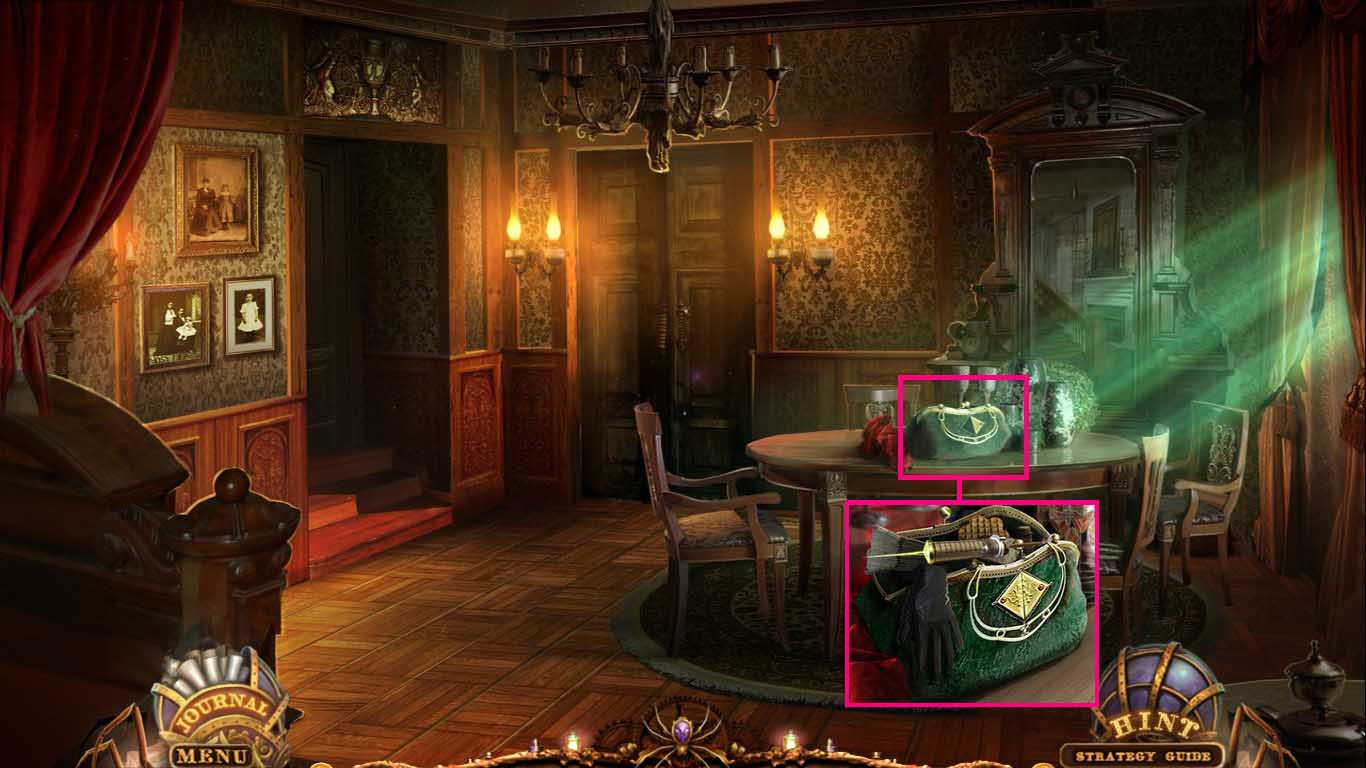
- Zoom into the table.
- Insert the triangle onto the purse.
- Click it open.
- Collect the syringe and the cookie.
- Go to mother’s room.
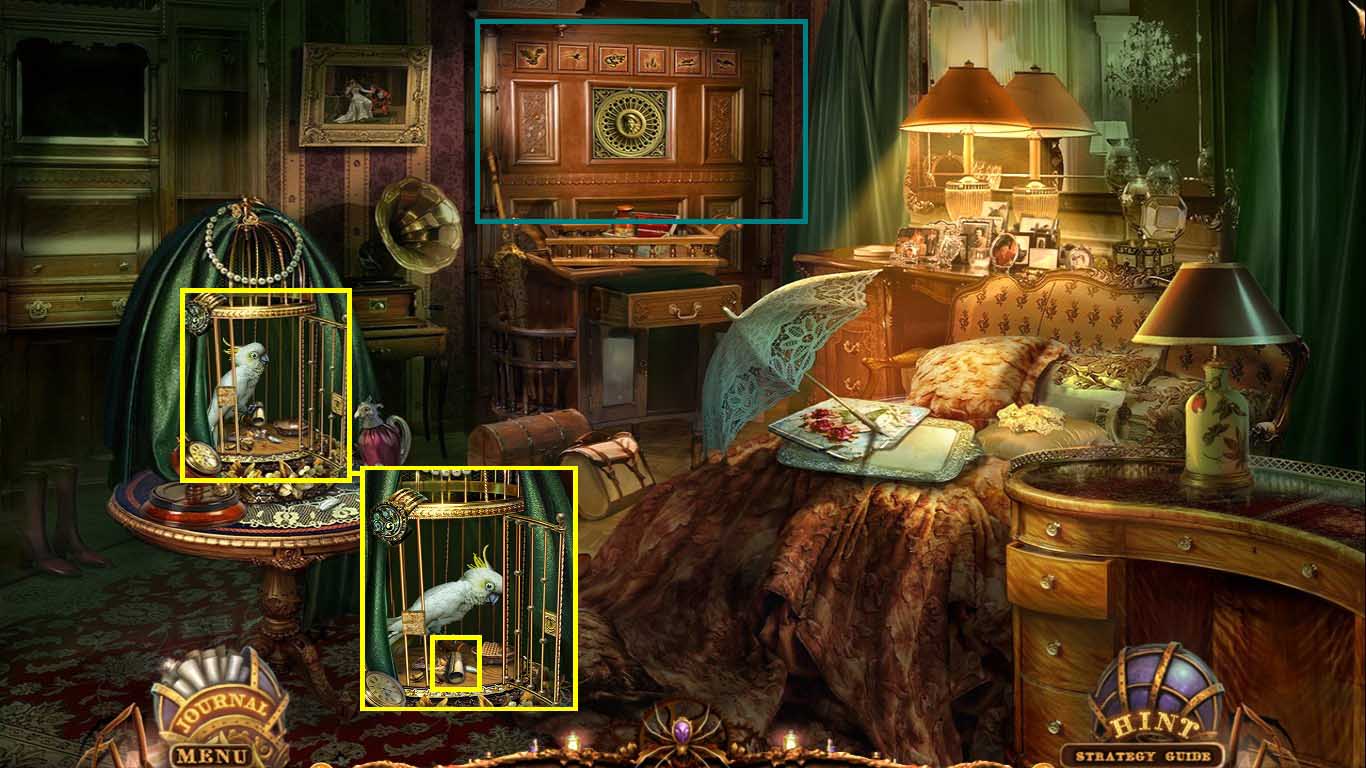
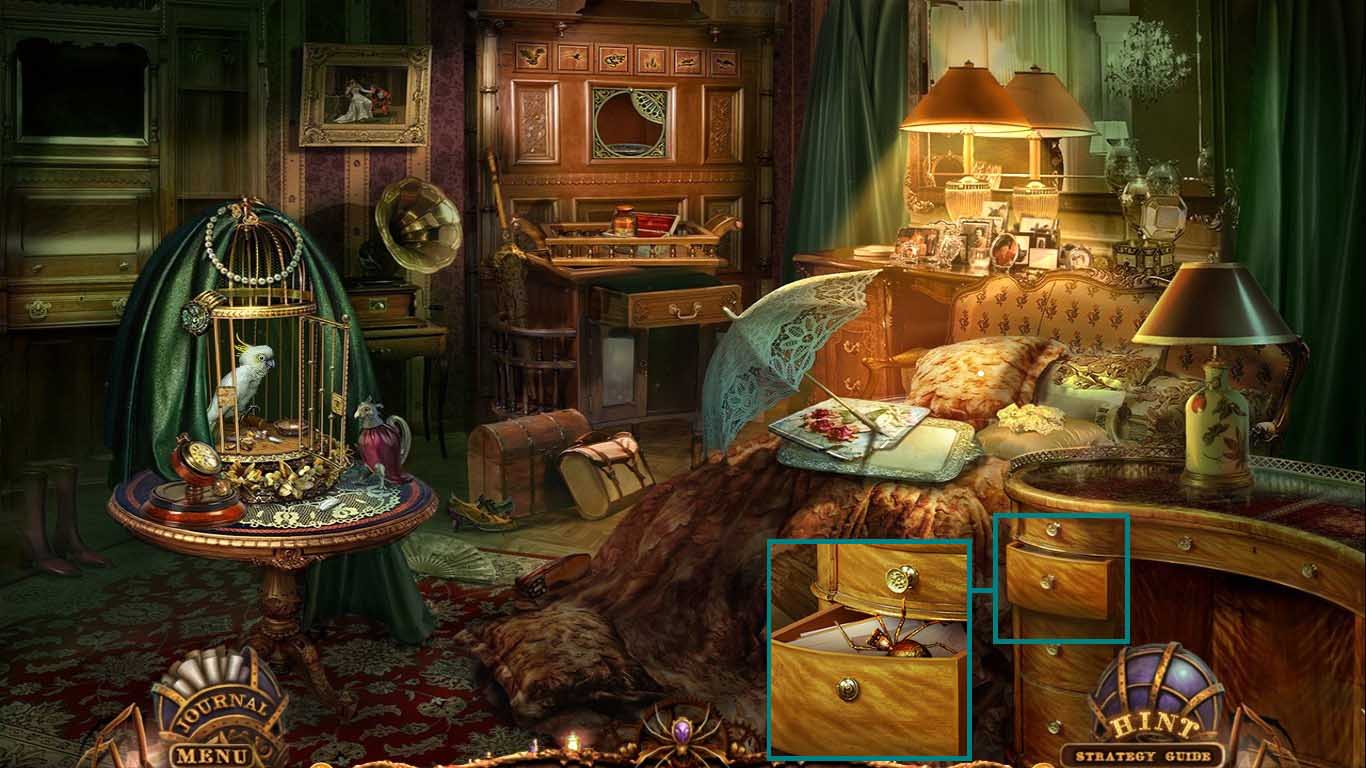
- Zoom into the cage.
- Give the parrot the cookie.
- Read the combination.
- Zoom into the wall board; use the following combination:
- grass – grasshopper – spider – bird – snake – eagle.
- Collect the keys.
- Walk down one time.
- Zoom into the door.
- Use the keys on the locks.
- Click the keys and move forward.
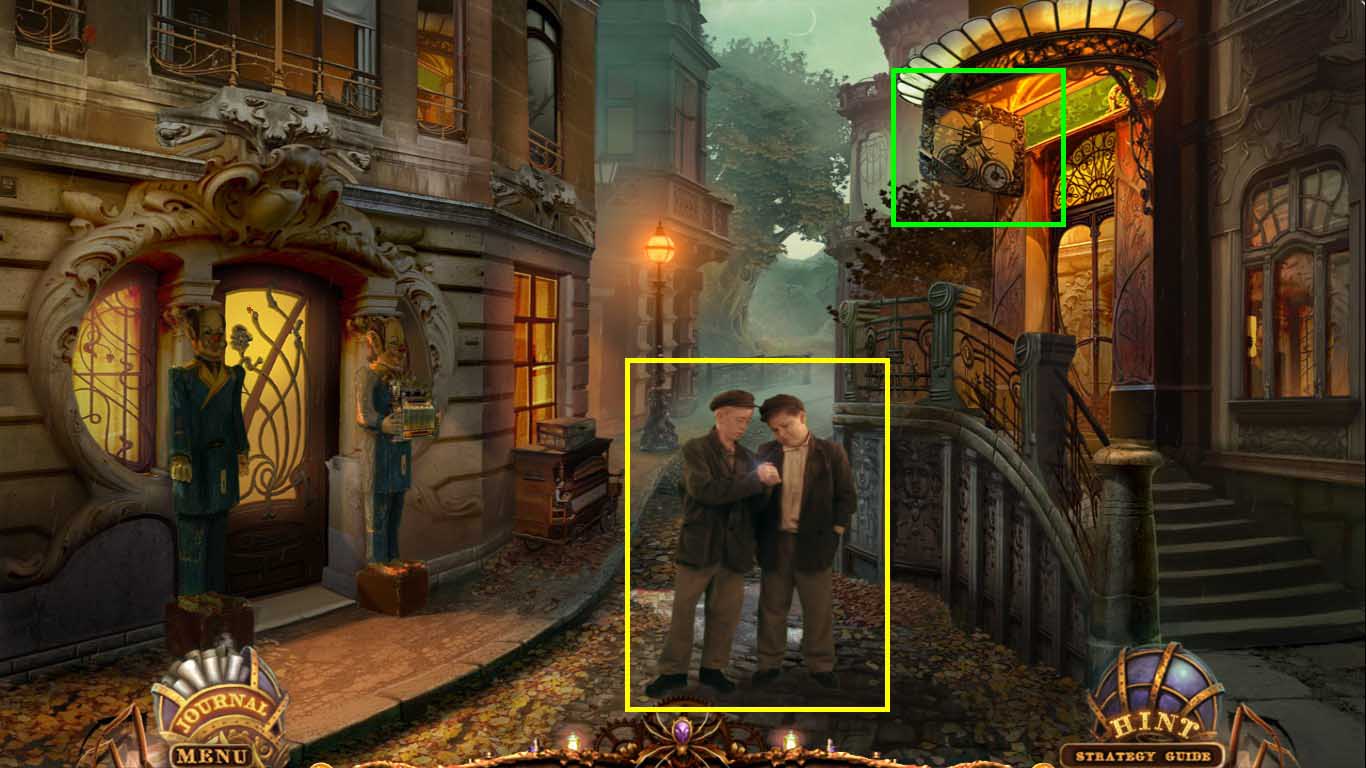
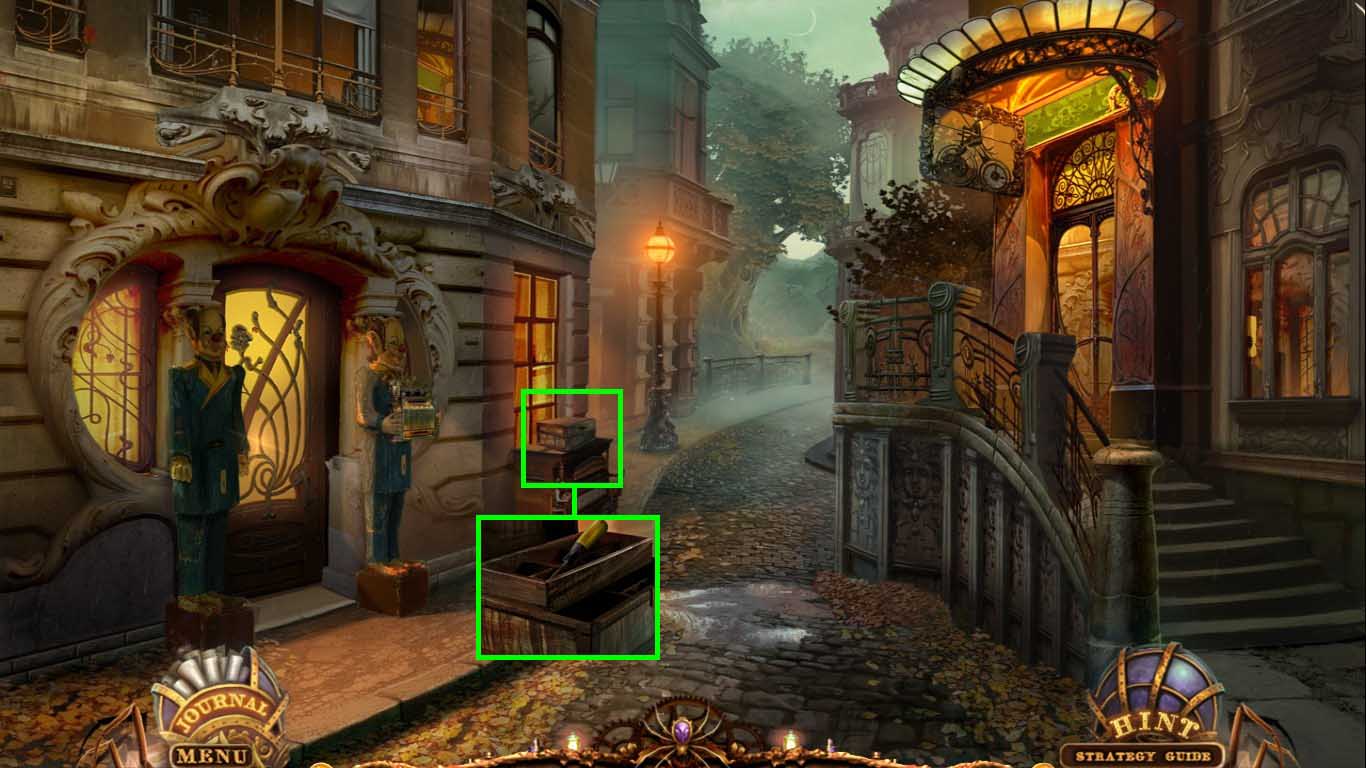
- Click the boys.
- Zoom into the mechanism.
- Collect the railway lever.
- Move forward.
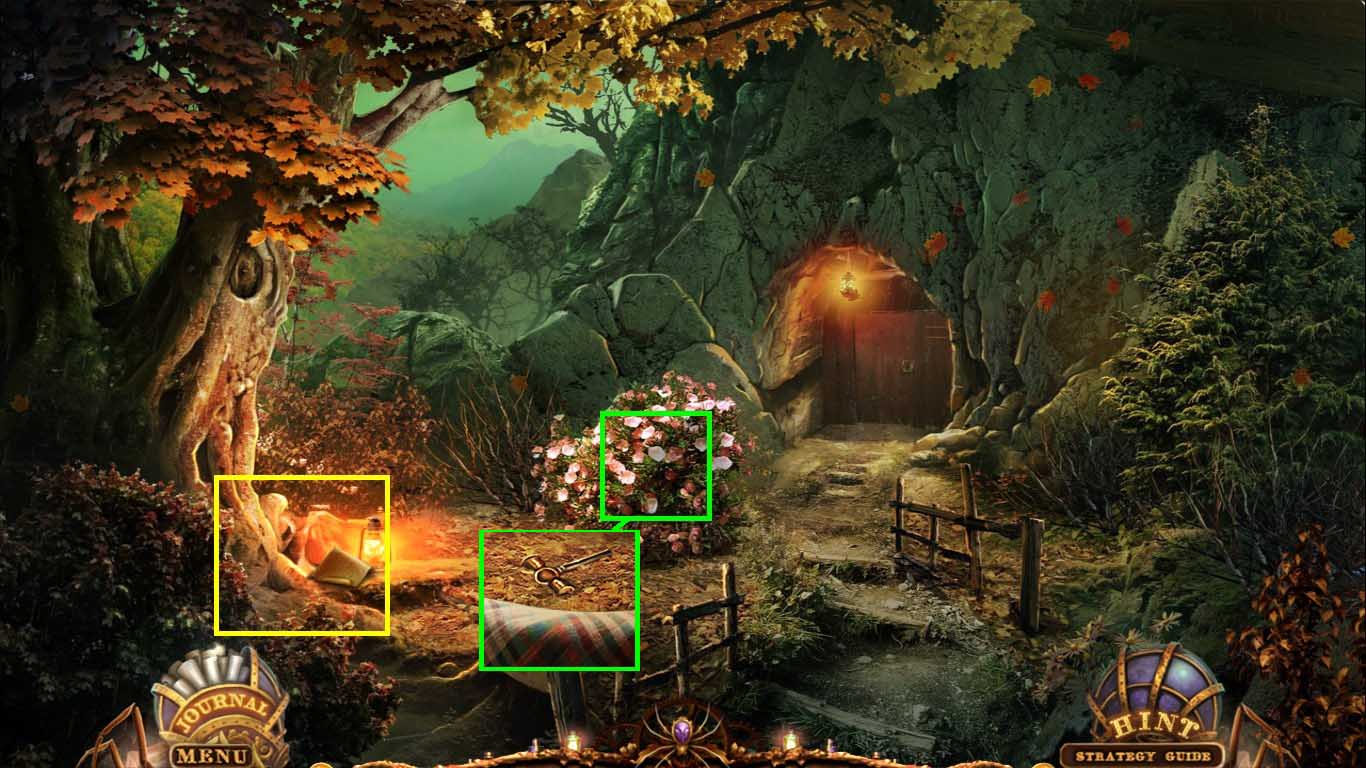
- Zoom into the tree base; read the letter.
- Zoom into the bush; use the cloth on the branches.
- Collect the hammer.
- Walk down.
- Zoom into the box.
- Use the hammer on the groove.
- Collect the chisel.
- Go to mother’s room.
- Zoom into the desk.
- Use the chisel on the drawer.
- Collect the seal.
- Go to the cave entrance.
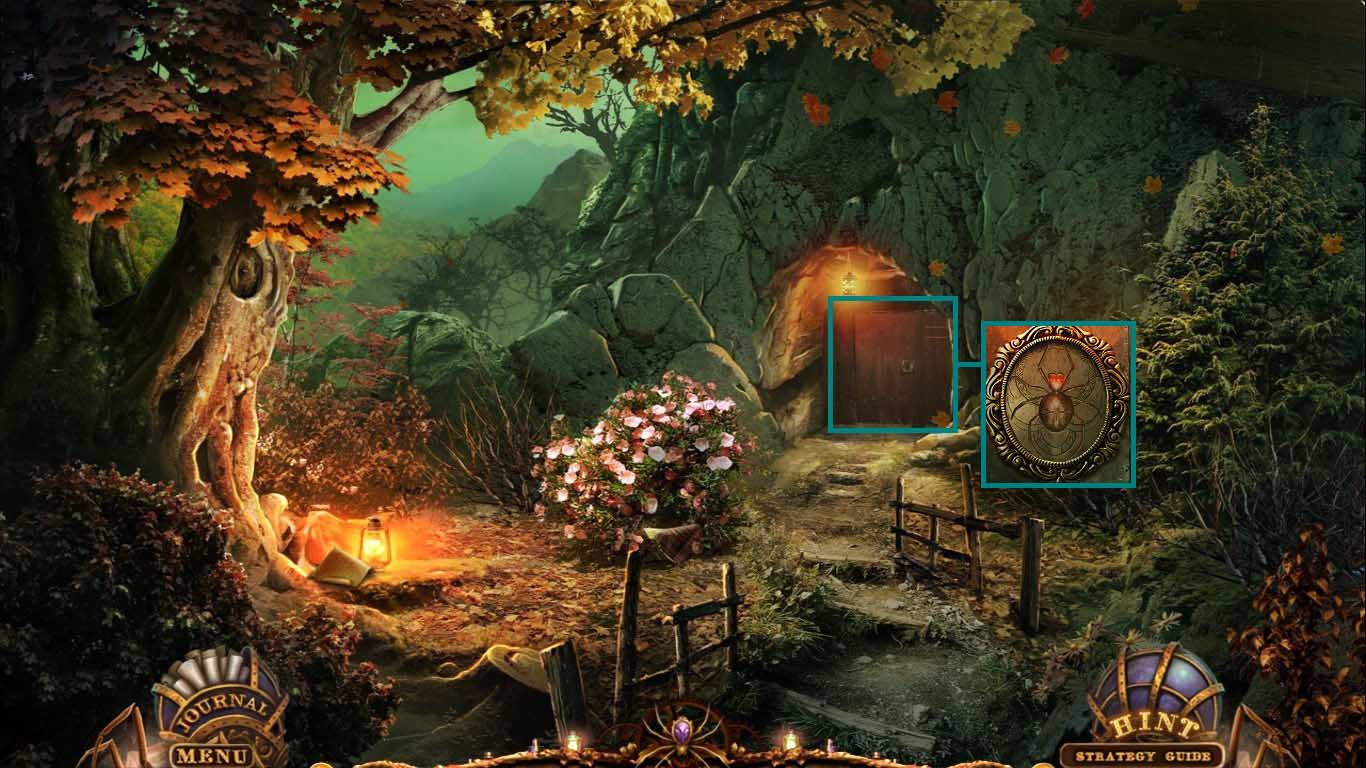
- Zoom into the door.
- Insert the seal into the groove.
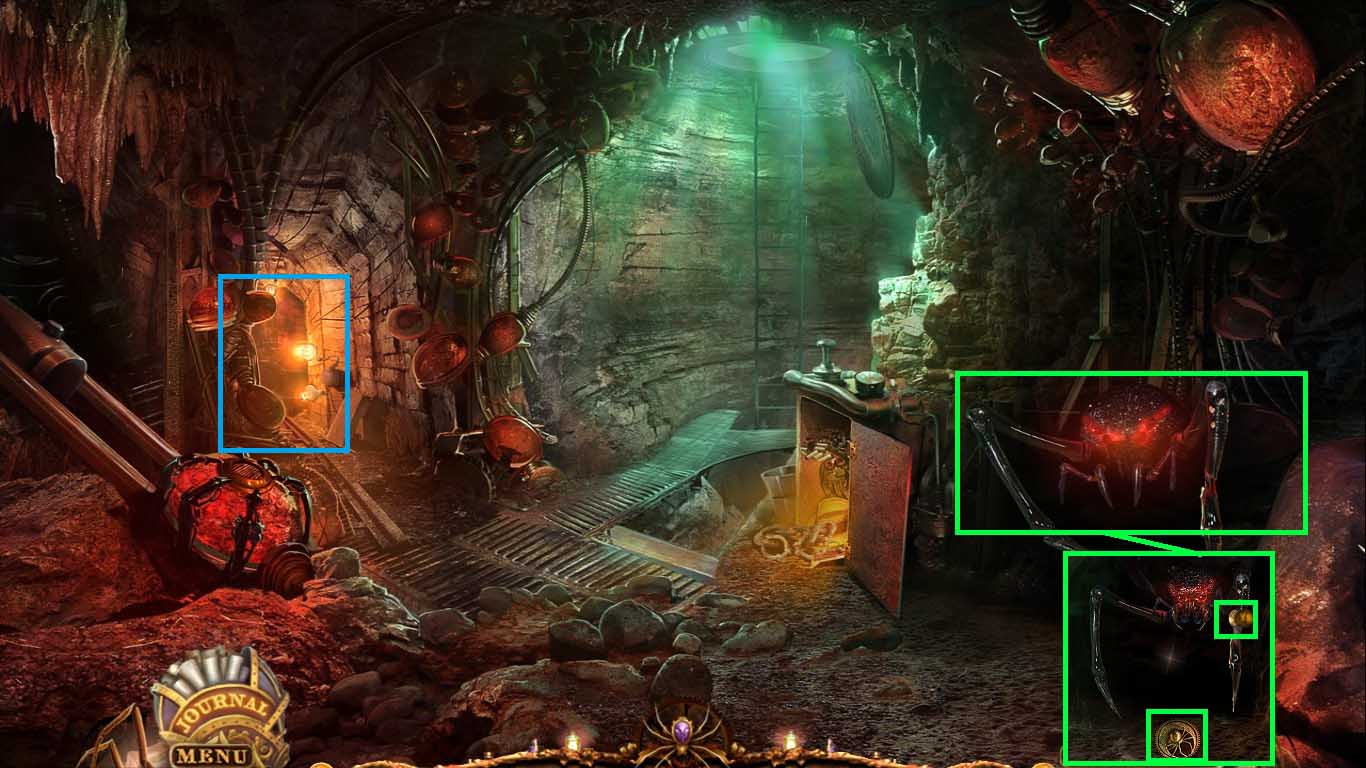
- Go into the cave.

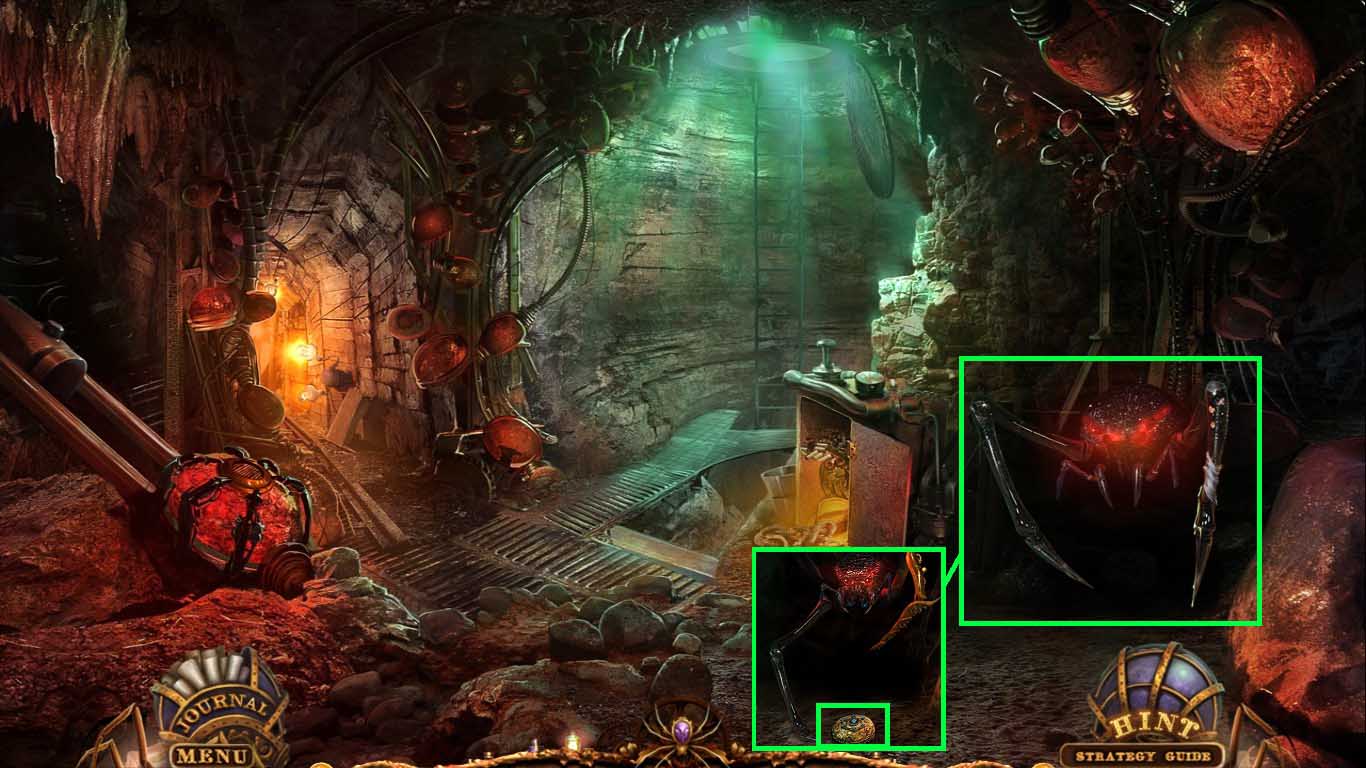
- Click the spider to get the spider helper.
- Look at the photograph.
- Zoom into the box and use the spider helper on the front.
- Click inside the box to access the hidden objects area.
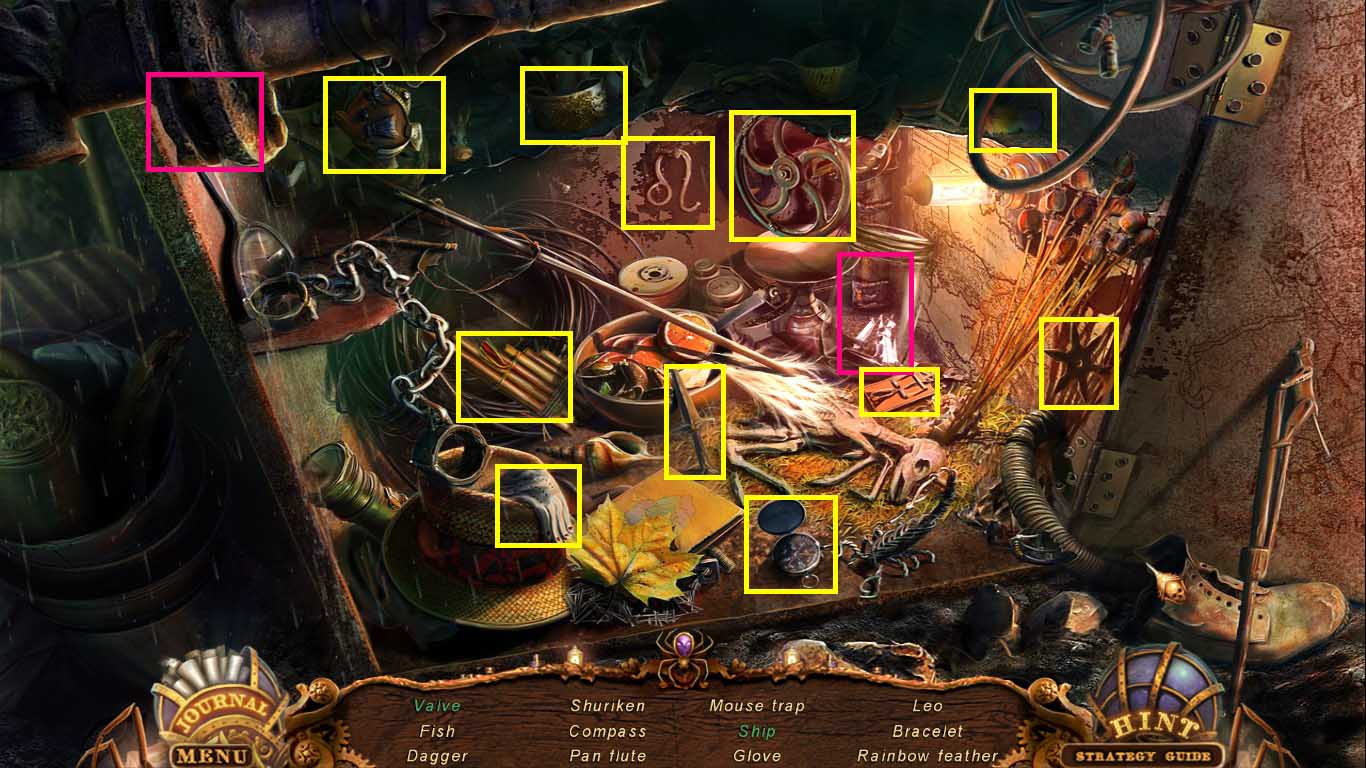
- Find all the listed items.
- Place the tape on the wire.
- It will light up the mouse trap, shuriken, valve, and Leo, bracelet and rainbow feather.
- Find the ship by using the jar on the leaky pipe.
- Collect the valve.
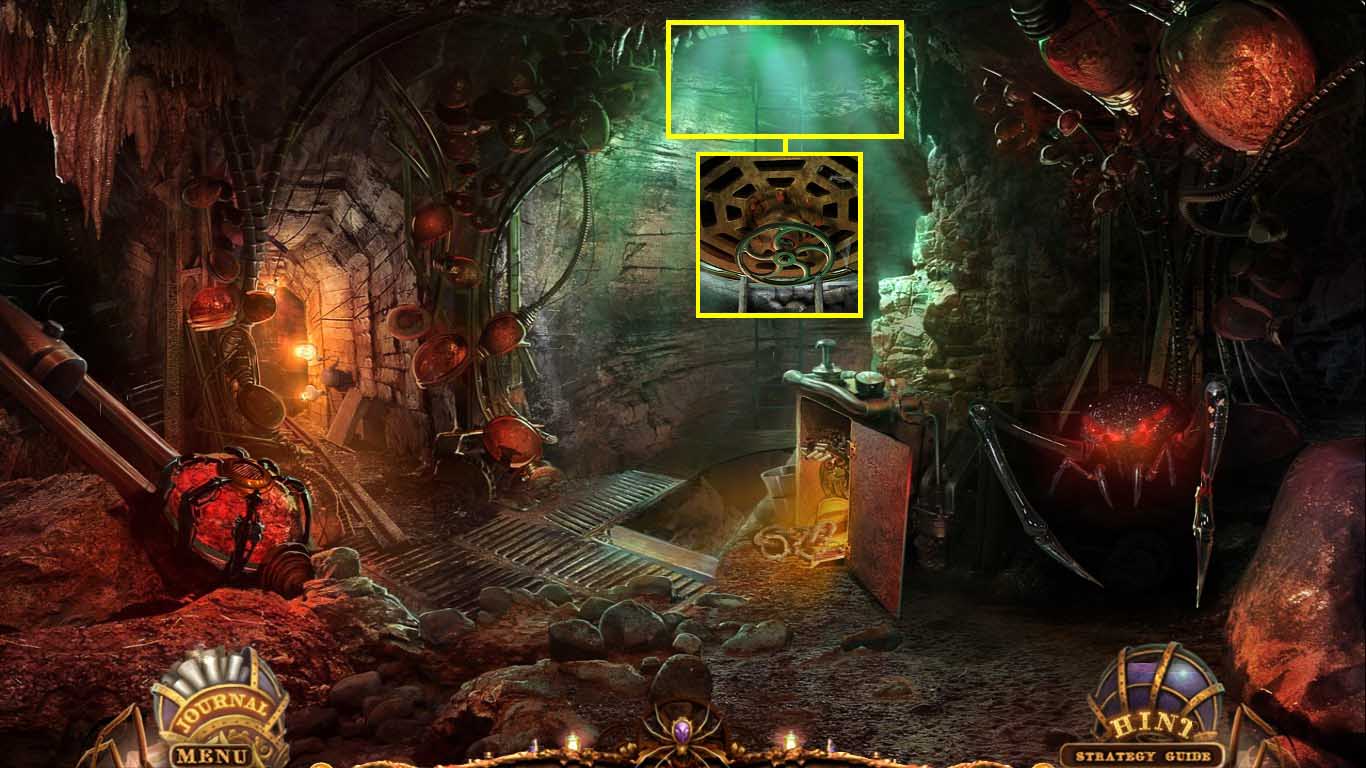
- Zoom into the hatch.
- Insert the valve onto it.
- Click the lever two times to open the hatch.
- Go up to the square.
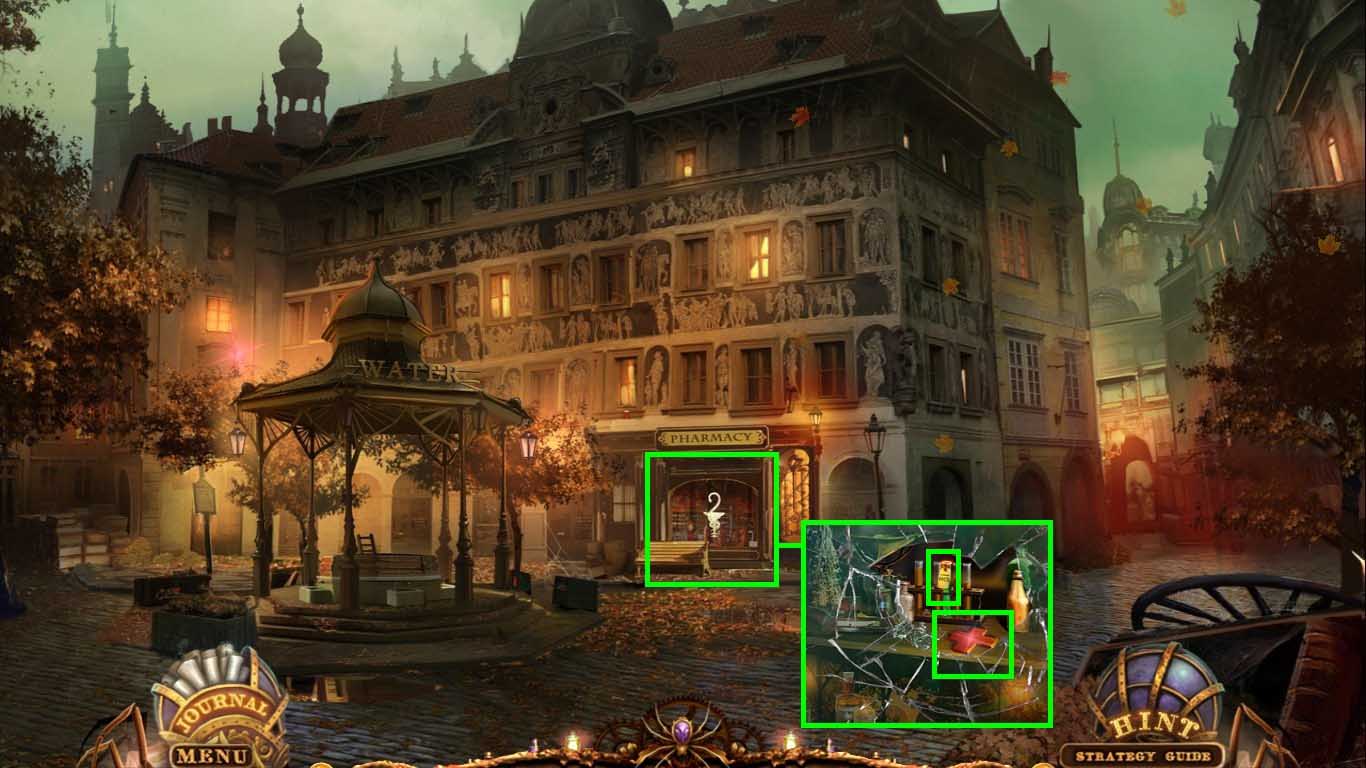
- Zoom into the pharmacy window.
- Use the stone 3 times to crack the window.
- Collect the red cross and the HC1.
- Go right.

- Zoom into the bench.
- Collect the blue cross.
- Walk down one time.
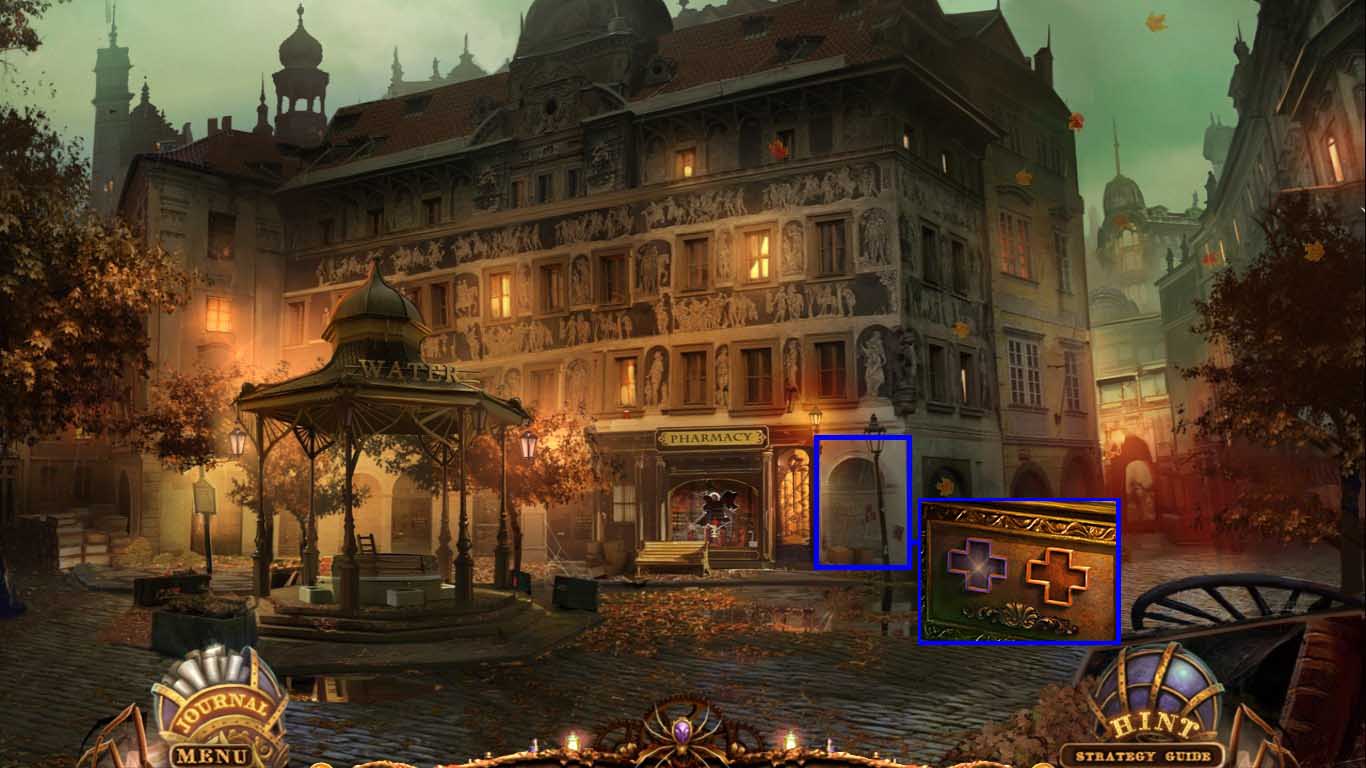
- Zoom into the alcove.
- Insert the red and blue crosses into the grooves.
- Go into the pharmacy.
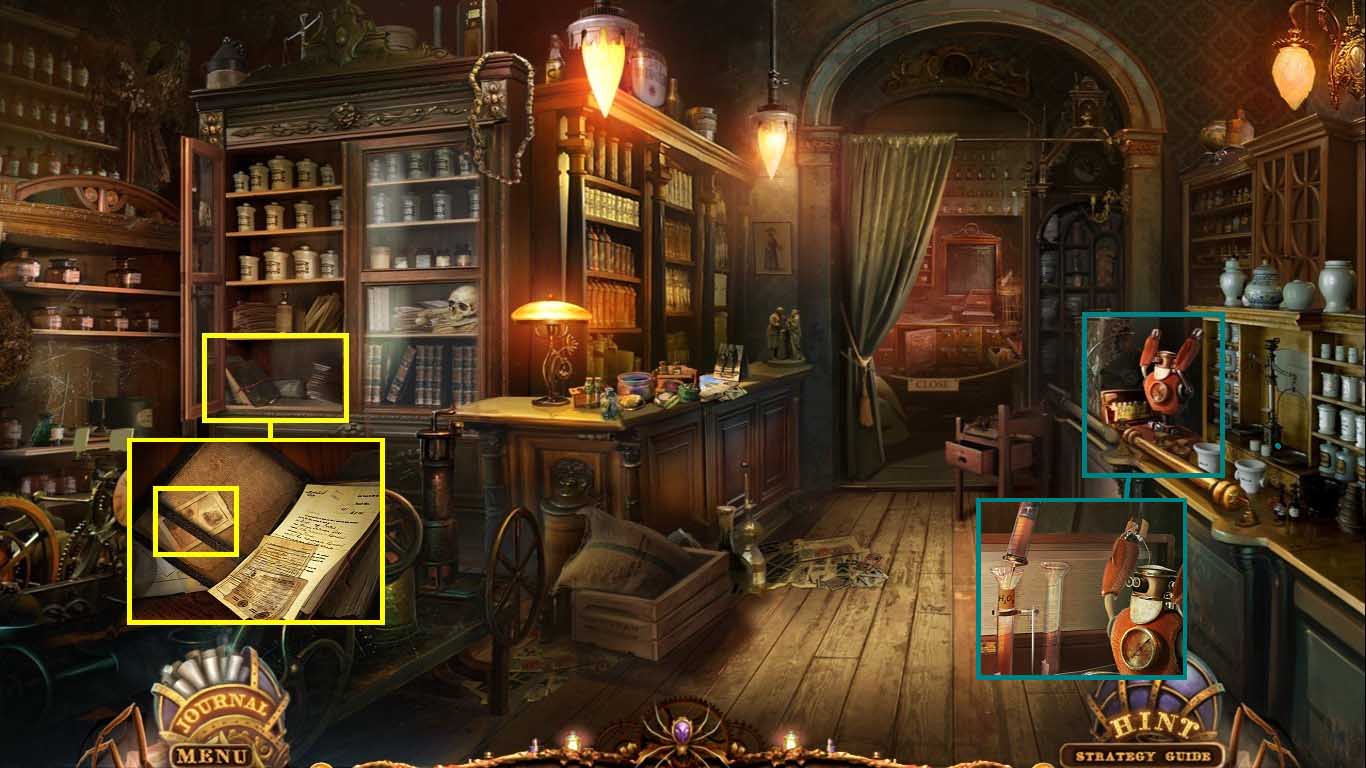
- Zoom into the shelf.
- Click the string and open the folder.
- Read the papers and collect the ticket.
- Zoom into the right counter and place the syringe into the test tube.
- Collect the syringe with peroxide.
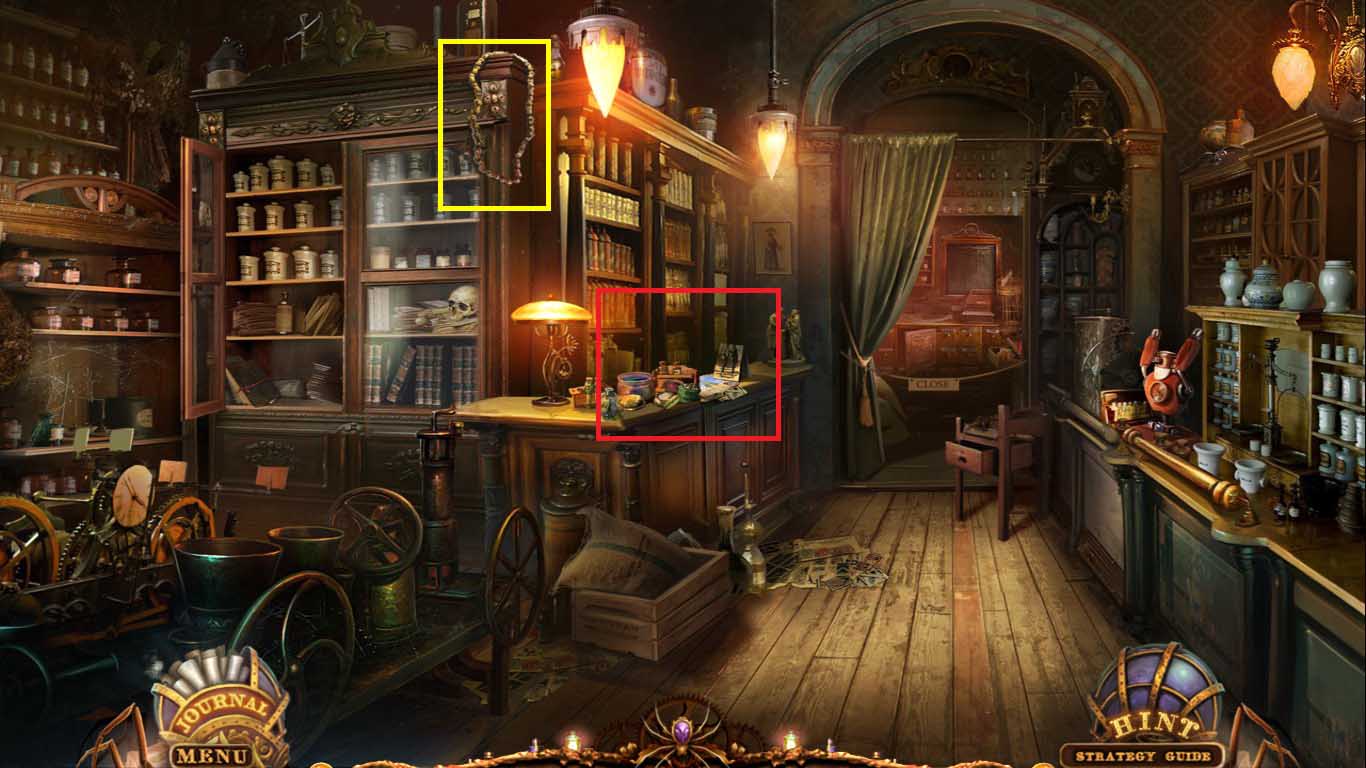
- Place the spider hanger onto the hanging chain.
- Collect the chain.
- Notice the back room.
- Zoom into the middle counter to access a mini-game.
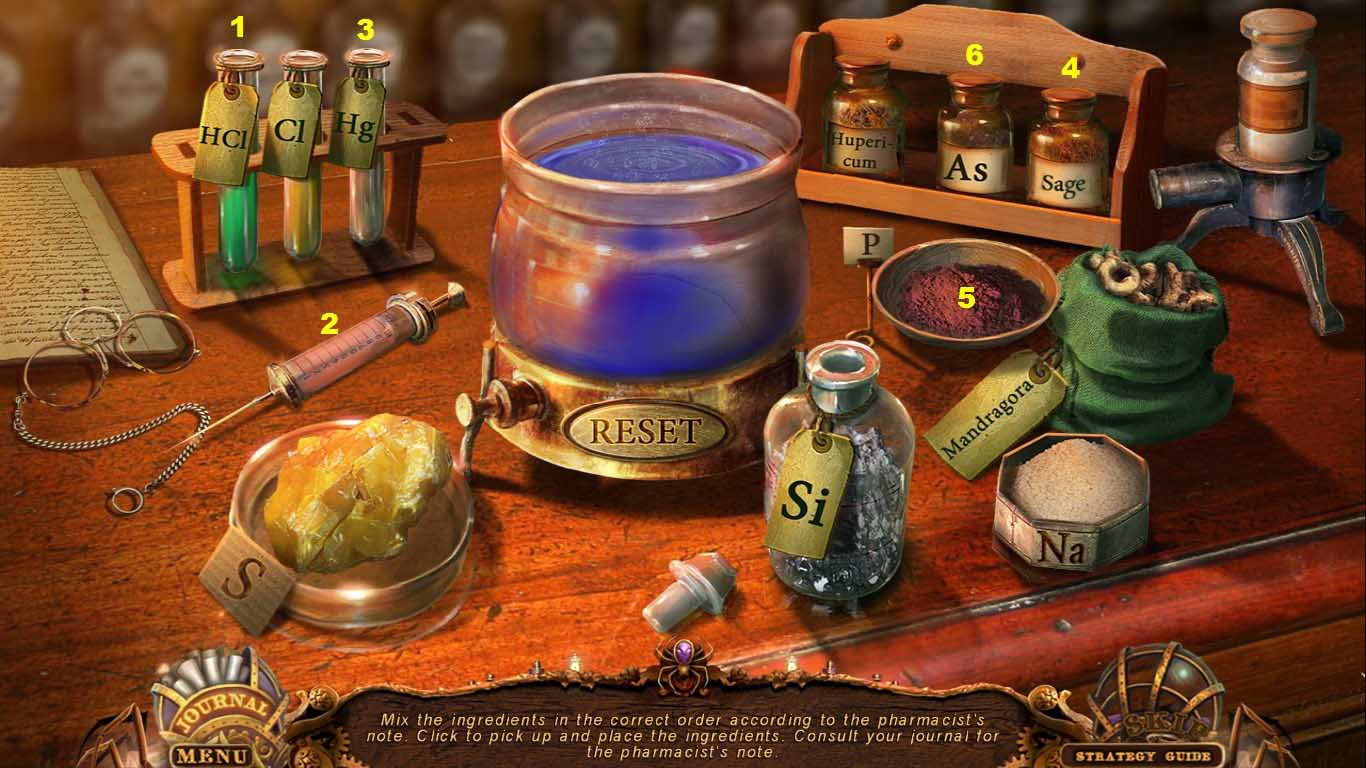
- Insert the HC1 onto the holder.
- Put the syringe with peroxide onto the counter.
- Use the formula: HCL + H2O2 + Hg + Sage + P + As.
- Follow the order of ingredients (1-6) and place them into the jar.
- Collect the serum.
- Click the back of the room to access the hidden objects area.
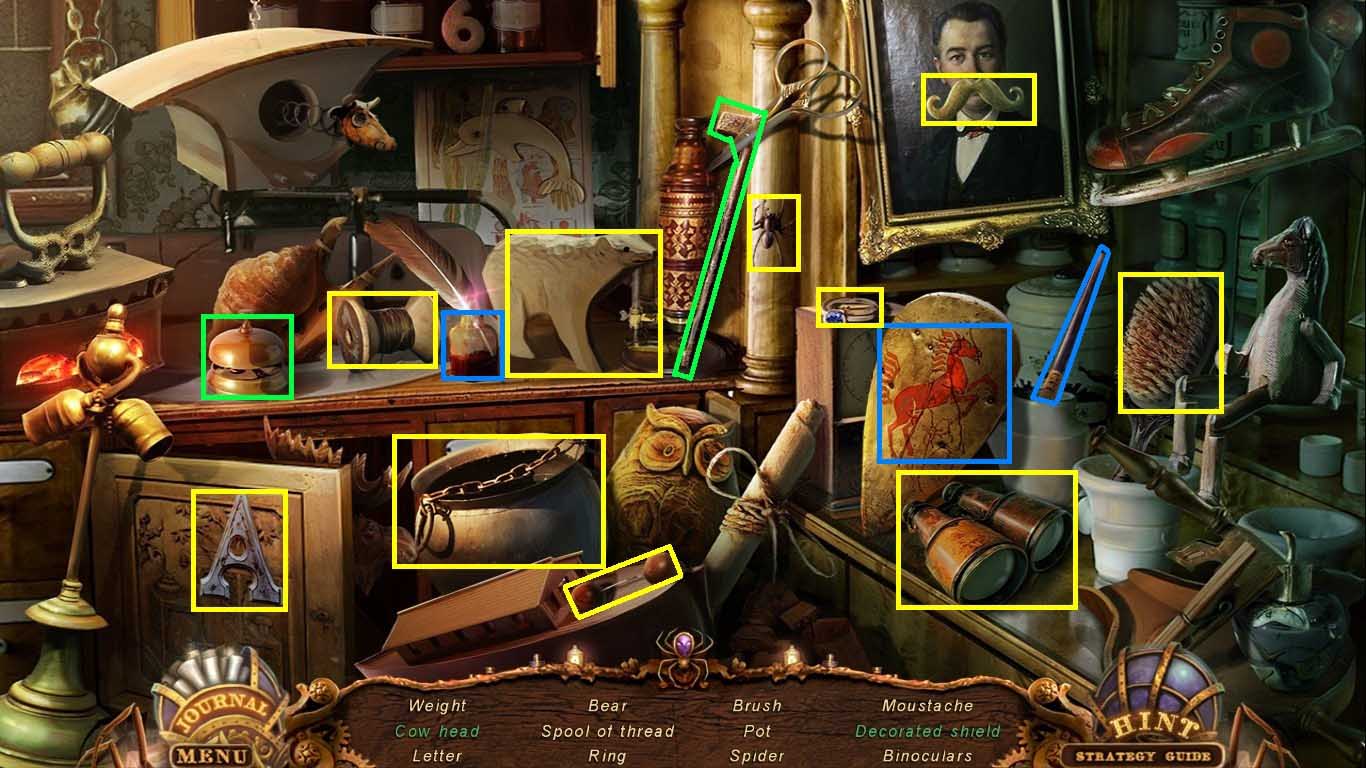
- Find the listed items.
- Insert the pen into the ink.
- Use the pen on the shield to create the decorated shield.
- Find the cow head using the hammer on the bell.
- Collect the weight.
- Zoom into the right counter.
- Put the weight onto the robot.
- Collect the coin from the robot’s chest.
- Go to the forest trail and move to the right and go to the cave entrance.
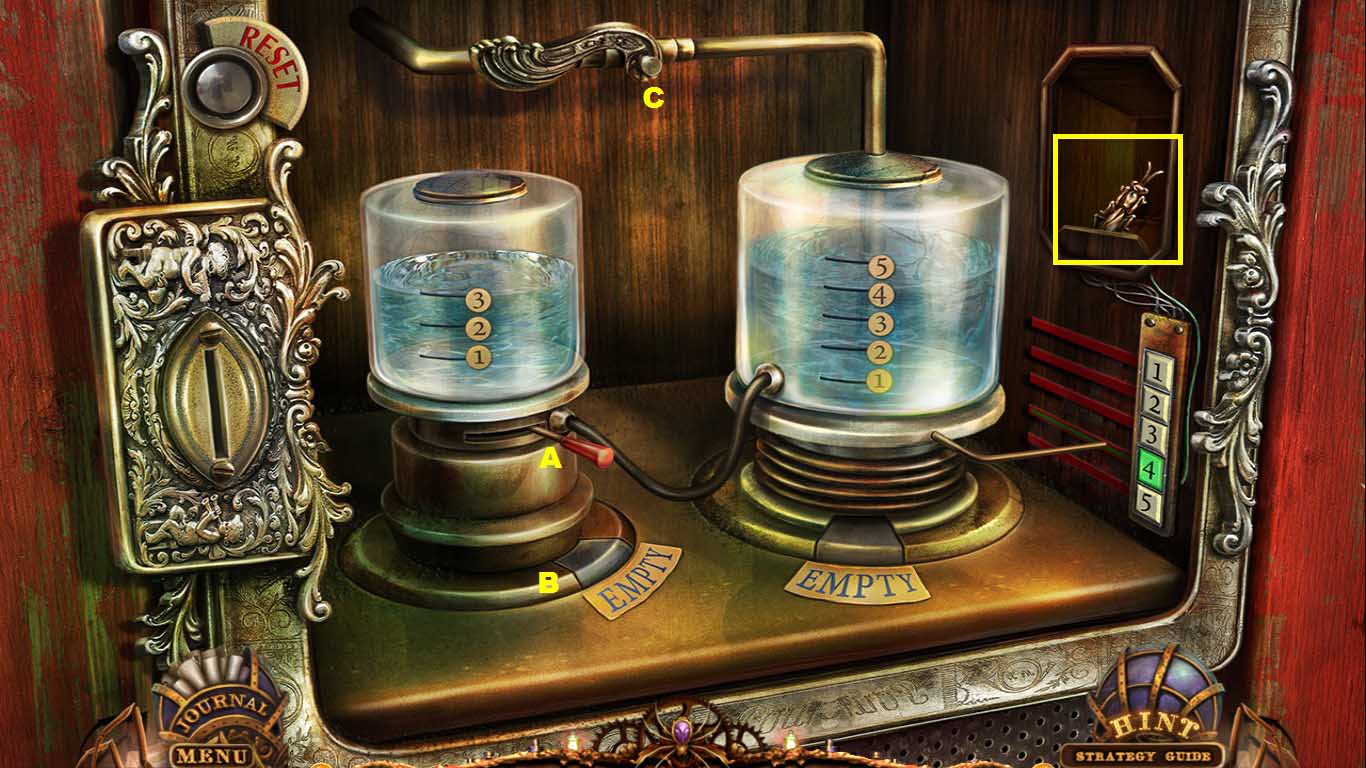
- Zoom into the vending machine.
- Place the coin into the slot to trigger the mini-game.
-
Follow the pattern as shown.
- A. Click the red lever.
- B. Click the empty button on the left.
- A. Click the red lever.
- C. Click the brass lever.
- A. Click the red lever.
- Collect the mantis from the niche.
- Zoom into the door to the museum.
- Use the mantis on the lock.
- Go into the museum.
- Zoom into the center display; read the note.
- Put the serum on the surface.
- Use the spider vial on the potion.
- Collect the spider serum.
- Collect the wire.
- Zoom into the case.
- Read the card and collect the wind up key and the mechanical leg part.
- Go left; use the spider helper on the darkness.
- Go upstairs.
- Zoom into the device.
- Insert the wires between the clips.
- Collect the battery.
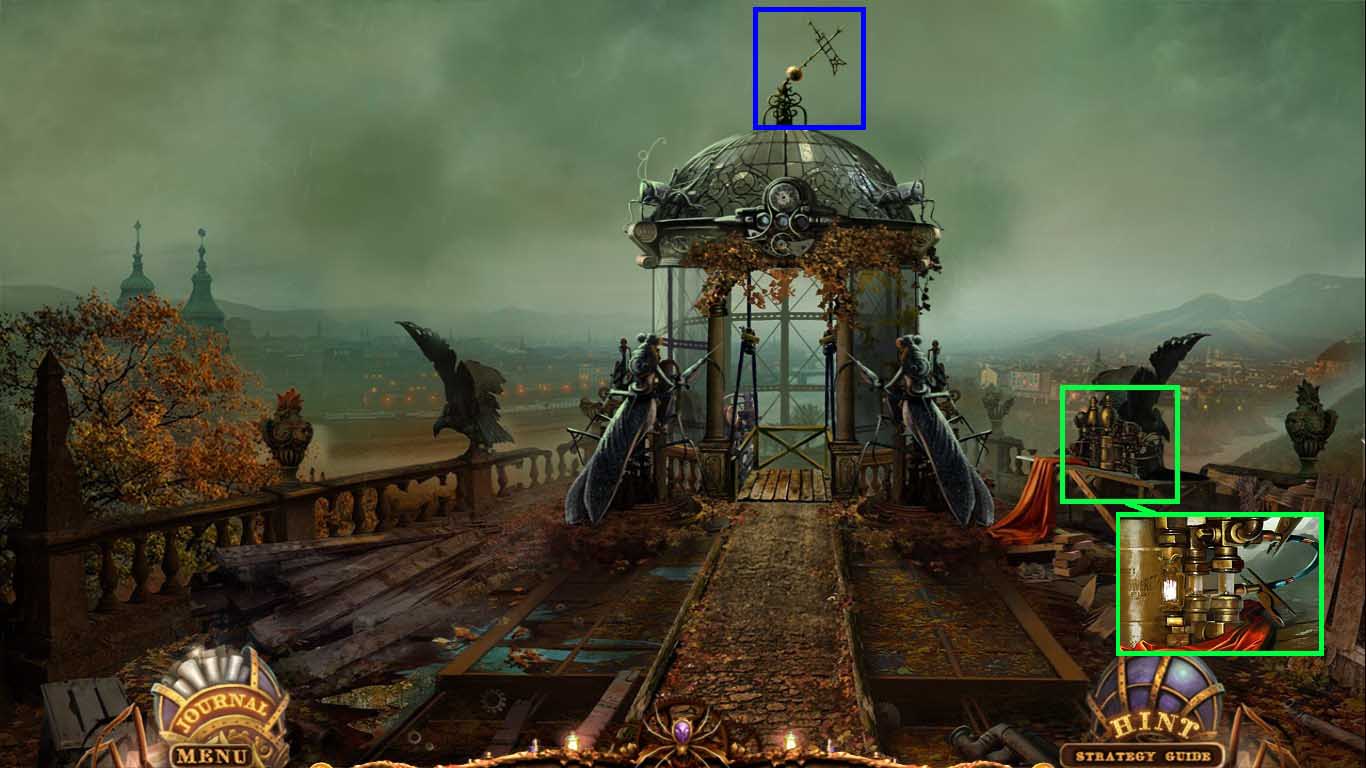
- Use the spider helper on the antenna.
- Zoom into the gazebo to access a mini-game.
- Insert the battery into the holder to trigger a mini-game.
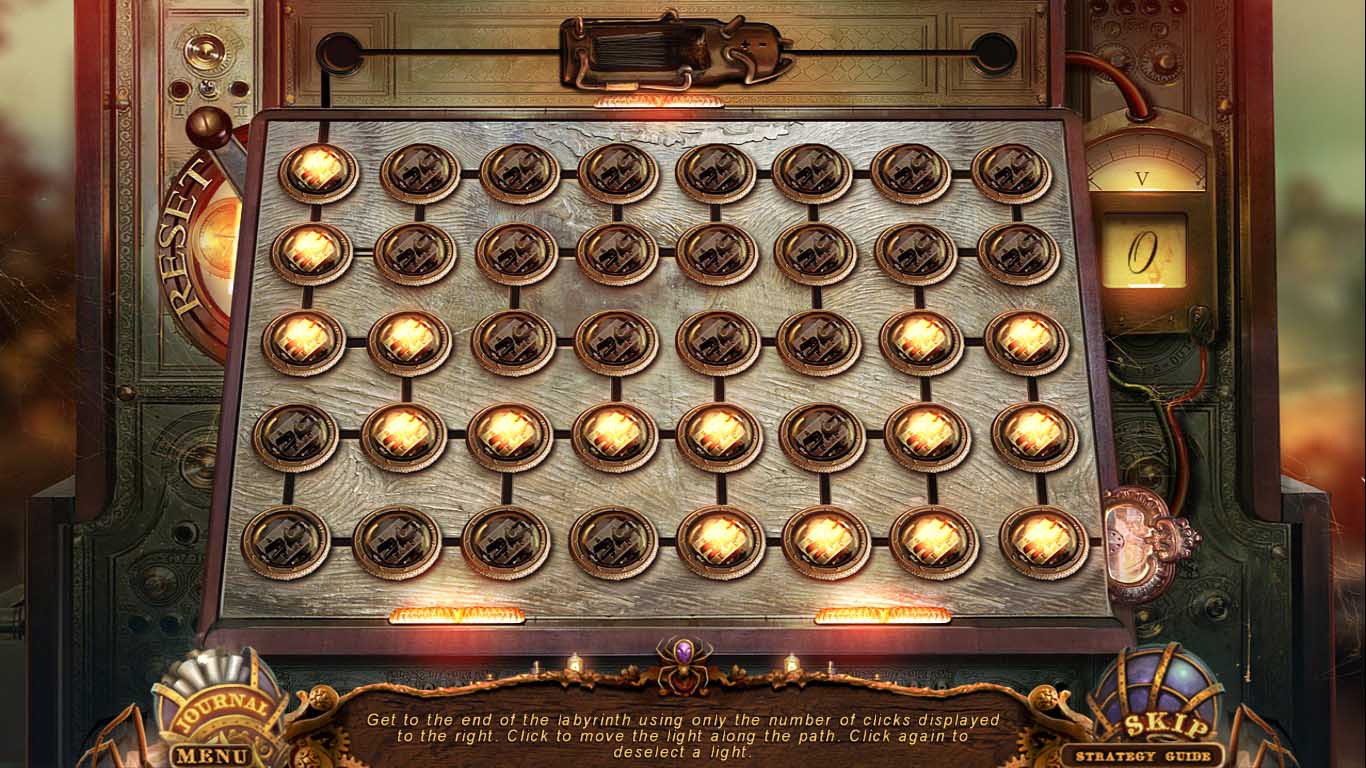
- Zoom into the gazebo.
- Click the buttons to create a lit path from the beginning to the end.
- Once the challenge is completed walk down two times.
- Zoom into the spider and give it the spider serum.
- Collect the disc with spider.
- Zoom into the door on the left.
- Insert the disc with spider into the mechanism to access a mini-game.
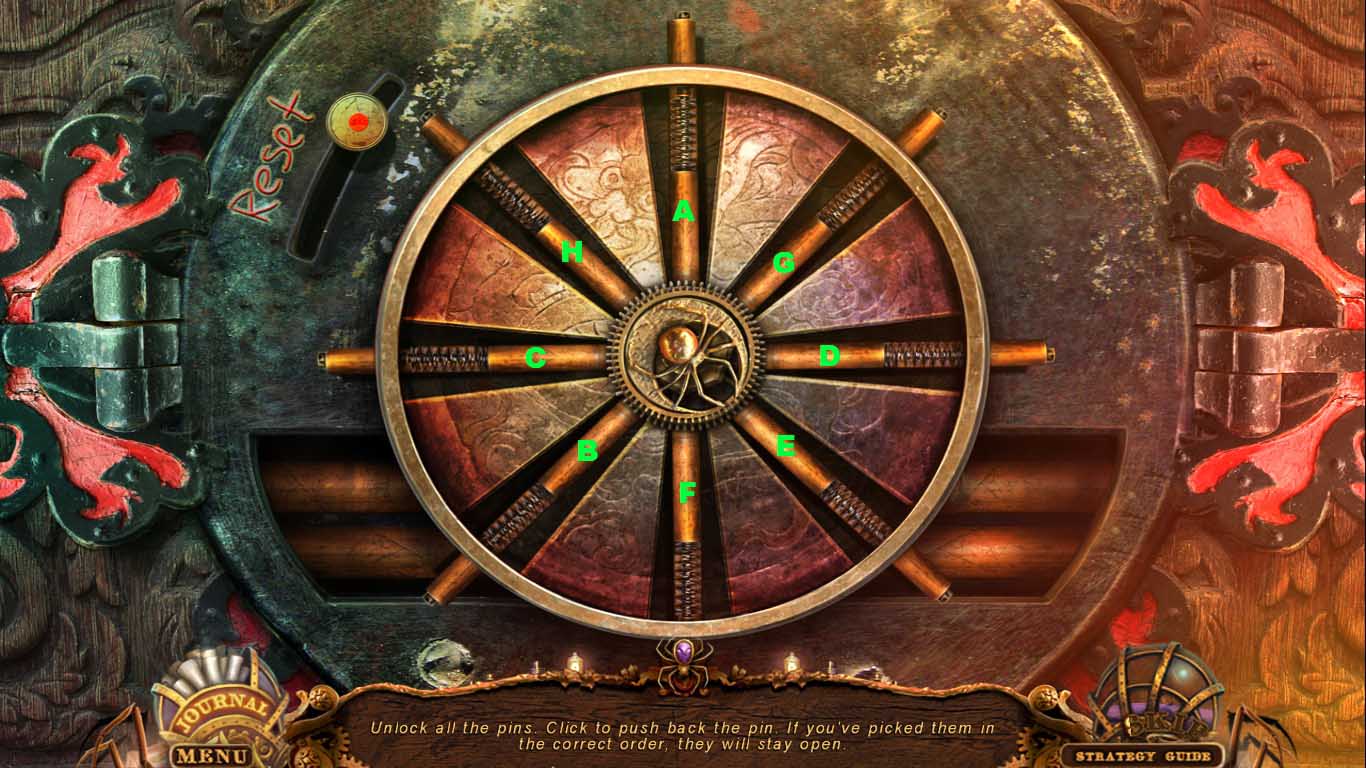
- Click the pins to open the lock.
- Follow the pattern (A-H).
- Go through the door and walk down.
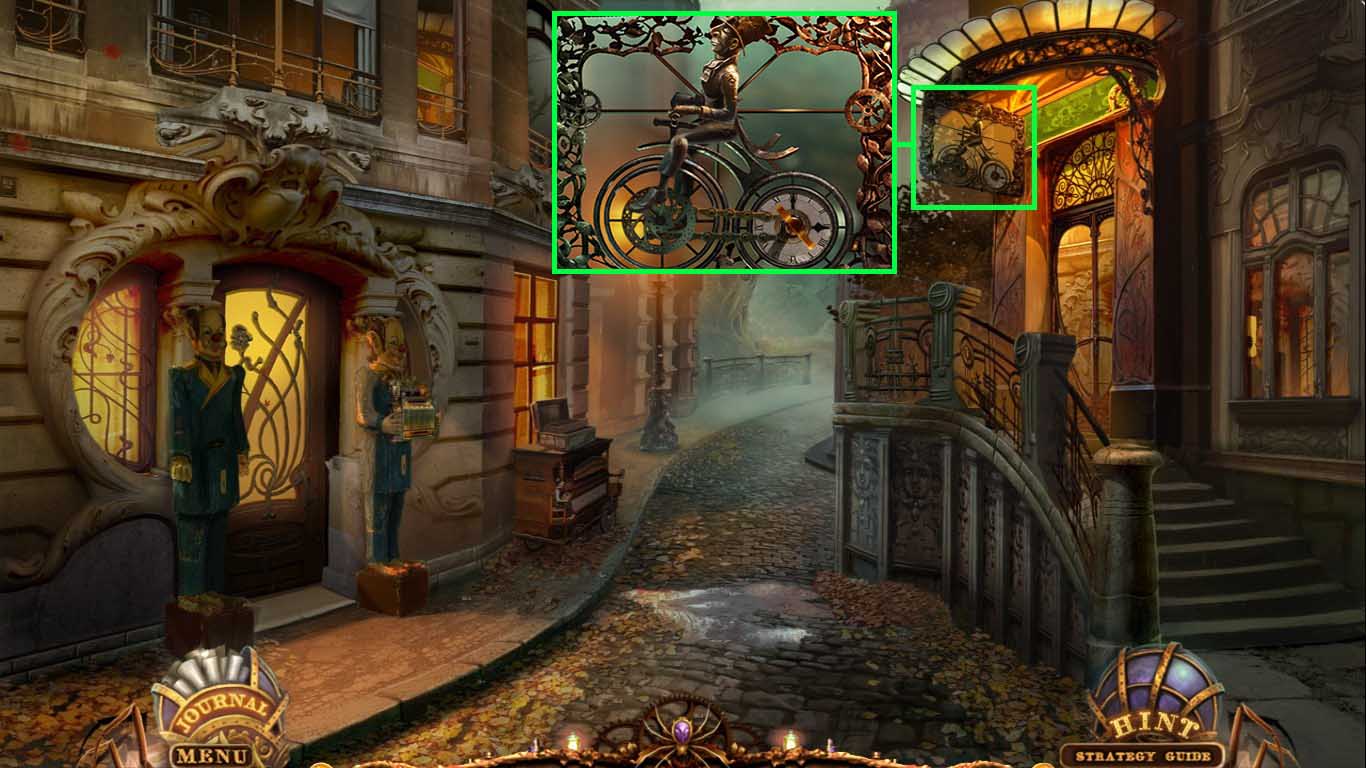
- Zoom into the metal sign.
- Place the chain on the front wheel.
- Use the wind up key on the back wheel.
- Go into the watchmaker’s shop.
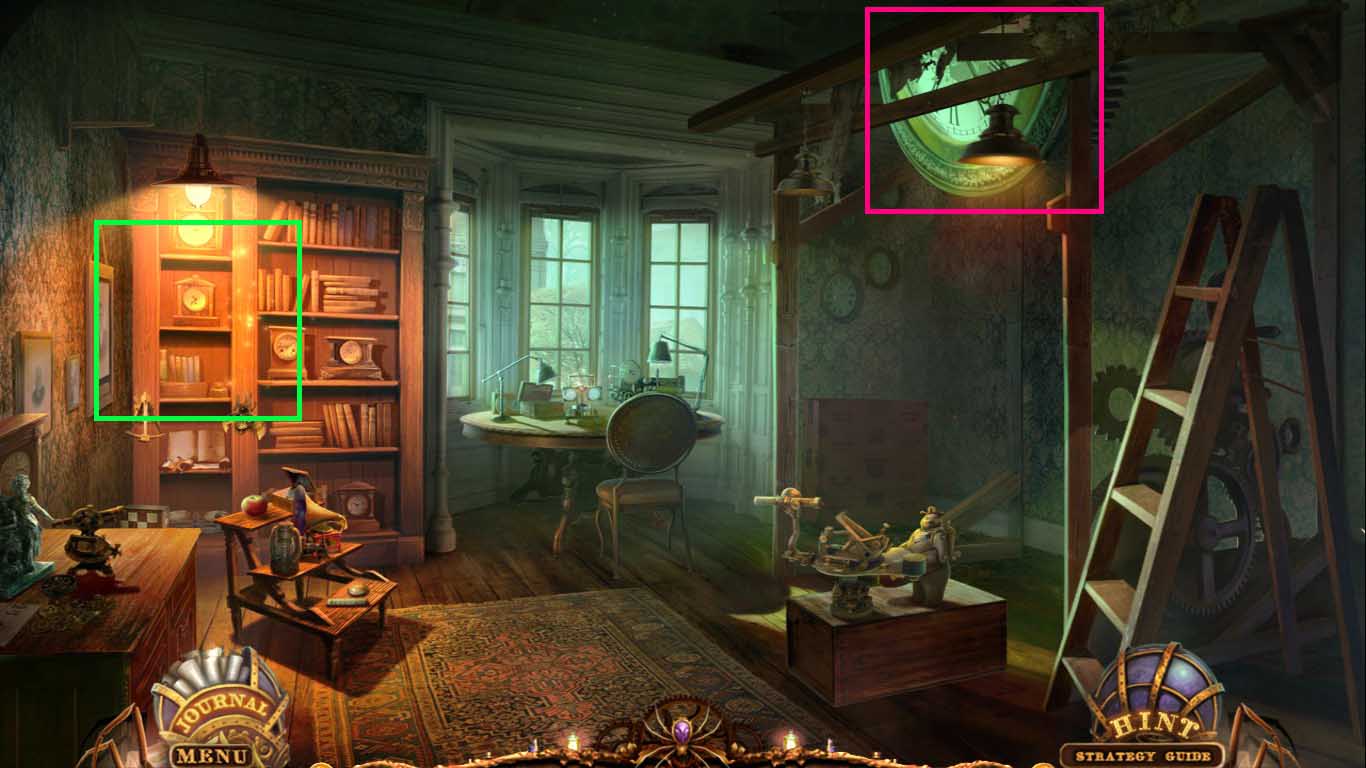
- Use the spider helper to bring the clock down.
- Click the shelves to access the hidden objects area.
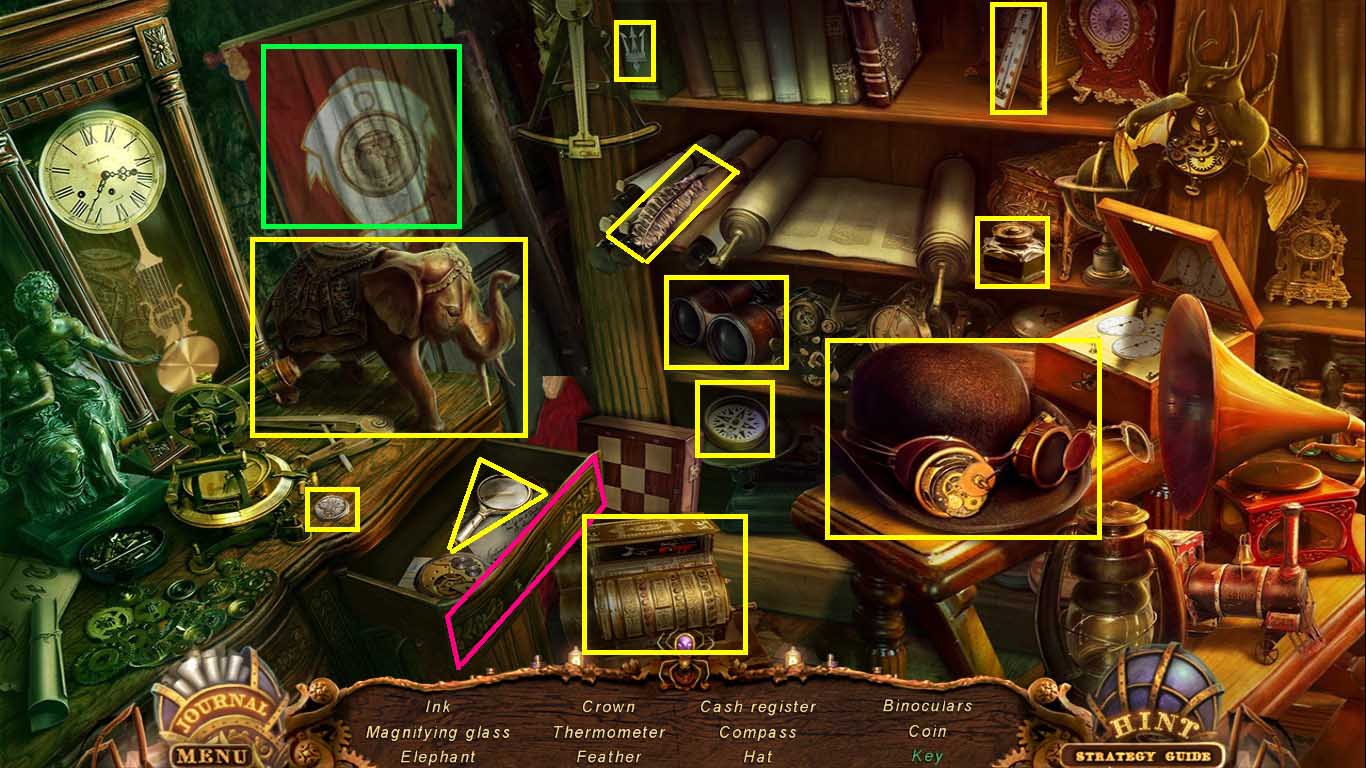
- Find the listed items.
- Find the key by pulling down the flag.
- Find the cash register by closing the door.
- Click the drawer to find the magnifying glass.
- Collect the ink.
- Walk down.

- Zoom into the device; pour in the ink.
- Insert the ticket into the slot.
- Go into the toy shop.
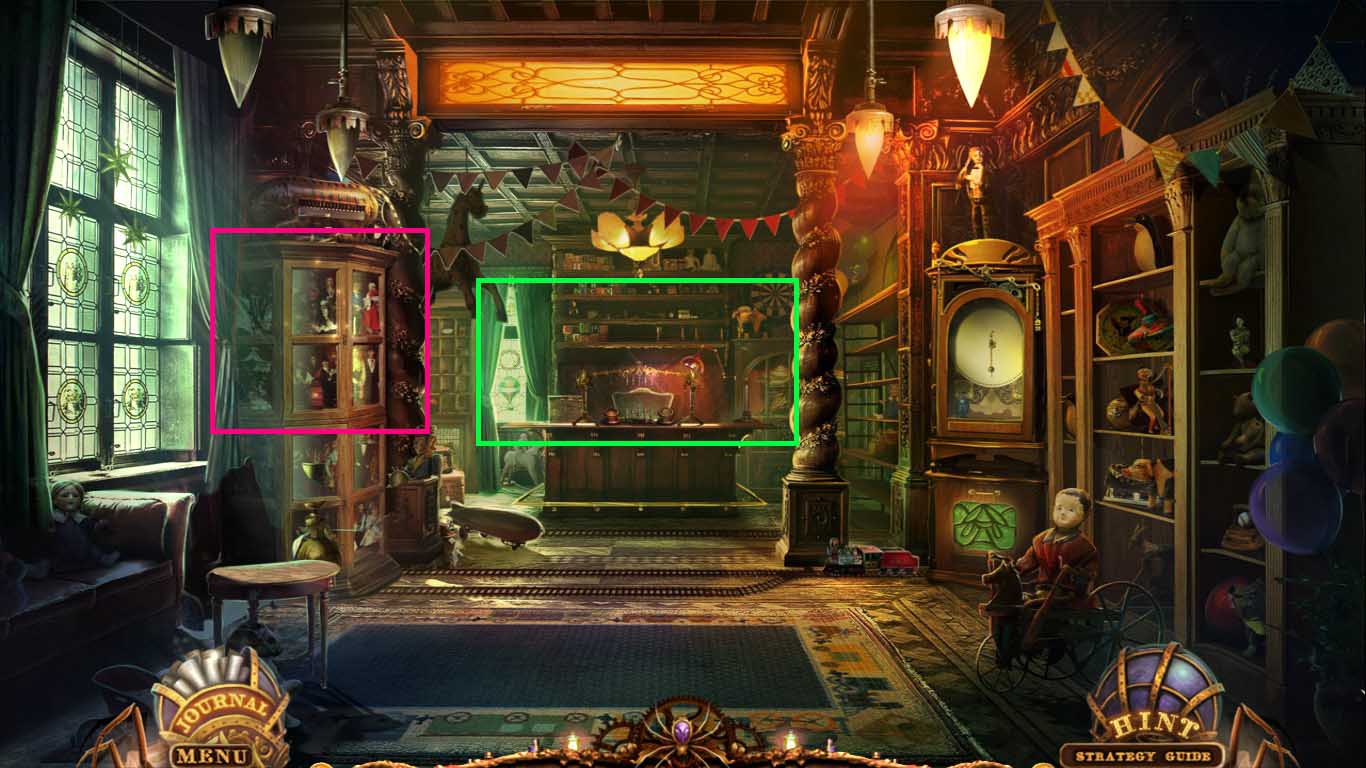
- Notice the mini-game on the back counter.
- Click the cabinet to access a hidden objects area.
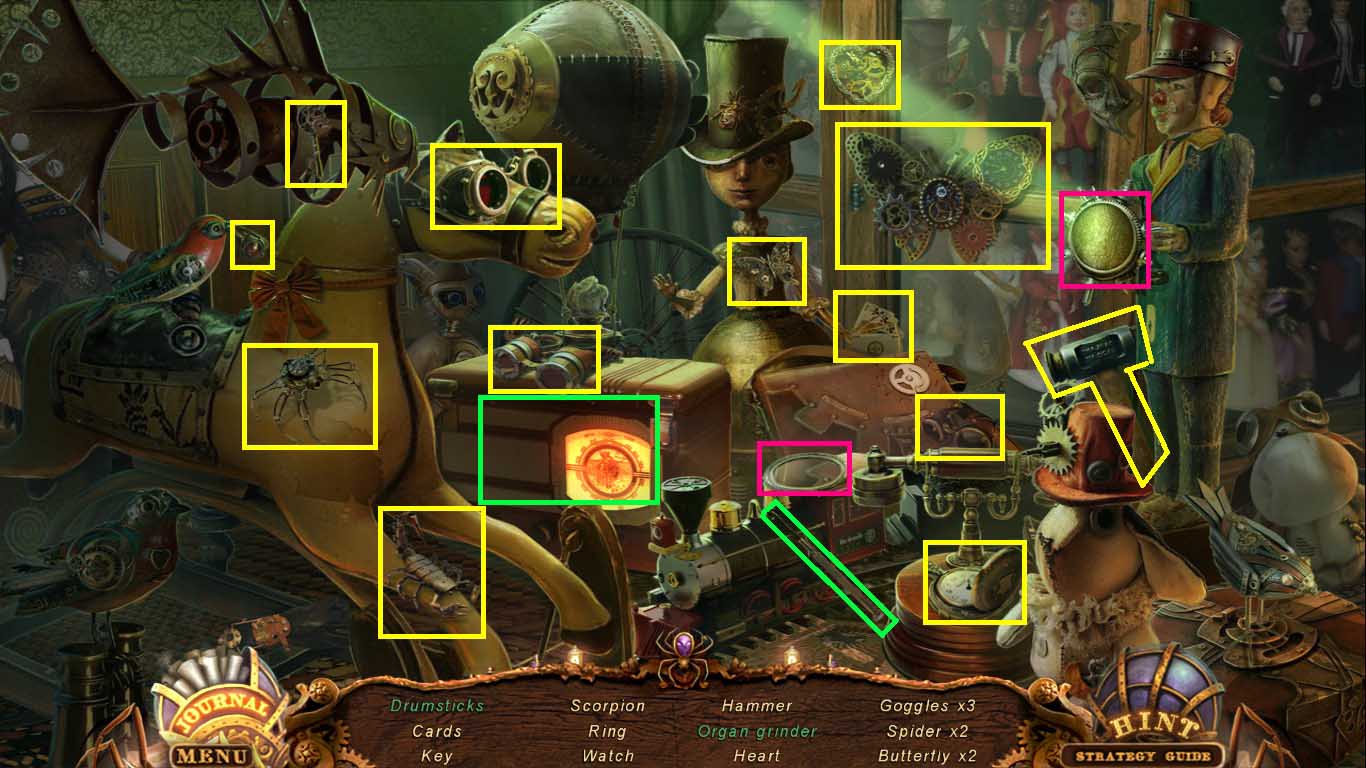
- Find all the listed items.
- Open the case with the screwdriver to find the organ grinder.
- Raise the drumsticks by placing the lens on the device.
- Collect the drumsticks.
- Go to the watchmaker’s shop.
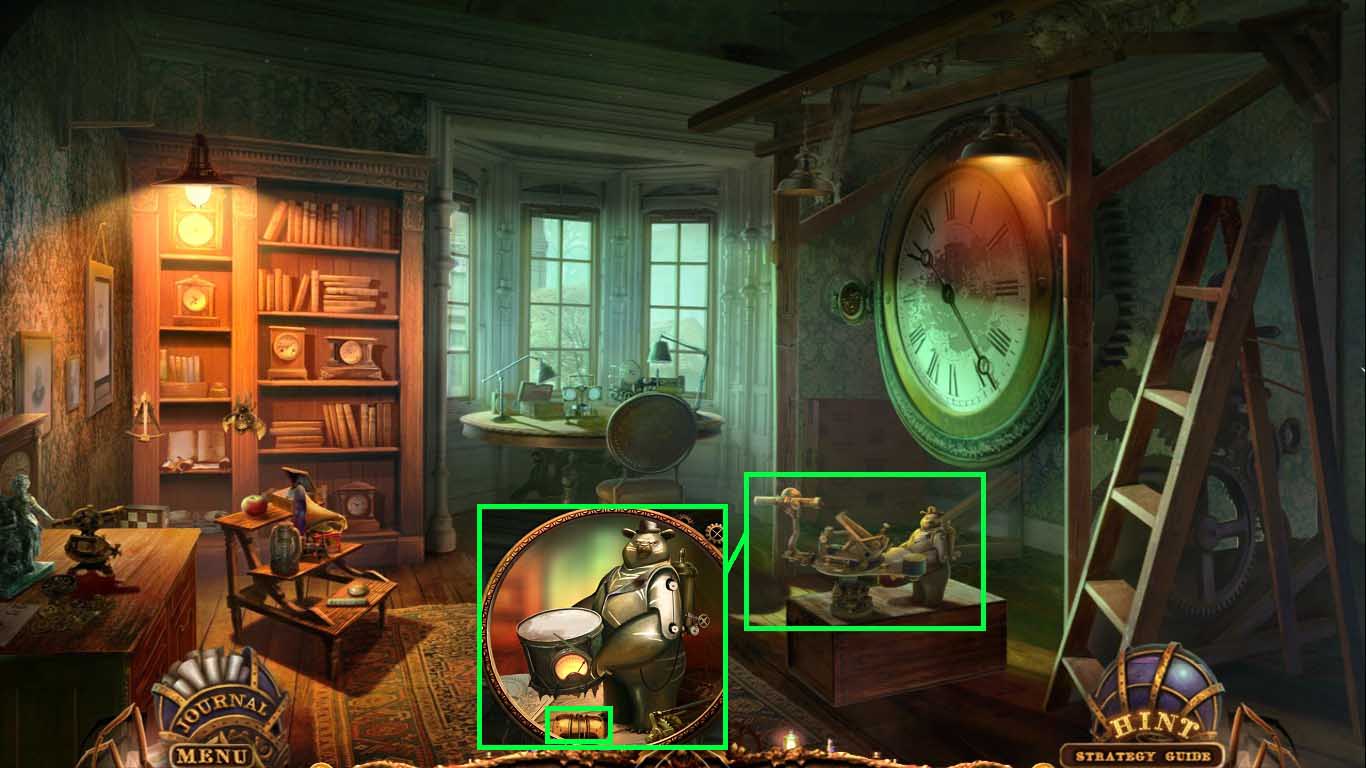
- Zoom into the mechanical bear.
- Give him the drumstick.
- Collect the weight.
- Go to the toy shop.

- Zoom into the clock.
- Hang the weight onto the hook.
- Collect the driver figurine.
- Zoom into the train.
- Put the railway lever onto the control.
- Put the driver figurine into the train.
- When the train stops look at it again and collect the screwdrivers.
- Go to the watchmaker’s shop.
- Zoom into the table.
- Put the screwdrivers onto the surface.
- Insert the 3 posts into the holes.
- Insert the 3 screws into the smaller holes.
- Use one of the 3 screwdrivers onto the screw.
- Use the other 2 screwdrivers on the other 2 screws.
- Collect the clock opener.
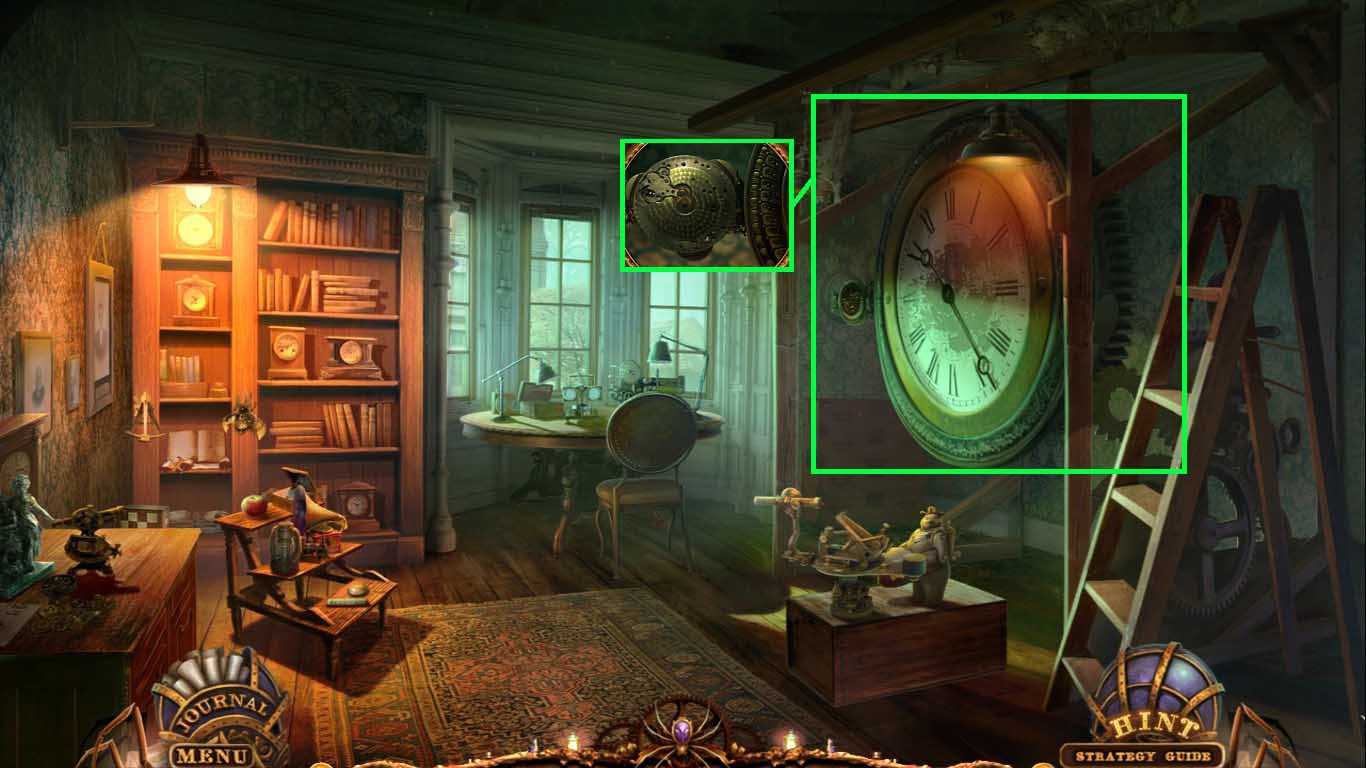
- Zoom into the clock.
- Insert the clock opener in the opening.
- Click the clock.
- Look inside to access a mini-game.
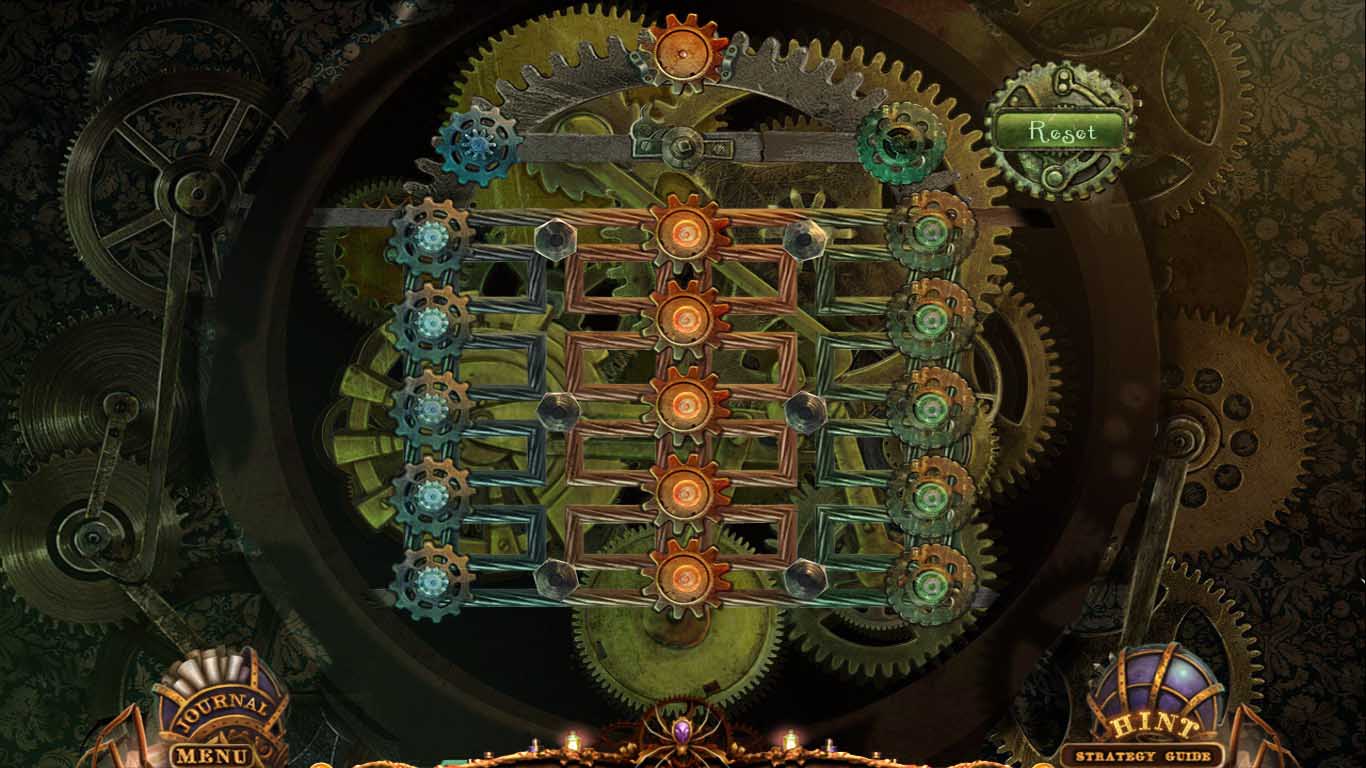
- Move the gears so that they align with the same gears on the top.
- Solve as shown above.
- Collect the clockwork.
- Go to the toy shop.
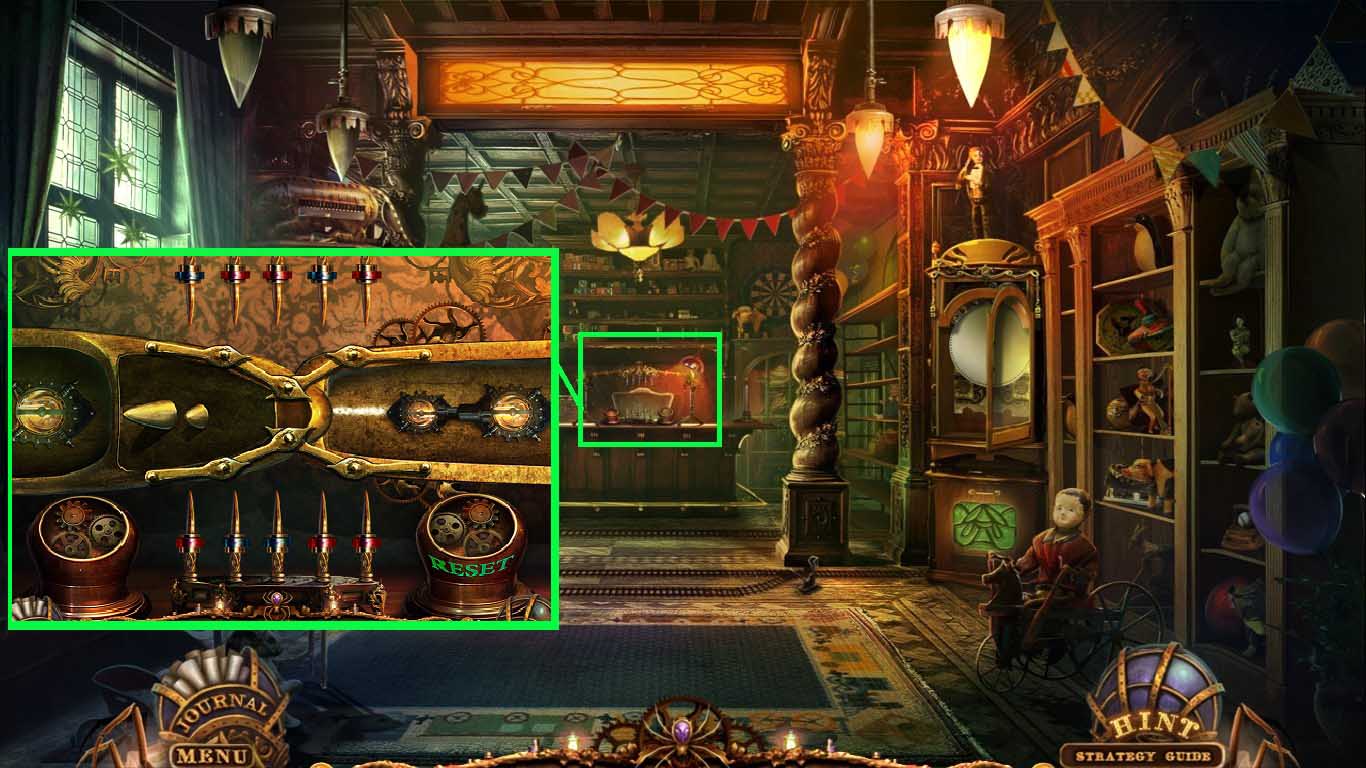
- Zoom into the back table to access a mini-game.
- Insert the mechanical leg part in the top part of the device.
- Insert the clockwork near the left gears.
- Move the red and blue magnets to connect the 2 center parts.
- Collect the leg.
- Go to the cave.
- Zoom into the spider; give him the leg.
- Collect the spider part.
- Go to Morgana’s room.
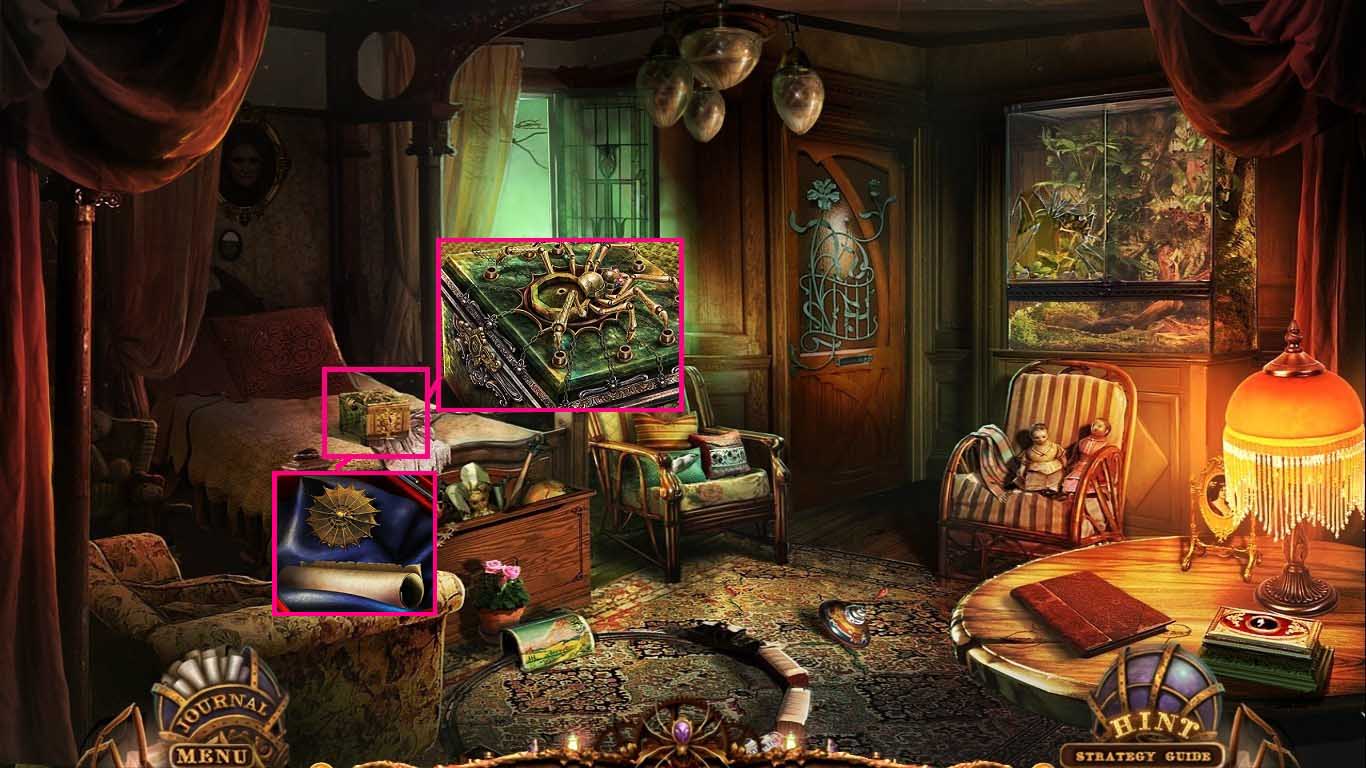
- Zoom into the box on the bed.
- Insert the spider part into the body.
- Read the scroll.
- Collect the incubator key.
- Go to the cave.
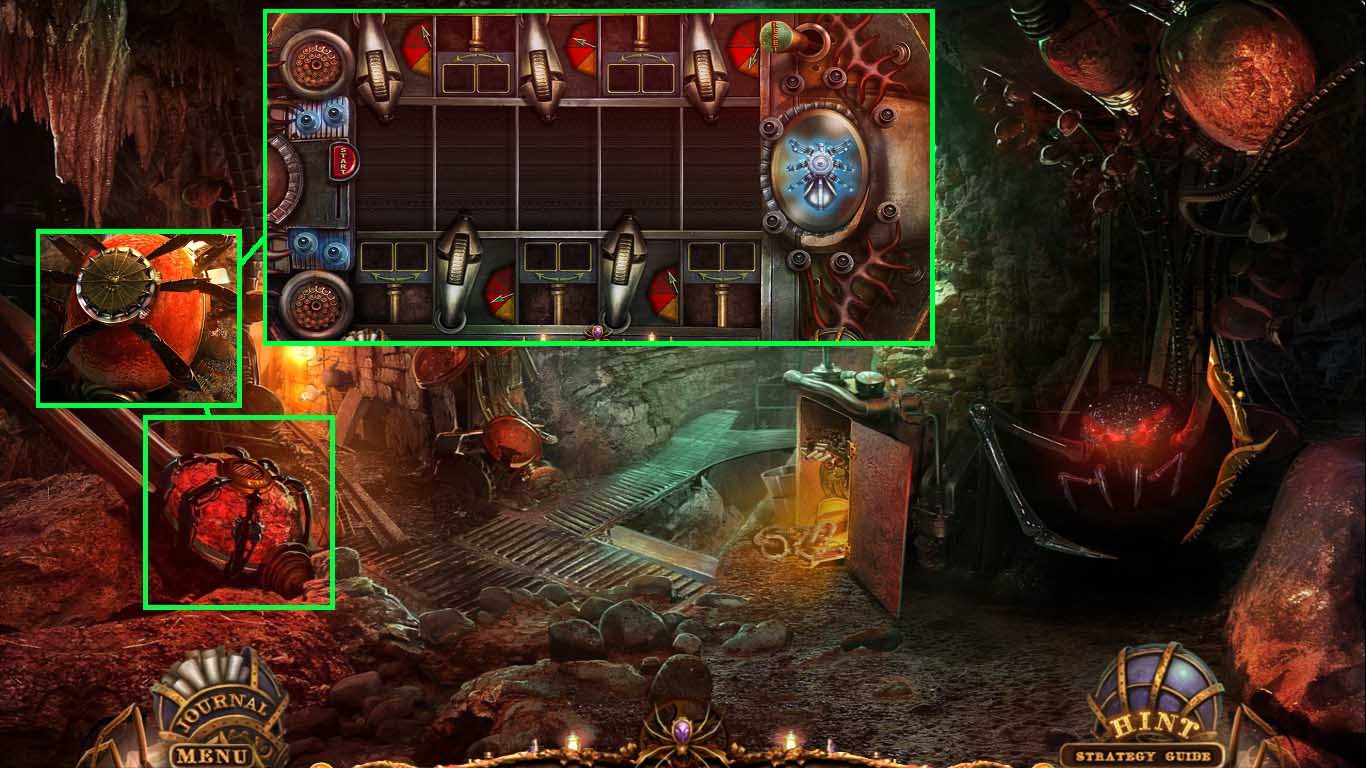
- Zoom into the mechanism; insert the incubator key into the middle.
- The settings must be modified to make the assembly line run smoothly.
- Create the spider; the solution will be random.
Congratulations! You have successfully completed Web of Deceit: Black Widow!