
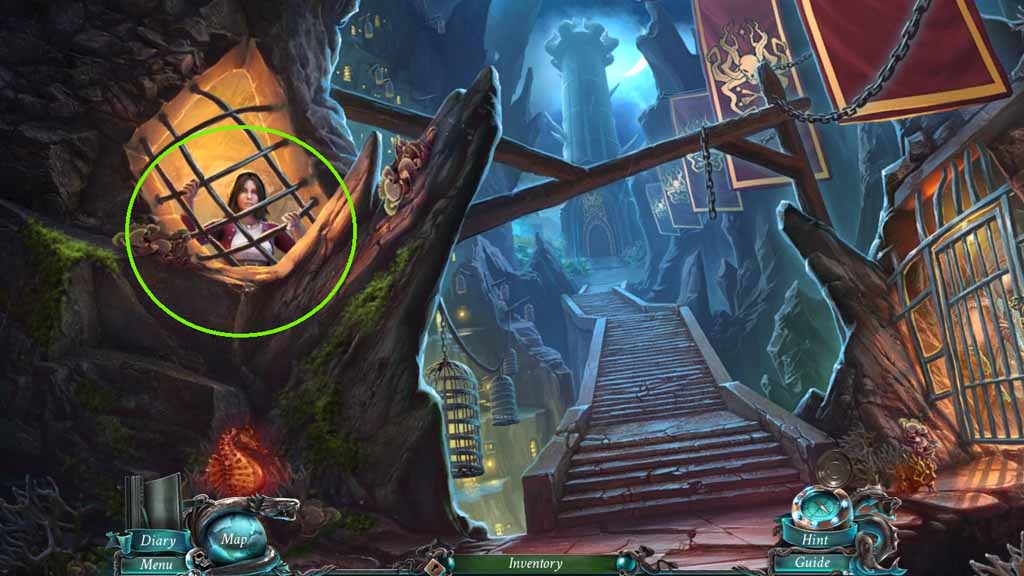
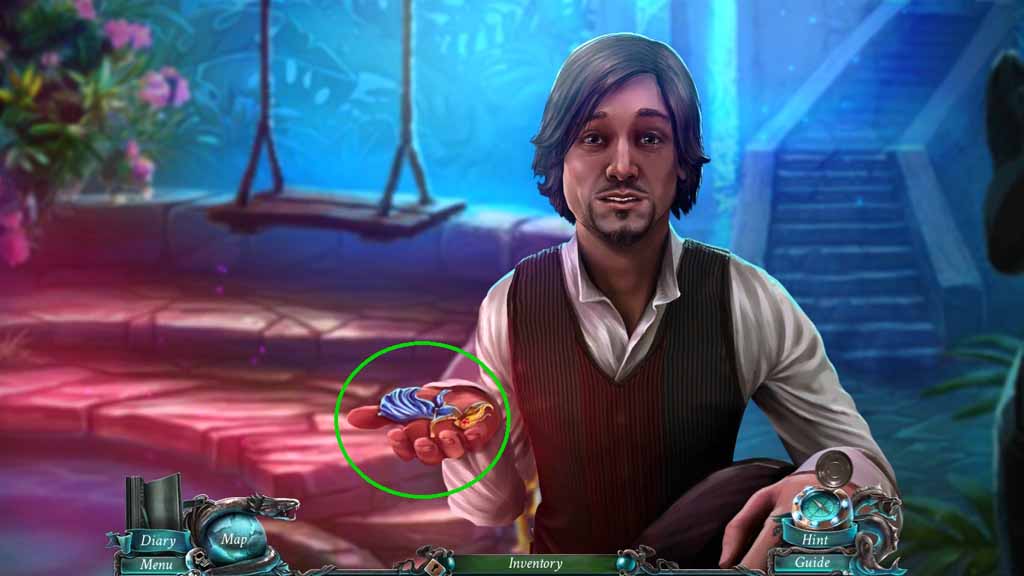
- Speak to Cory.
- Move ahead.
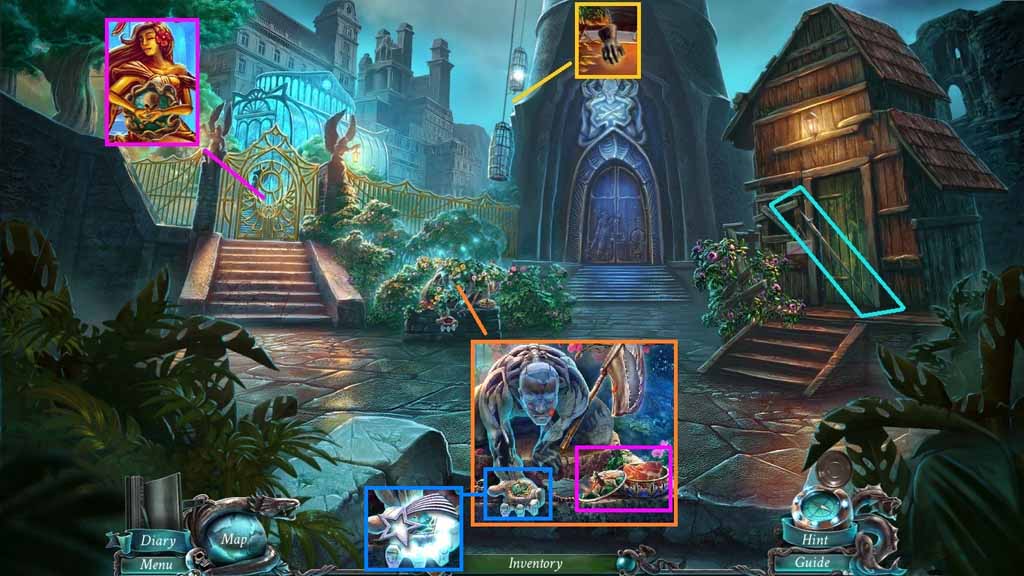
- Collect the glove.
- Click the boathook twice.
- Collect the doubloon.
- Click the lid; collect the steak.
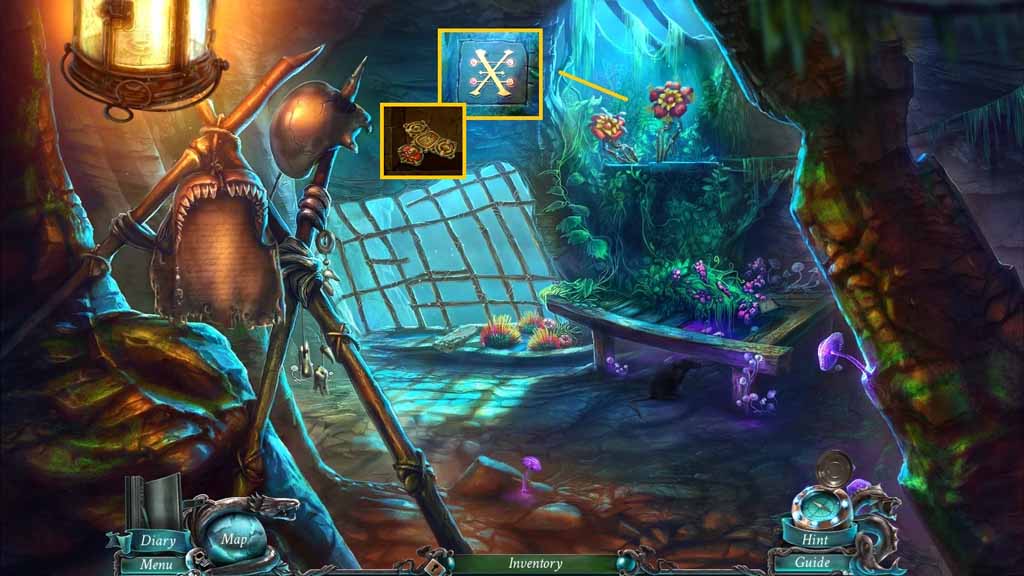
- Click the flowers.
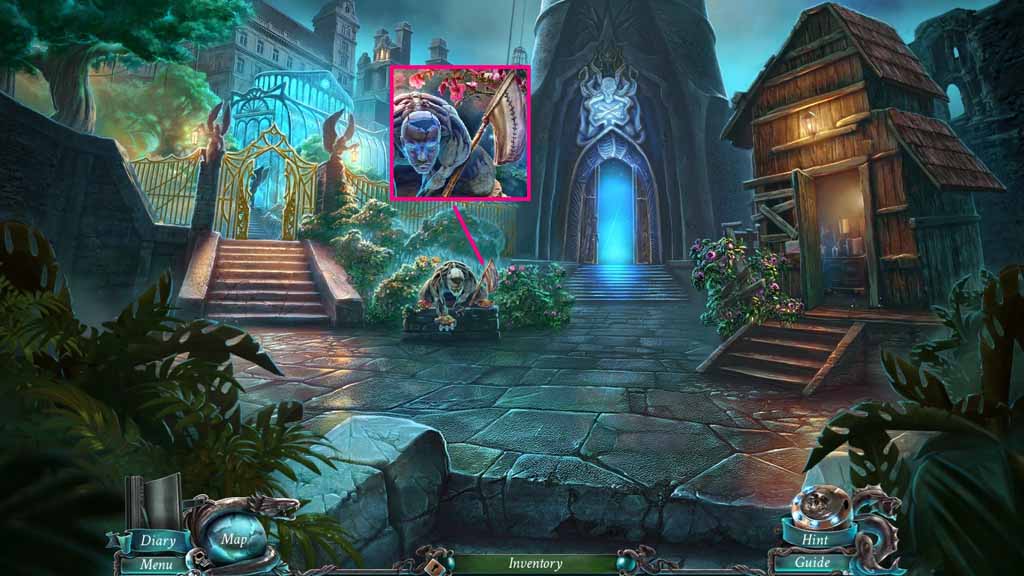
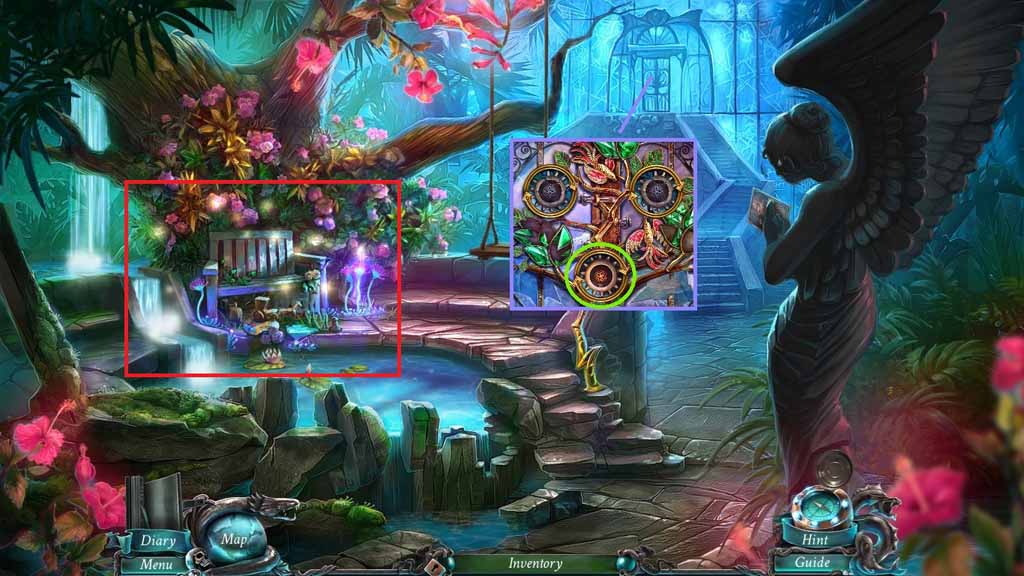
- Insert the doubloon into the guardian’s hand; collect the falling star.
- Move back once.
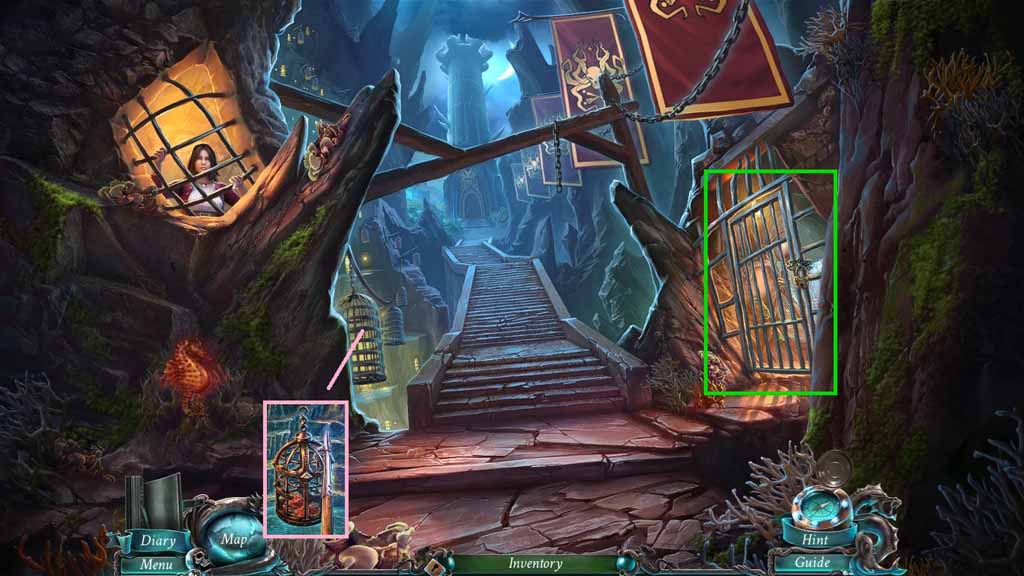
- Select the boathook to use on the cage; click it open.
- Collect the steaks.
- Select the cell key to unlock the cell.
- Move into O’Malley’s Cell.
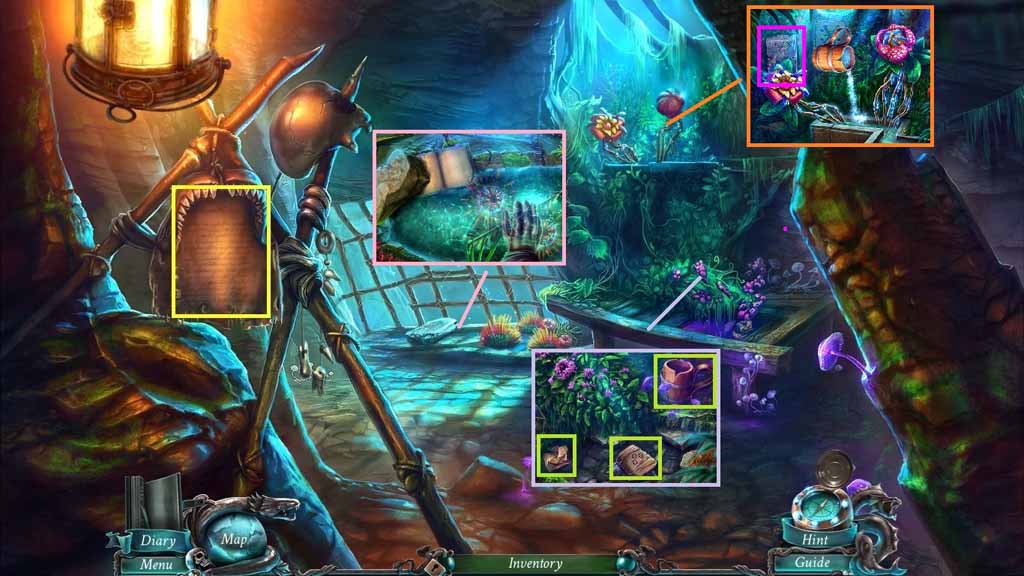
- Read the parchment.
- Click the stones aside; read the note.
- Collect the bag of salt and the wooden cup.
- Select the glove to use in the water; collect the weather vane needle.
- Click the rock; read the book.
- Select the wooden cup to dip into the water; collect the cup of water.
- Click the roots aside and pour the cup of water into the trough.
- Collect 1 /3 codex parts.
- Move to the Courtyard.
- Chapter-3-05-Steaks
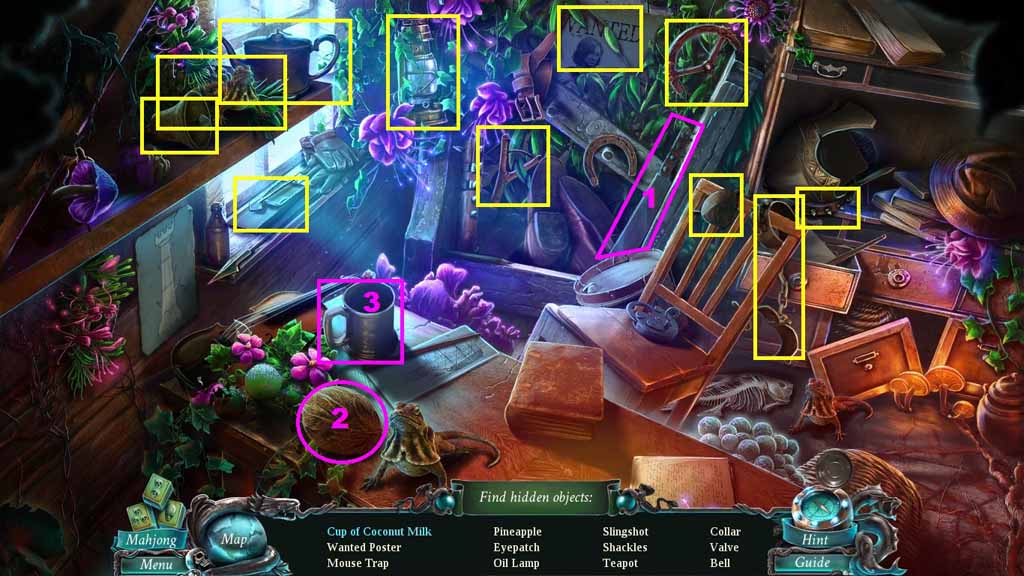
- Give the lizard the 3 steaks and enter the doorway to access a hidden objects area.
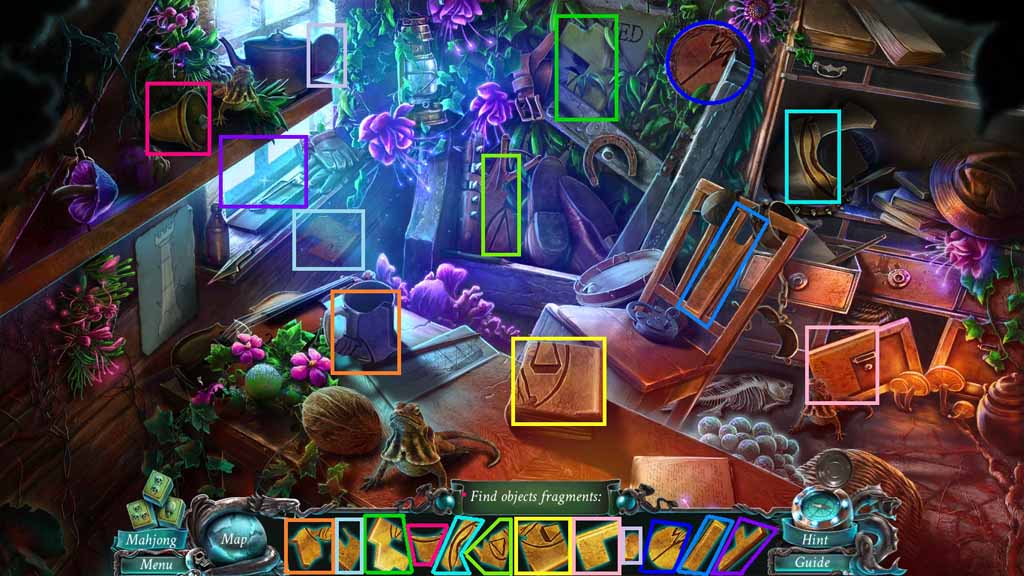
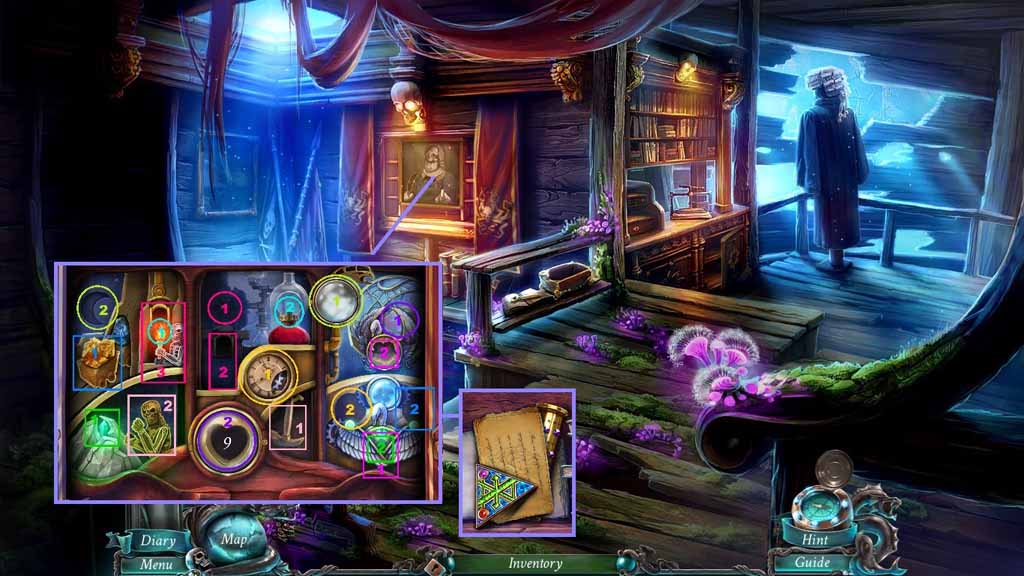
- Find the pictured items.
- Collect the empty pass.
- Move to the Bridge.

- Place the weathervane needle onto the weather vane.
- Collect the printing roll.
- Move into the Lawyer’s Office.
- Click the roll and the passes aside.
- Read the note.
- Click the broken printing roll; insert the printing roll and the empty pass to trigger a puzzle.
- Solve the puzzle by setting the correct wind strength, cloudiness and moon phase.
- Collect the tower pass.
- Move to the Courtyard.
- Read the note.
- Insert the tower pass into the door and move ahead.
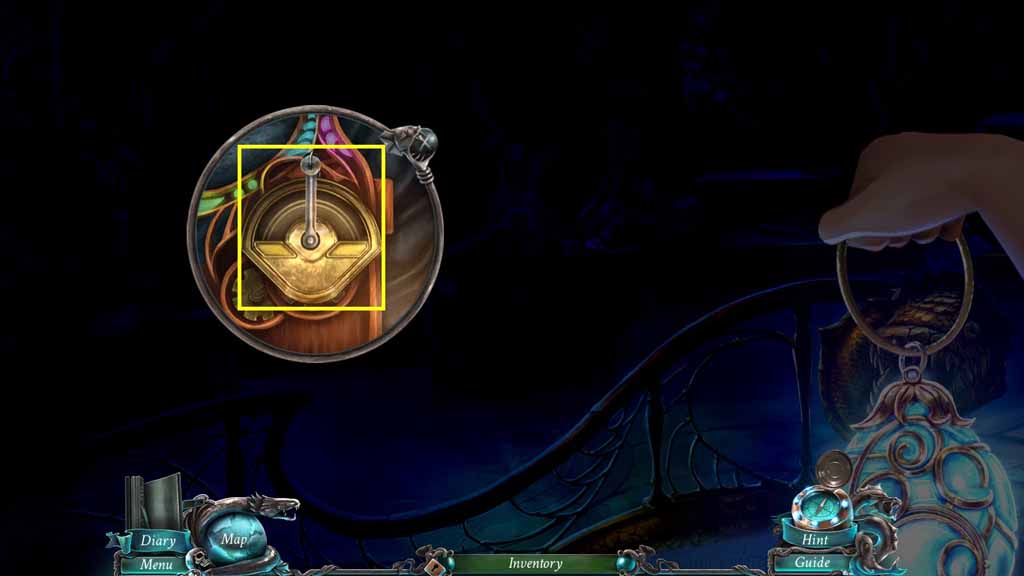
- Zoom into the podium.
- Click the compartments open and attach the springs.
- Click the lever.
- Move to Davy Jones’ Office.
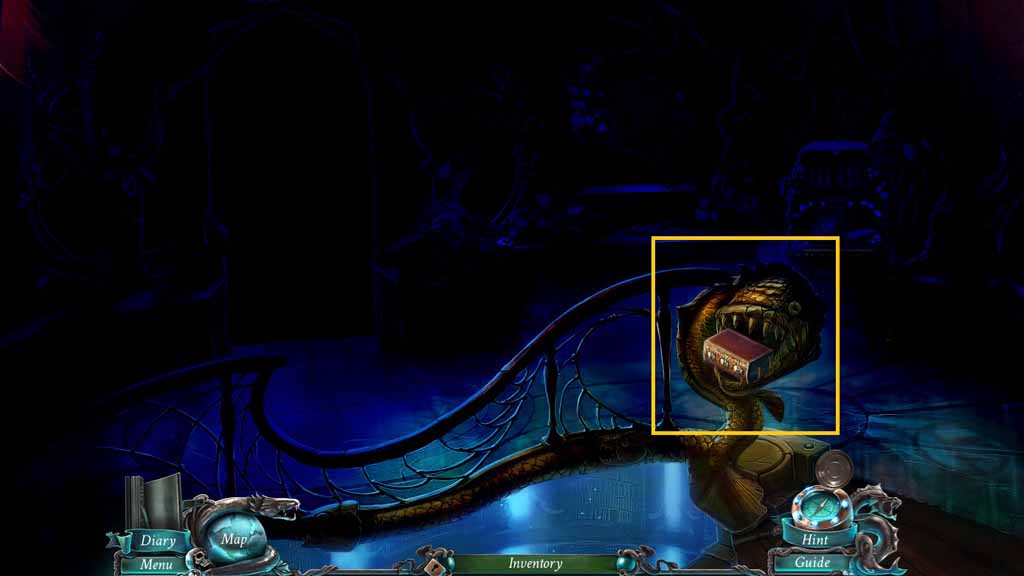
- Collect the tome.
- Move back once.
- Collect the chime bells.
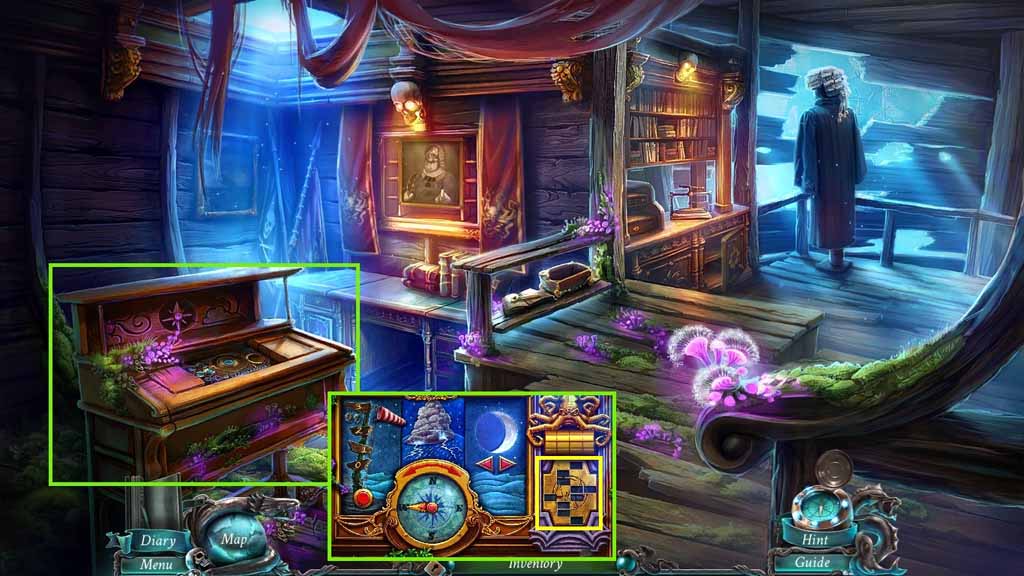
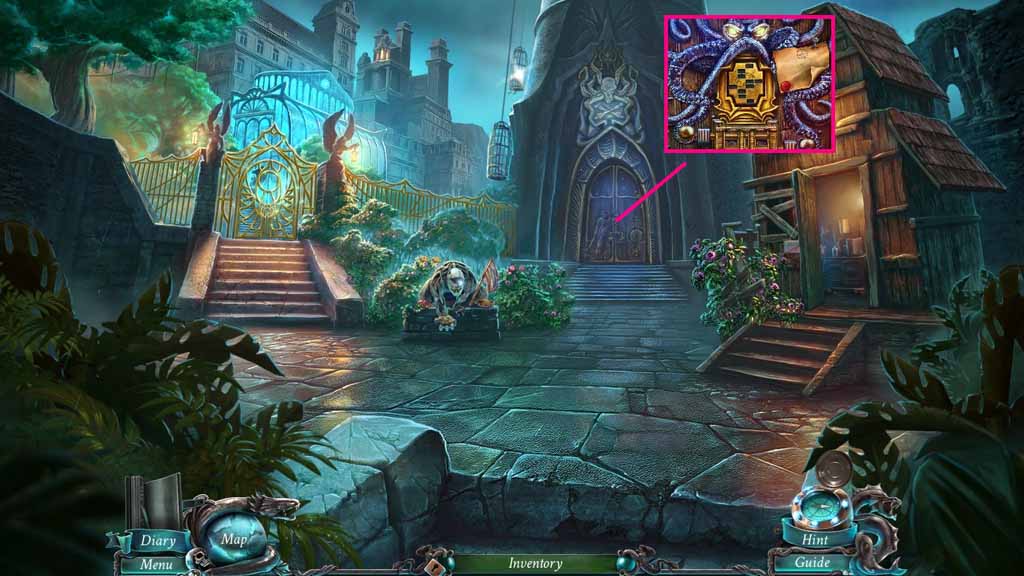
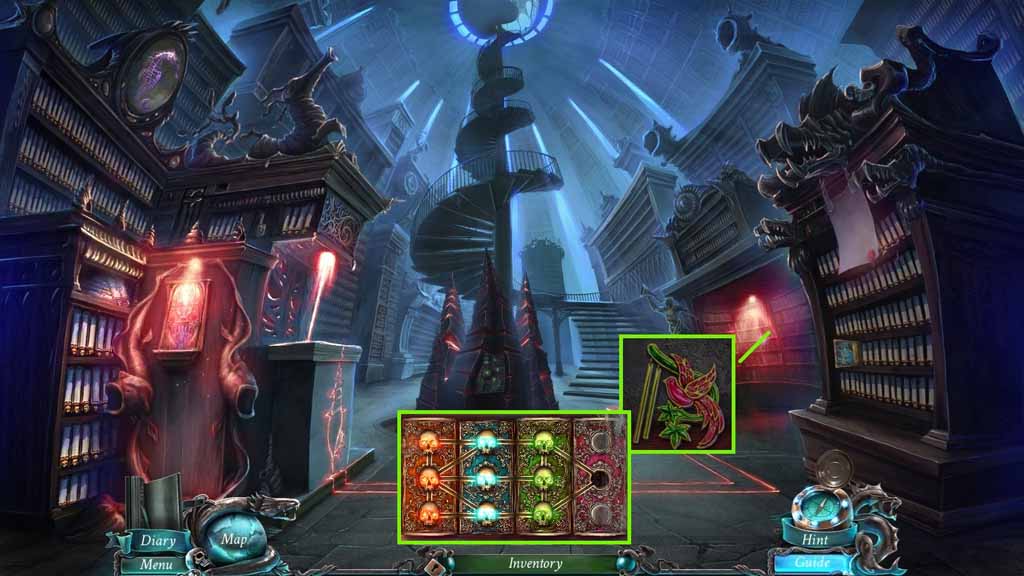
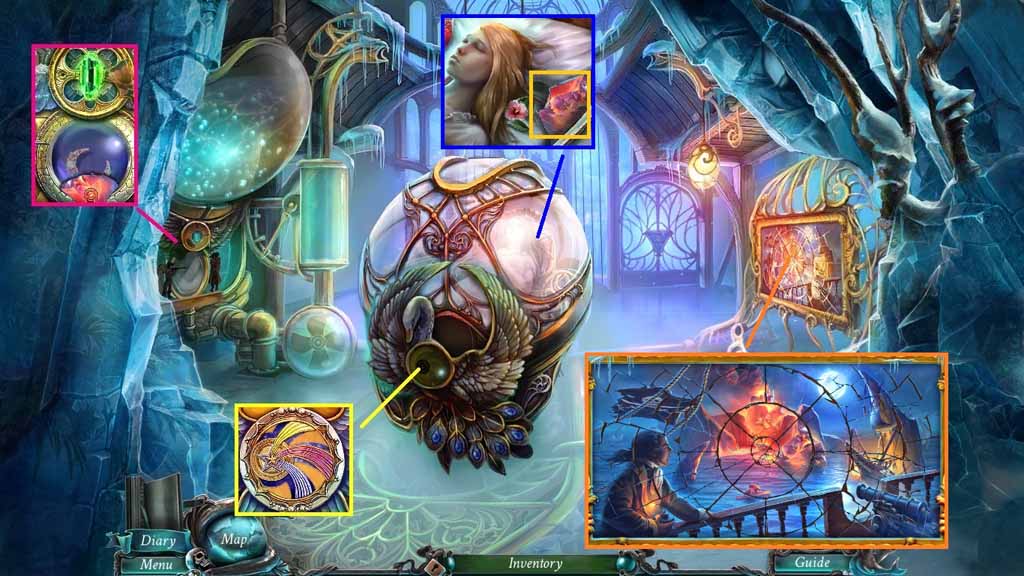
- Place the tome onto the shelf to trigger a puzzle.
- Solve the puzzle by aligning the books to create a completed maze and then align skulls to their color matched book covers.
- Collect 2 /3 codex parts.
- Move back once.
- Place the chime bells onto the gate.
- Click them in the correct order.
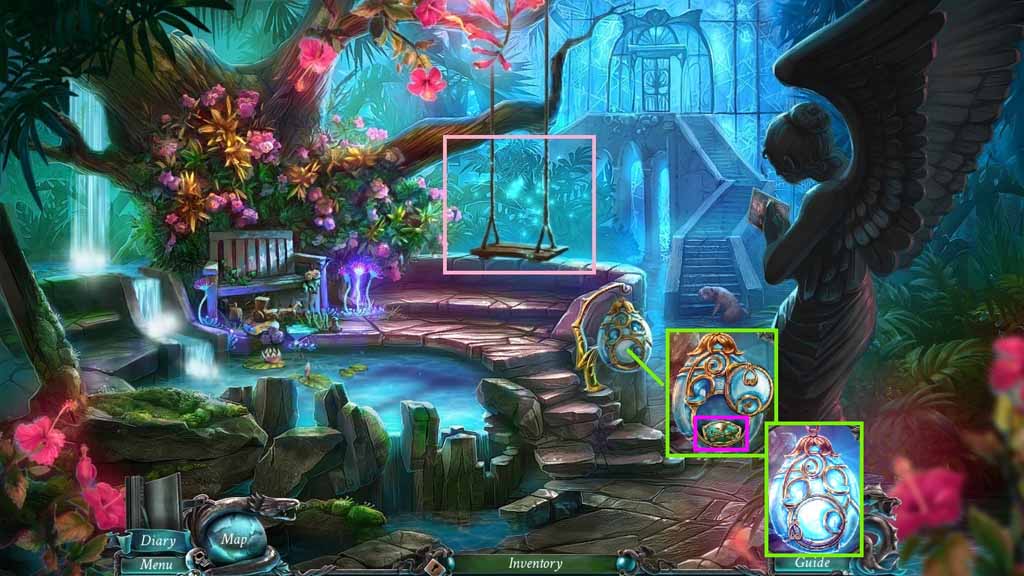
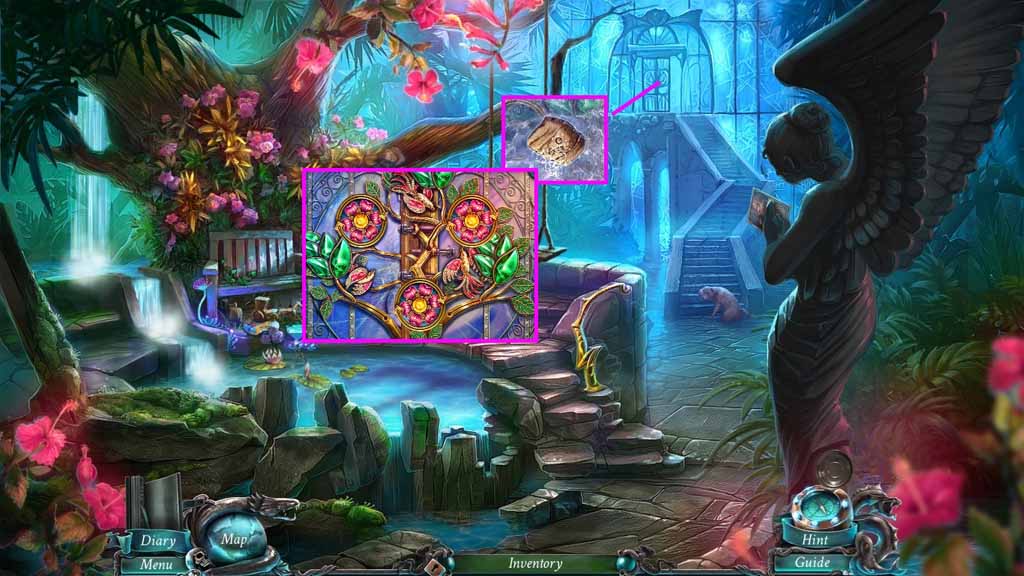
- Move into the Garden and click the bench to trigger a hidden objects area.
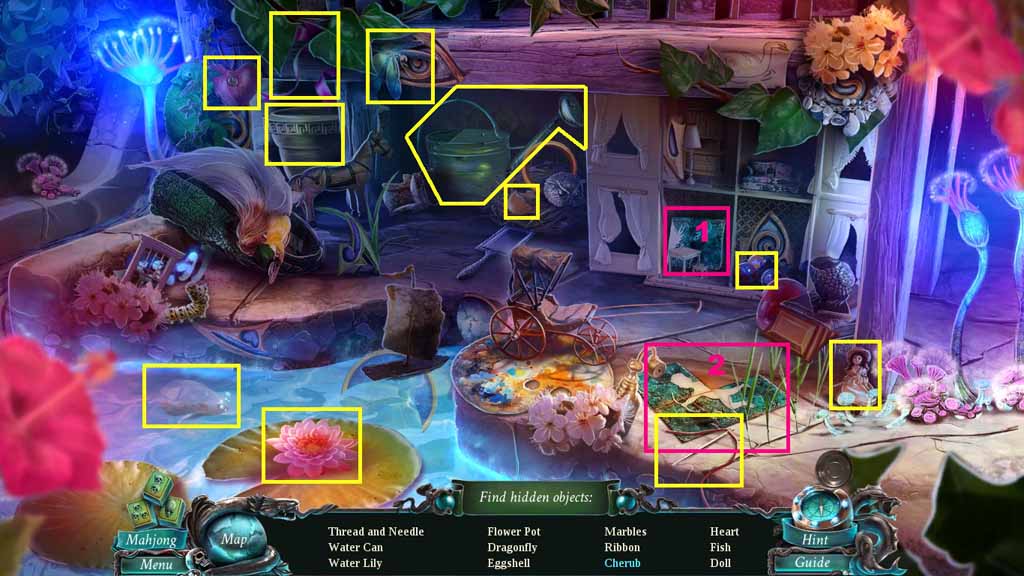
- Find the listed items.
- Click the doll house doors to collect certain items.
- Select the picture piece and place it along with the others; collect the cherub.
- Collect the thread and the needle.
- Move back once.
- Select the thread and the needle to fix the butterfly net.
- Collect the butterfly net.
- Move to the Garden.
- Select the butterfly net to collect the fireflies.
- Click the lamp; collect the doubloon and place the fireflies inside.
- Collect the firefly lamp.
- Move to Davy Jones’ Office.
- Select the firefly lamp to illuminate the darkness.
- Click the lever.
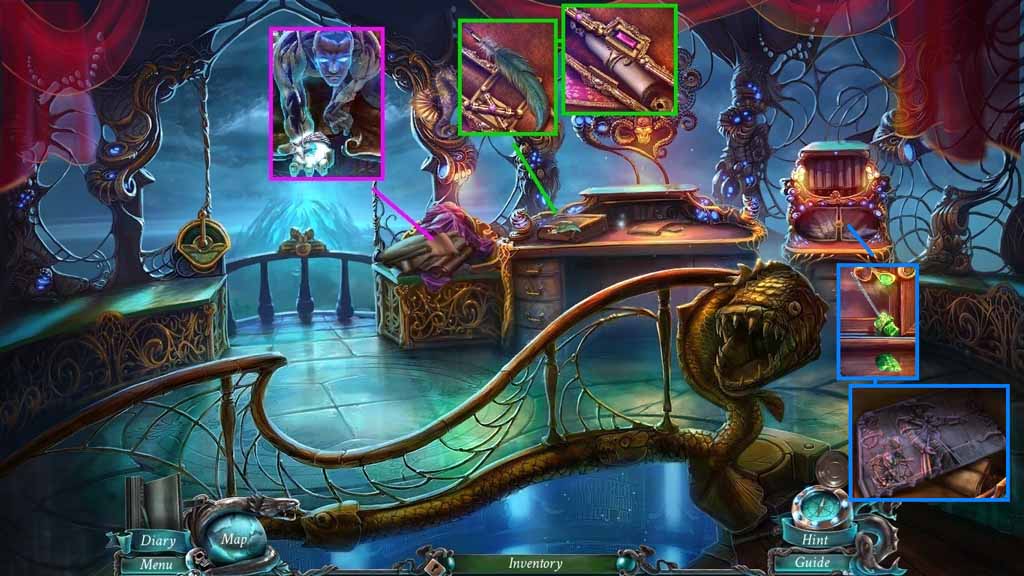
- Click the papers and the cover.
- Place the doubloon into the guardian’s hand; collect the falling star.
- Collect the quill pen.
- Click the folder; collect Cory’s pact.
- Select the needle to use on the panel 2 times; click the panel and collect 3 / 3 codex parts.
- Move back once.
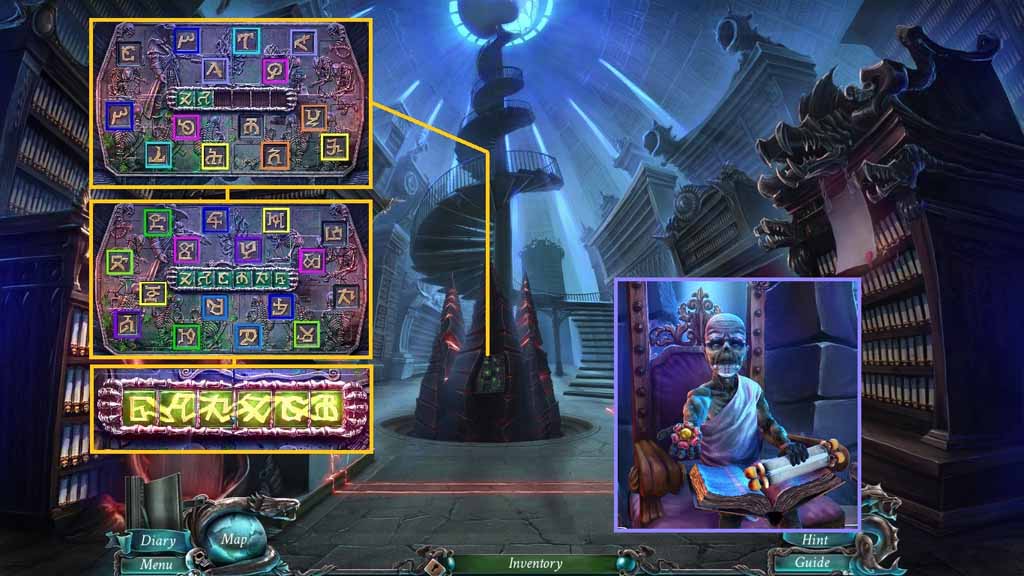
- Place the codex parts into the codex to trigger a puzzle.
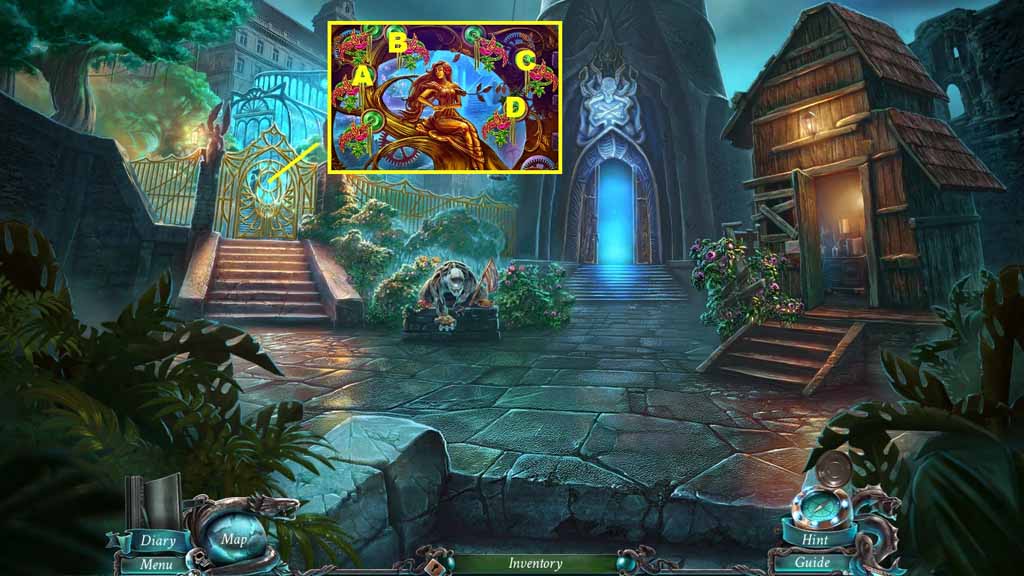
- Solve the puzzle by matching the symbols and then align center piece symbols correctly.
- Give the man Cory’s pact; collect the flower top.
- Move to the Garden.
- Select the bag of salt to de-ice the door.
- Place the flower top into the groove; click the 3 flowers.
- Move to the Icehouse.
- Collect the green crystal and 1 / 2 relief tiles.
- Insert the falling stars into the slots.
- Collect 2 /2 relief tiles.
- Insert the relief tiles into the slots to trigger a puzzle.
- Solve the puzzle by completing the image by switching the tiles around.
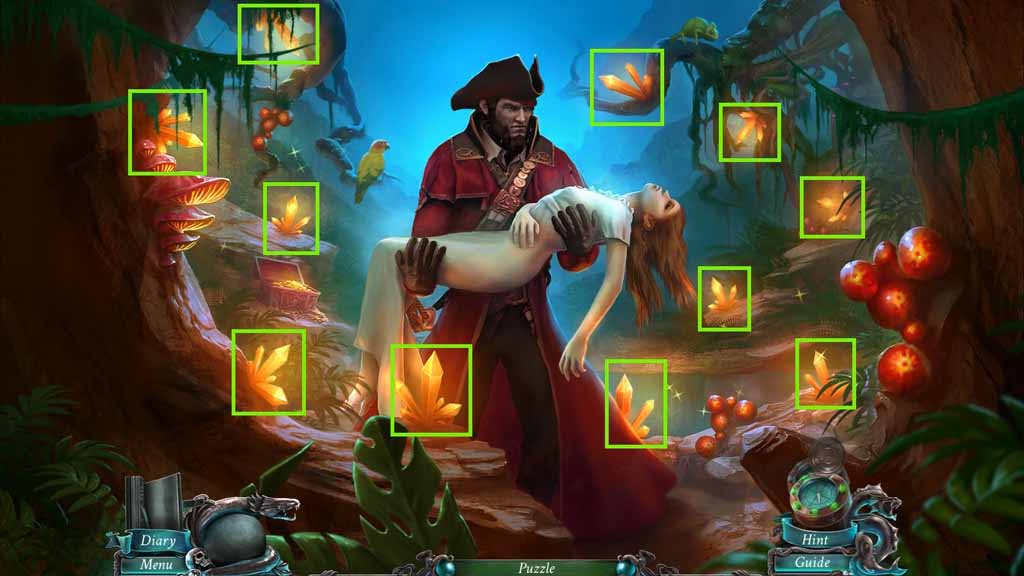
- Click the 11 crystals to illuminate the scene.
- Collect the girl figurine.
- Collect 1 /2 cogs.
- Click the bench to trigger a hidden objects area.
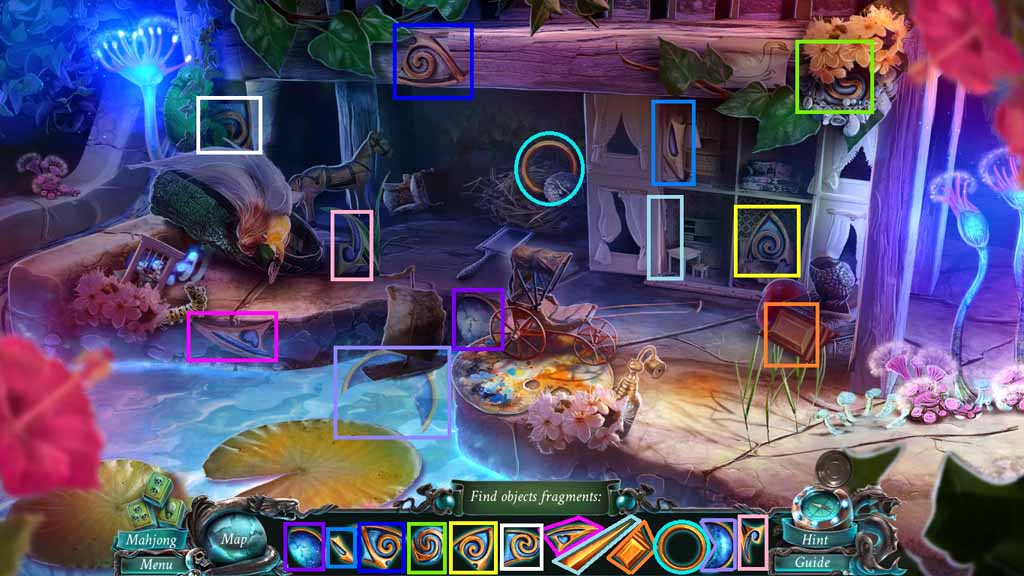
- Find the pictured items.
- Collect the hour hand.
- Move to the Icehouse.
- Place the girl figurine along with the figurines.
- Click the cover; collect the crescent.
- Move to the Courtyard and enter the doorway to access a hidden objects area.
- Find the listed items.
- Select the machete and use it on the coconut; pour the coconut milk into the cup and collect the cup of coconut milk.
- Collect the valve.

- Zoom into the cage.
- Attach the valve and click it once.
- Speak to the prisoner; collect the alchemical symbol.
- Move to Davy Jones’ Office.
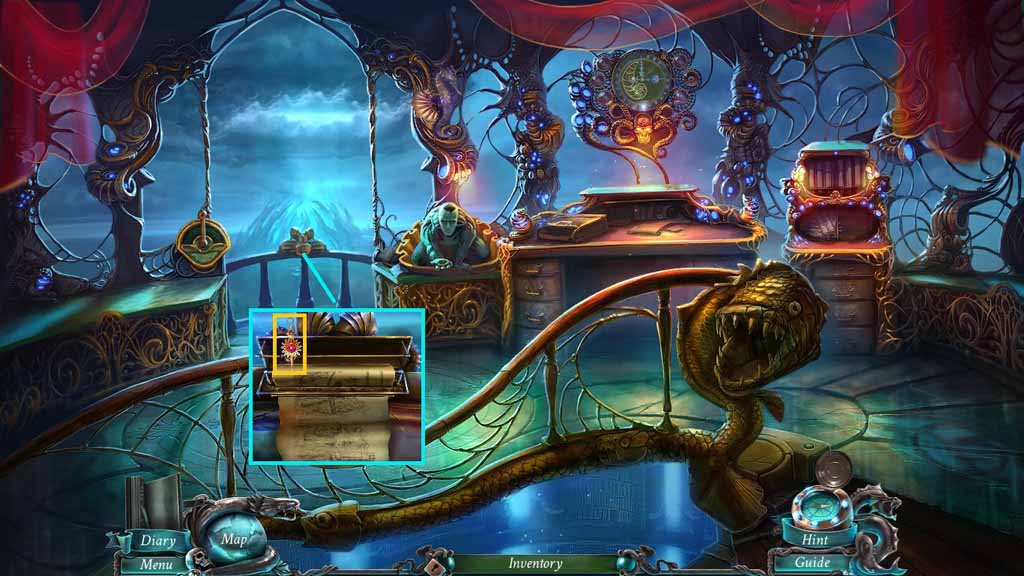
- Place the crescent into the printer; collect the map.
- Collect the minute hand.
- Move back.
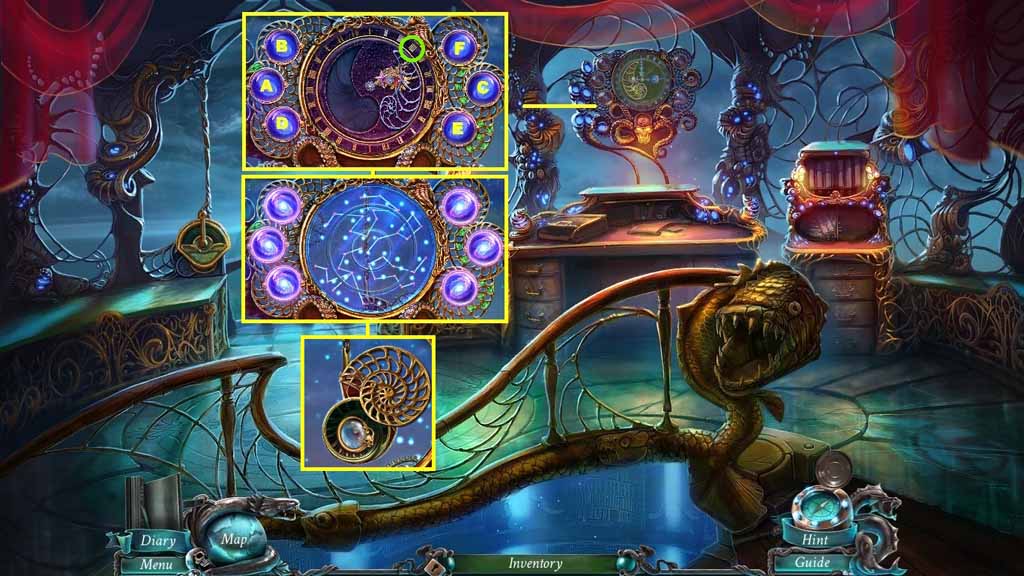
- Place the minute and hour hands into the clock to trigger a puzzle.
- Solve the puzzle by moving the hands into the correct position IIII.
- Click the orbs in the correct sequence.
- Move the rings to create the constellations correctly.
- Click the cover and collect the monocle.
- Move to O’Malley’s Cell.
- Insert the alchemical symbol into the groove.
- Click the symbol and collect the necklace.
- Move to the Lawyer’s Office.
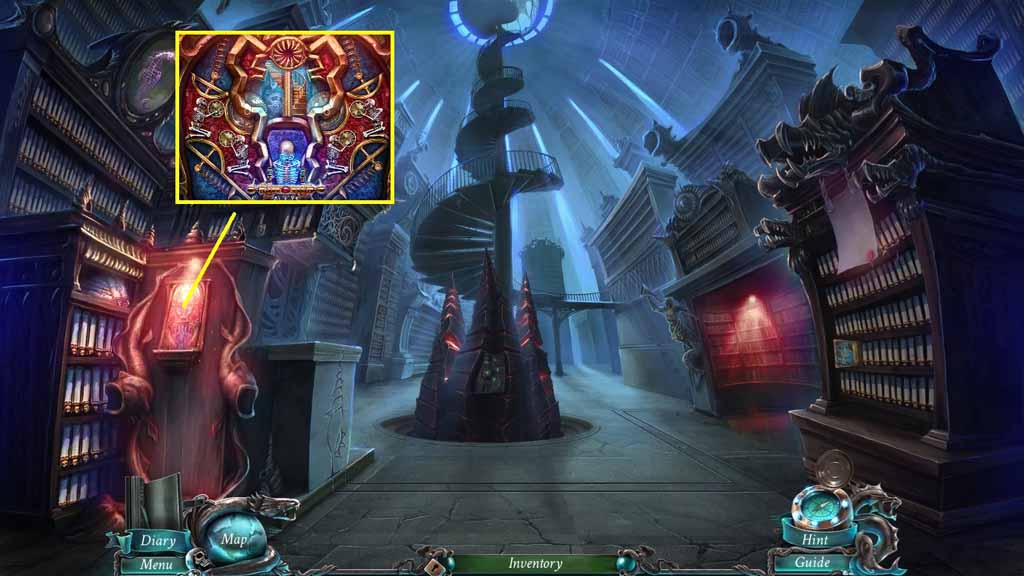
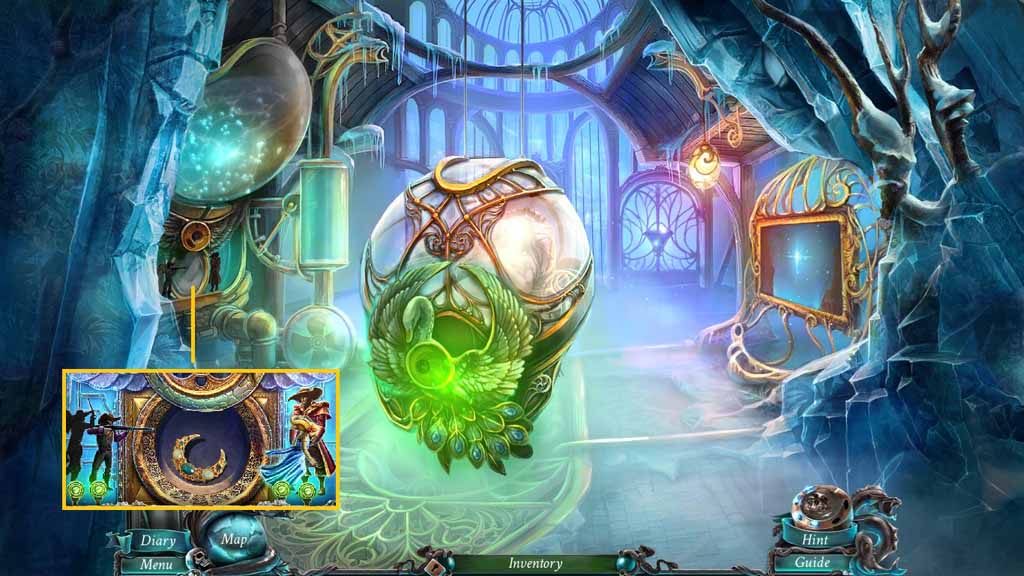
- Insert the quill pen, the monocle and the necklace into the picture to trigger a puzzle.
- Click the cover; collect the moon and insert it into the slot.
- Collect the torch; insert it into the groove.
- Click the valve and collect the water; place it into the correct space.
- Click the cart and collect the cog.
- Insert the cog into the groove.
- Click the cover and collect the cog.
- Insert the cog into the groove.
- Collect the hammer and give it to the skeleton.
- Collect the crystal and place it into the groove.
- Collect the flower and place it into the groove.
- Collect the heart.
- Insert the heart into the groove.
- Collect the triangle read the note and collect the diary roll.
- Move to the Icehouse.
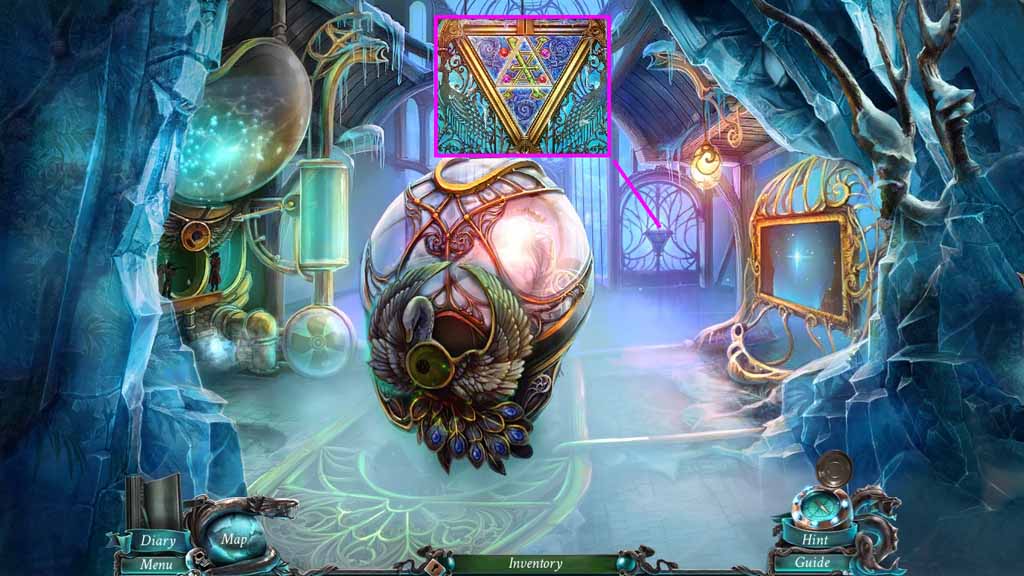
- Insert the triangle into the door.
- Click the tiles to complete the symbol.
- Move to the Atrium.