
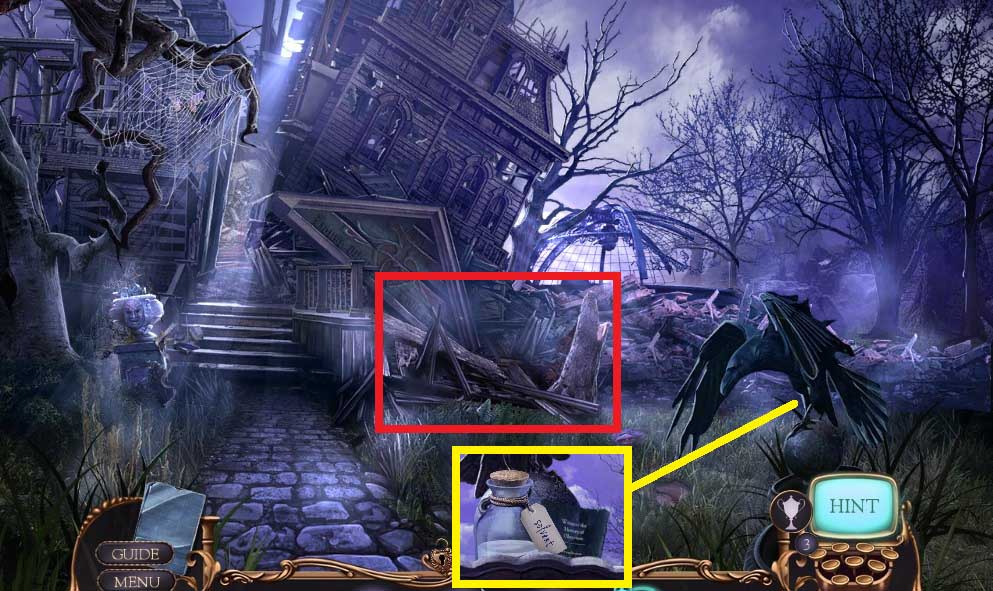
- Collect the solvent; examine the note.
- Click the wood pile 2x’s to trigger a hidden objects area.
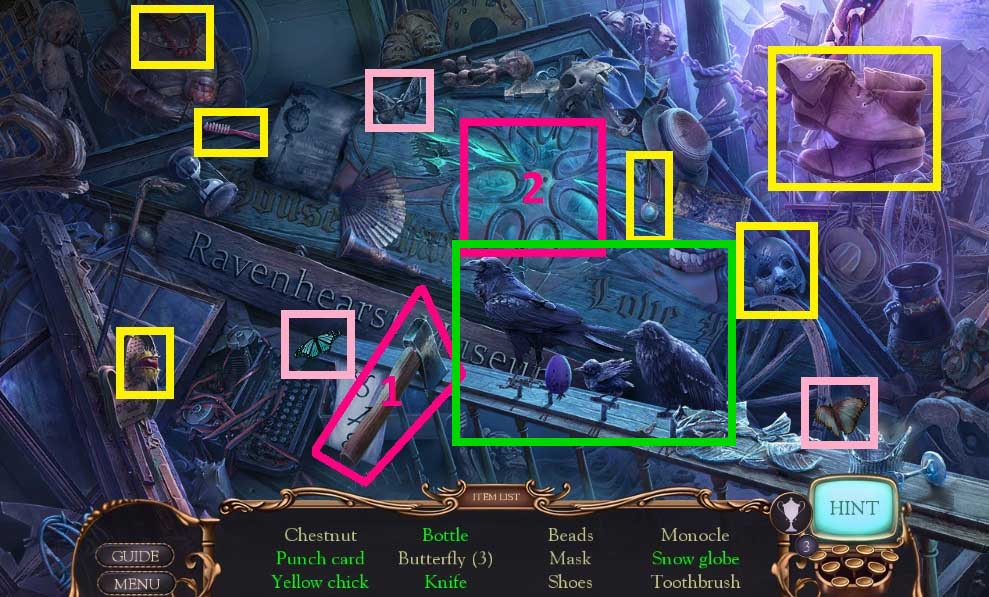
- Find the items.
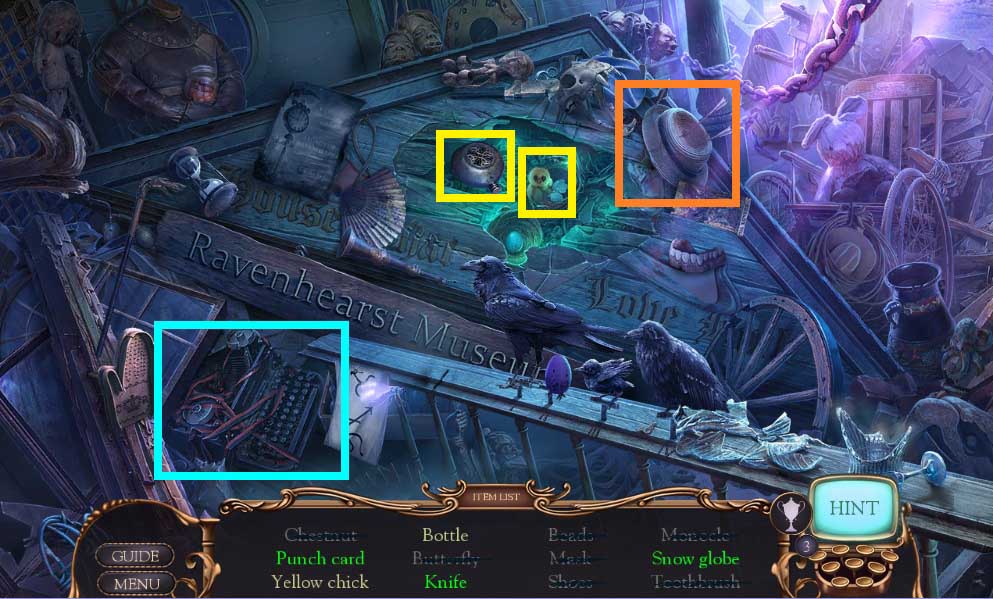
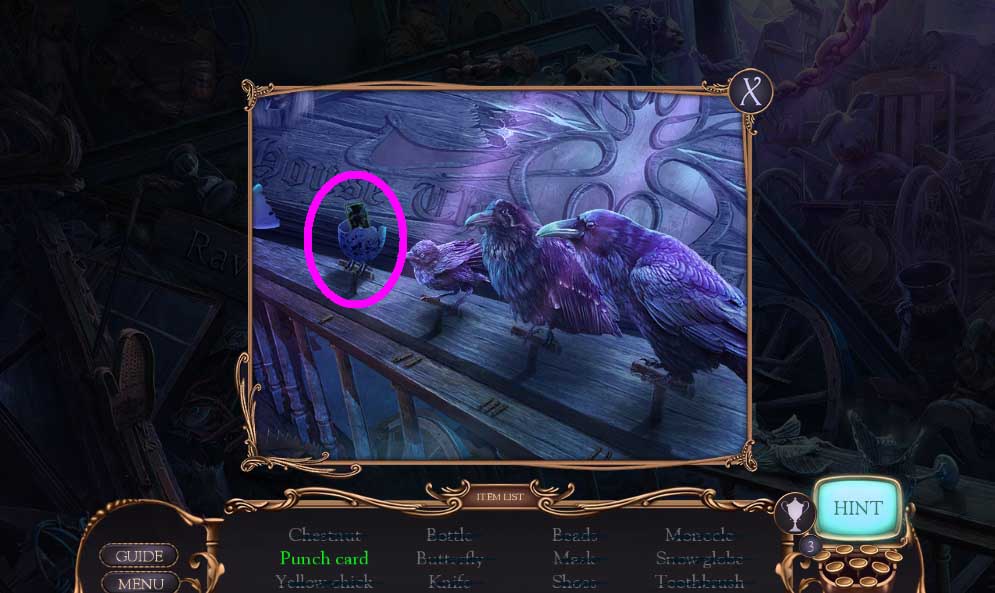
- Collect the punch card.
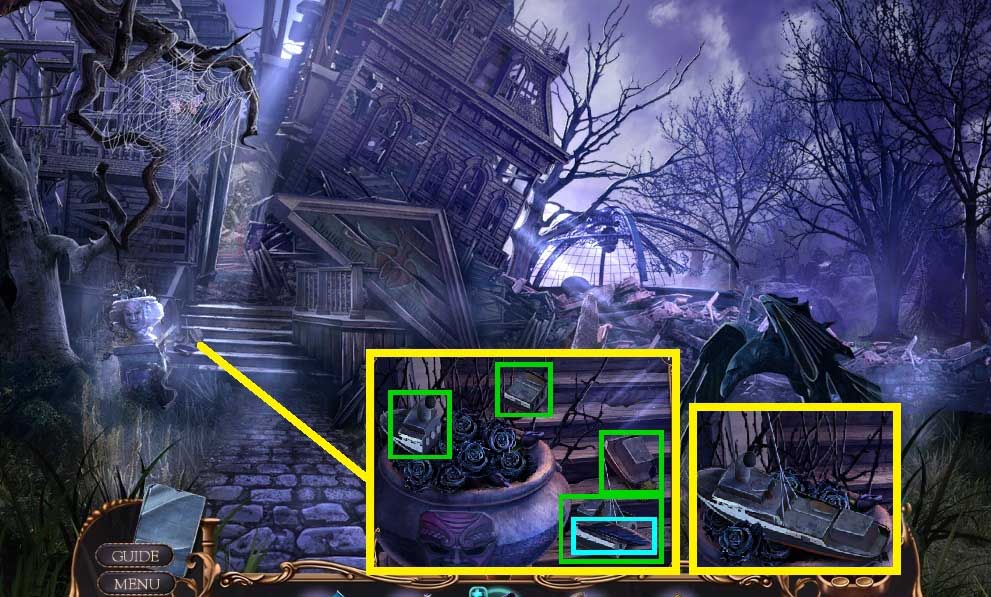
- Collect the feather.
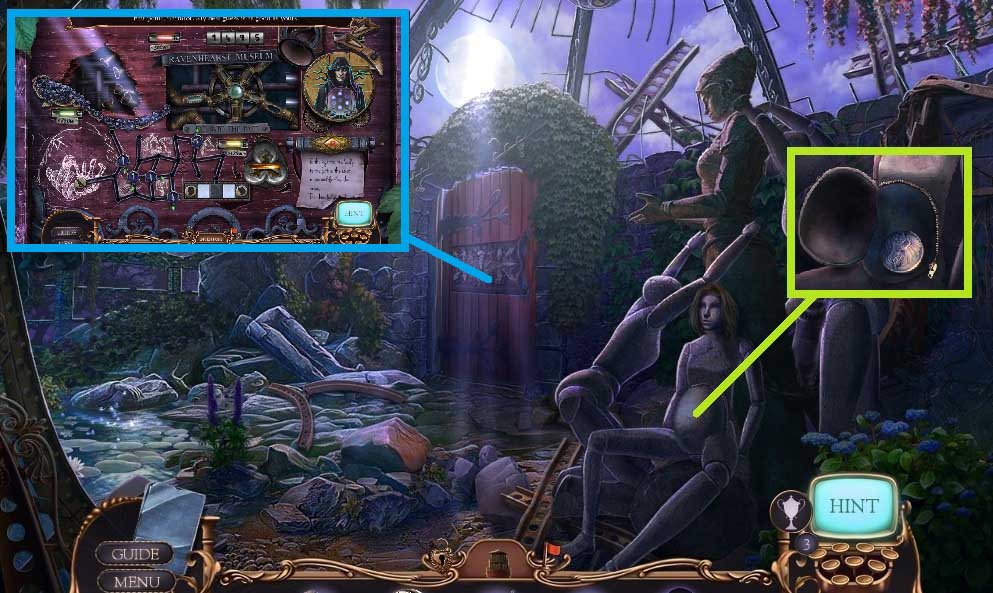
- Arrange the ship
- Collect the ship model.
- Move to the Museum Ruins.

- Collect the self-inflating vest.
- Place down the ship model; and collect the small anchor.
- Move to the left.

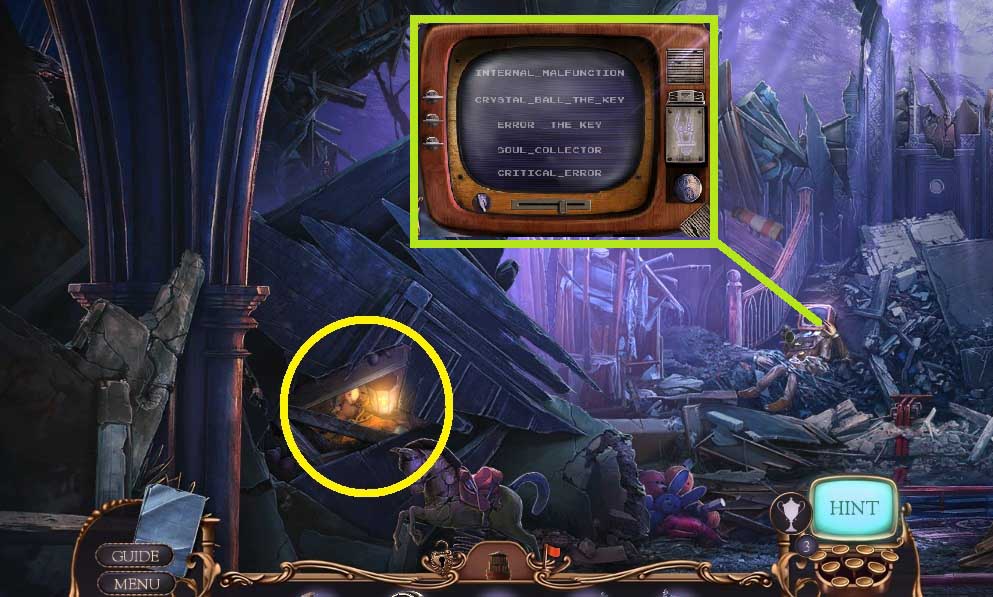
- Click the hand; insert the punch card & click the TV.
- Collect the nylon cord.
- Attach the tourniquet rubber to the stick.
- Move down once.
- Shoot the slingshot towards the web; collect the moth & the feathers.
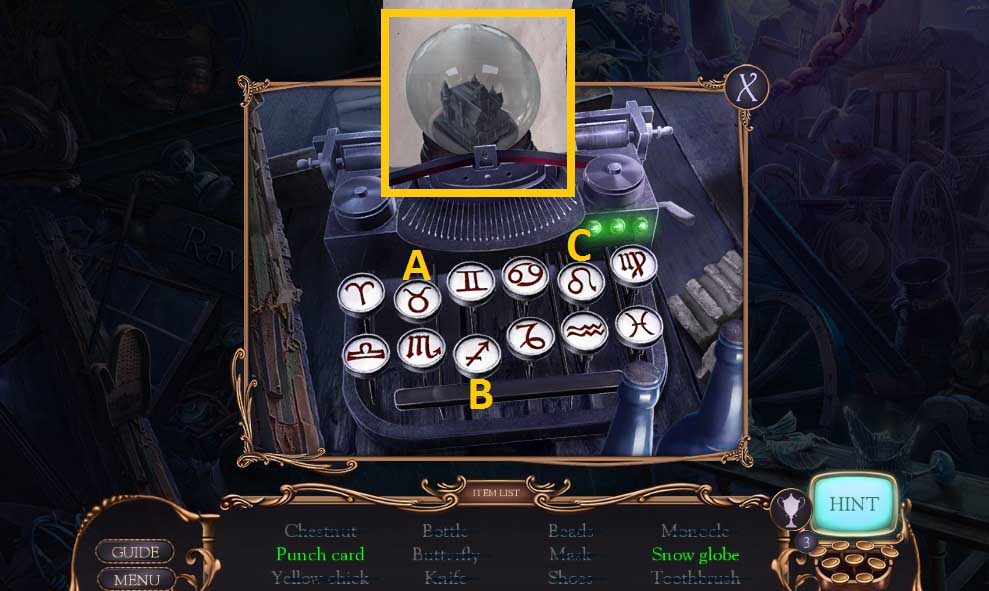
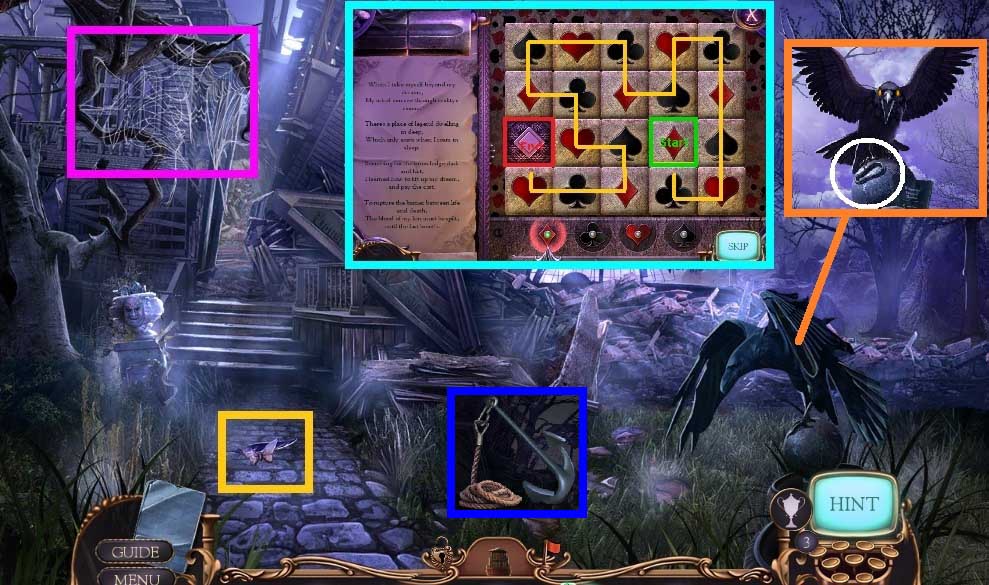
- Insert the moth into Alister’s enigma to trigger a mini game.
- Solve the game by clicking the symbols in the correct sequence.
- Collect the feather.
- Insert the feathers; collect the shackle link.
- Attach the nylon cord & the shackle link onto the small anchor and click it once.
- Move to the Museum Ruins and to the right once more.
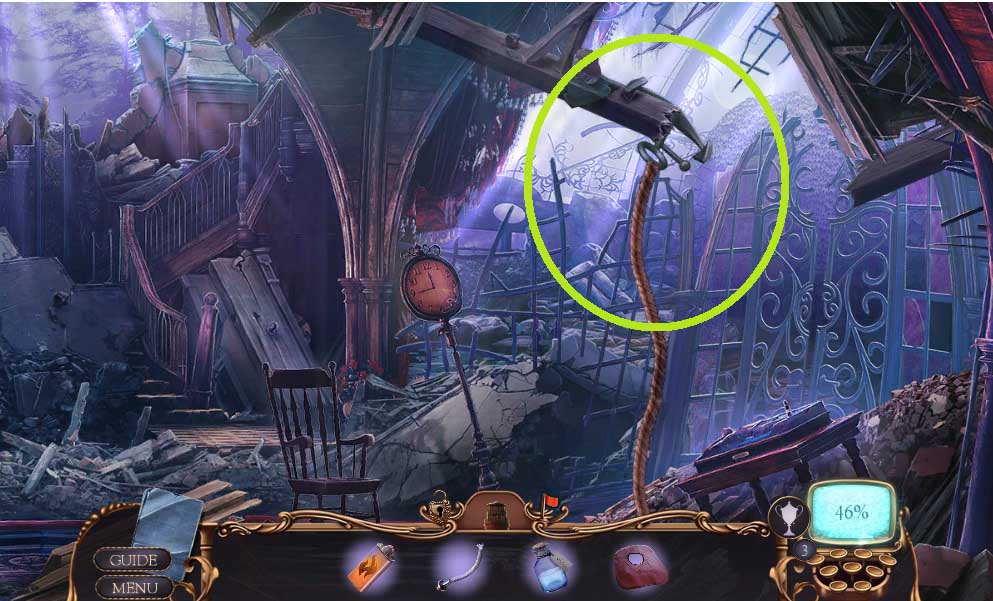
- Toss the grappling hook onto the beam.
- Move to the Memorial Garden.
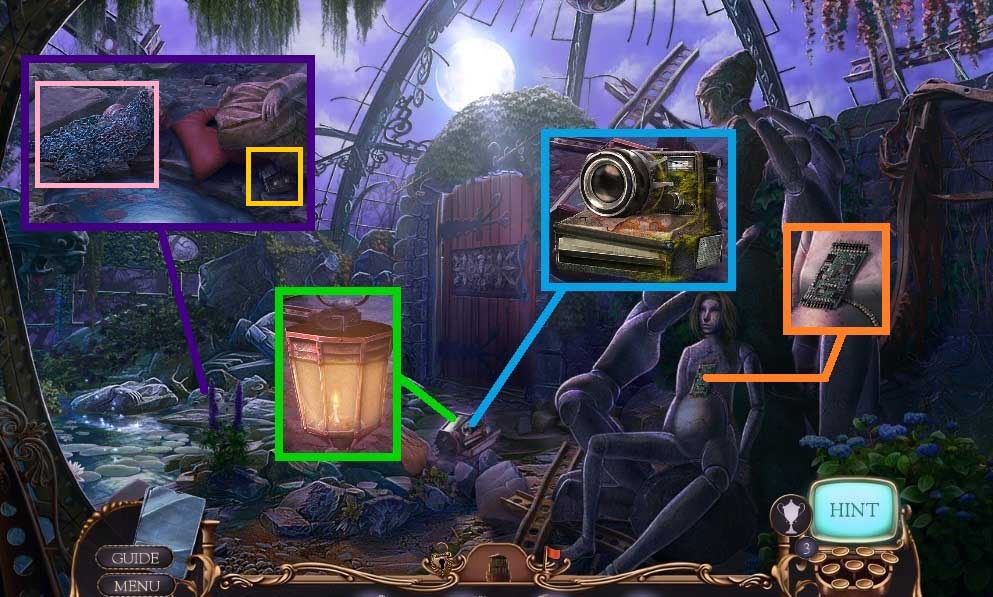
- Click the camera 3x’s.
- Insert the burner wick and click the lantern.
- Pour in the lighter fluid.
- Select the flint to ignite it.
- Collect the circuit board and the net.
- Place the self-inflating vest beneath the statue and click it once; collect Victor’s Cottage.
- Move down once & to the left.
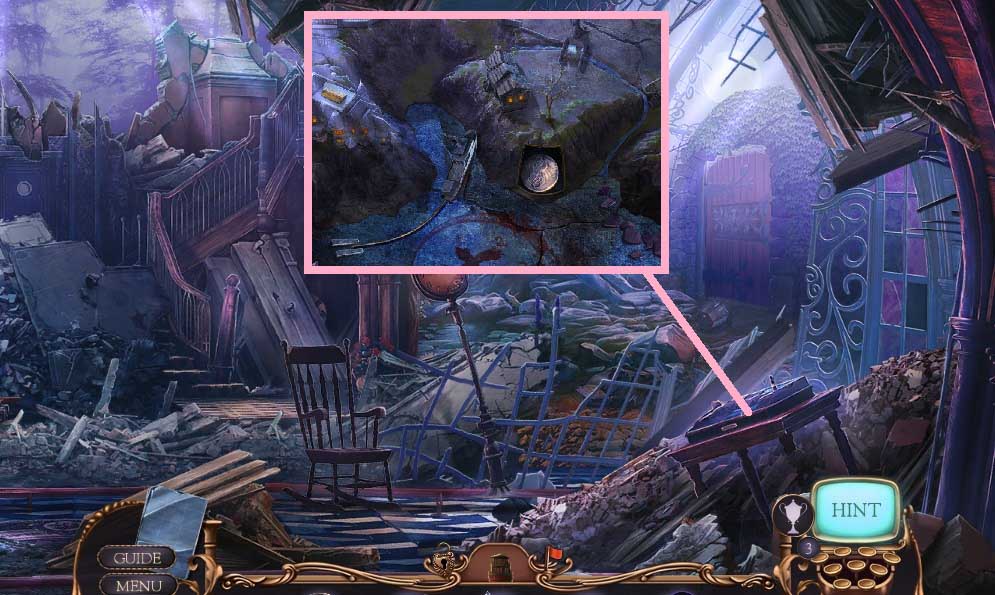
- Place the paraffin lamp into the cove.
- Click the zipper 2x’s.
- Insert the circuit board.
- Click the dials to make the selections.
- Collect 1 /3 raven twins.
- Move to the right.
- Place Victor’s cottage; collect 2/3 raven twins.
- Move to the Memorial Garden.
- Attach the zipper head; collect 3/3 raven twins.
- Insert the raven twins to trigger a mini game.
- Solve the game by playing the mini games.
- Move through the door into the Cemetery.