
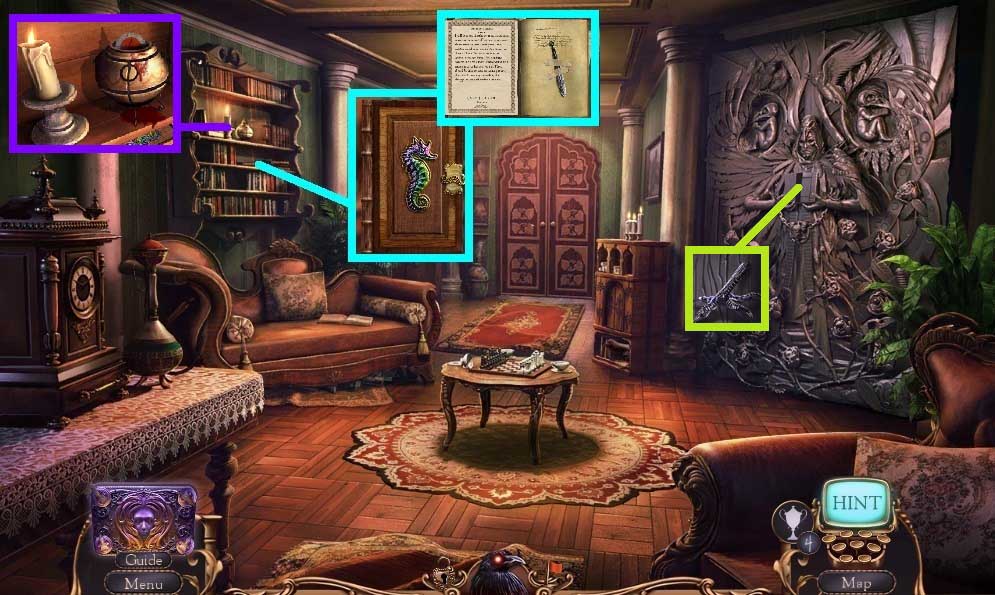
- Click the book and insert the sea horse.
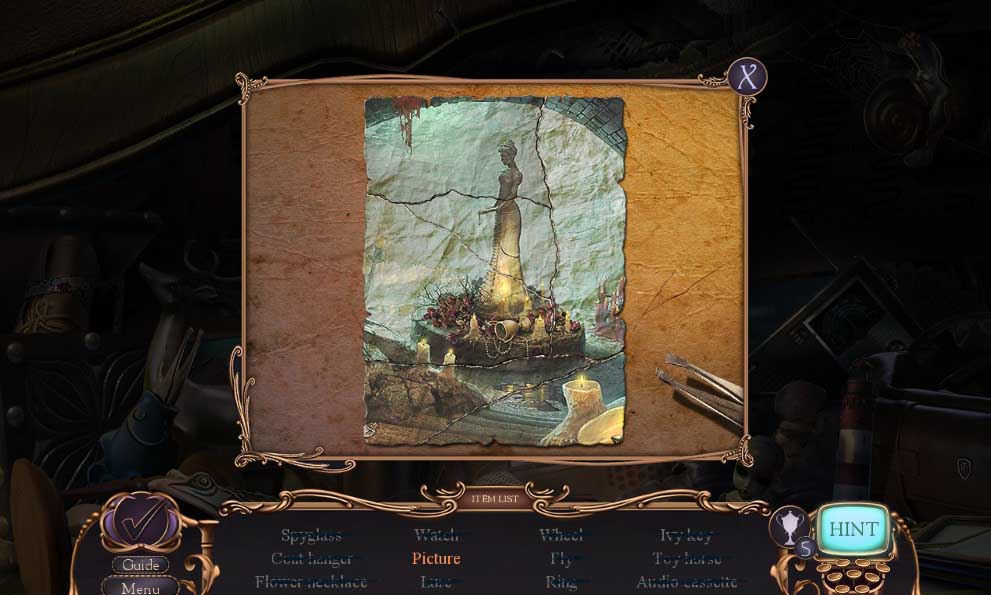
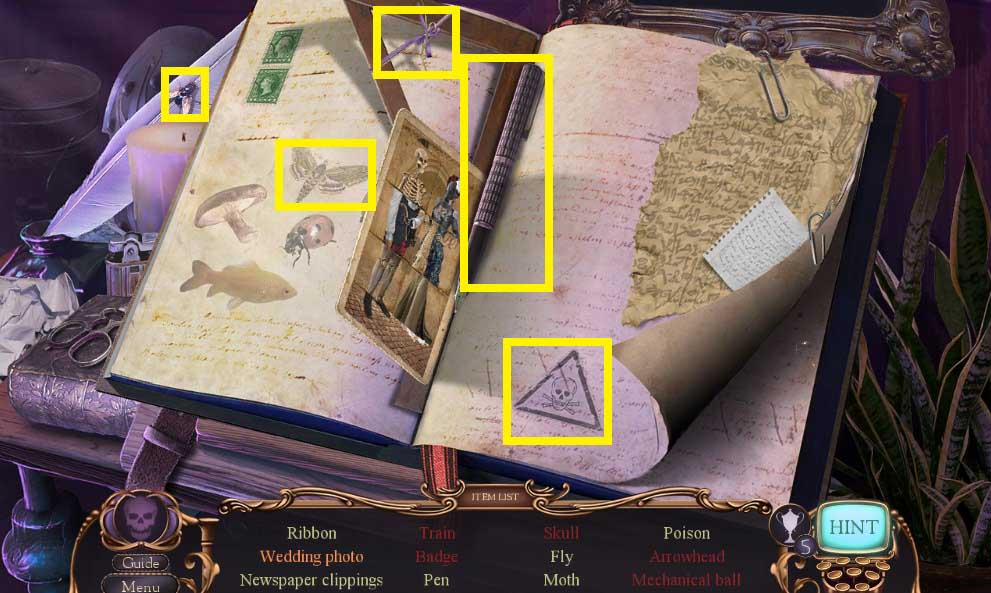
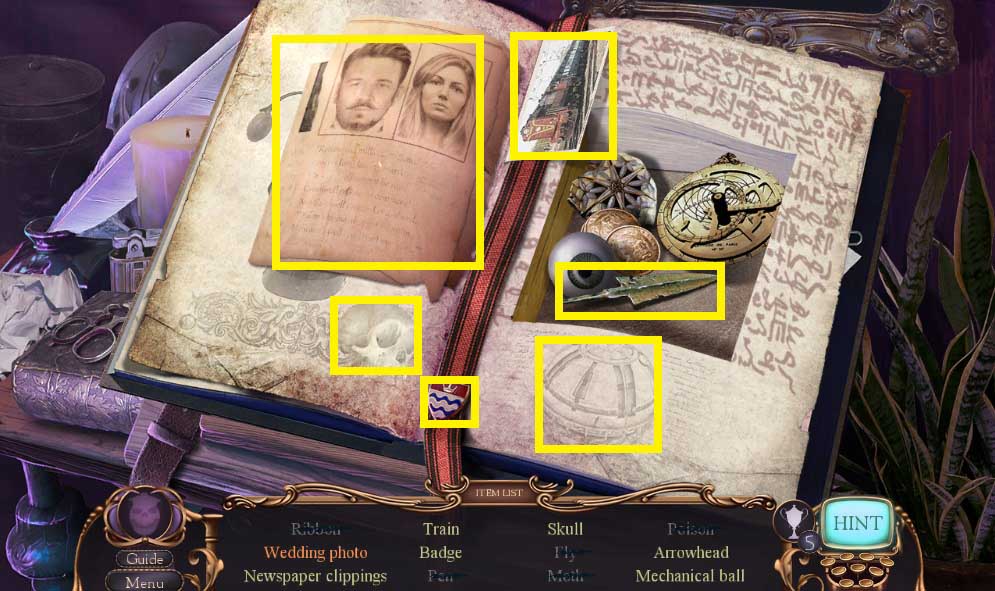
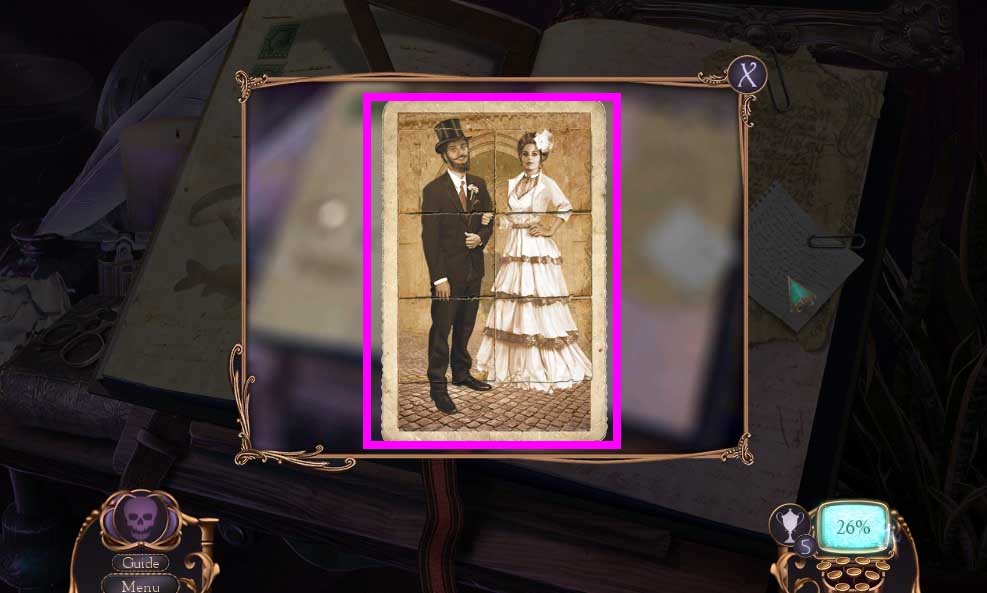
- Click the pages 3x’s, click the note and collect the silver feather.
- Collect and use the candle to melt the wax seal.
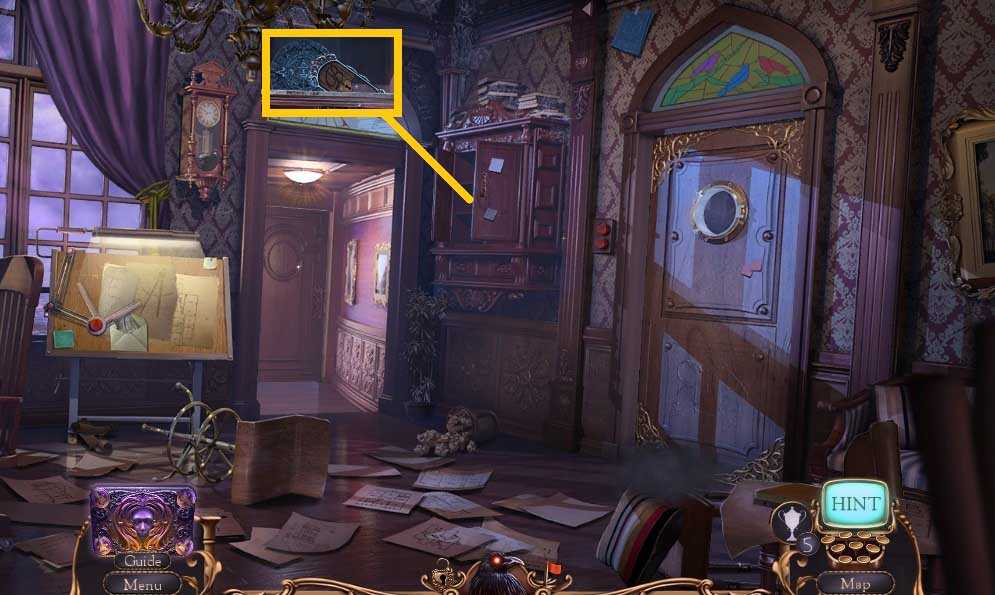
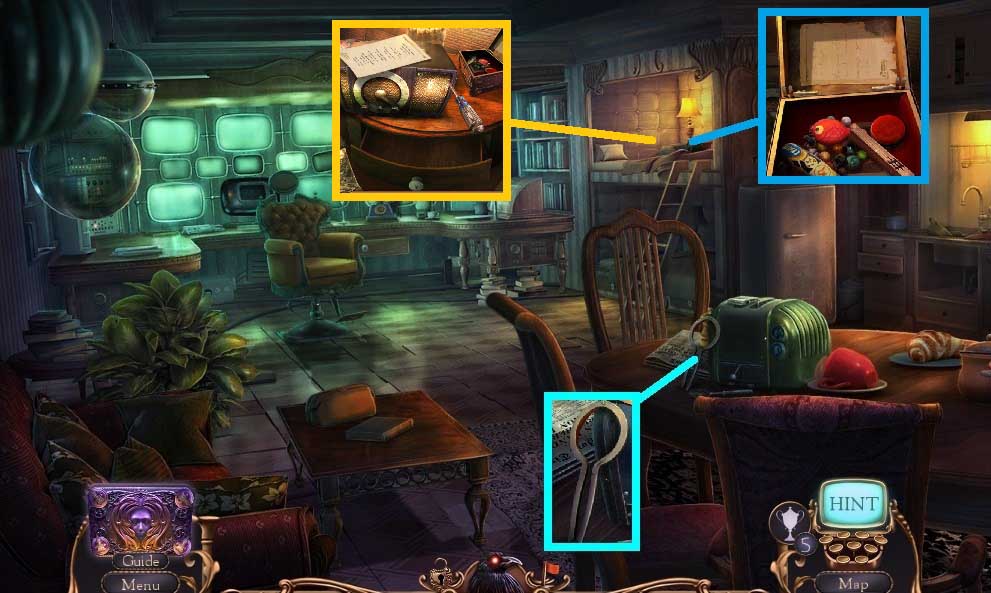
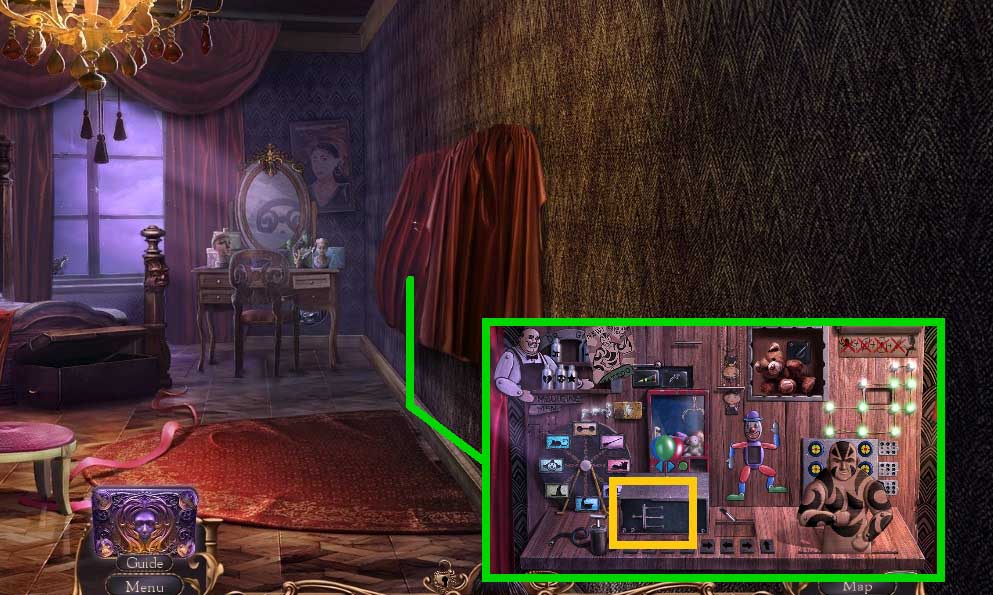
- Click the lid; collect the drafting machine controller.
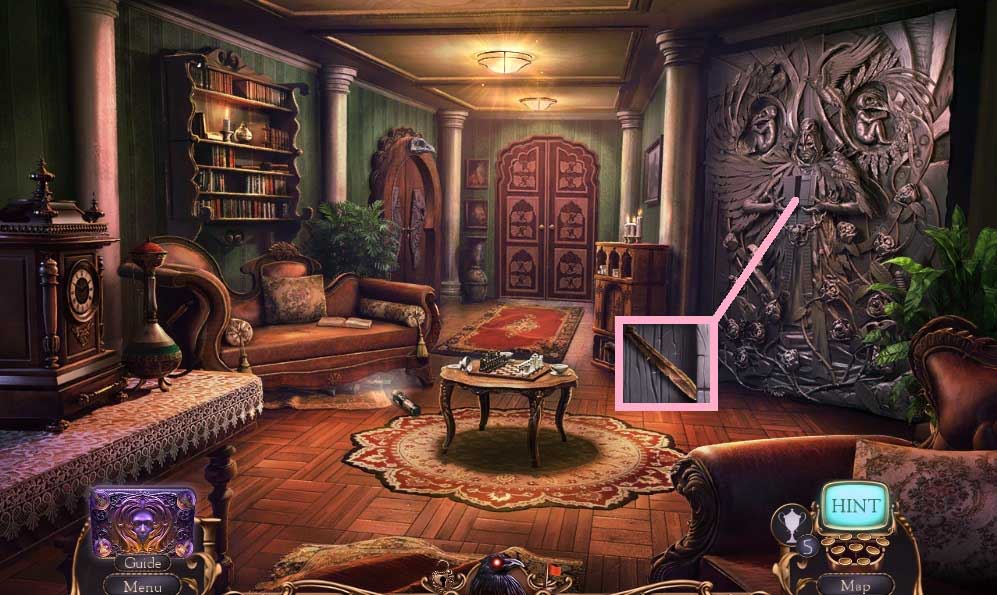
- Collect the raven claw.
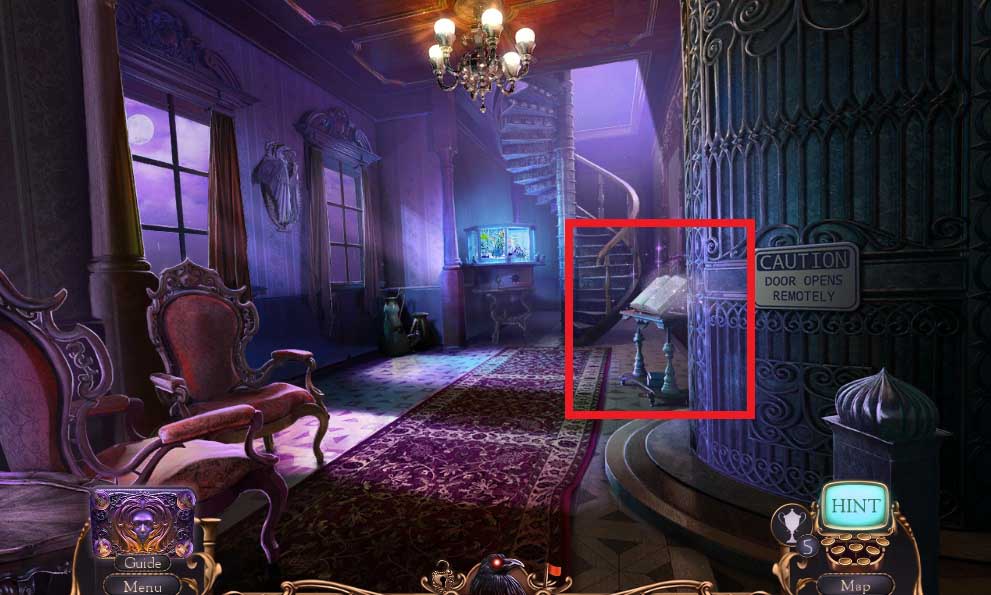
- Move to the Aviary.
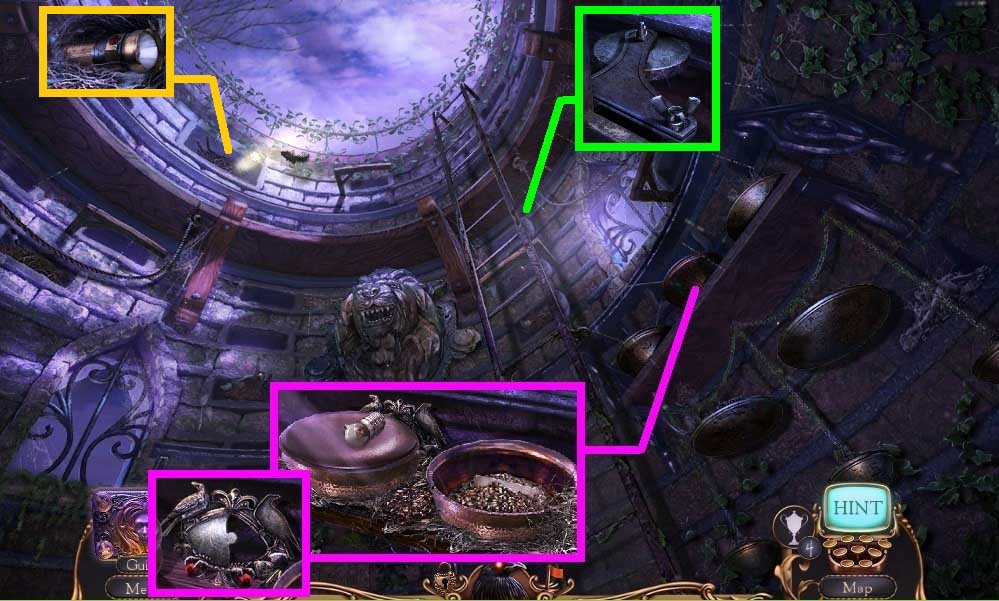
- Click the hay 3x’s.
- Open the box using the raven claw; examine the note and collect the raven caretaking note.
- Collect the small light bulb.
- Click the box; collect the ornate plaque frame.
- Attach the metal wheel and spindle.
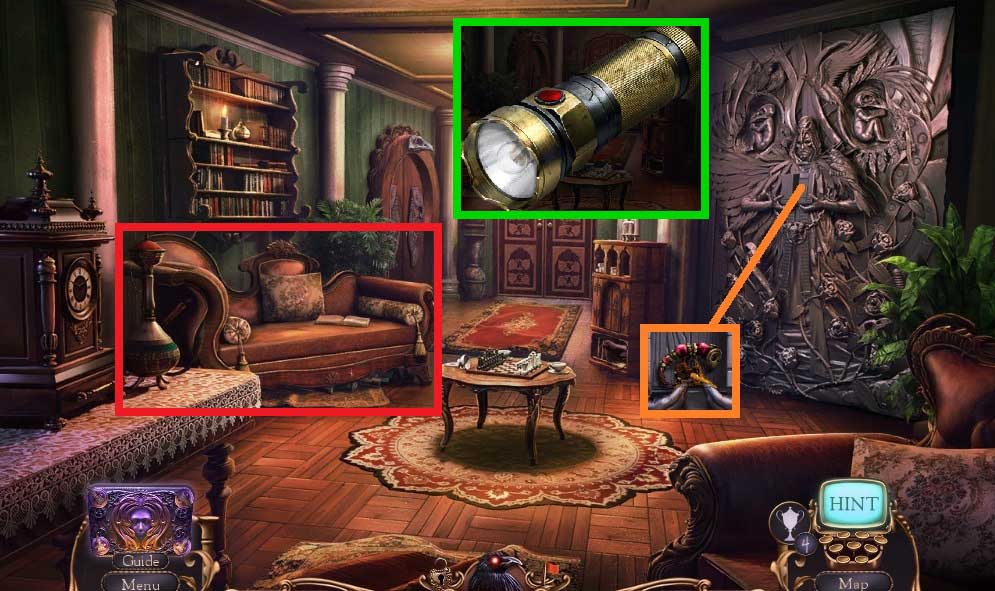
- Collect the broken flashlight.
- Move down once.
- Place the raven caretaking note; collect the cabinet pendant.
- Insert the small light bulb into the broken flashlight.
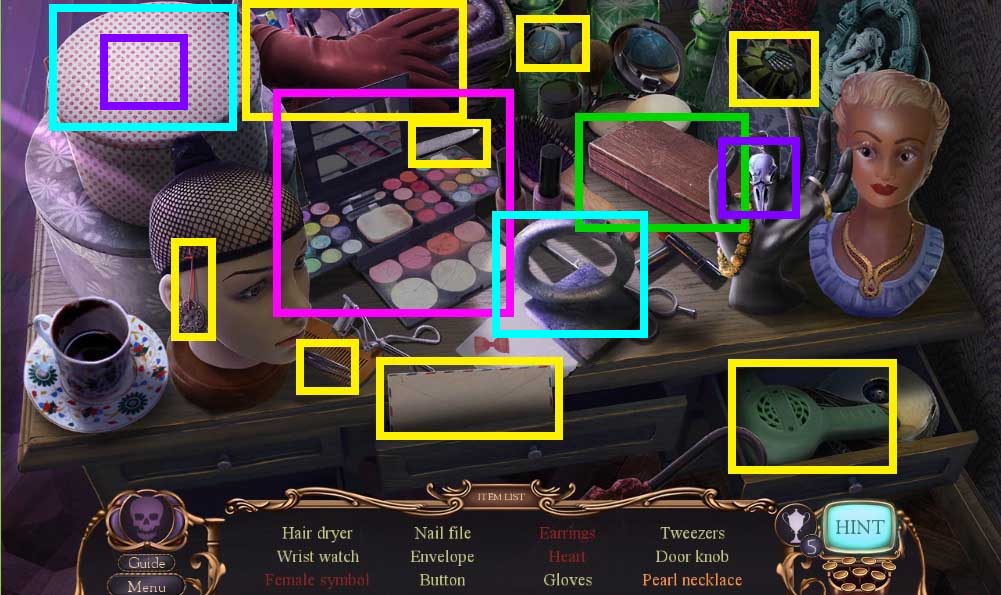
- Select the flashlight to trigger a hidden objects area.
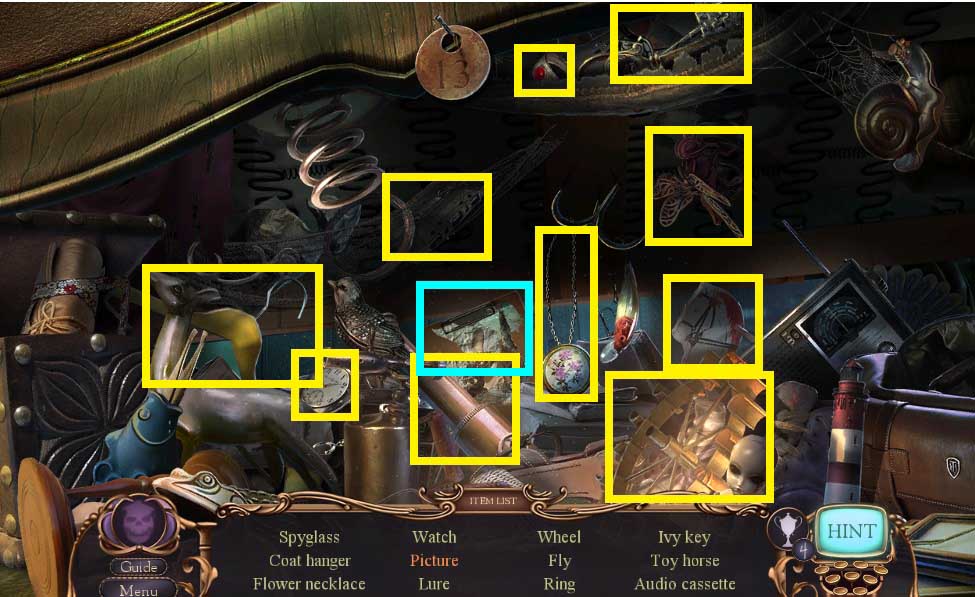
- Find the items.
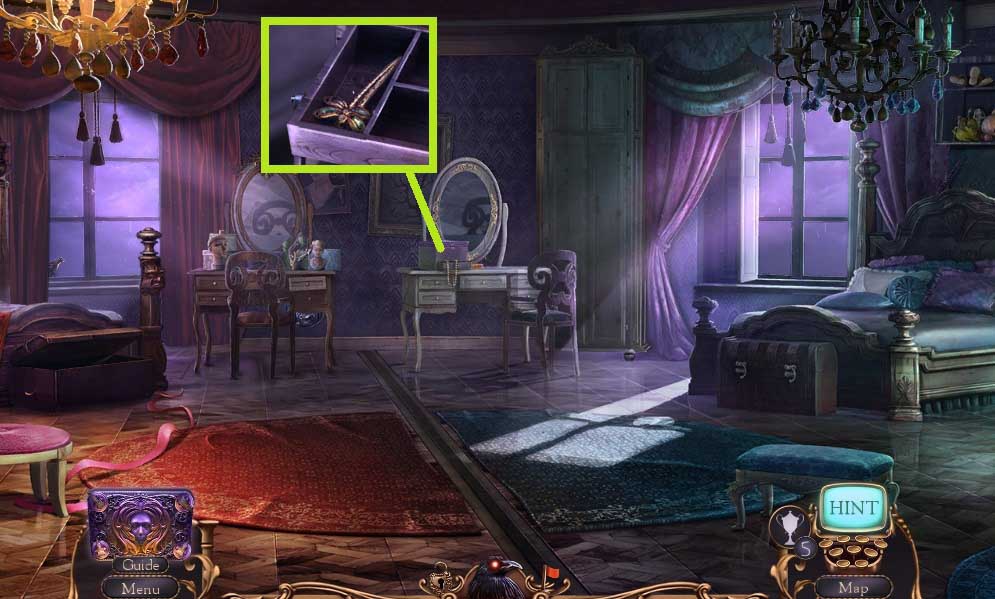
- Collect the ivy key.
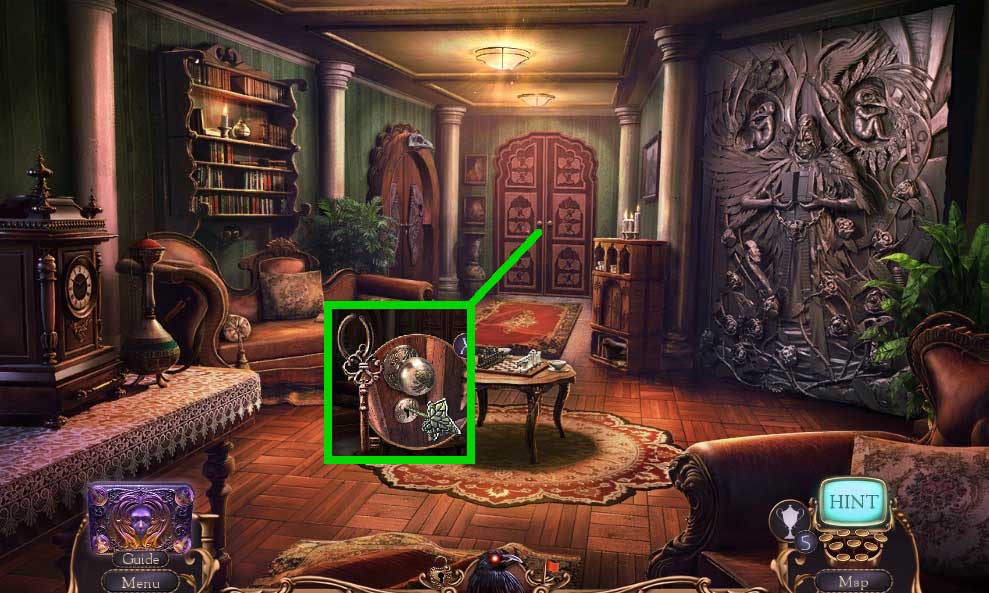
- Insert the ivy key.
- Click the key 3x’s.
- Move into the Study.
- Attach the drafting machine controller.
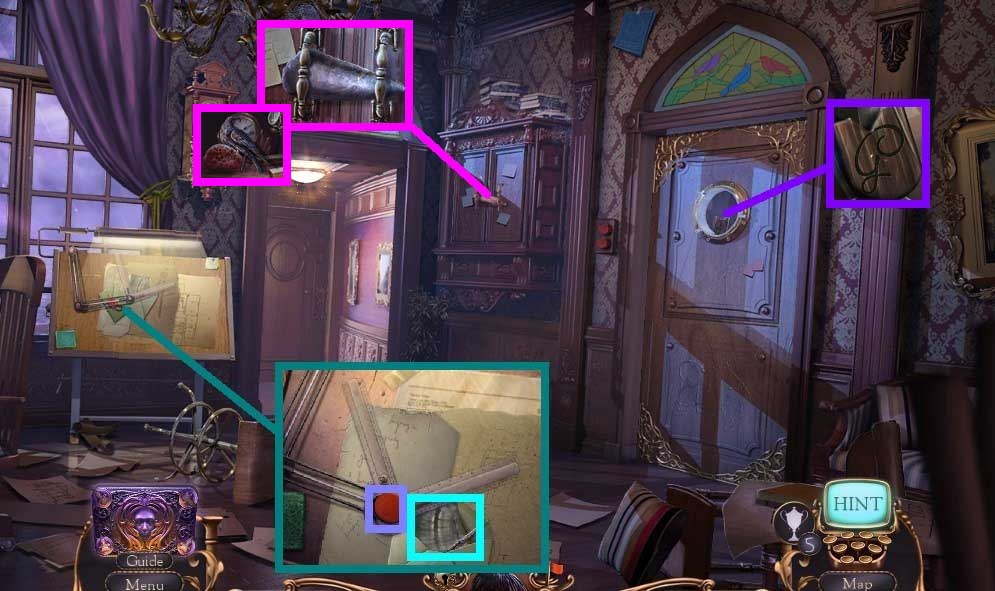
- Collect the dental probe.
- Collect the letter.
- Collect the lion fang and plaque raven.
- Move to the Aviary.
- Select the dental probe; collect the wife’s pendant.
- Insert the wife’s pendant into the cabinet pendant.
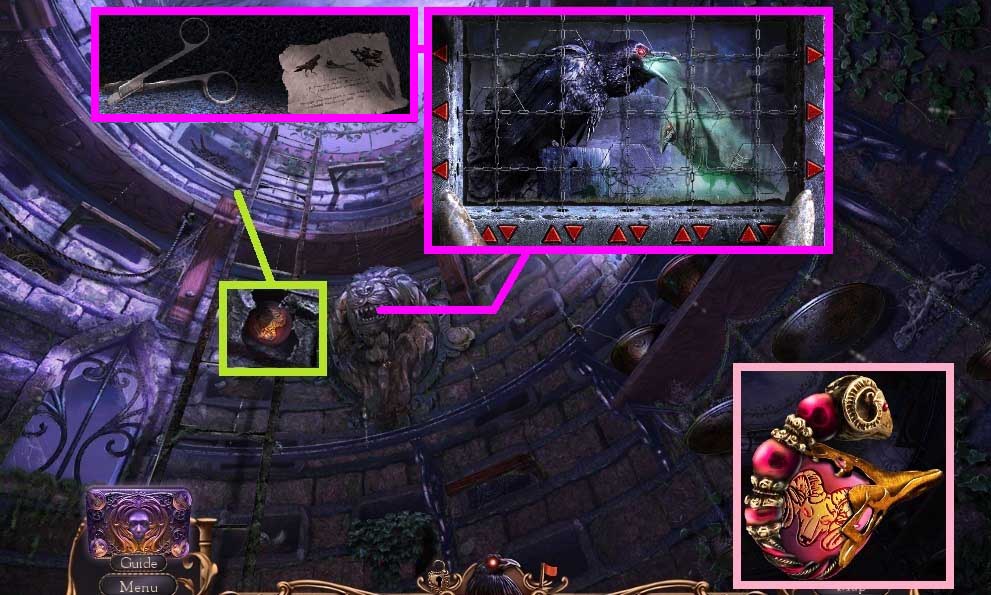
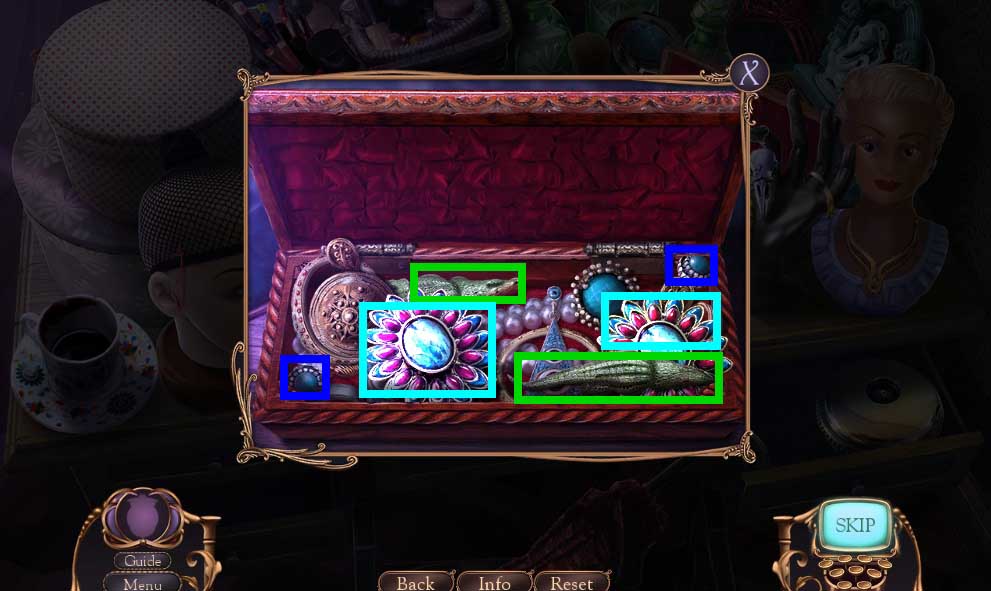
- Insert the lion fang to trigger a puzzle; solve the puzzle by aligning the pieces correctly.
- Examine the note; collect the ring cutter.
- Move to the Study.
- Insert the cabinet pendant.
- Click the items aside; collect the ornate monogram.
- Zoom left.
- Select the ring cutter to remove the chains.
- Read the note and collect the corks.
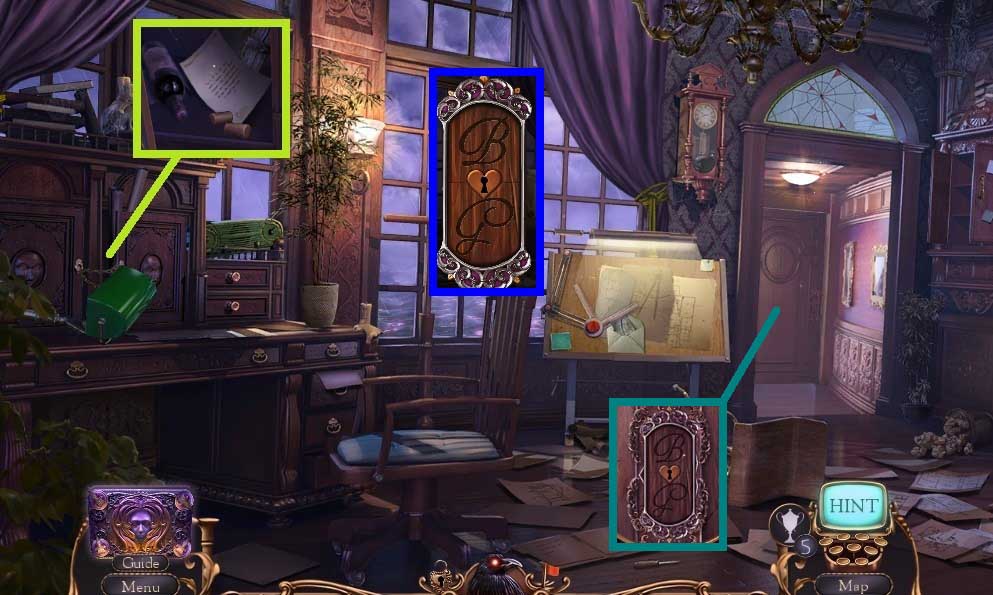
- Place the letter G onto the ornate monogram.
- Insert Caldwell’s monogram.
- Move into the Anteroom.
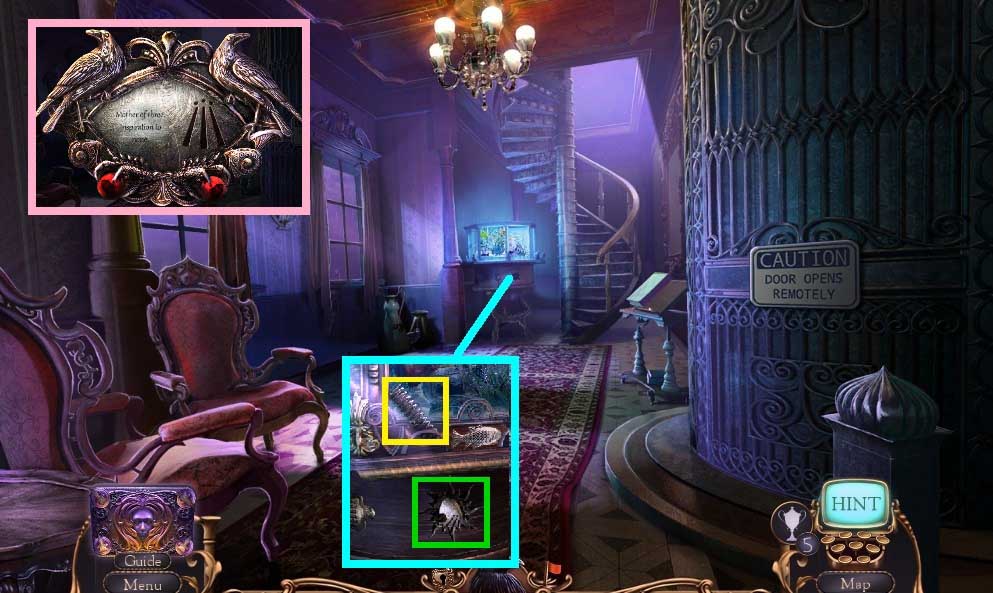
- Collect the plaque and spring.
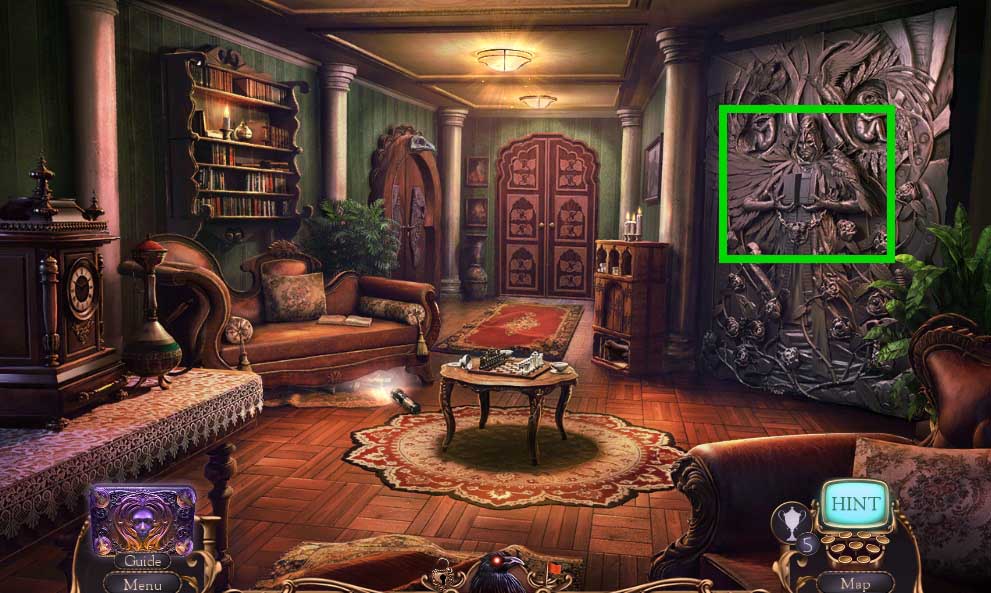
- Insert the plaque raven and the plaque into the ornate plaque frame.
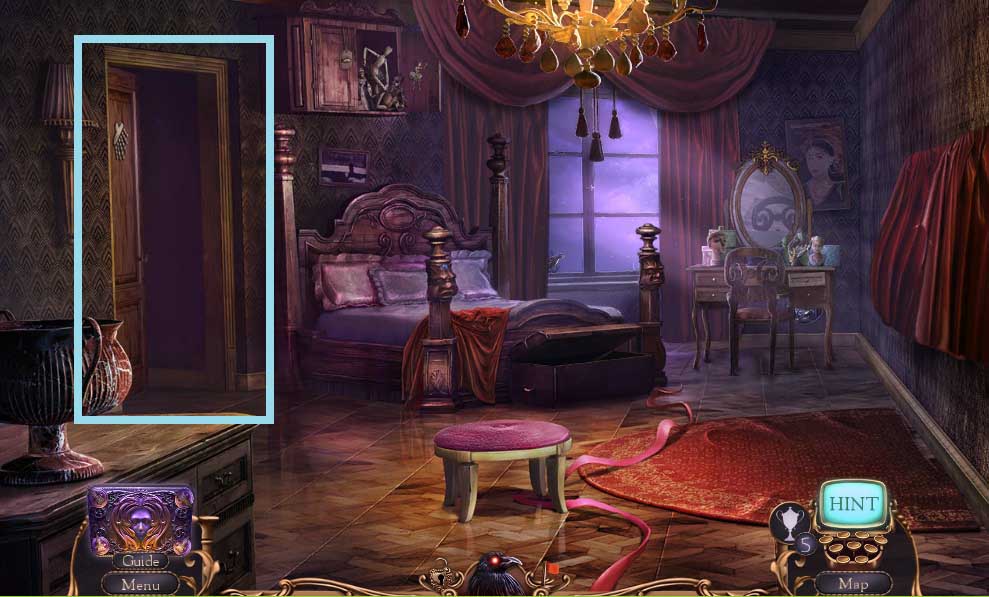
- Move to the Master Bedroom.
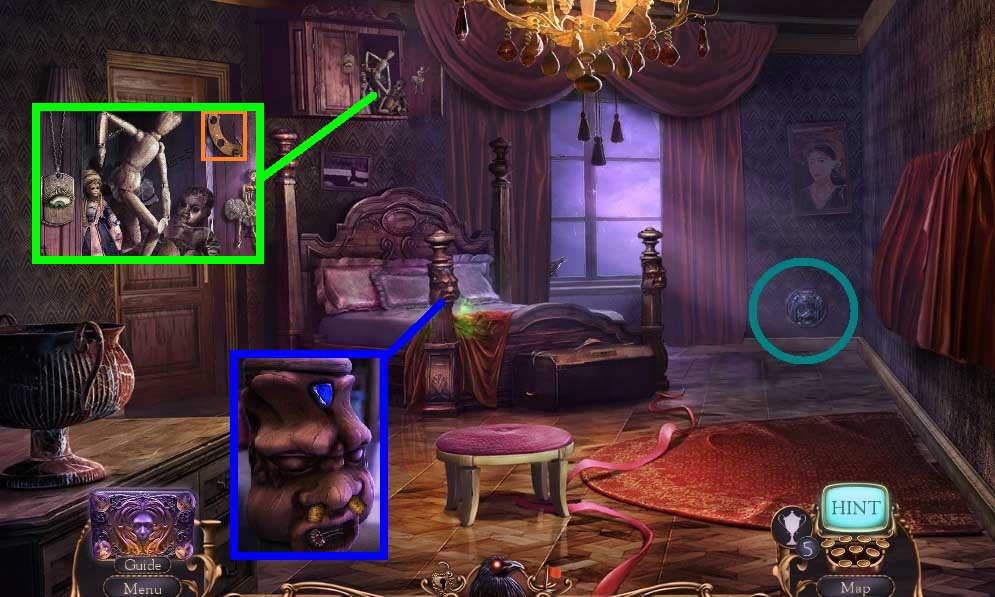
- Click the screen.
- Insert the corks; collect the hairpin.
- Attach the spring; collect 1 /2 metal disks.
- Move down once.
- Insert the hairpin to trigger a hidden objects area.
- Find the items.
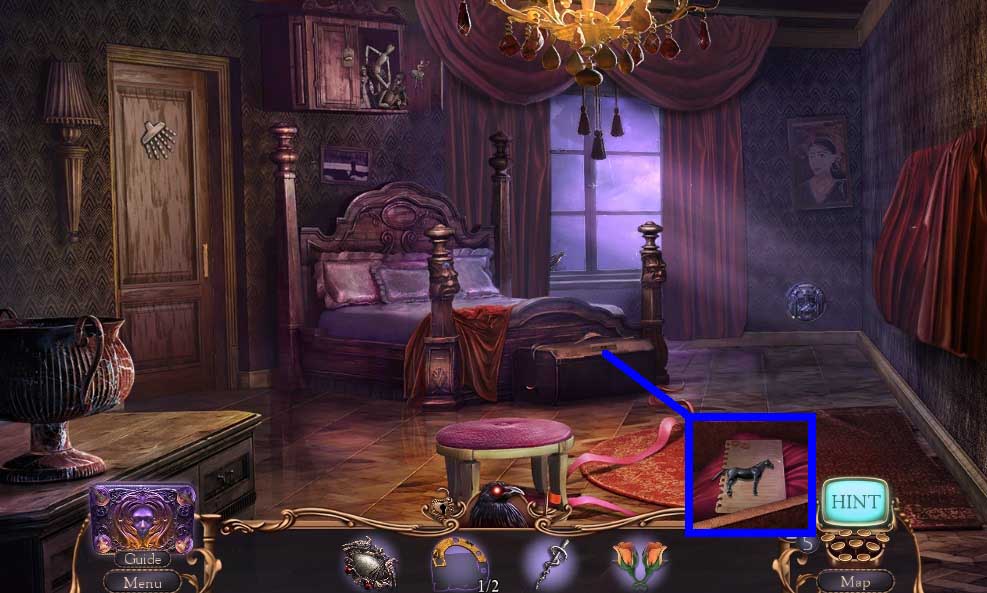
- Collect the newspaper clipping.
- Move to the Lobby.
- Insert the newspaper clippings; collect the bronze feather.
- Move to the Anteroom.
- Insert the silver and bronze feathers.
- Collect the rod of Asclepius.
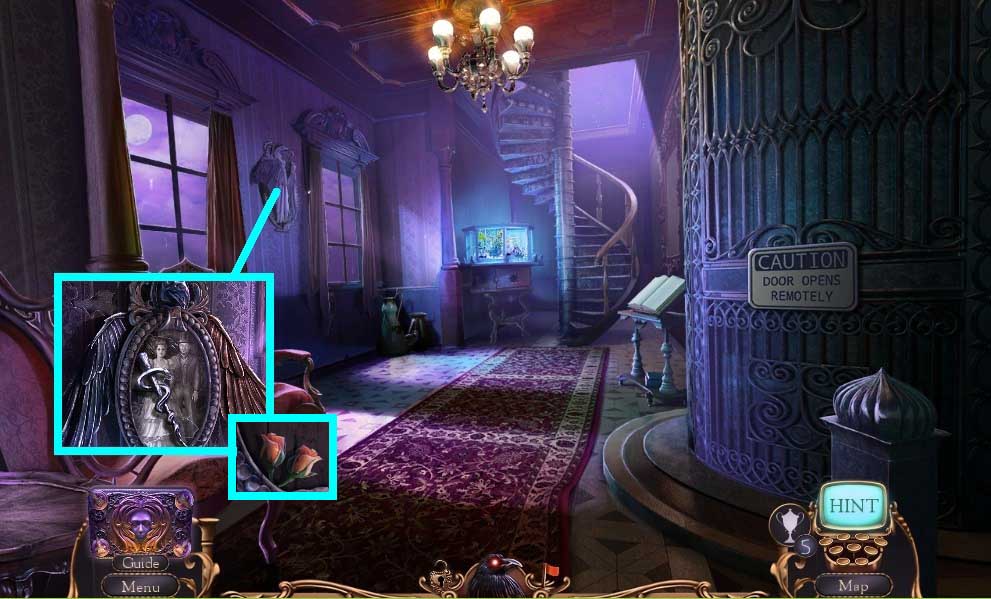
- Click the photo 2x’s; collect the rosebuds.
- Move to the Master Bedroom.
- Insert the rosebuds.
- Click the paper and collect the murder evidence.
- Move to the Lobby.
- Insert the murder evidence.
- Move to the Panic Room.
- Collect the jar opener.
- Read the note; collect the piano key.
- Zoom into the note.
- Click the pillows, click the drawer and use the screwdriver on the radio.
- Move to the Study.
- Collect 2 /2 metal disks.
- Move to the Cave Station.
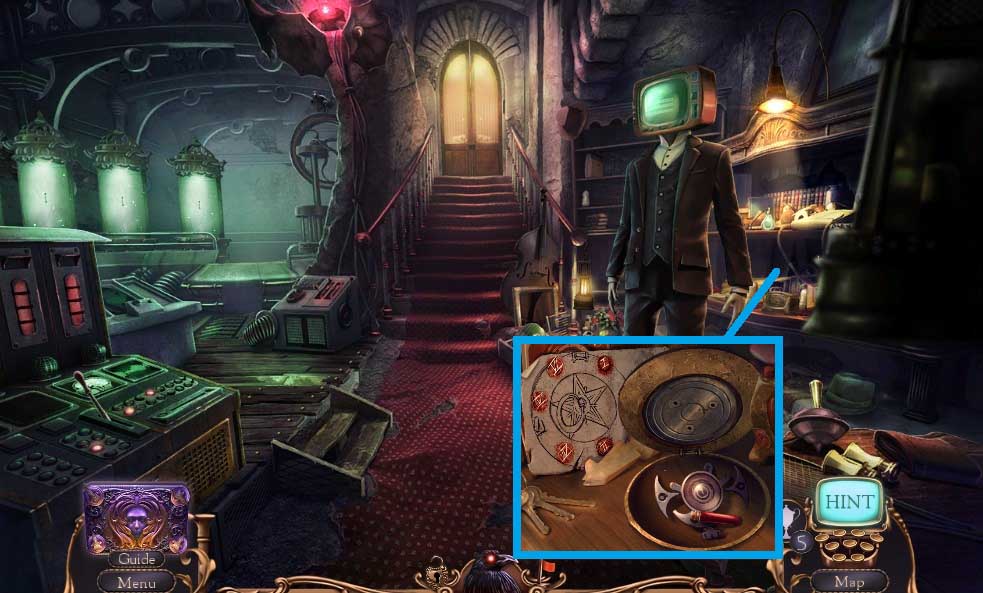
- Insert the 2 metal disks; click the disks as shown in the diagram.
- Collect the fake blood and the crank handle.
- Move to the Master Bedroom.
- Attach and click the crank handle to trigger a hidden objects area.
- Find the items.
- Collect the bathroom doorknob.
- Attach the bathroom door knob.
- Move into the Bathroom.
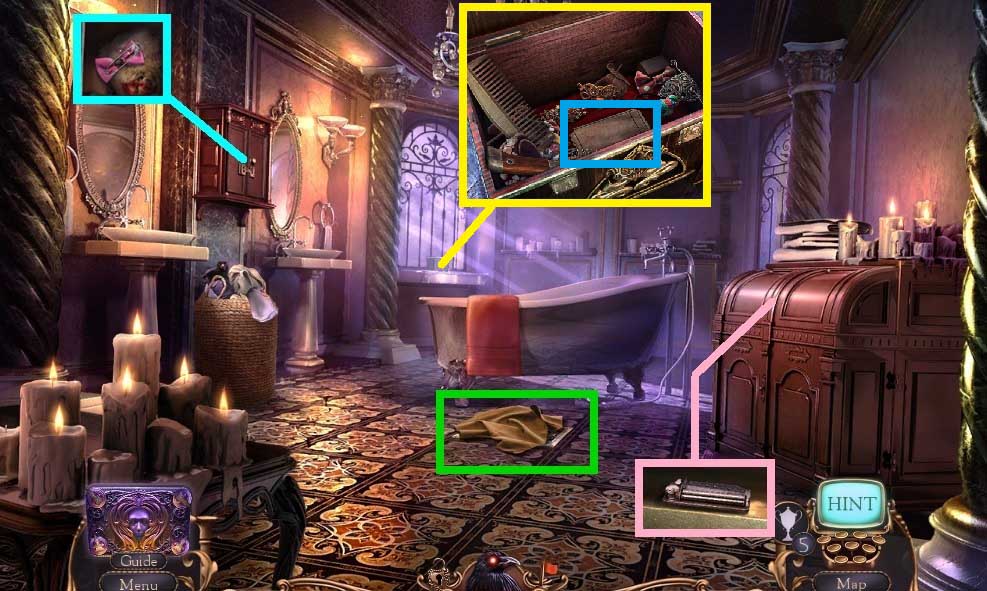
- Click the cloth.
- Click the cabinet; collect the music cylinder.
- Insert the rod of Asclepius.
- Click the cabinet and collect the safety pin; use it to pick the lock.
- Move the items aside; collect the ticket.
- Move down once and to the right.
- Insert the ticket to trigger a puzzle.
- Solve the mini puzzles.
- Flip the switch.
- Insert the music cylinder.
- Click the cover; collect the hair clip.
- Move to the right.
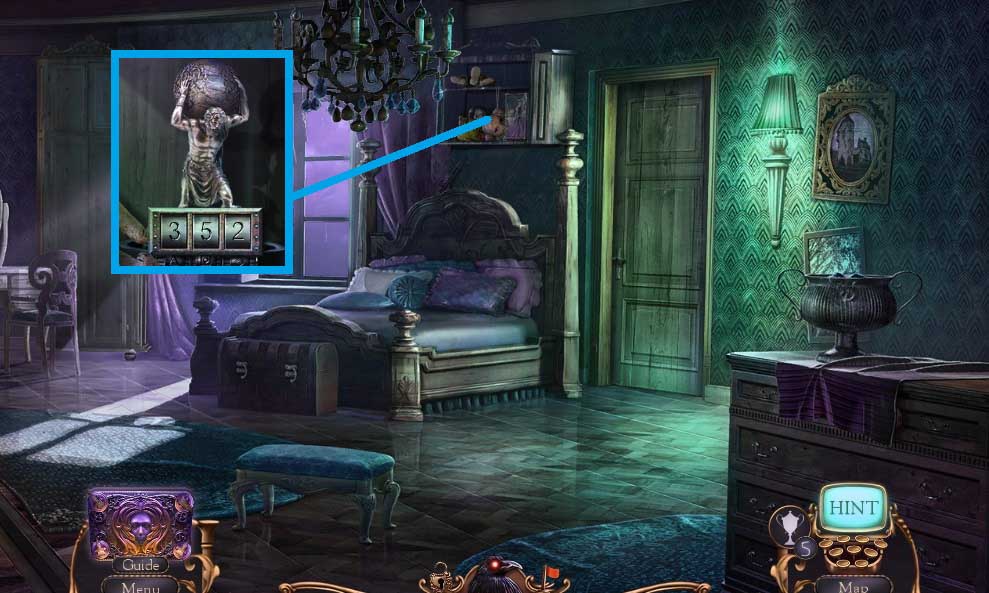
- Adjust the numbers to 352.
- Collect the earth model.
-
Move into the Secret Room.