
- Speak to the H.E.L.P. agent.
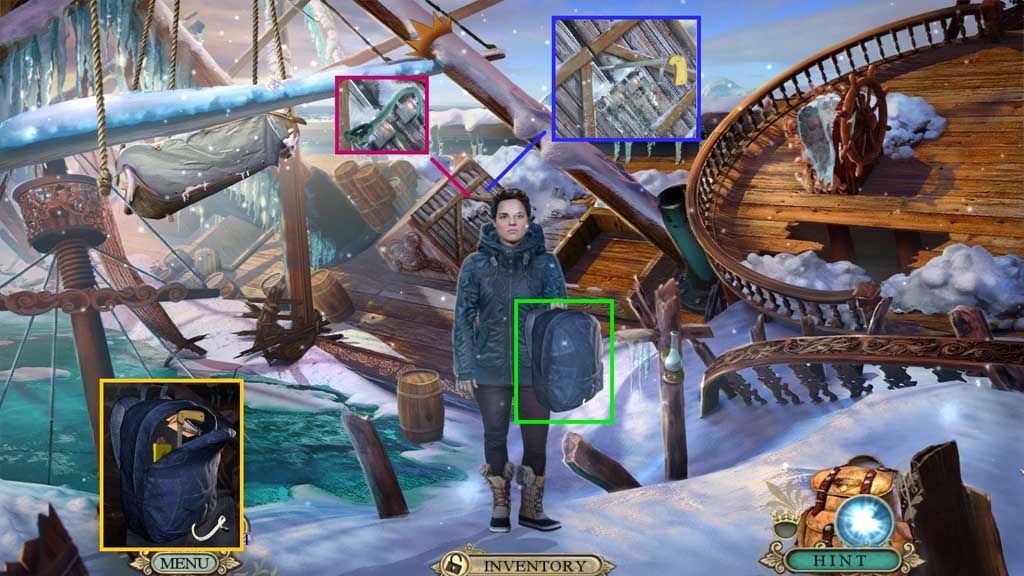
- Collect the H.E.L.P. rucksack.
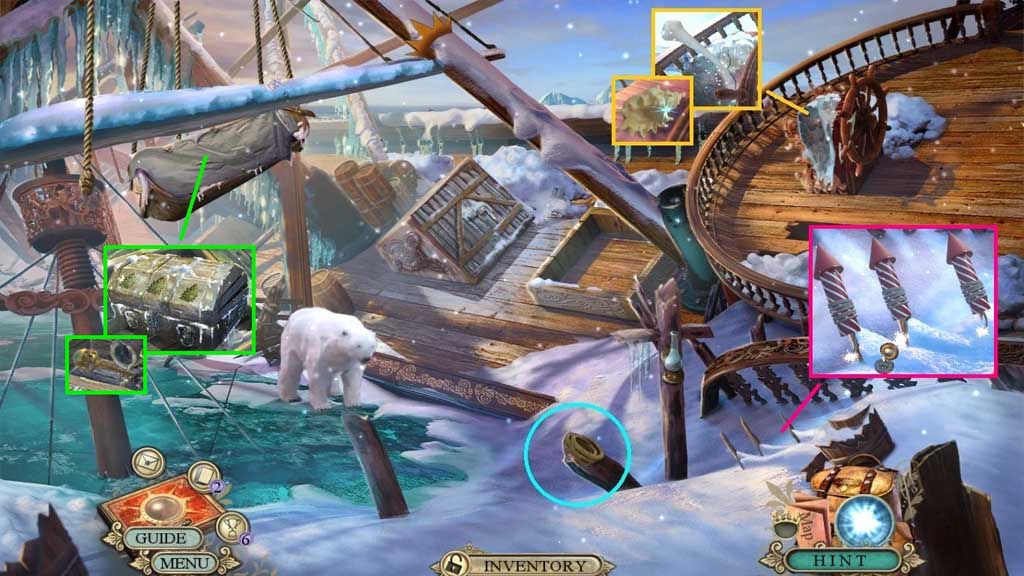
- Collect the hook.
- Click the H.E.L.P. rucksack; collect the lighter fuel, the map and the hacksaw.
- Break the lock using the hacksaw; click the doors.
- Move to the Lower Deck.
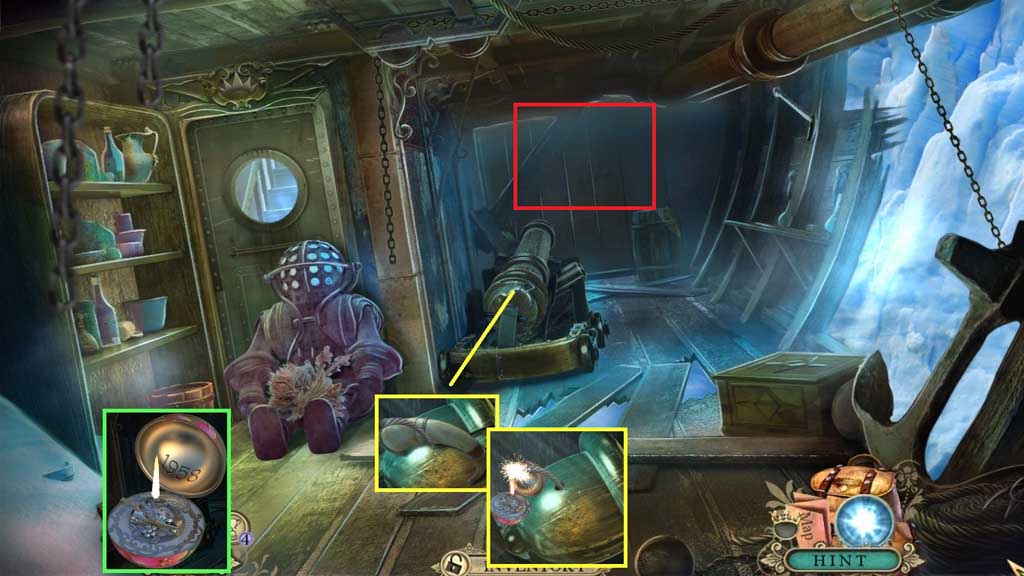
- Select the lighter fuel to use on the vintage lighter; collect the working lighter.
- Collect the gunpowder pouch.
- Select the lighter to ignite the fuse.
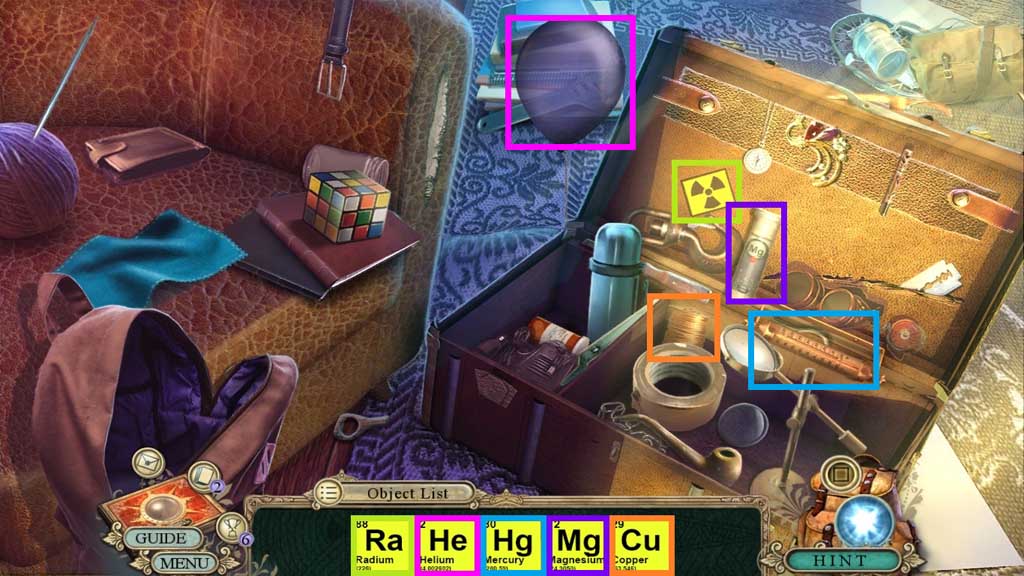
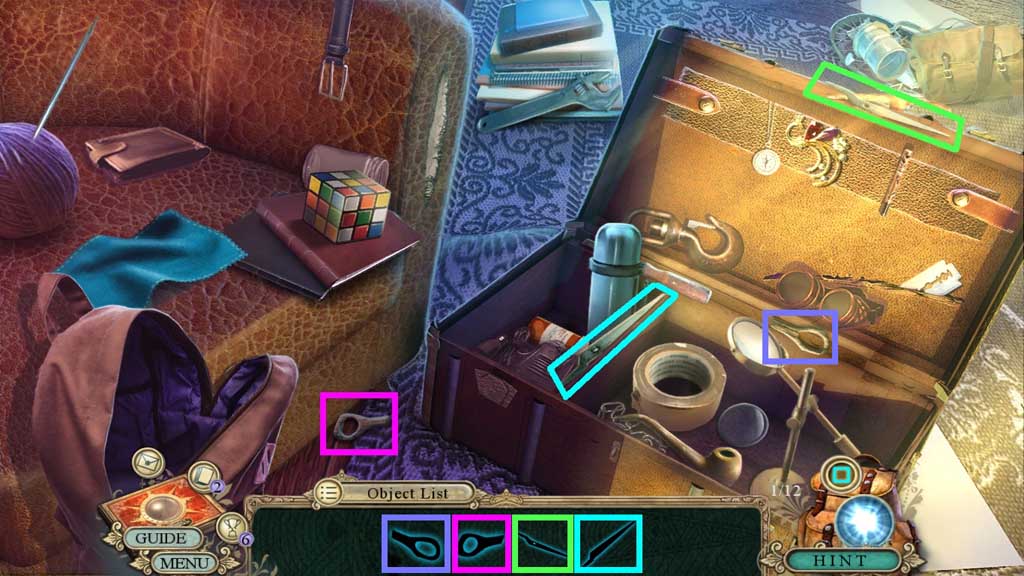
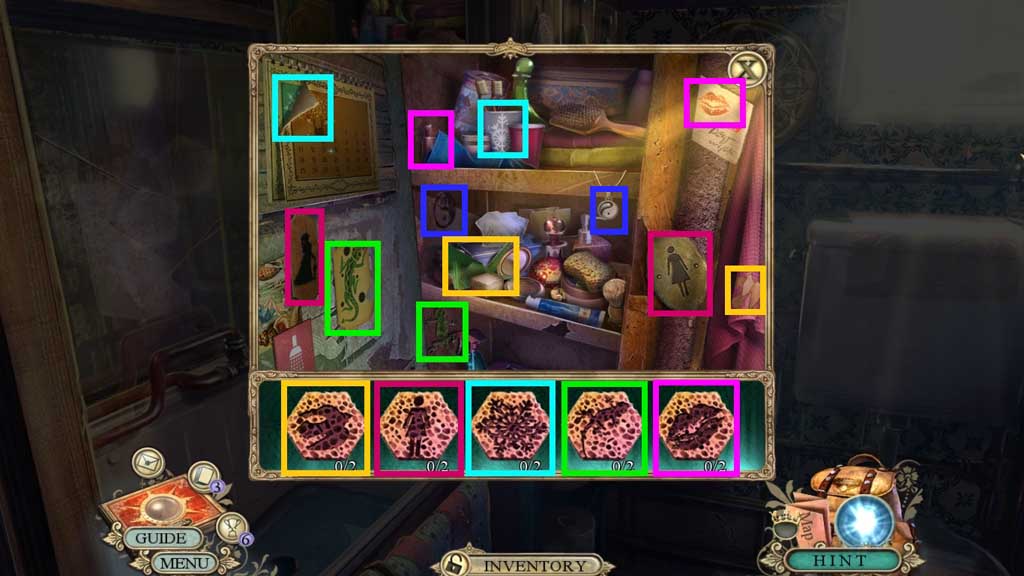
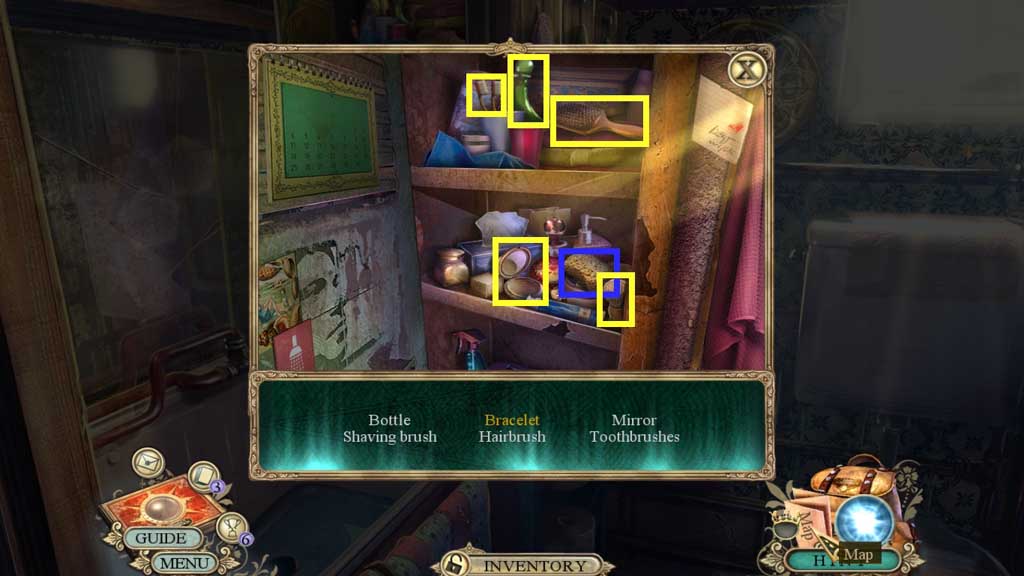
- Click the hidden objects area.
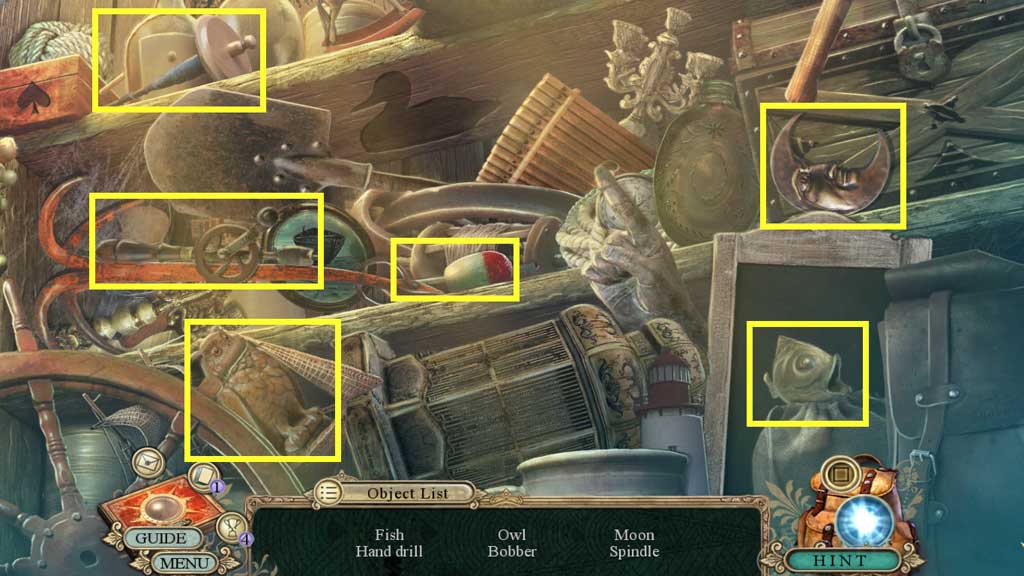
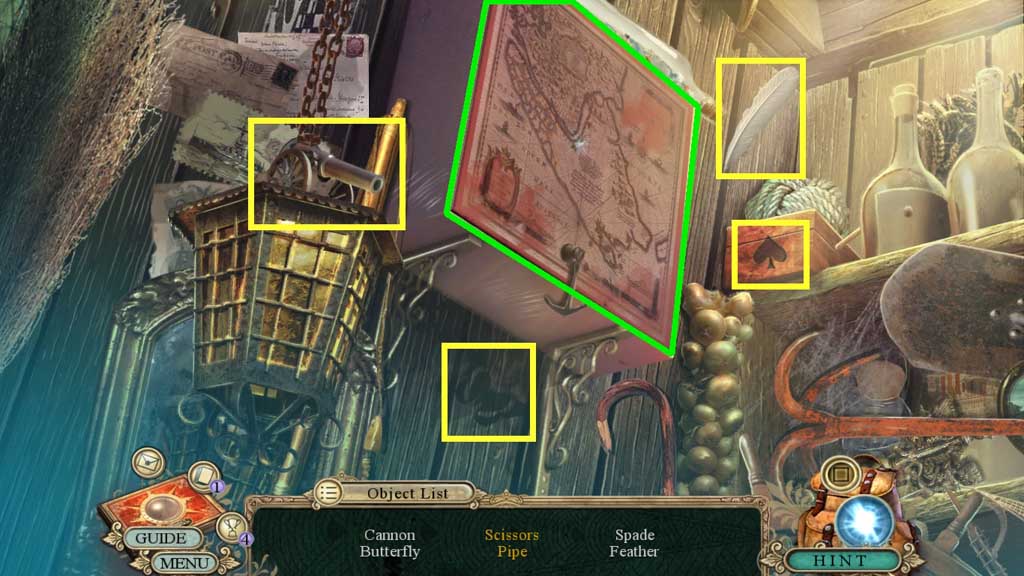

- Find the items.
- Click the cabinet; collect the scissors and the pipe.
- Select the nail puller and use it to remove and collect the nail.
- Select the paintbrush and swipe it into the paint; use it to paint and collect the red ship.
- Collect the red gear.
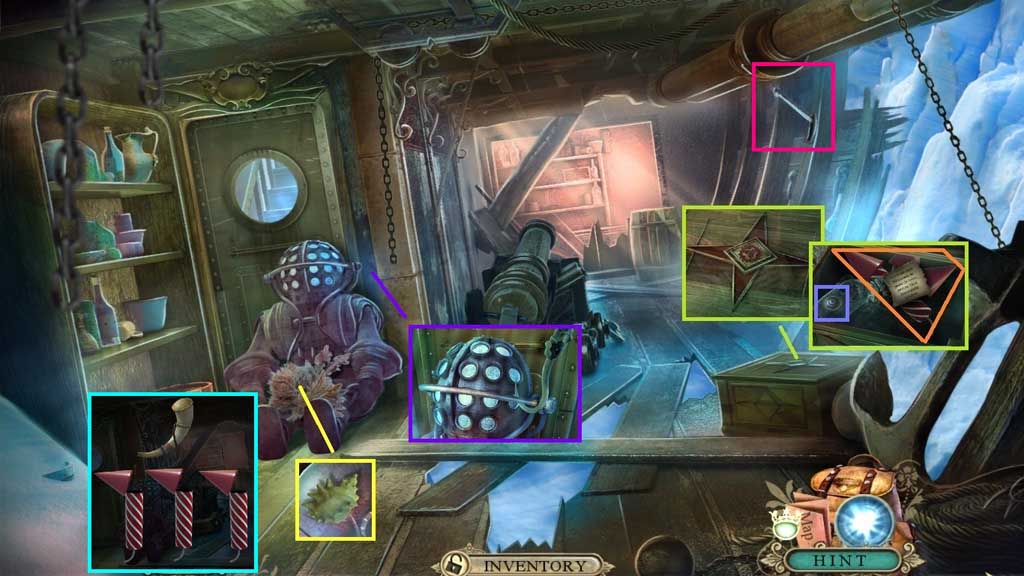
- Insert the red gear; read the note.
- Collect the empty fireworks and 1 /2 checkers tokens.
- Click the items aside; collect 1/ 3 sea shells.
- Attach the hook, click it once.
- Click the lever.
- Pour the gunpowder pouch into the empty fireworks; collect the loaded fireworks.
- Move through the doorway.
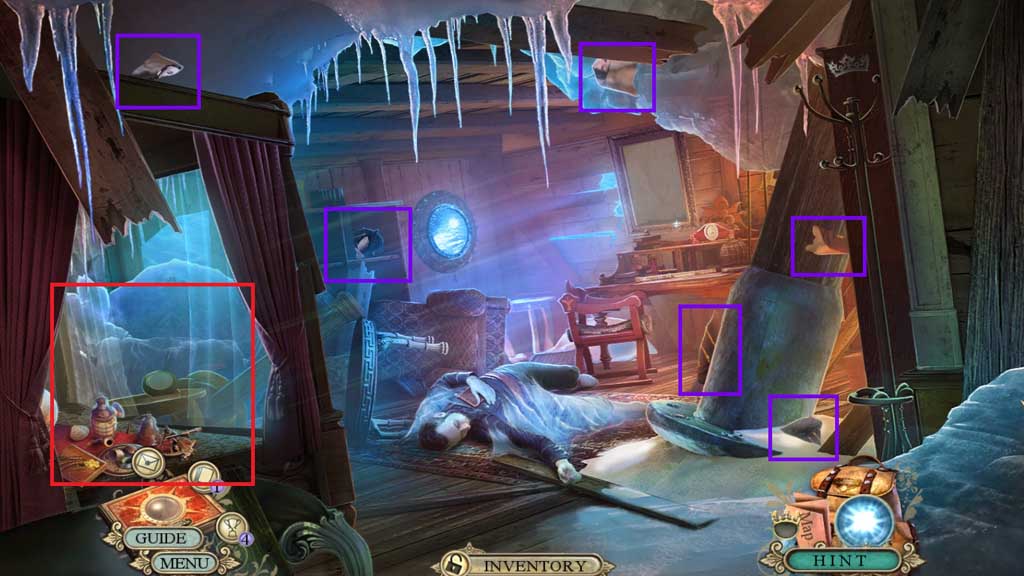
- Collect the 6 painting pieces.
- Click the hidden objects area.

- Find the items.
- Collect 2/3 sea shells.
- Insert the 6 painting pieces to trigger a mini game.
- Solve the game by assembling the portrait.
- Collect 4 /20 fact cards.
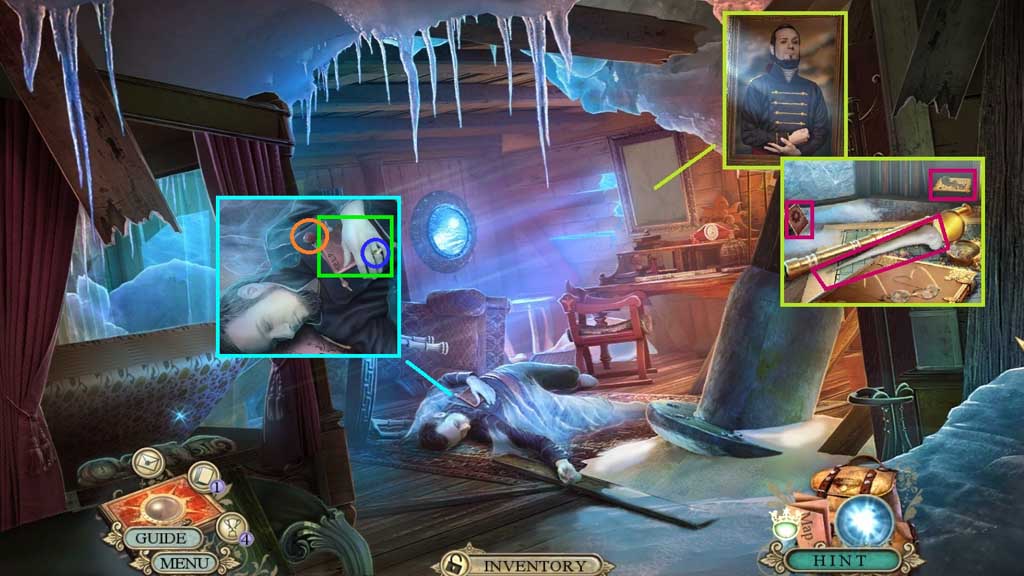
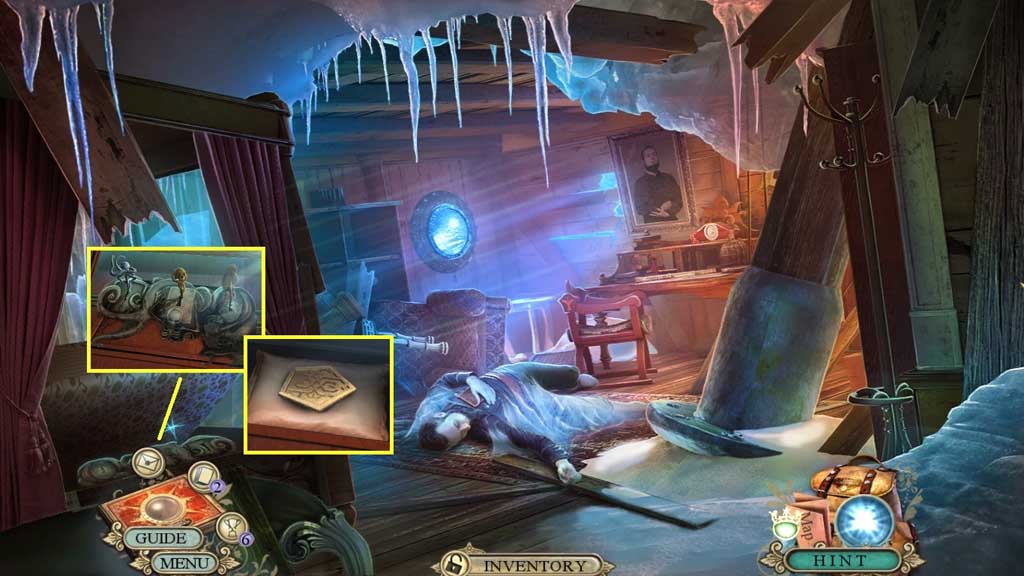
- Collect the mermaid key, the note and the sharp bone.
- Examine the book.
- Collect the H.E.L.P. signet ring and 2 /2 checkers tokens.
- Move down once.
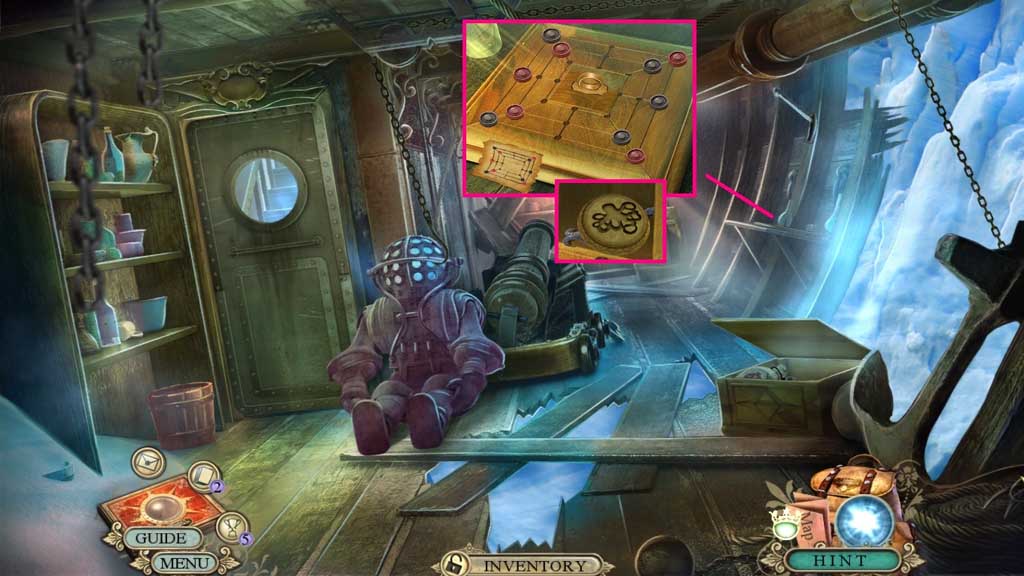
- Place the 2 checkers tokens onto the board to trigger a mini game.
- Solve the game by creating the pattern shown in the diagram.
- Insert the H.E.L.P. signet ring; collect the locket and the kraken key.
- Move down once.
- Collect the piece of rope.
- Select the sharp bone; collect 3 /3 sea shells.
- Place down the loaded fireworks and the piece of rope.
- Select the lighter to ignite them.
- Click the tarp.
- Insert the 3 sea shells; collect the dead man’s key.
- Move to the Captain’s cabin.
- Insert the kraken key, the dead man’s key and the mermaid key.
- Click the item inside.
- Move into the Common Room.
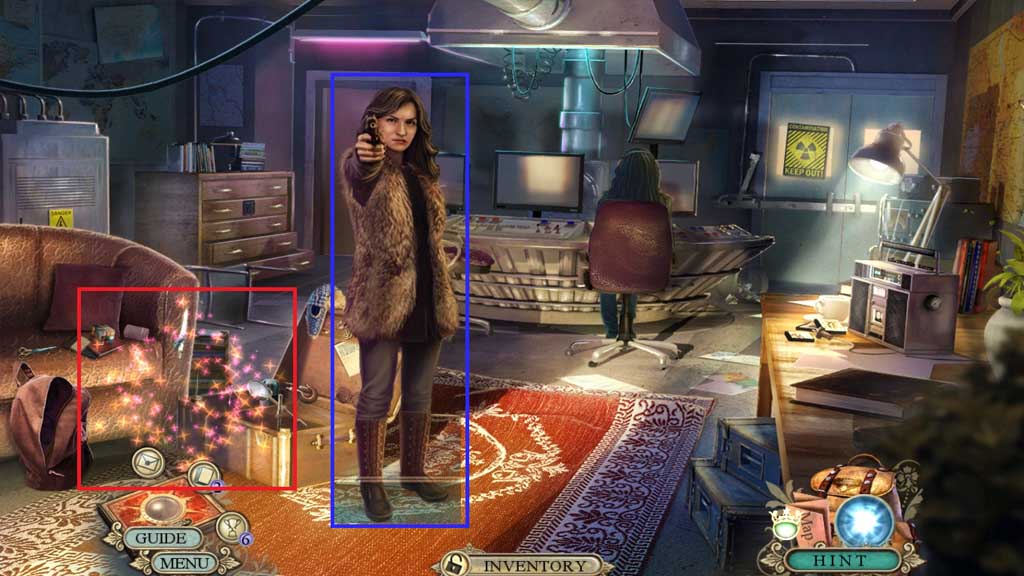
- Speak to Irene and receive 1 /3 antenna fuses.
- Click the hidden objects area.

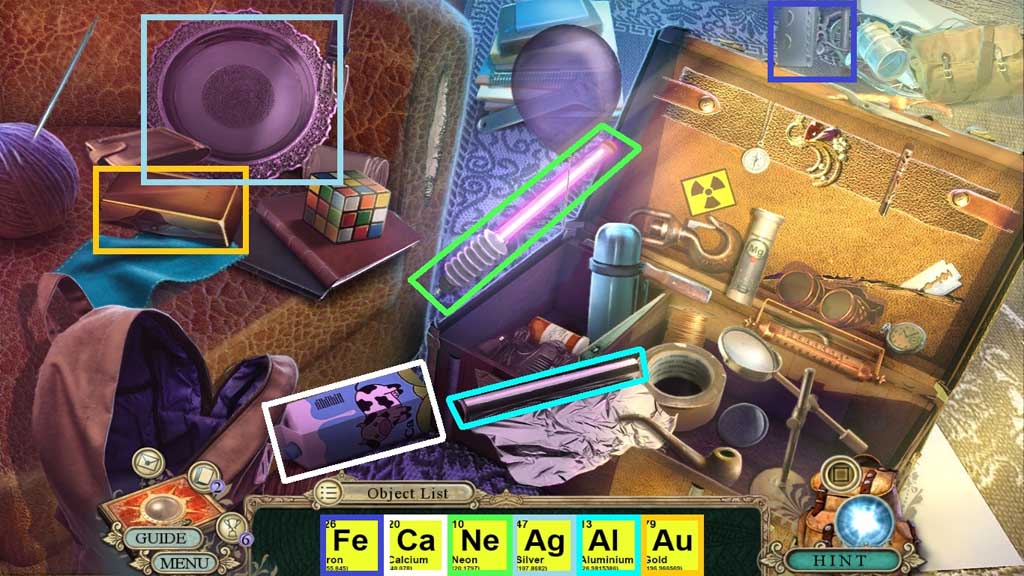
- Find the items.
- Select the tool to collect the postcard.
- Click the hat; collect the paw print.
- Click the backpack; collect the rope.
- Click the pillow; collect the king and place it with the queen; collect the royal couple.
- Collect the scissors.
- Collect 5 /20 fact cards.
- Click the socks; collect the microscope lens.
- Move to the Bunk Room.

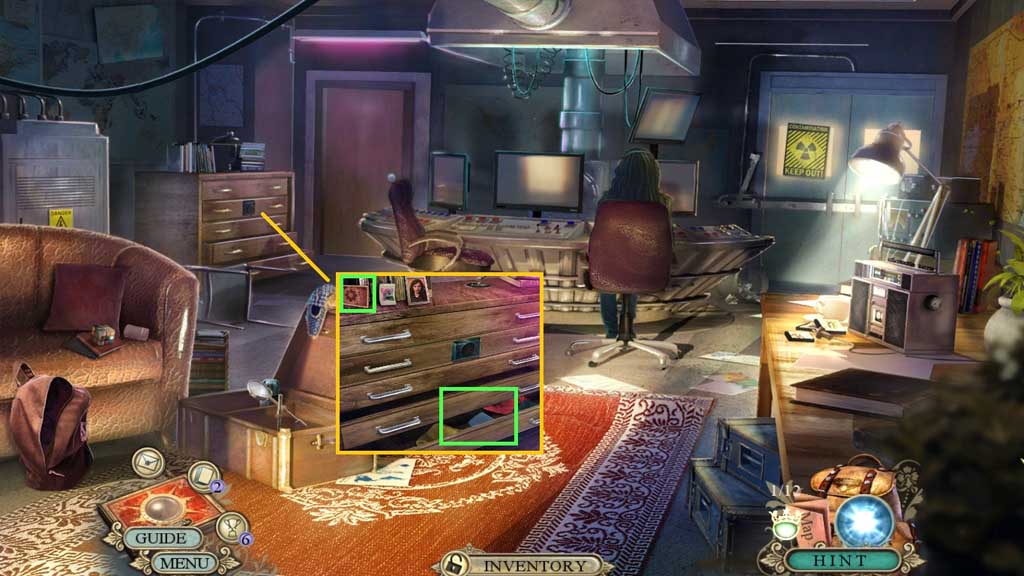
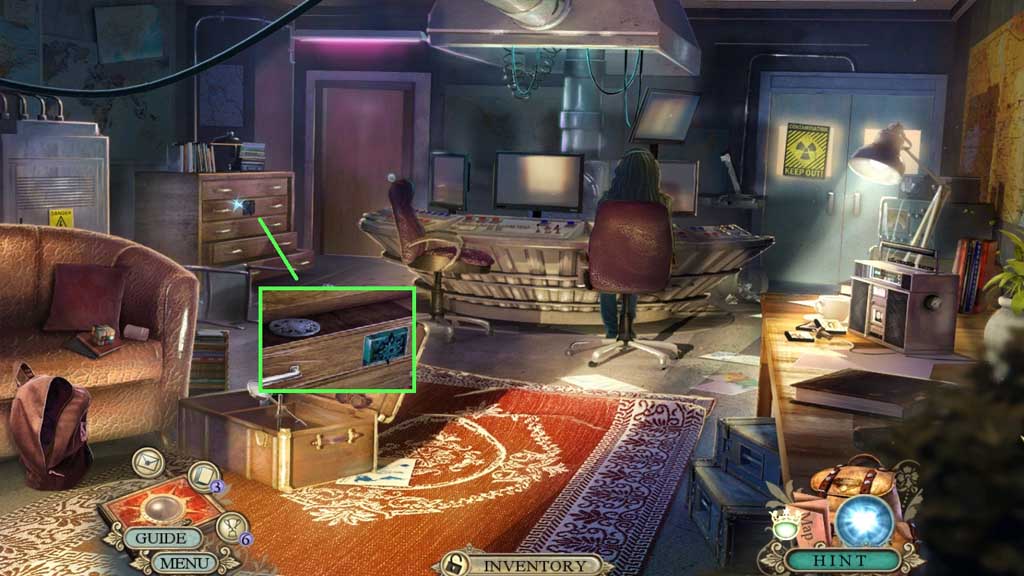
- Click the locker; read the diary and click all of the books.
- Collect the glass cutter.
- Click the box; collect the microfilm.
- Select the scissors to collect the handle.
- Click the curtain; collect the safety goggles, Mr. Fluffy and 2 /3 antenna fuses.
- Move down 2x’s.
- Collect the screwdriver.
- Attach and click the handle; collect 3 /3 antenna fuses, the bathroom key and the tent cord.
- Move to the Bunk Room.

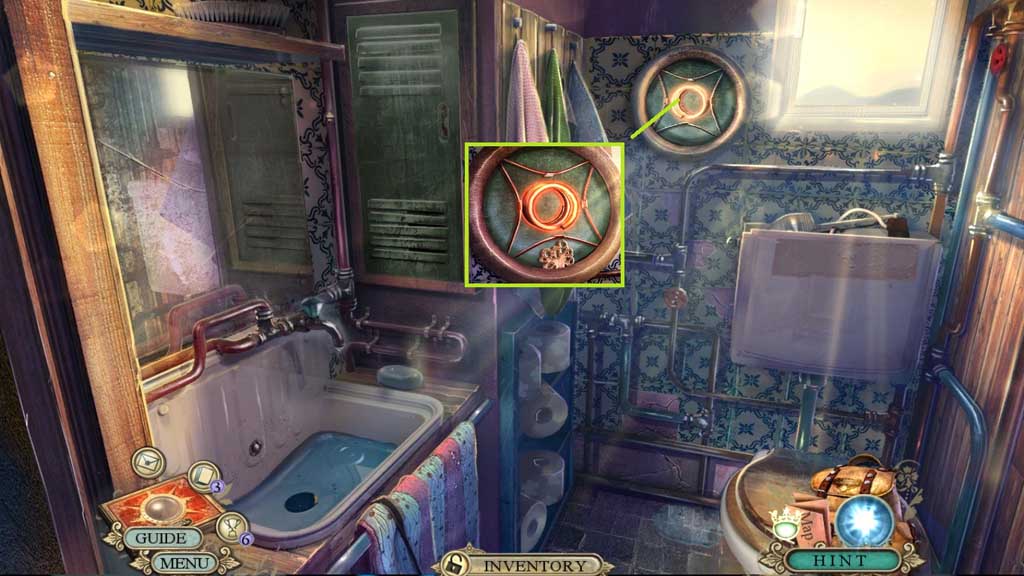
- Insert the bathroom key; click it once.
- Enter the doorway.
- Chapter-2-18-Broom
- Collect the broom.
- Click the cabinet to trigger a hidden objects area.
- Find the items.
- Click the sponge; collect the bracelet.
- Collect the metallic sponge.
- Select the screwdriver to collect 1 /2 workbench symbols.
- Move down 3x’s.

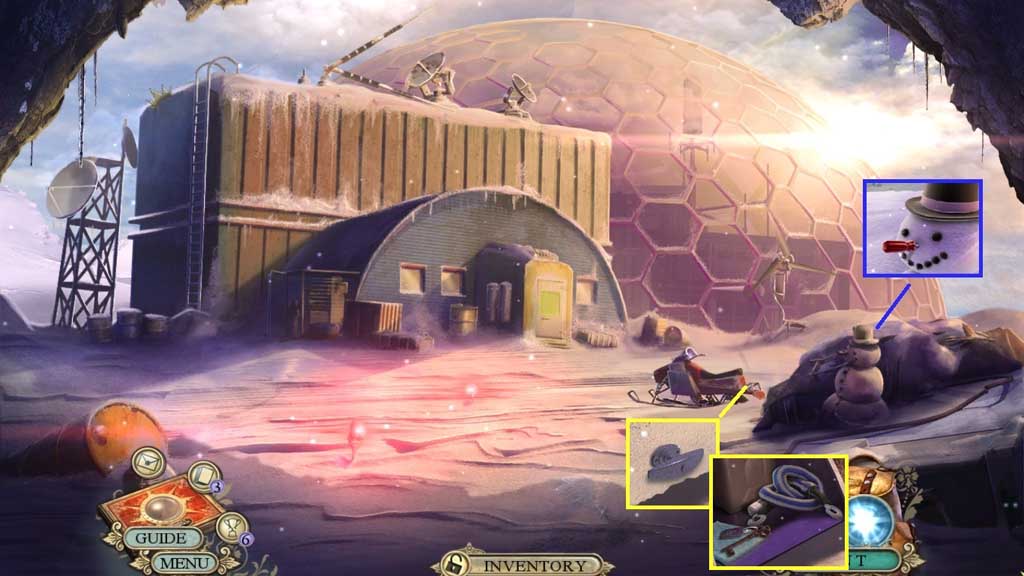
- Clear the snow 3x’s using the broom.
- Click the lid; collect the flare.
- Read the note and collect the bag of salt.
- Pour the bag of salt onto the iced ladder; collect the lever.
- Insert the 3 antenna fuses to trigger a mini game.
- Solve the game by clicking the fuses correctly to make sure the colored fuses add up to the same amount.
- Click the tape.
- Move to the Common Room.
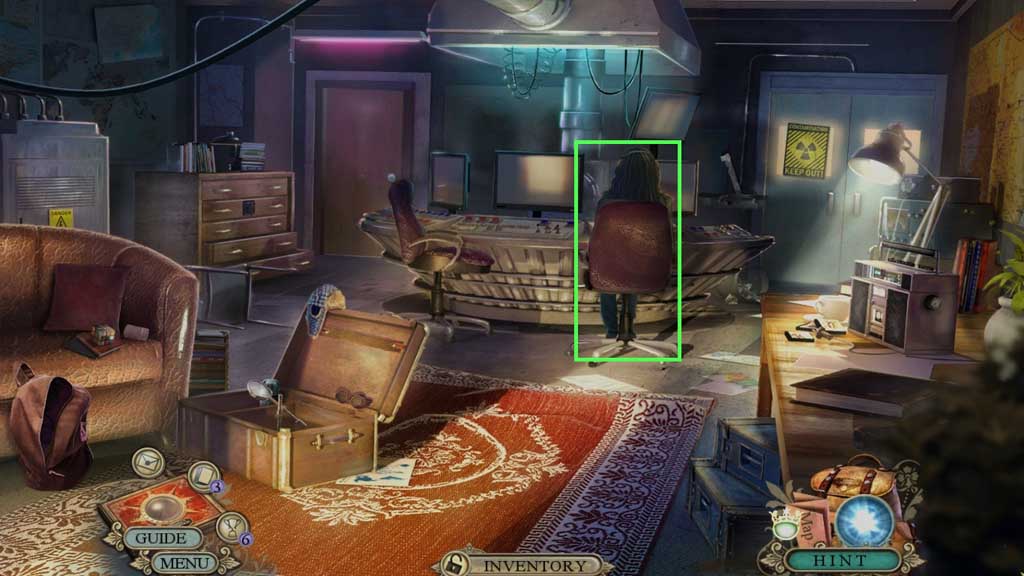
- Speak to Irene.
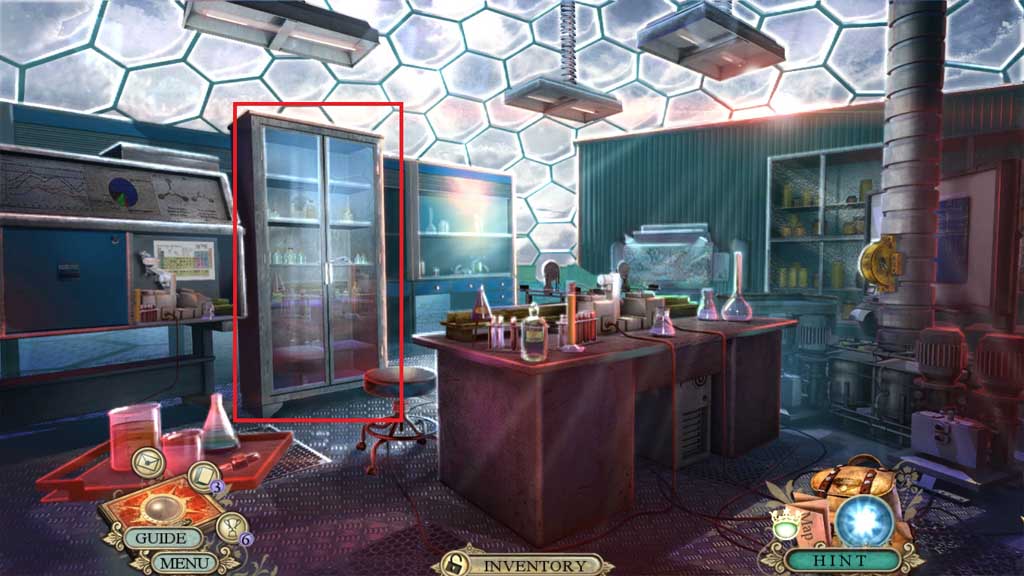
- Move to the Lab.
- Select the safety goggles to use on the scene.
- Insert the lever; click it once.
- Collect 6 /20 fact cards.
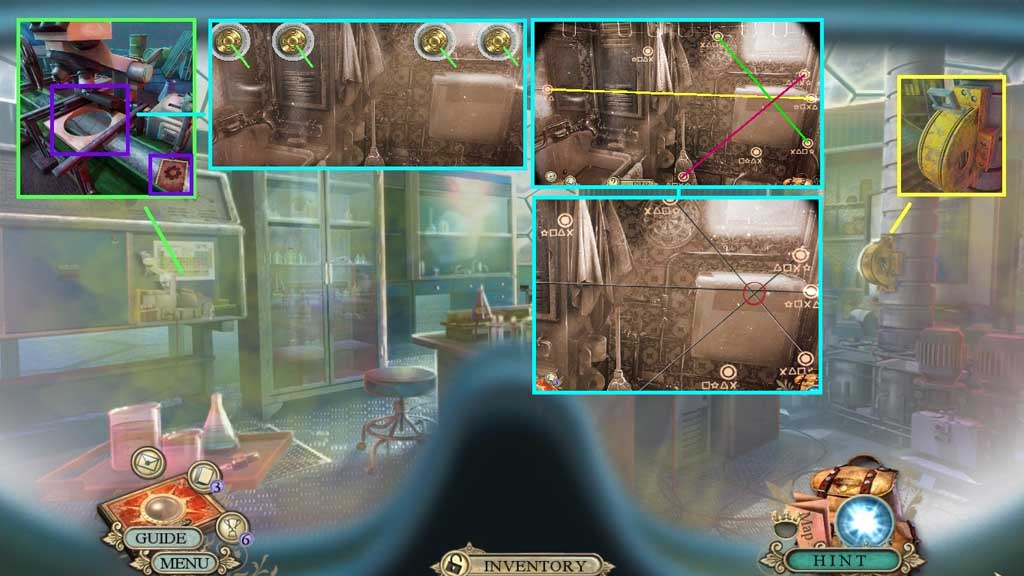
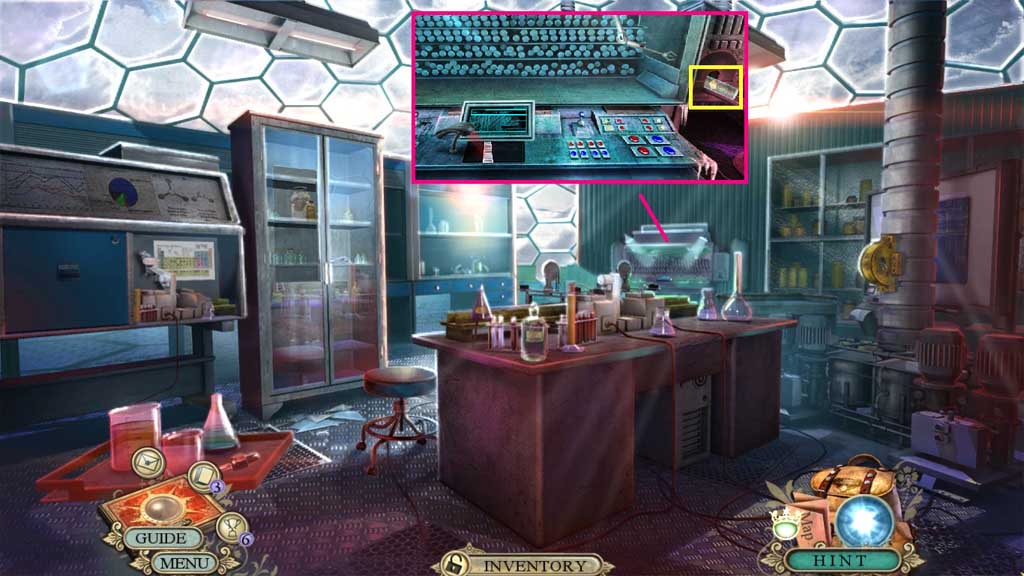
- Attach the microscope lens and the microfilm to trigger a mini game.
- Solve the game by adjusting the knobs to the correct position, then connecting the dots with the same symbols and finally clicking the targeted spot.
- Select the glass cutter to trigger a hidden objects area.

- Find the items.
- Collect the wooden compass.

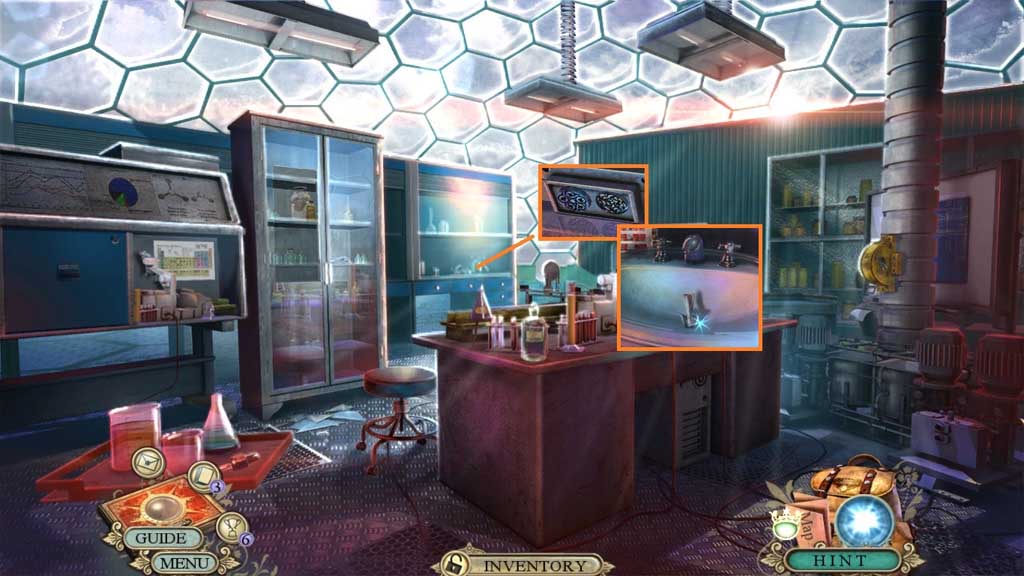
- Select the metallic sponge to collect the oxygen valve.
- Move down once.
- Attach the wooden compass; collect 2 /2 workbench symbols.
- Move to the Lab.
- Insert the 2 workbench symbols.
- Click all of the items; collect the arrowhead.
- Move to the Bathroom.

- Use the arrowhead to slice the seal; click the lid.
- Collect the plastic bag.
- Click the plastic bag; collect the specimen bar code.
- Move to the Lab.
- Attach the specimen bar code.
- Click the button; collect the frozen specimen.
- Move to the Bathroom.
- Insert the frozen specimen; collect the bronze amulet piece and the crown fragment.
- Move to the Common Room.
- Speak to Irene; receive the cabinet key.
- Move to the Bunk Room.
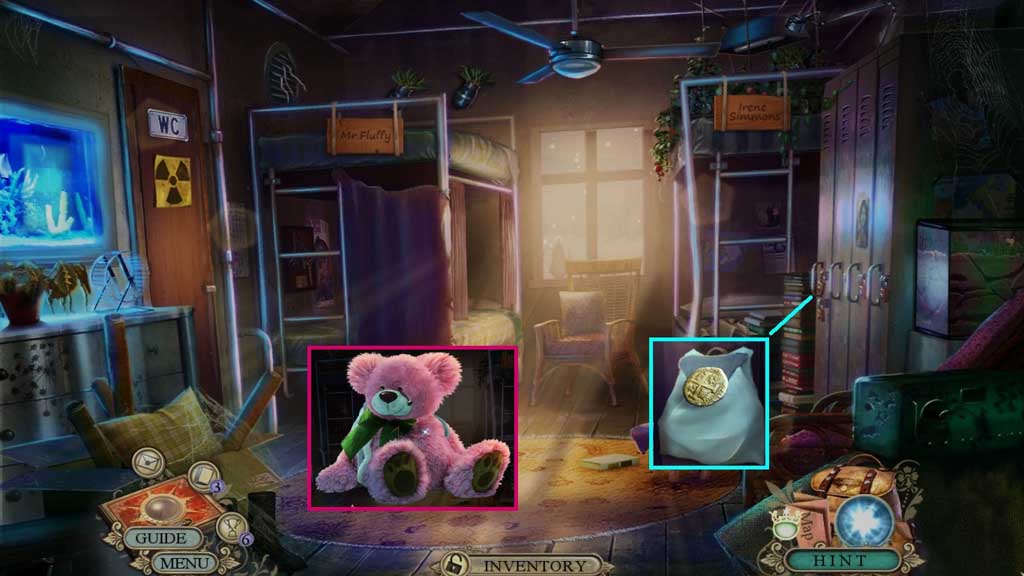
- Insert the cabinet key; collect the doubloon and Mr. Fluffy’s backpack.
- Place Mr. Fluffy’s backpack onto Mr. Fluffy’s back.
- Move down 2x’s.
- Give Irene Mr. Fluffy.
- Move to the Submarine Bridge.