
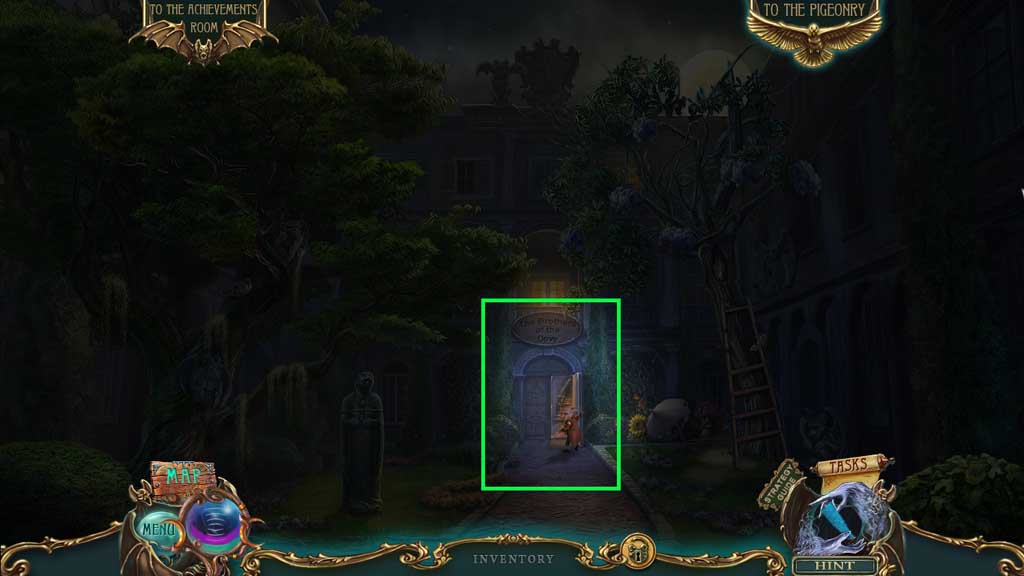
- Zoom into the door.
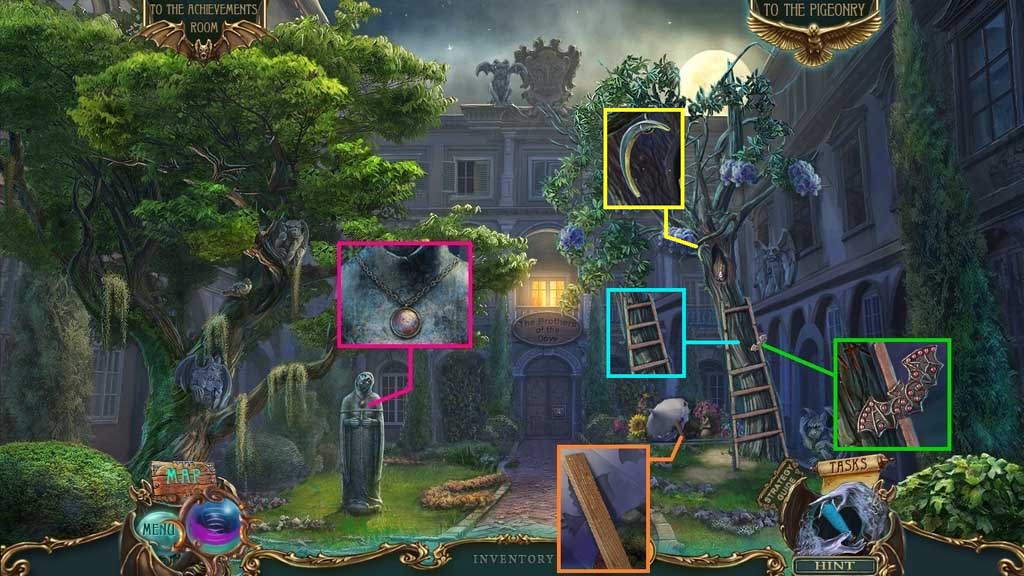
- Collect the full moon.
- Collect 2 /2 planks.
- Collect the jeweled bat.
- Place the 2 planks onto the ladder.
- Collect the crescent moon.
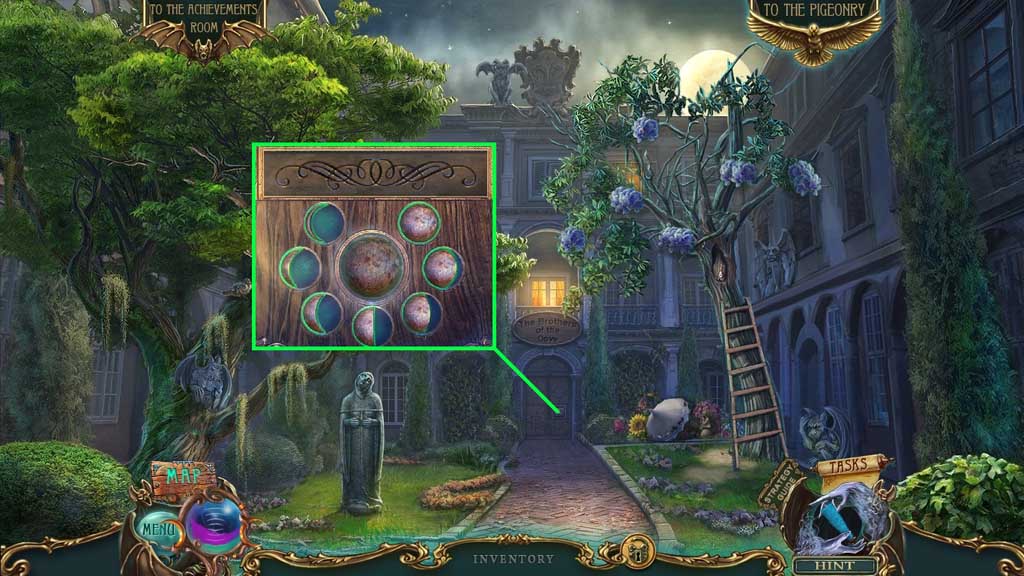
- Insert the half, full and crescent moons to trigger a mini game.
- Solve the game by arranging the moons in the correct order.
- Move ahead once.
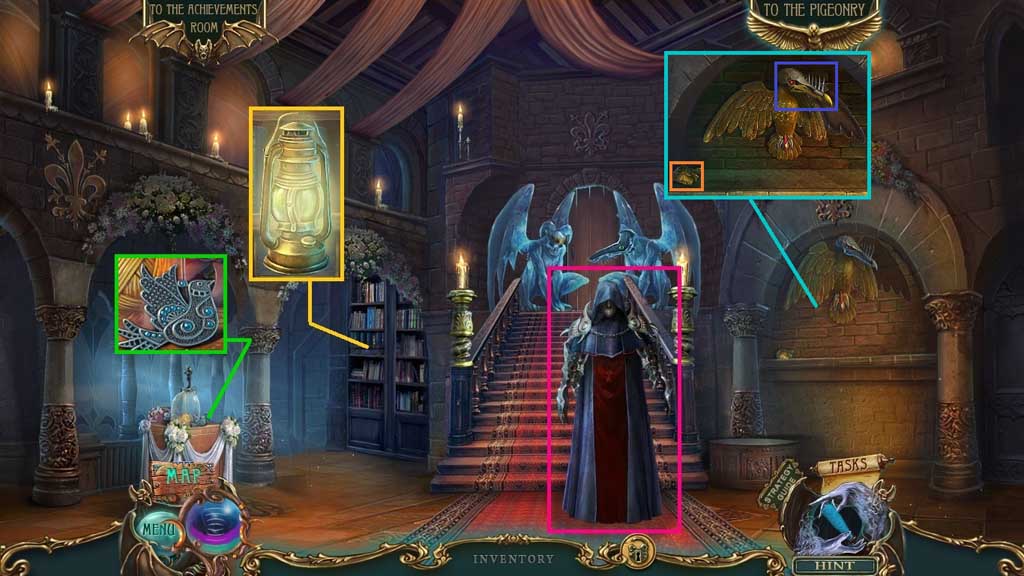
- Speak to the man.
- Zoom into the lantern and click it on.
- Collect the jeweled dove.
- Collect the statuette head and the bird skull.
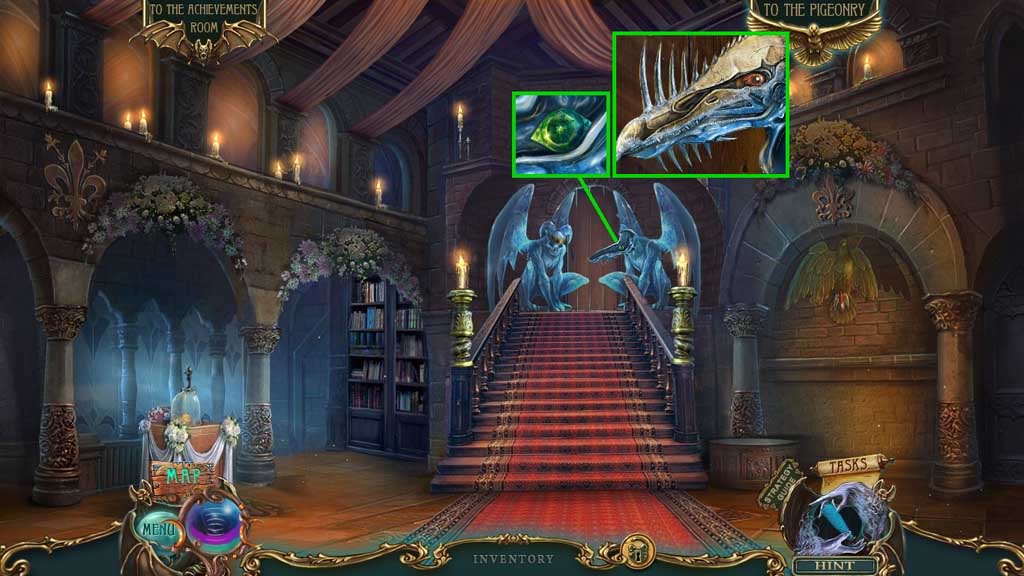
- Collect the green stone.
- Attach the bird skull.
- Move down once.
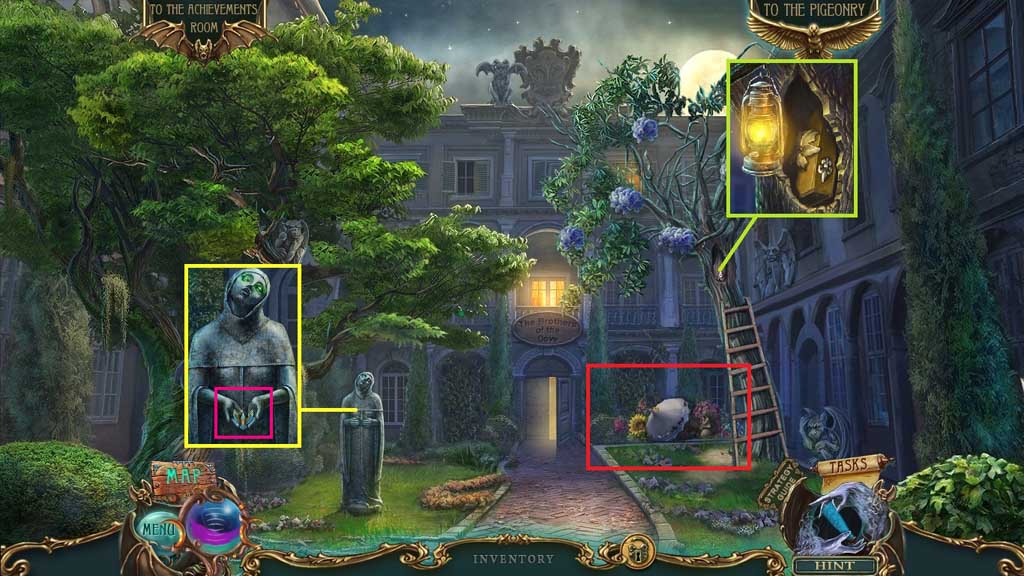
- Place the lantern onto the hook.
- Collect the lily emblem and the yellow book.
- Insert the green stone; collect the bird figure.
- Insert the jeweled bat and the dove to trigger a hidden objects area.
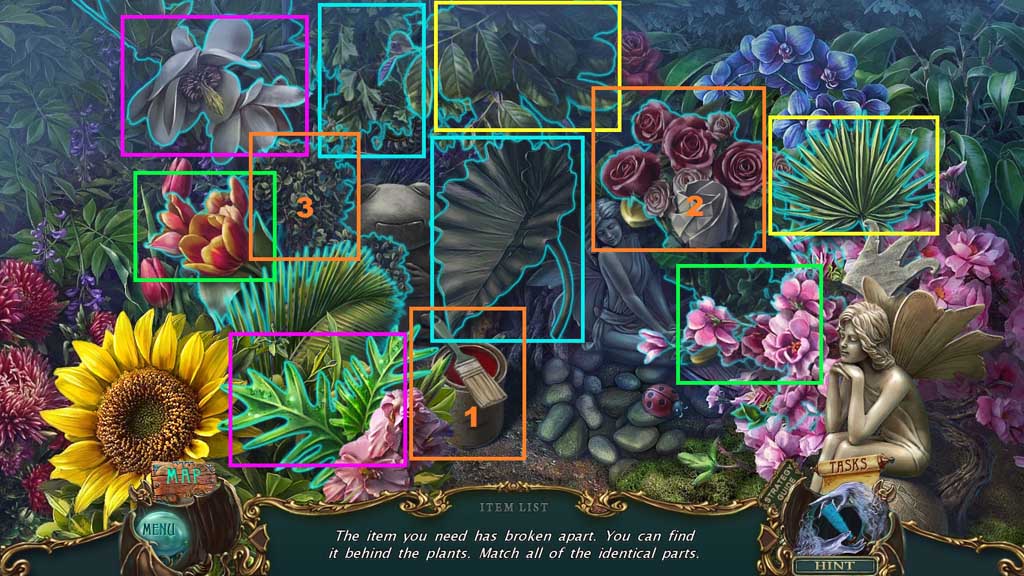
- Find the items.
- Collect the right wing.
- Move ahead.

- Attach the right wing; collect the bird figurine.
- Insert the violet, red and yellow books; collect the spade emblem and insert it into the statue headband.
- Move ahead once.
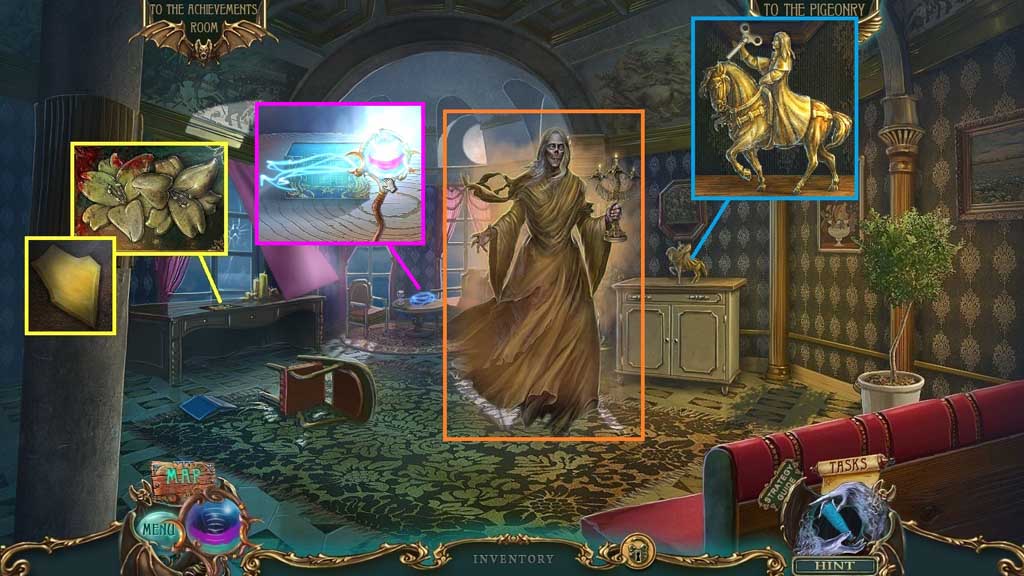
- Speak to the Fate.
- Insert the lily emblem; collect the colored glass.
- Attach the statuette head; collect the key.
- Click the staff and use it on the box to trigger a mini game.

- Solve the game by following the prompts correctly.
- Collect the hourglass.
- Move down once.
- Insert the Lucia figurine and the key; click it once.
- Collect the threads of fate.
- Move ahead.
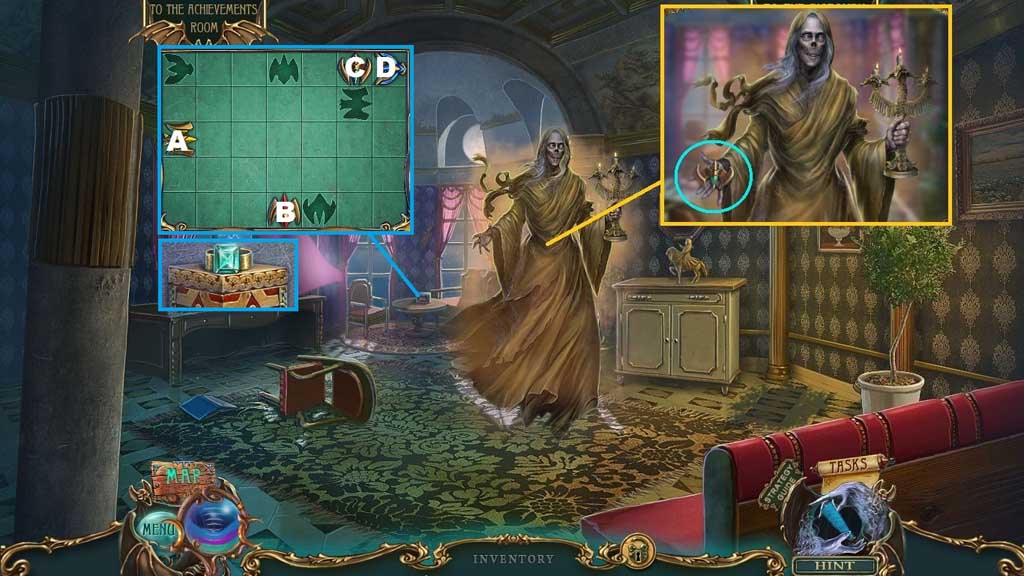
- Give the threads of fate to the Fate; collect the bird figure and insert it into the box to trigger a mini game.
- Solve the game by guiding the birds into the correct spots.
- Solution: D – C x 4 – A x 3 – B x 2 – A x 2 – D x 5 – B x 2
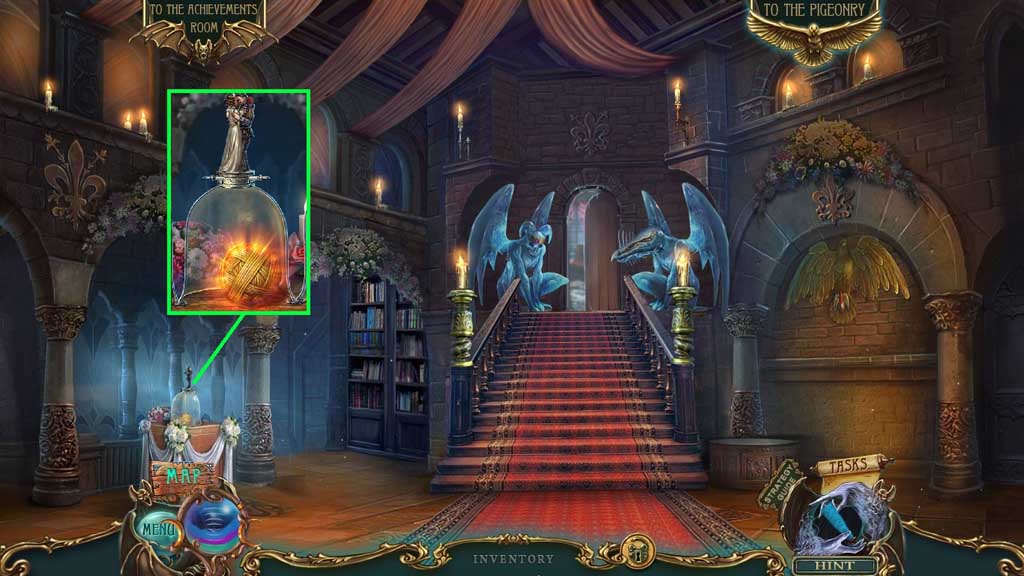
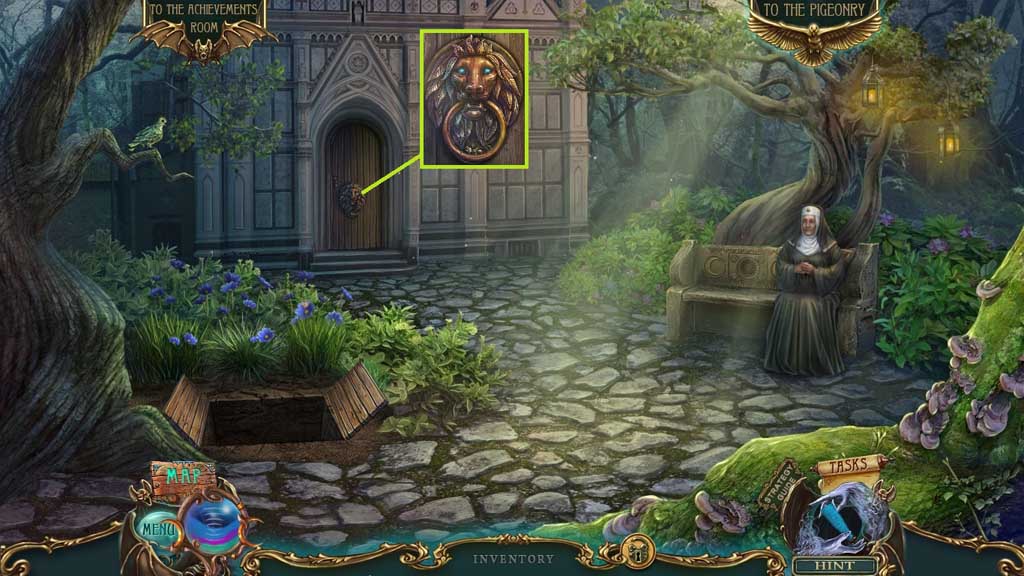
- Attempt to collect the ring.
- Move down 3x’s.
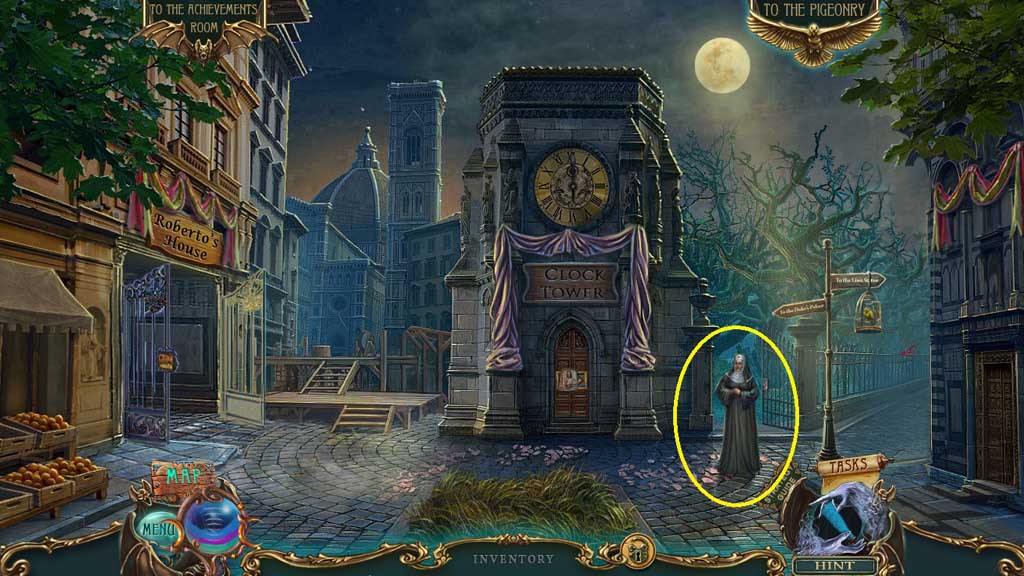
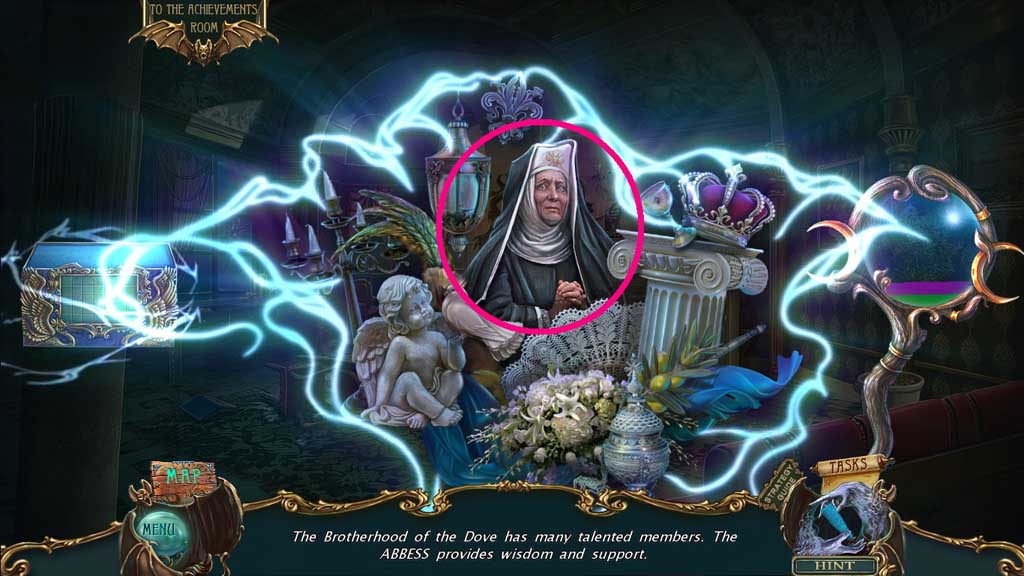
- Speak to the Abbess.
- Move ahead through the gate.
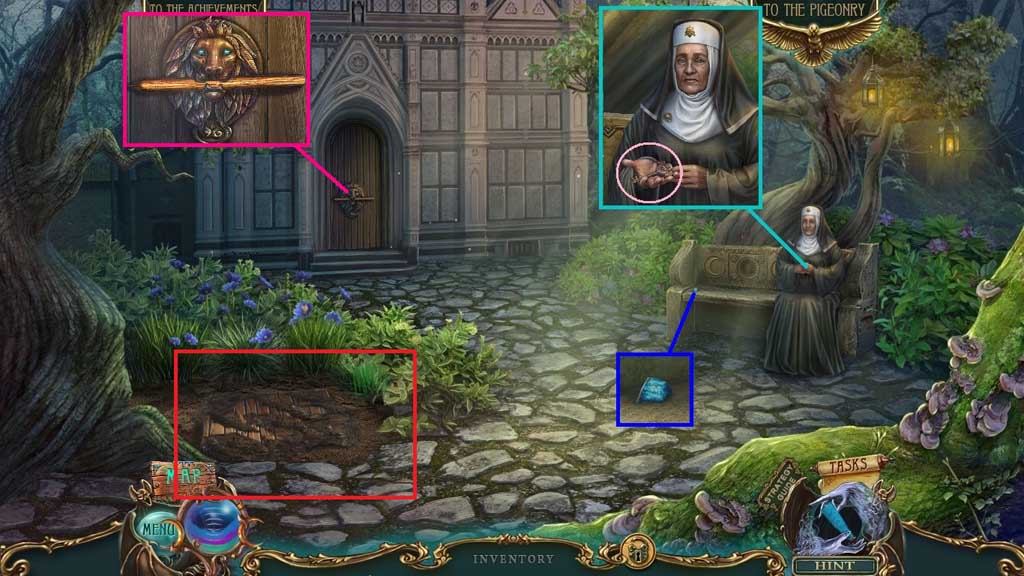
- Speak to the woman and collect the cabinet key.
- Collect the eye gem and insert it onto the groove; collect the lever.
- Click the dirt and insert the lever to trigger a hidden objects area.
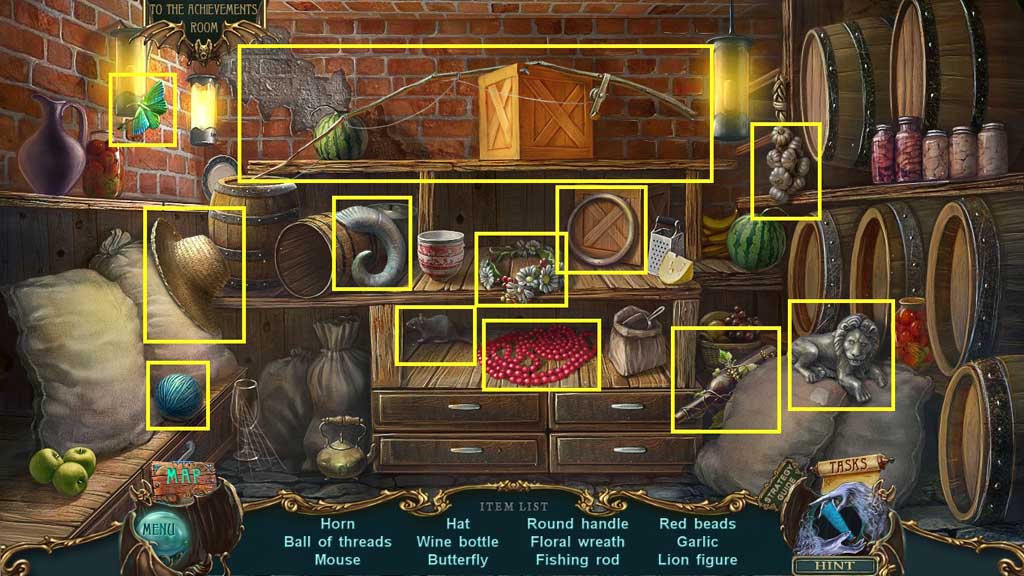
- Find the items.
- Collect the round handle.
- Attach and click the round handle.
- Move ahead.