

- Click “Show All.”
- Zoom into the scene.
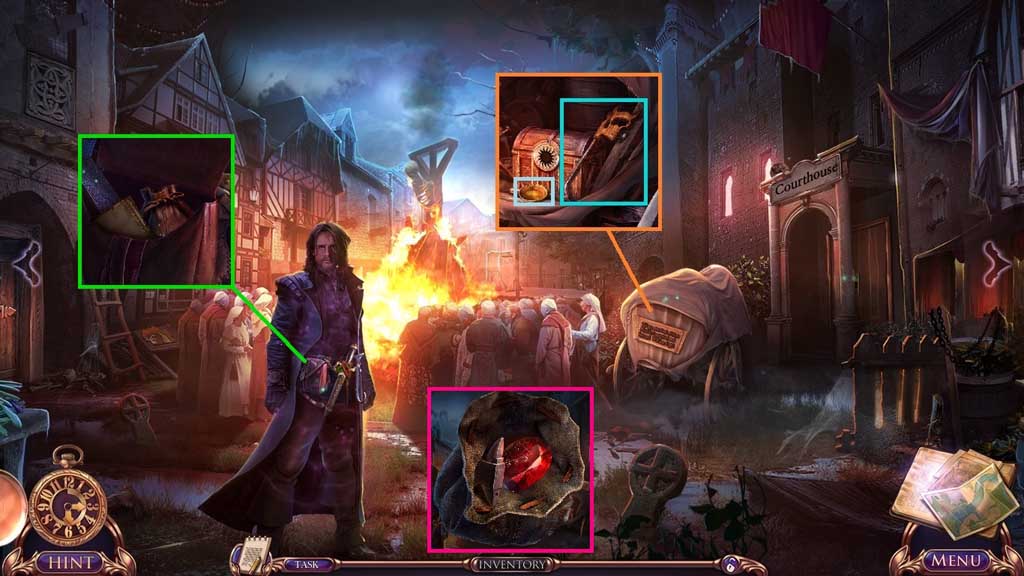
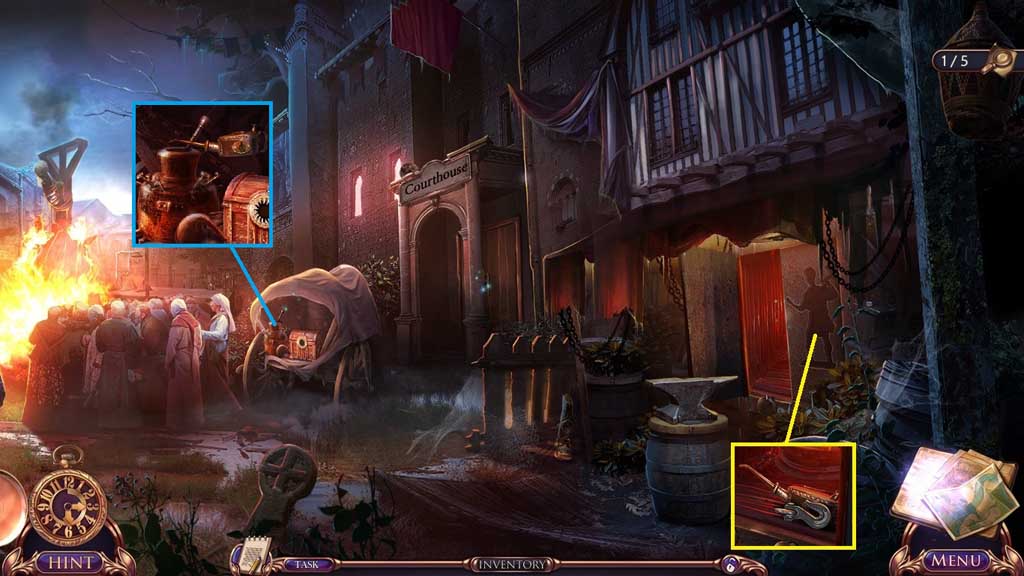
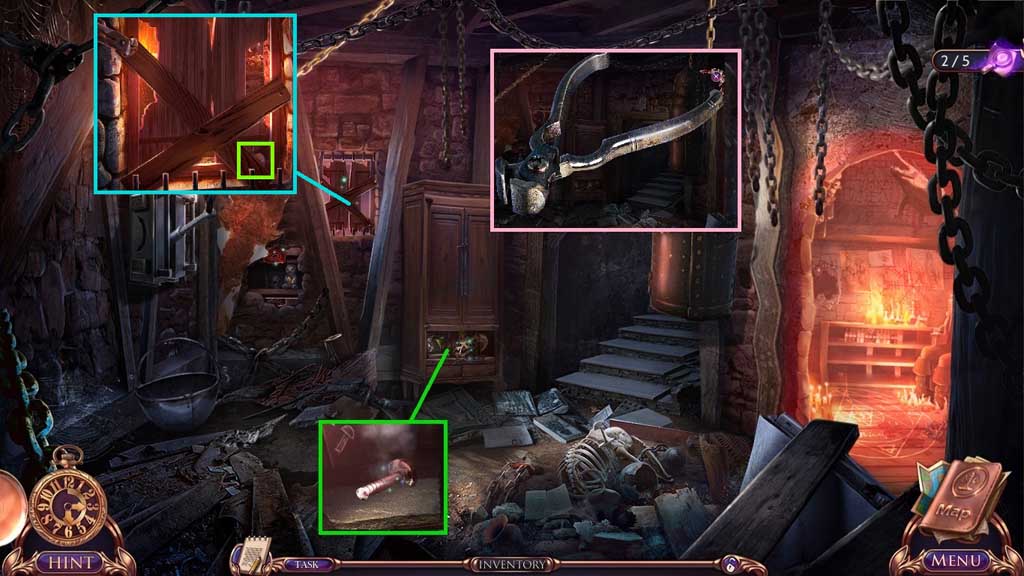
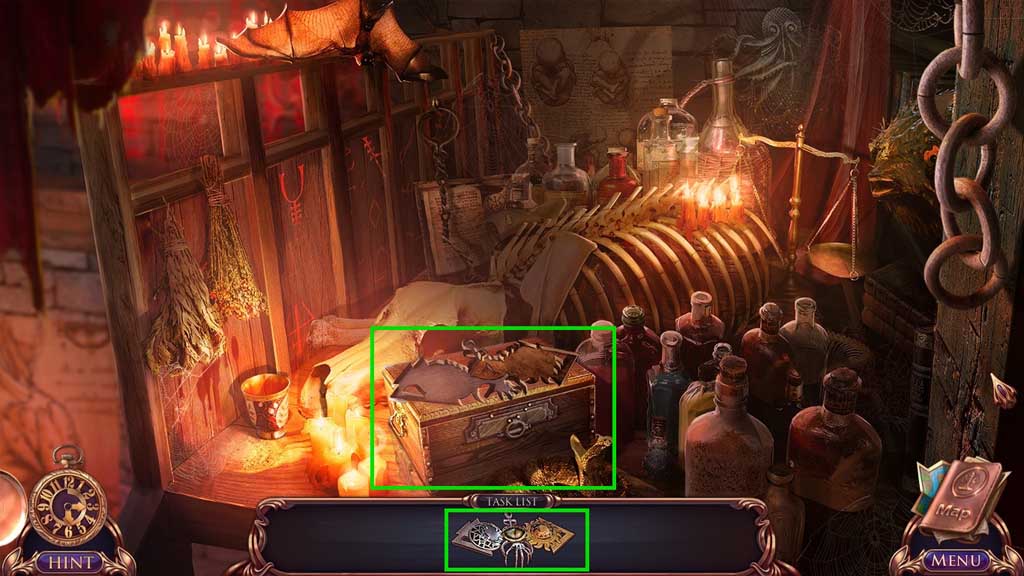
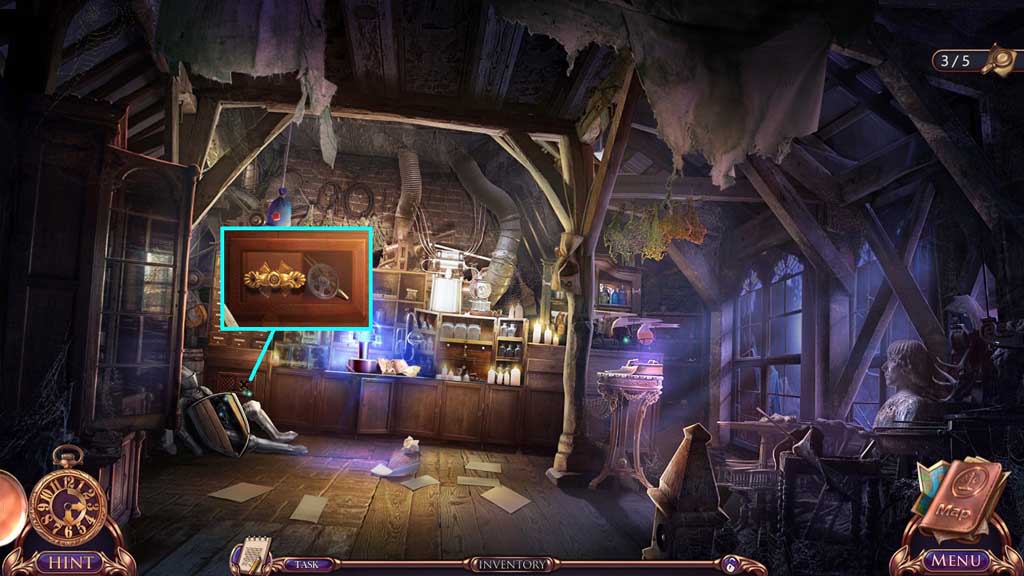
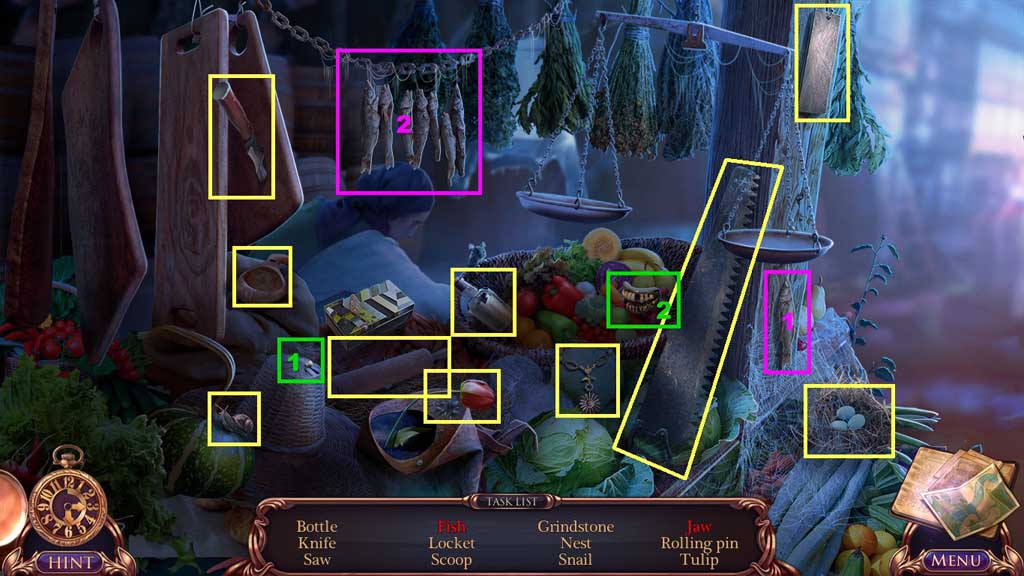
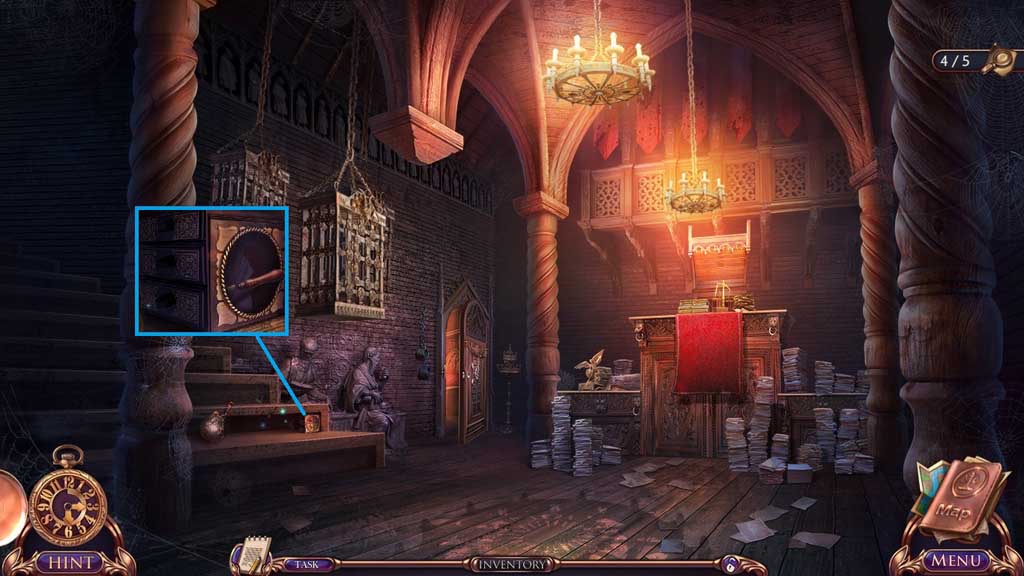
- Select the toy scissors to collect 1 /2 scale pans and the saw part.
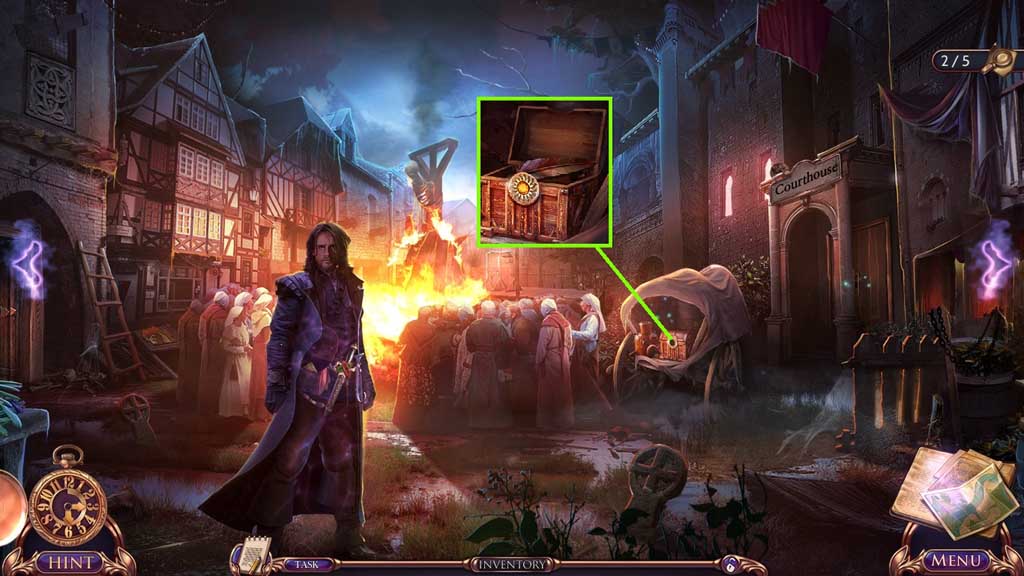
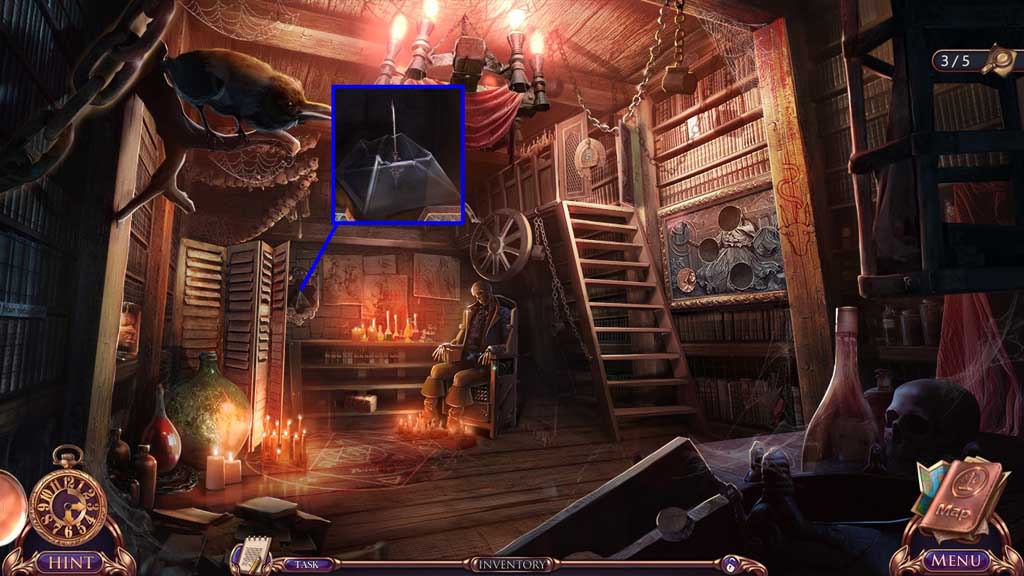
- Click the bag; collect the package and the grindstone.
- Click the package open; collect the anvil amulet and the Philosopher’s stone.
- Scroll to the right.
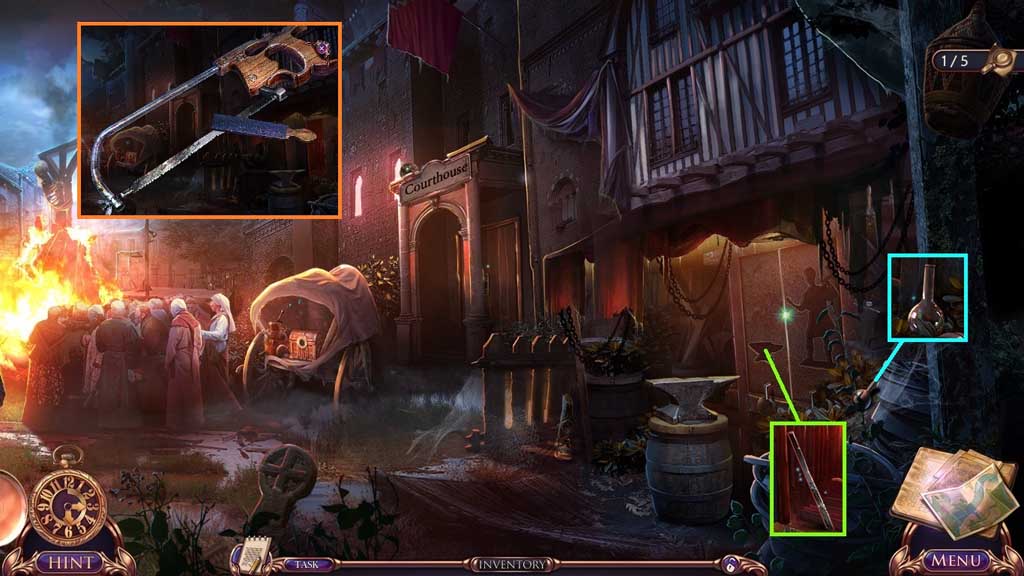
- Insert the anvil amulet; collect the saw blade and 1 /2 flasks.
- Select the saw blade and the grindstone to use on the saw part.
- Scroll to the left.
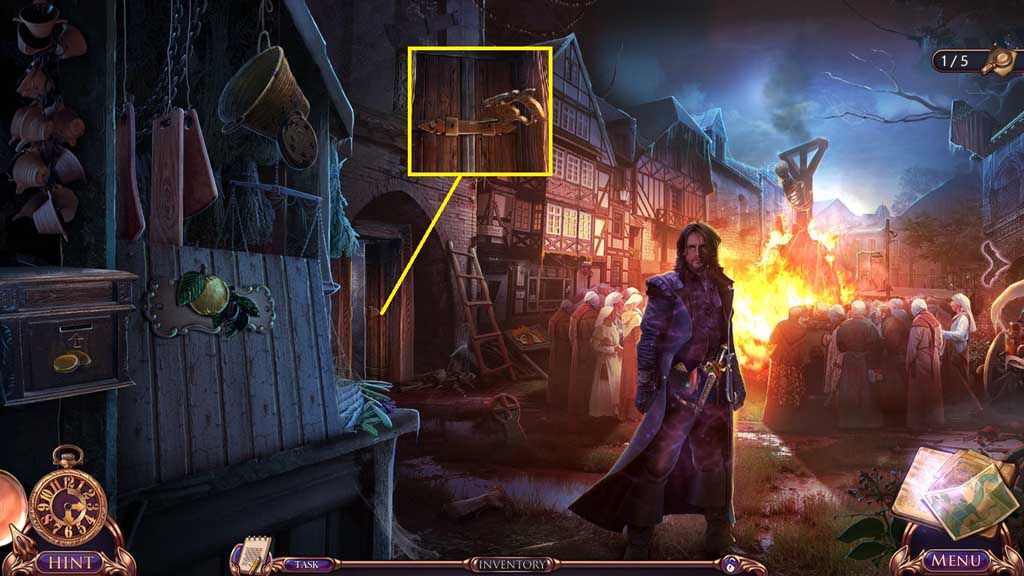
- Select the saw to remove the barrier.
- Move to the left.
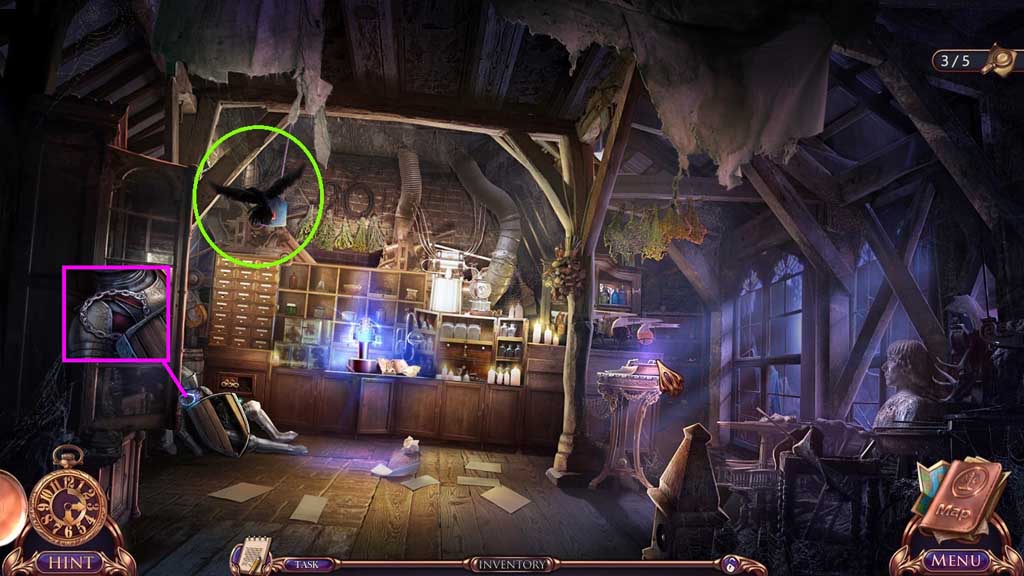
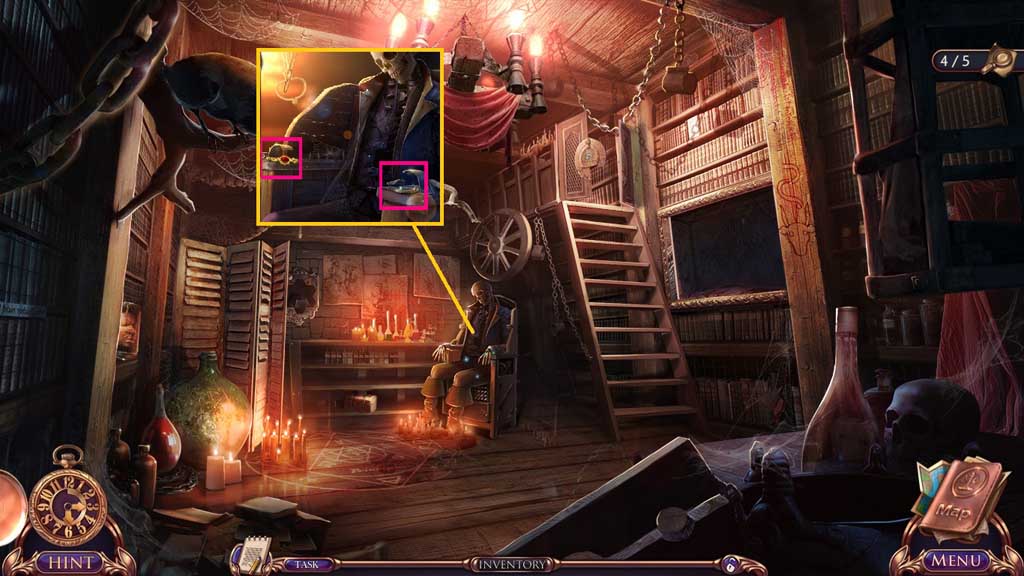
- Select the saw to collect the flask and the blacksmith amulet.
- Move down once and scroll to the right.
- Insert the blacksmith amulet; collect the hook and the oil can.
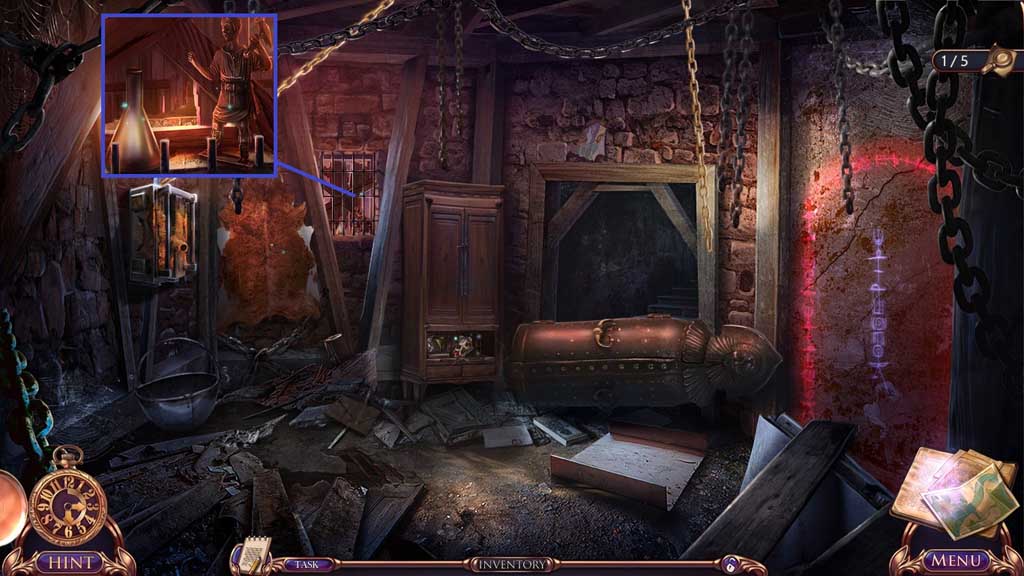
- Select the oil can to lubricate the rust; collect the lever and the nails.
- Move to the First Floor.
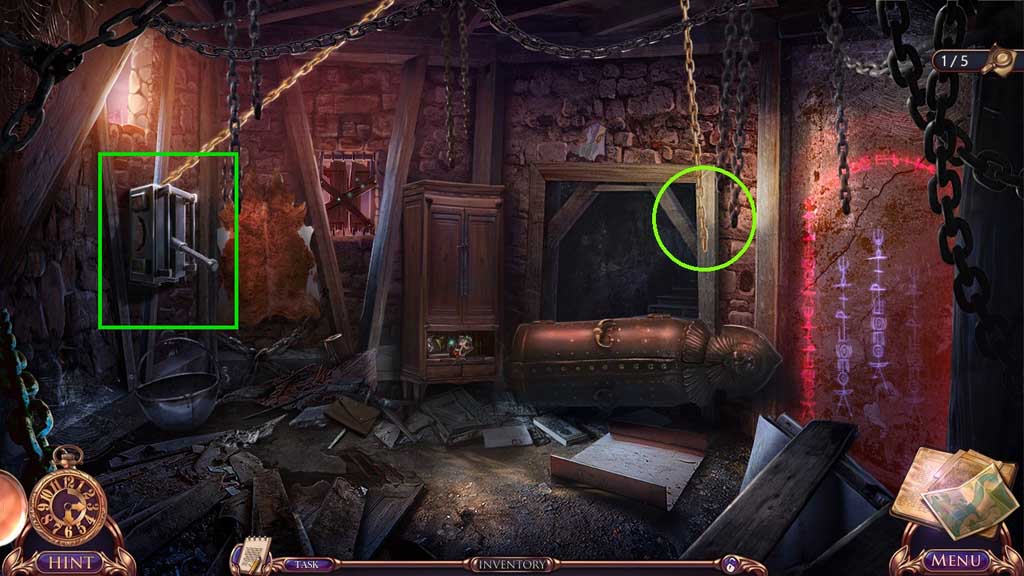
- Attach the hook onto the chain and click it once.
- Select the oil can to remove the rust.
- Attach and click the lever to trigger a hidden objects area.

- Find the items.
- Collect the goat horn.
- Move ahead to the Second Floor.
- Read the note.
- Collect the goat horn.
- Move down once.
- Attach the goat horns.
- Collect the bloody stone.
- Click the pelt; insert the bloody stone.
- Collect the candle of darkness, the butterfly wings and the Mage’s diary.
- Click the Mage’s diary to trigger a mini game.
- Solve the game by assembling the page fragments.
- Collect the key of light.
- Move down once.
- Insert the key of light.
- Collect the Phoenix feather.
- Move to the Second Floor.
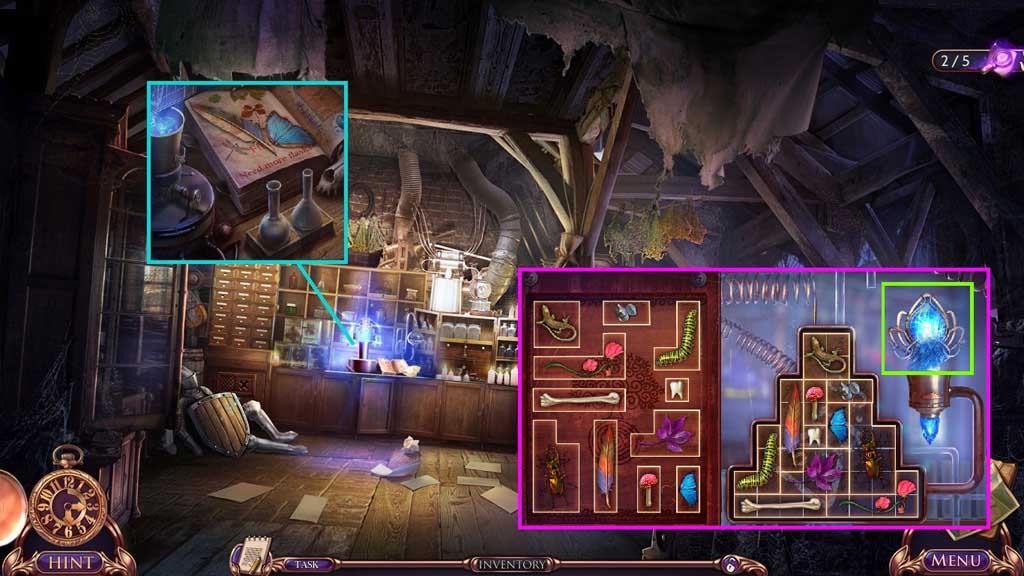
- Place the flasks, the butterfly wing and the Phoenix feather to trigger a mini game.
- Solve the game by aligning the ingredients correctly.
- Collect the secret glass.
- Move down once.
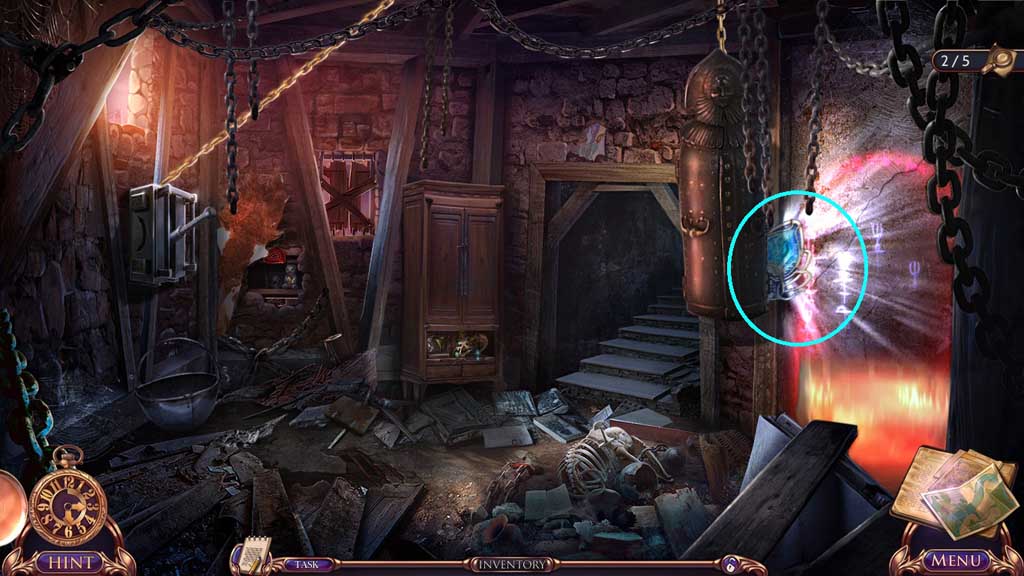
- Select the secret glass to open the doorway.
- Move to the right.

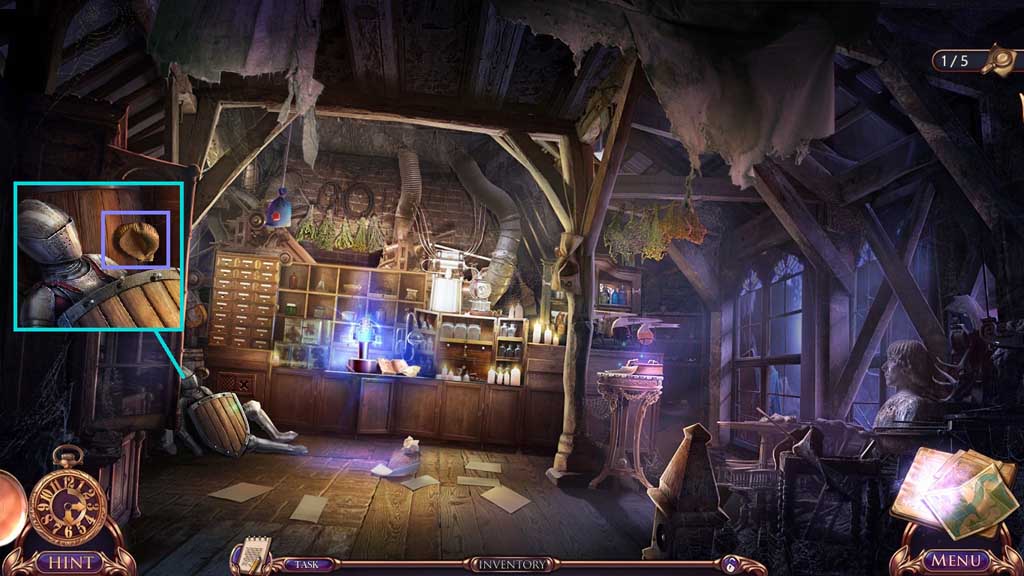
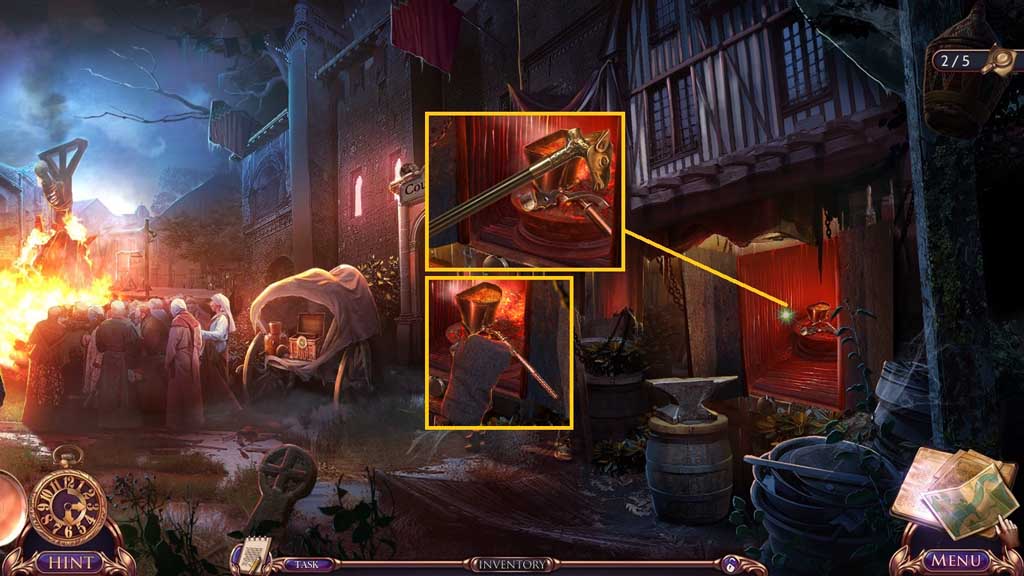
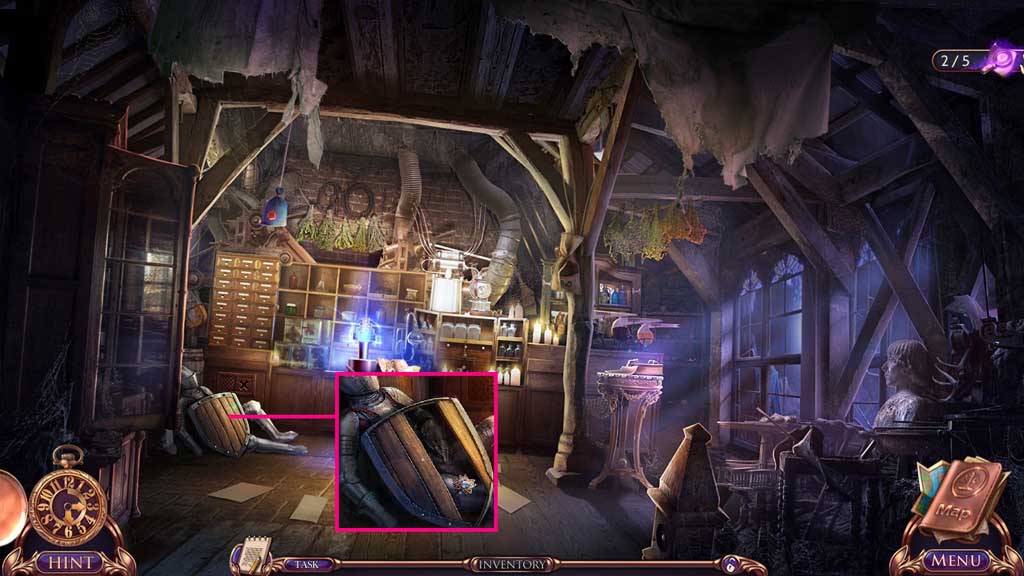
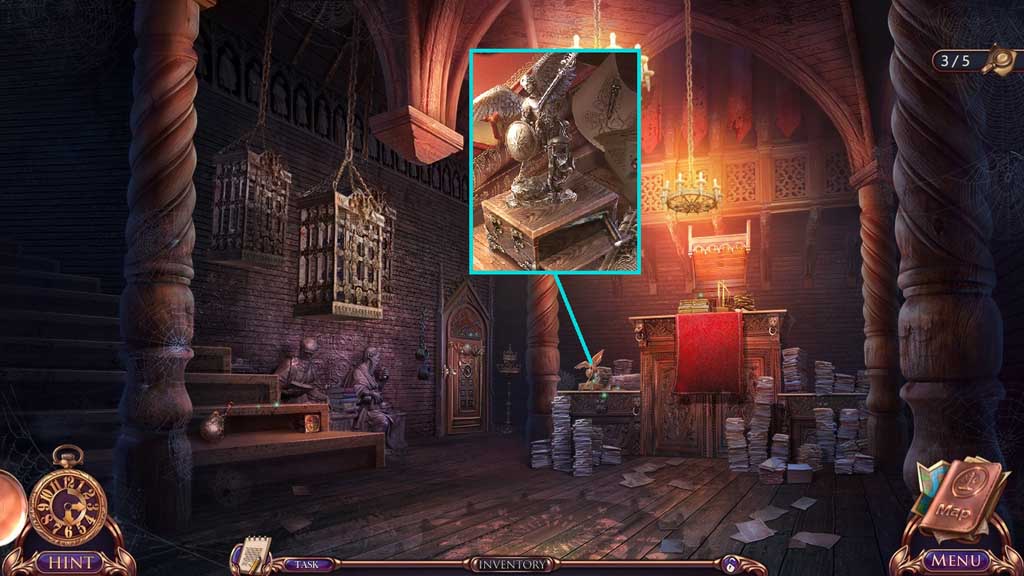
- Collect the pincer’s part and the blacksmith glove.
- Click the screen collect the iron head staff.
- Move down 2x’s and scroll to the right.
- Select the iron head staff to pull the items closer.
- Select the blacksmith glove to collect the pincers part and the ladle with iron.
- Move to the First Floor.
- Select the ladle with iron to pour into the funnel.
- Click the mold; collect the screw.
- Attach the pincer parts using the screw.
- Select the pincers to collect 2 /4 planks and the cobblestone.
- Move ahead.
- Select the pincers to collect the planks and the star.
- Move to the Secret Lair.
- Place the plank and the nails onto the stairs.
- Select the cobblestone to secure it.
- Insert the star to trigger a hidden objects area.
- Find the items.
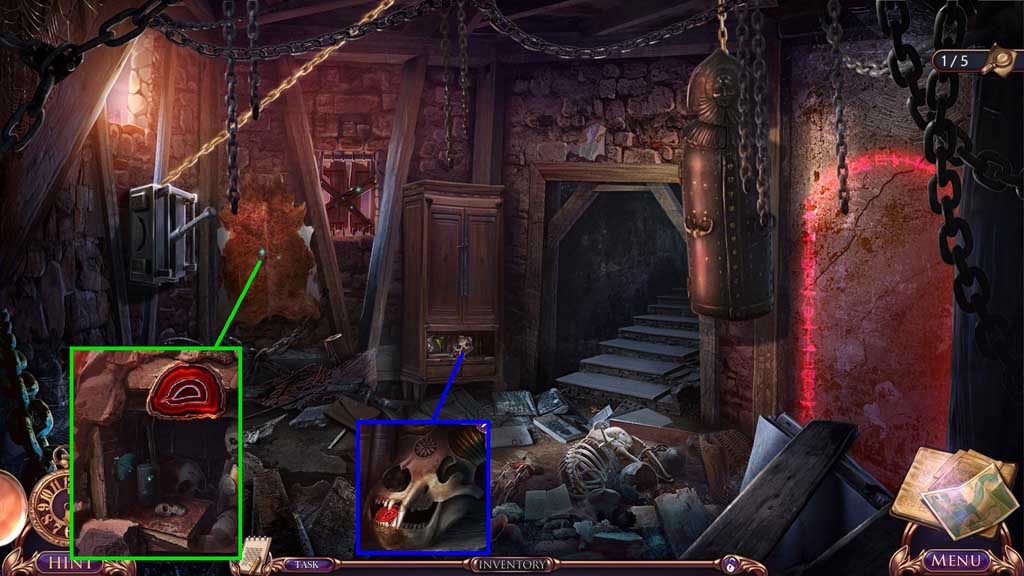
- Collect the trunk.

- Click the trunk 2x’s.
- Collect the candle of light.
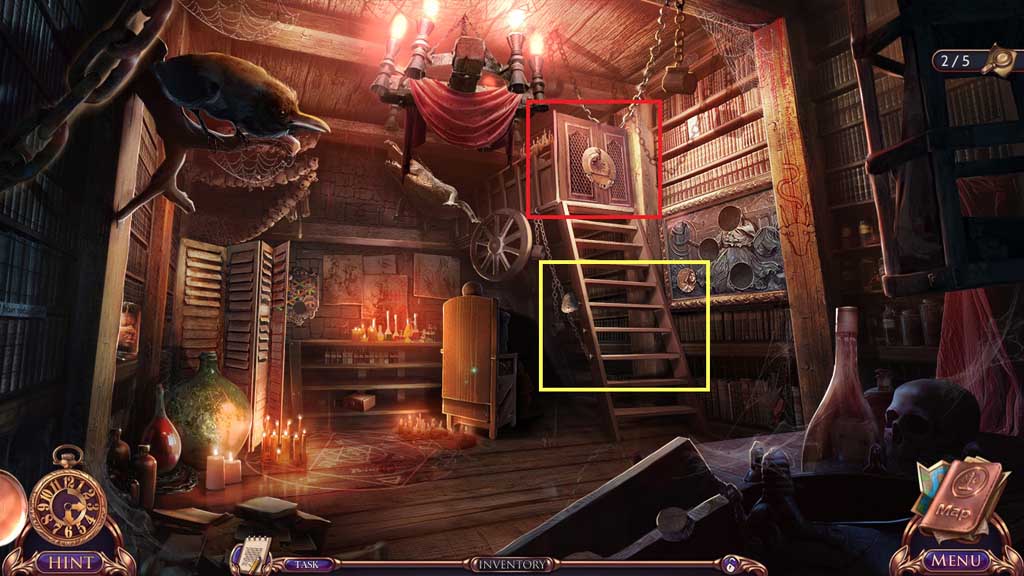
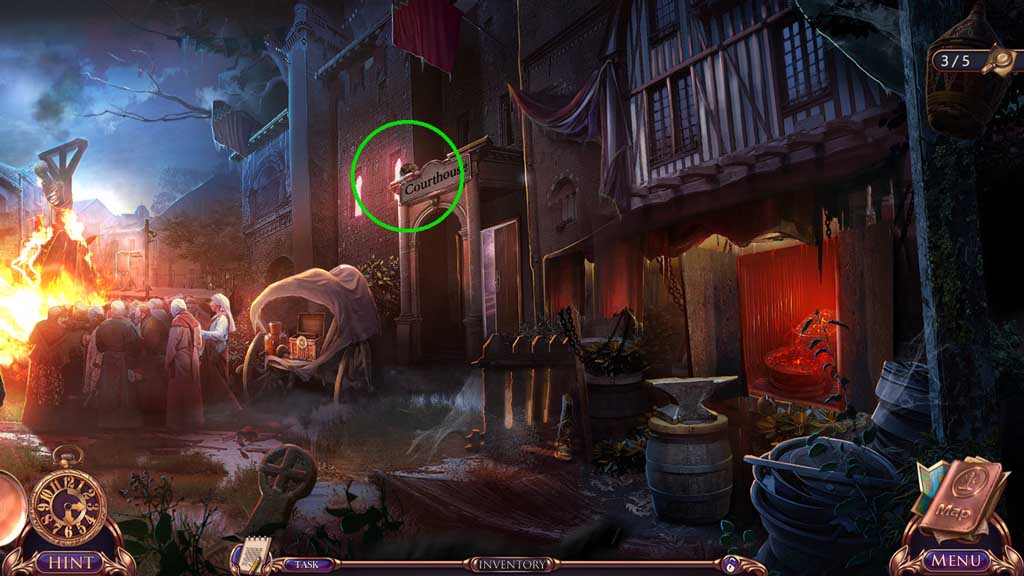
- Click the scrolls; collect the courthouse key.
- Move down 2x’s and scroll to the right.
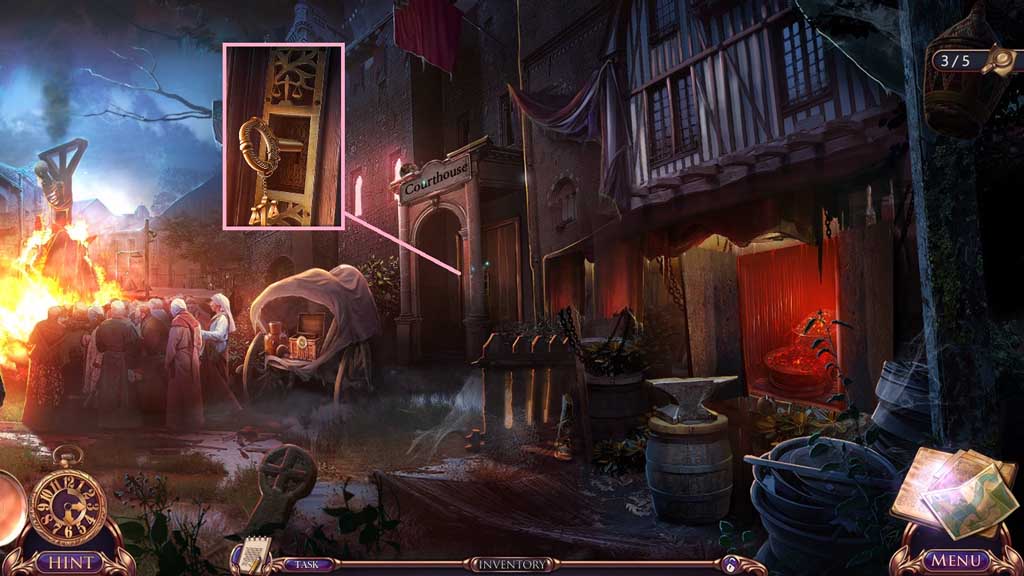
- Insert the courthouse key.
- Move to the right.

- Click the papers aside; collect the hexagon.
- Move to the Secret Lair.
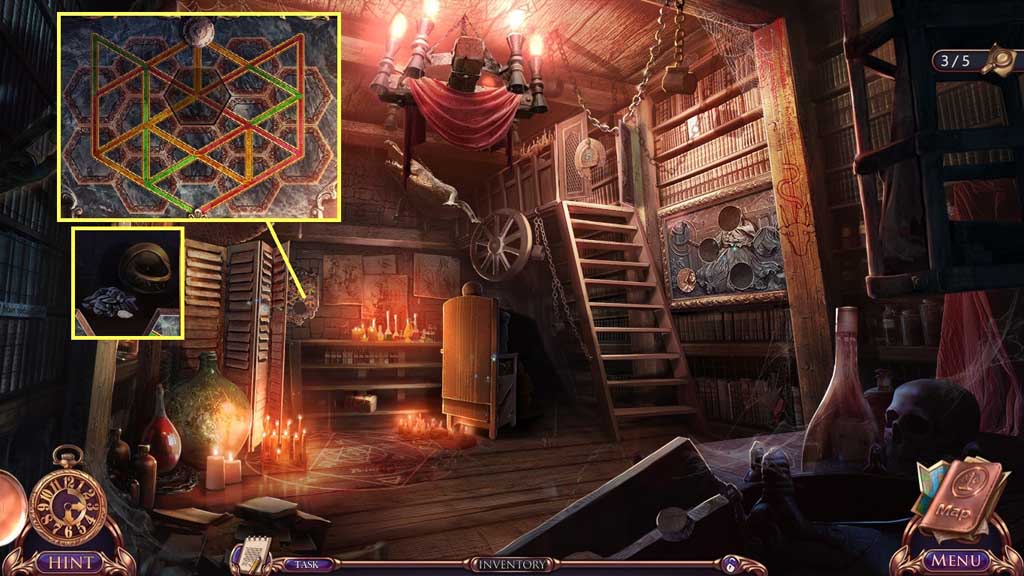
- Insert the hexagon to trigger a mini game.
- Solve the game by aligning the tiles correctly.
- Collect the dragon ring and the seeds.
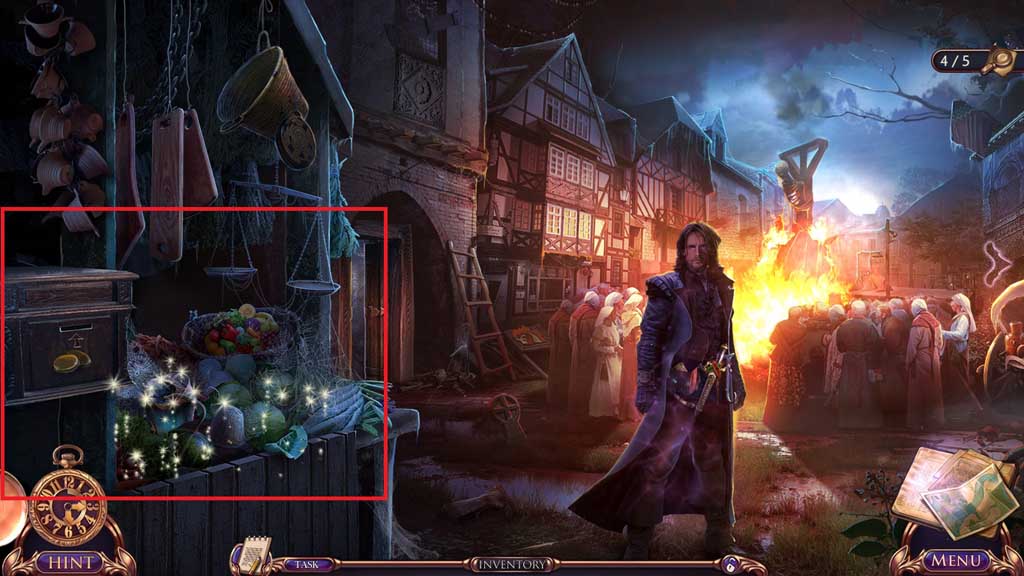
- Move to the Courthouse.
- Select the seeds to collect the raven and the bolt part.
- Move to the Second Floor.
- Attach the bolt part; collect the mechanism part and the tuning fork.
- Move down once and to the right.
- Select the tuning fork to collect the sharp spike.
- Move to the Courthouse.
- Place the sharp spike.
- Collect the mechanism part.
- Move to the Second Floor.
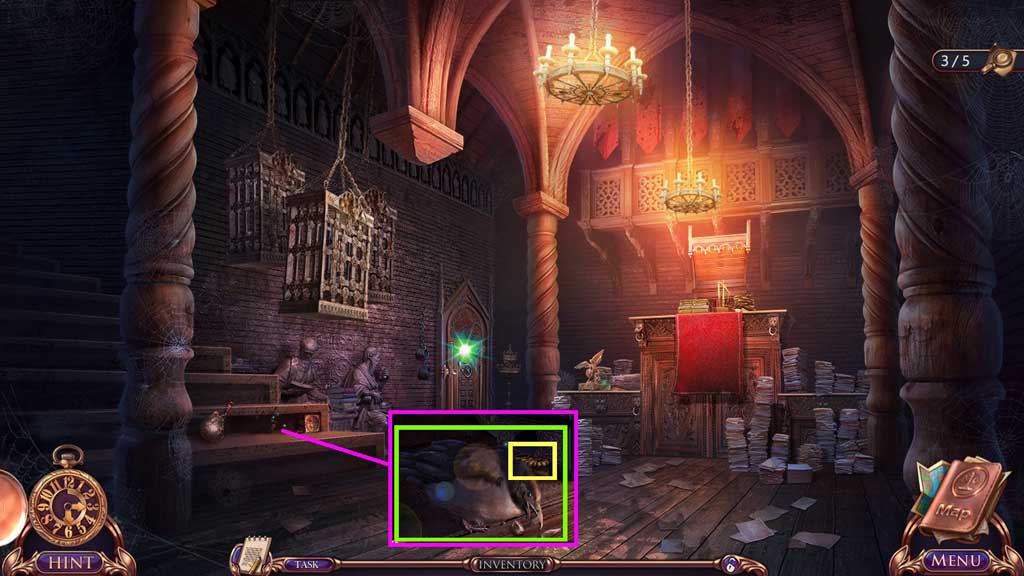
- Select the raven to collect the mechanism part.
- Move down 2x’s.
- Select the raven to collect the mechanism part and the bas-relief piece.
- Move to the right.

- Attach the mechanism parts.
- Click the handle.
- Move ahead.
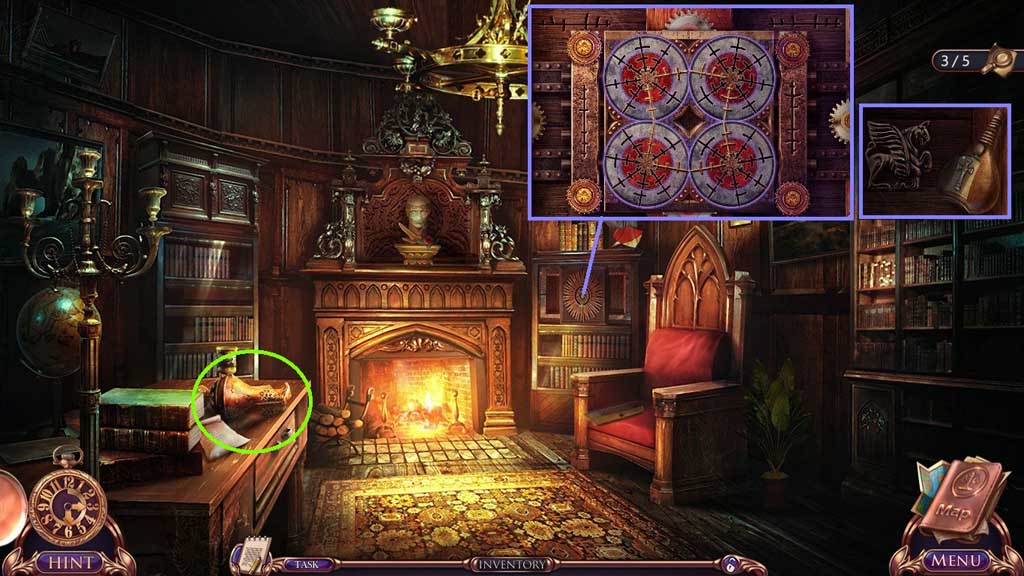
- Insert the dragon ring to trigger a mini game.
- Solve the game by aligning the discs correctly to insert the pieces.
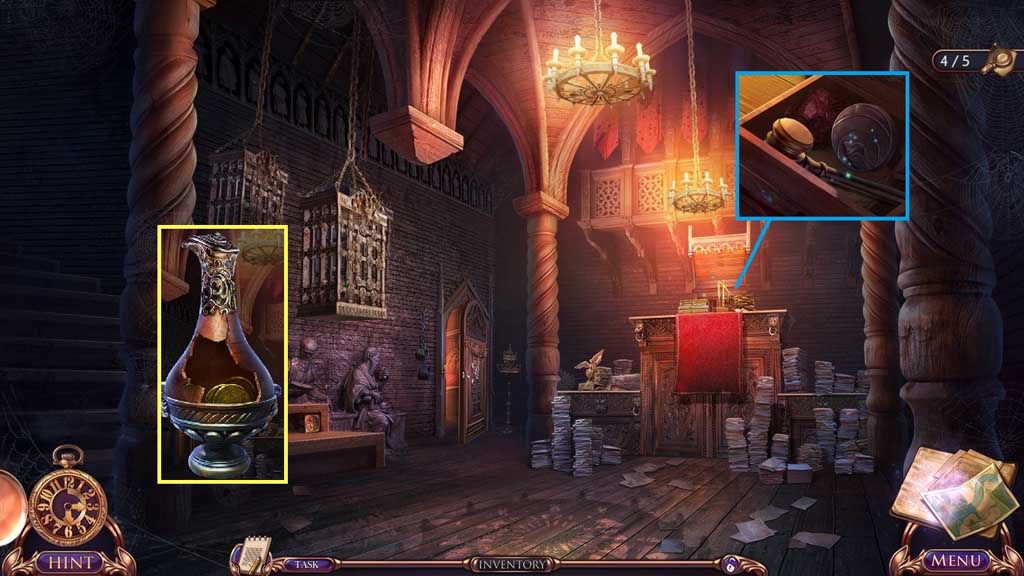
- Collect the griffin amulet and the holy water.
- Collect the clay vessel.
- Move down once.
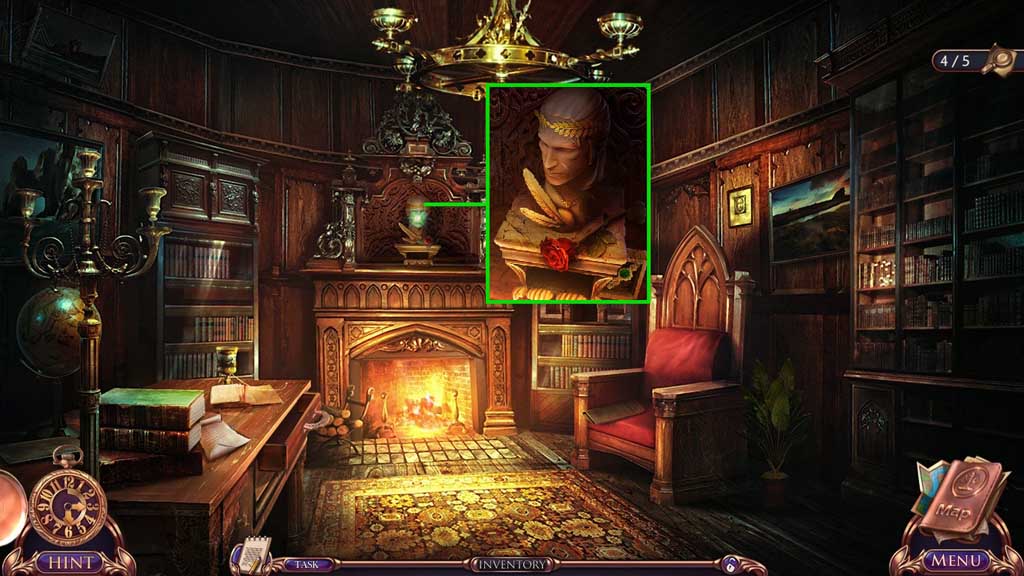
- Insert the griffin amulet; collect the bas relief pieces and the judge’s gavel.
- Select the judge’s gavel to smash the clay vessel.
- Collect the 3 coins.
- Move down once and scroll to the left.
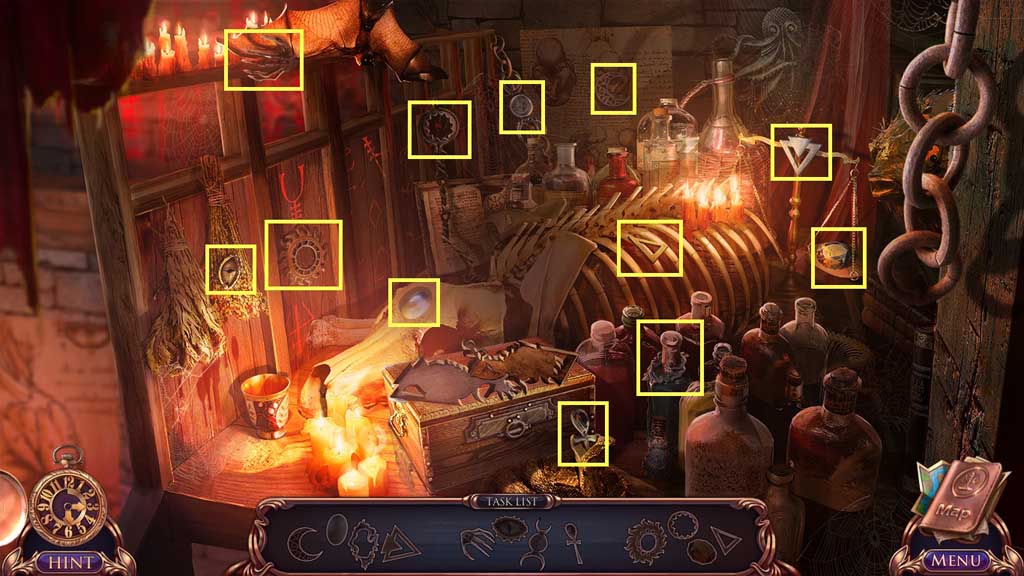
- Insert the 3 coins to trigger a hidden objects area.
- Find the items and the fragments beneath them.
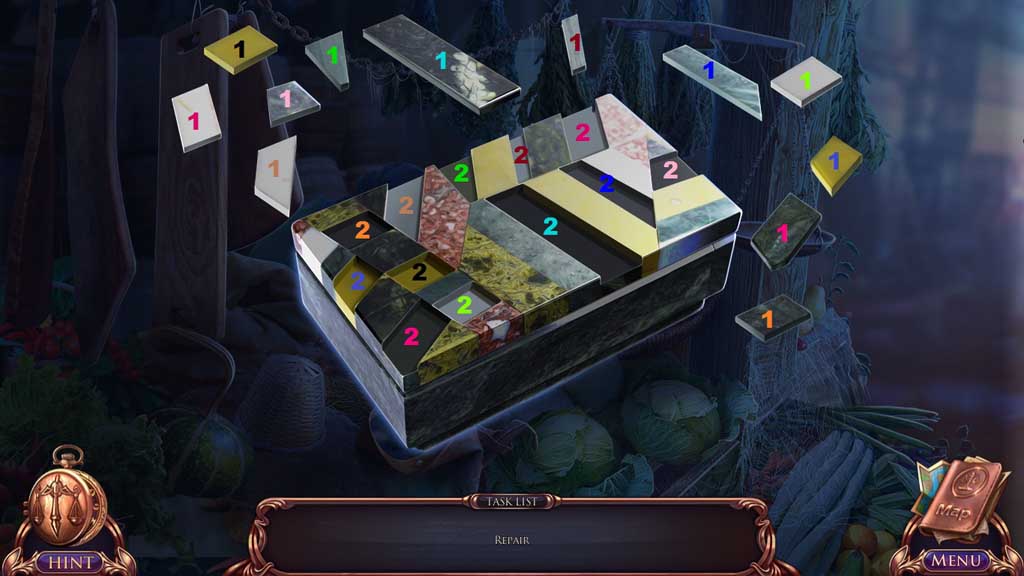
- Assemble the box.
- Collect the horseshoe.
- Move to the Investigation Room.
- Insert and click the horseshoe.
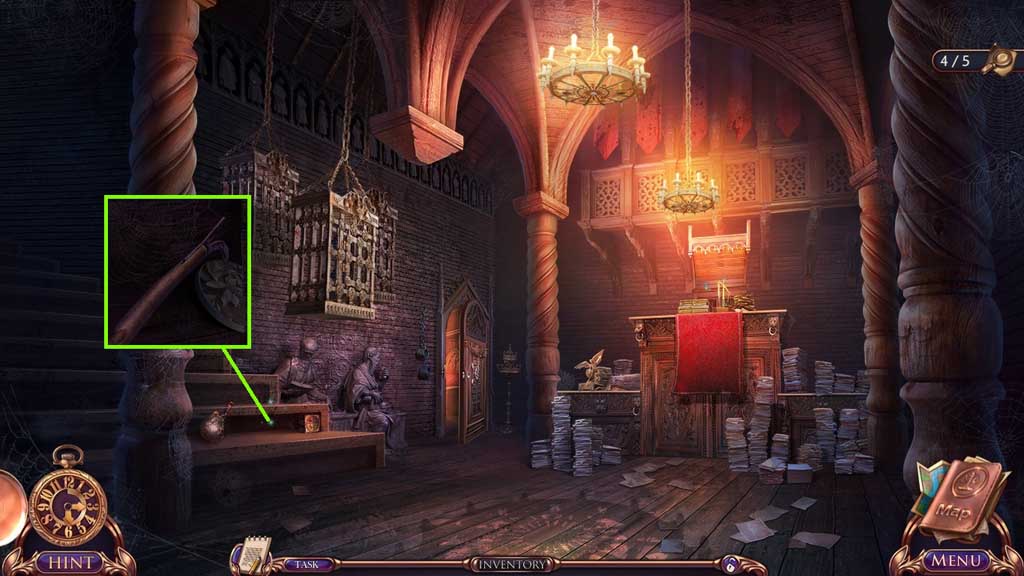
- Collect the stick and hook.
- Move down once.
- Select the stick and hook to collect the bas-relief piece.
- Move to the Secret Lair.
- Insert the bas-pieces to trigger a mini game.
- Solve the game by arranging the pieces to complete the image.
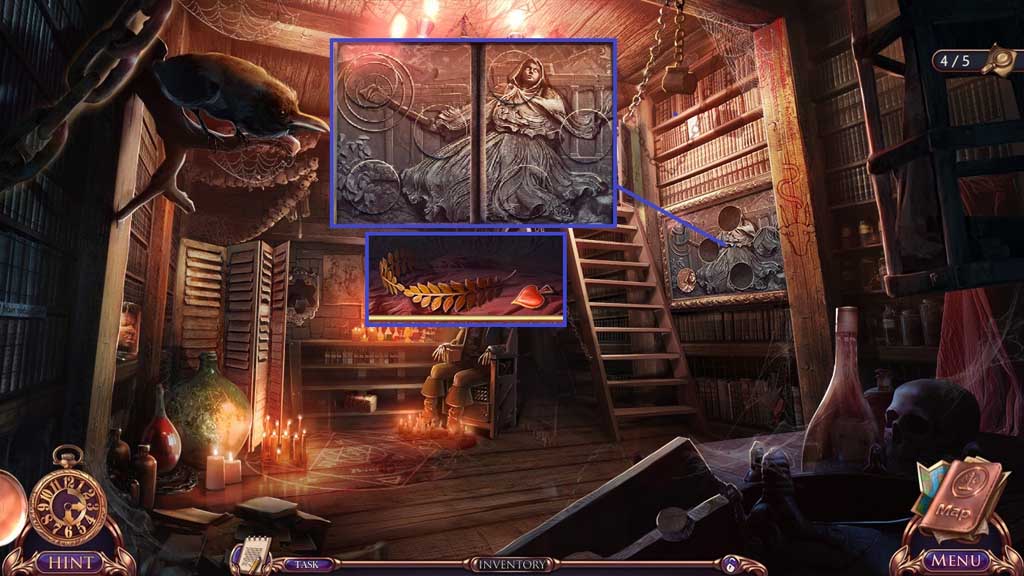
- Collect the thinkers laurel wreath and the spades.
- Move to the Investigation Room.
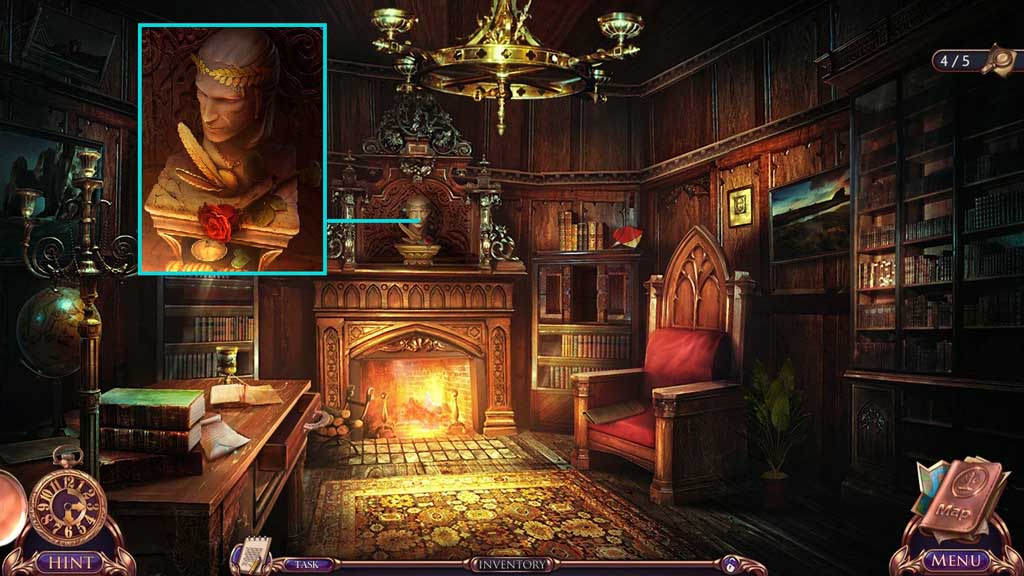
- Attach the thinker’s wreath.
- Collect the scales pan and the heart.
- Move down once.
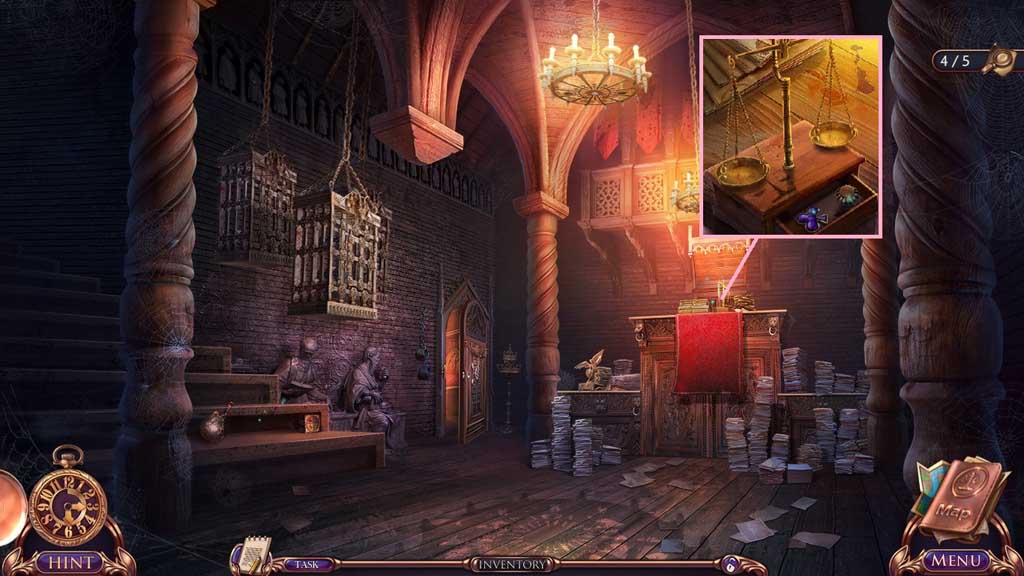
- Hang the scales pans.
- Collect the triangle stamp and the clubs.
- Move down once and to the left.
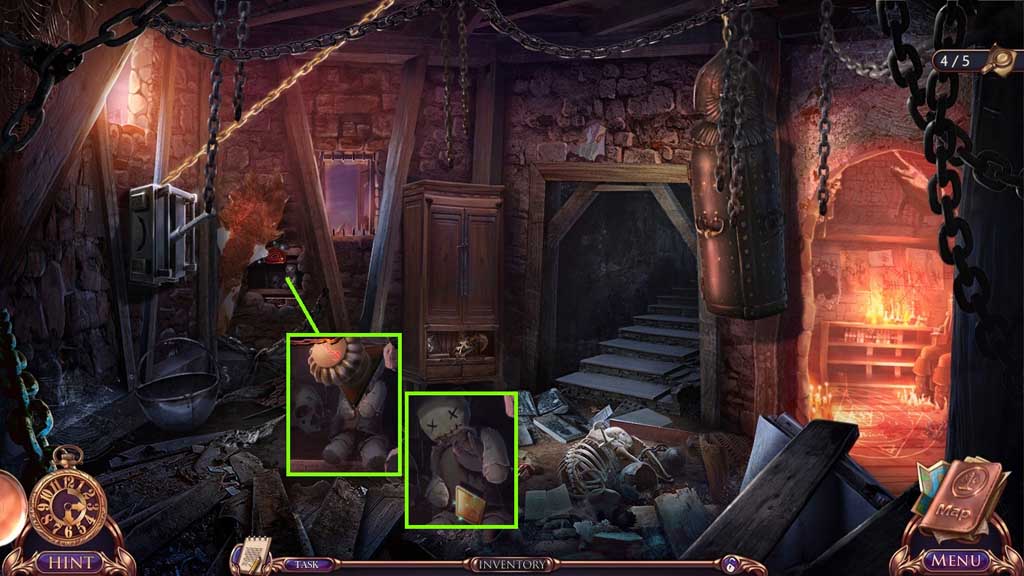
- Select the triangle stamp to use on the evil doll.
- Collect the diamond.
- Move down once and to the right.
- Insert the spades, hearts, clubs and diamonds.
- Collect the file.
- Move to the Secret Lair.
- Click the chair.
- Select the file to remove the shackles.
- Collect the sapphire pattern and the gilt feather.
- Move to the Investigation Room.
- Insert the gilt feather.
- Collect the diamond pattern.
- Move down 2x’s.
- Place the diamond and sapphire patterns.
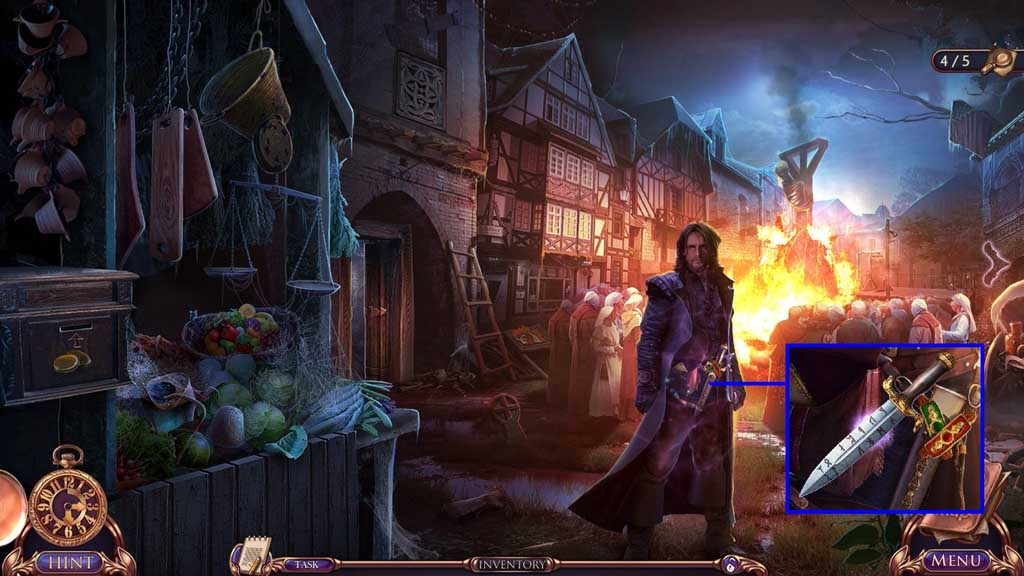
- Collect the dagger.
- Move to the left and ahead once.
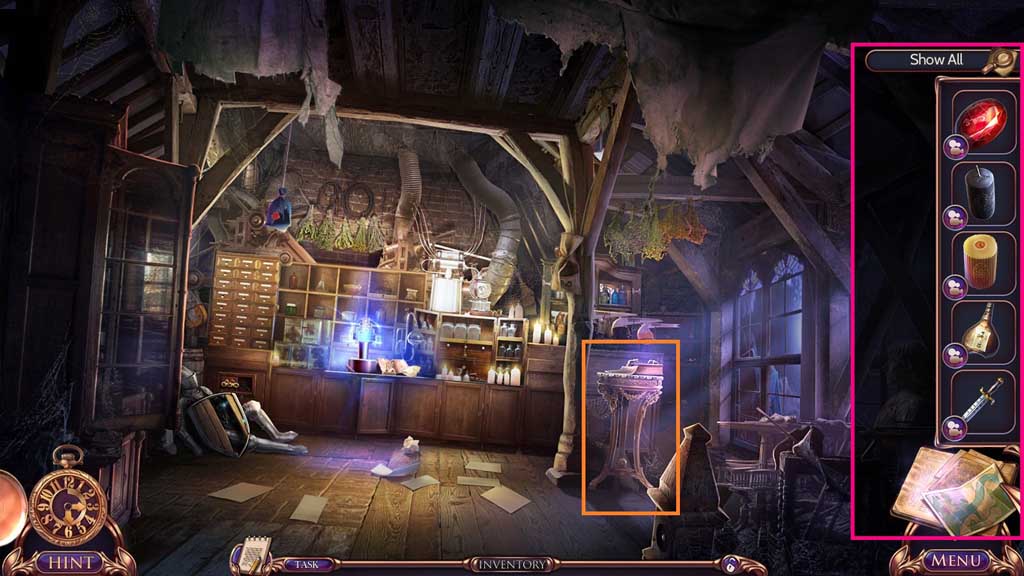
- Zoom into the pedestal.
- Click “Show All.”
- Congratulations! You have successfully completed the main game of Grim Tales: The Final Suspect C. E.