
Chapter Two: The Curse
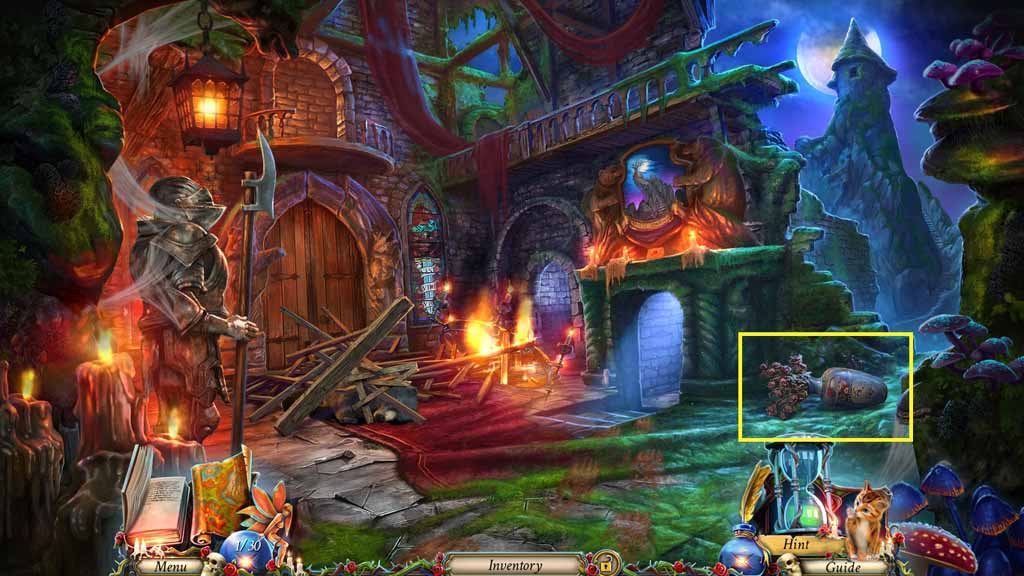
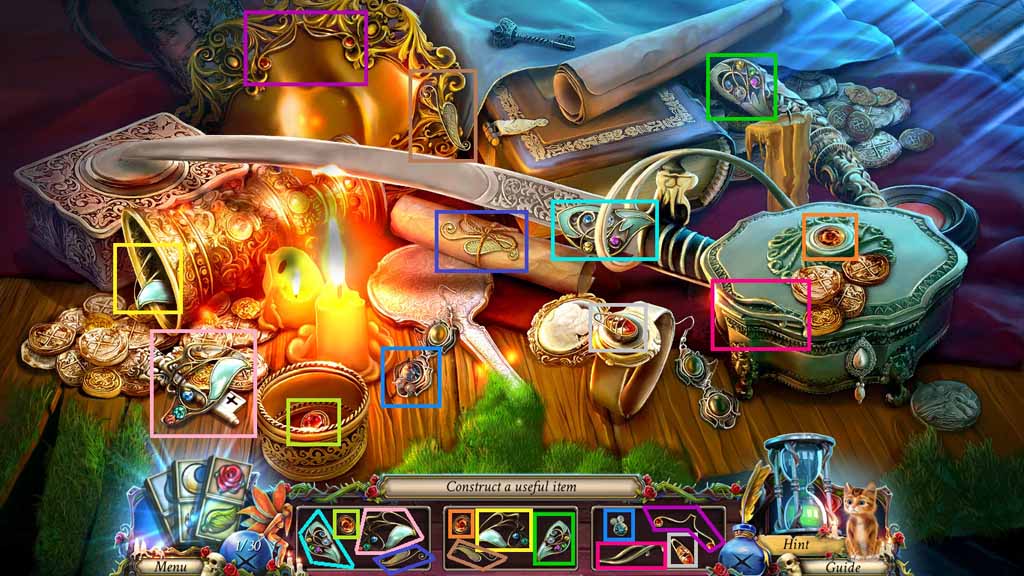
- Click the flowers; collect the empty vase.
- Move to the Mountain Foot.
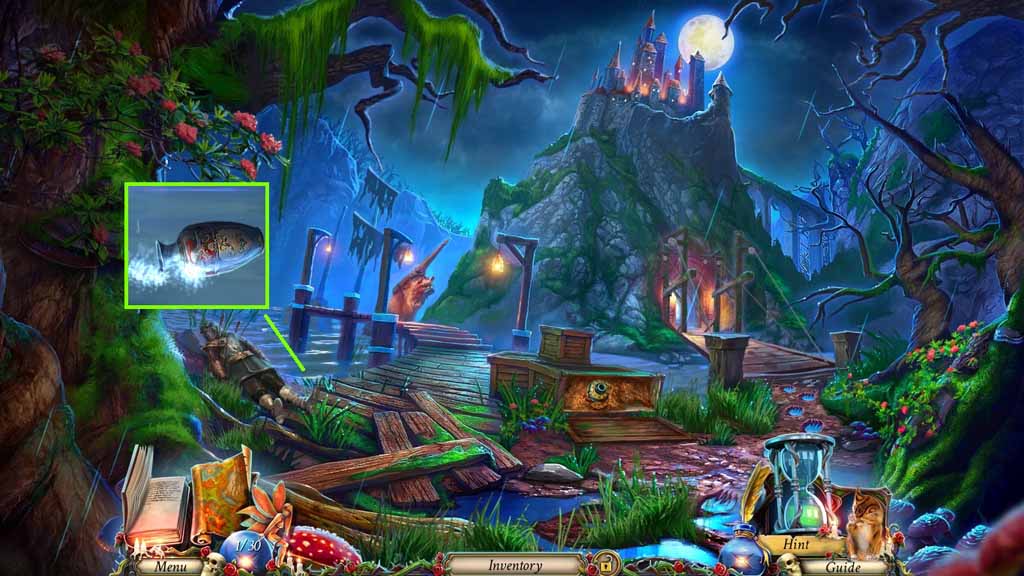
- Place the empty vase into the water; collect the full vase.
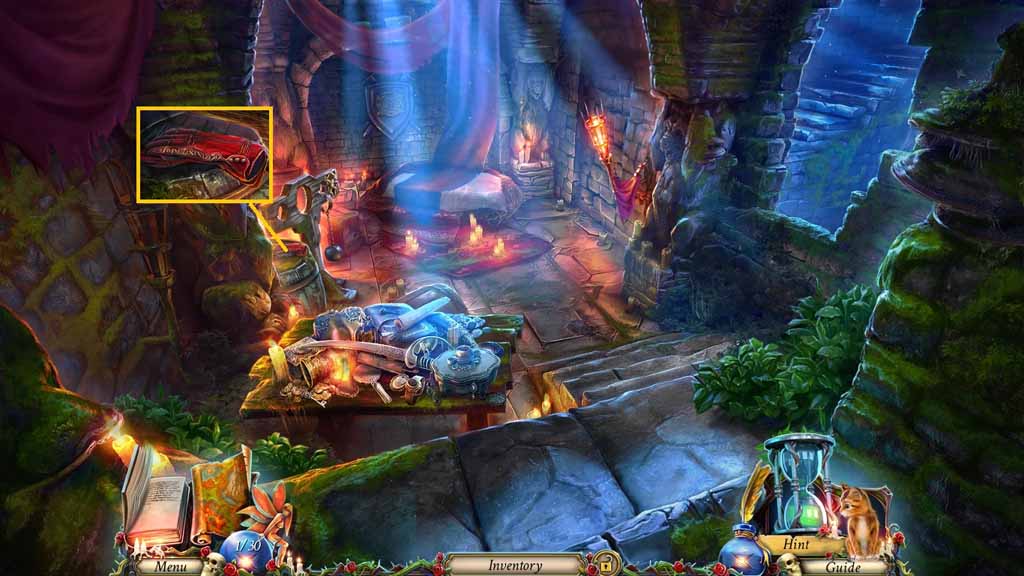
- Move to the Main Hall.
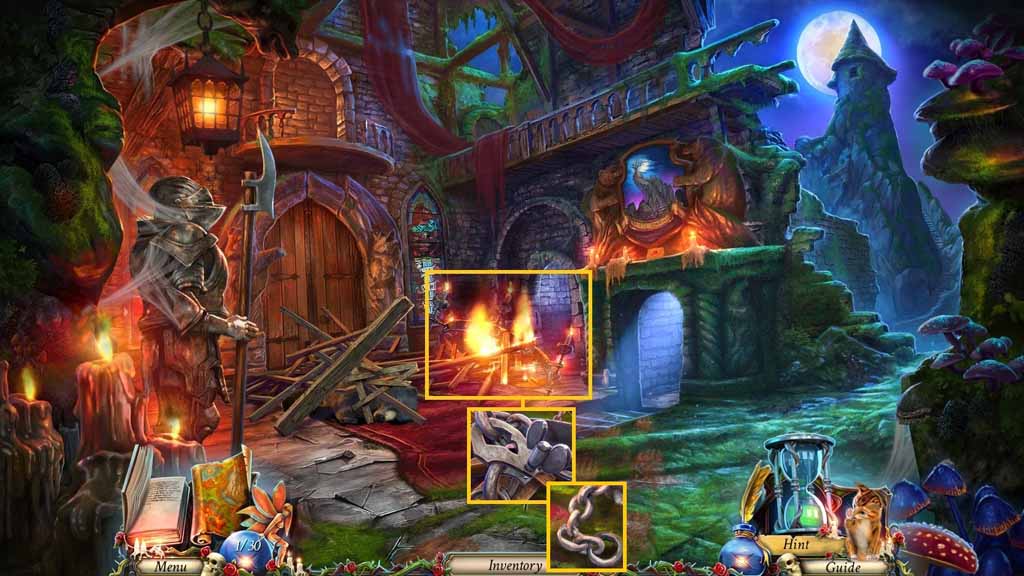
- Select the full vase to douse the fire.
- Unscrew the bolt.
- Collect the chandelier chain.
- Move into the Library.
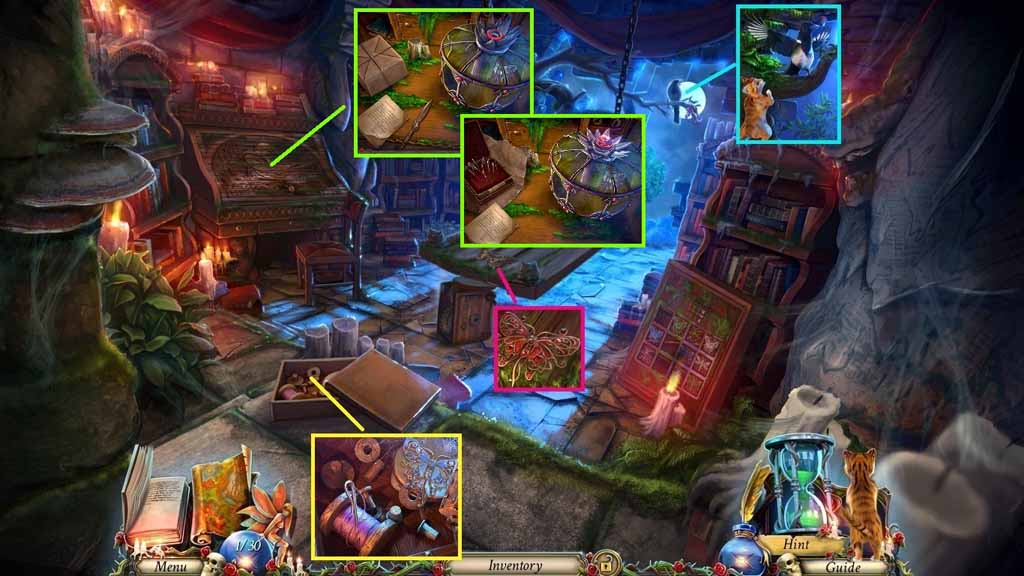
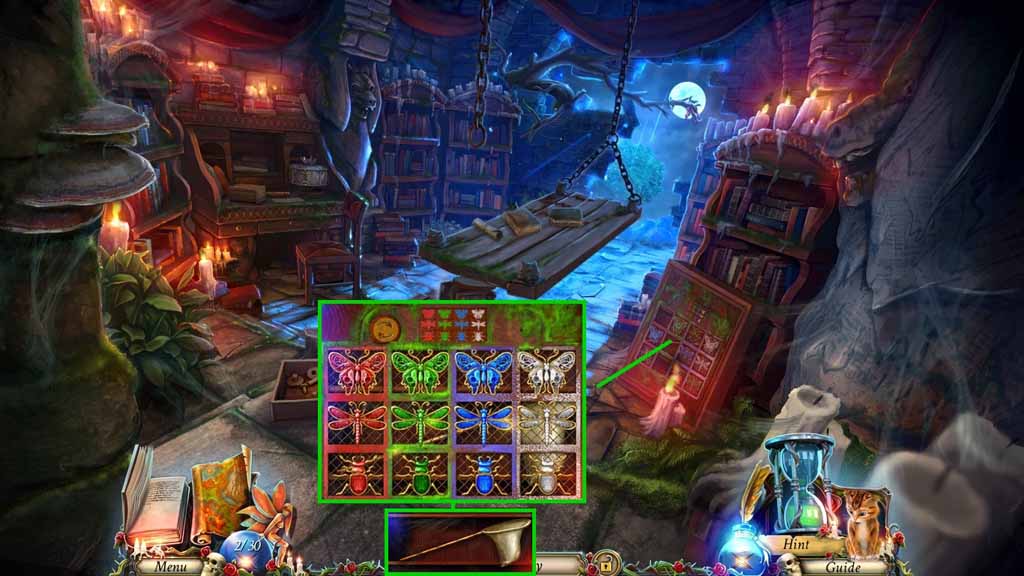
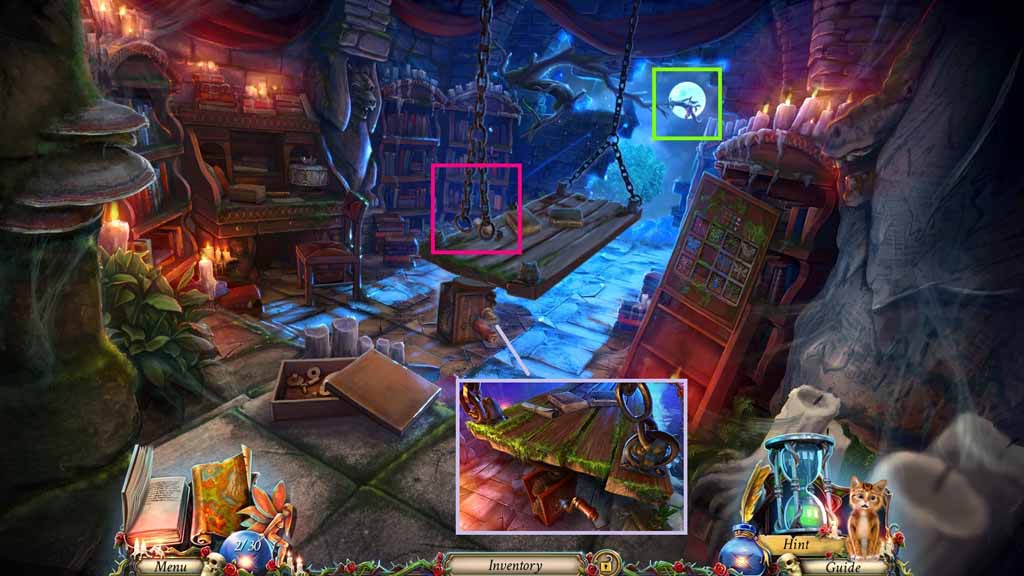
- Collect 1 / 4 butterflies.
- Select the Kitty to use on the bird; collect the jeweled rod.
- Click the desk.
- Read the letter and select the letter opener beneath it to open the package.
- Click the box and collect the needle.
- Insert the jeweled rod into the container; collect 2 / 4 butterflies.
- Zoom into the opened box; collect 3 / 4 butterflies and place the needle into the spool of thread.
- Collect the needle and thread.
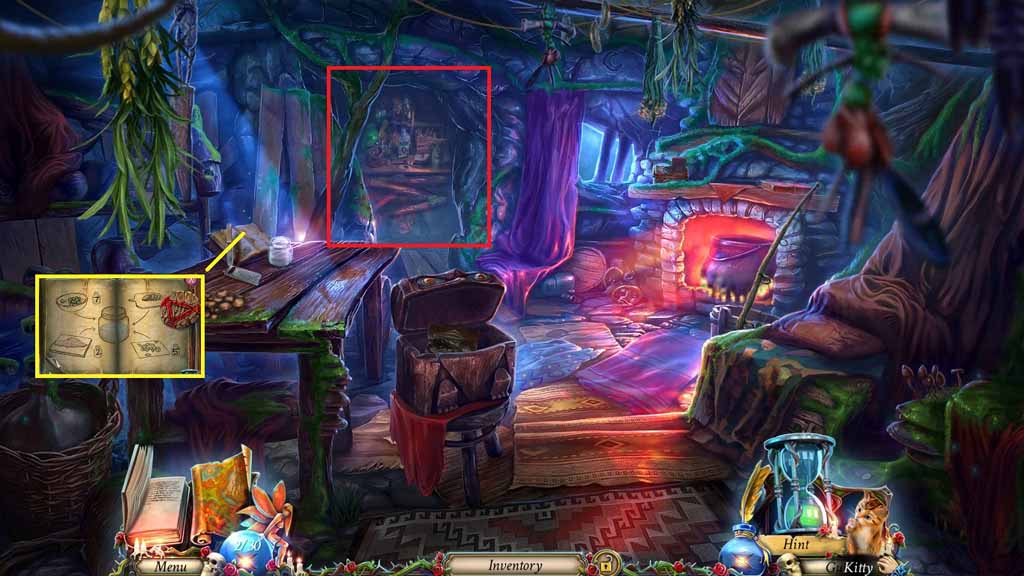
- Move to the Secret Chamber and click the table to trigger a hidden objects area.
- Find the pictured items.
- Collect 4 / 4 butterflies.
- Select the needle and thread to mend the glove.
- Collect the sewed gloves.
- Move to the Study.
- Insert the 4 butterflies into the panel to trigger a puzzle.
- Solve the puzzle by arranging the objects as shown in the pattern.
- Collect the butterfly net.
- Select the butterfly net to collect the Jack crank.
- Attach the Jack crank onto the winch and click it once.
- Connect the chandelier chain onto the ring.
- Connect the rings and click the crank.
- Collect the Jack.
- Move back once.
- Place the Jack underneath the large beam; click it once.
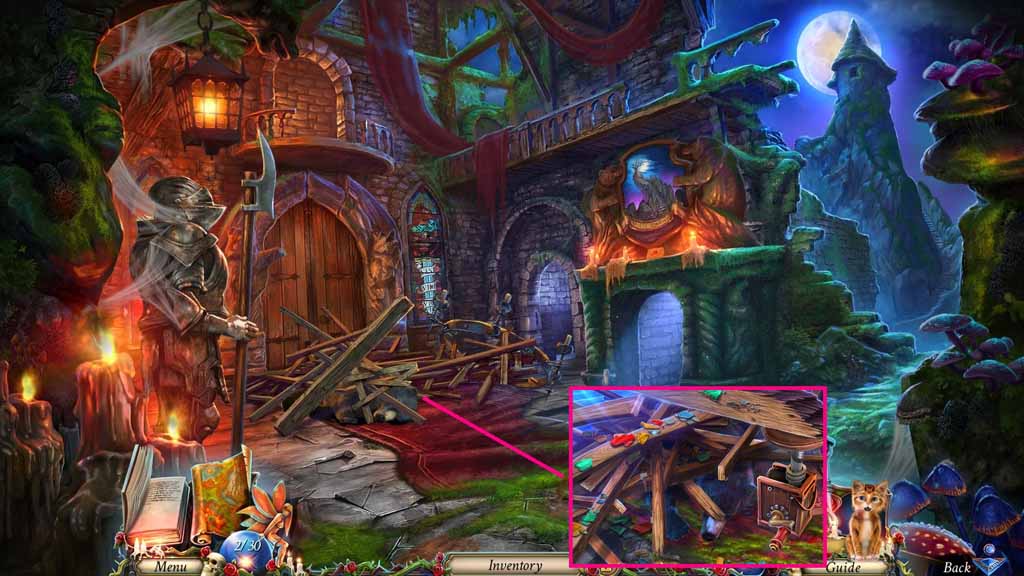
- Select the sewed gloves to collect the shards and click the boards two times.
- Collect the half heart piece.
- Move to the Hut.
- The woman will collect your half heart piece.
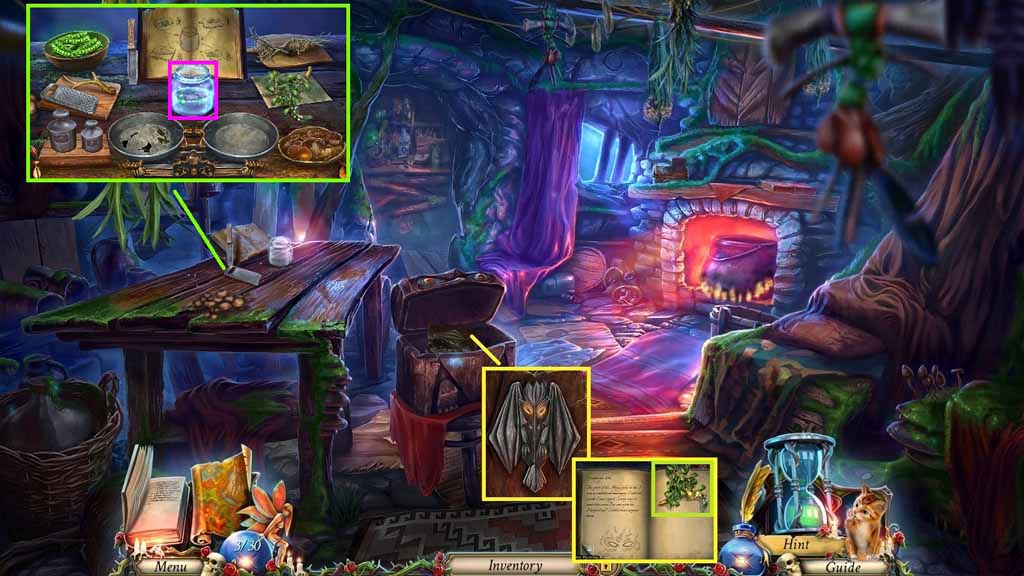
- Read the recipe.
- Click the page and collect the wooden disk.
- Zoom into the alcove to trigger a hidden objects area.
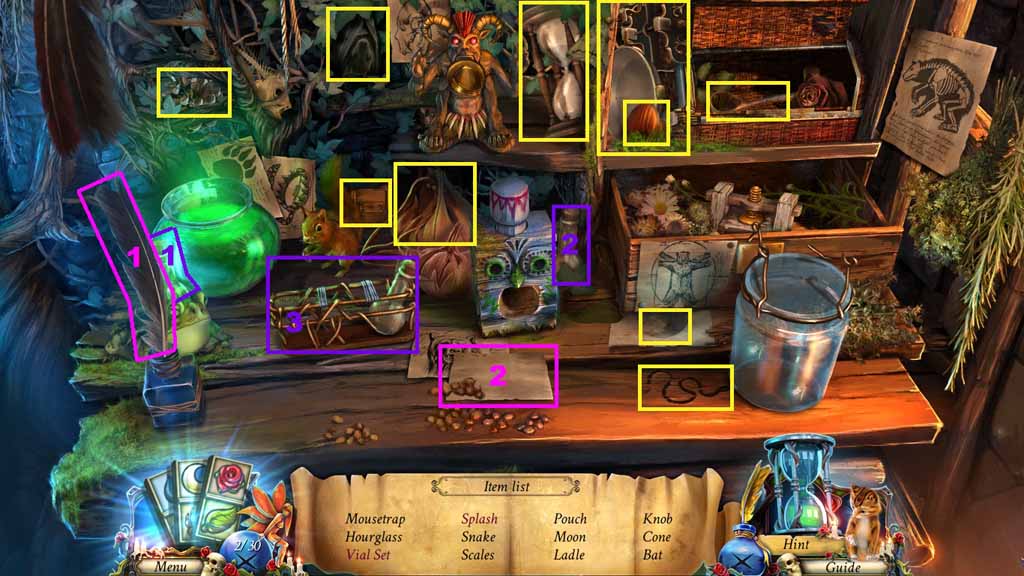
- Find the listed items.
- Select the bottles and place them into the basket; collect the vial set.
- Select the quill and use it on the paper; collect the splash.
- Collect the scales.
- Move back once.
- Insert the wooden disk into the groove.
- Move ahead on the boat.

- Collect the hoe and use it on the plant.
- Collect the mandrake root and the vines emblem.
- Collect the hooked nail.
- Insert the vines emblem into the groove.
- Move into the tree.
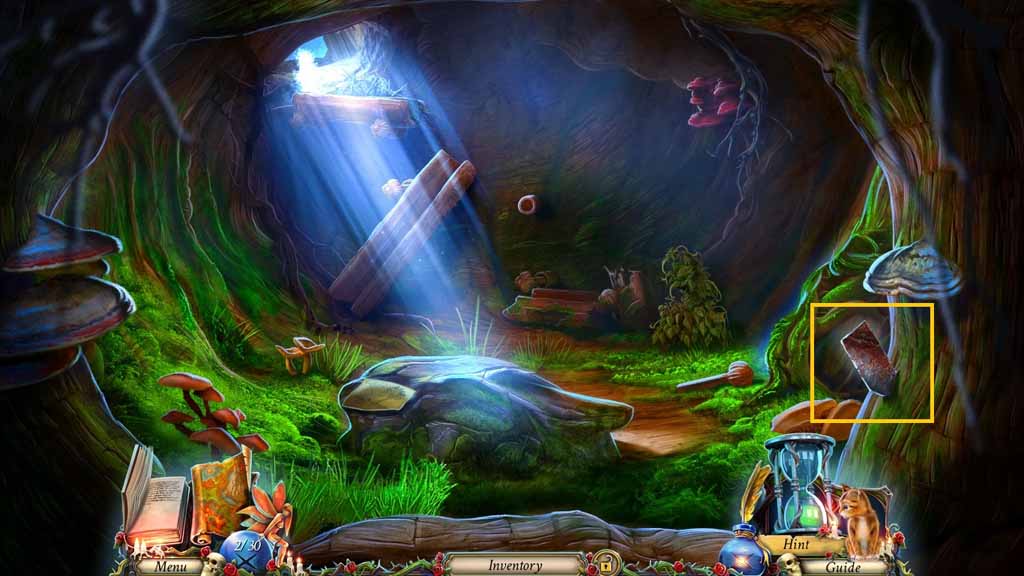
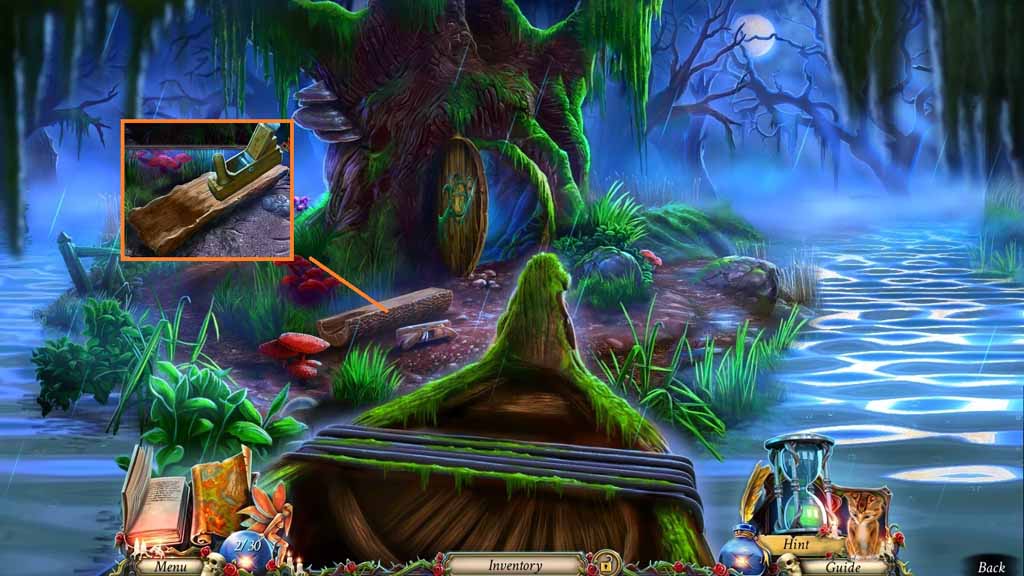
- Collect the rusty plane blade.
- Move to the Hut.
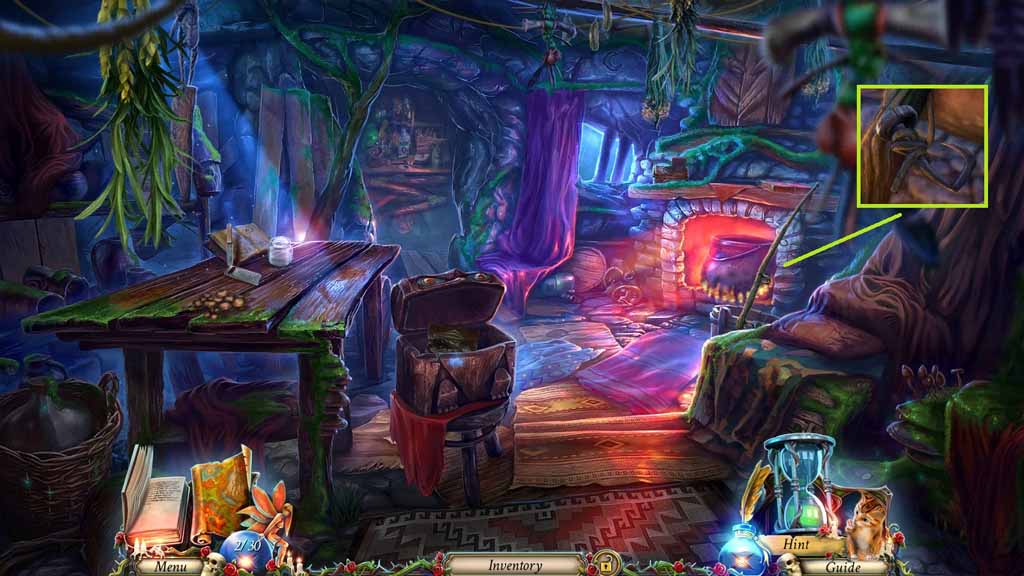
- Attach the hooked nail onto the rope.
- Collect the fishing rod.
- Move to the Swamp.
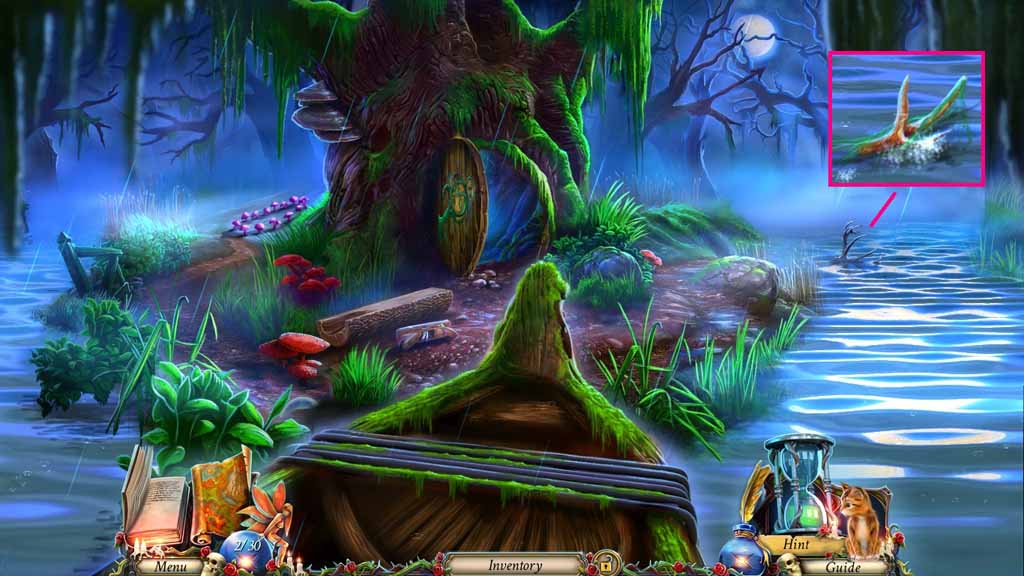
- Select the fishing rod and use it to collect the deer horn.
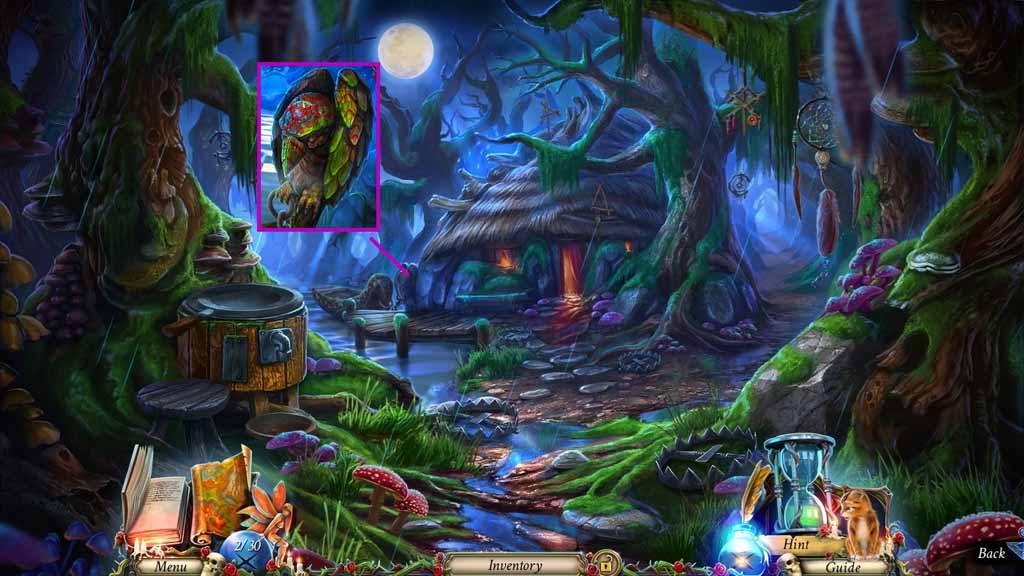
- Move to the Shrine and zoom into the waterfall to trigger a hidden objects area.
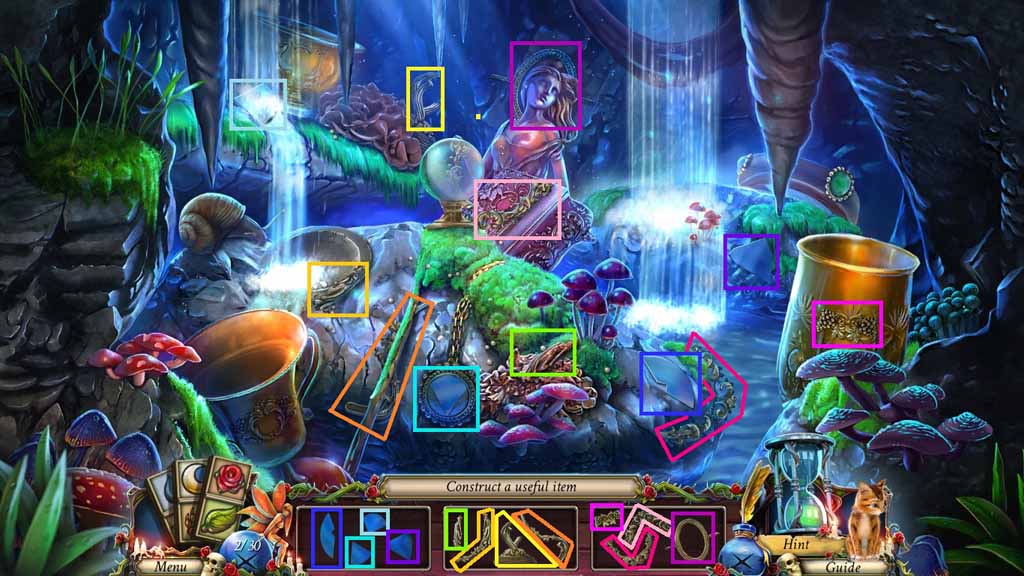
- Find the pictured items.
- Collect the small mirror.

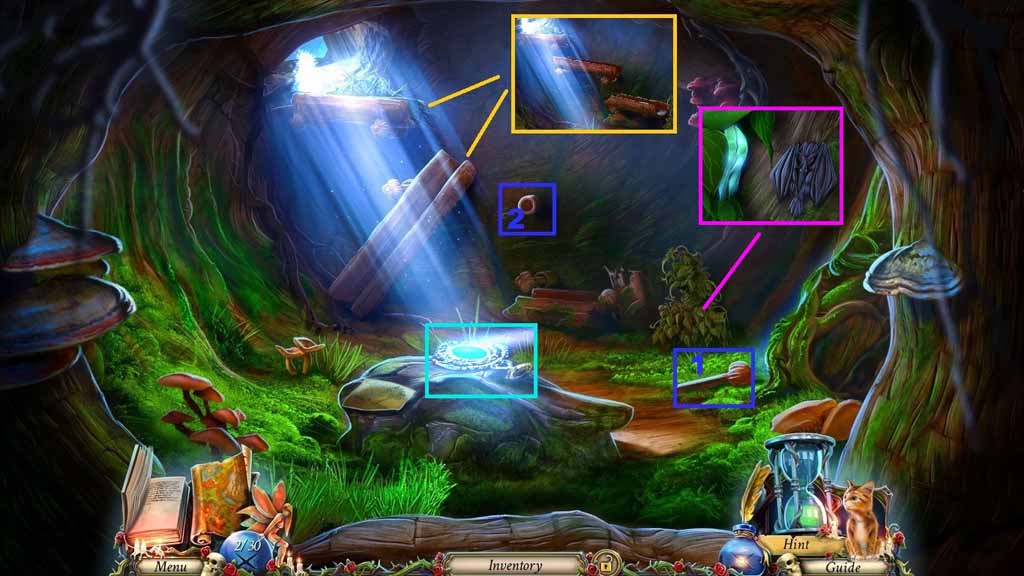
- Select the rusty plane blade to use on the stone.
- Collect the plane blade.
- Move to the Swamp.
- Place the plane blade onto the plane and use it on the log.
- Collect the wooden gutter.
- Move ahead.
- Select the peg into the hole.
- Place the wooden gutter onto the lower pegs.
- Place the remaining gutters onto the pegs.
- Place the small mirror onto the stone.
- Click the wooden gutters starting from the top to get the water flowing.
- Collect the wooden crow and the moon bean pod.
- Move to the Hut.
- Insert the wooden crow into the book cover.
- Read the book; collect the mistletoe.
- Place down the scales, the mandrake root, the deer horn, the moon bean pod and the mistletoe onto the table to trigger a puzzle.
- Solve the puzzle by preparing the recipe.
- Collect the healing salve.
- Move to the Main Hall.
- Give the woman the healing salve.
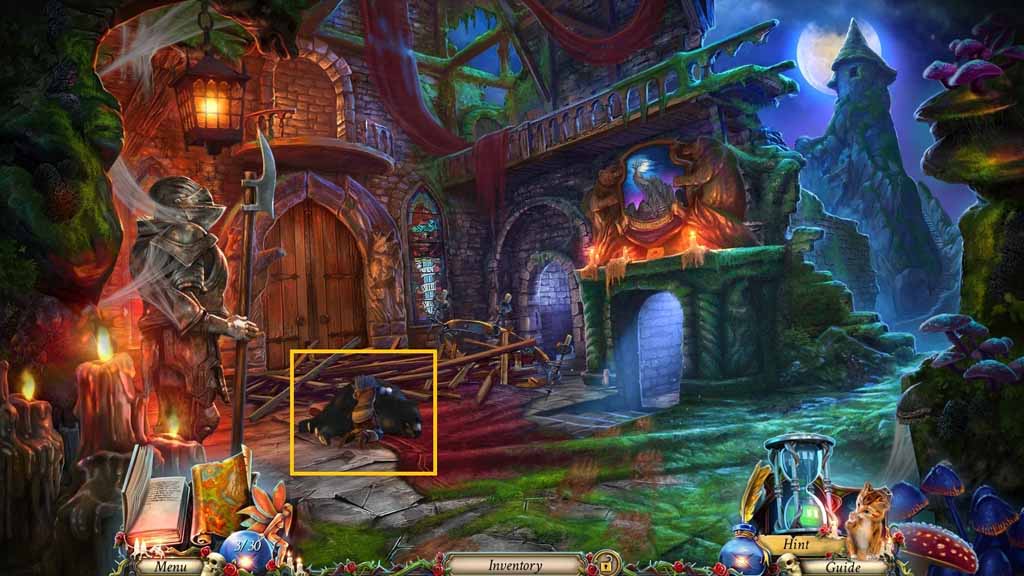
- Click the door and enter the doorway and zoom into the timbers to trigger a hidden objects area.
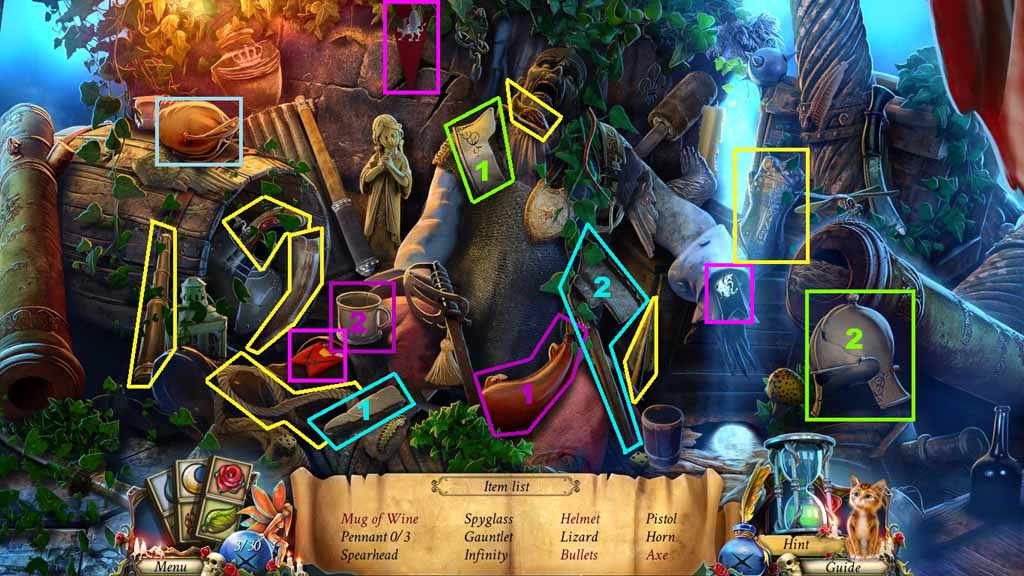
- Find the listed items.
- Select the wine sack and pour it into the mug; collect the mug of wine.
- Select the chin strap and attach it onto the helmet; collect the helmet.
- Select the stone and use it to sharpen and collect the axe.
- Click the sack; collect the bullets.
- Collect the axe.
- Collect the full oilcan.
- Collect the empty little barrel.
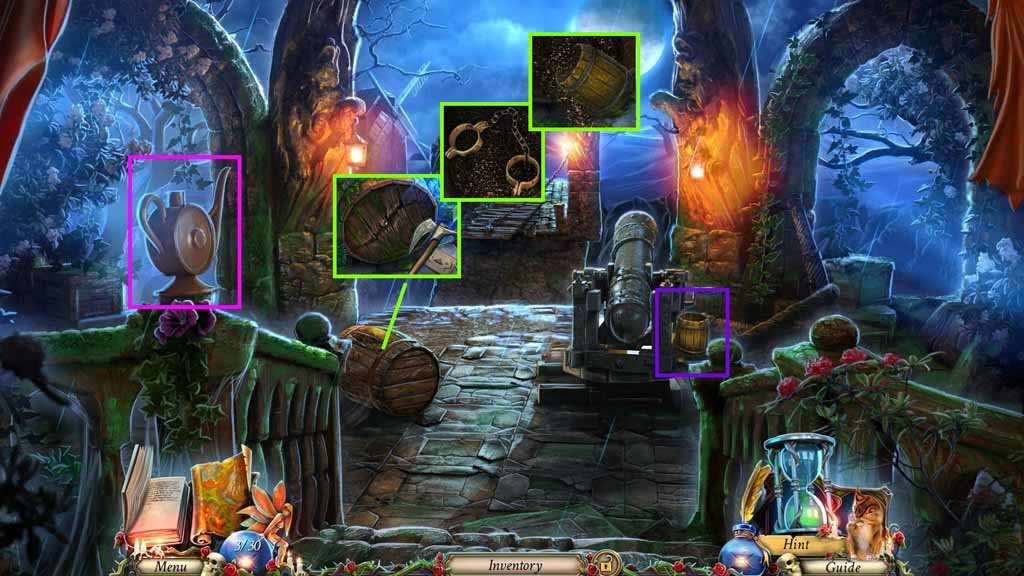
- Select the axe and use it on the barrel four times; collect the shackles.
- Select the empty little barrel to collect the gunpowder.
- Move back once.
- Select the full oilcan to pour onto the hand.
- Click the hand and collect the halberd.
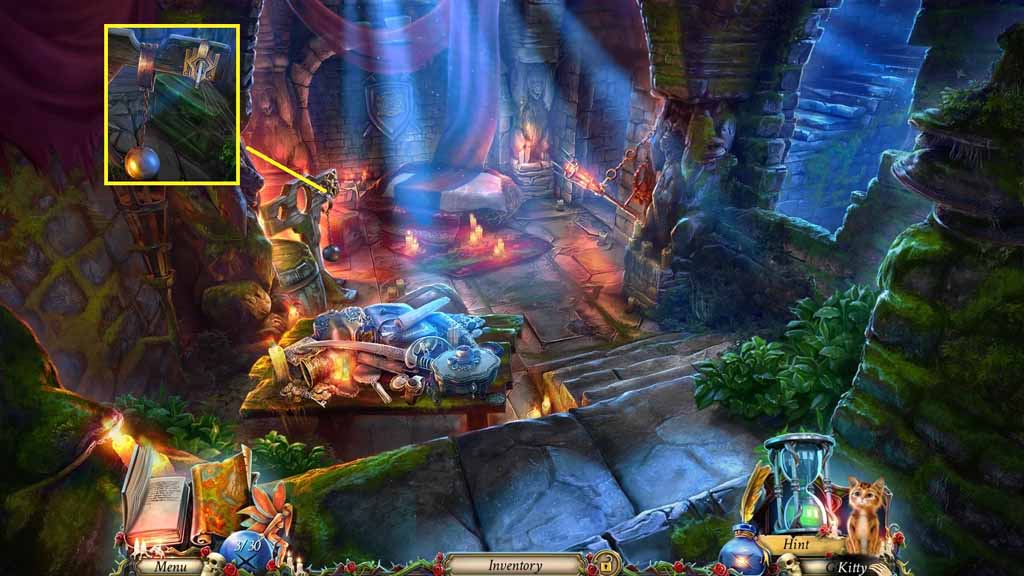
- Move to the Secret Chamber.

- Click the torch and attach the shackles.
- Click it once.
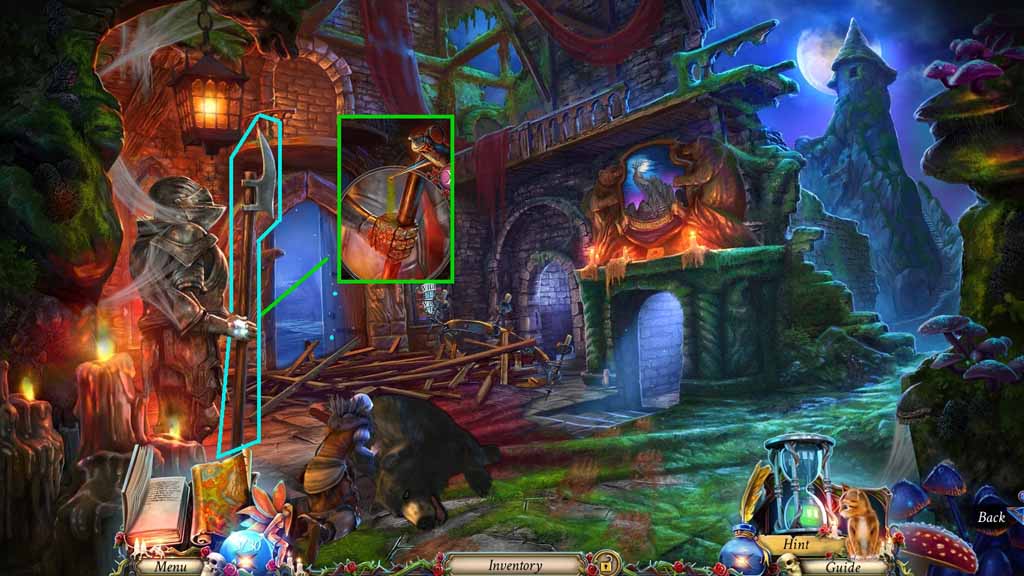
- Move to the Tower.
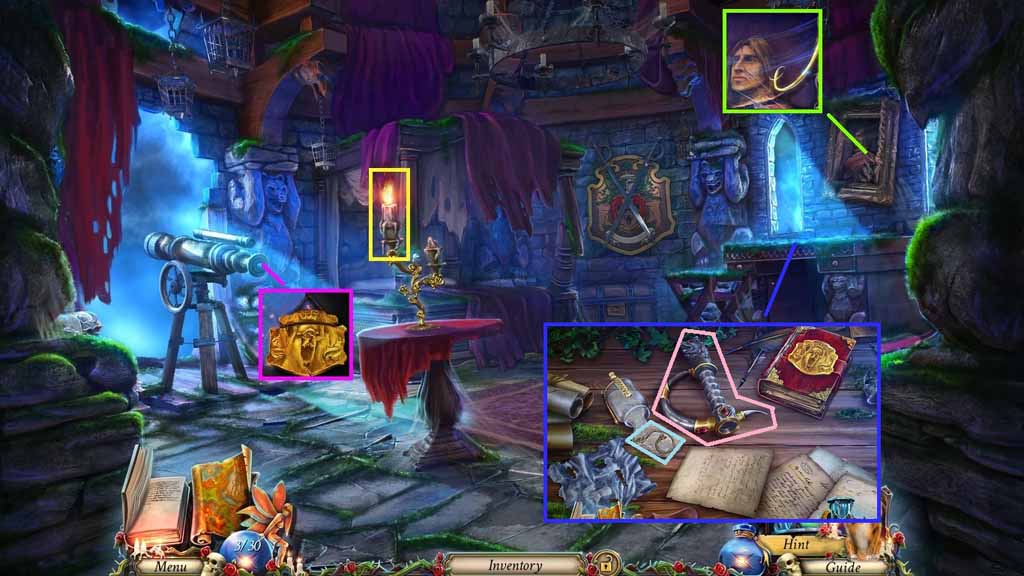
- Collect the candlestick.
- Collect the bear insignia and click the lens 3 times.
- Collect the string.
- Zoom into the table and assemble the hilt.
- Click the bottle and then the cloth.
- Insert the bear insignia into the journal.
- Read the journal, close it and click the pages to reveal the last piece of the hilt.
- Collect the sword handle.
- Place the string into the liquid; collect the sticky string.
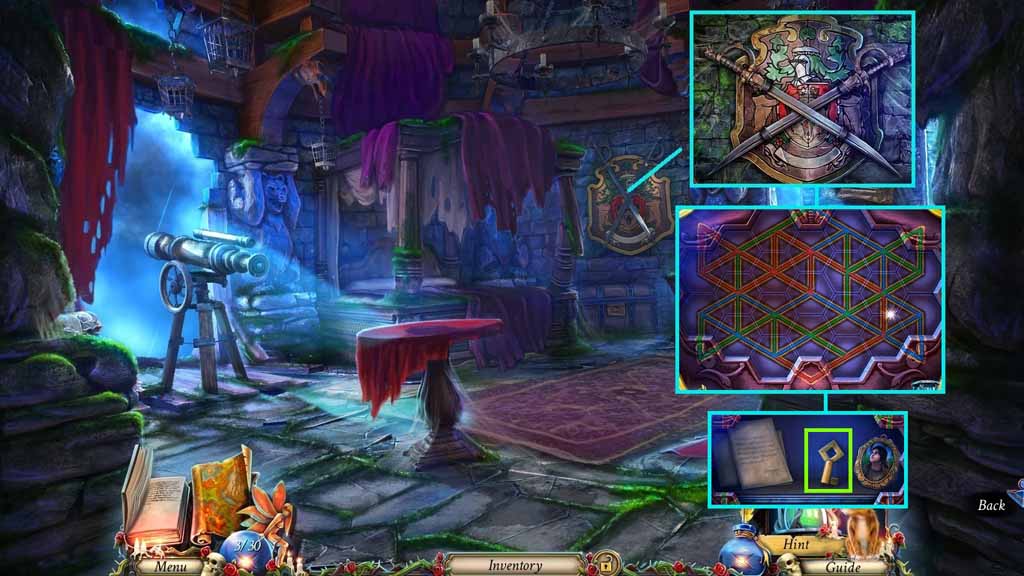
- Attach the sword handle onto the sword; click both swords.
- Click the center 2 times to trigger a puzzle.
- Solve the puzzle by completing the diagram.
- Read the papers and examine the pictures.
- Collect the copper key.
- Move back once.
- Select the copper key and insert it into the lock.
- Collect the steel ball.
- Move to the Courtyard.
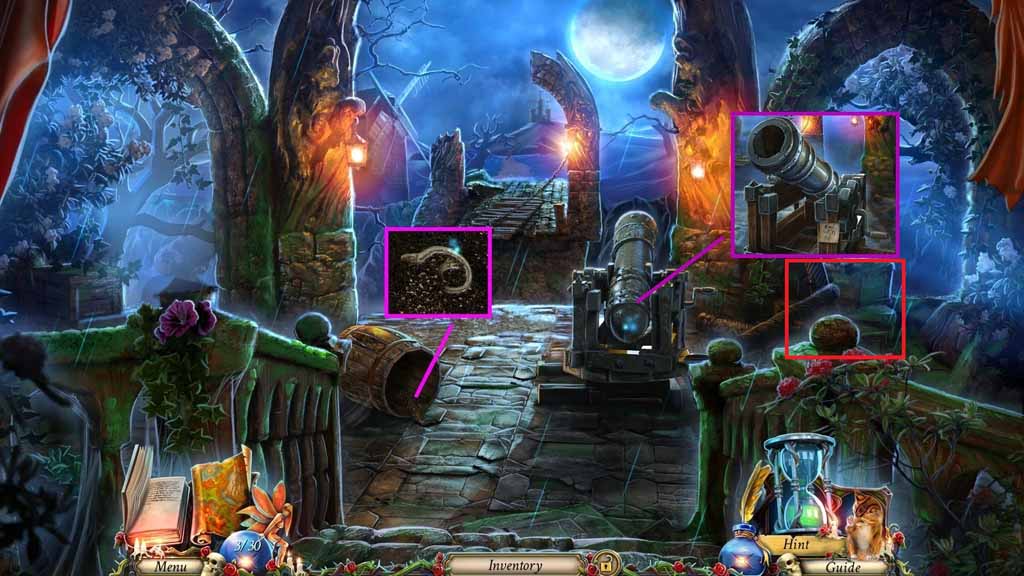
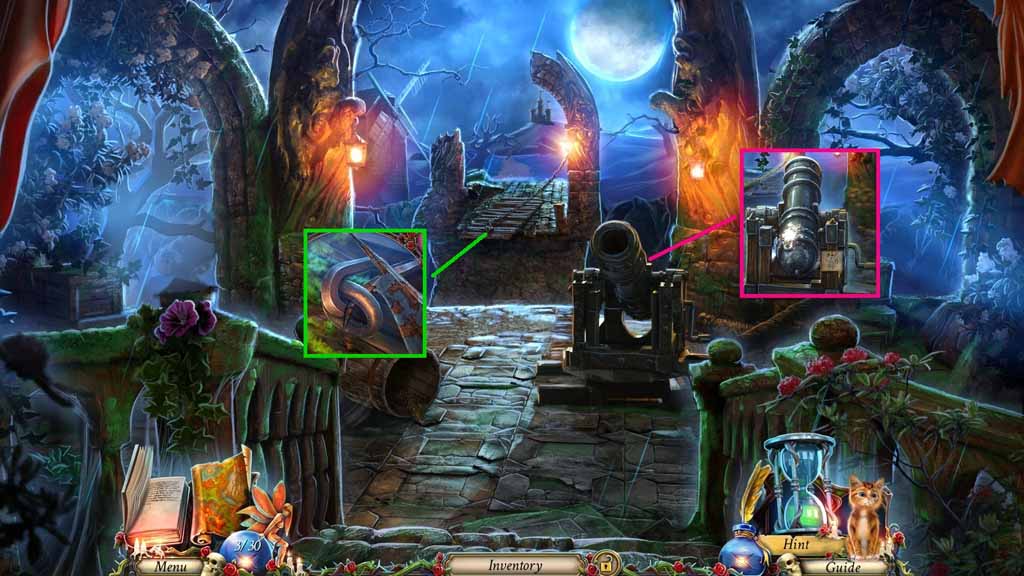
- Select the sticky string and place it into the gun powder; collect the fuse.
- Click the cannon.
- Insert the gun powder and the steel ball.
- Click the hidden objects area.
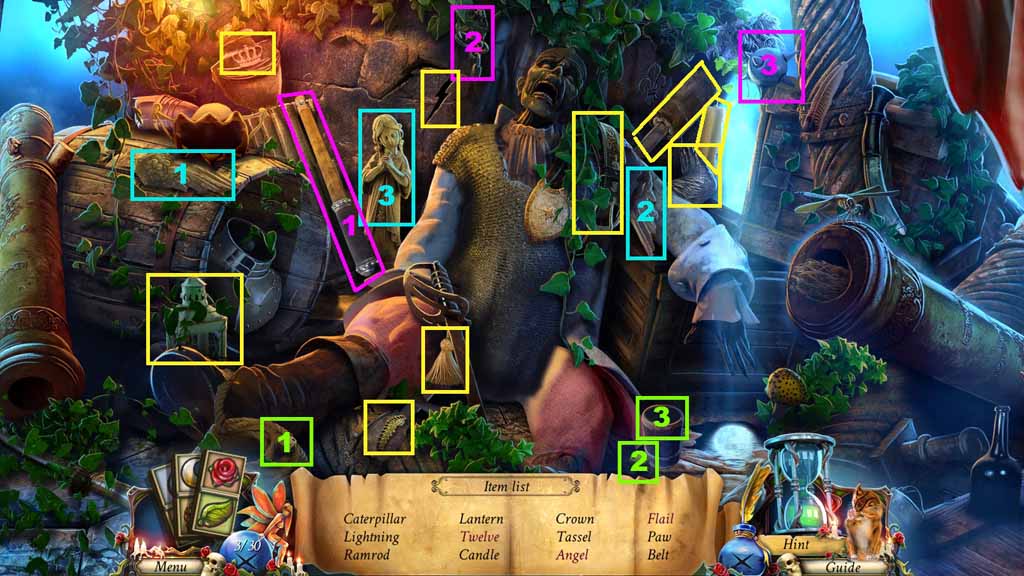
- Find the listed items.
- Select the dice and place it into the cup; collect the twelve.
- Select the wings and attach them onto the statue; collect the angel.
- Select the chain and place it onto the handle then attach the spiked ball; collect the flail.
- Collect the ramrod.
- Select the ramrod and use it on the cannon; click it once.
- Insert the fuse and use the candlestick to light it.
- Select the halberd to use on the chain.
- Move ahead.