
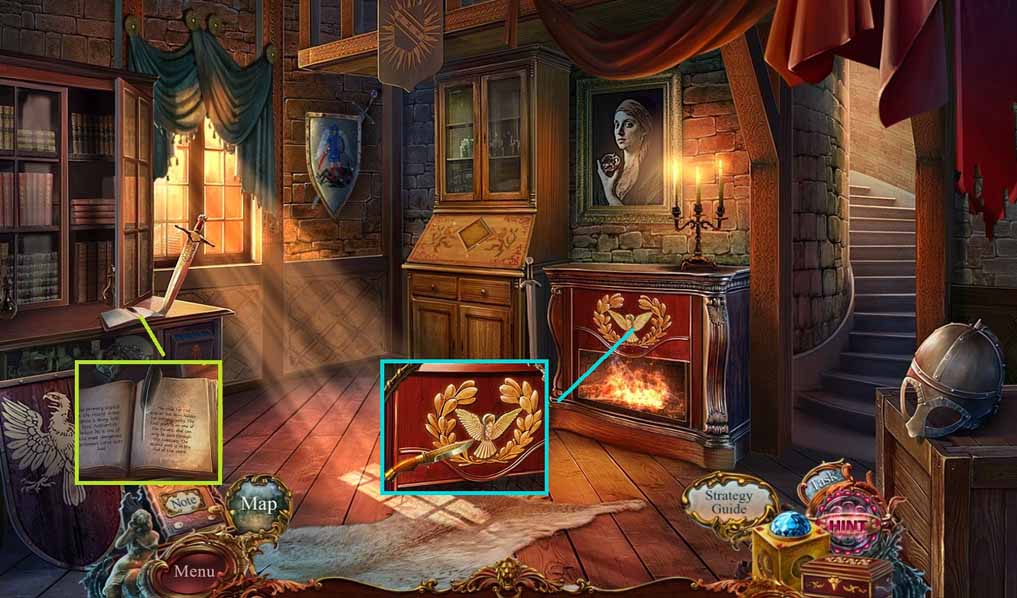
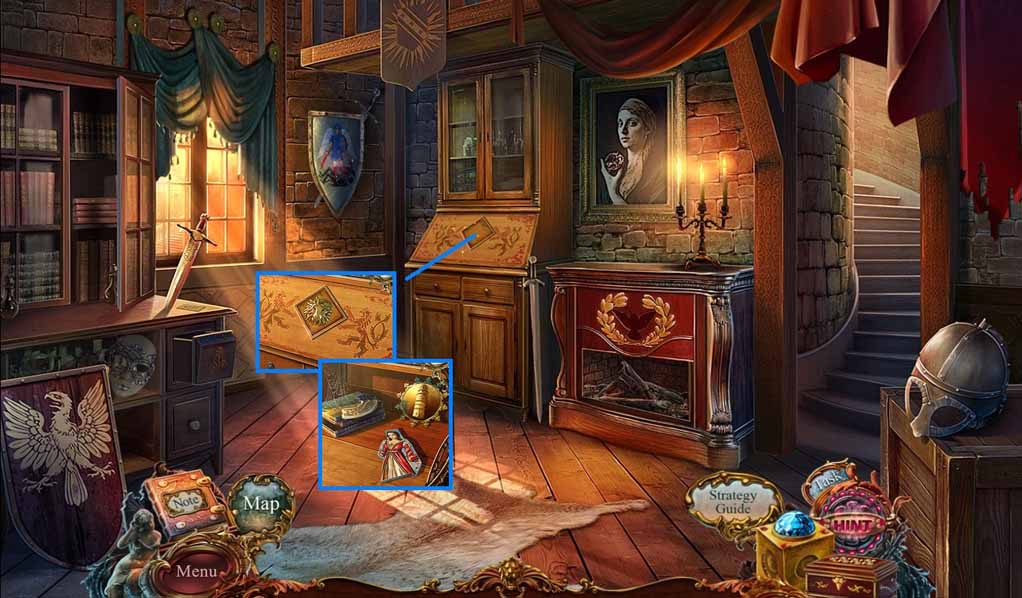
- Read the book; collect the paper sheet.
- Select the knife to collect the dove symbol.
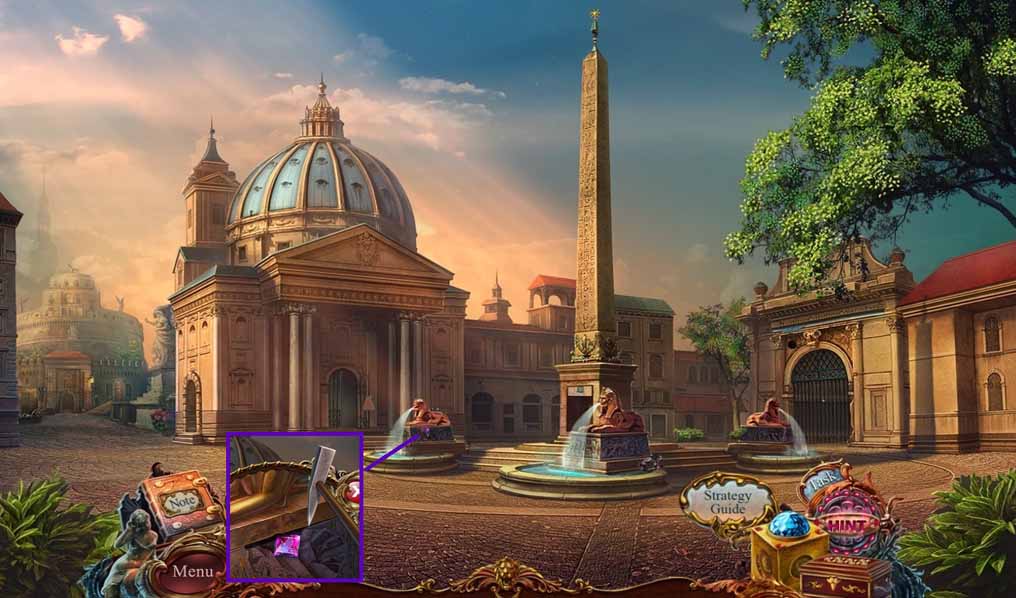
- Move to Trevi Fountain.
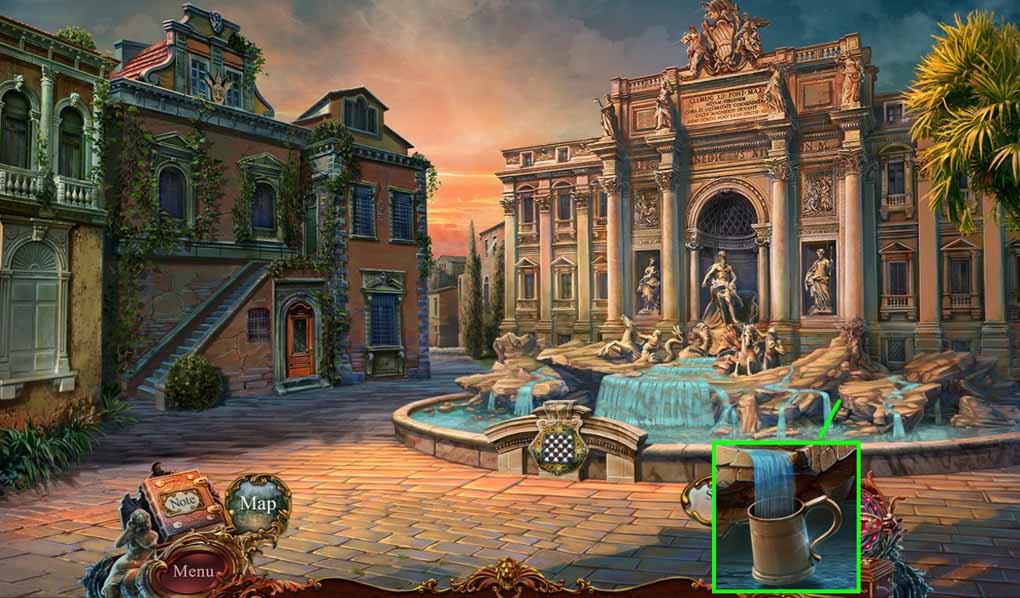
- Dip the cup into the water; collect the cup of water.
- Move to the Guard’s Room.
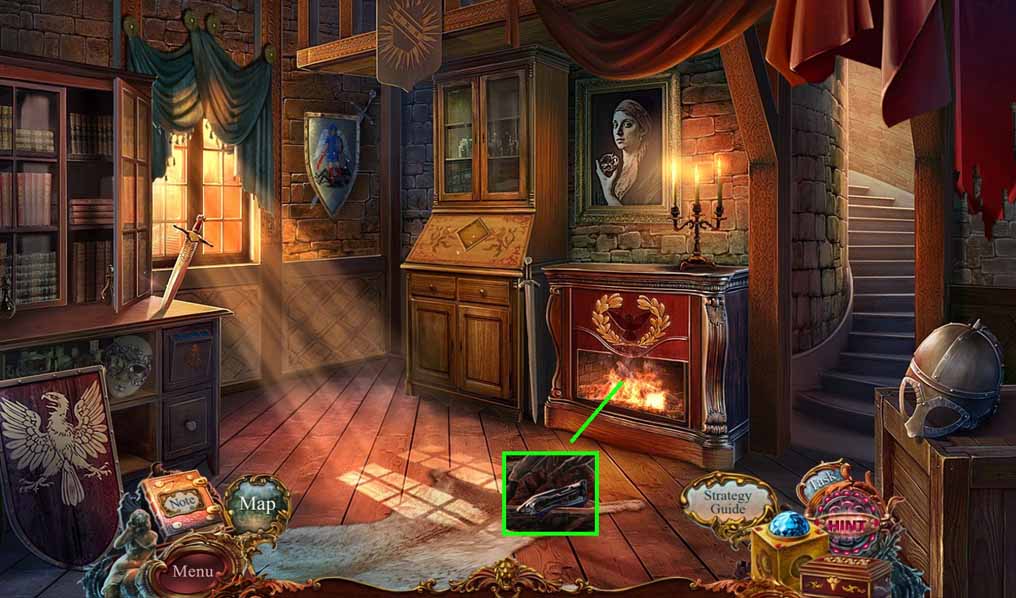
- Select the cup of water to douse the flames; collect the coal.
- Move upstairs to the Castle Roof.
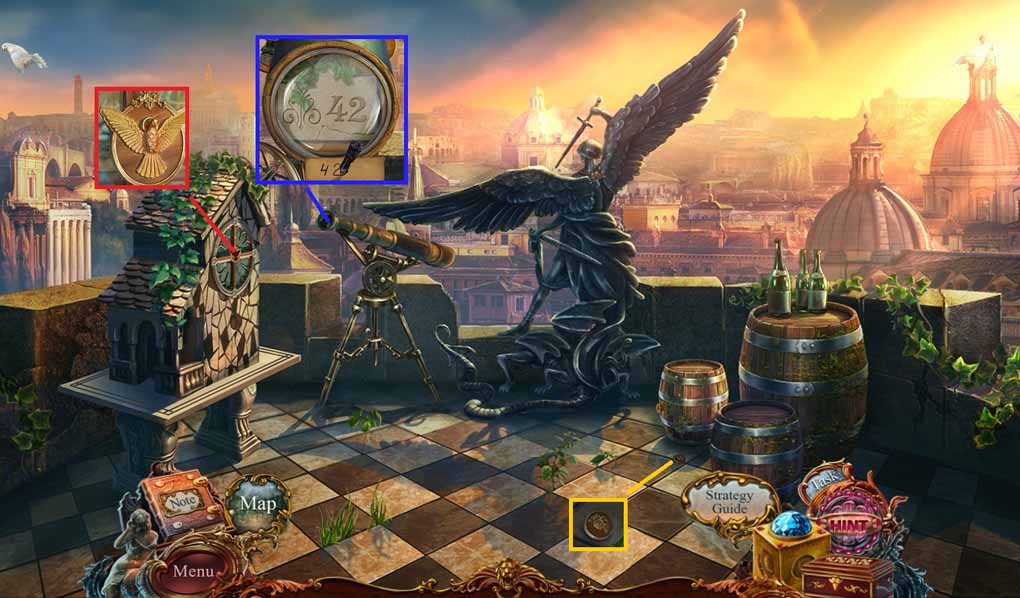
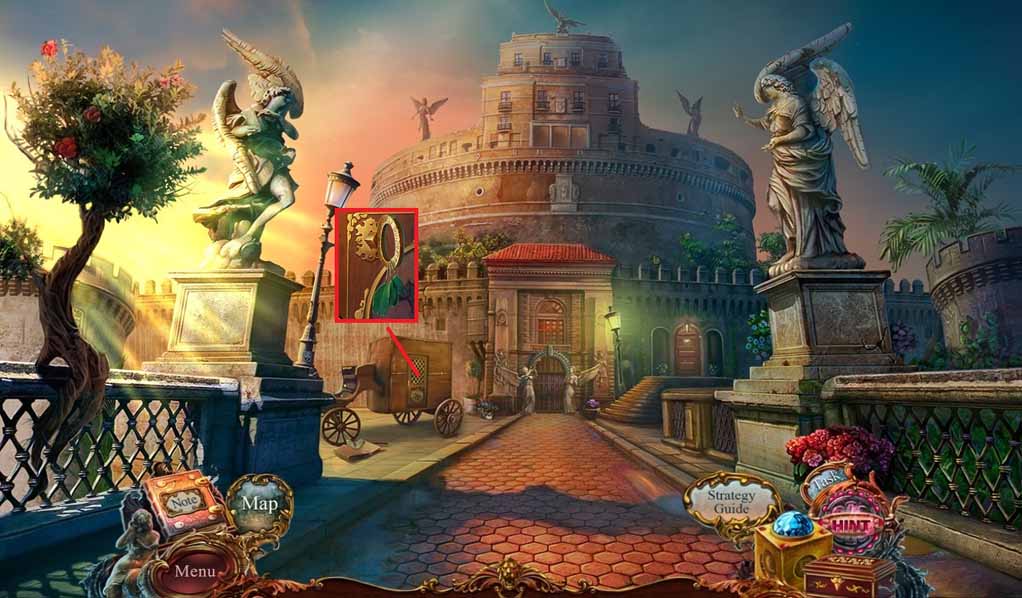
- Insert the dove symbol into the groove.
- Select the magnifying glass to use on the lens.
- Select the coal to use on the paper sheet and reveal the code half.
- Collect 1 / 2 gold buttons.
- Click the dovecote to trigger a hidden objects area.
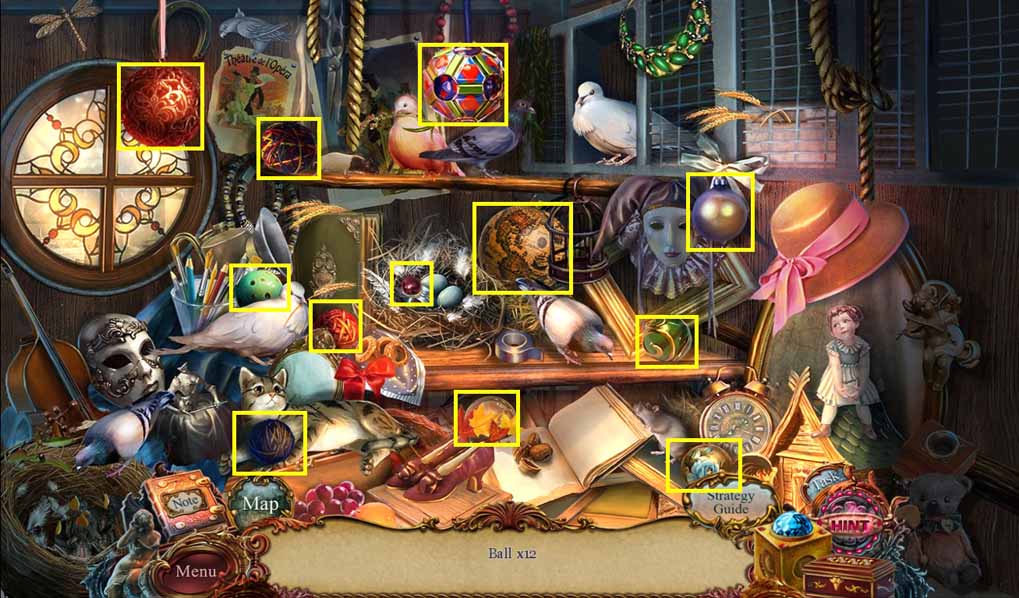
- Find the balls.
- Collect the marble.
- Move down 2 times.
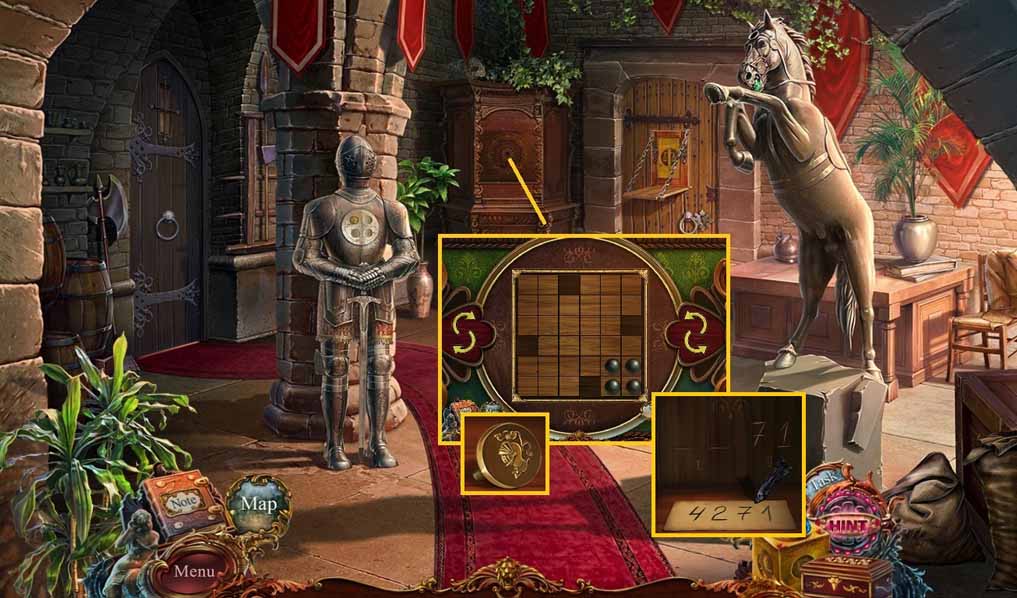
- Insert the marble into the opening.
- A mini game will trigger.
- Solve the game by moving all the marbles together in a group.
- Place the code half down and use the coal to receive the code.
- Move to the left.
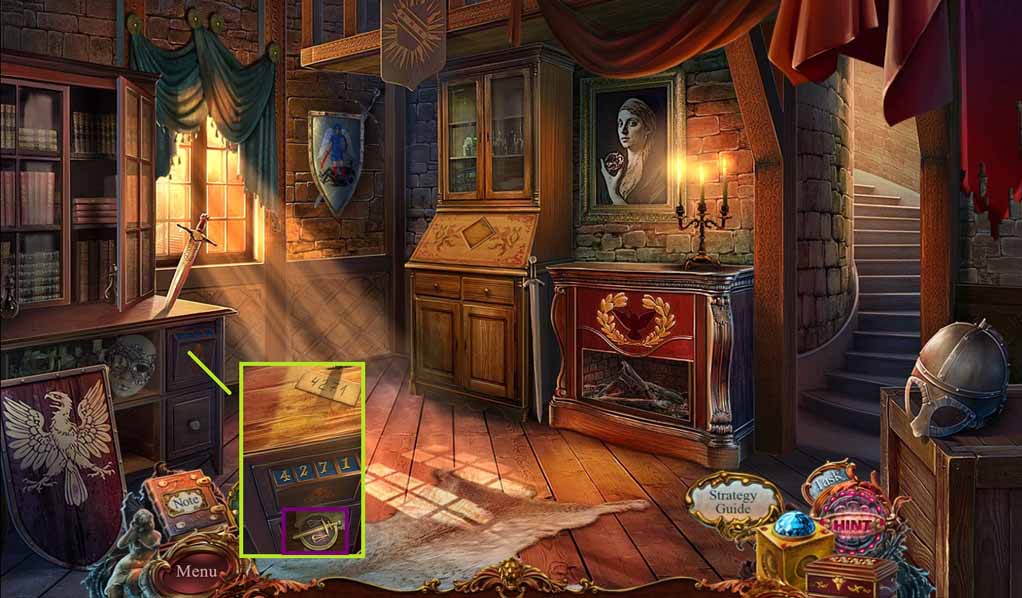
- Place the code onto the desk.
- Enter the code and collect the window key.
- Move down once.
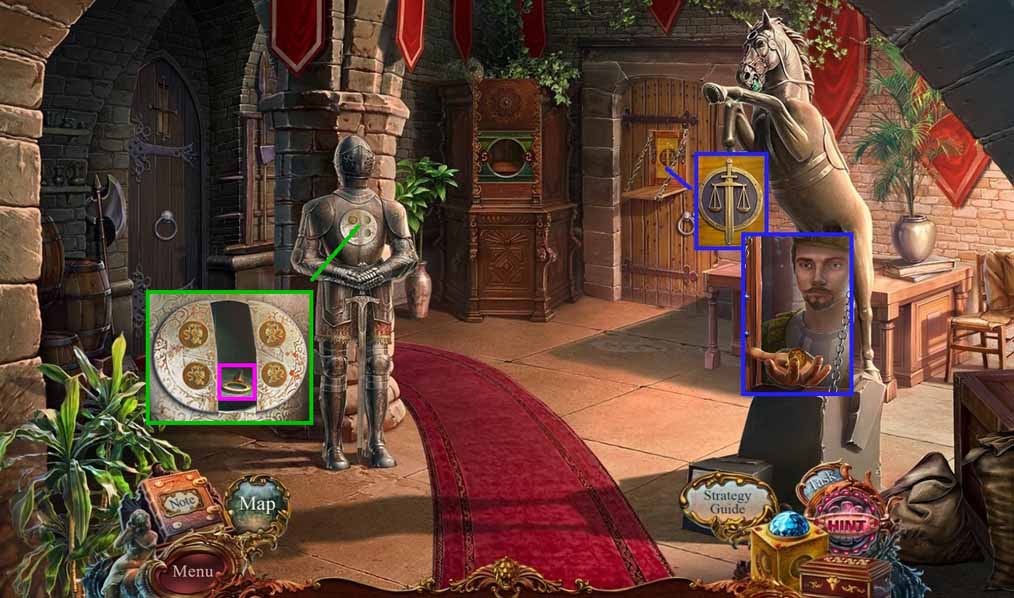
- Insert the window key into the panel.
- Speak to Valentino and collect the 3/3 gold buttons.
- Insert the three gold buttons into the armor and collect the rhombic key.
- Move down once.
- Insert the rhombic key into the lock.
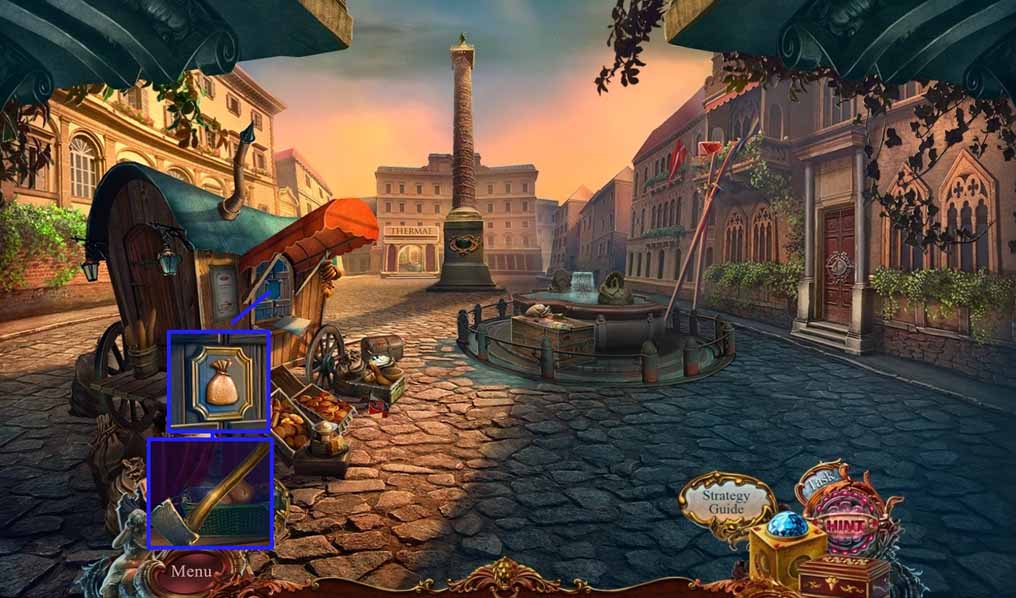
- Click the carriage to trigger a hidden objects area.
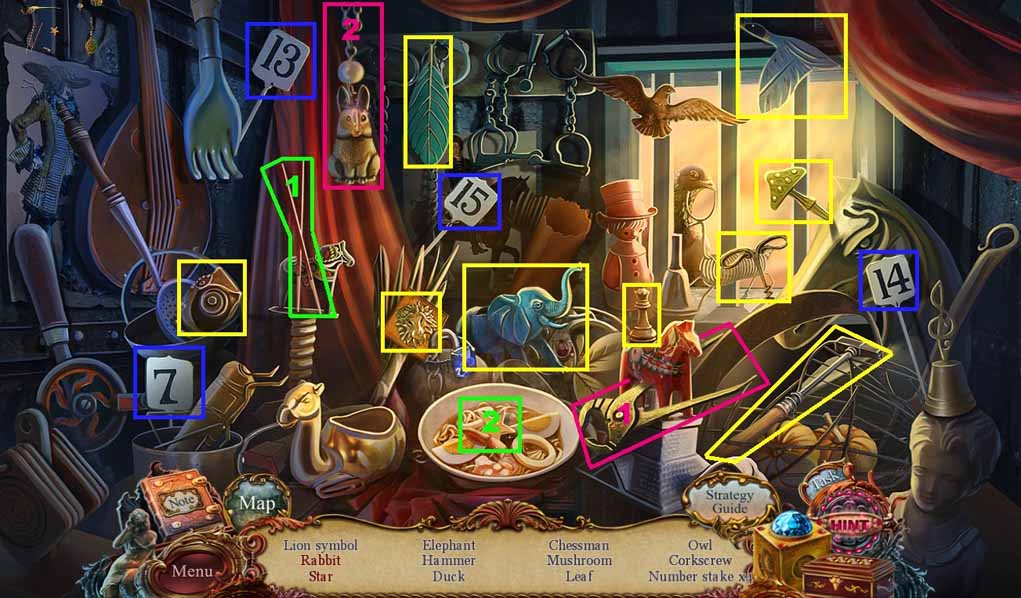
- Find the listed items.
- Select the chopsticks and use them to collect the star.
- Select the pliers and use it to clip the chain and collect the rabbit.
- Collect the lion symbol.
- Move to the Guard’s Room.
- Insert the lion symbol into the panel.
- Collect the 2/5 Mosaic parts, the pendant half and the Piazza Colonna key.
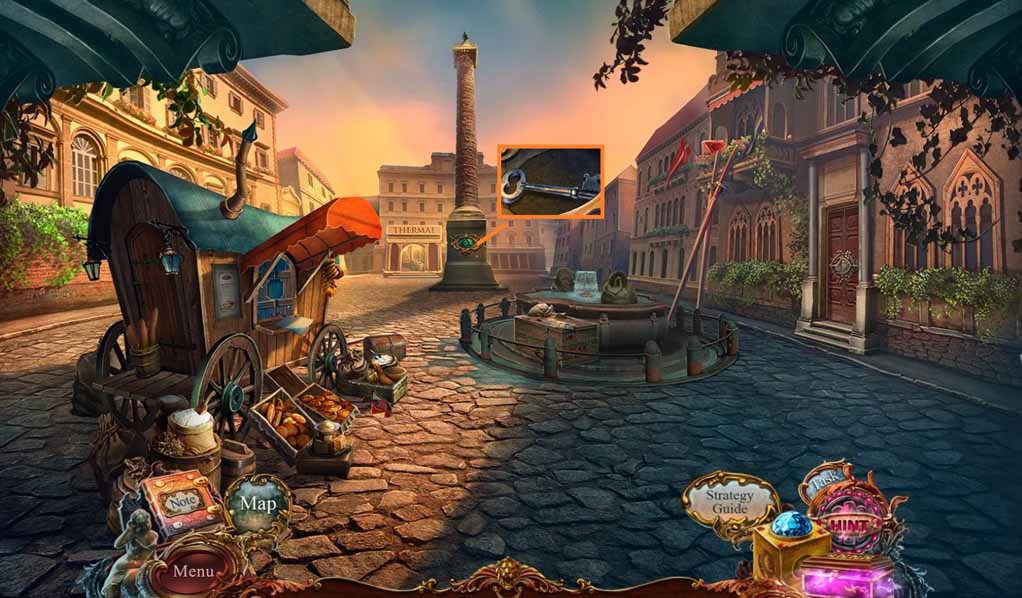
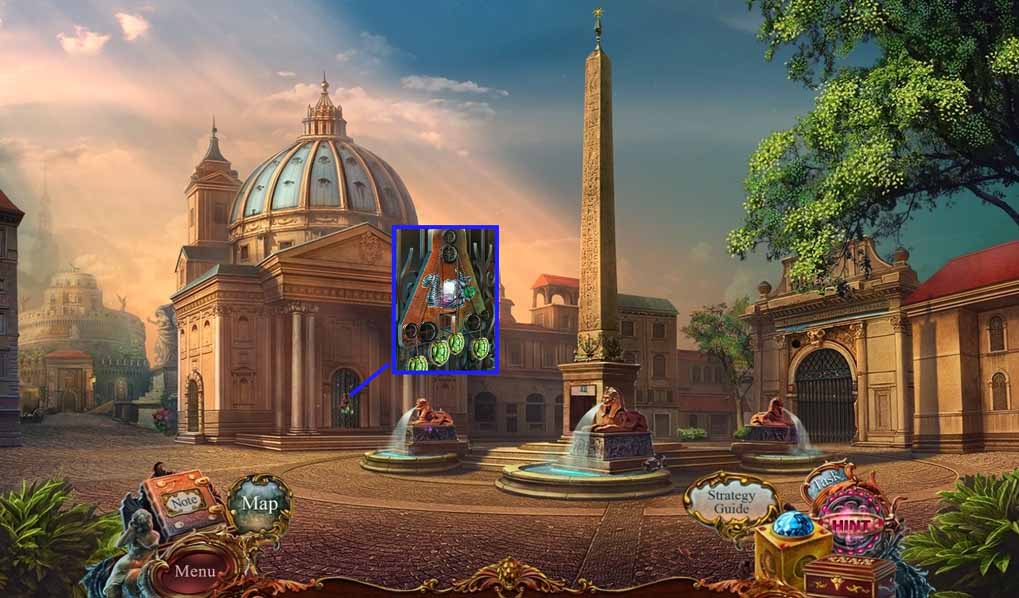
- Move to the Main Square.
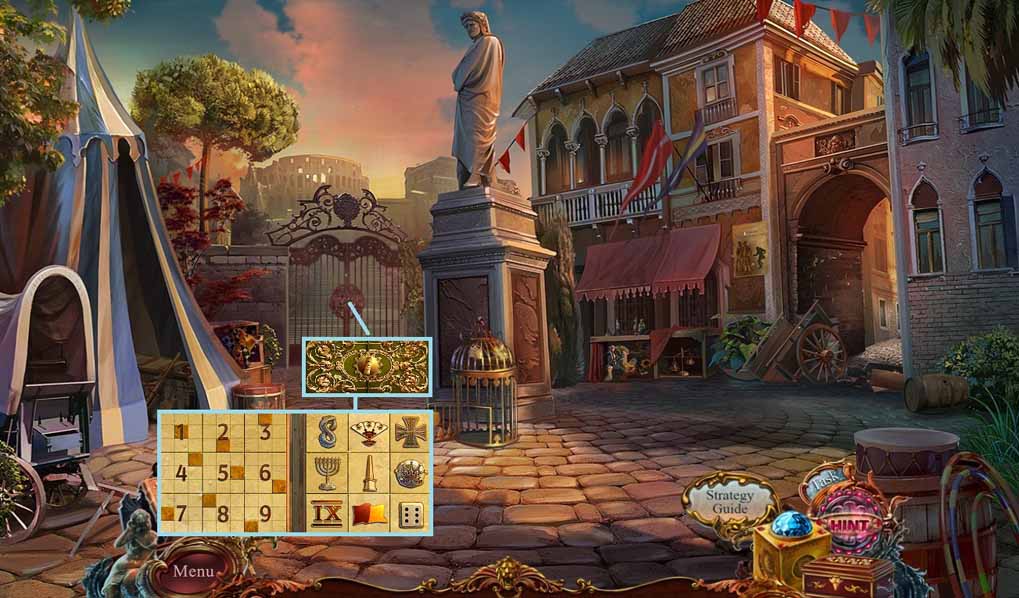
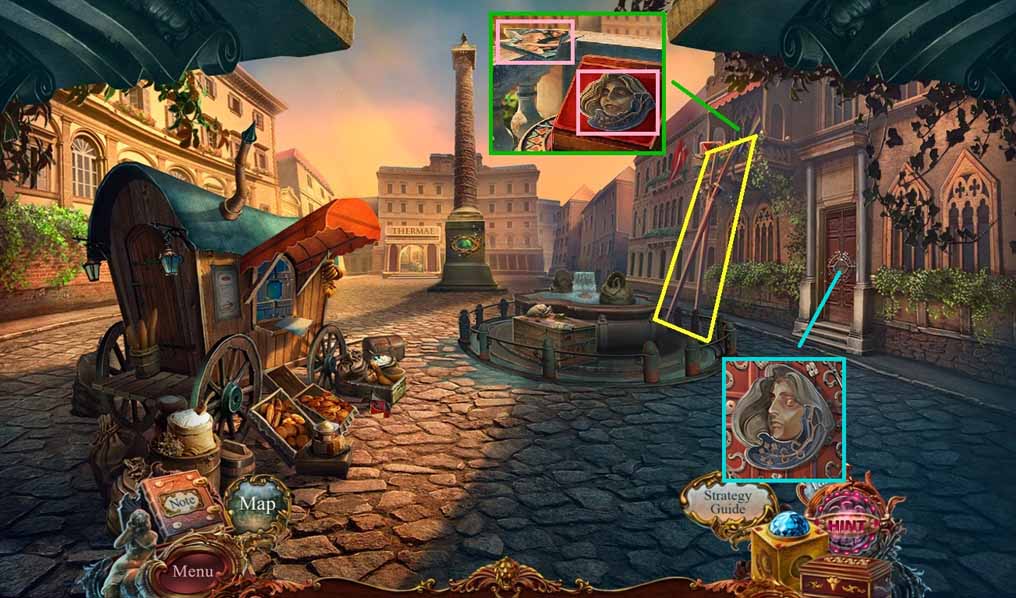
- Select the piazza Colonna key and insert it into the gate.
- A mini game will trigger.
- Solve the game by arranging the items on the left according to the number tiles on the right.
- Move to Colonna Square.
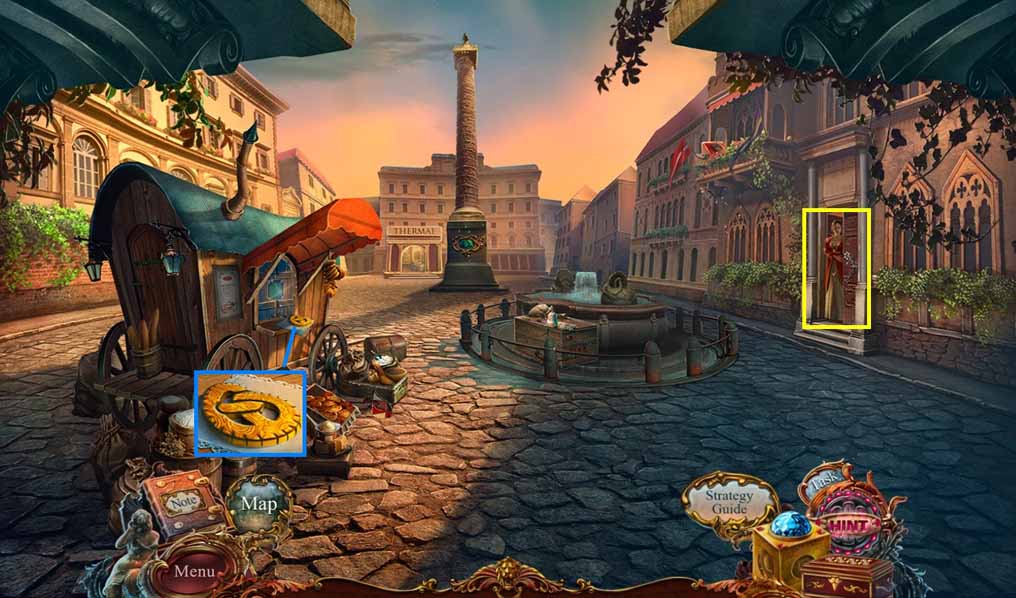
- Collect the pretzel.
- Speak to Lucretia.
- Move ahead.
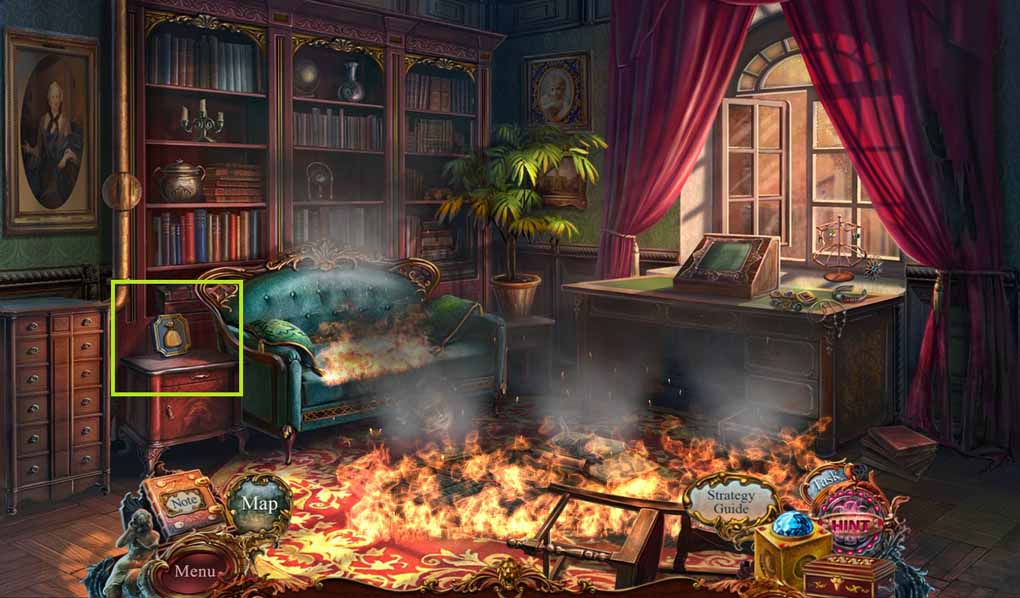
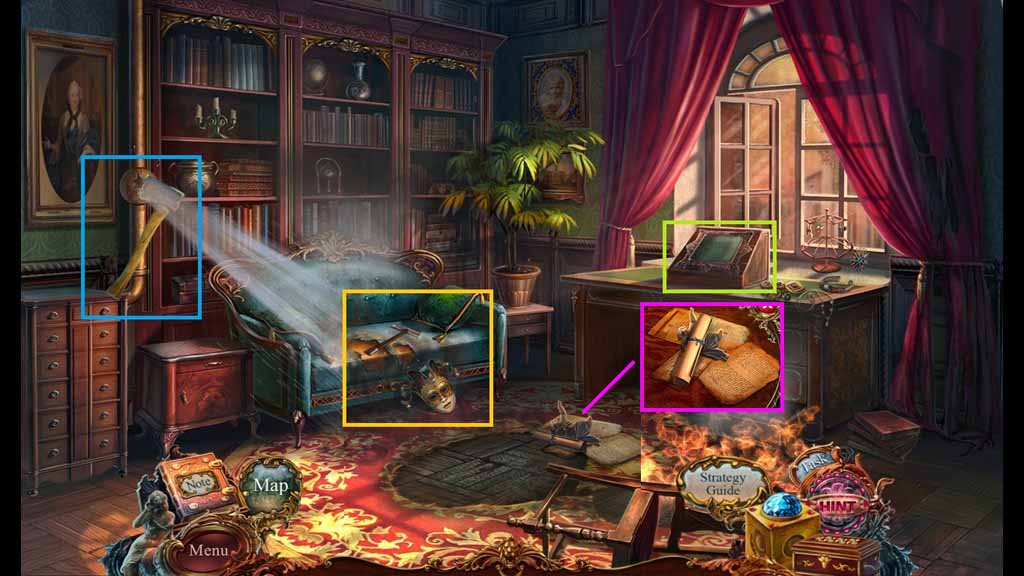
- Read the note and collect the corkscrew.
- Click the towels three times.
- Collect the 1/2 roman dancer, the 1/2 showcase key and the 3/5 mosaic parts.
- Move to the Bakery.
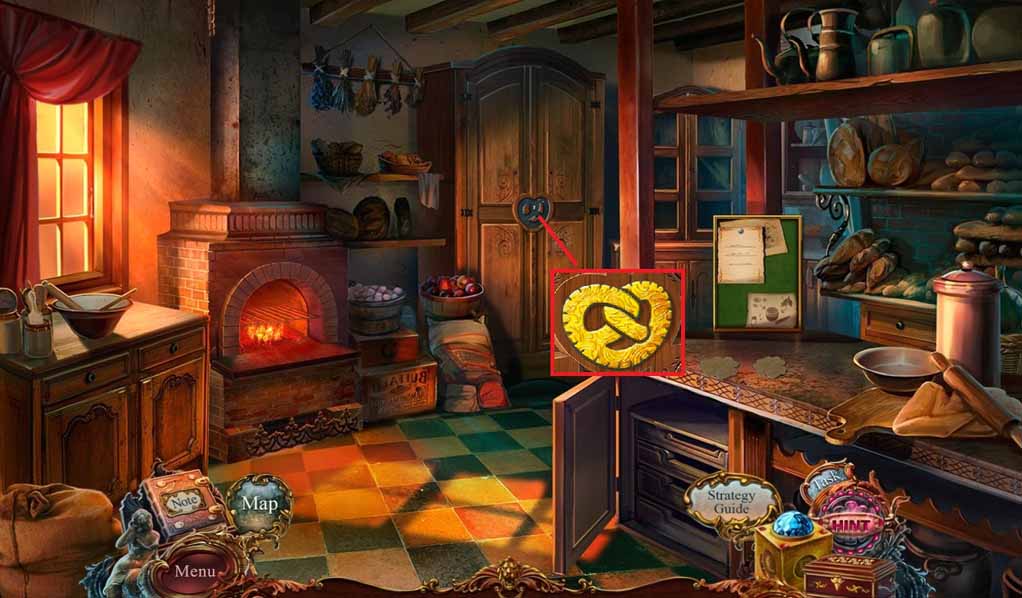
- Insert the pretzel into the lock.
- Click the cabinet to trigger a hidden objects area.
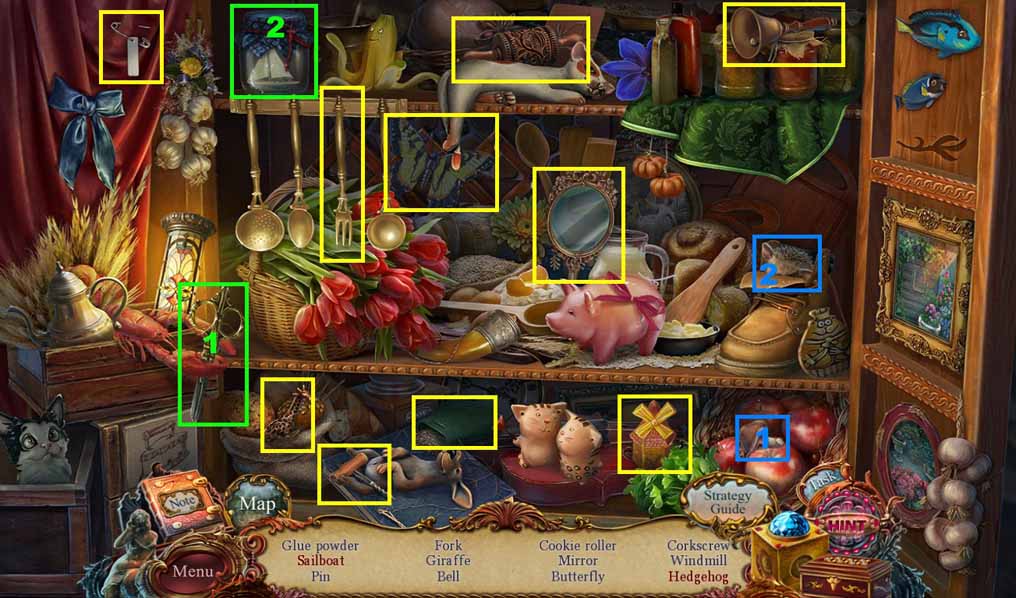
- Find the listed items.
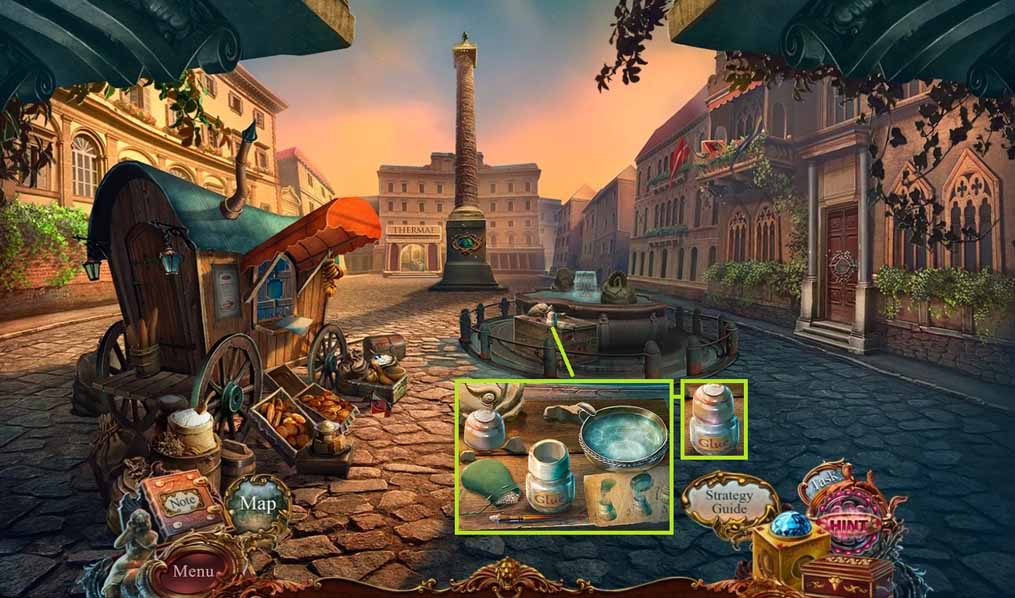
- Select the scissors and use them to cut the ribbon on the bottle; collect the sailboat.
- Select the mushroom to give to the hedgehog; collect the hedgehog.
- Collect the glue powder.
- Move to the Castle Roof.

- Place the bowl onto the floor.
- Insert the corkscrew to remove the cork.
- Collect the bowl of solvent.
- Move to Colonna Square.
- Place down the glue powder and the bowl of solvent onto the chest.
- Click the lid and click the glue powder and the solvent.
- Click the lid and collect the glue.
- Move to the Circus.
- Select the glue to use on the crack.
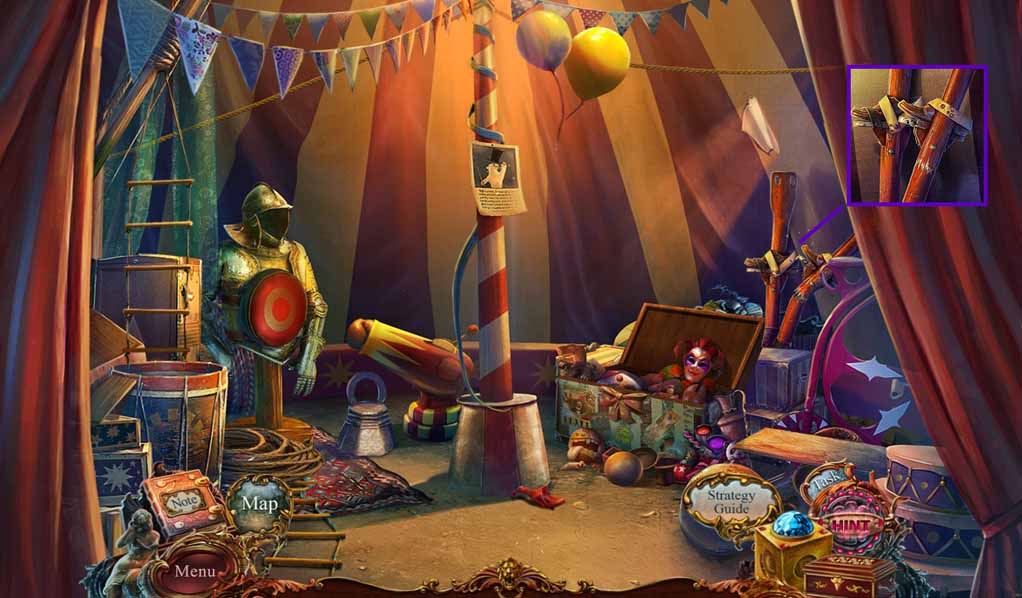
- Click the broken stilt; collect the stilts.
- Move to Colonna Square.
- Place the stilts onto the balcony.
- Insert the pendant half into the box; collect Lucretia pendant.
- Collect the 4/5 mosaic parts.
- Insert Lucretia’s pendant into the door.
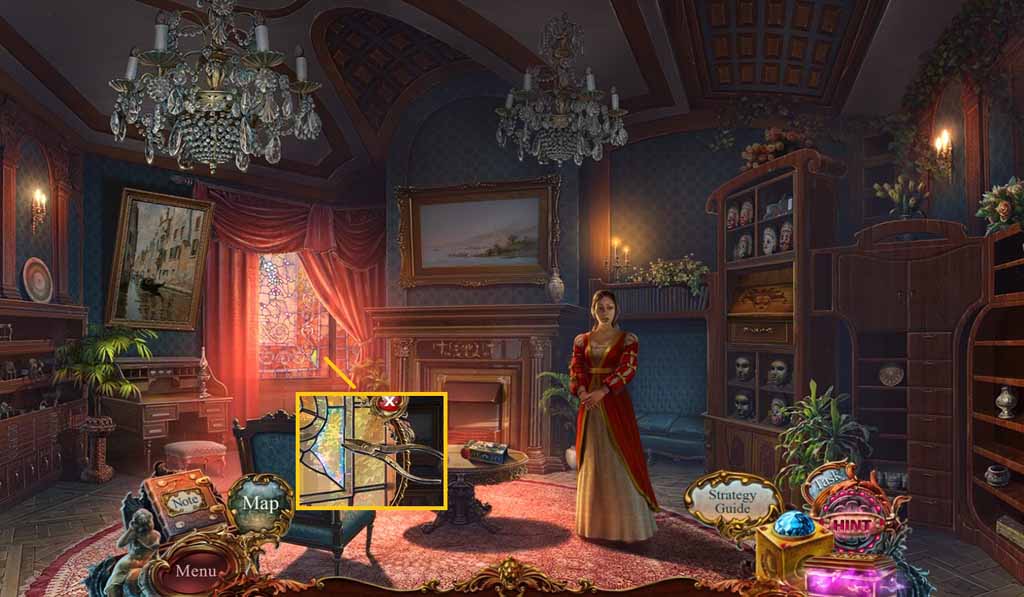
- Move to Lucretia’s House.
- Read the note, collect the squirrel blueprint, the glove and the 1/2 Alpha and Omega.
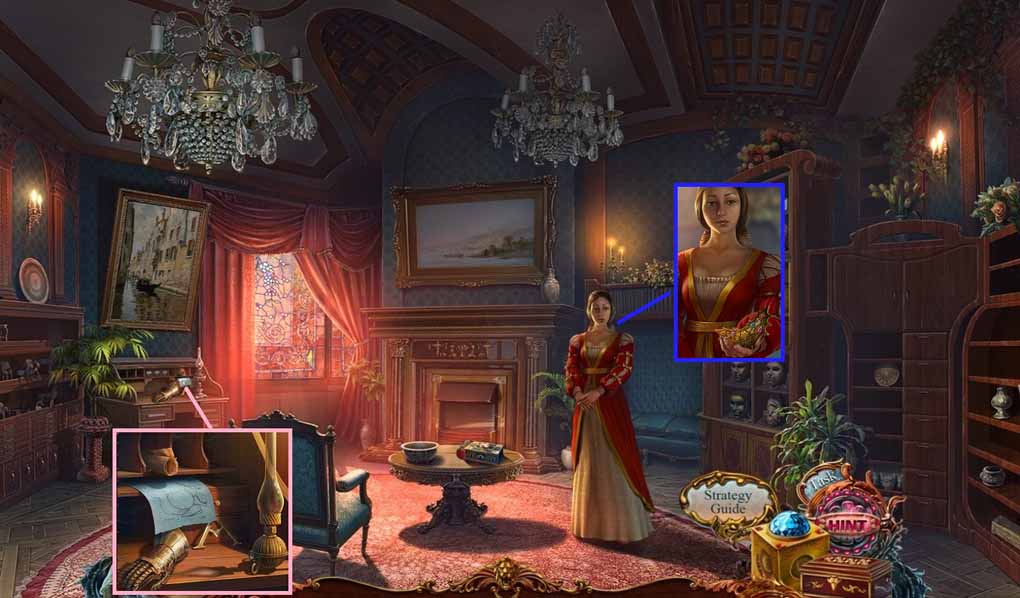
- Speak to the Lucretia and collect the tiara.
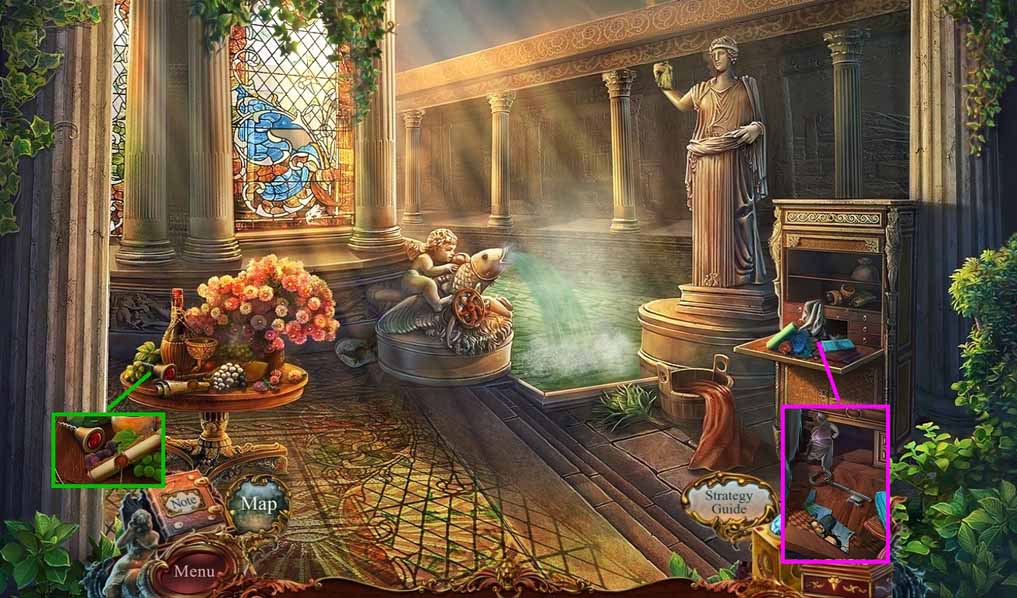
- Move to the Thermae.
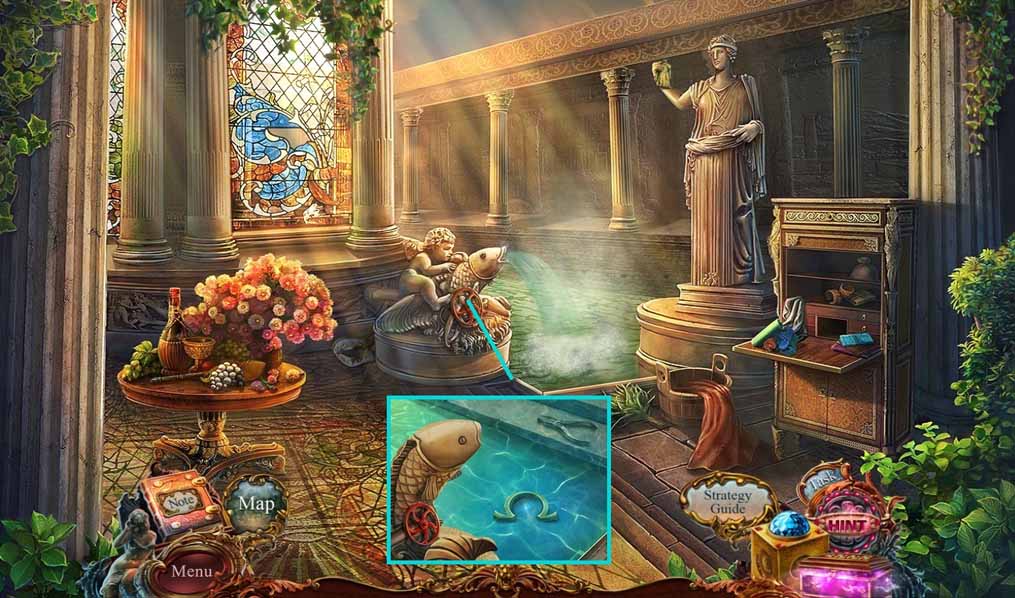
- Select the glove to use on the valve.
- Collect the 2/2 out and Omega and the pliers.
- Move down once.
- Insert the Alpha and Omega into the plaque.
- Collect the 2/2 show case keys.
- Move to the Pantheon.
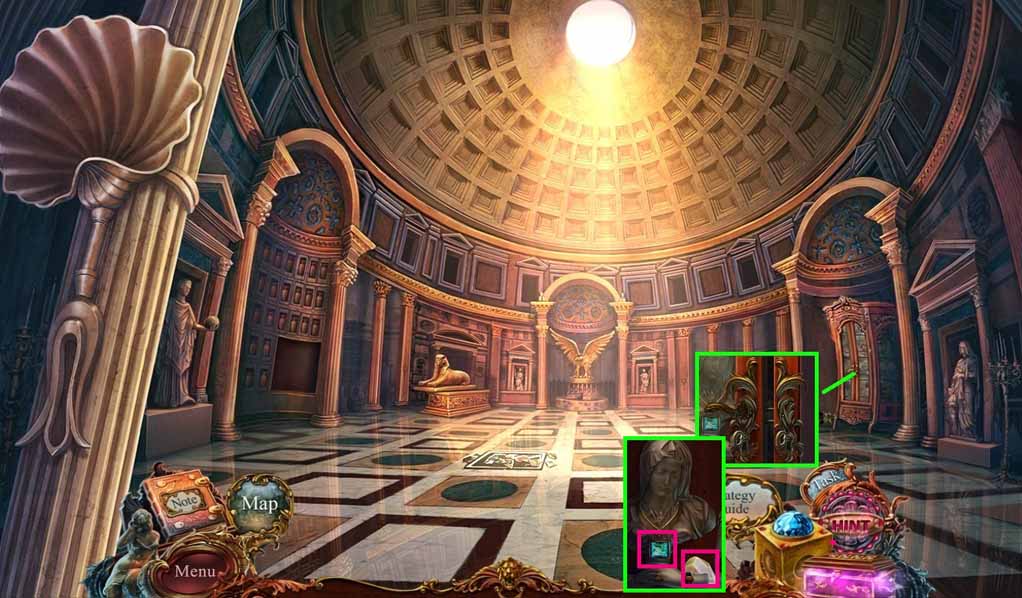
- Insert the two showcase keys into the lock and open the door.
- Collect the crystal and the blue gem.
- Move to the Lucretia’s House.
- Select the pliers to collect the stained-glass piece.
- Move to the Thermae.
- Insert the stained-glass piece into the window.
- Select the crystal cube and place it into the light to collect the charged crystal.
- Move to the Castle Roof.
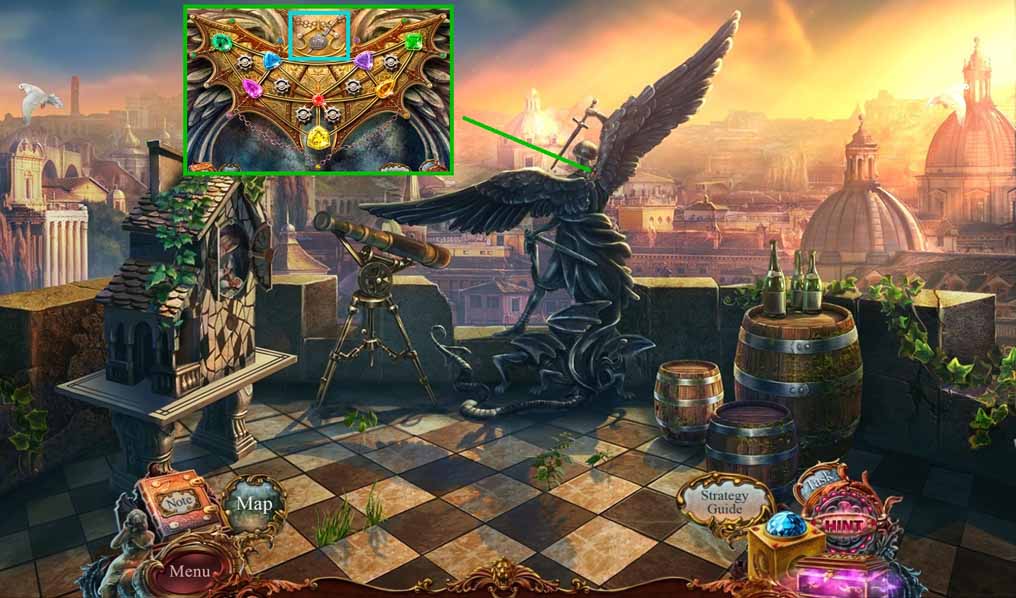
- Zoom into the statue.
- Place the tiara onto the wings to trigger a mini game.
- Solve the game by moving the gems to the correct alignment.
- Collect the sword.
- Move down once.
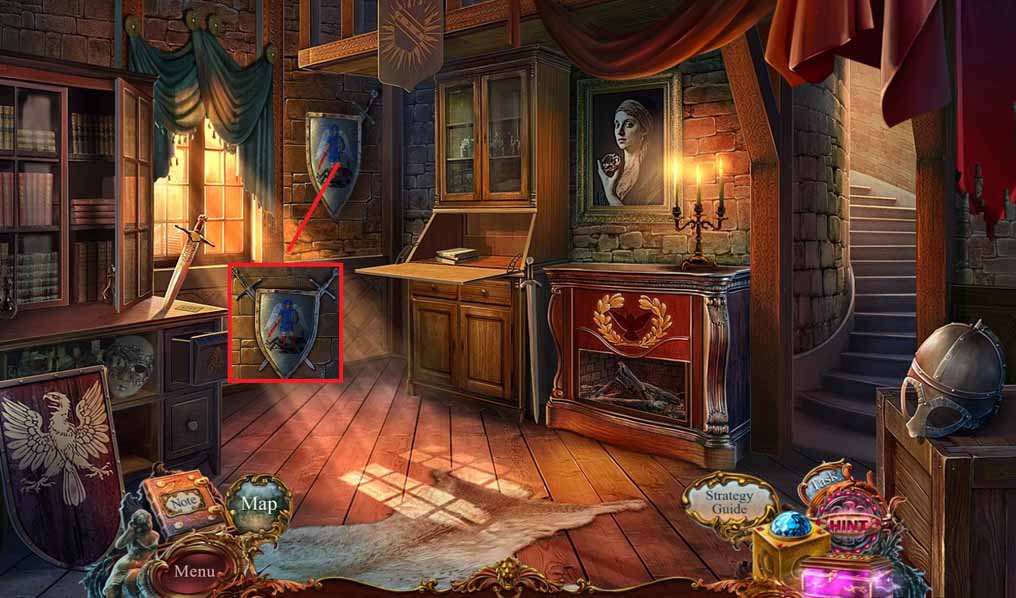
- Insert the sword into the shield.
- Click the debris to trigger a hidden objects area.
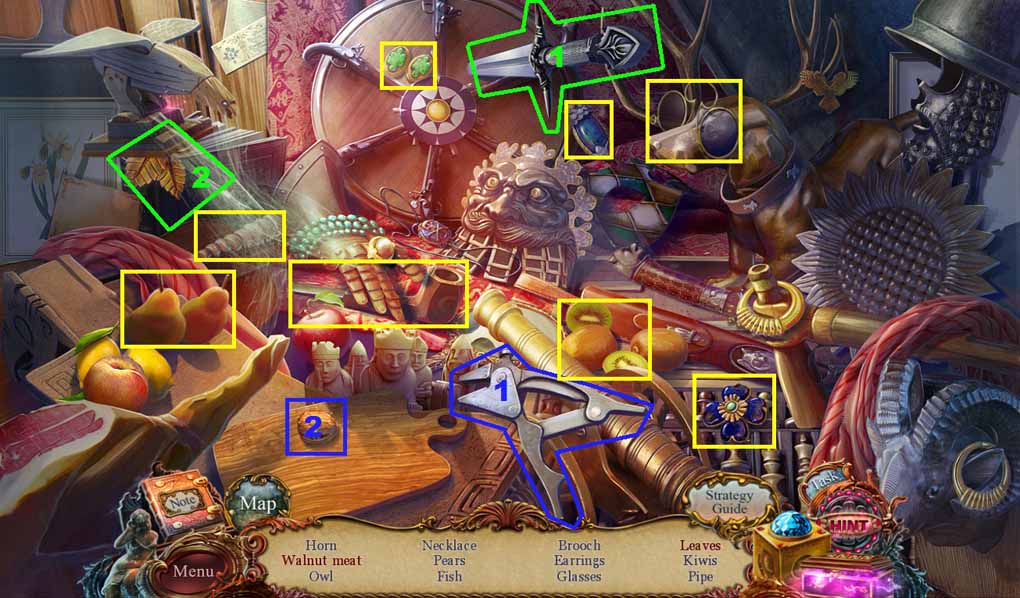
- Find the listed items.
- Select the knife and use it to slash the cobwebs; collect the leaves.
- Select the pliers and use them on the nut; collect the walnut meat.
- Collect the horn.
- Move down once.
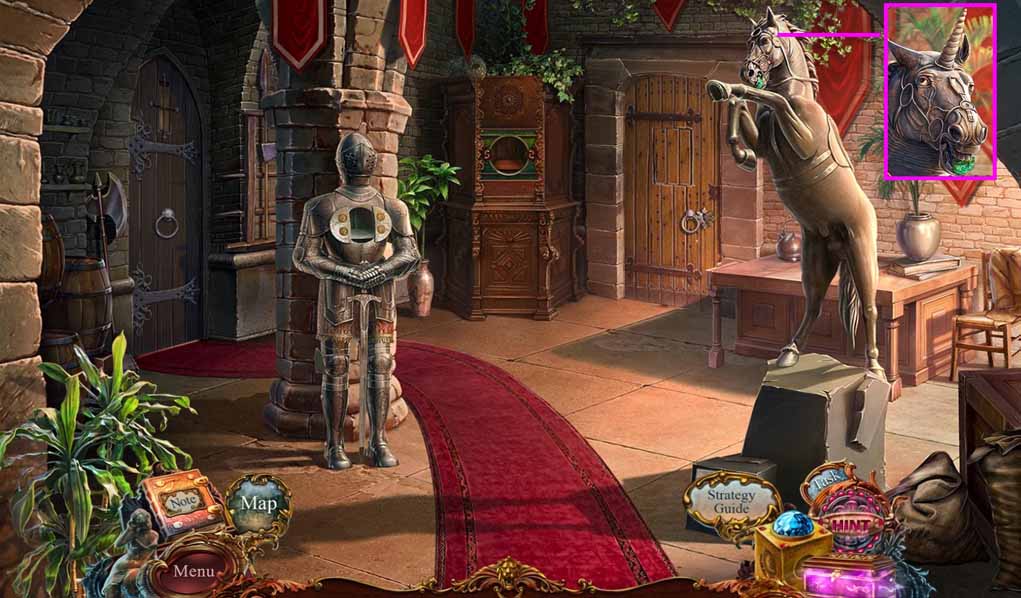
- Attach the horn onto the unicorn.
- Collect the emerald.
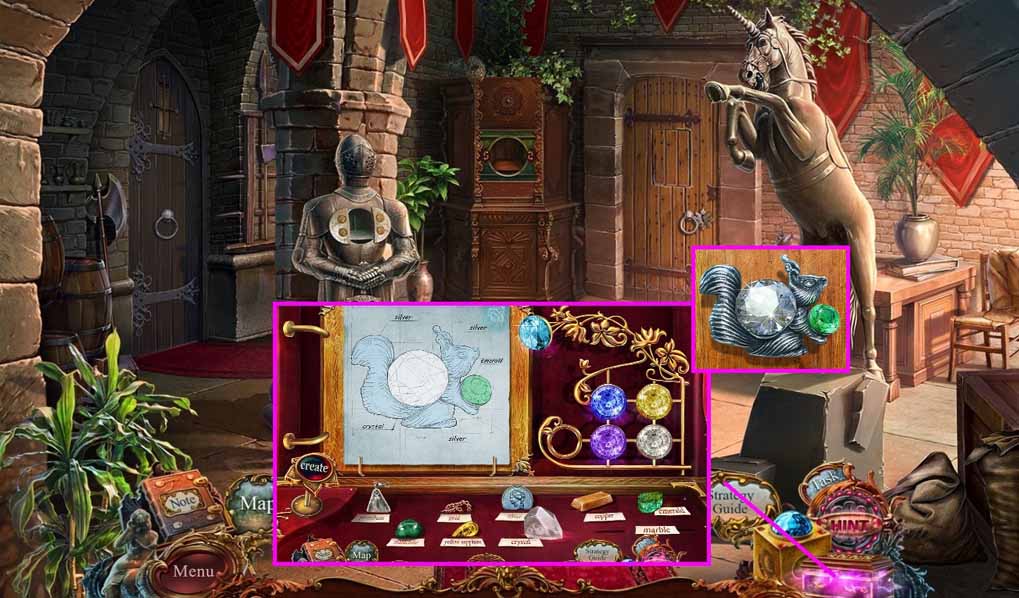
- Click the jeweler’s box.
- Place the squirrel blueprint onto the board.
- Place the crystal and the emerald above their signs.
- Select the silver, crystal and the emerald to color the blueprint.
- Select the light blue crystal and click the create button.
- Collect the squirrel pendant.
- Move down 2 times.
- Insert the squirrel pendant into the lock.
- Move into the Jewelers House.
- Collect the trade symbol.
- Move to Colonna Square.
- Insert the trade symbol into the doors.
- Collect the axe.
- Move to the Jeweler’s House.
- Select the axe to chop the pipe.
- Collect the carnival mask in to use on the crack.
- Notice the mini game on the desk.
- Read the note and collect the 2/2 roman dancers.
- Move down once.
- Select the pick to open the crack.
- Collect the pink gem.
- Move to Lucretia’s House.
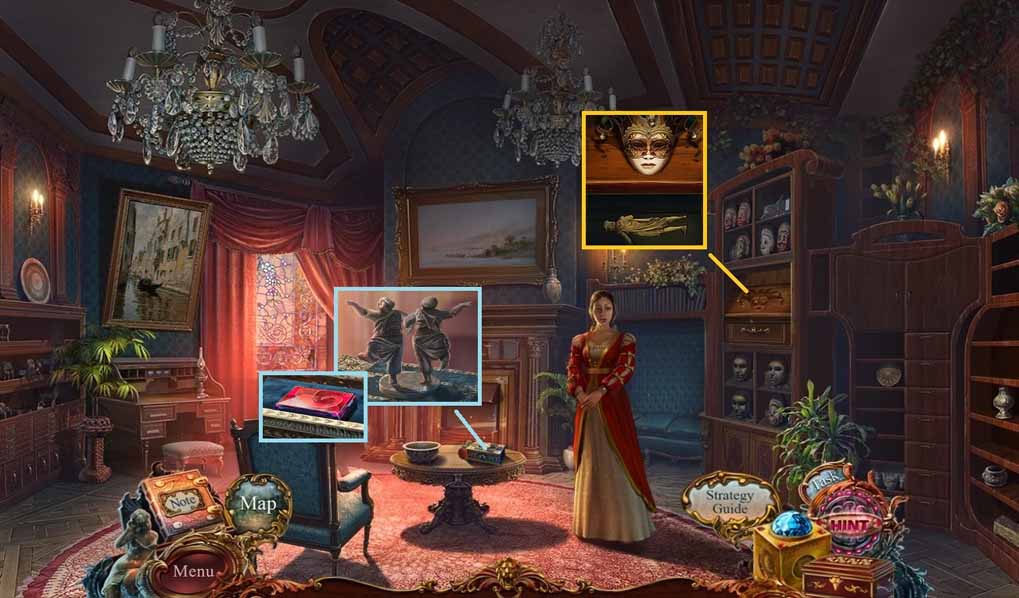
- Place the carnival mask onto the shelf; collect 1 / 2 bas- reliefs.
- Place the 2 roman dancers onto the box; collect the red gem.
- Move to the Jeweler’s House.
- Zoom into the desk.
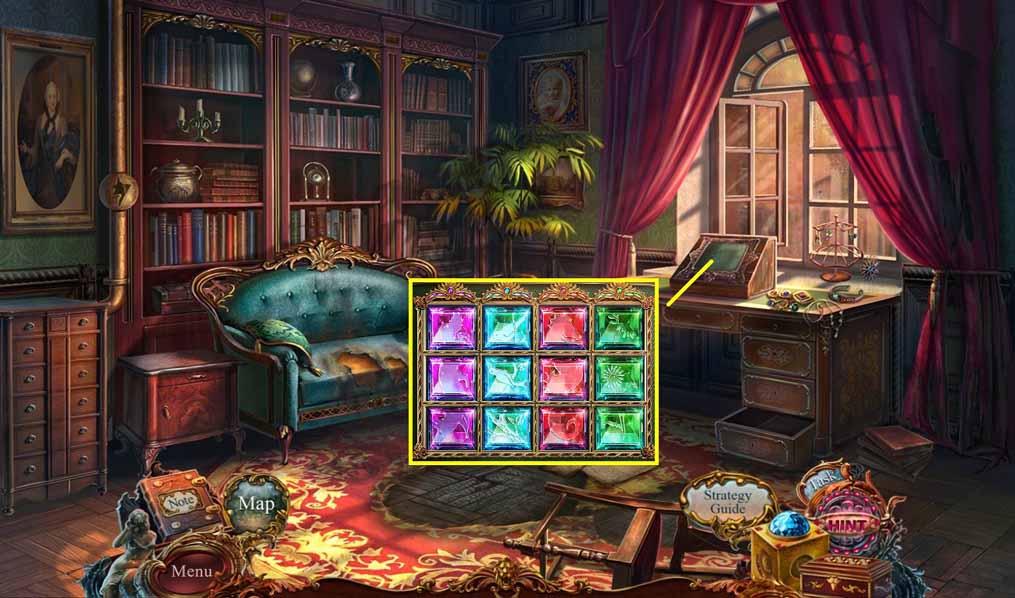
- Place the blue, pink and red gems onto the board to trigger a mini game.
- Solve the game by arranging the gems into the correct columns.
- Collect the completed gem tablet.
- Move to the Jewelry Workshop.
- Select the knife to slice the ropes.
- Insert the gem tablet into the panel.
- A mini game will trigger.
- Solve the game by placing the 5 items into their correct positions.
- Move to the left and into the Secret Room.