
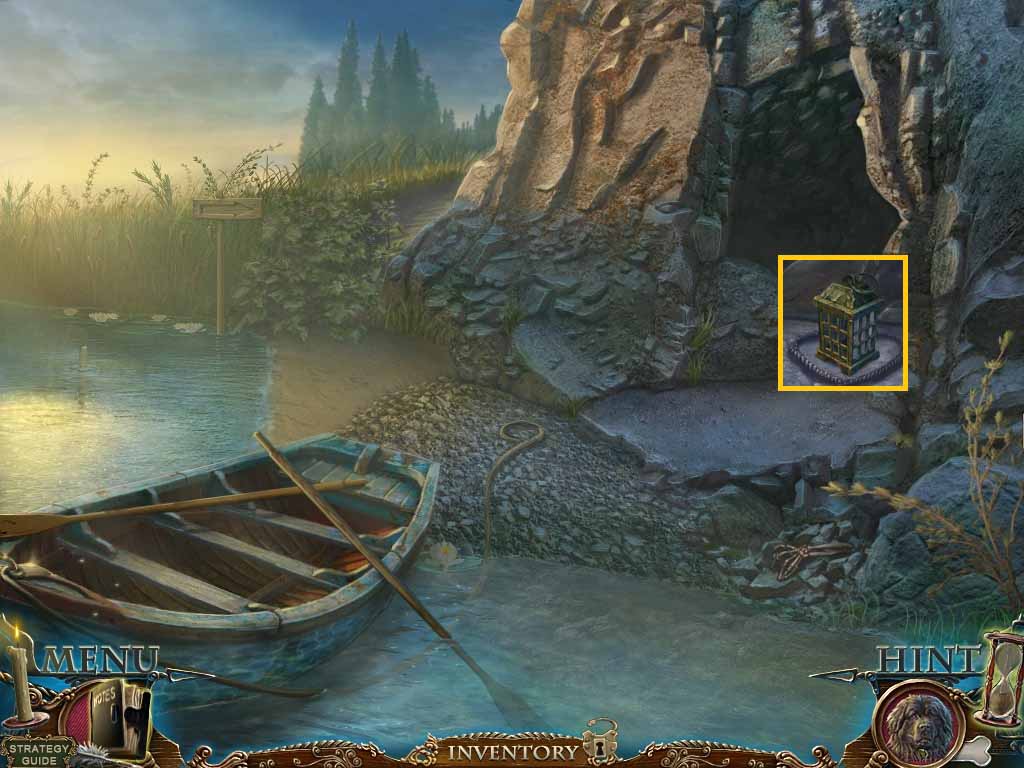
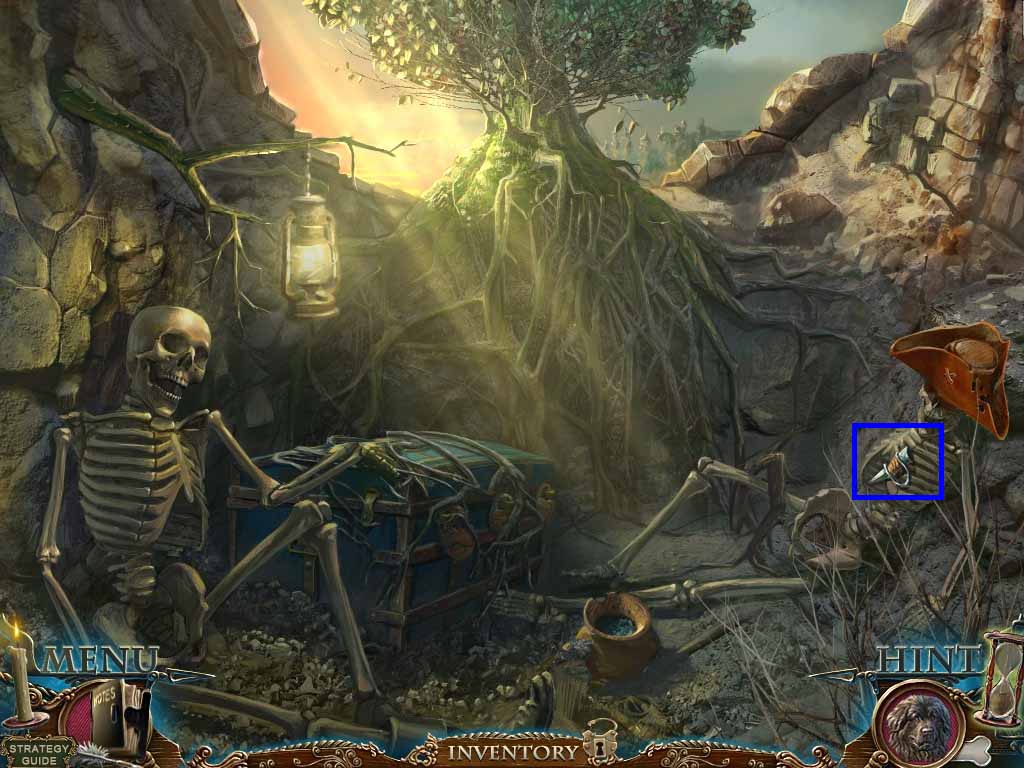
- Go into the cave.
- Zoom into the lantern; collect the empty lamp.
- Move back one time.
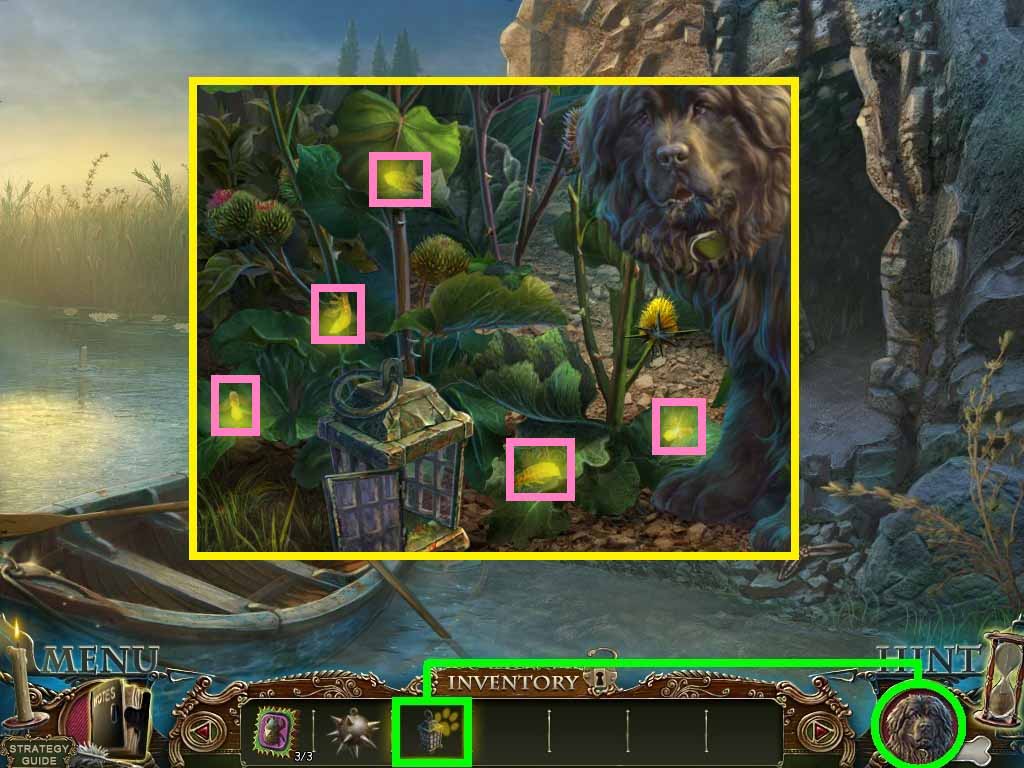
- Give Arthur the empty lamp.
- Put the 5 fireflies into the empty lamp.
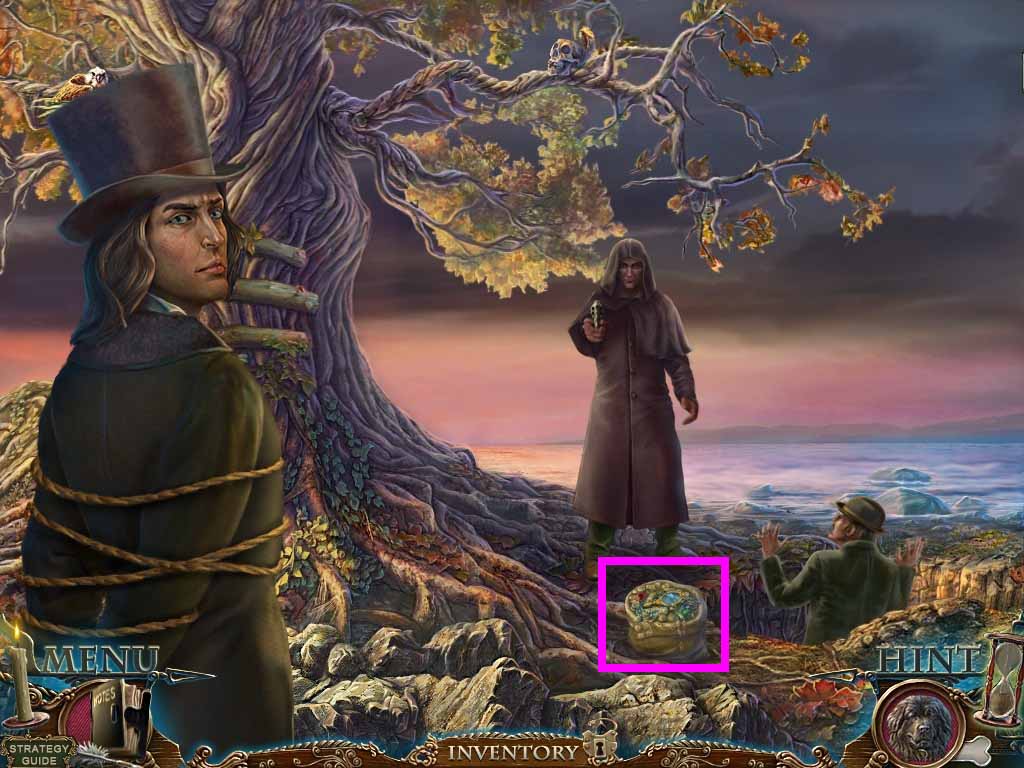
- Collect the lamp with fireflies.
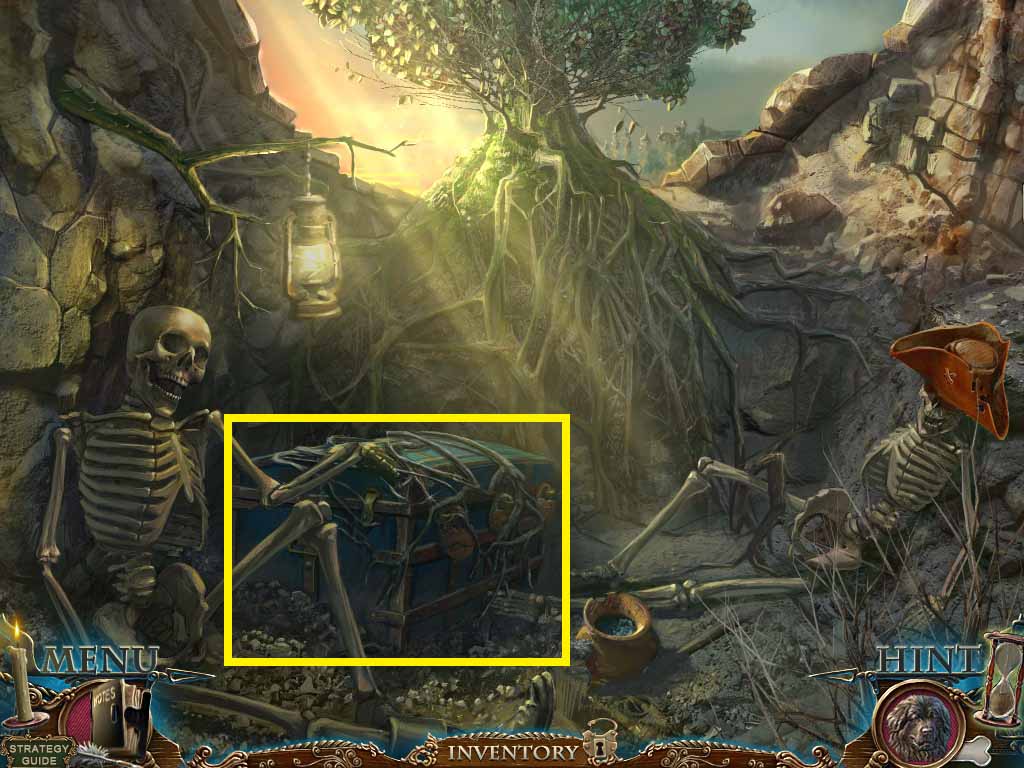
- Go into the cave.
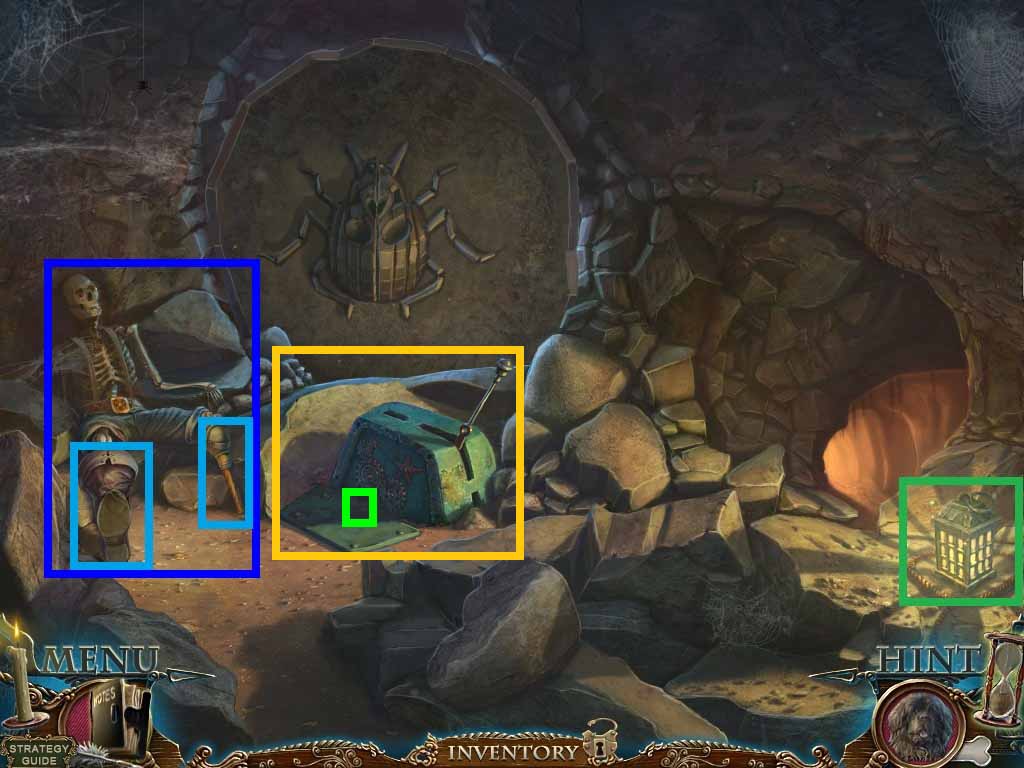
- Zoom into the lamp with fireflies; place it down on the stone where it was found.
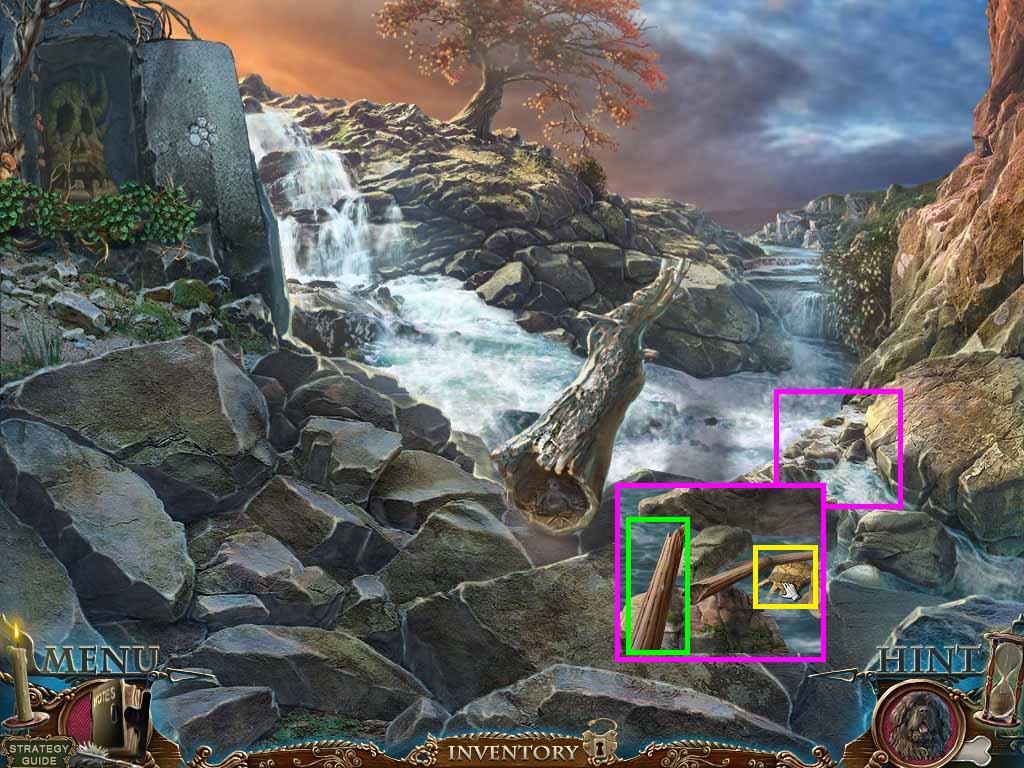
- Zoom into the skeleton; collect the boot and the stick.
- Zoom into the lever; click the panel and collect the bolt.
- Move to the right and go further into the cave.

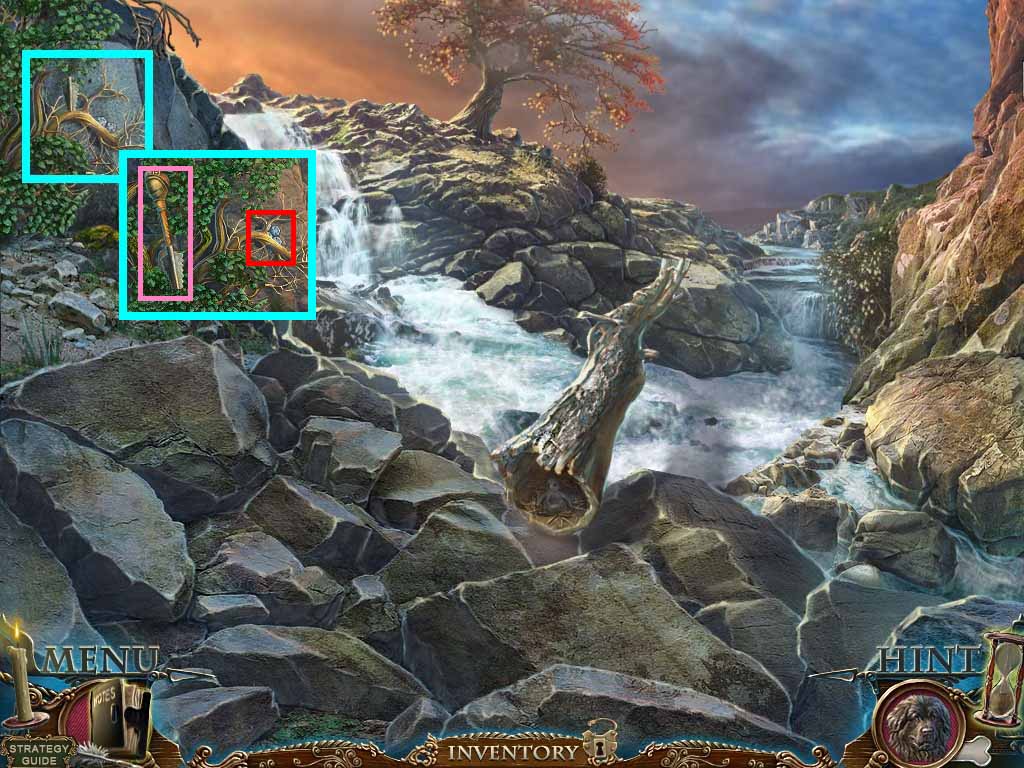
- Zoom into the kettle; collect the smoldering ember.
- Zoom into the winch; collect the pirate flag.
- Put the bolt on the chain.
- Zoom into the lever; hang the mace on the hook.
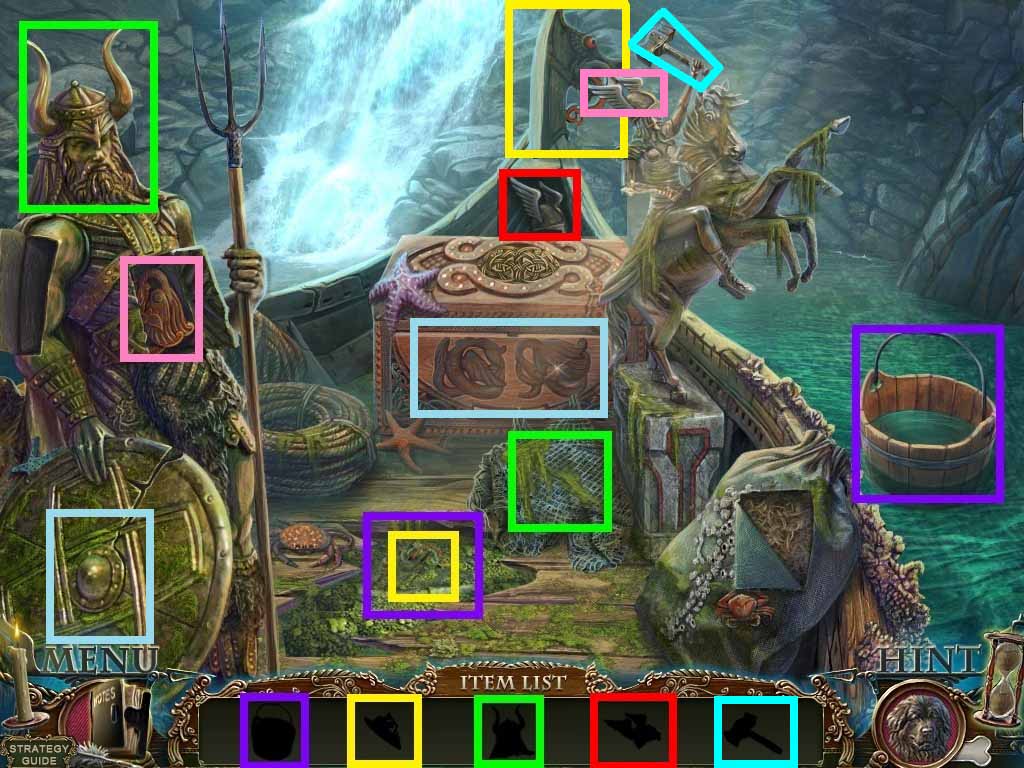
- Zoom into the raised boat access to access a hidden objects area.

- Find the pictured items.
- Collect the hook.
- Use the hook to collect the bucket; collect the trident.
- Collect the net.
- Place the trident onto the pole.
- Collect the knife.
- Cut the sack using the knife; collect the rune.
- Throw the net onto the fish.
- Use the fish on the octopus.
- Collect the 2nd rune.
- Insert the 2 runes onto the chest; collect the ice axe.
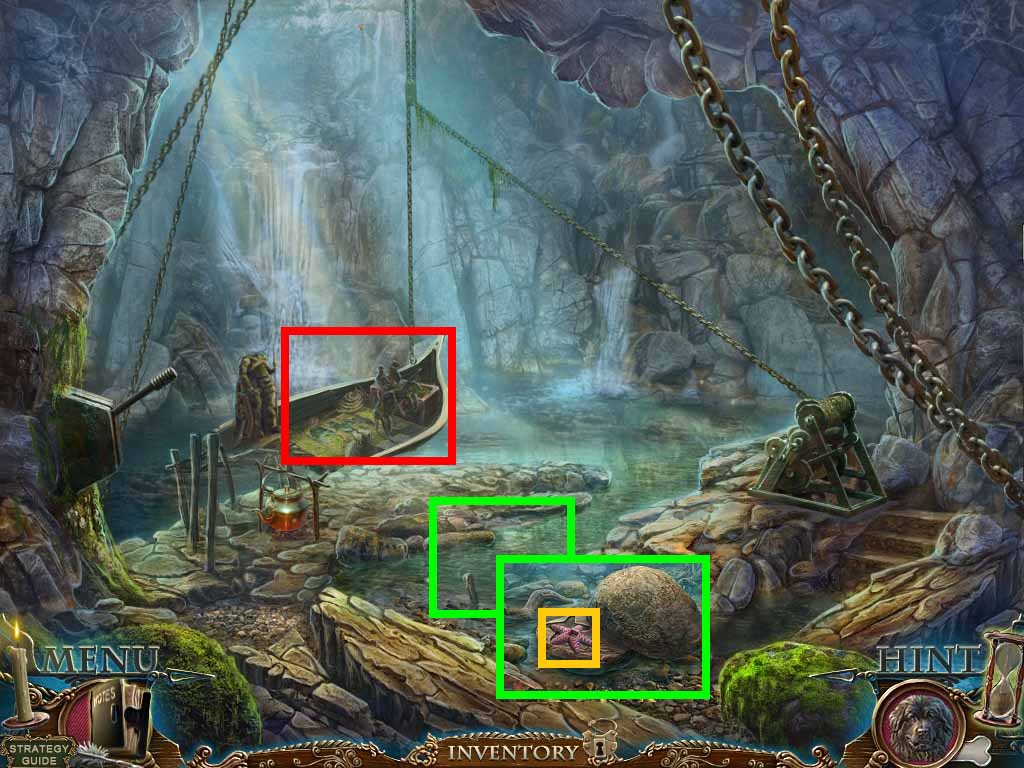
- Zoom into the water, click the stone.
- Use the ice axe on the starfish; collect the stone starfish.
- Zoom into the raised boat to access a hidden objects area.
- Find the pictured items.
- Collect the bucket.
- Use the bucket on the algae.
- Collect the dragon head.
- Click the net; collect the head.
- Place the head onto the warrior; collect the dragon.
- Put the dragon head on the front of the boat.
- Collect the helmet.
- Put the helmet onto the Valkyrie; collect the hammer.
- Hit the shield with the hammer; collect the 2nd dragon.
- Insert the 2 dragons onto the front of the chest; collect the dynamite.
- Move back one time.
- Zoom into the lever; insert the stone starfish into the slot.
- Click the lever.
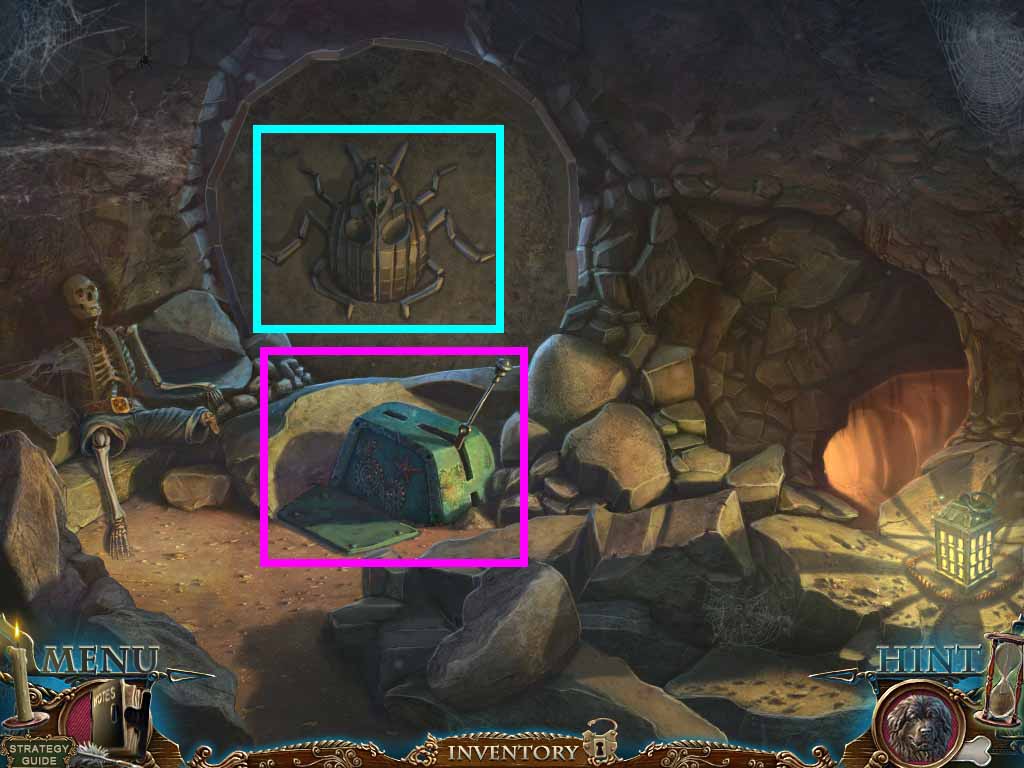
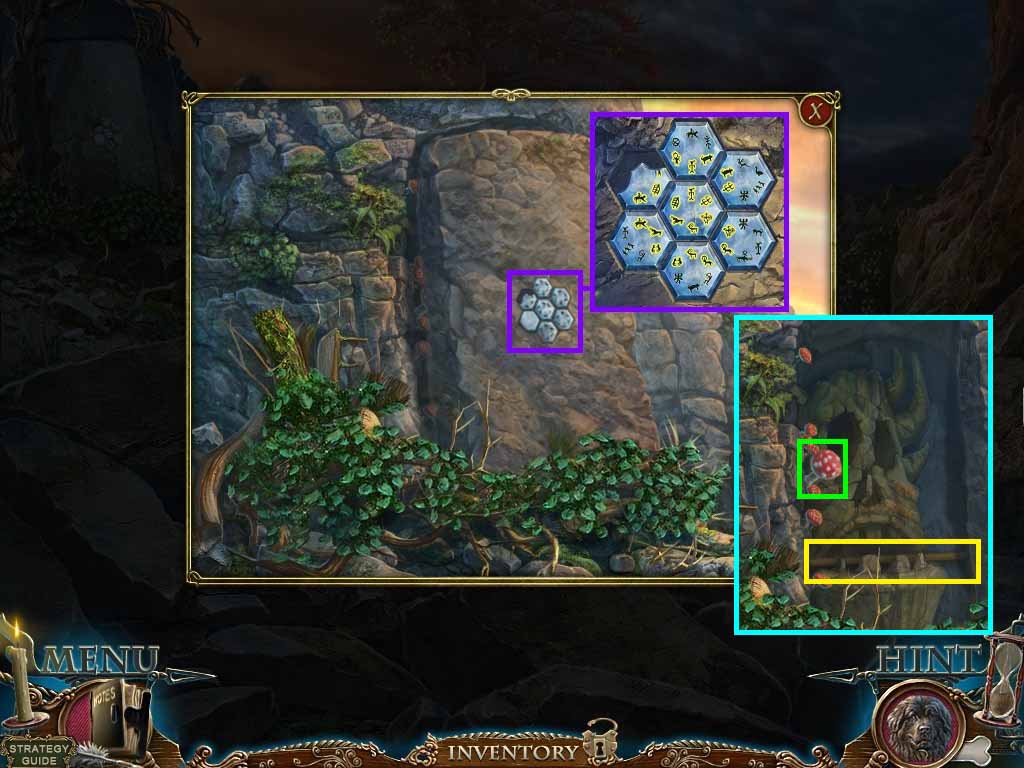
- Zoom into the bug; insert the 3 insect gears onto it to trigger a puzzle.
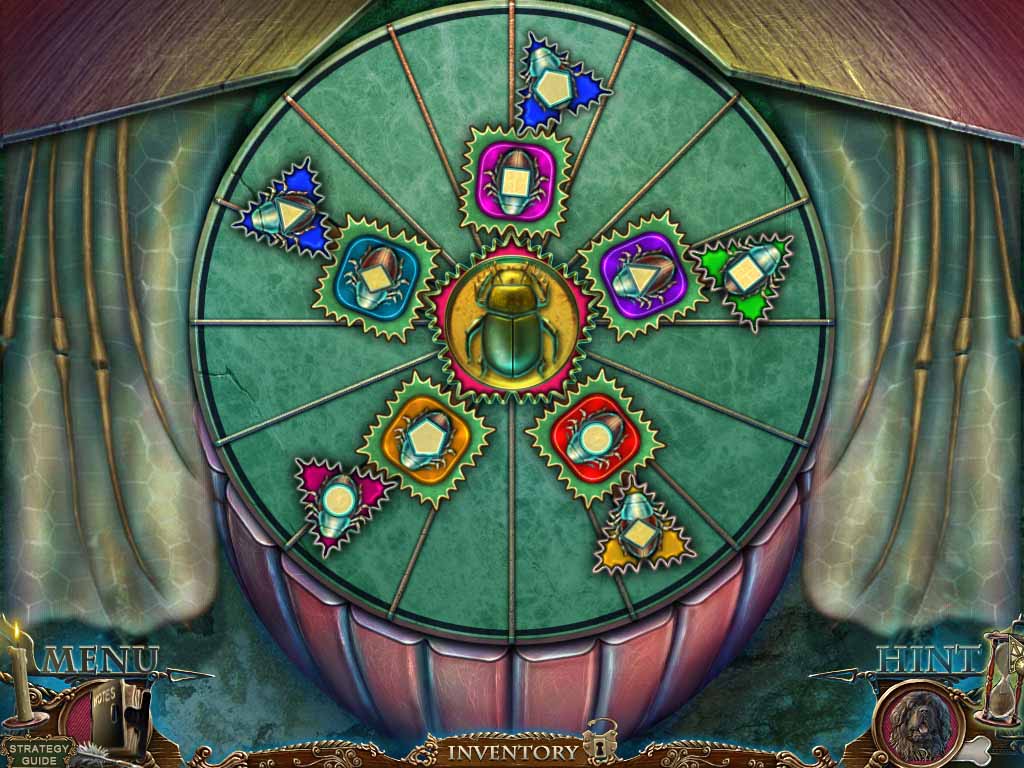
- Place the bugs onto the matching shapes.
- Move the platform to fit the shapes.
- Move forward to the new opening.
- Zoom into the pack and open it.
- Put the small lens onto the larger one; collect the spyglass.
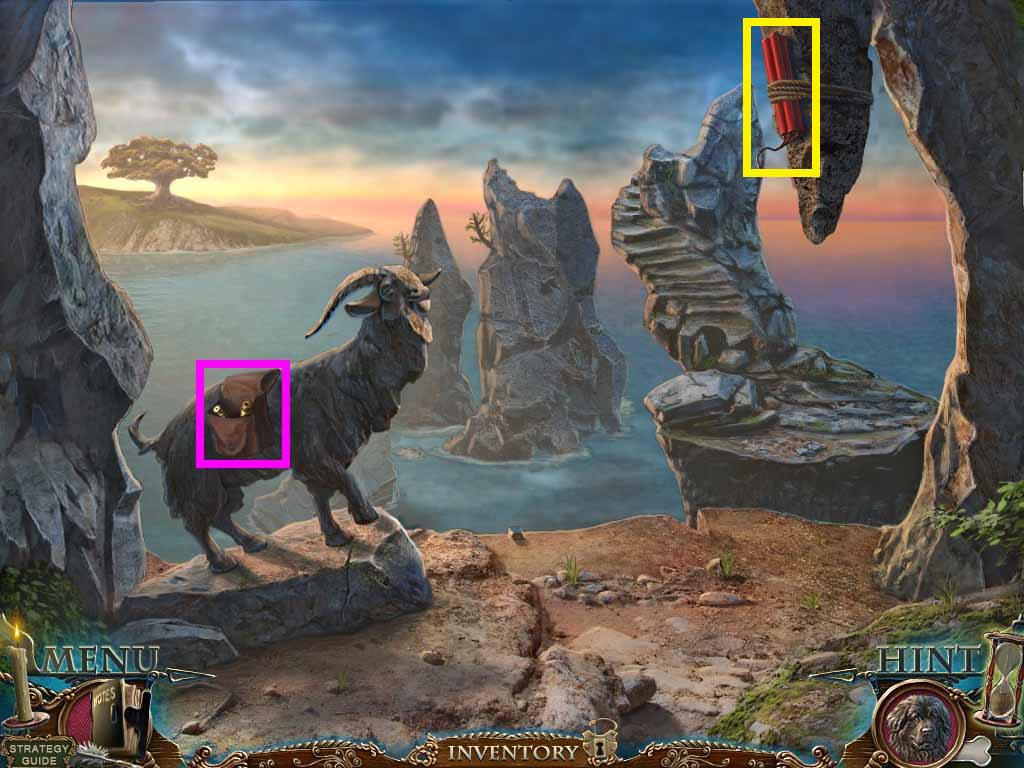
- Zoom into the overhanging rock, place the dynamite onto it.
- Use the smoldering ember on the dynamite.
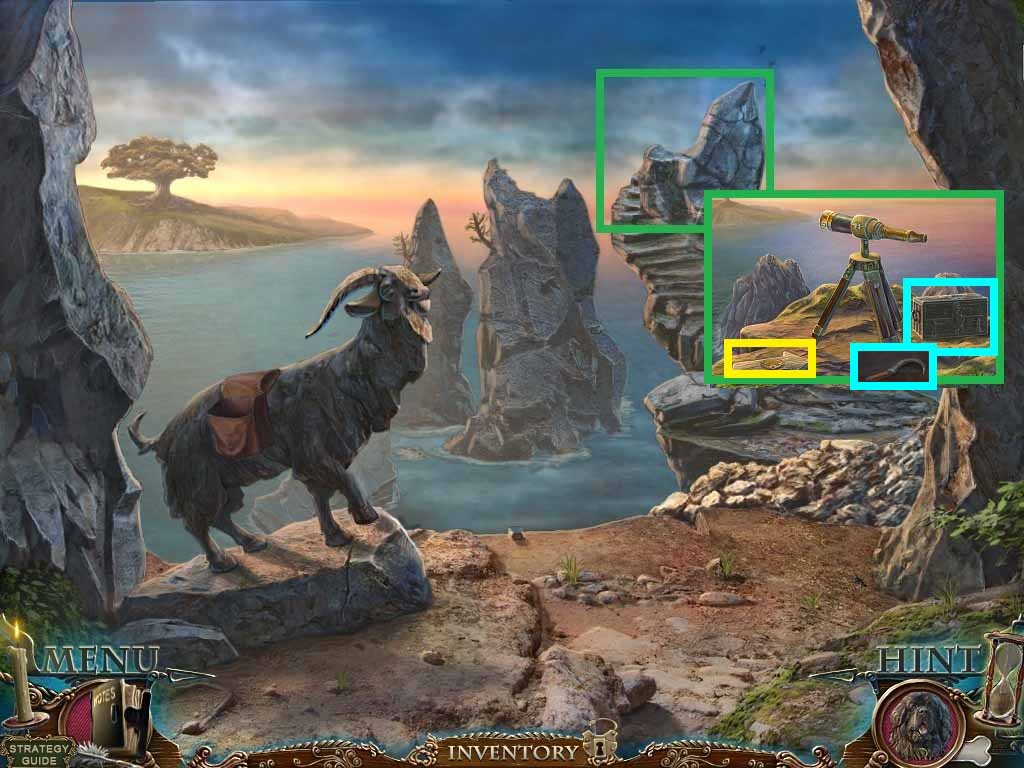
- Zoom into the end of the path.
- Place the spyglass onto the tripod; examine it to obtain the code 354.
- Zoom into the chest and use the code 354 to collect the sickle.
- Collect the sign.
- Move back two times.
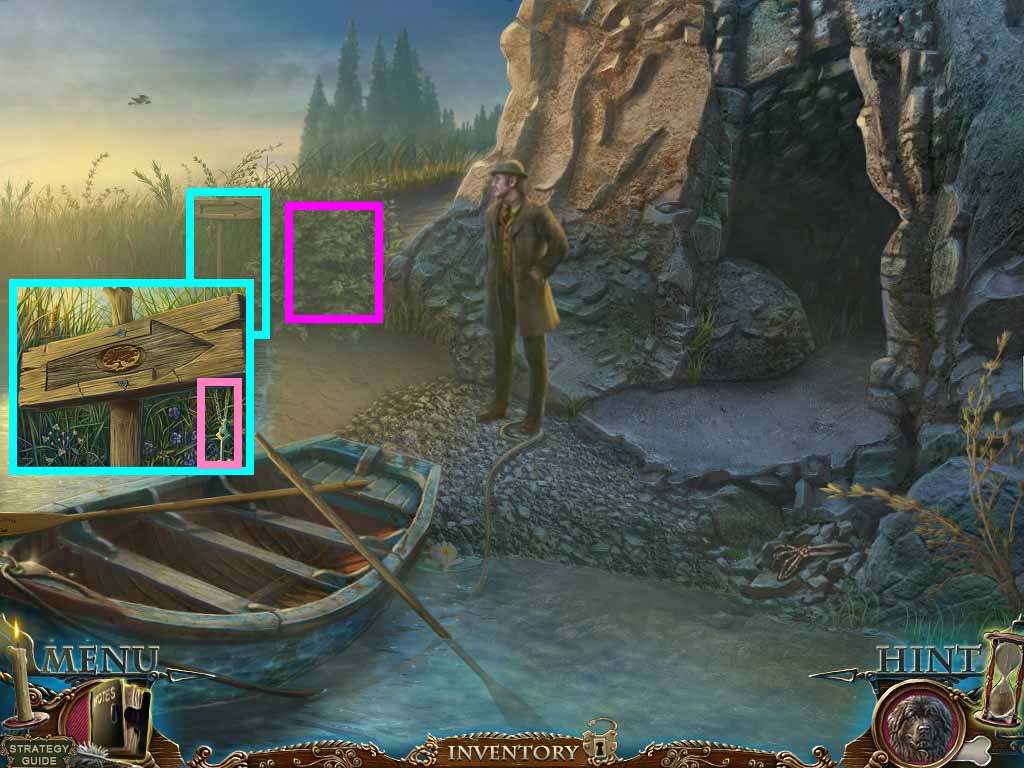
- Zoom into the sign post and place the sign onto it.
- Collect the key.
- Zoom into the bushes, cut them using the sickle.
- Move forward two times to the large tree.
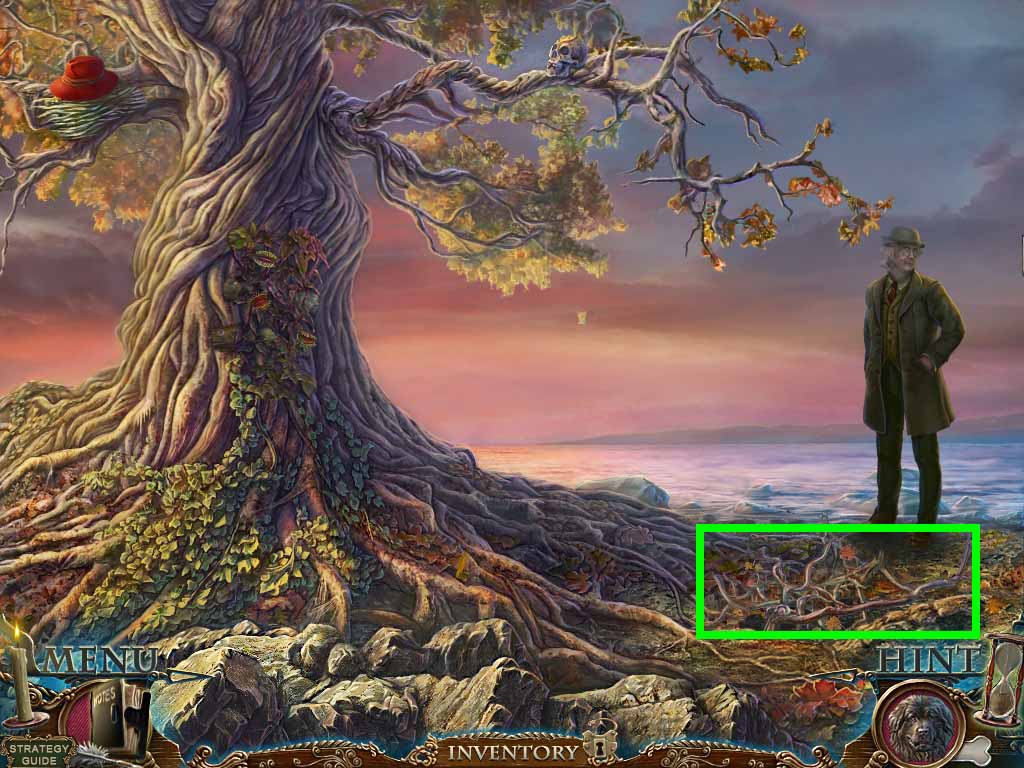
- Zoom into the ground; collect the dry wood.
- Move back two times; move into the cave and down into the chamber.
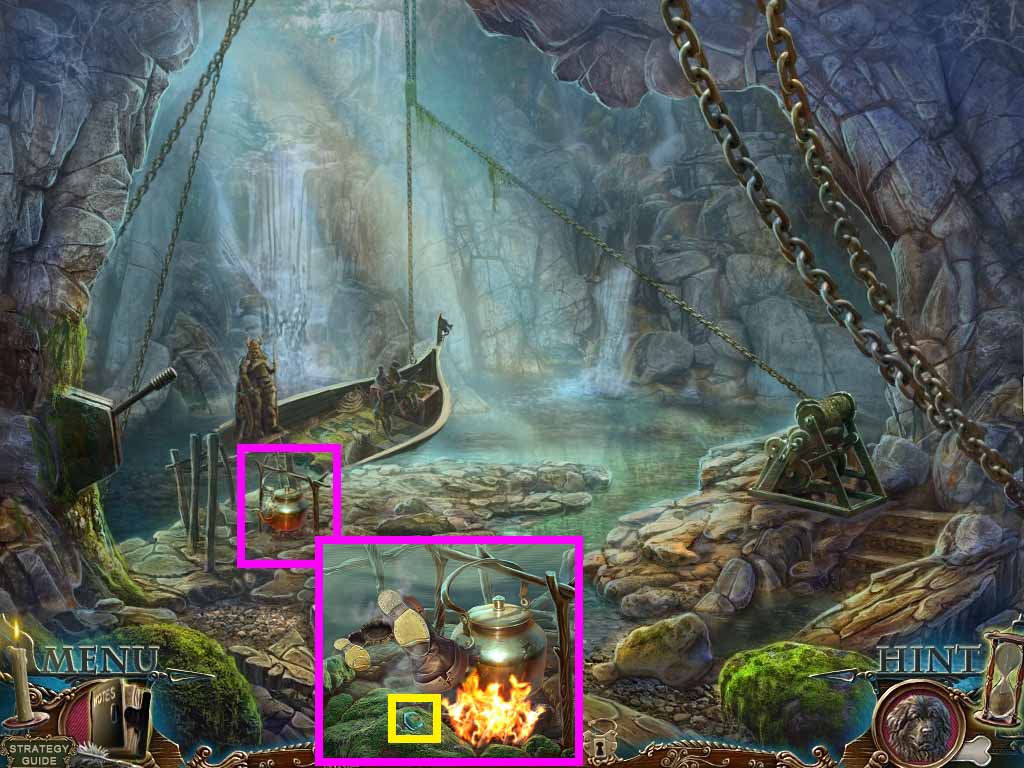
- Zoom into the kettle; put the dry wood beneath it.
- Put the boot by the base of the kettle; collect the amulet.
- Move back two times and go forward.
- Zoom into the bush.
- Place the peg leg stick onto the saw blade and collect the saw.
- Use the saw on the branches.
- Zoom into the amulets; place the amulet by them to trigger a puzzle.
- Move the symbols so that they are matched together.
- Collect the amanita fungus and the mop.
- Zoom into the rocks, mop them using the mop.
- Collect the gold hand and the shovel handle.
- Move forward.
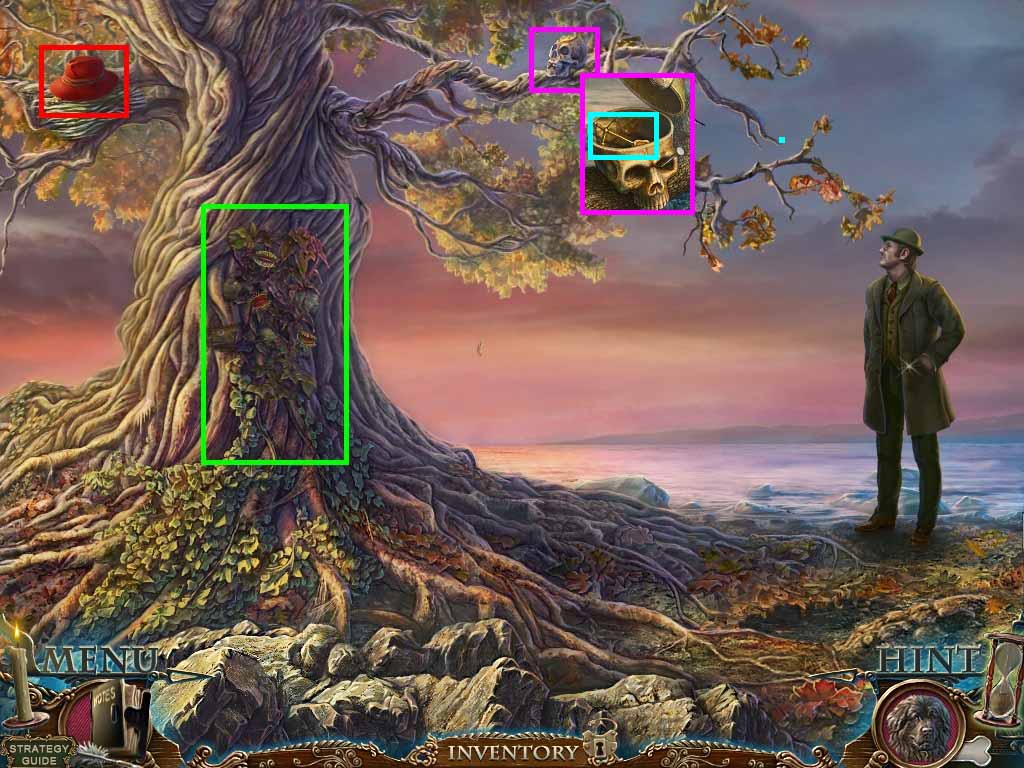
- Zoom into the plants and feed them the amanita fungus.
- Zoom into the hat; collect the old hat.
- Zoom into the skull; place the gold hand onto it.
- Collect the 2nd key.
- Zoom into the hole.
- Place the shovel handle onto the shovel head.
- Dig the hole.
- Zoom into the skeleton on the right; collect the saber.
- Place the pirate flag on the hilt; collect the saber.
- Move back two times.
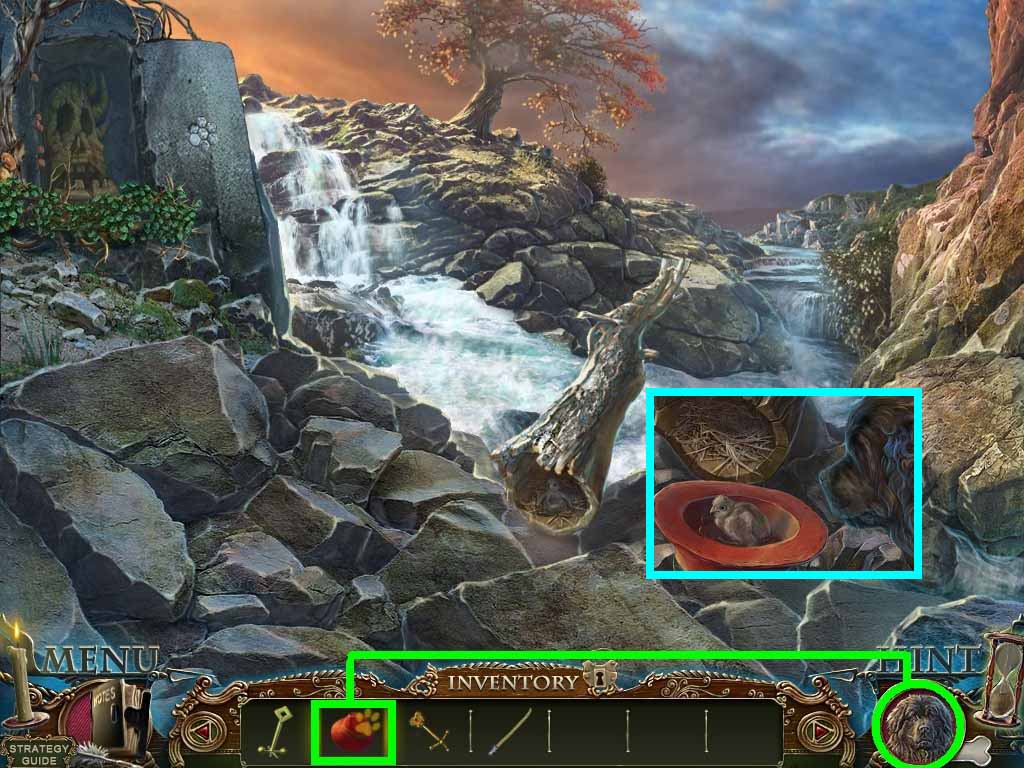
- Give Arthur the old hat.
- Collect the little bird.
- Move forward to the tree.
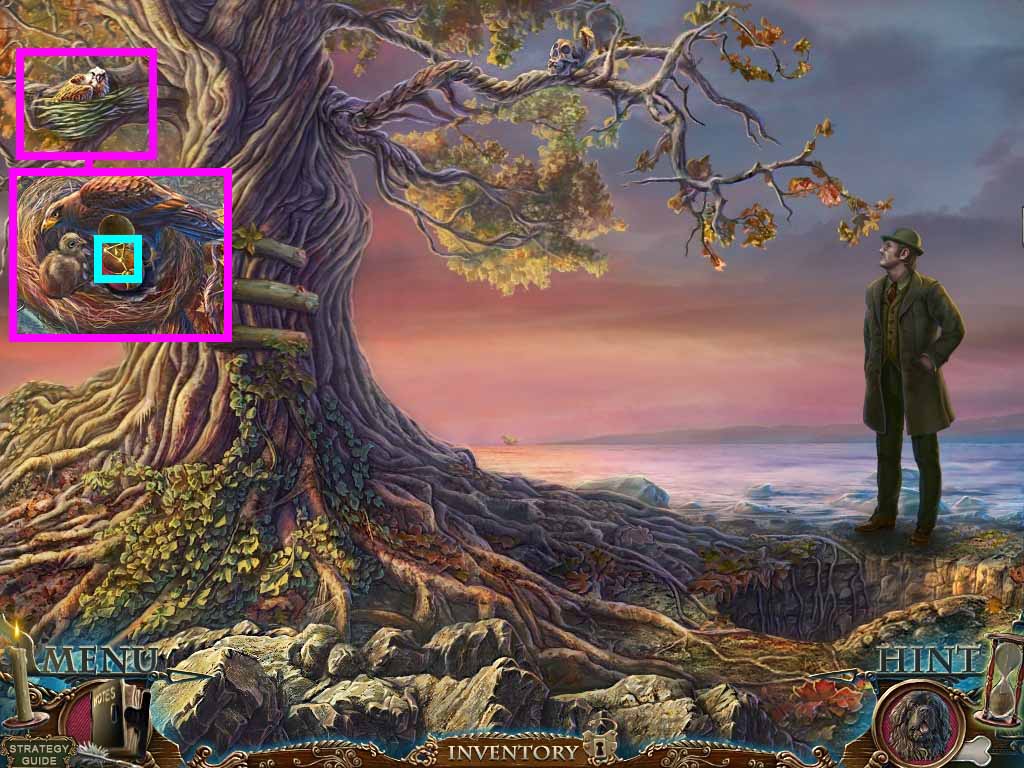
- Zoom into the bird; give it the little bird.
- Crack the egg and collect the 3rd key.
- Move into the hole.
- Zoom into the chest; cut the vines using the sabre.
- Insert the 3 keys into the matching locks.
- Zoom into the sack; click the mirror.