
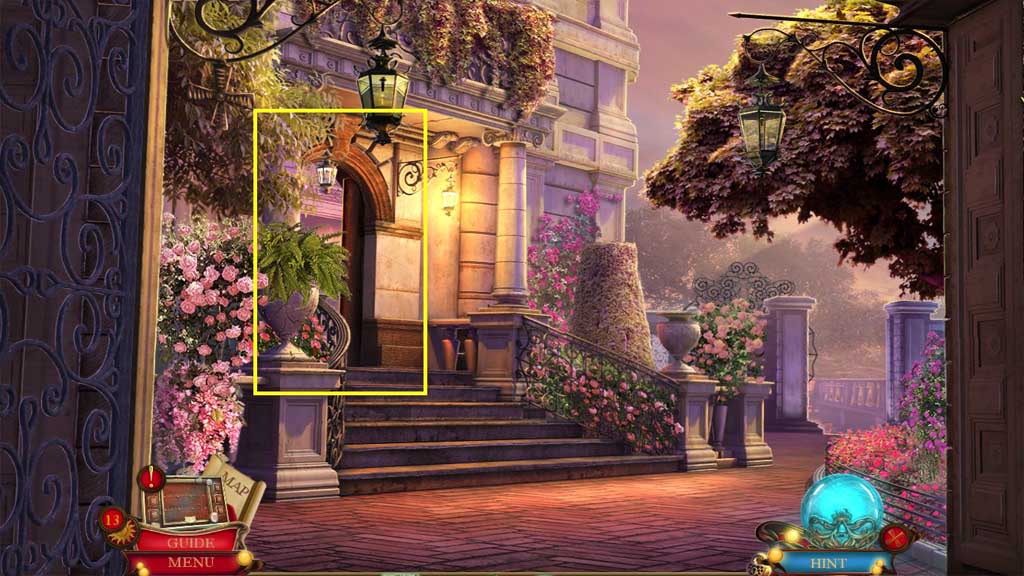
- Move into the Villa Lobby.
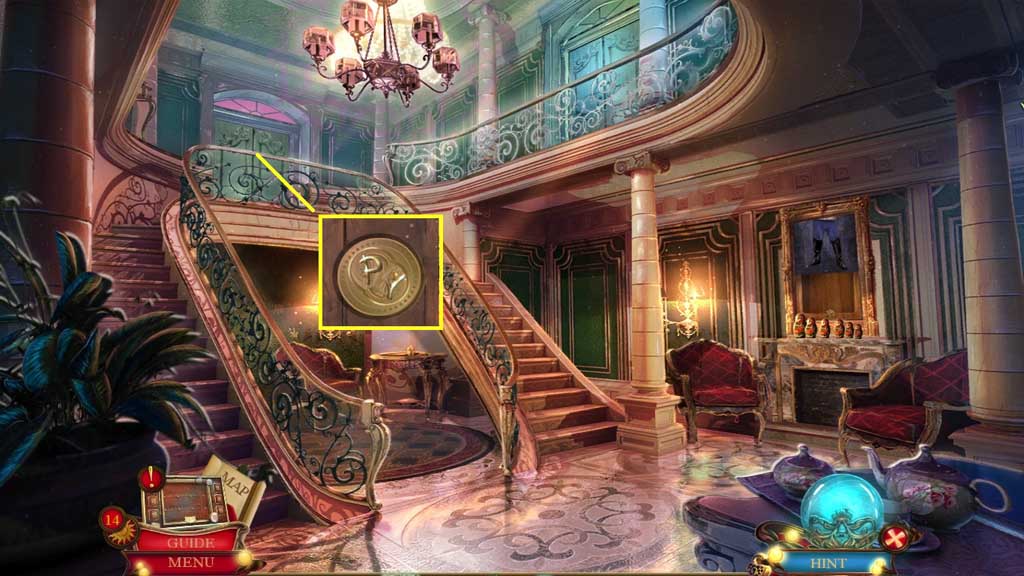
- Insert the 2 medallion pieces.
- Move ahead.

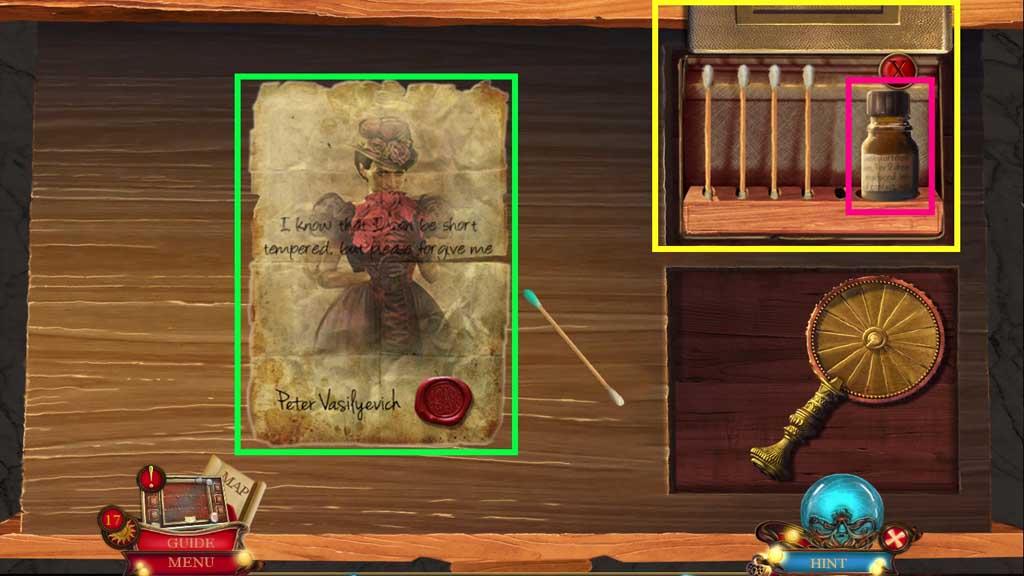
- Collect the note and the time note.
- Click the ropes.
- Speak to the girl; receive the letter B.
- Collect 1 /3 ceramic tiles and the clock weight.
- Insert the letter B.
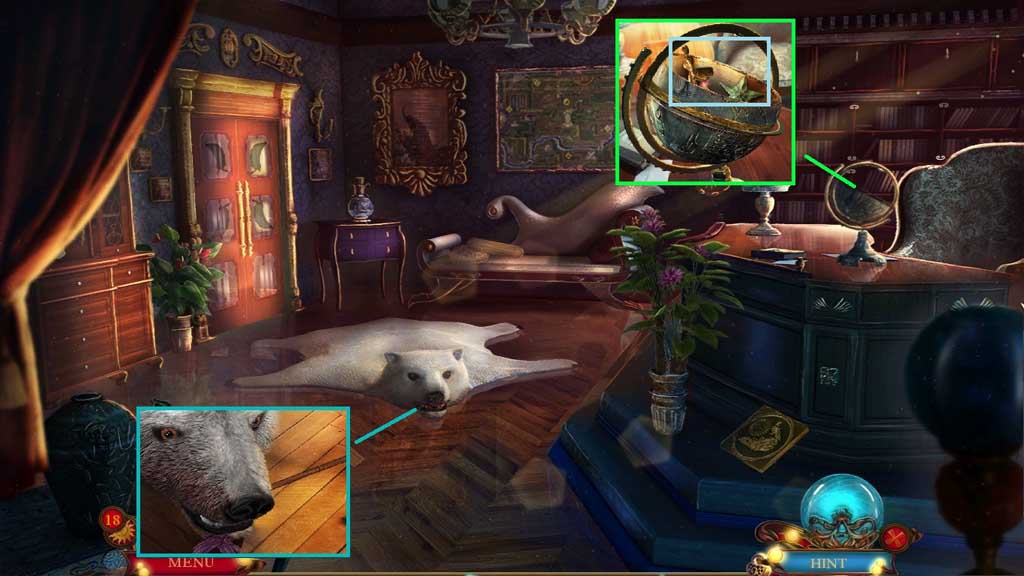
- Move ahead.
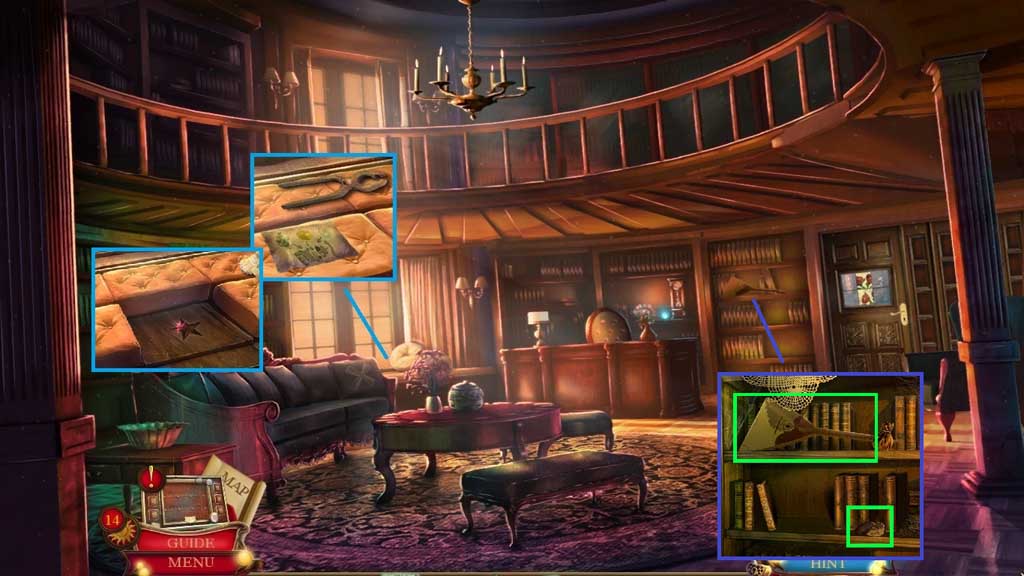
- Collect the small pliers and the recipe.
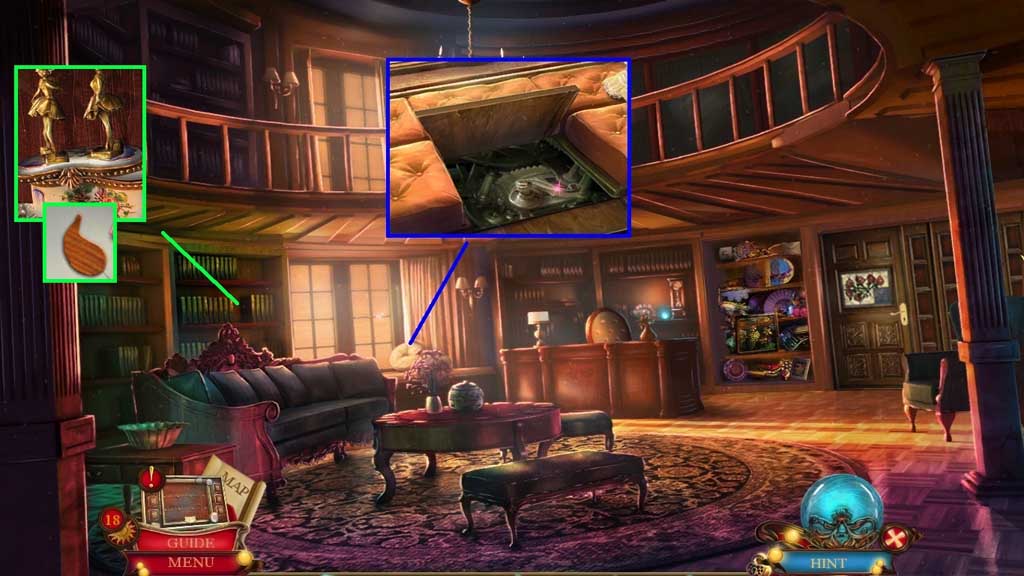
- Click the cushion.
- Collect the Balalaika and tobacco can.
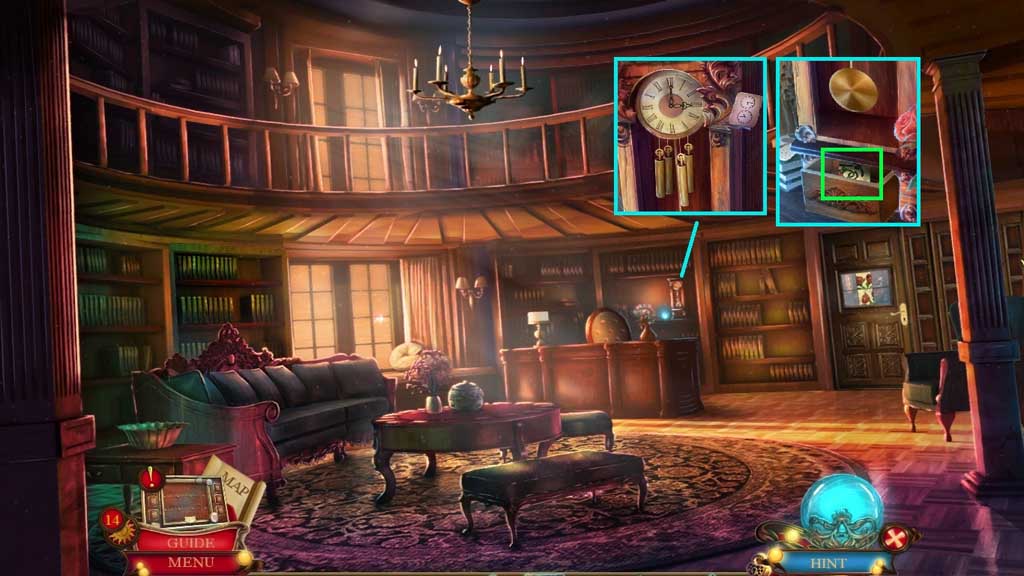
- Read the note and attach the clock weight.
- Place the time note.
- Set the clock to 6:15 and then set it to 10: 45.
- Collect 2 / 3 ceramic tiles.
- Move down once.
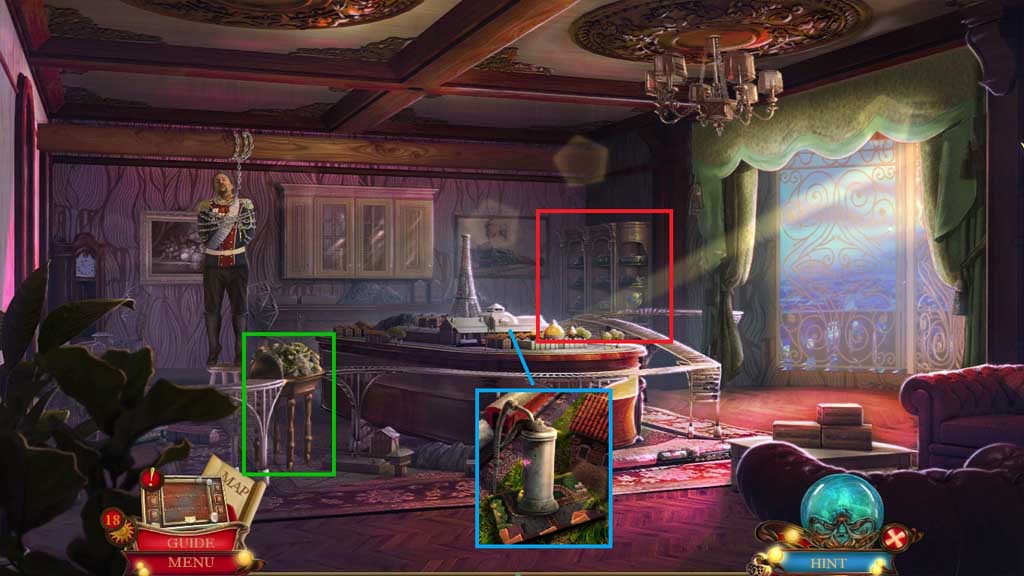
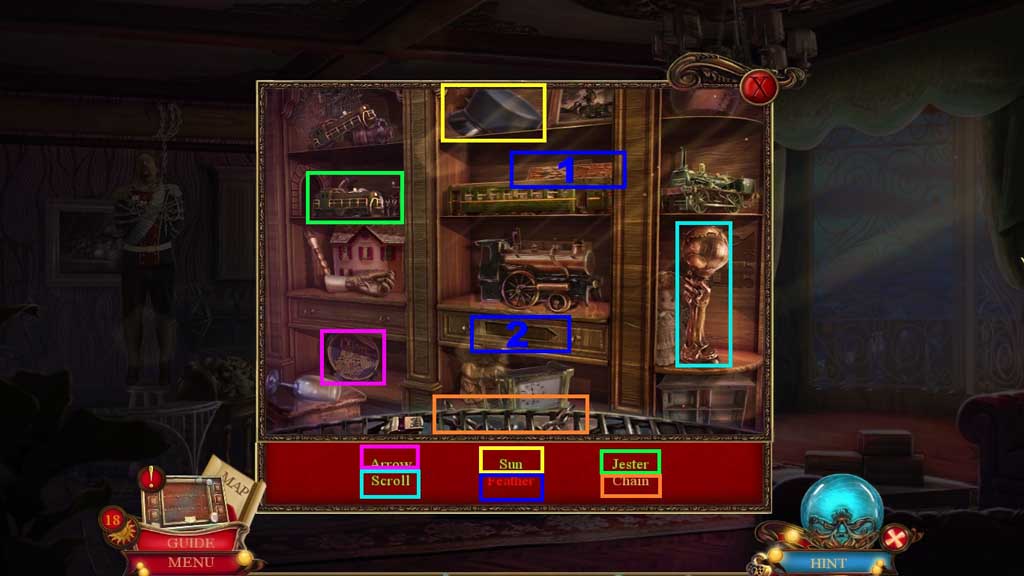
- Place the balalaika and click the hidden objects area.
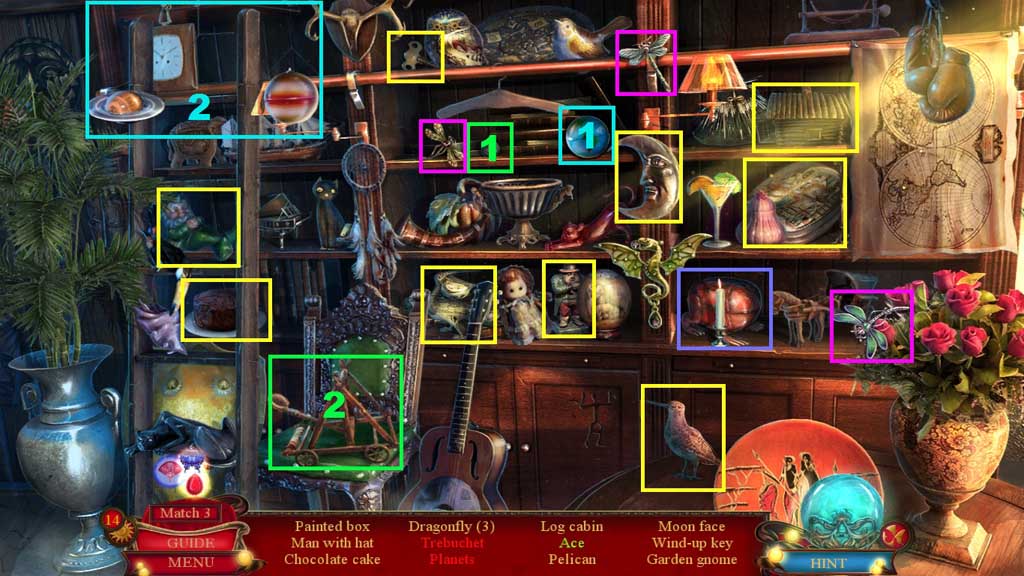
- Find the items.
- Select the ball and place it into the catapult; collect the trebuchet.
- Select the earth and place it onto the mobile; collect the planets.
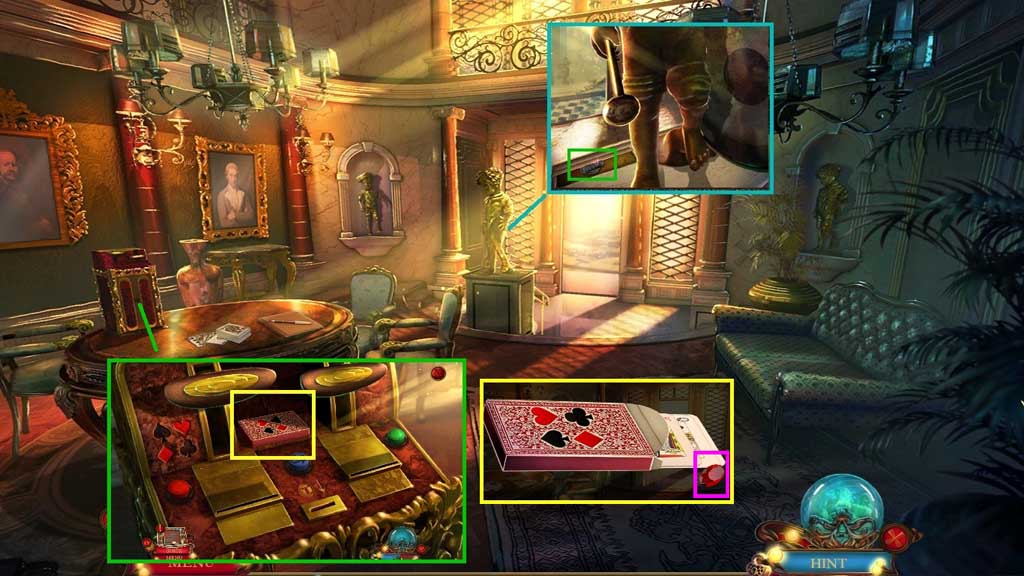
- Click the box; collect the ace.
- Collect the painted box.
- Click the painted box; collect 3 /3 ceramic tiles.
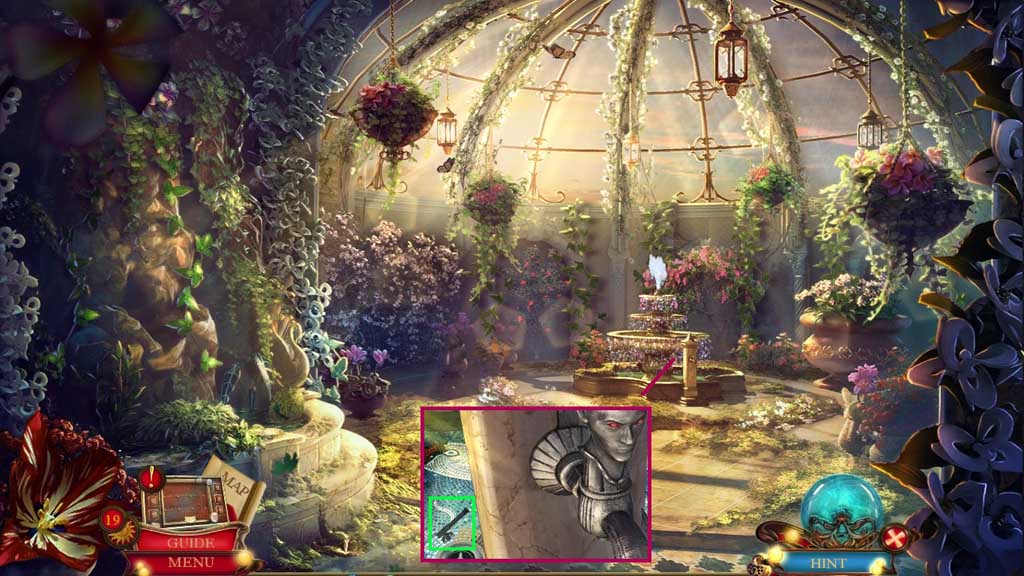
- Select the small pliers to collect the sulfur crystal and the saltpeter crystal.
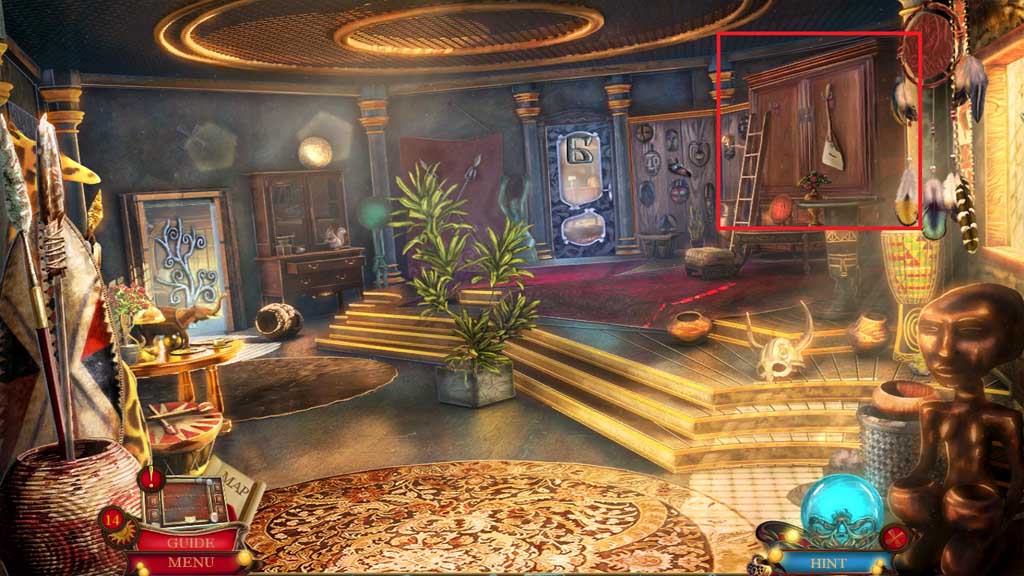
- Move ahead.
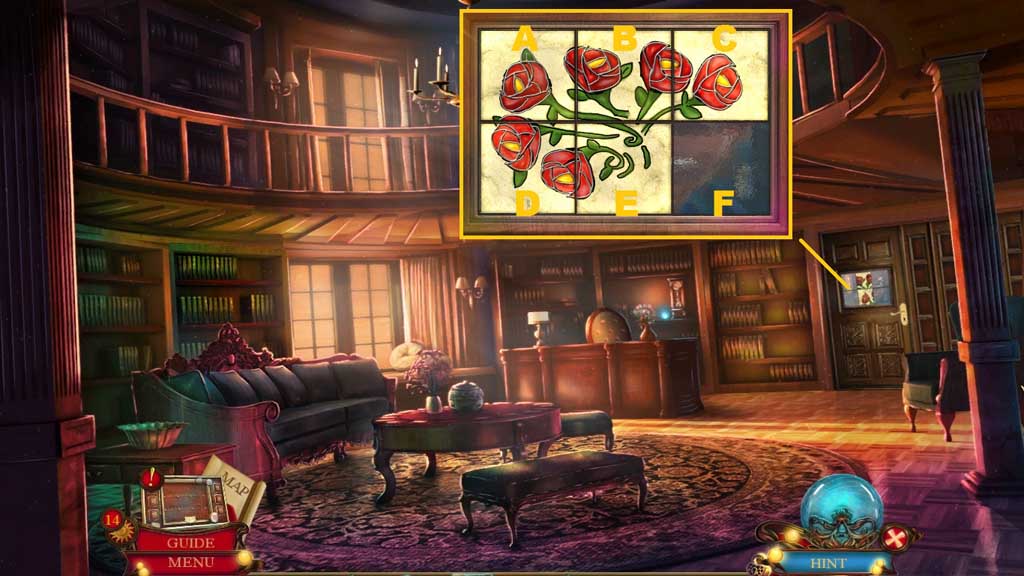
- Click the ceramic tile board and insert the ceramic tiles to trigger a mini game.
- Solve the game by aligning the tiles correctly.
- Use the following sequence to solve: B – A – D – E – F – C – B – A – D – E – F –C – B – B – E – F
- Move ahead.
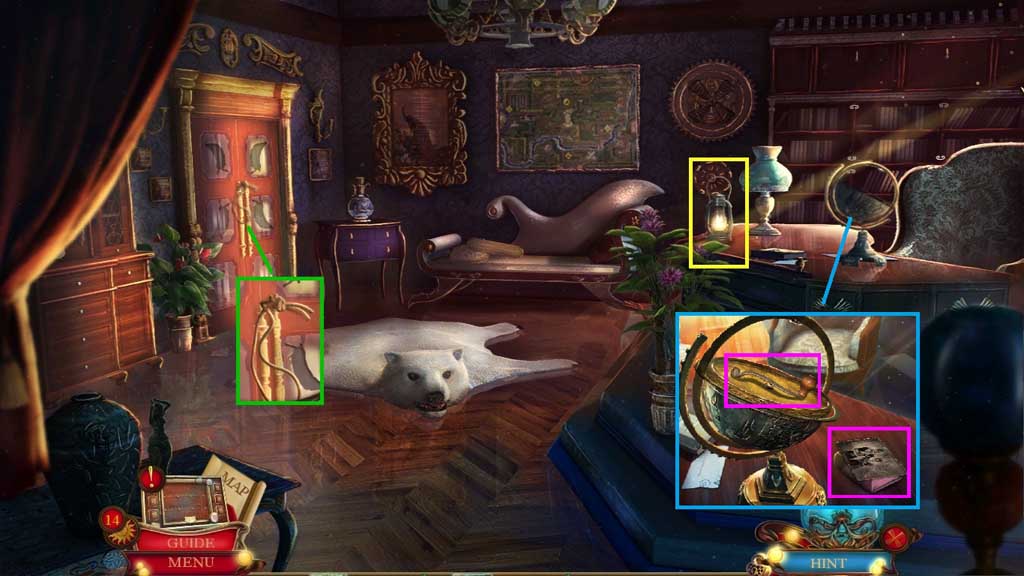
- Collect the fuse.
- Collect the oil lamp.
- Collect the photo, the book and the mill handle.
- Move down once.
- Insert the book.
- Click the panel.
- Collect the golden mask mouth and the acorn; click the button.
- Click the hidden objects area.
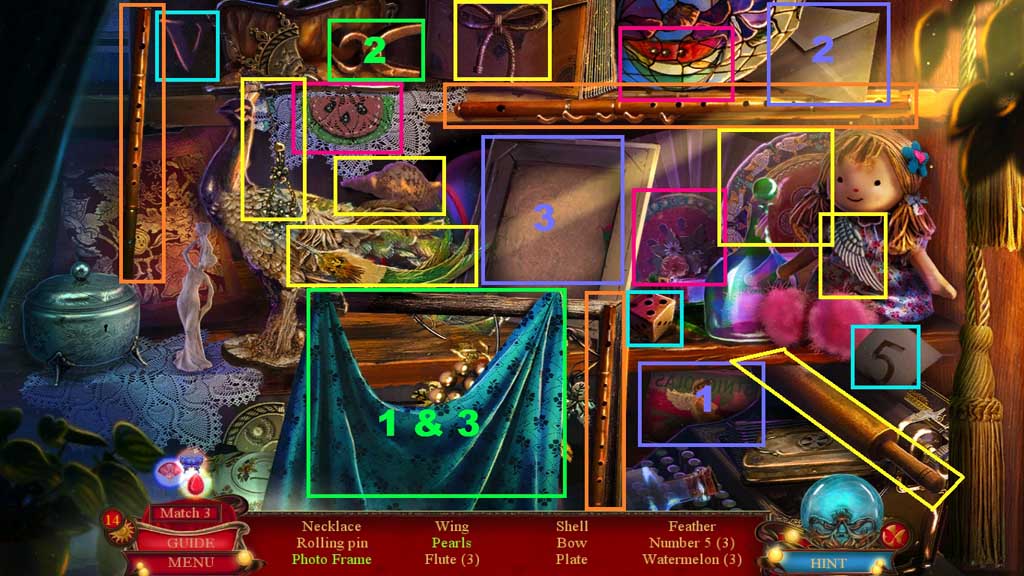
- Find the items.
- Select the photo fragment and place it into the frame.
- Click the envelope to uncover the photo fragment and place it into the frame; collect the photo frame.
- Click the cloth and use the nail puller to collect the pearls.
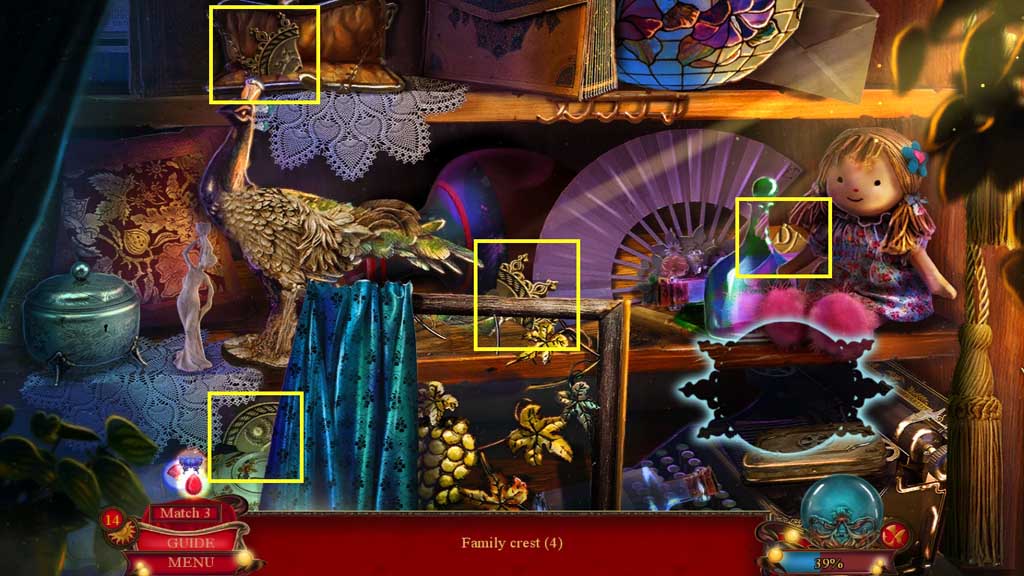
- Collect the family crest.
- Move down once.
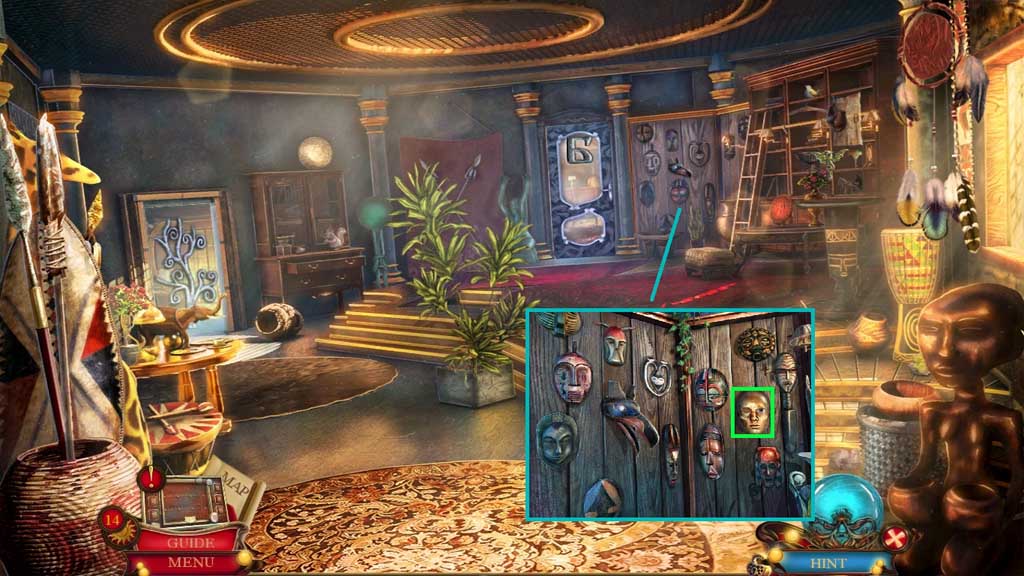
- Attach the golden mask mouth to trigger a mini game.
- Solve the game by aligning the masks correctly.
- Collect the charcoal eye.
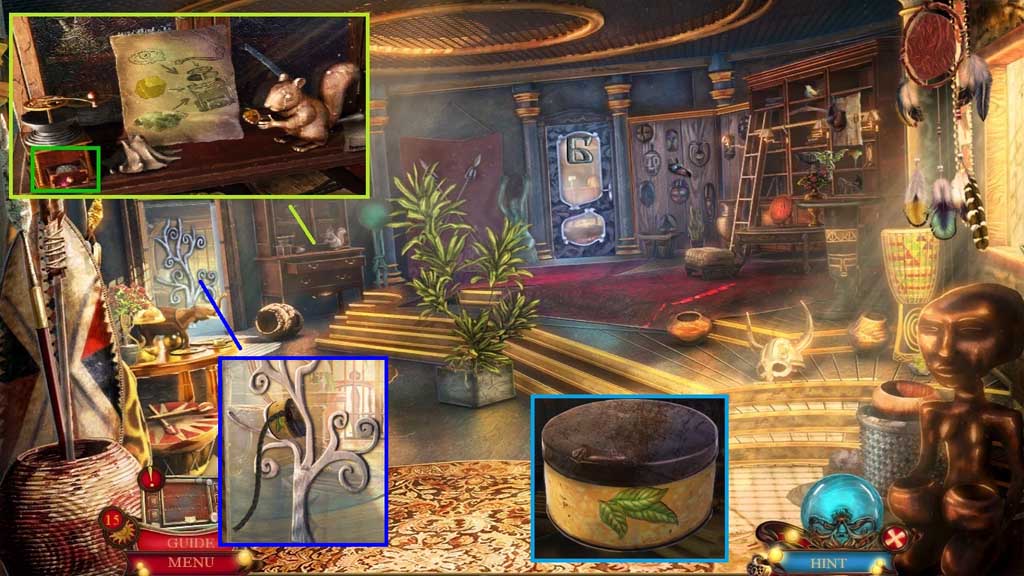
- Place the acorn into the squirrels’ paws; collect 1 /4 copper feathers.
- Place the recipe and add the saltpeter crystal, the sulfur crystal and the charcoal eye.
- Attach the mill handle.
- Collect the gun powder.
- Select the tobacco can and the gunpowder to create and collect the gunpowder can.
- Select the gun powder can and the fuse to insert into the door.
- Select the matches to ignite the fuse.
- Move to the left.
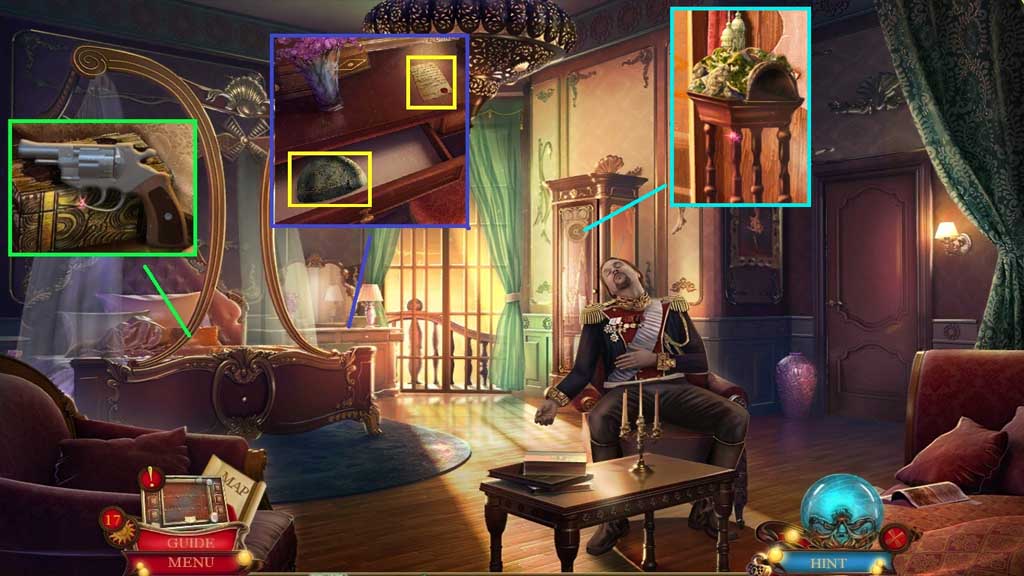
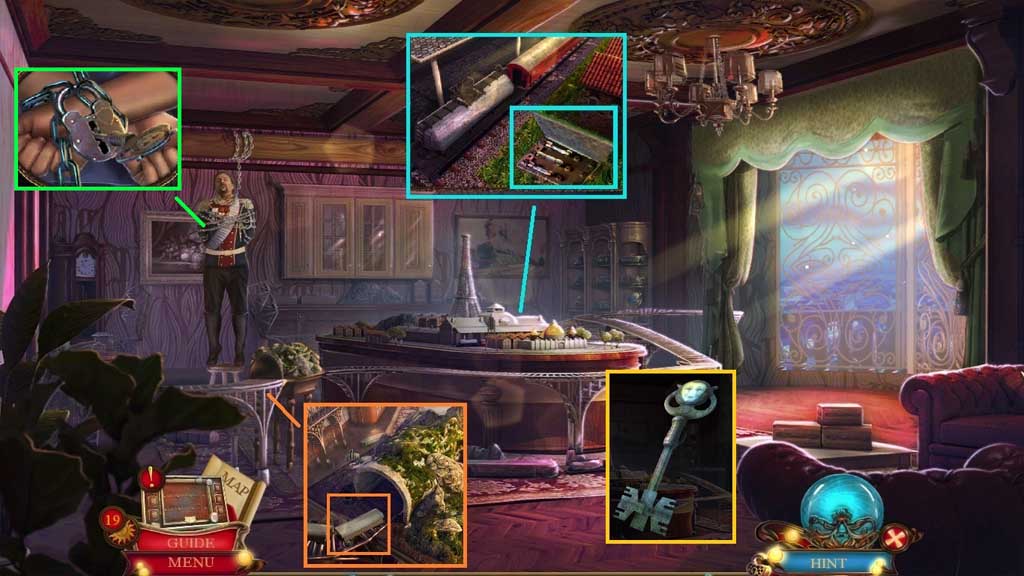
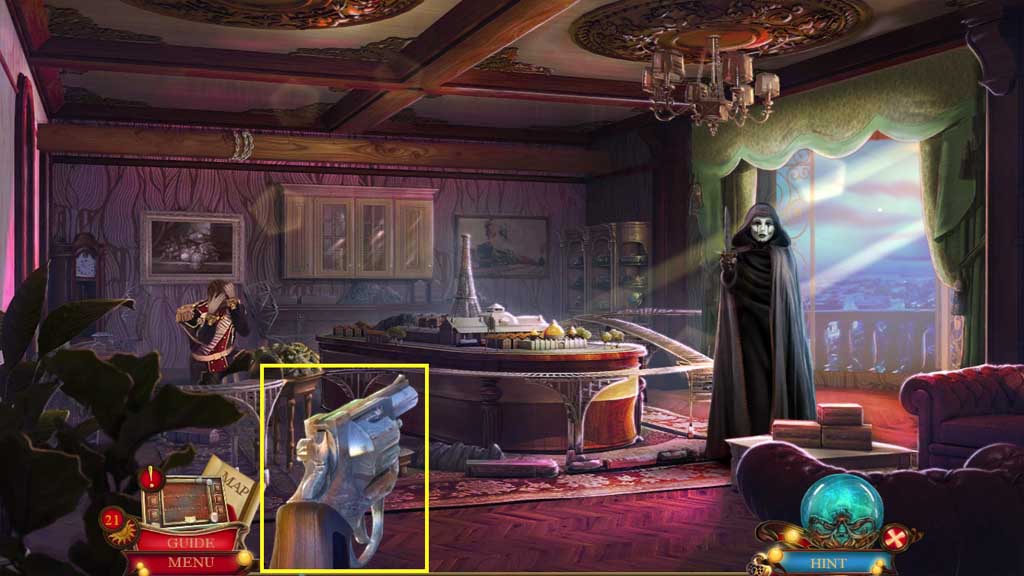
- Click the pillow; collect the gun.
- Click the drawer; collect the hemisphere and the goodbye letter.
- Insert the family crest.
- Collect the miniature bridge.

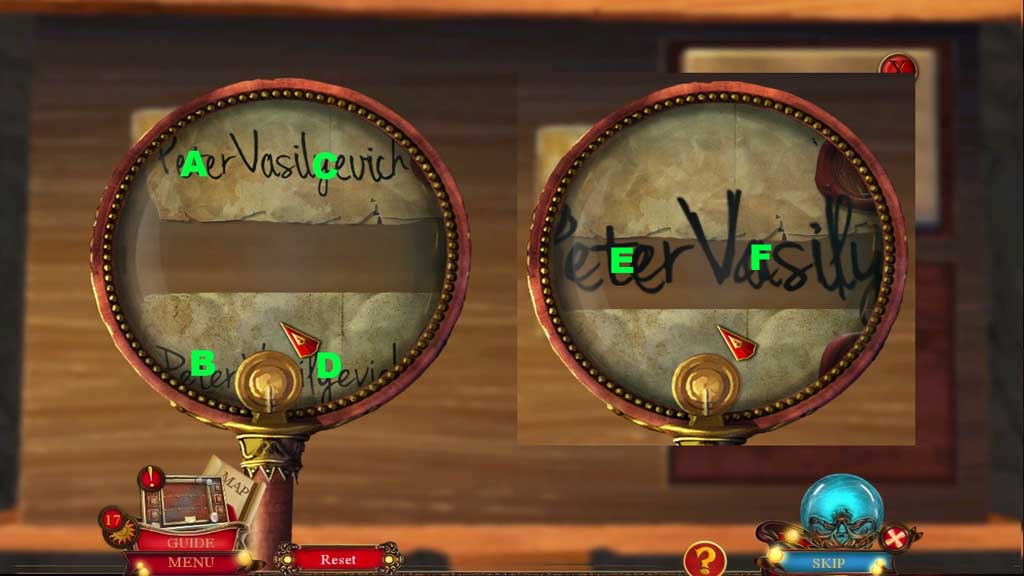
- Click the forensic kit and place down the Baron’s letter and the goodbye letter.
- Select the magnifying glass to click through the clues A – F.
- Click the case and select the solution.
- Collect 1 /3 doll dress up kits.
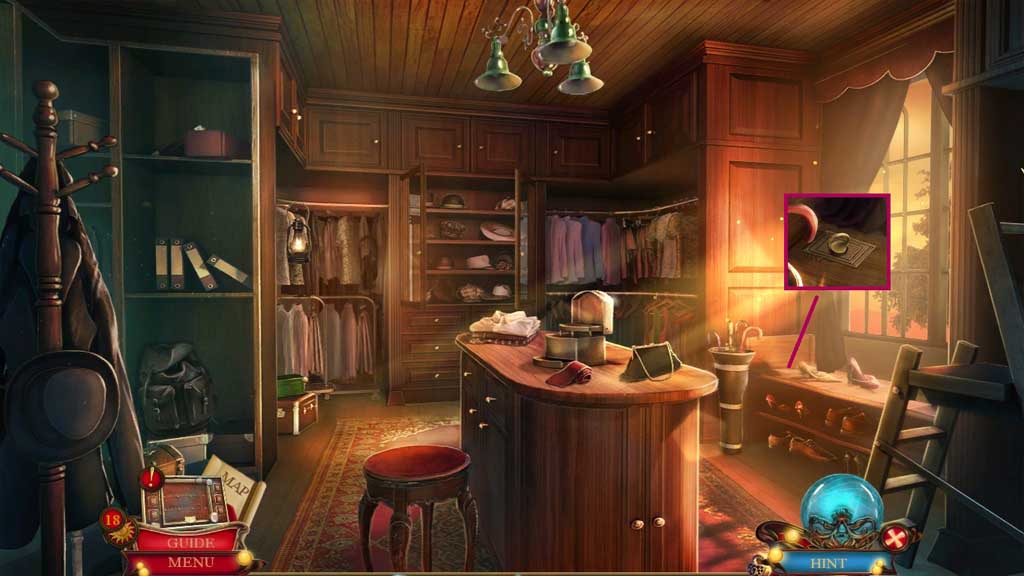
- Move to the right.
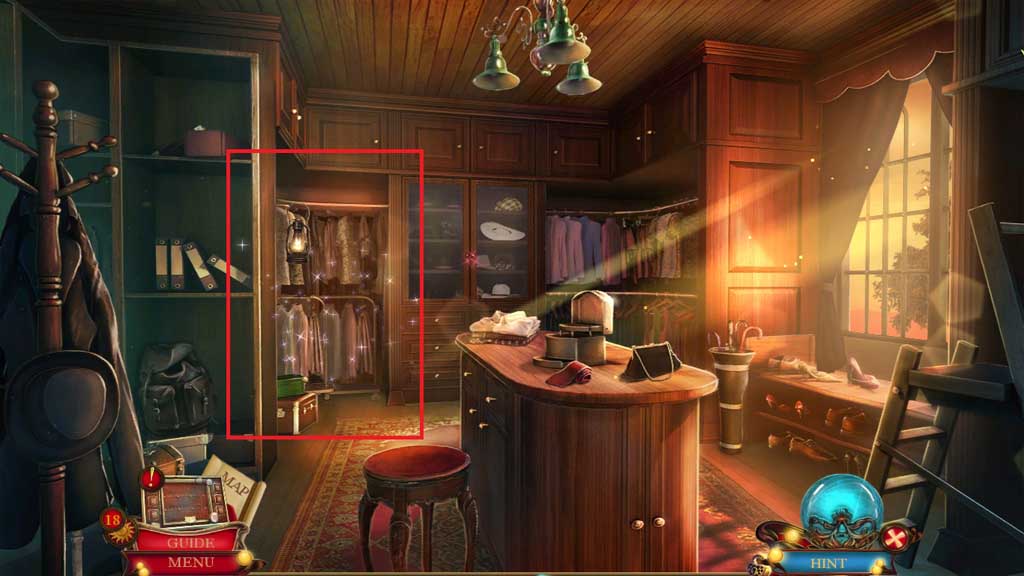
- Select the oil lamp to illuminate the closet.
- Click the hidden objects area.
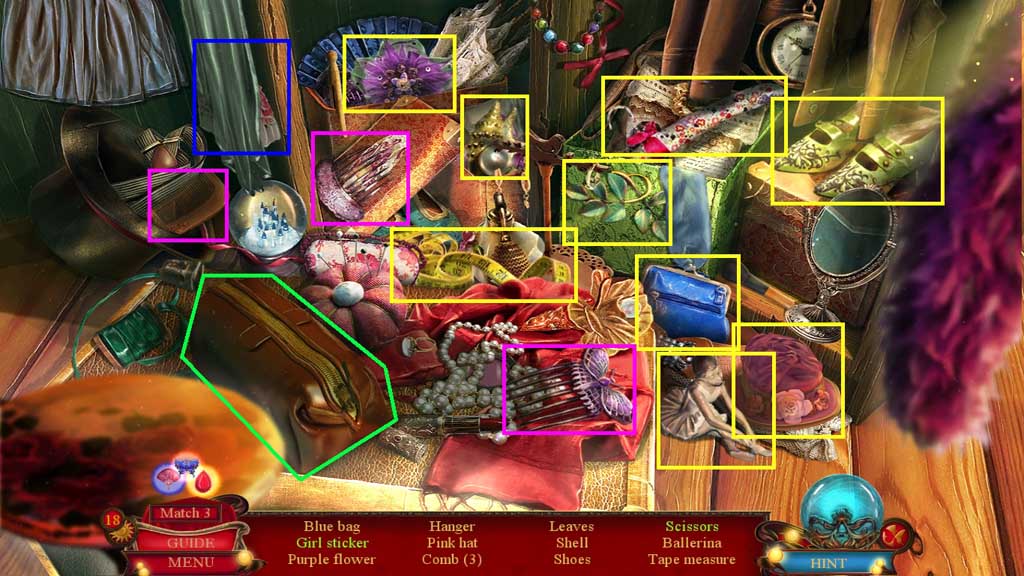
- Find the items.
- Click the clothes; collect the girl sticker.
- Click the bag; collect the scissors.
- Collect 2 / 3 doll dress up kits.
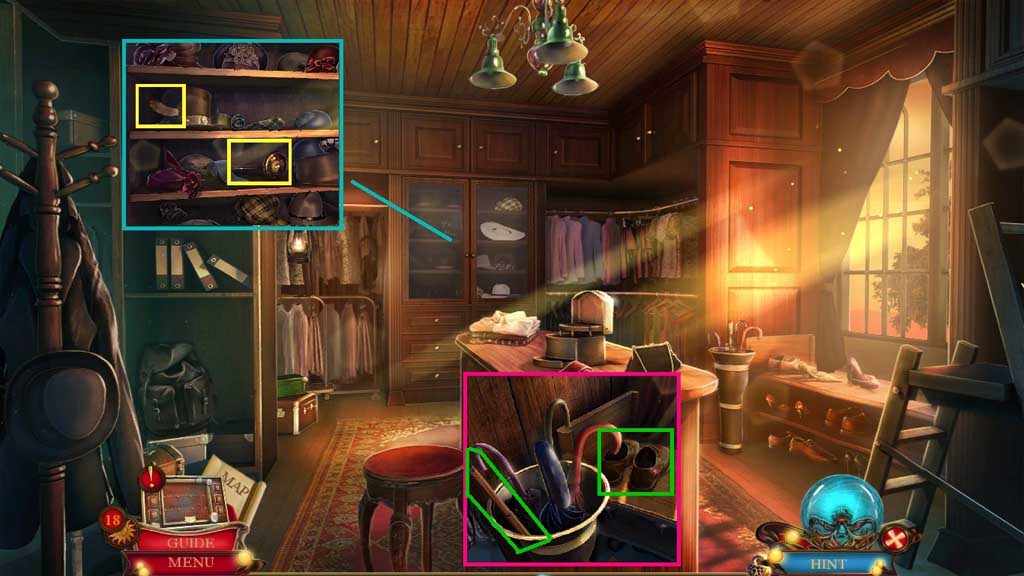
- Click the cabinet; collect 2 /4 copper feathers and the gong mallet.
- Collect the cane and click the shoes.
- Move to the Villa Office.
- Select the cane to collect 3 /3 doll dress up kits.
- Attach the hemisphere.
- Collect the star and the ballerina statuette.
- Move down once.
- Insert the star.
- Click the lever.
- Place the ballerina statuette.
- Collect the water drop symbol.

- Place the 3 doll dress up kit pieces into the shelf.
- Click the hat, gloves and the dress to match the image.
- Collect the metal rose.
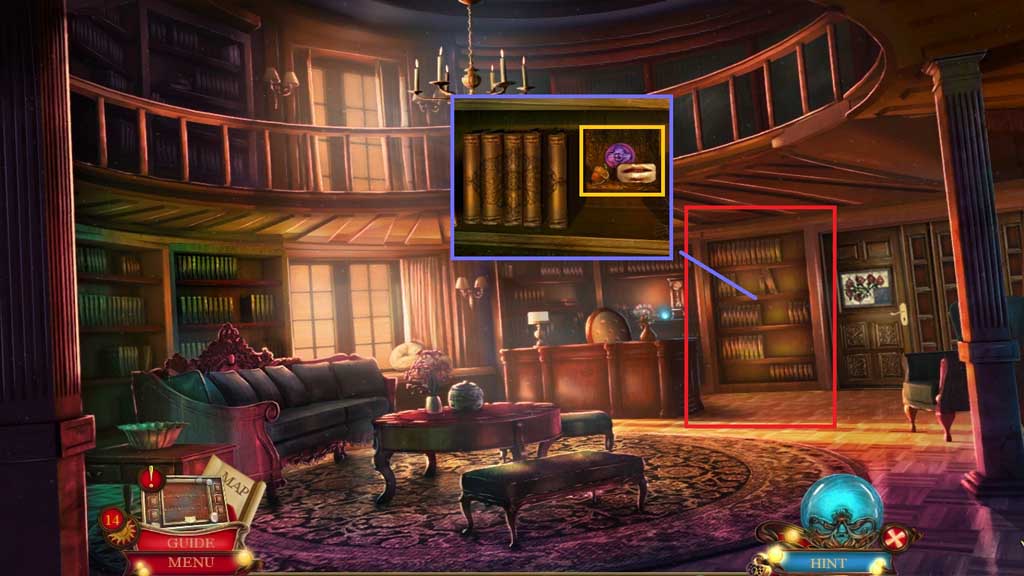
- Move to the Bedchamber.
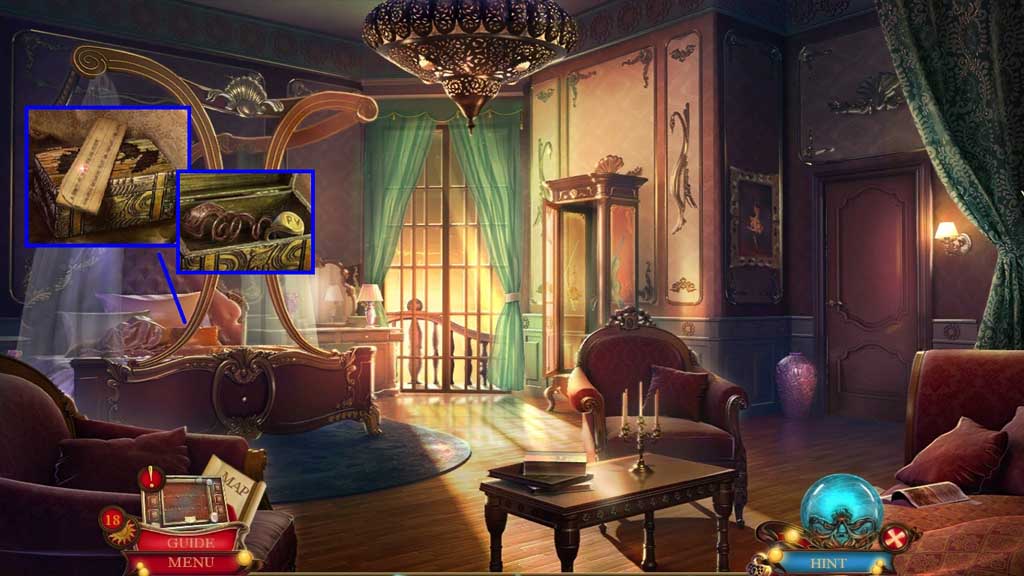
- Read the note.
- Insert the metal rose.
- Collect the Baron’s ring.
- Move to the right.
- Insert the Baron’s ring.
- Move ahead into the Secret Room.
- Place the miniature bridge down.
- Collect the oil bottle and the map piece.
- Click the hidden objects area.
- Find the items.
- Collect 3 /4 copper feathers.
- Move to the Villa Office.
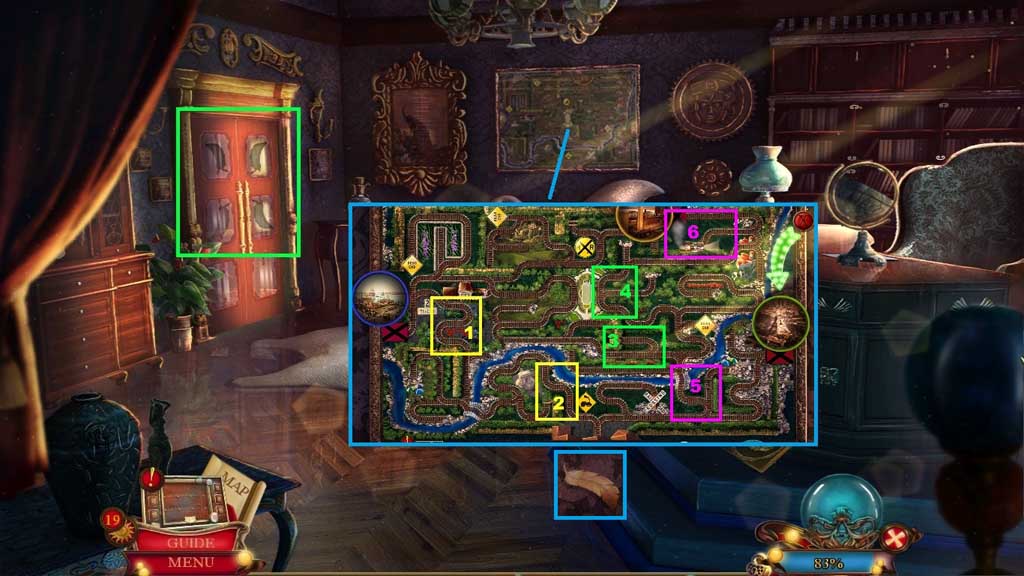
- Click the train map and insert the map piece to trigger a mini game.
- Solve the game by laying the tracks correctly.
- Collect 4 /4 copper feathers.
- Insert the 4 copper feathers.
- Move to the left.
- Collect the porcelain tiles and the note.
- Select the cane to collect the Baron’s key.
- Select the oil bottle to lubricate the handle.
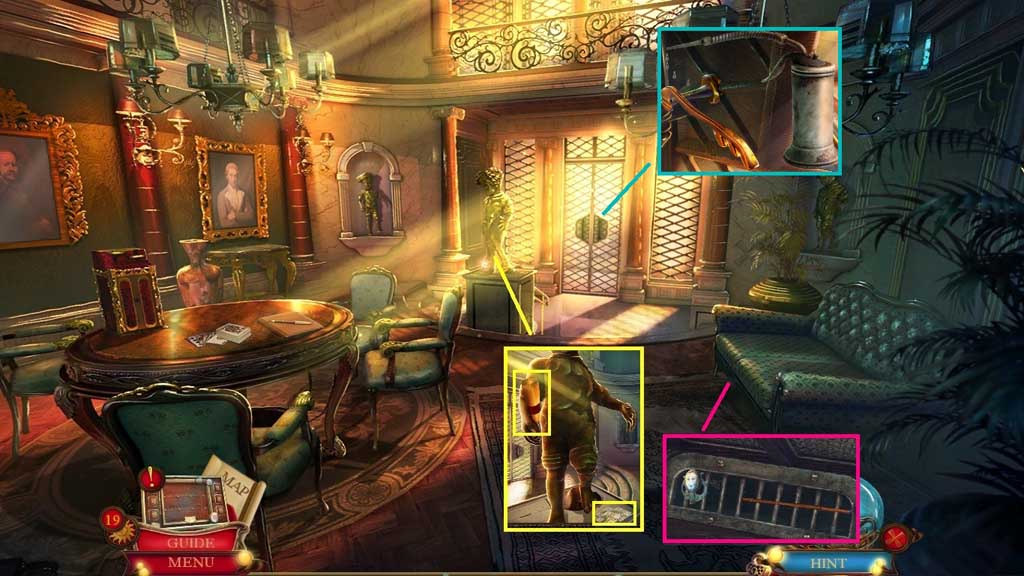
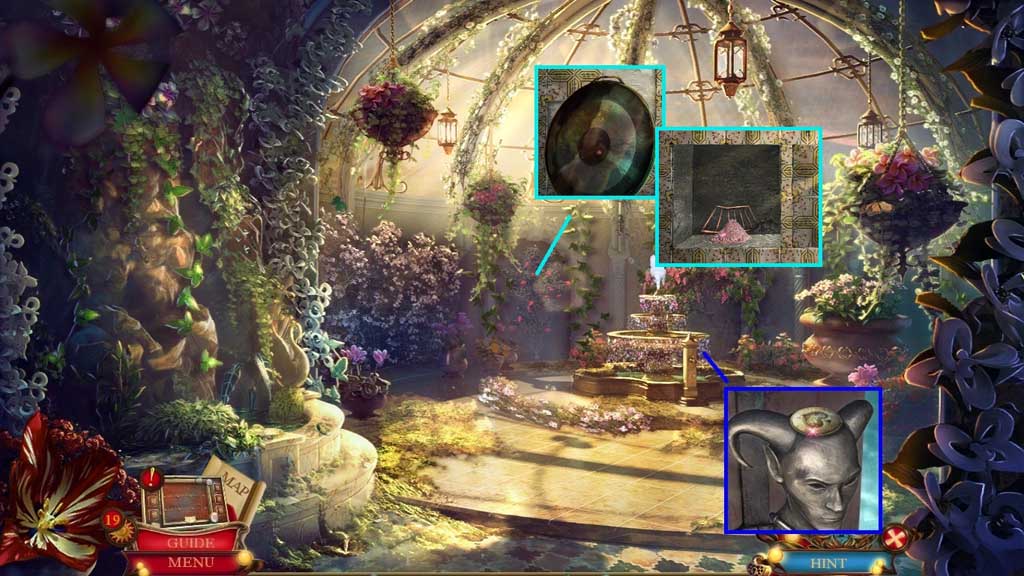
- Move ahead.

- Collect the fuse and insert the water drop symbol.
- Click the hidden objects area.
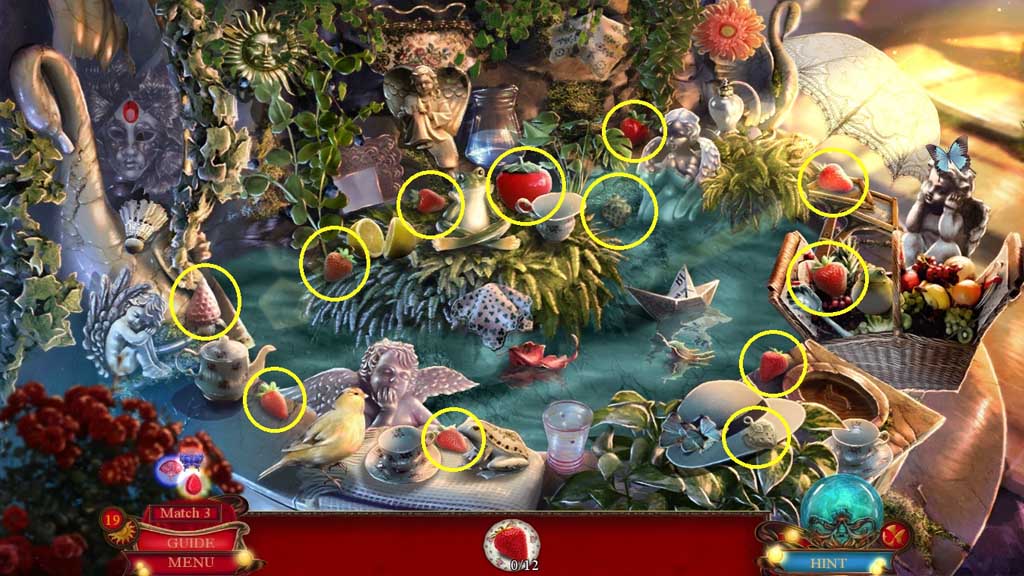
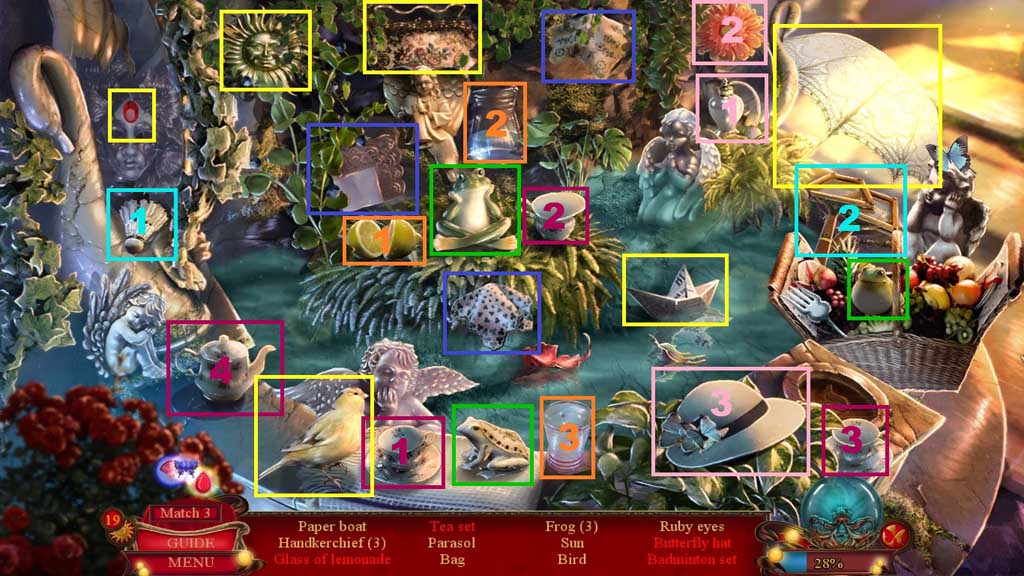
- Find the items.
- Select the lemon and squeeze it into the glass, then pour the water in; collect the glass of lemonade.
- Select the china and place them together; collect the tea set.
- Select the perfume to use on the flower and collect the butterfly; place the butterfly onto the hat and collect the butterfly hat.
- Select the shuttlecock and place it with the racquets; collect the badminton set.
- Collect 1 /2 ruby eyes.
- Collect the card machine token.
- Click the flowers; collect the gong.
- Insert the porcelain tiles.
- Collect the dust and track part.
- Move down once.
- Place the gong mallet and the gong onto the statue.
- Collect the Baron’s key piece.
- Click the token machine and insert the card machine token to trigger a mini game.
- Solve the game by clicking the buttons to match the cards.
- The solution is random.
- Collect the deck of cards; click it once and collect 2 /2 ruby eyes.
- Move ahead.
- Insert the 2 ruby eyes.
- Collect the Baron’s key part.
- Move to the Model Room.
- Click the panel and insert the fuse.
- Insert the track part collect the Baron’s key teeth.
- Select the Baron’s key, the Baron’s key piece, the Baron’s key part and the Baron’s key teeth to create and collect the Baron’s key.
- Insert the Baron’s key into the lock.
- Select the gun to shoot the chandelier.
- Move ahead.
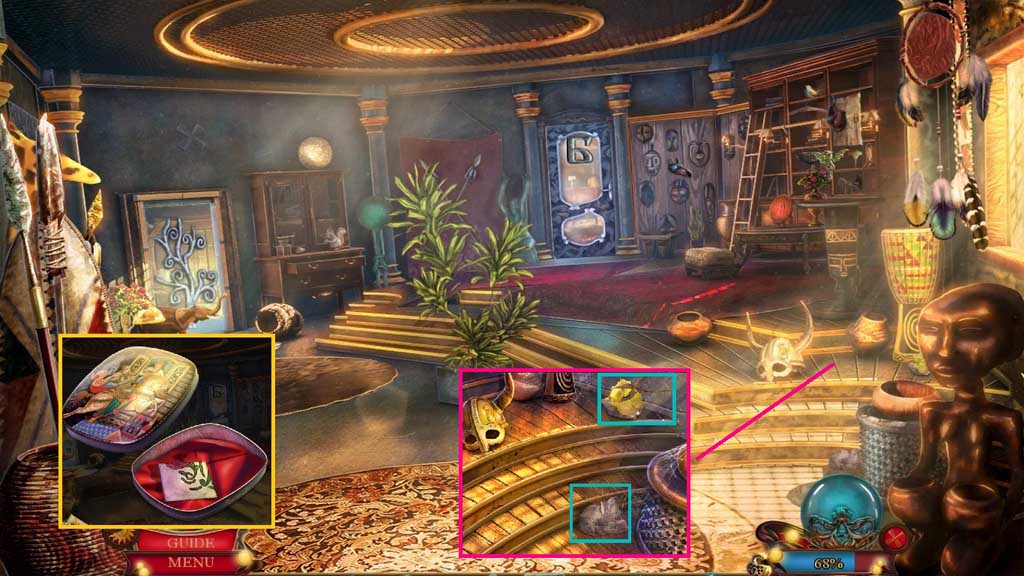
- Select the dust to toss.
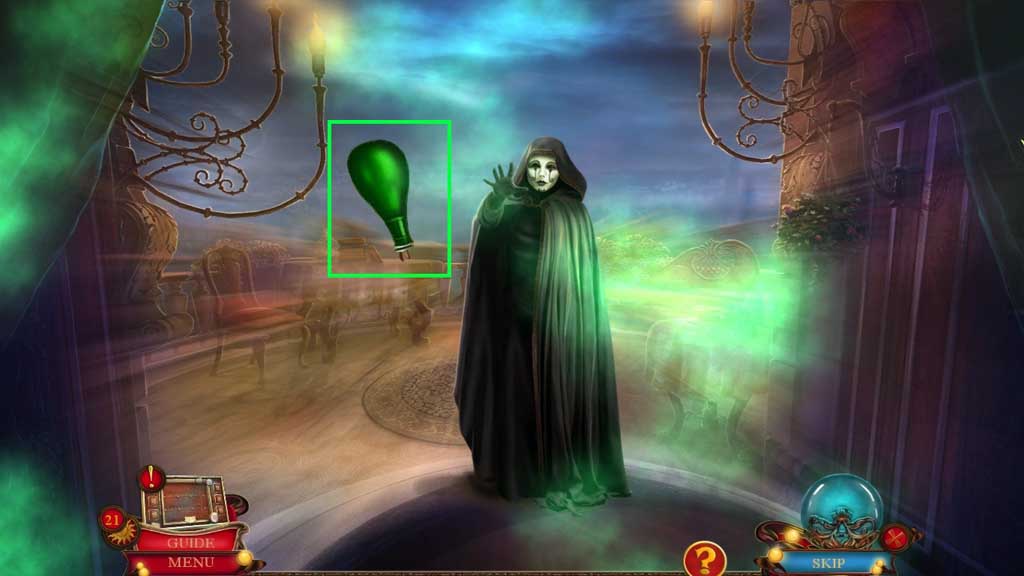
- Click 3 green flasks of poison.
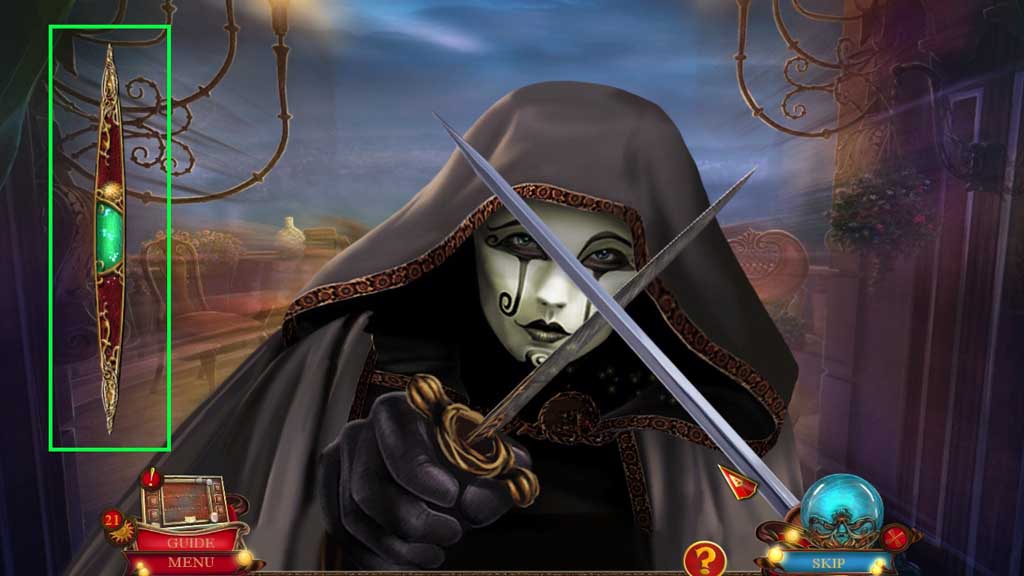
- Click the ball while it’s in the green zone and continue to do this as the zones get smaller and smaller.
- Congratulations! You have successfully completed the main game of Danse Macabre Moulin Rouge C.E.