
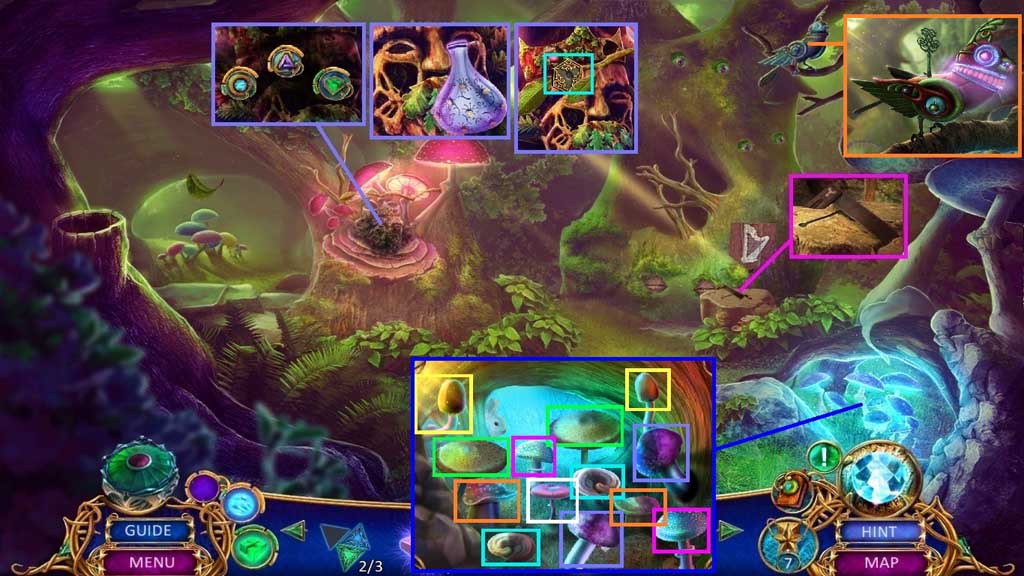
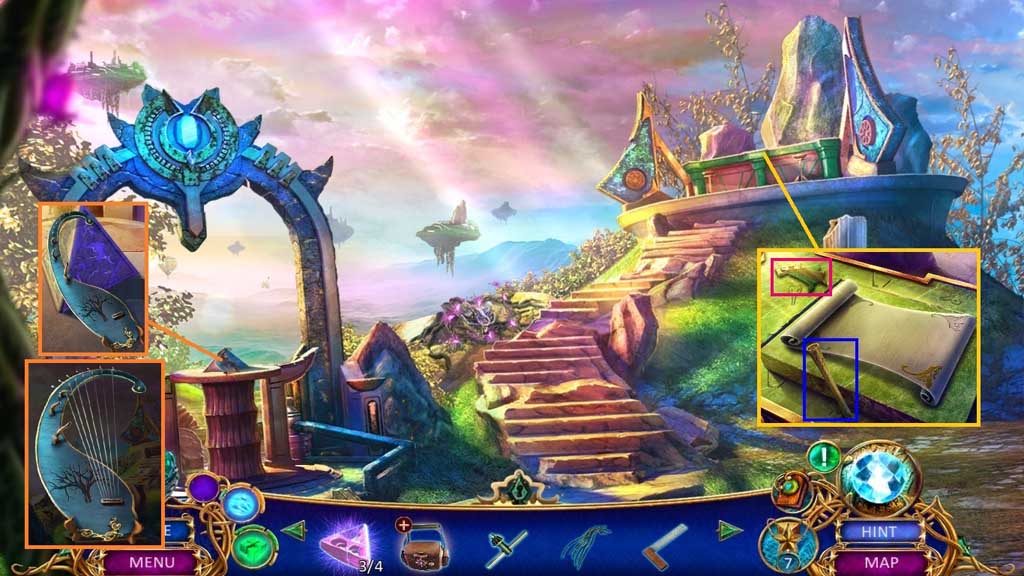
- Collect the try square.
- Select the cleansing power on the black cloud.
- Select the vial to collect the tears of the forest.
- Insert the acorn; collect the black hexagon.
- Click the matching mushrooms; collect the social mushroom.
- Insert the wind up key 3x’s; collect 1 /2 charged crystals.
- Move to the Clockwork Temple.
- Insert the black hexagon and click the lever.
- Collect the hammer.
- Move to the Crash Site.

- Give the social mushroom and the tears of the forest to the man.
- Collect the broken power core.
- Select the hammer to smash the orb; collect 2 /2 charged crystals.
- Insert the 2 charged crystals into the broken power core.
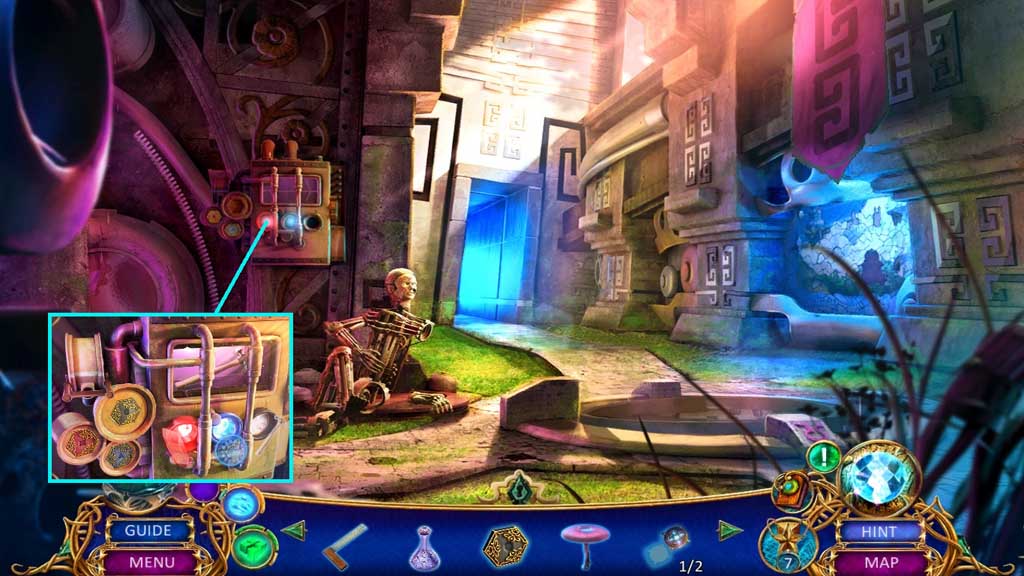
- Insert the power core to trigger a hidden objects area.
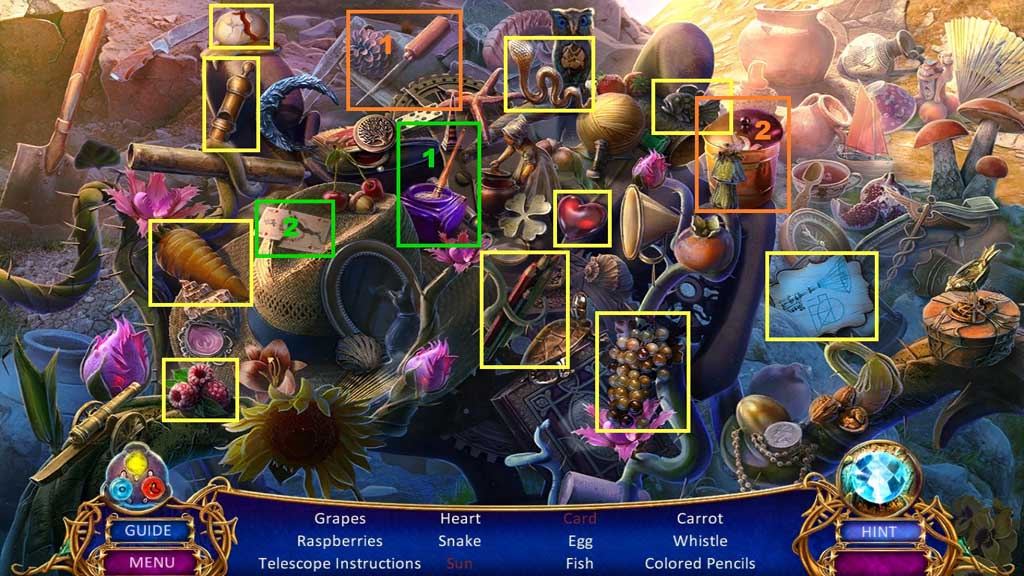
- Find the items.
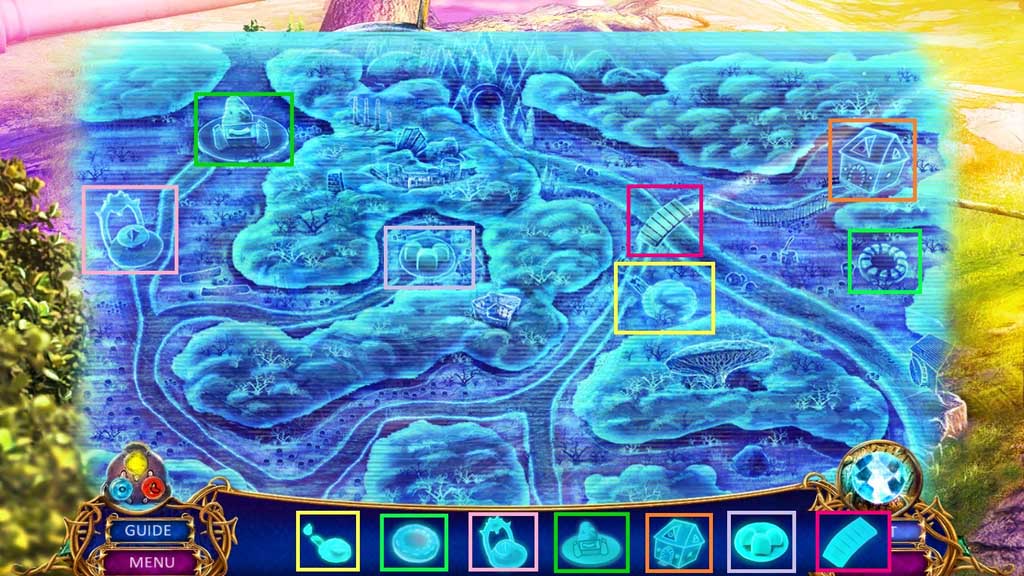
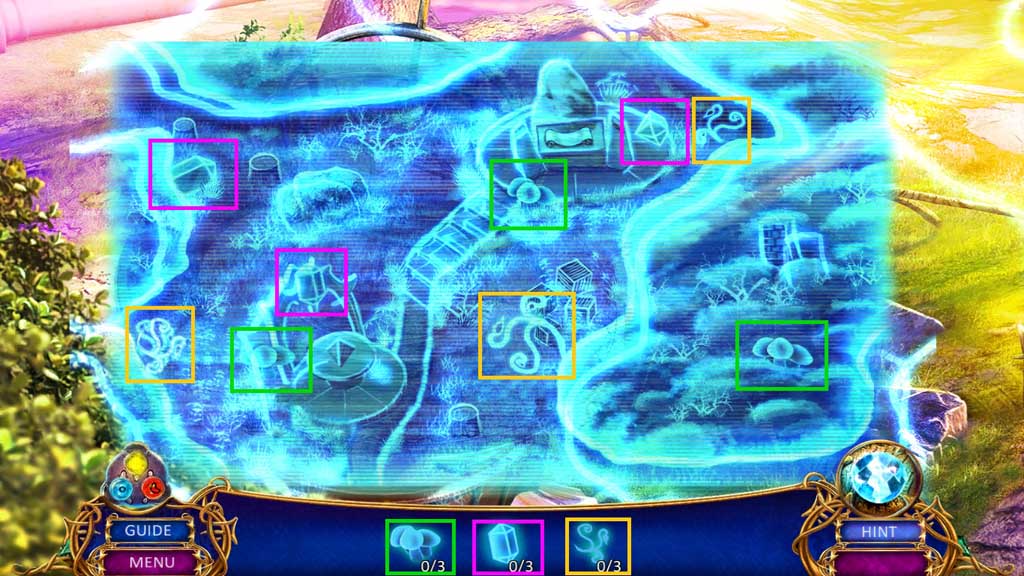
- Collect the forest map.
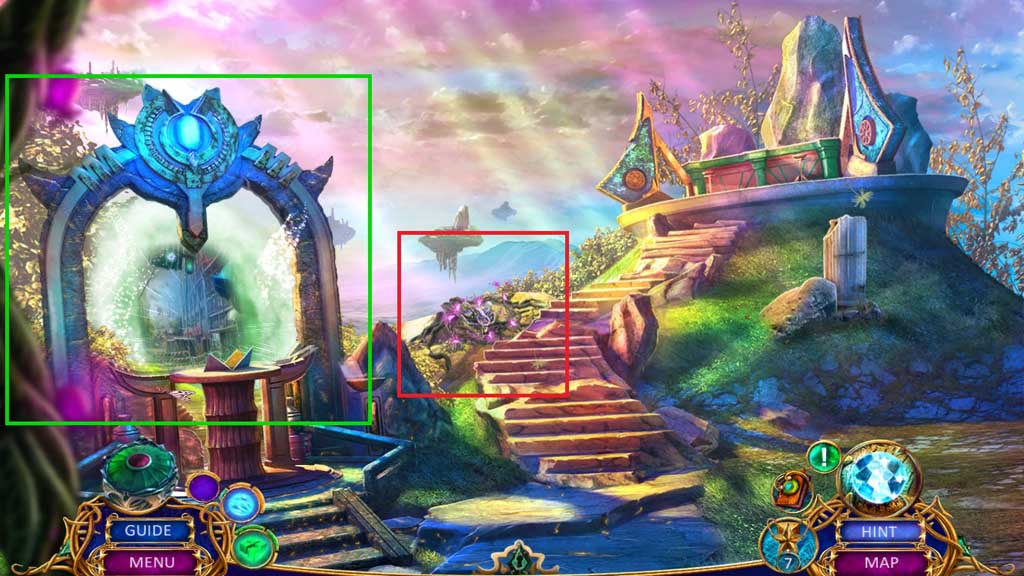
- Move to the Forest Entrance.

- Select the forest map and click the scene.
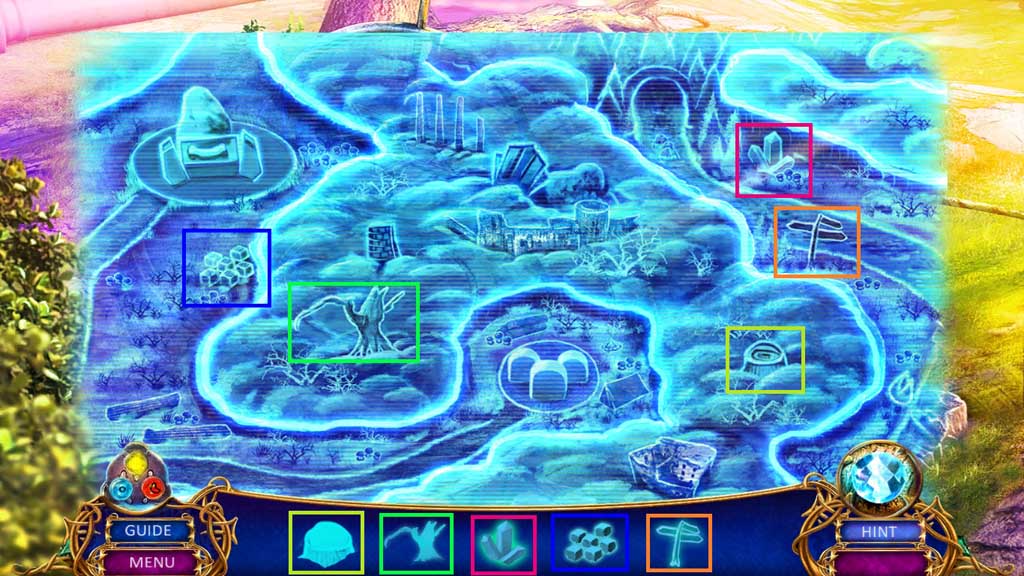
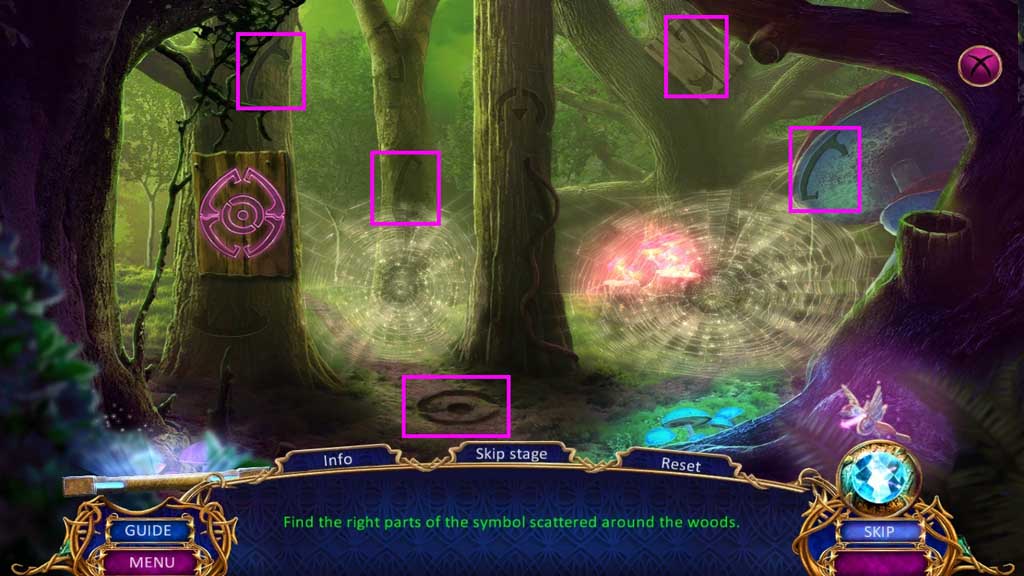
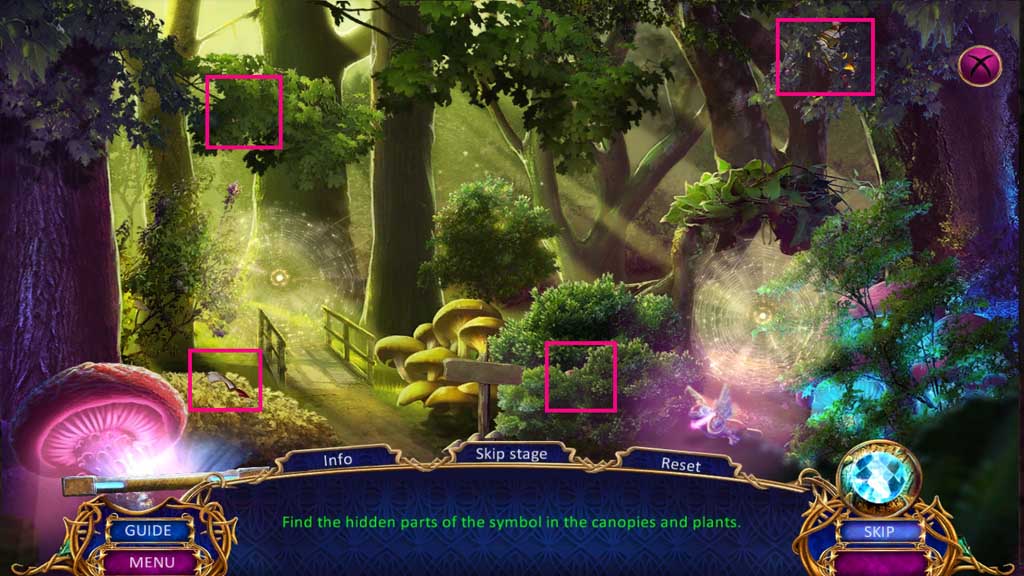
- Click the correct symbols; move ahead.
- Click the correct symbols; move ahead.
- Click the correct symbols; move ahead to the Resting Place.
- Collect the Garrick figurine and the clockwork scepter handle.
- Collect the broken harp and attach the metal string.
- Move down once.
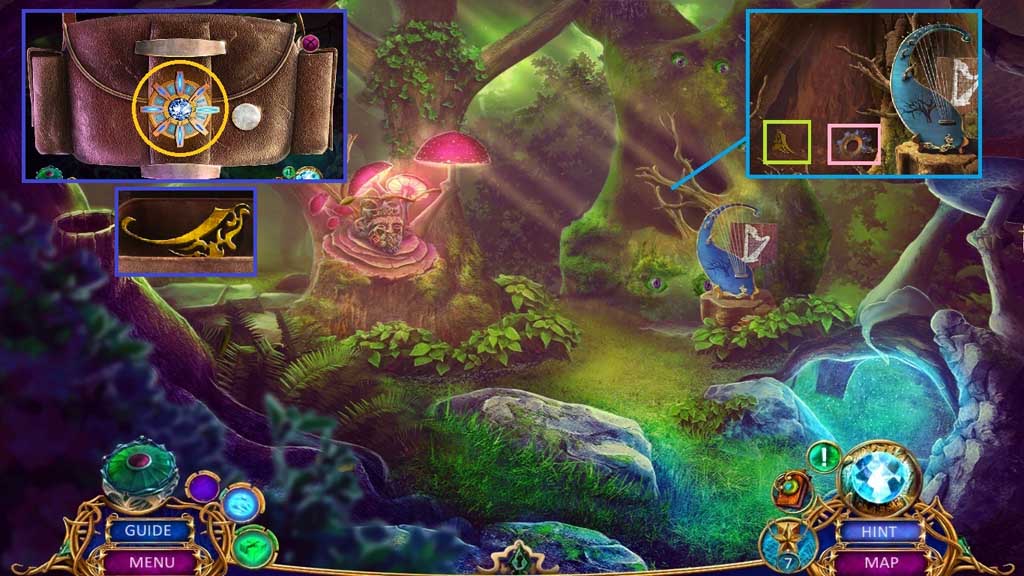
- Place the harp onto the stump.
- Collect 1 /3 offerings and the cog shaped key; insert it into the satchel.
- Click the prongs; collect the offerings.
- Move down once.
- Click the right arrow.
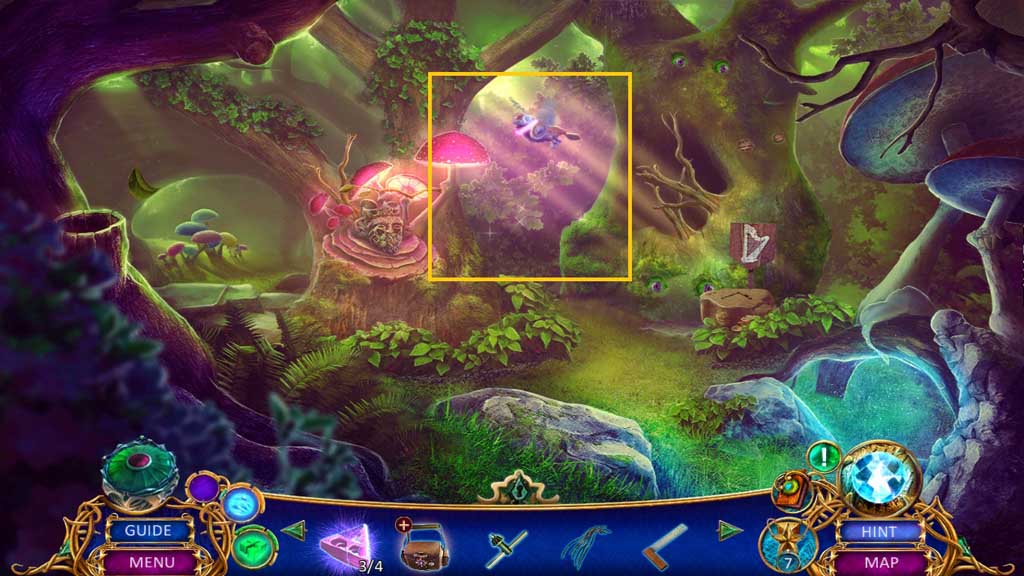
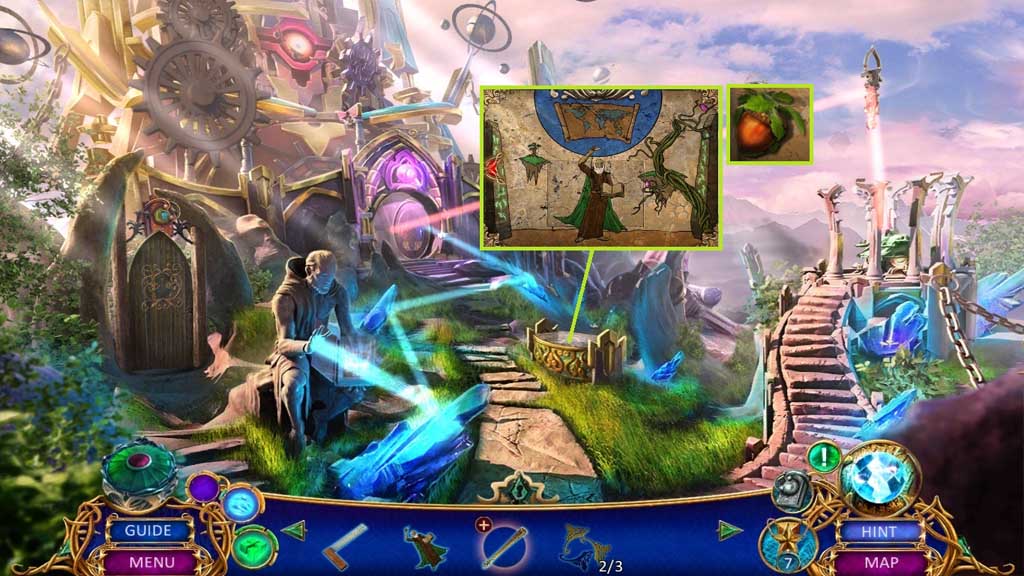
- Insert the Garrick figurine and click it once.
- Collect the acorn.
- Move to the Forest Entrance.
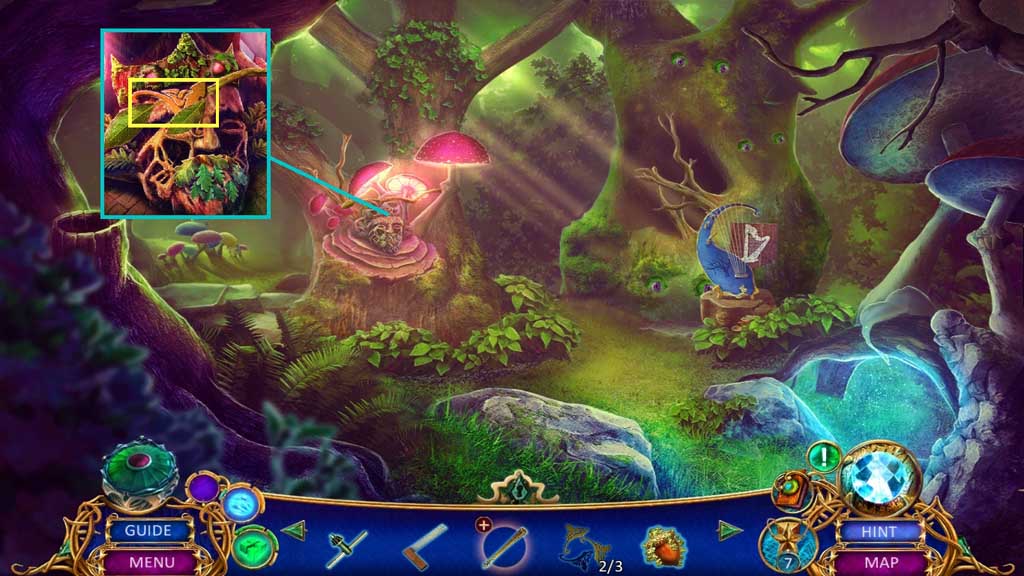
- Insert the acorn.
- Collect 3 /3 offerings.
- Move to the Resting Place.
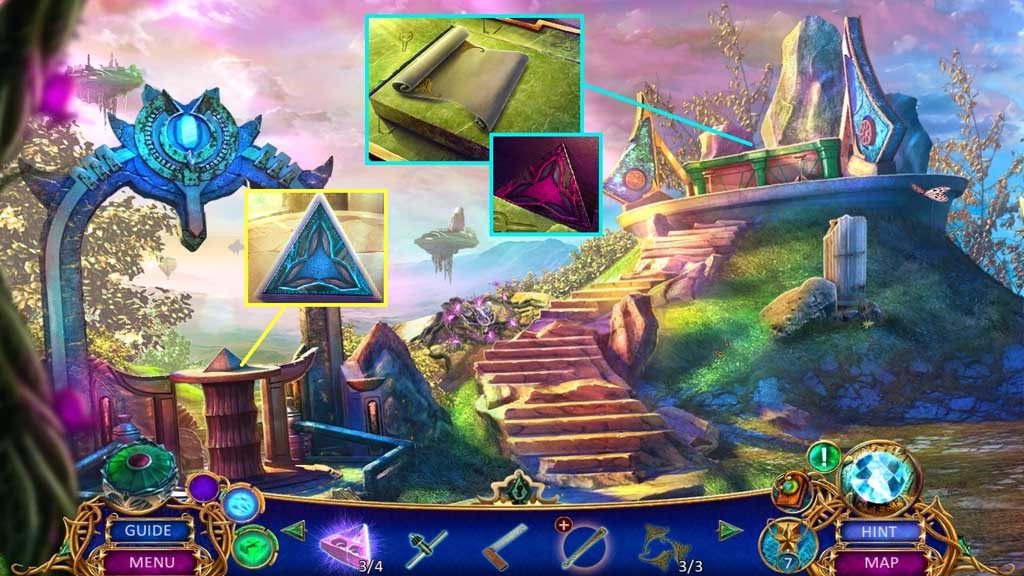

- Insert the 3 offerings; click the lid and collect 3 /3 obsidian maps.
- Insert the 3 obsidian map pieces,
- Click the portal to trigger a hidden objects area.
- Find the items.
- Collect the telescope instructions.
- Move to the Crash Site.
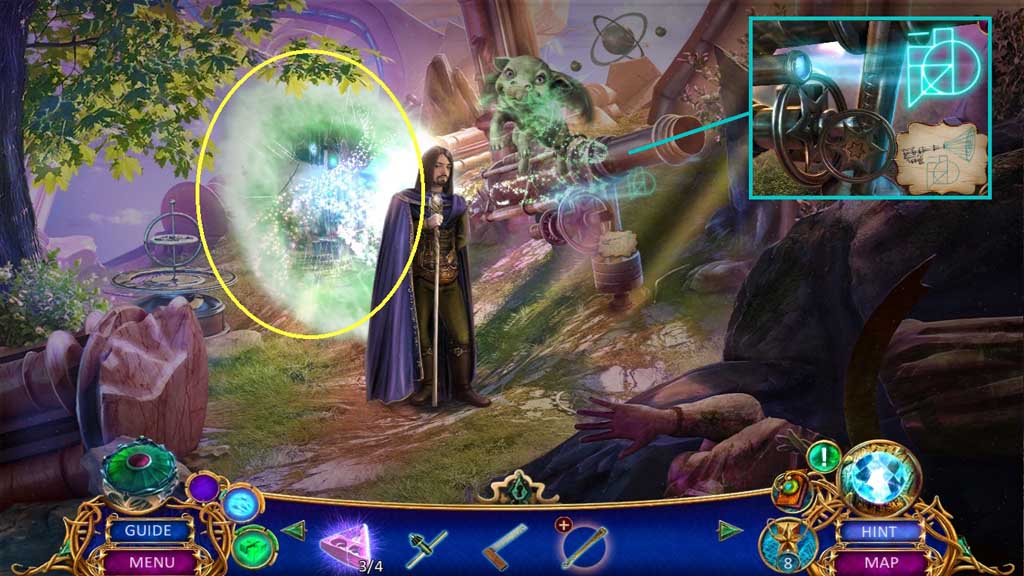
- Place the telescope instructions to trigger a mini game.
- Solve the game by adjusting the telescope to create the image in the diagram.
- Enter the Portal.