Mystery Case Files: Shadow Lake: Chapter Seven: Trestle Road
Our Mystery Case Files Shadow Lake Walkthrough will help you navigate the deserted streets of Bitterford, Maine, where off-the-charts paranormal activity has caught the attention of psychic Cassandra Williams and the reality TV show Ghost Patrol. You soon discover that something wicked has taken up residence in this small town, but thanks to our Mystery Case Files Shadow Lake Walkthrough, you won't have to rely on just your wits to solve the case. We've included tons of screenshots, chapter-by-chapter instructions and solutions to all puzzles to help you during your investigation.
General Info and Tips
Chapter One: The Motel
Chapter Two: Shadow Lake Penitentiary
Chapter Three: The Warden's House
Chapter Four: The Schoolhouse
Chapter Five: Downtown Bitterford
Chapter Six: The Coroner
Chapter Seven: Trestle Road
Chapter Eight: The Church
Chapter Nine: The Relic
Ask for help in the comments below!
Chapter One: The Motel
Chapter Two: Shadow Lake Penitentiary
Chapter Three: The Warden's House
Chapter Four: The Schoolhouse
Chapter Five: Downtown Bitterford
Chapter Six: The Coroner
Chapter Seven: Trestle Road
Chapter Eight: The Church
Chapter Nine: The Relic
Ask for help in the comments below!
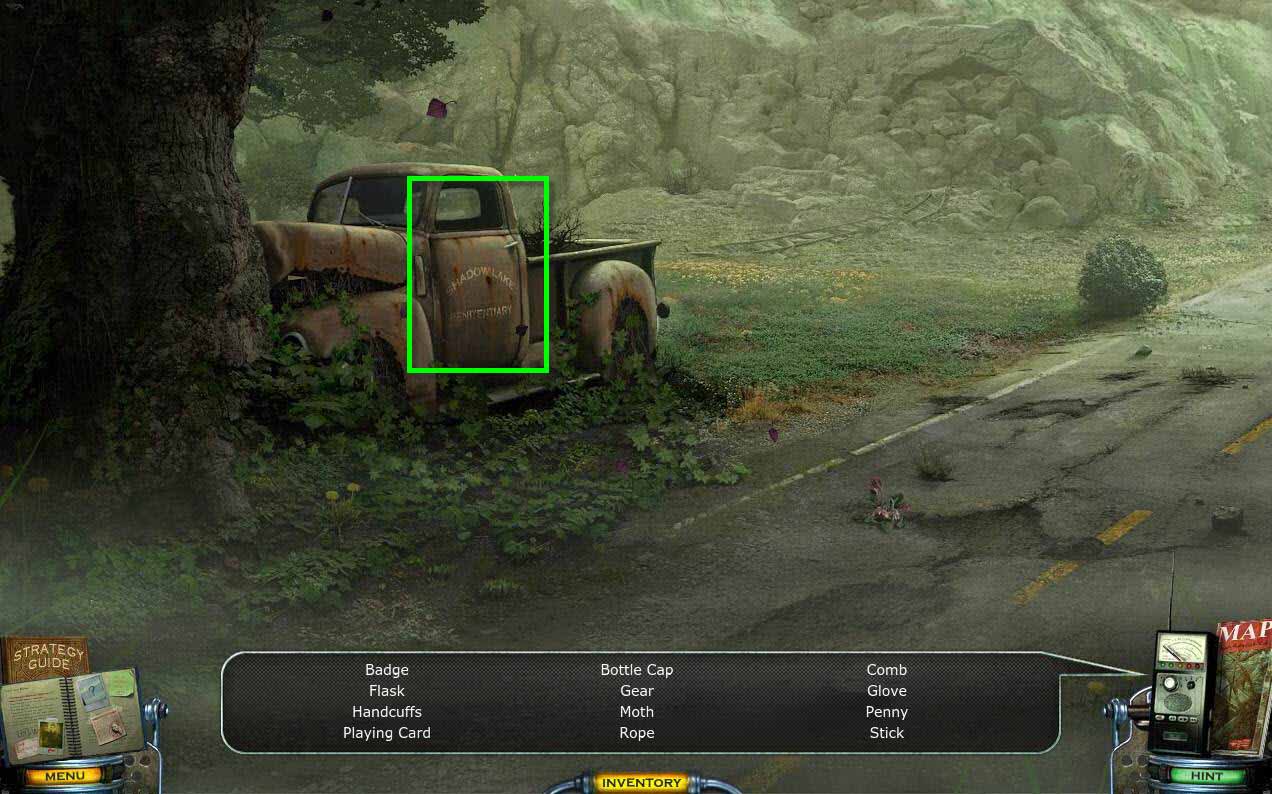
- As soon as you arrive, a hidden object area will start.
-
Click on the truck to zoom in.

- Click on the glove compartment to open it.
-
Find the items on the list in the scene.

- Click under the truck to zoom in.
- Click on the wallet to open it.
- Click on the note in the wallet to read it.
- Go back downtown and return to the Sheriff's Office.
-
Go into the Evidence Room to start a hidden object area.
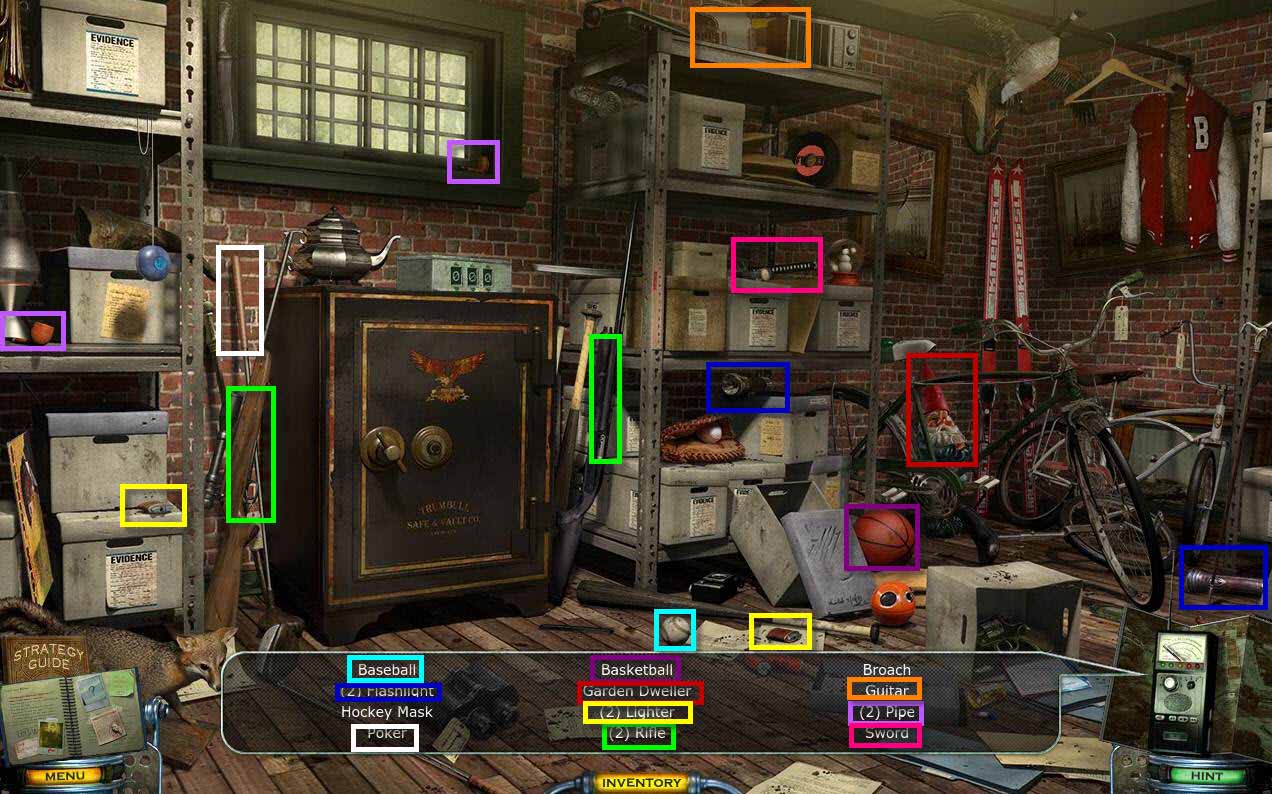
- Find the items that are in the scene.
-
Click on the Safe to zoom in.
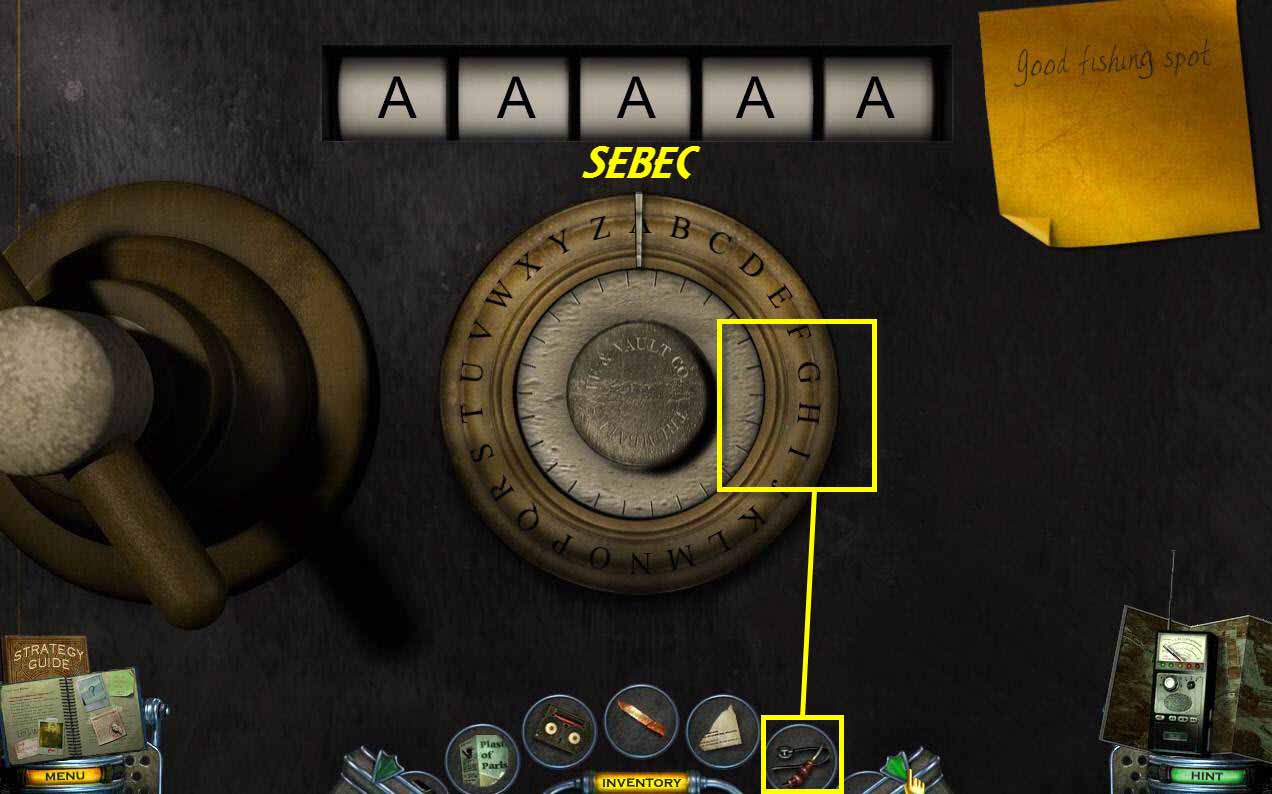
- Use the STETHOSCOPE on the safe.
- Rotate the dial to the letters S, E, B, and C. They will show up on the paper.
-
Next, input the letters S-E-B-E-C using the dial and moving from clockwise to counterclockwise until all the letters are in and the safe is open.
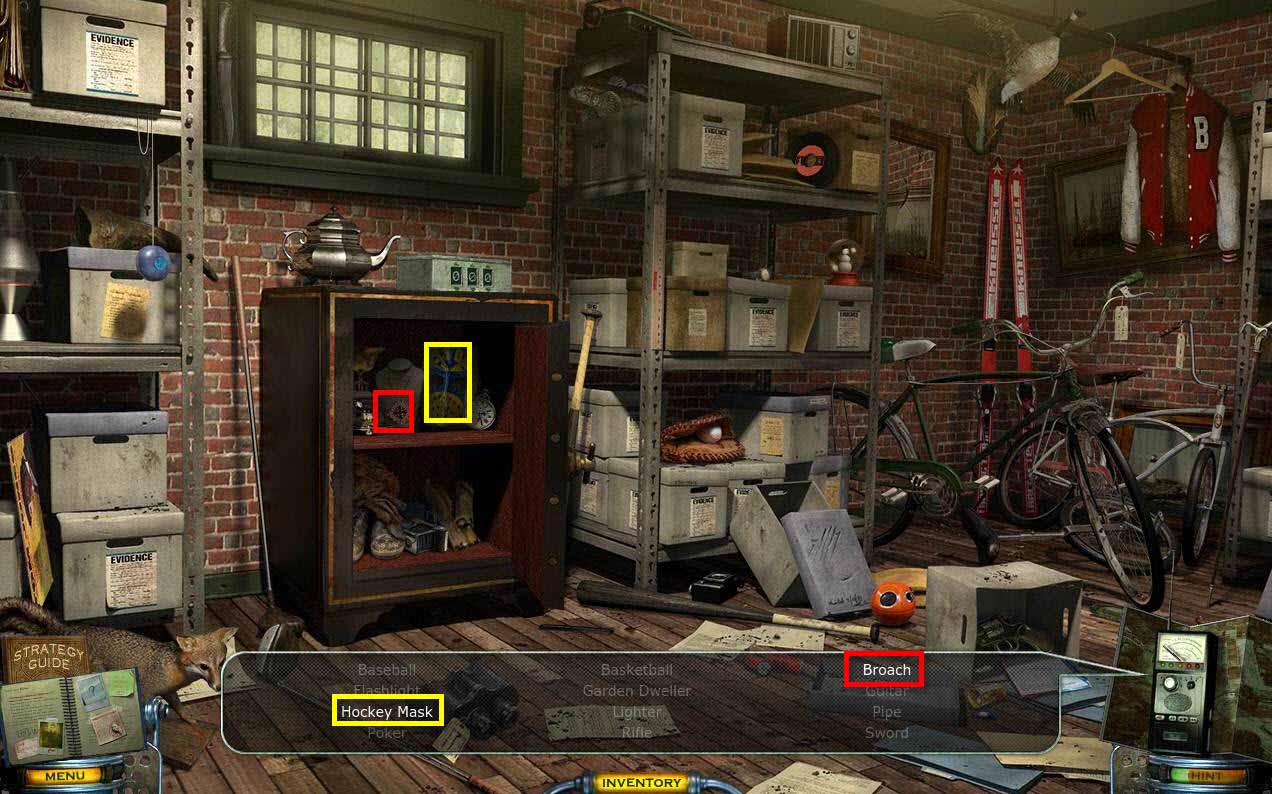
- Find the rest of the items in the safe.
- Return to the motel and Cassandra to get the next set of drawings.
-
Travel to the Trestle Road.
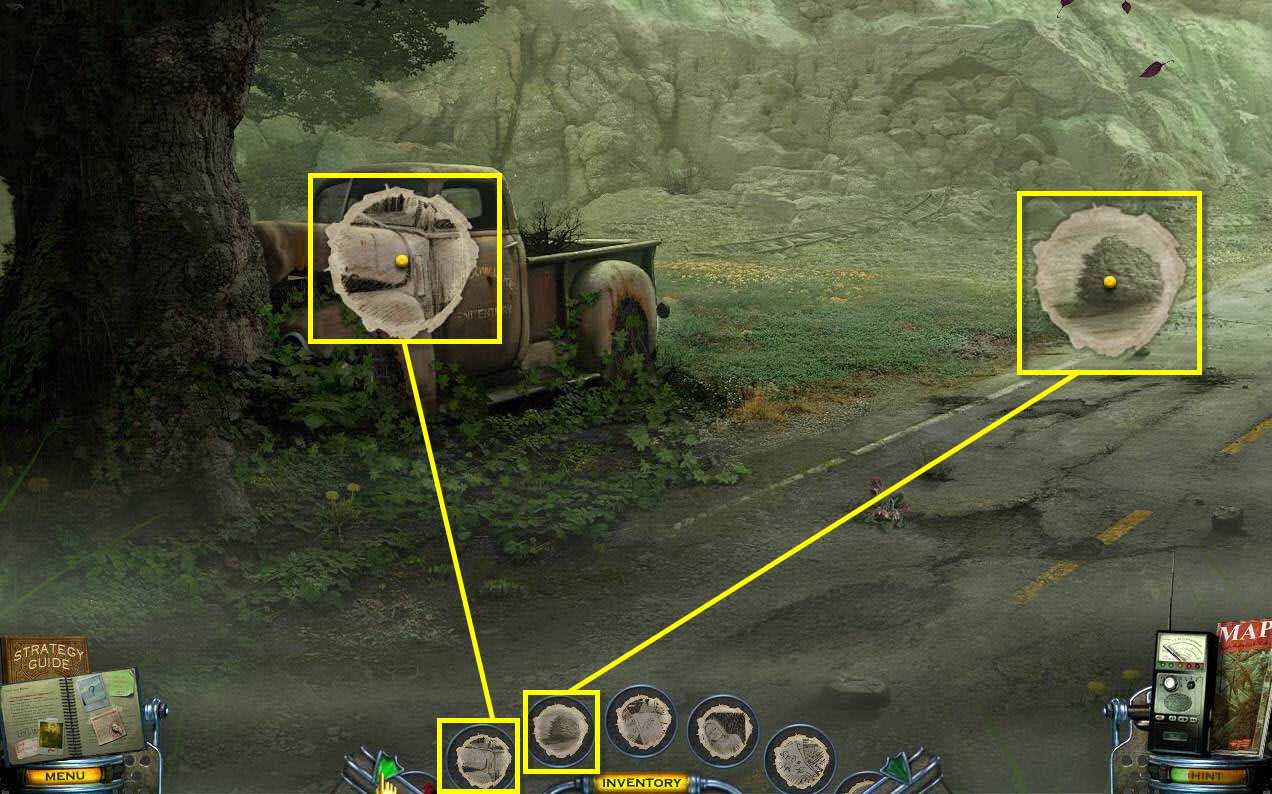
- Use the DRAWING on the truck.
- You will receive a CHARGED DRAWING.
- Use the DRAWING on the bush on the right.
- You will receive a CHARGED DRAWING.
-
Go back to the Sheriff's Office.
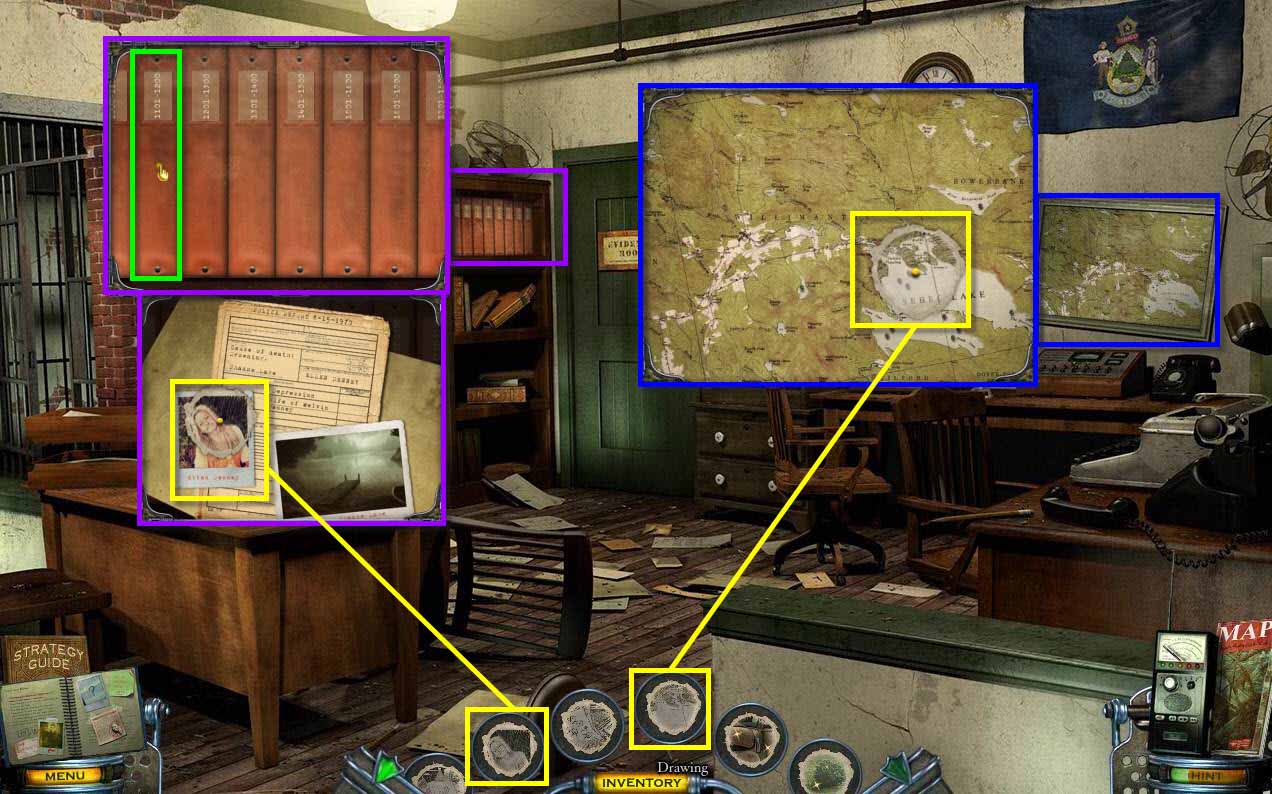
- Click on the map to zoom in.
- Use the DRAWING on the map.
- You will receive a CHARGED DRAWING.
- Click on the bookshelf on the left to zoom in.
- Click on the binder on the left to open it.
- Use the DRAWING on the picture.
- You will receive a CHARGED DRAWING.
-
Go into the evidence room.
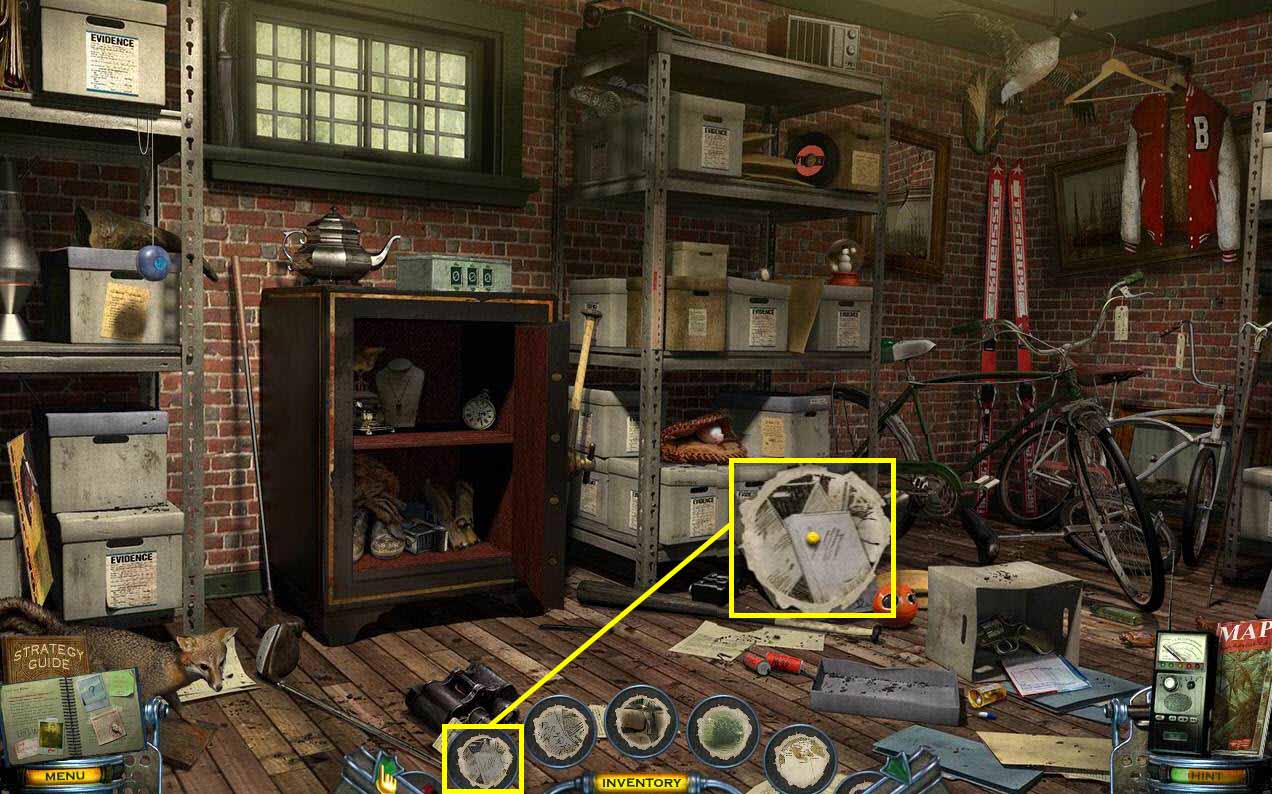
- Use the DRAWING on the box on the floor.
-
You will receive a CHARGED DRAWING.
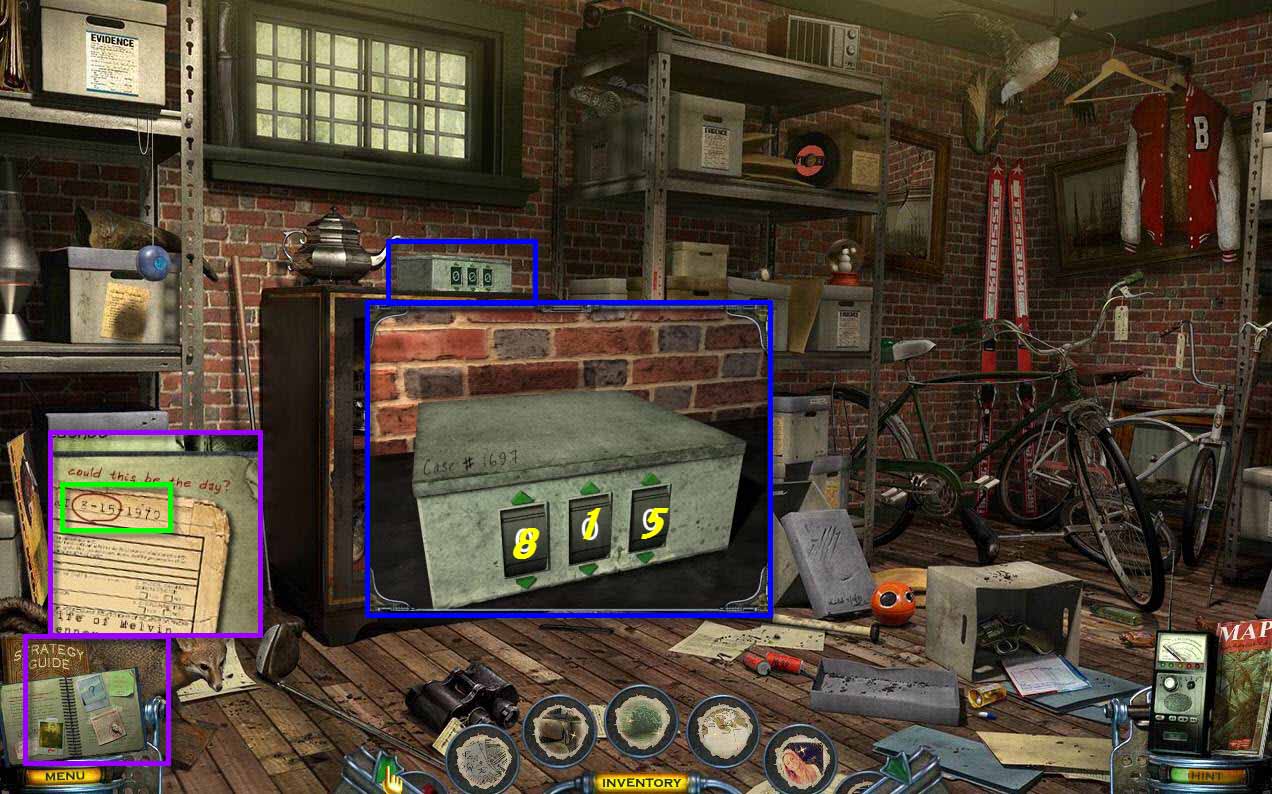
- Click on the lock box on the safe to zoom in.
- The combination is the day the the Warden's Wife died.
- This was found in her case file which is now in your notebook.
-
The combo is 815. Input that number to open the lock box.
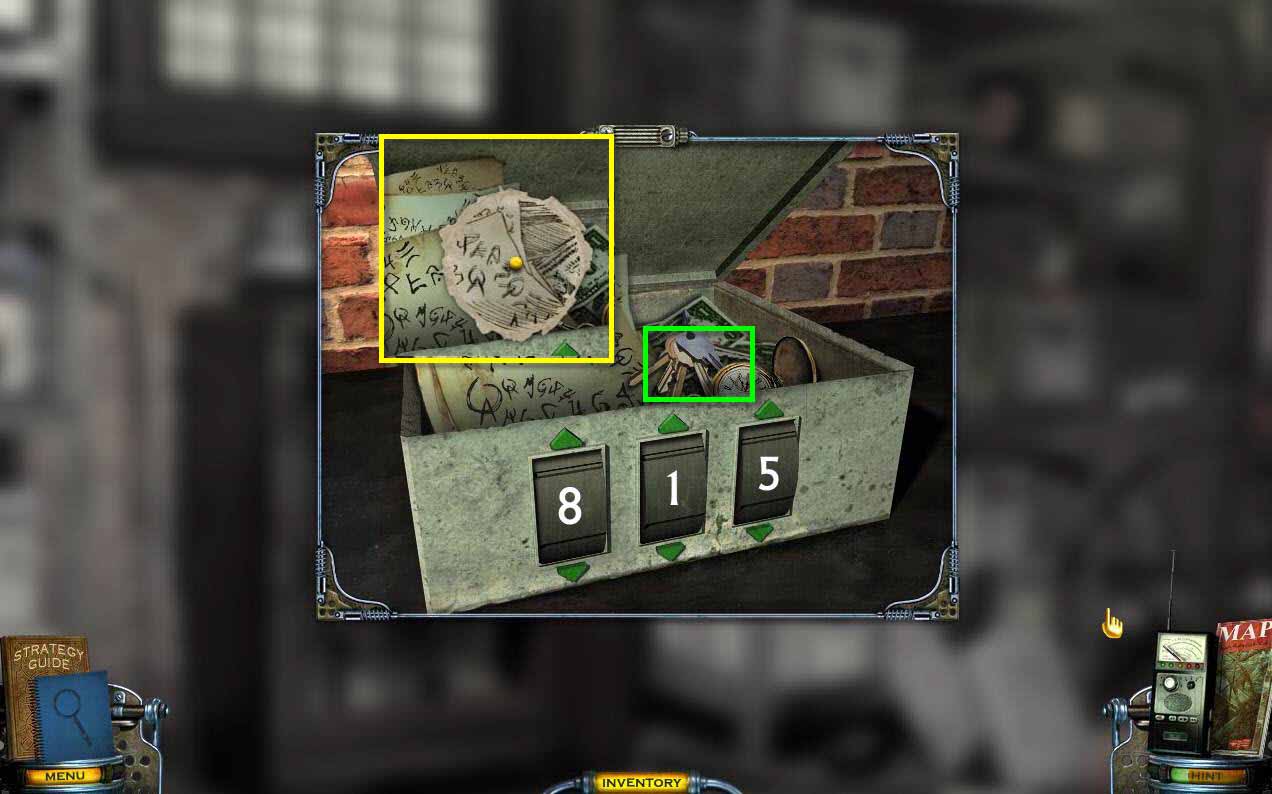
- Take the WARDEN'S KEYS.
- Use the DRAWING on the scribbles on the paper.
- You will receive a CHARGED DRAWING.
-
Return to the motel and Cassandra so she can do another reading.
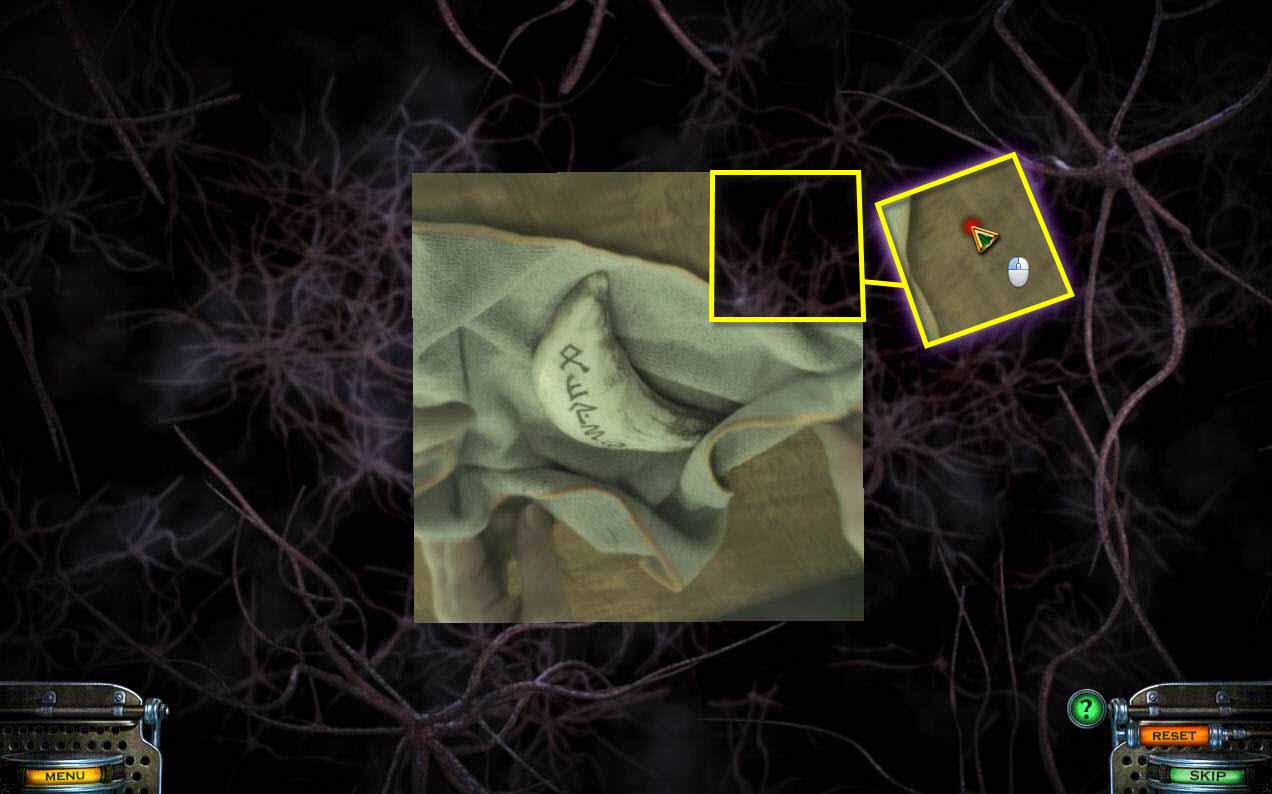
- Here's another moving picture puzzle.
-
See the screenshot for help.
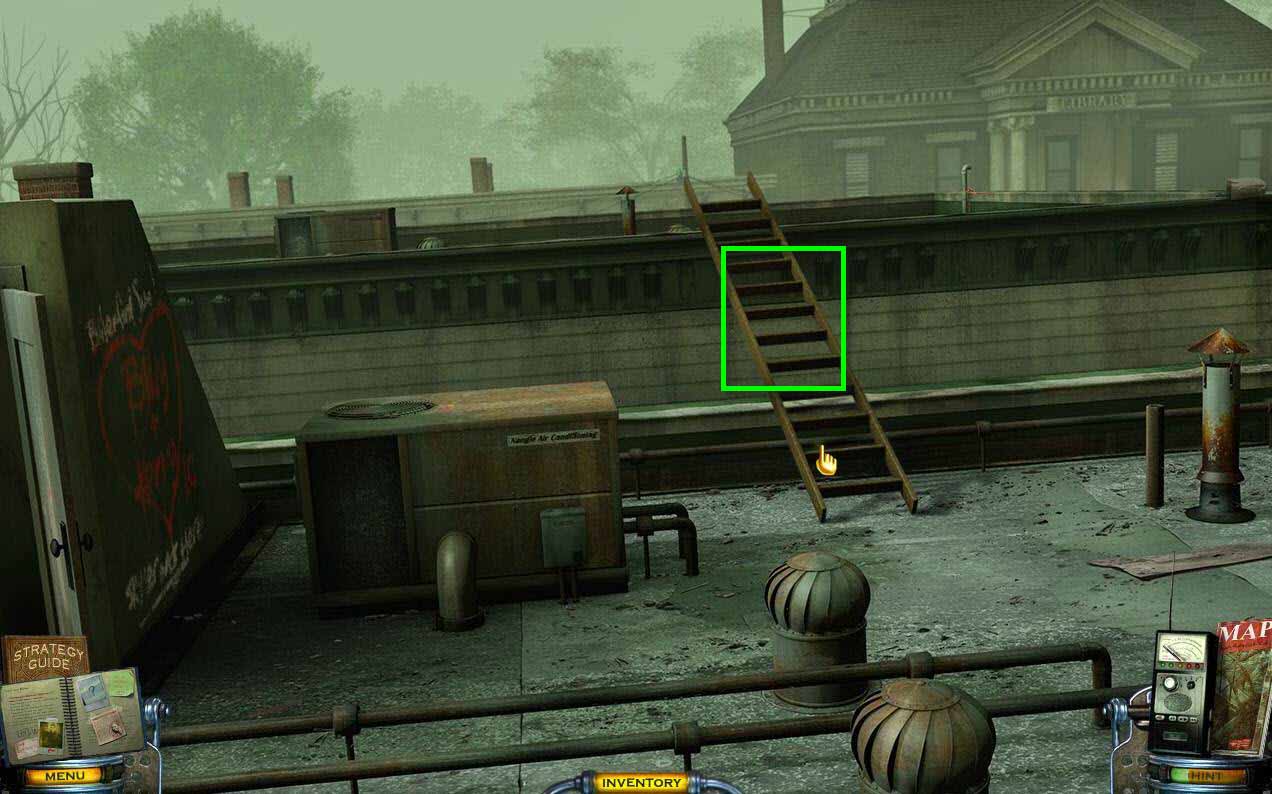
- Use your map and go back downtown.
- Go to the roof of the drug store.
- You will need to get that LADDER back now.
- Now use your map to fast travel to the Church.
General Info and Tips
Chapter One: The Motel
Chapter Two: Shadow Lake Penitentiary
Chapter Three: The Warden's House
Chapter Four: The Schoolhouse
Chapter Five: Downtown Bitterford
Chapter Six: The Coroner
Chapter Seven: Trestle Road
Chapter Eight: The Church
Chapter Nine: The Relic
Ask for help in the comments below!
Chapter One: The Motel
Chapter Two: Shadow Lake Penitentiary
Chapter Three: The Warden's House
Chapter Four: The Schoolhouse
Chapter Five: Downtown Bitterford
Chapter Six: The Coroner
Chapter Seven: Trestle Road
Chapter Eight: The Church
Chapter Nine: The Relic
Ask for help in the comments below!
