
Mystery Case Files: Escape from Ravenhearst
Mystery Case Files: Escape from Ravenhearst Walkthrough is an in-depth guide to this thrilling hidden object adventure game. With detailed instructions, screenshots for almost all puzzles, and screenshots for every morphing scene in the game, you'll have no trouble making your way through this chilling chapter using our Mystery Case Files Walkthrough.
Images ©Big Fish Games
Overview:
In the
sequel to Mystery Case Files: Return to Ravenhearst, you have one again
been summoned to the haunted grounds to solve more mysterious
disappearances. Can you make it out alive?
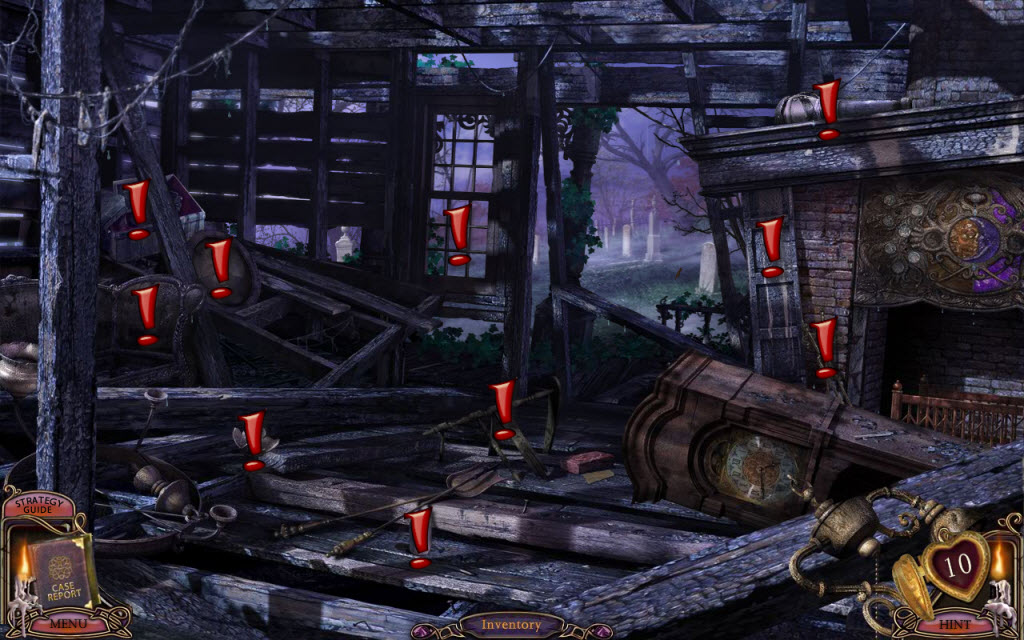
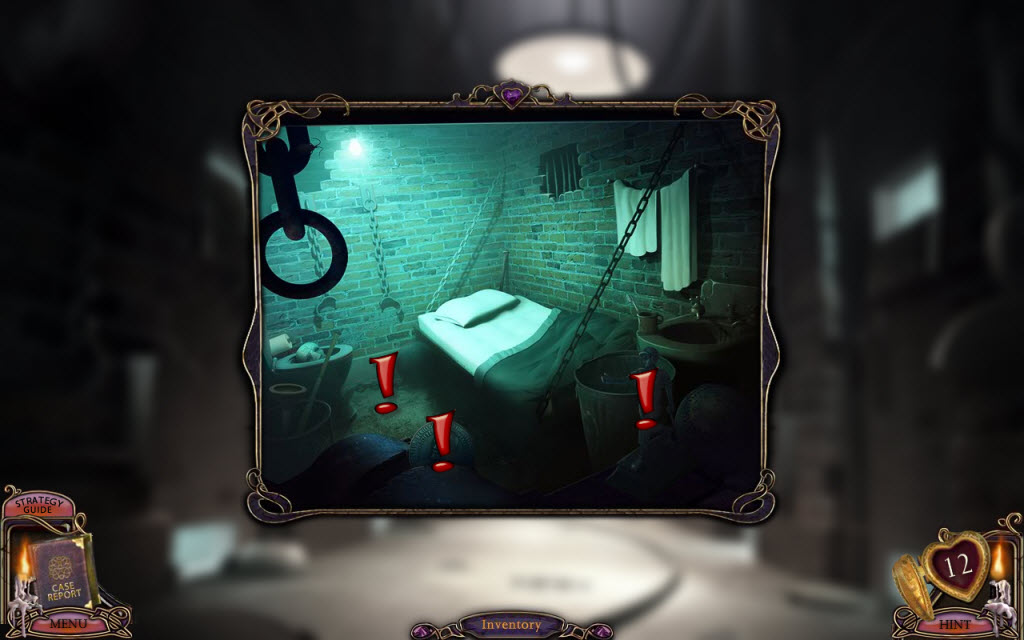
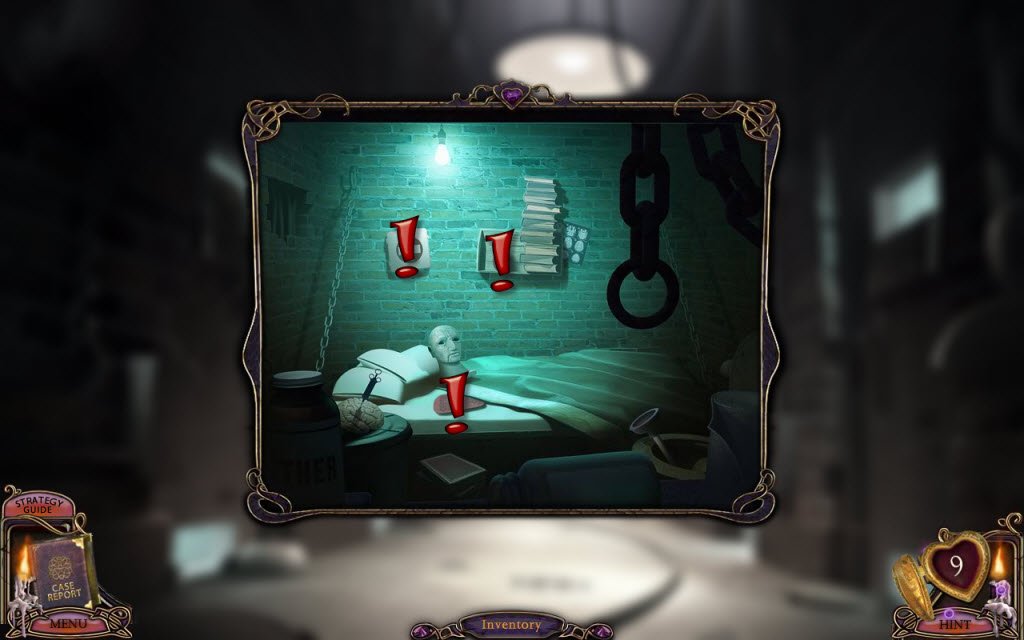
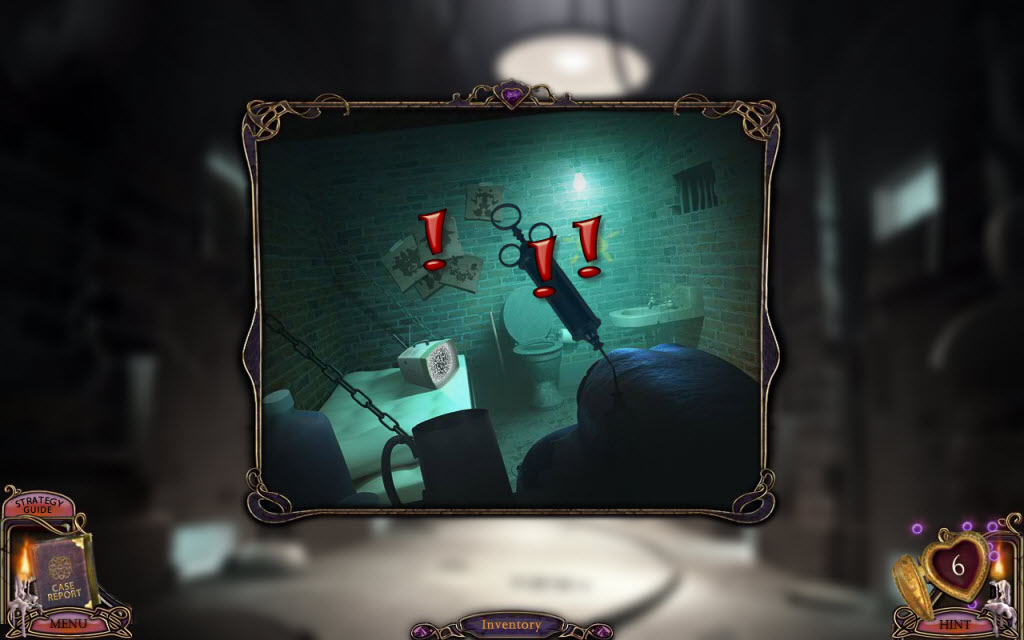
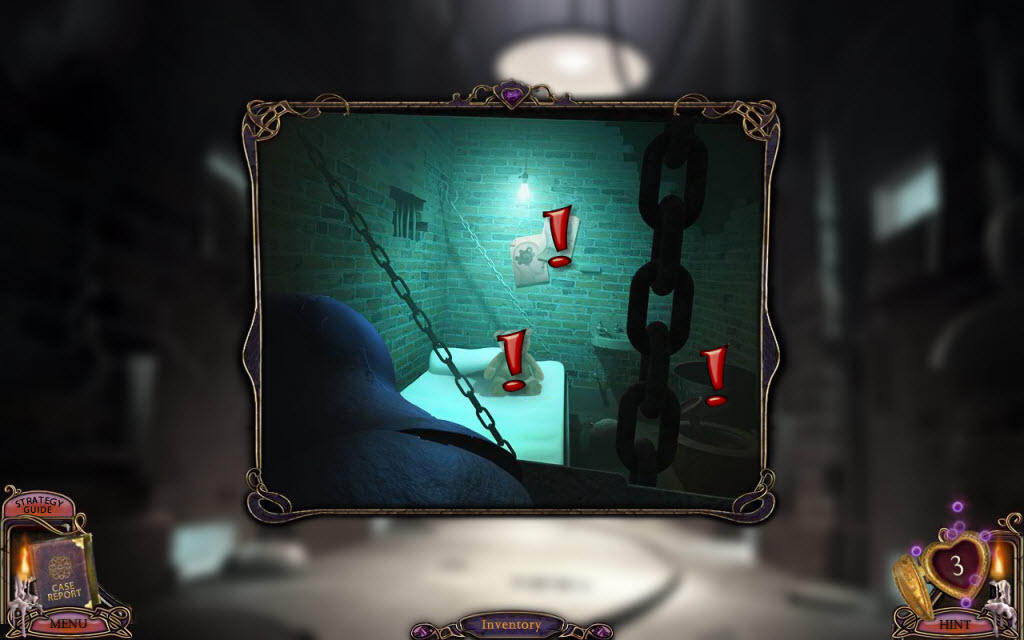
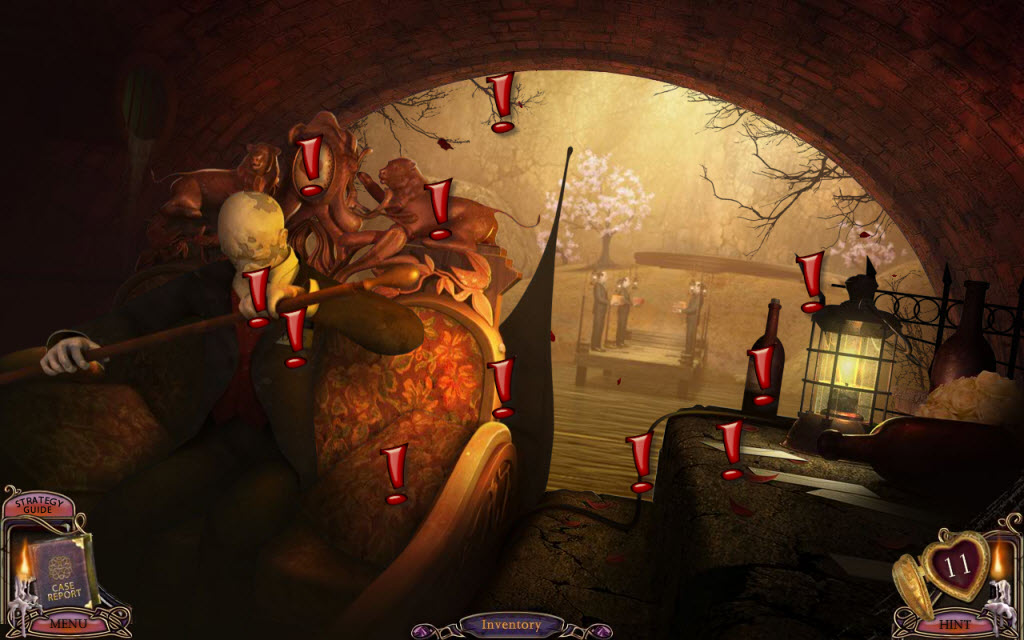
Locket: The locket will open if there is a "changing' or "morphing" object nearby. It will also list how many there are. I will place an "exclamation point" on these in the guide.
Hints: These are unlimited, but must refill.
Part 1
Locket: The locket will open if there is a "changing' or "morphing" object nearby. It will also list how many there are. I will place an "exclamation point" on these in the guide.
Hints: These are unlimited, but must refill.
Part 1
- open the glove box and take the Matches
- examine the grate and pick up the Locket
- listen to the ghost
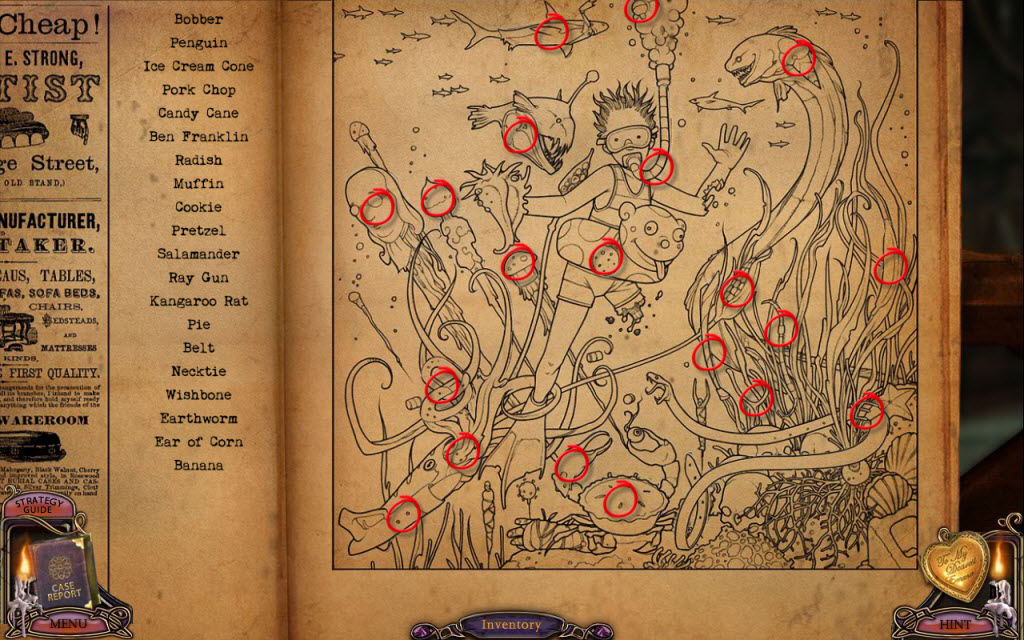
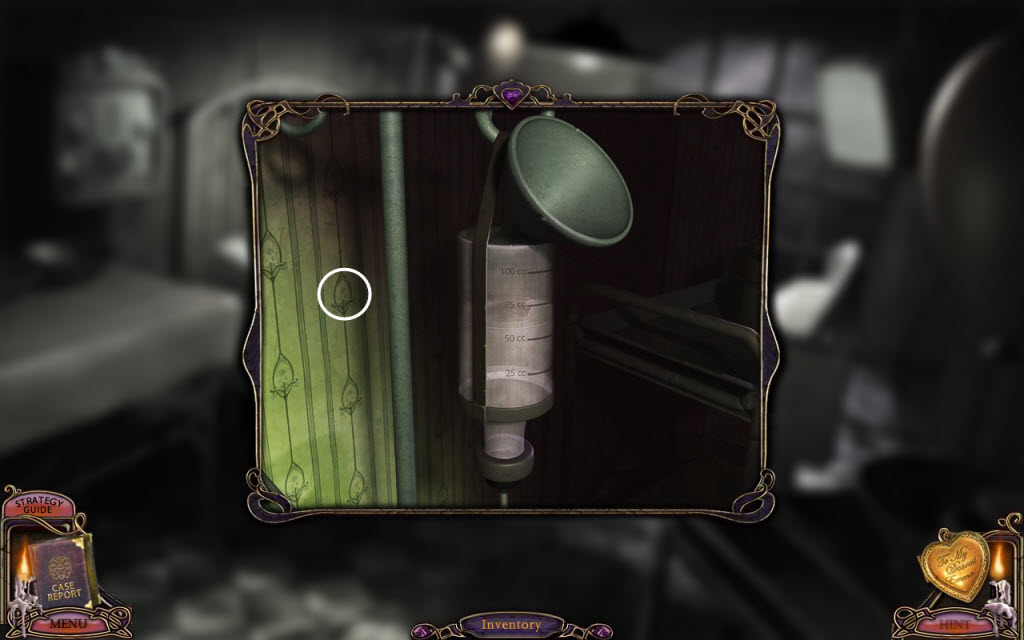
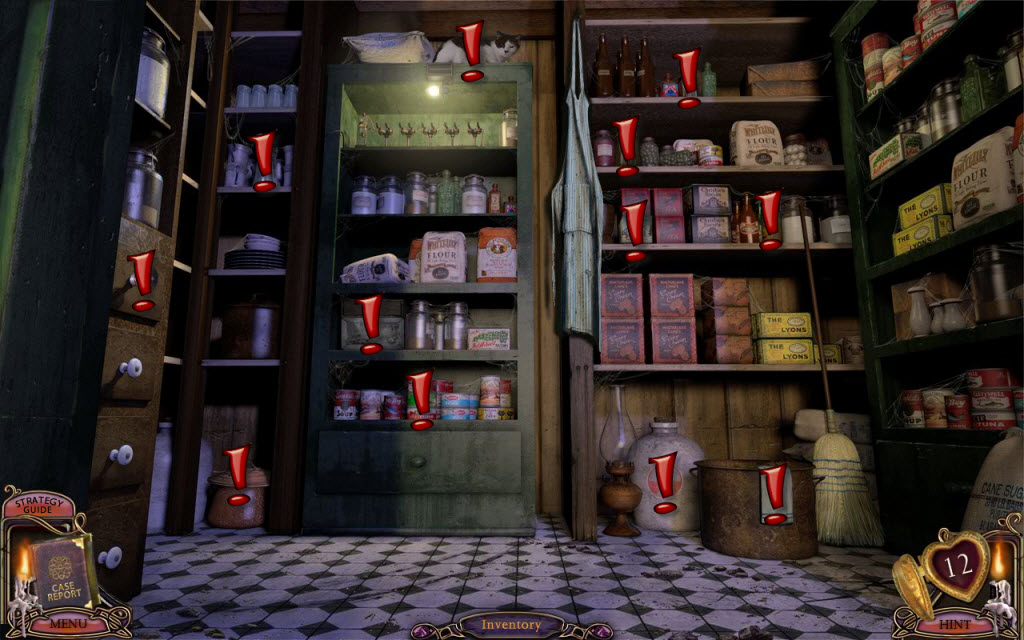
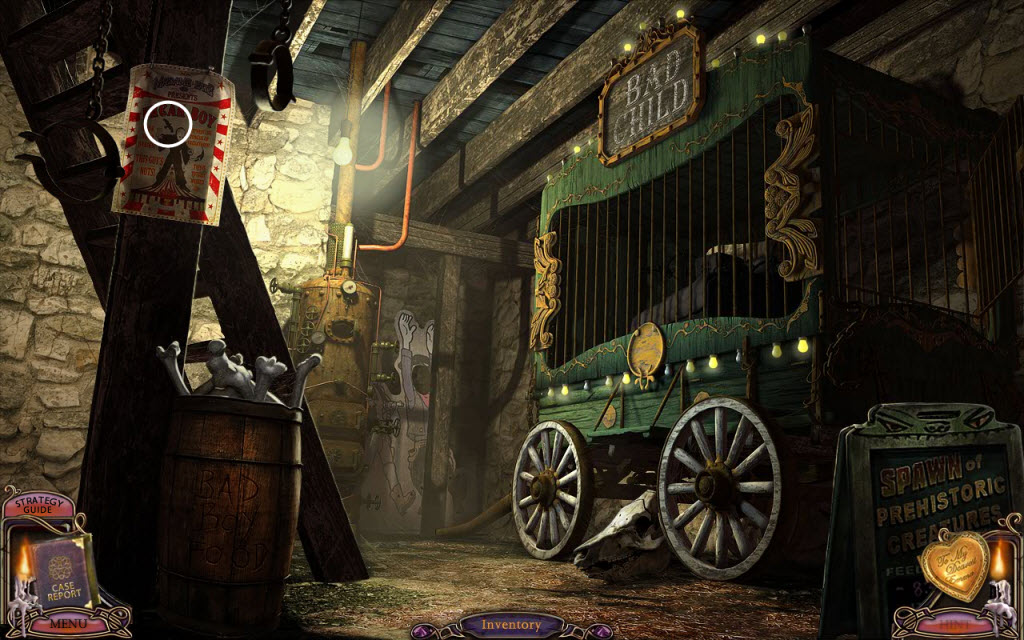
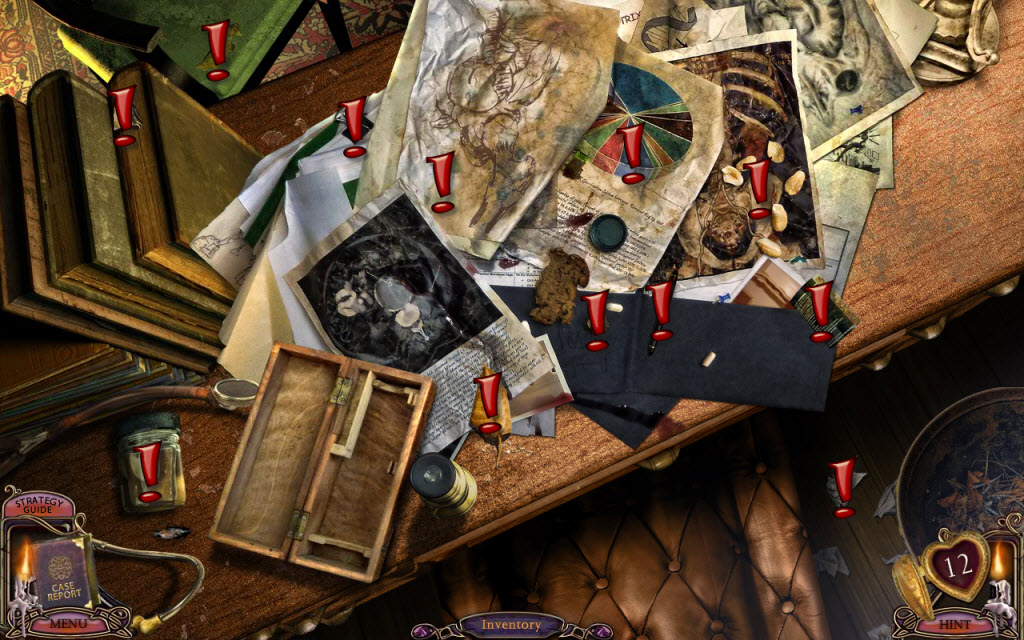
- find the changing objects
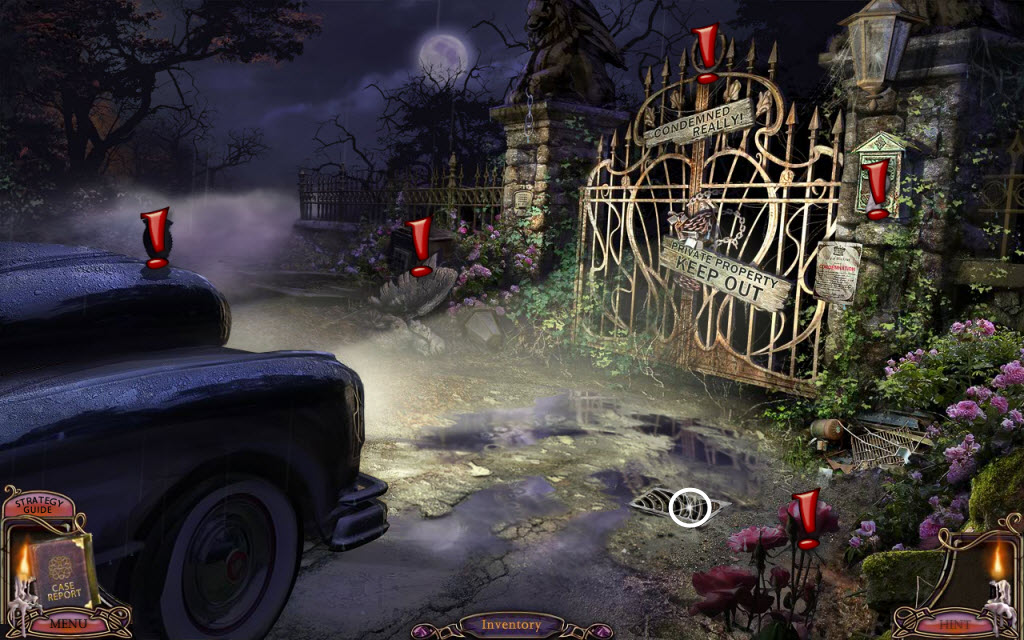
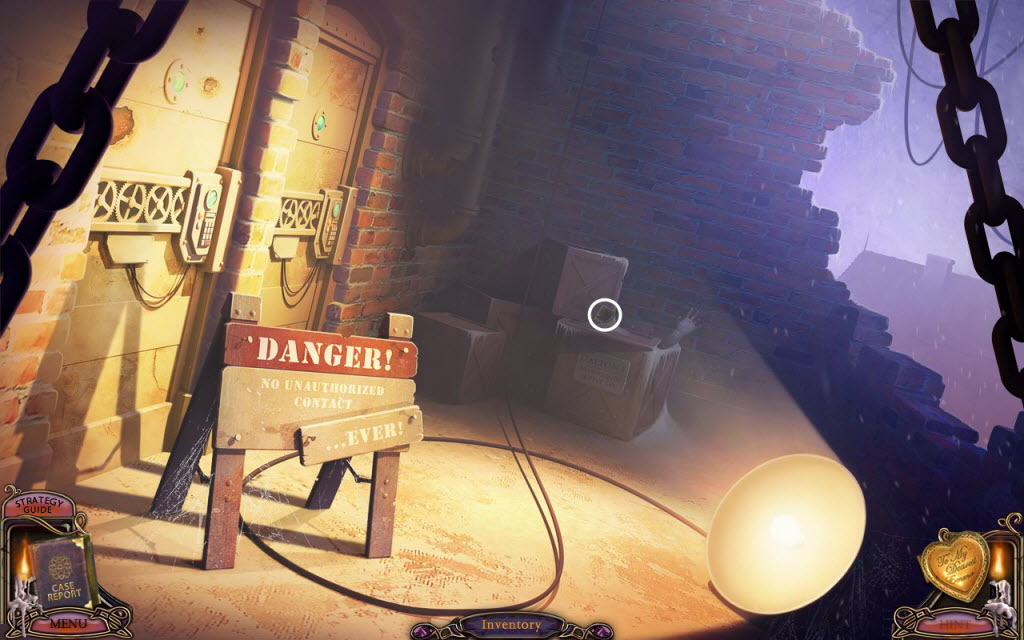
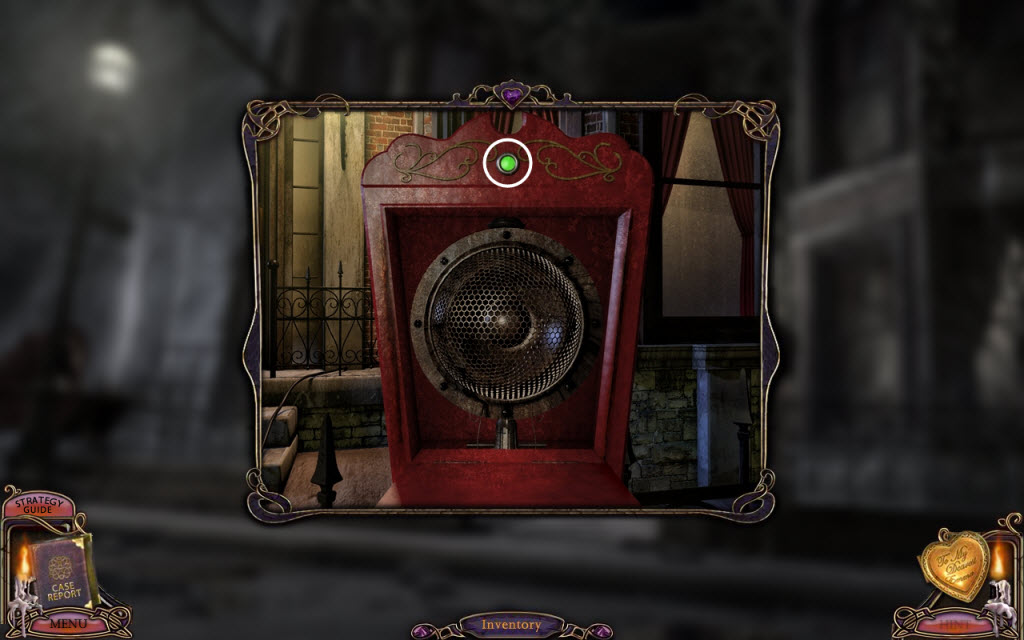
- move the broken lantern aside and take the Bottle Opener
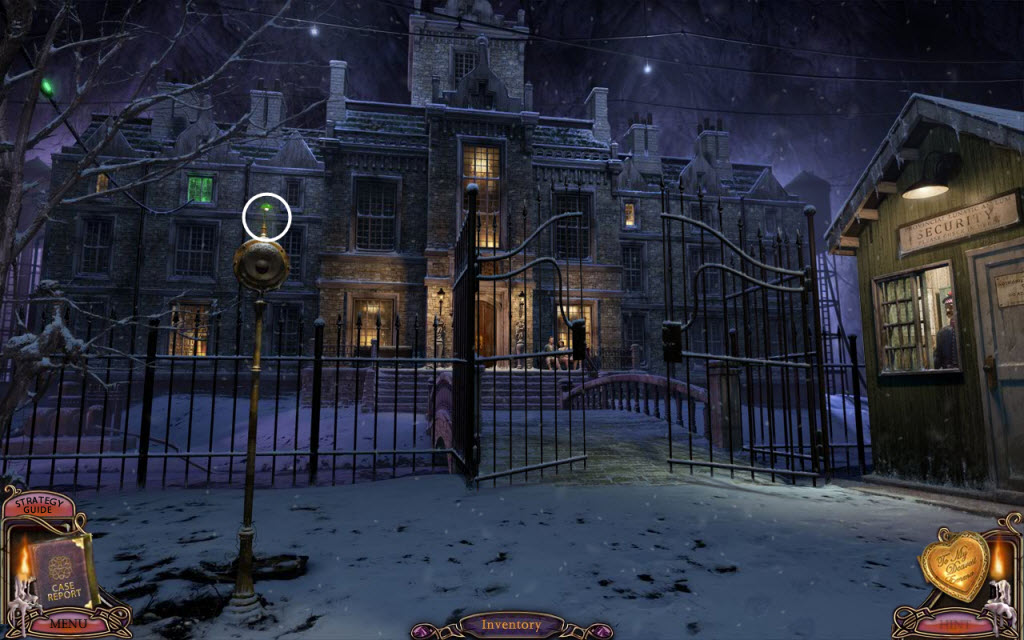
- examine the gate and the intercom
- go left
- look under the bridge
- examine the drain pipe and the water
- examine the left bank
- find the changing objects
- pick up the Rag
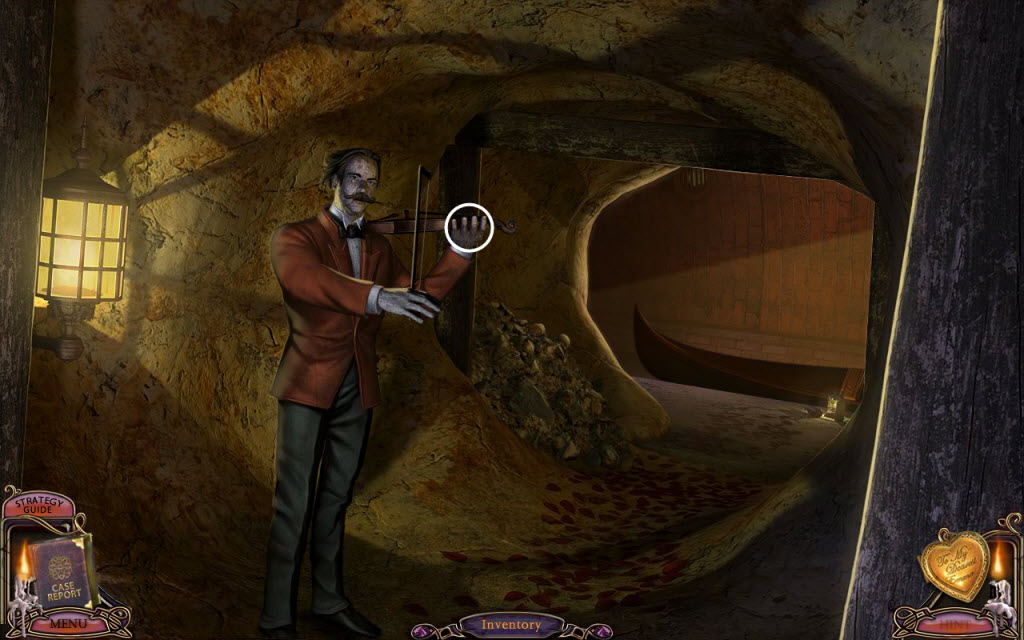
- go down twice and continue towards the lighthouse
- go through the gates
- listen to the ghost
- examine the rock wall
- use the Bottle Opener to move the rock
- take the Rock
- attempt to pick up the key
- go down twice
- use the Rock on the metal bar
- pick up the Metal Bar
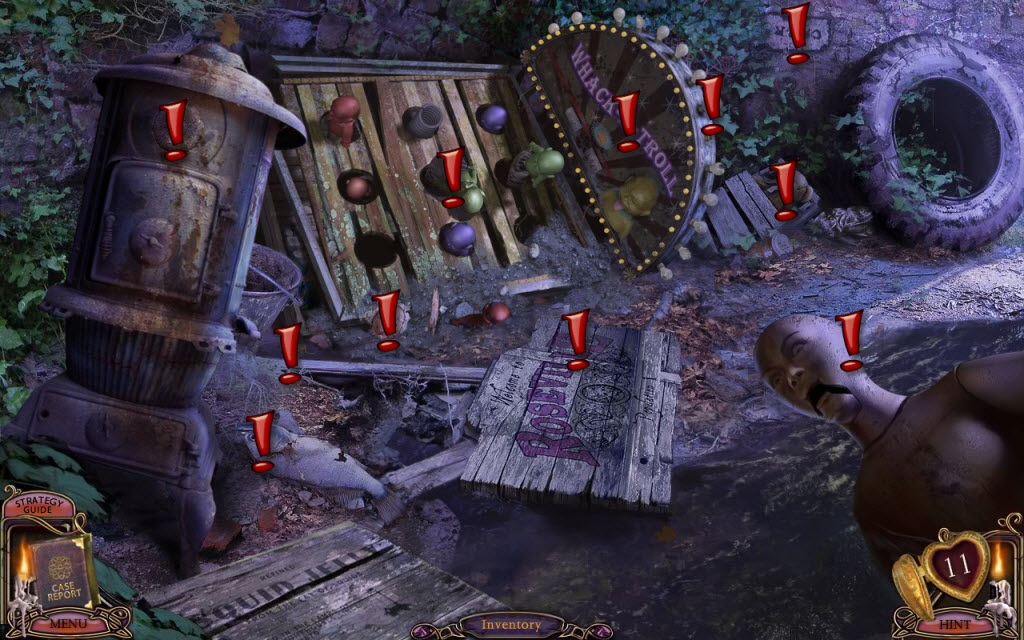
- look under the bridge and examine the left bank
- use the Metal Bar on the old stove and take the Lighter Fluid
- go down and right
- examine the mailbox
- read the newspaper wedged under the gate
- continue forward
- examine the door
- use the Metal Bar on the door knob
- enter the cottage
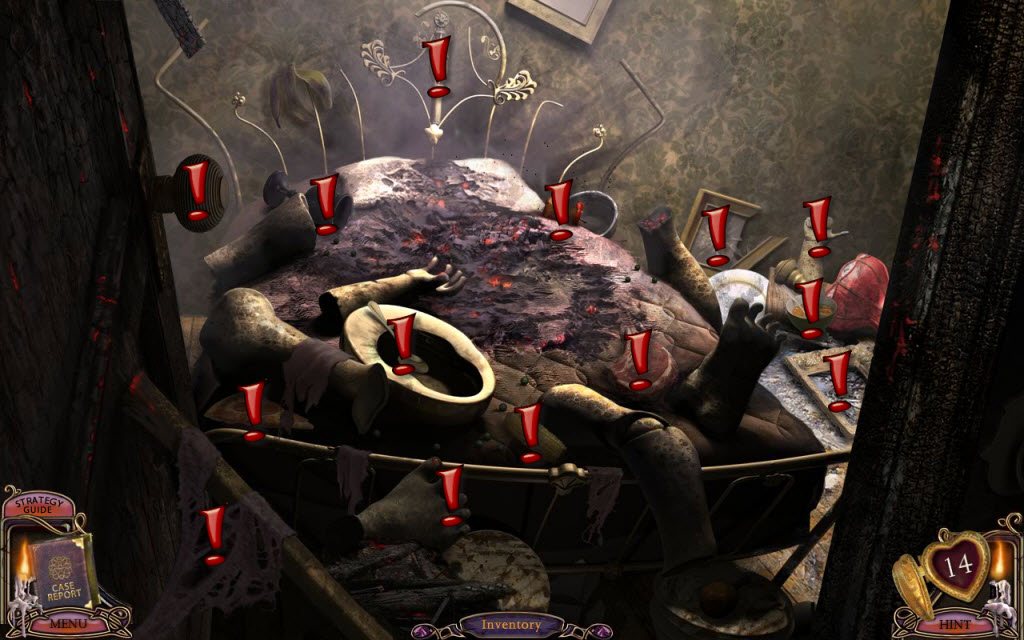
- find the changing objects
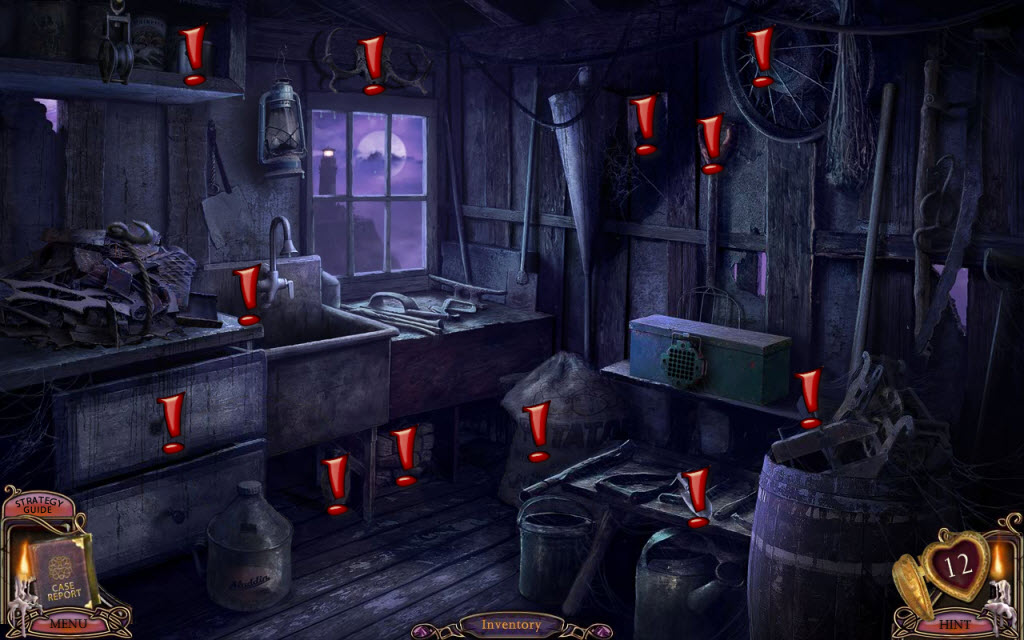
- examine the broken windows
- break the right window pane and take the Glass Shard
- exit the cottage and go down
- examine the mailbox and use the Glass Shard to remove the Twine
- go down
- examine the swing
- use the Glass Shard to get the Rope
- return to the cottage
- use the Rope on the scrap pile
- click the scrap pile so the pulley will lift it up
- take the Chain from underneath
- return to your car
- place the Chain on the gate and then attach the other end to your car
- get into your car and pull the gear shirt
- exit your car and go through the gates
- examine the statue
- examine the wishing well
- try and pull the bucket up - watch out!
- pull the bucket up and use the Glass Shard to get the Rope
- take the Ladder
- examine the area to the left of the steps
- find the changing objects
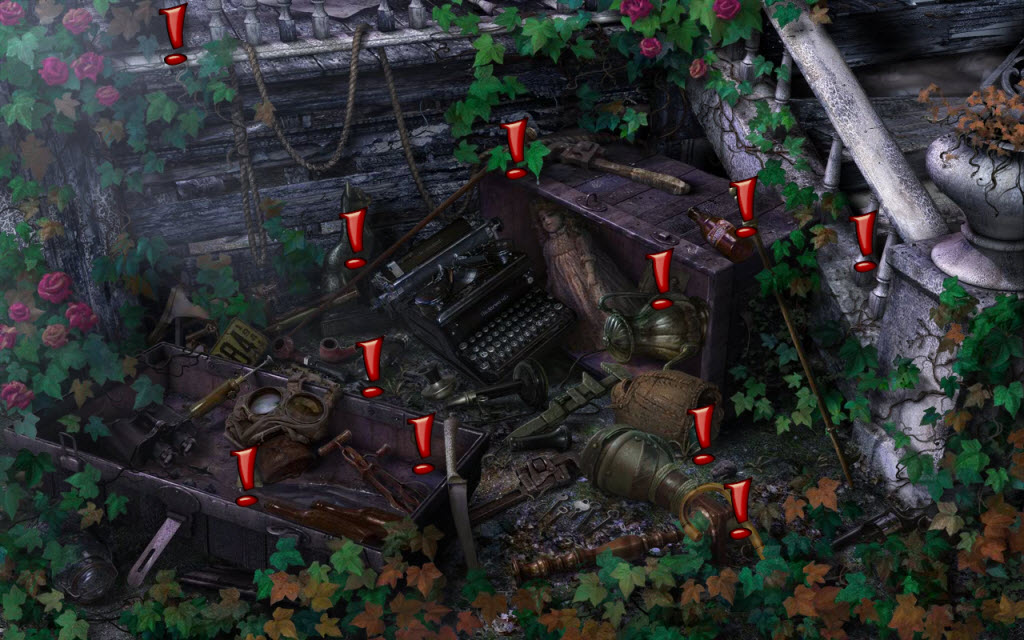
- take the Magnet
- go down and enter the charred remains of the manor
- find the changing objects
- examine the fireplace
- remove the bricks and and take the "V" Key
- examine the brick on the floor and read the note
- go forward
- listen to the ghost
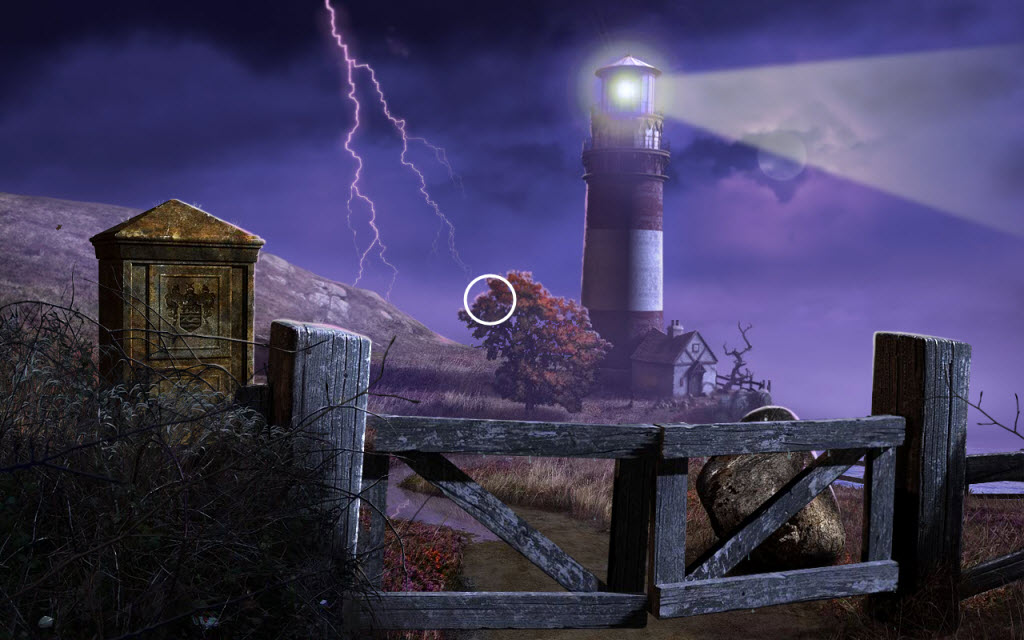
- examine the tombstone in the distance - Edmond Last
- return to the lighthouse
- examine the rocks
- use the Magnet and Twine to reach the Key
- use the Key on the lighthouse door
- in the left corner is a stove
- use the Lighter Fluid and Matches on the stove
- take the Magnifying Glass off the table
- examine the map
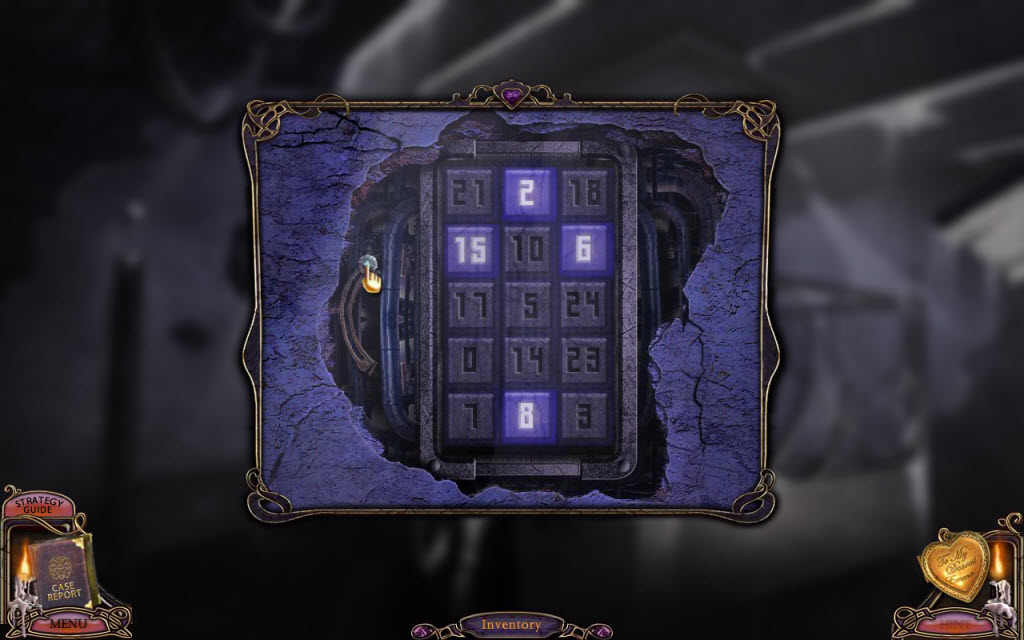
- examine the chest
- Lighthouse Chest Puzzle
- when you picked up the magnifying glass there were 4 numbers engraved in a book - these numbers are random
- input those numbers into the chest using the + and - keys
- read the lighthouse keepers notes
- go forward
- examine the green dresser
- find the changing objects

- take the Wrench from the cupboard
- go down
- examine the overturned paint bucket
- use the Rag to mop up the spilled paint
- go up the stairs
- make a note of the letters that appear on the wall
- continue up the stairs
- push the knob of the left banister
- examine the hole in the wall
- Lighthouse Wall Puzzle
- make a note of the co-ordinates from the map downstairs
- make a note of the letters on the lighthouse wall
- combine these two and input them in the correct order on the keypad
- pull the lever on the left
- solution: N=2, W=8, S=6, NW = 15
- see screenshot for solution
- pull the lever any way you want three times - oops!
- leave the lighthouse
- use the Wrench on the water pump and take the Hose
- go down twice and look under the bridge
- use the Bucket to take some of the murky water
- continue right to the cottage
- place the Hose on the faucet
- go to the right - don't look down!
- go down the bank and take the Shovel
- place the Ladder across the gap so you can retrieve the Clue Fragment
- return to your car
- click on the hood - ouch!
- use the Rag to open the hood of your car
- use the Water Bucket on the overheated engine
- open the fuse box on the right and take the Car Fuse
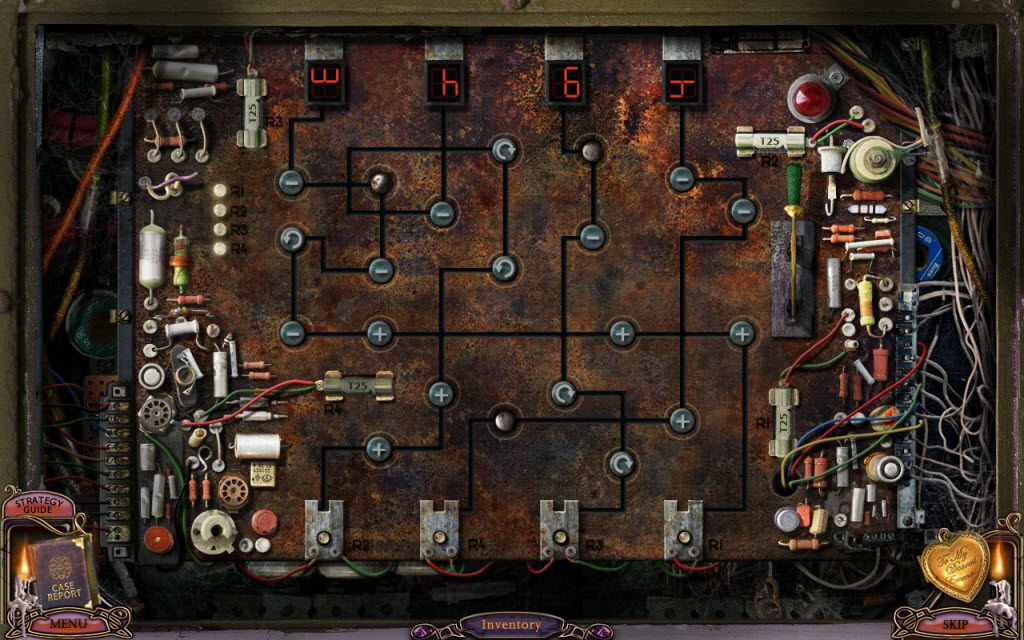
- return to the gate outside the lighthouse
- examine the fuse box and place the Car Fuse in it
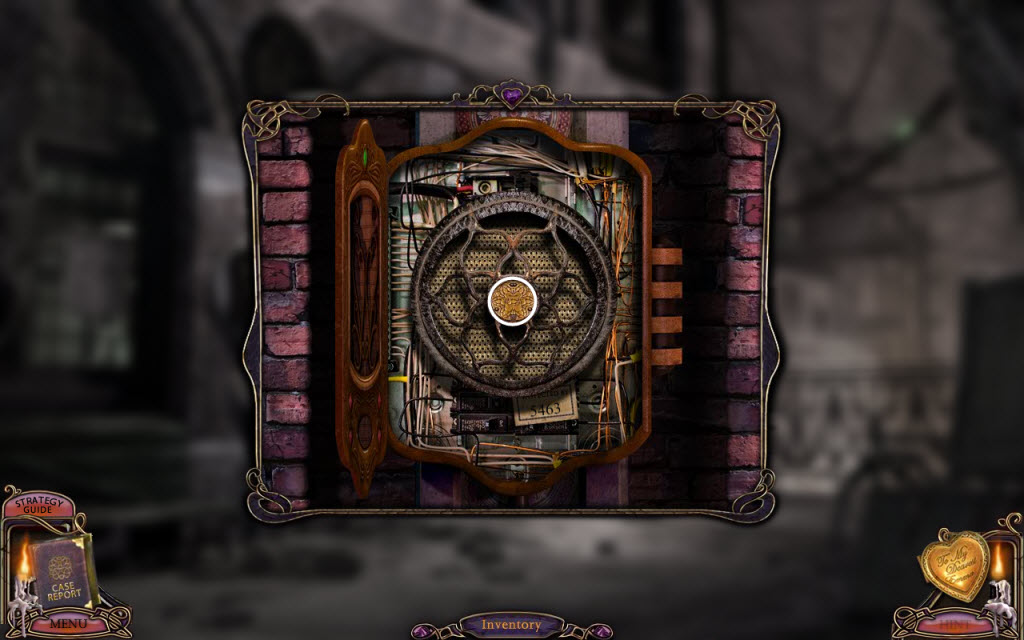
- Fuse Box Puzzle
- you need to input the numbers that were in the lighthouse keepers notes
- you will notice a line that goes from the top number to the bottom
- as the number travels along the line the + and - signs will make the number +1 or -1
- the areas without symbols will add either +1 or - 1 (it varies)
- arrows will not change the number
- arrows indicate which way the tile is facing up or down
- once you think you have all the symbols correct - pull the green lever
- see screenshot for solution
- return to the manor
- examine the note under the brick and place the Clue Fragment with it
- return to the top of the lighthouse
- Lighthouse Beam Puzzle
- use the clue on Edmond Last's tombstone and the clue from the manor
- the numbers on the tombstone are random
- example: 44231 - pull the lever up, up, down, left, and right
- return to the graveyard behind the manor
- examine the tombstone on the right
- use the Shovel on the dirt - is that my name on the tombstone?!
- examine the package in front of the door
- undo the bow, read the note, and take the Raven Key
- use the Raven Key on the lock
- take the Door Tokens
- hold up each Door Token so it covers it's matching word - near the ceiling - and click
- you'll receive an Activated Door Token
- go back to the door and place the Activated Door Tokens back in their slots
- go through th door
- read the sign - visiting hours at 2
- click on the intercom and listen to your nemesis
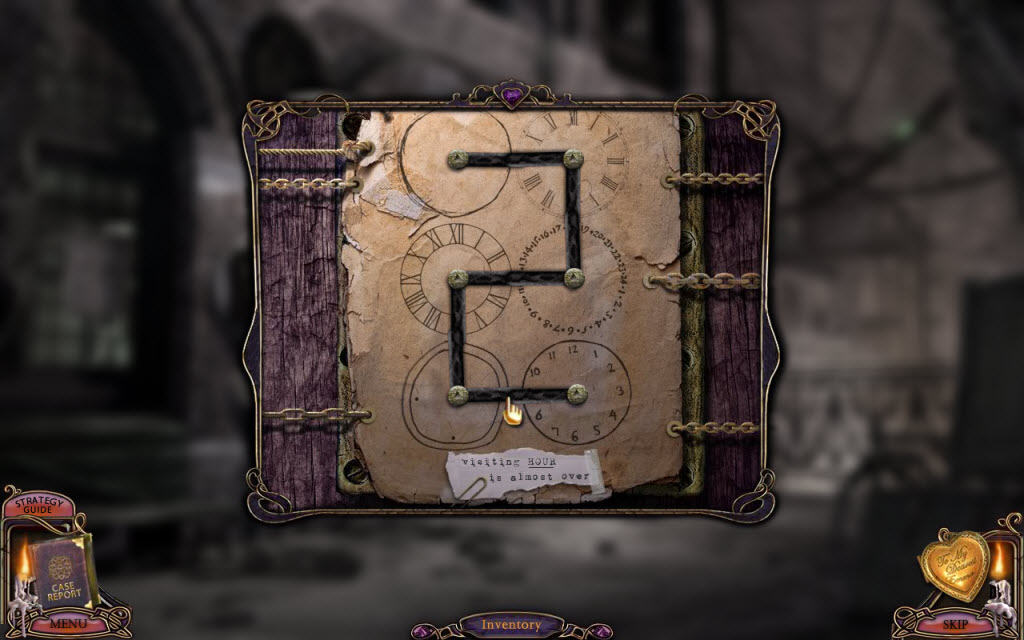
- click on the door
- Hospital Door Puzzle
- move the clock hands to form a "2"
- see screenshot for solution
- examine the advertisement on the table - make a note of the order of the dog food
- examine the "Low Lights" on the couch - nice play on words!
- Low Lights Puzzle
- find all the hidden objects
- see screenshot for solution
- take the Feather
- go forward
- pick up the Parenting Book off the table
- examine the mess on the floor
- find the changing items
- take the Wire Cutters
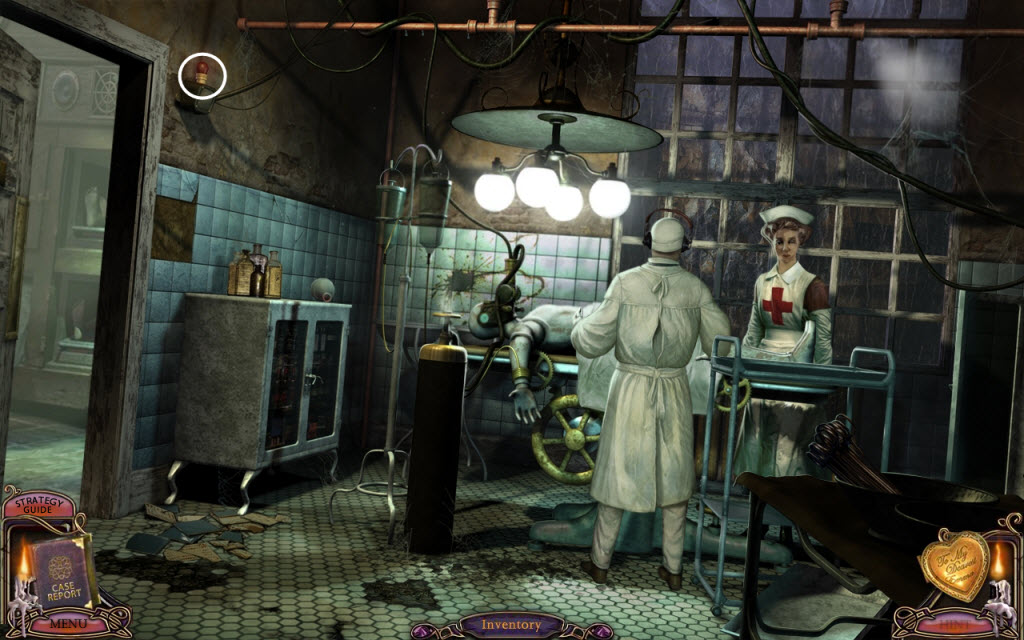
- examine the X-ray machine on the right
- take the Red Pill off the top of the machine
- go forward
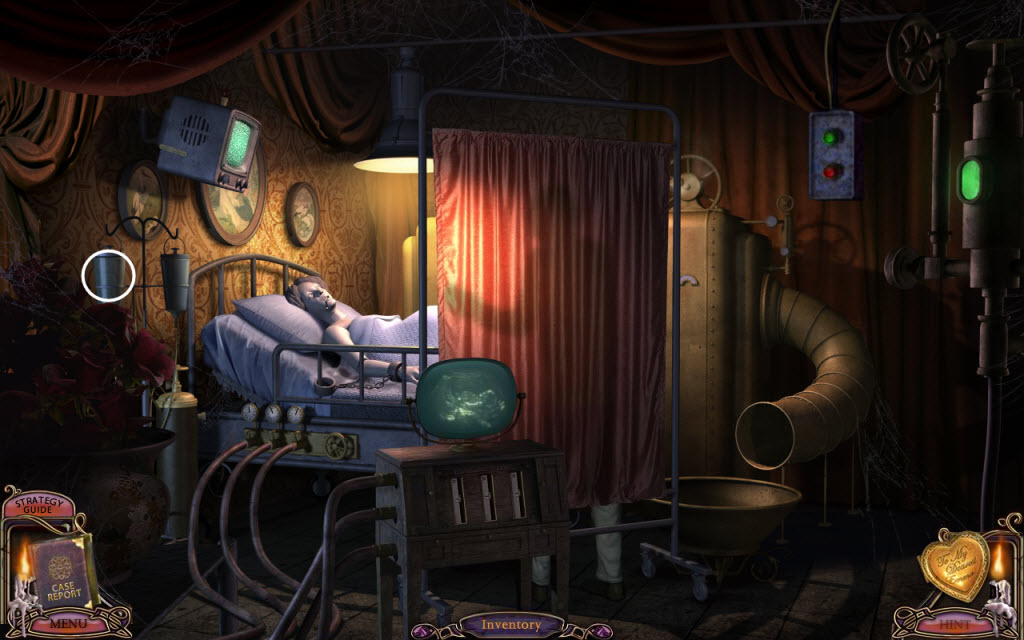
- examine the "patient"
- take the Red Pill
- use the Wire Cutters to cut the straps on its chest
- Hospital Patient Puzzle
- the object is to light up all the numbered squares
- click the round numbers to change them so that each of the four numbers surrounding the inner number equals the inner number
- see screenshot for solution
- take the Stork Key
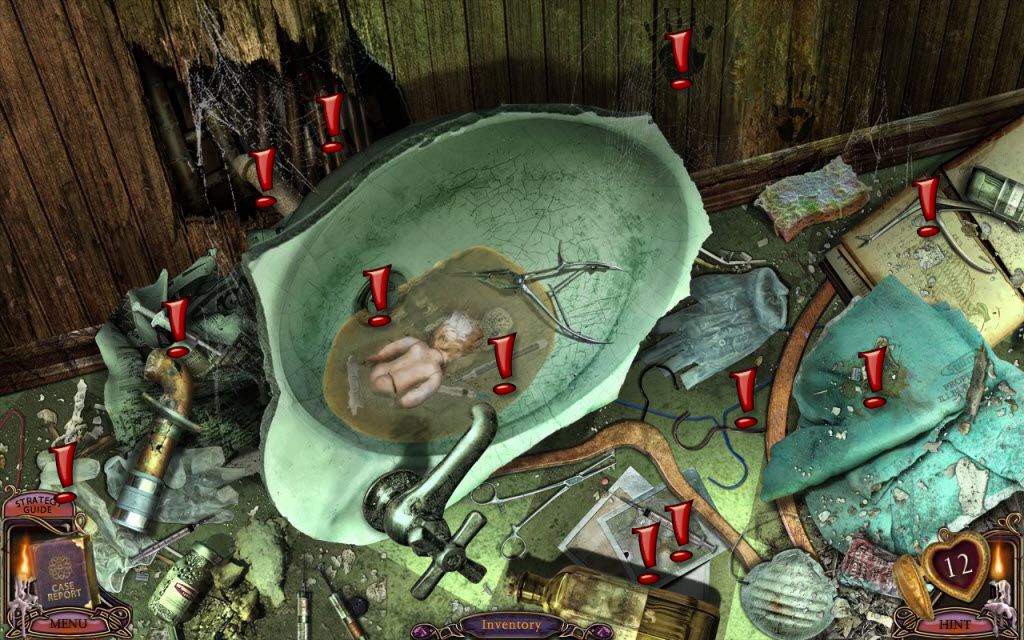
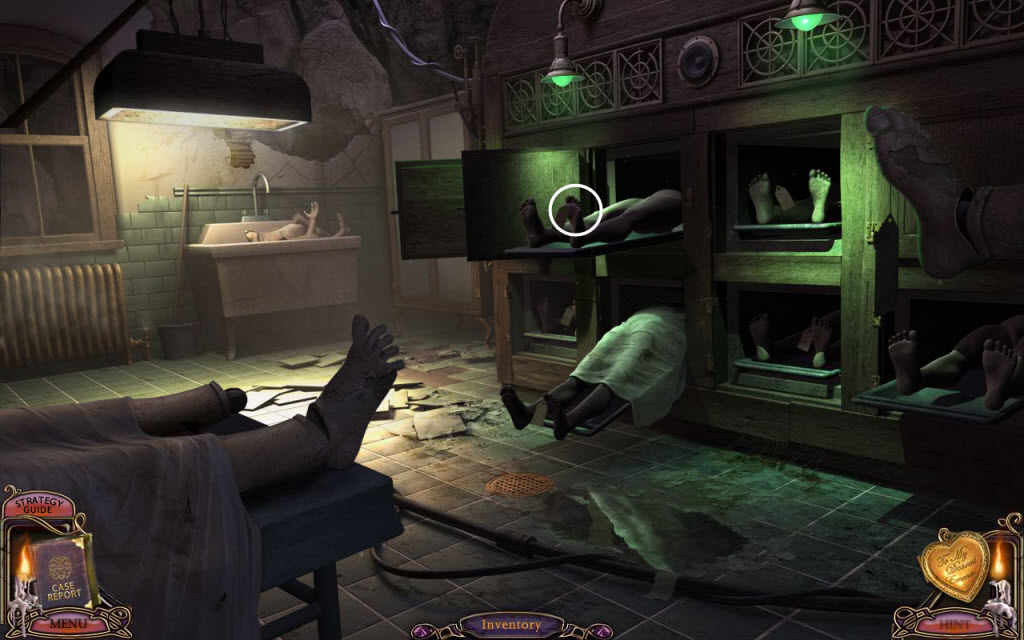
- go left into the morgue
- examine the toe tags and make a note of the heights
- look in the sink
- take the Red Pill
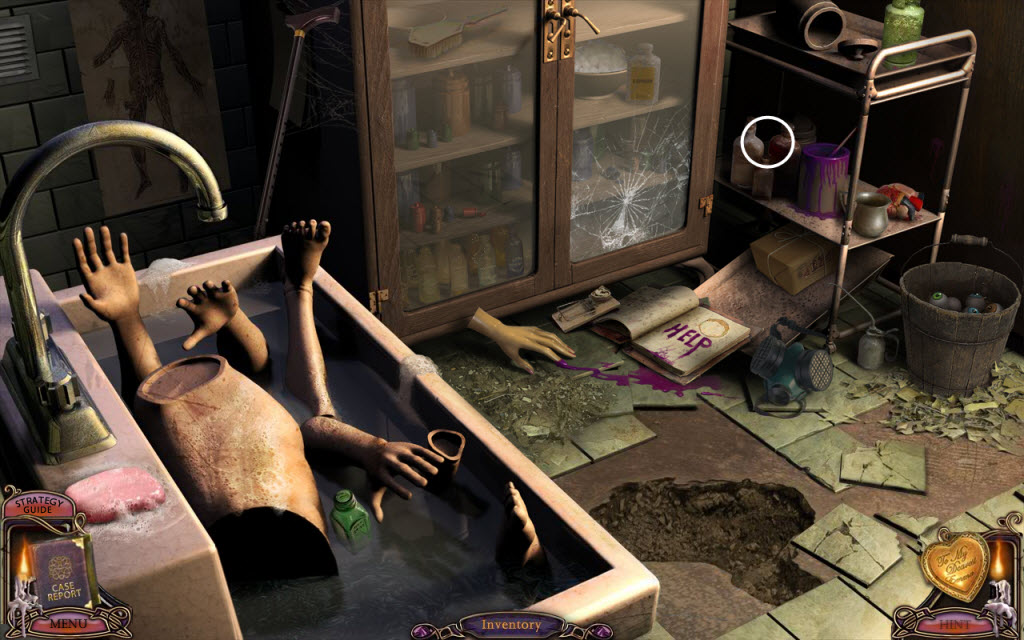
- find the changing objects
- take the Headphones
- go down twice
- place the Headphones on the surgeon's head
- examine the back of his gown and take the Screwdriver
- exit the hospital
- examine the intercom
- use the Screwdriver to take it apart
- write down the numbers on the ticket inside - these are random
- return to the morgue
- examine the freezer door
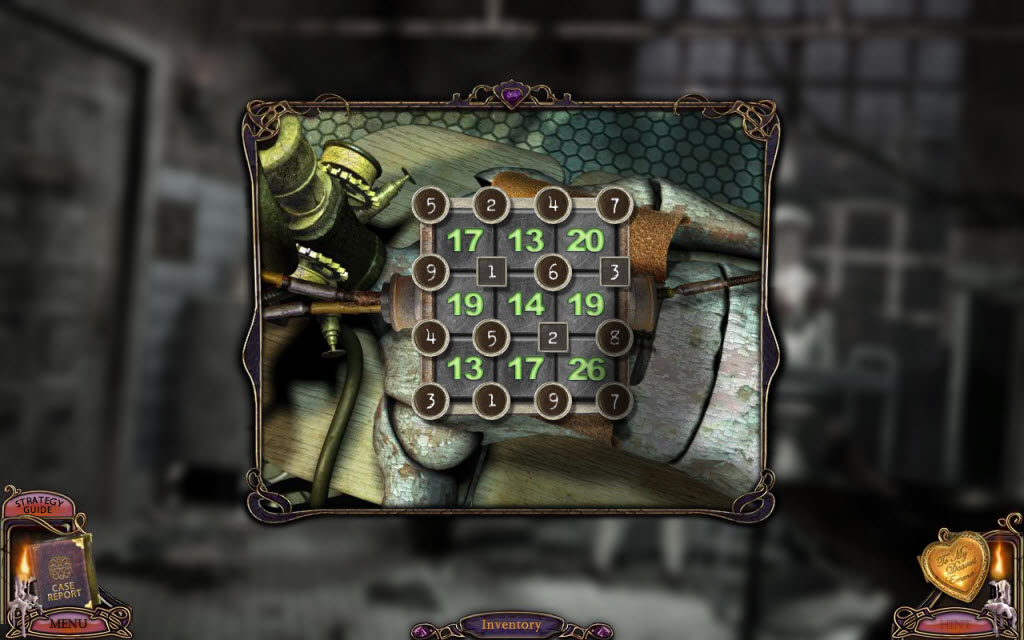
- Morgue Puzzle
- use the numbers you found inside the intercom on the dials
- make a note of the height on the toe tag
- go down twice
- examine the eye chart
- Eye Chart Puzzle
- use your magnifying glass to help find the answers
- use the height off each toe tag to determine the correct letter
- the numbers are random
- example: 4 feet 6 inches - find row 4 (bottom) and find the 6th letter from the right and write it down
- continue this until you have all five letters then unscramble them for a name - this is also random
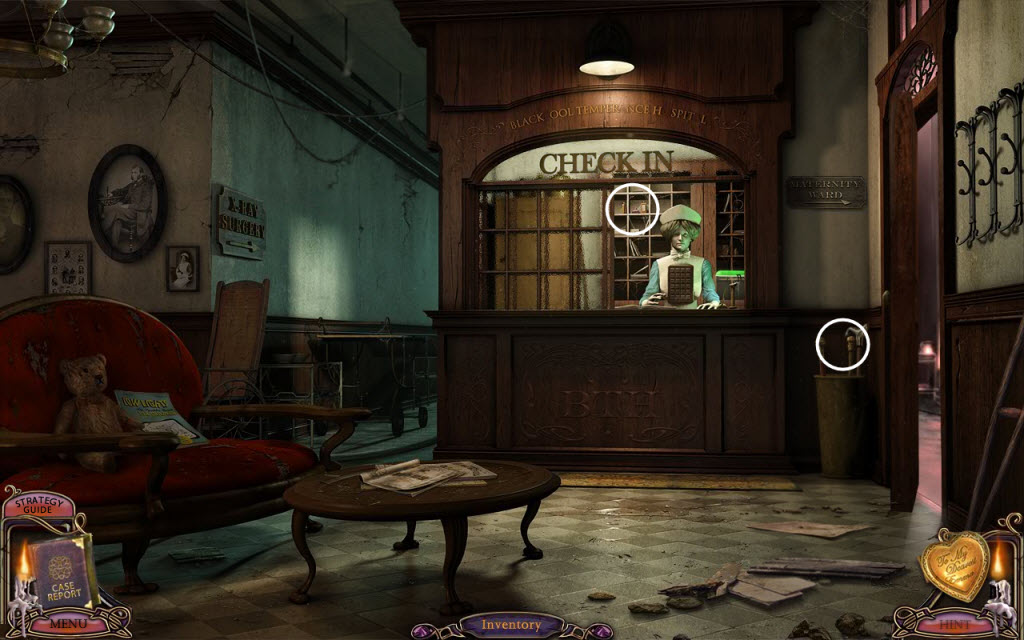
- return to the front desk and open the glass partition
- click on the sign the nurse holds
- Hospital Nurse Puzzle
- input the word you just unscrambled from the eye chart
- enter the maternity ward
- watch your nemesis on the television screen
- Mannequin Puzzle
- touch the mannequins bellies in the correct order
- solution: touch the 5th (from left) belly twice, touch the 4th (from left) belly twice, touch the 3rd (from left) belly twice, touch the 2nd (from left) belly twice, touch the 1st (from left) belly twice then pull the first mannequins hand
- look inside the first mannequins mouth
- take the Red Pill
- examine the iron gate -locked!
- make a note of the number etched in the wall
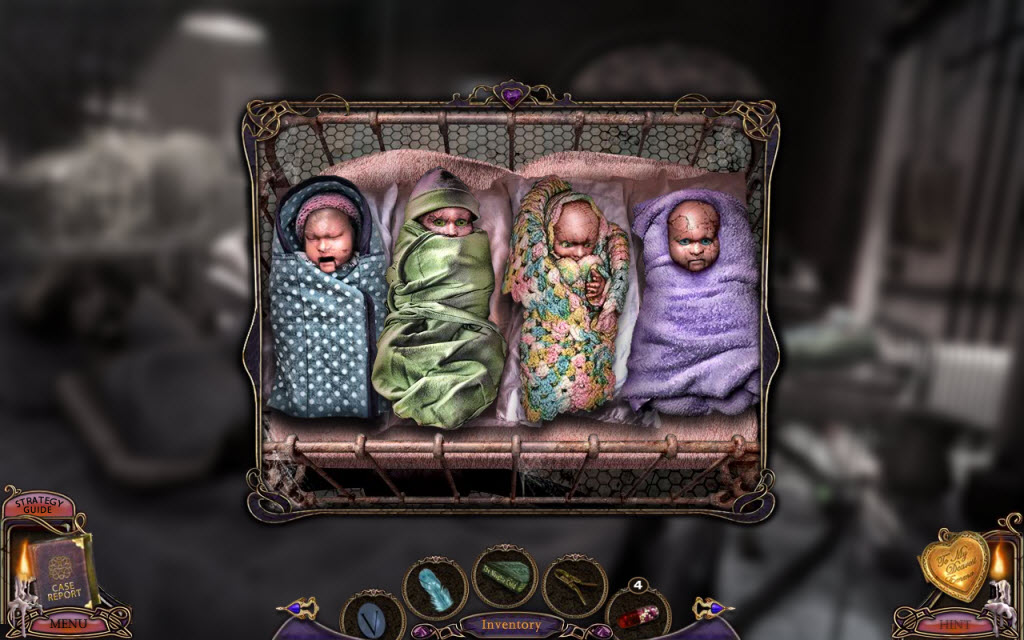
- take the all four Babies
- return to the corridor and examine the x-ray machine
- place each baby in the x-ray machine and write down the number on it
- examine the door on the left
- Eye Puzzle
- touch the eyes in the correct order
- tip: touch the "new" eye that appears and never one you already touched
- the puzzle is random
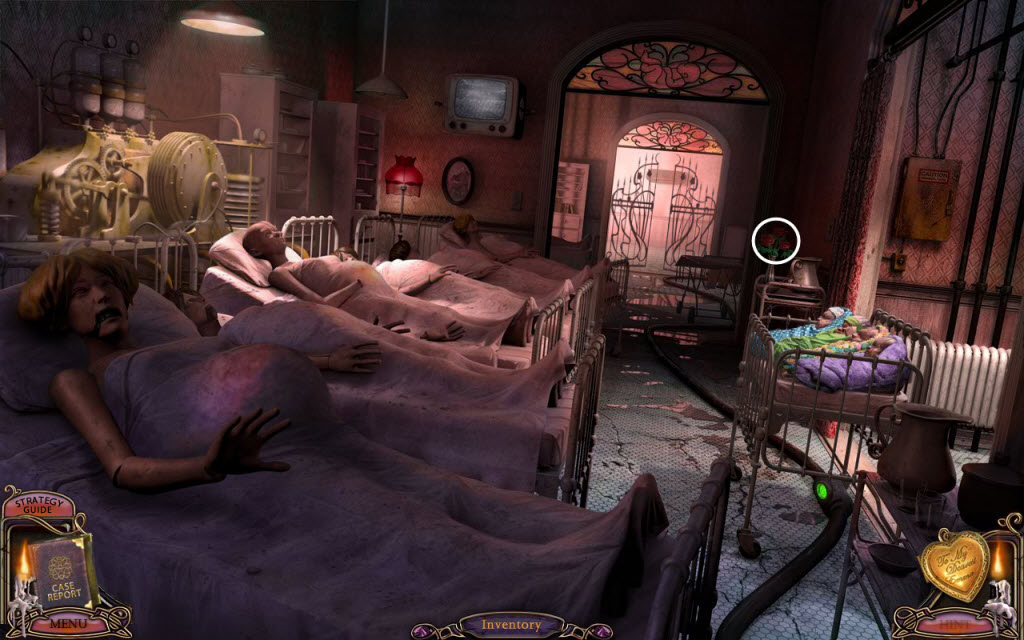
- enter the room
- watch the television
- read the clipboard at the bottom of the bed
- examine the mannequins IV drip and place the four Red Pills into it
- examine the birth certificate
- flip up each letter and find a number underneath - make a note of what letter = what number
- return to the maternity ward
- place the babies back in the bed according to the numbers you saw etched in the wall
- go forward
- watch the television
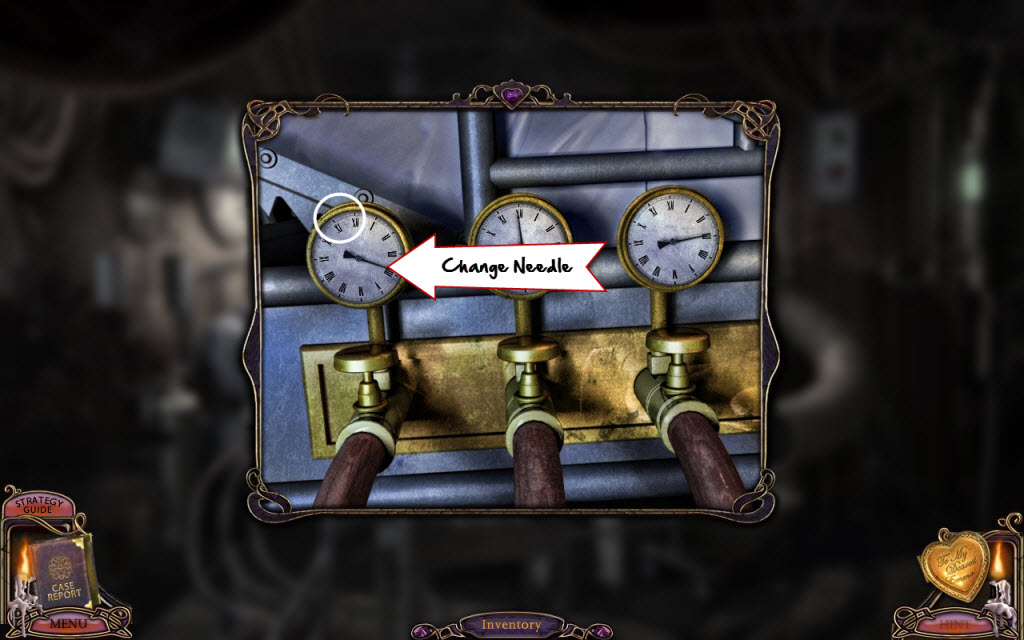
- examine the gauges on the side of the bed
- examine the machine in front that says DNA
- DNA Puzzle
- look at your notes from the birth certificate and find what letters equal D, N, and A
- these numbers are random
- slide the levers and then check the gauges until they read correctly
- push the green button
- examine the baby and click it's face
- use your Wire Clippers to cut the wires as the eyes change color
- you must click the wire that matches the babies eyes while they are still open
- if your baby blows up - press the green button for a new one
- take Baby Charles
- exit the hospital and return to the chamber room
- find the chamber with a stork shaped lock - 2nd from left
- place the Stork Key in the lock
- take the Door Tokens
- Door Token Puzzle
- go through the hospital and find each tokens scene and hold it in front and click like you did before
- see screenshots for solution
- exit the hospital and return to the chamber room
- examine the stork chamber and replace the Activated Door Tokens
- go through the door
- click the intercom and listen - take the Blue Pill
- examine the baby carriage
- place Baby Charles in the baby carriage
- enter the house
- place the Parenting Book on the bookshelf
- examine the clock and take the Blue Pill
- go left
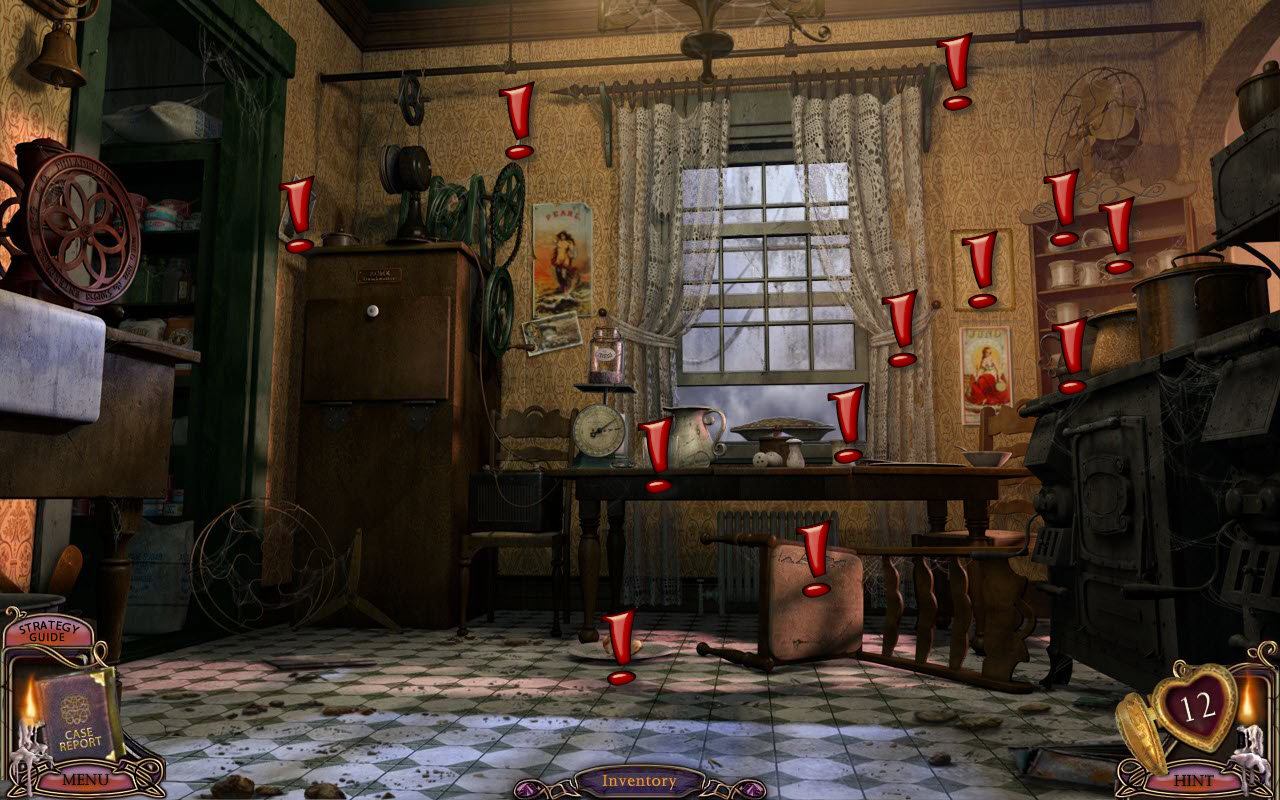
- find the changing objects
- look in the oven
- take the Parenting Book and Sparky's Chicken
- examine the pie
- click on the pie several times and take the "V" Key
- pick up the Blue Pill beside the pie
- go left - it's too dark
- go down twice
- place the Parenting Book on the bookshelf
- go up the stairs
- pick up the can of Sparky's Liver off the side table
- examine the door at the end of the hallway
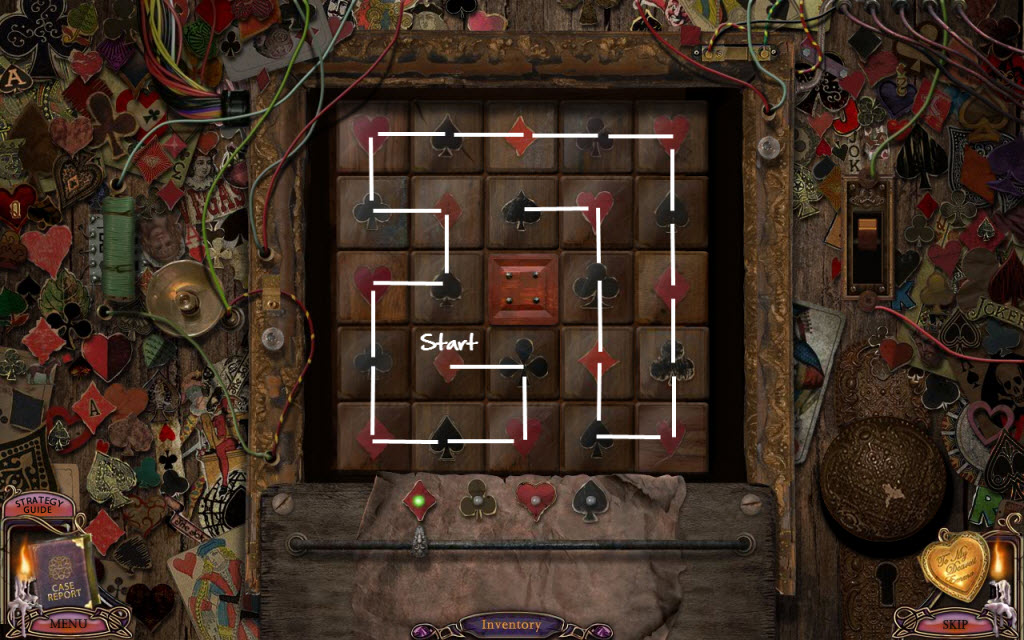
- Hallway Door Puzzle
- you need to make a continuous pattern to the box in the middle
- you have to repeat the pattern: diamond, club, heart, spade
- see screenshot for solution
- enter the bedroom
- use the Feather to tickle the mannequins foot
- pick up the Parenting Book
- go back downstairs and place the Parenting Book on the bookshelf
- look under the stairs
- take the Wire Hanger and Sparky's Fish
- read the chore list - ew!
- take the Blue Pill
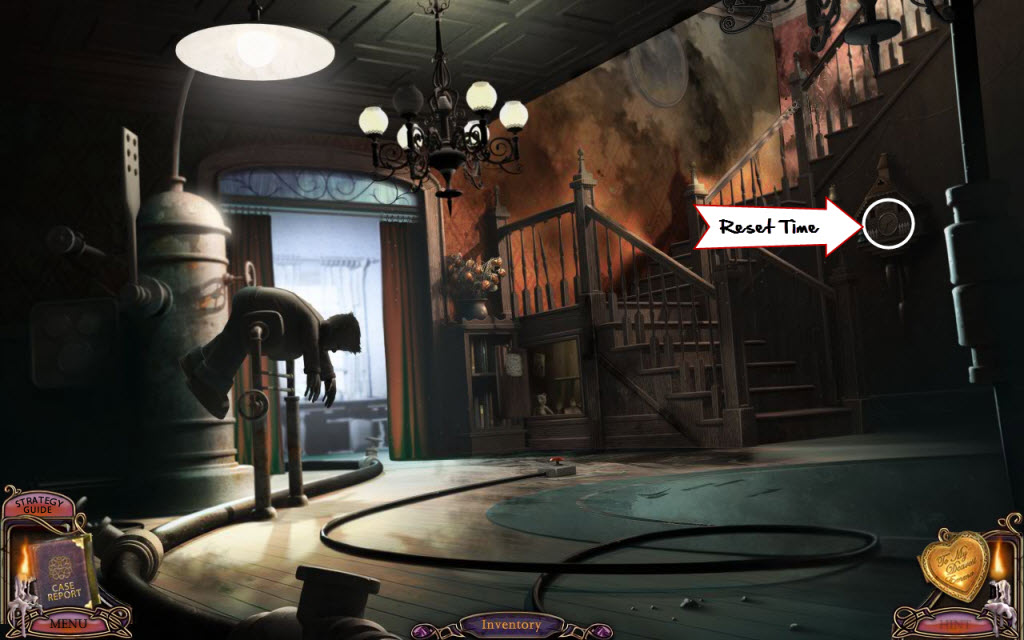
- examine the clock and change the time to the first un-done chore which is 4:25 (toenail clipping time!)
- go upstairs and examine the door on the right
- Dice Puzzle
- all around the board are papers with numbers on them
- the object is to change the dice so they match the sequences on the paper
- click on a dice to rotate it to a new number
- see screenshot for solution
- enter the room
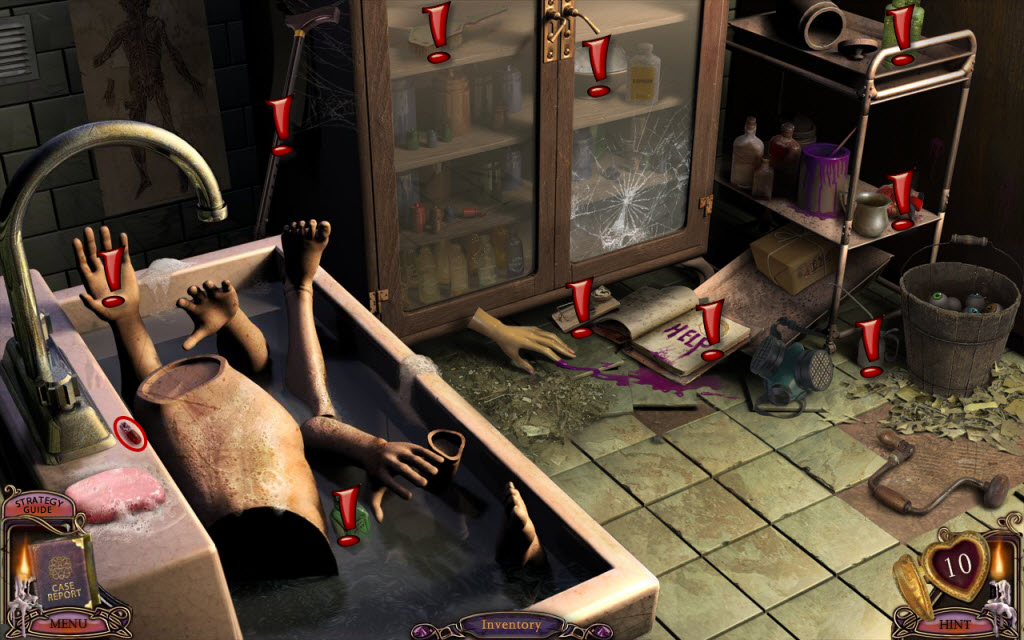
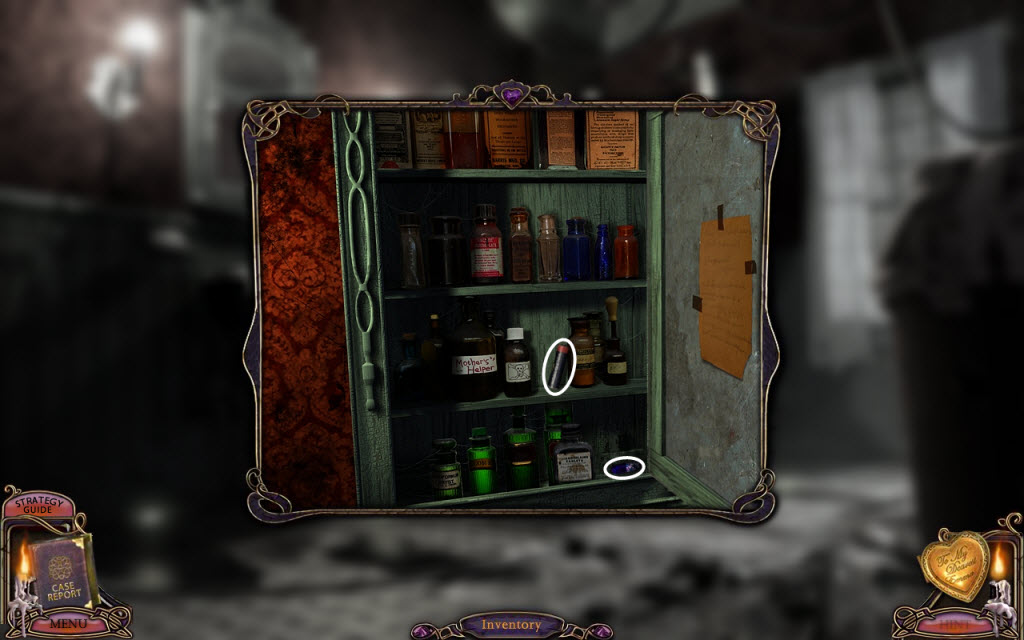
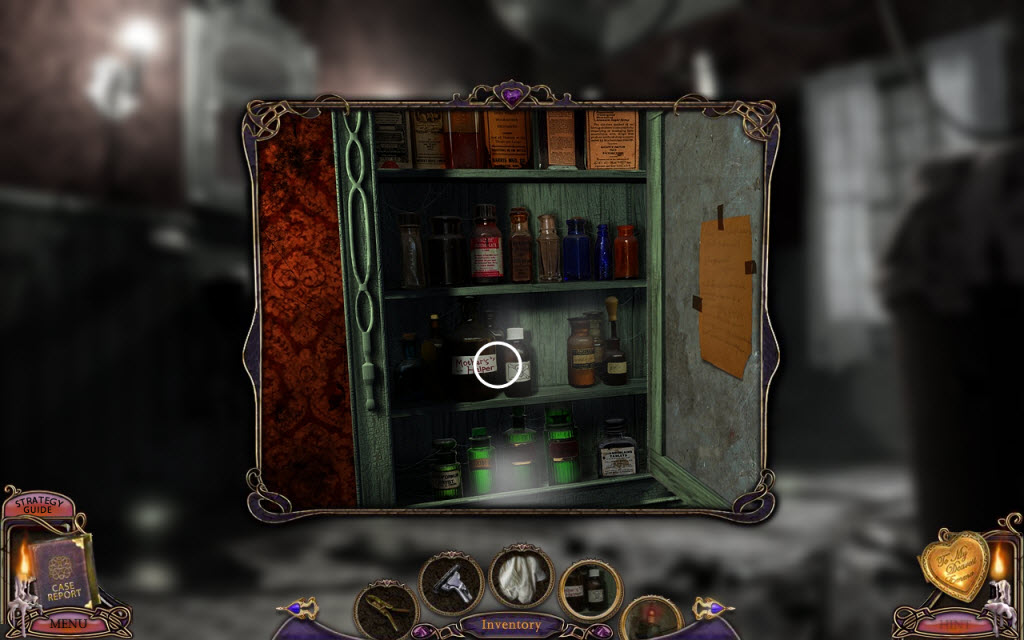
- examine the sink and take the Razor
- open up the medicine cabinet and move the skull and crossbones bottle and take the
- move the bottom-right bottle and take the Blue Pill
- examine the bathtub
- use the Wire Hanger to drain the tub
- take the Nail Clippers
- exit the bathroom and go back to the bedroom
- use the Nail Clipper to clip her toenails
- pick up the Nail Clippings from both feet
- pick up the Battery by the left foot
- return to the kitchen and examine the jar on the scales labeled "Mama's Leavings"
- place the Toenails inside the jar
- examine the clock again and set it for the next chore which is 7:40 (time to pull nose hairs!)
- return upstairs to the bedroom and use the Wire Clippers to pull her nose hairs
- pick up the Nose Hairs and place them in the jar in the kitchen
- examine the clock one last time and set it for 10:00 (ew!)
- once again return to the bedroom and examine the her face
- click on the pimples and pickup the Pimple Puss
- return to the kitchen and place the Pimple Puss in the jar
- look inside the dumbwaiter and pull it up
- take the Boiler Crank
- go left
- examine the light bulb and replace the Batteries
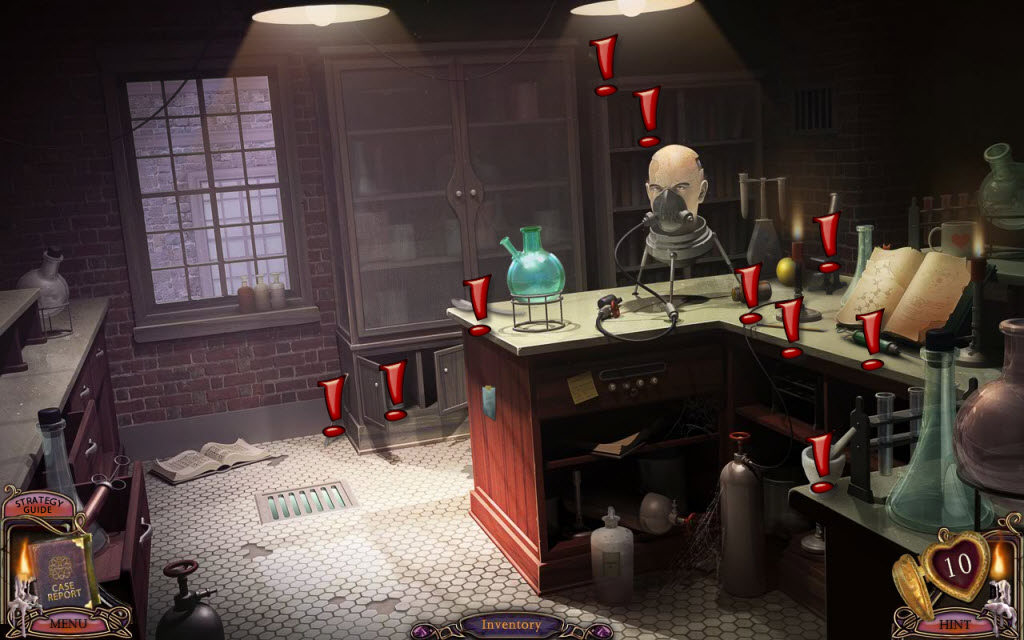
- exit out and find the changing objects
- take Sparky's Pork
- examine the shelf under the light
- Sparky's Food Puzzle
- place Sparky's Food in the correct order
- the solution was on the advertisement in the hospital
- flip the switch when you are done
- solution: Beef, Chicken, Pork, Liver Fish
- go forward
- read the poster (a tie in to a previous MCF game!)
- examine the boiler and place the Boiler Crank in the hole
- turn both cranks once
- return to the bathroom and turn on the hot water in the sink
- look at the mirror and make a note of the lock solution
- return to the basement and examine the lock on the cage
- use the solution you just found in the bathroom to open the lock
- go into the cage
- take the Bed Sheet
- watch the television
- read the note next to the mannequin about the asylum
- return to the hospital
- go down the corridor and into the room on the left
- examine the IV drop and give the patient the Blue Pills this time
- examine the heart monitor
- press the right red button
- take the Madman Key
- return to the chamber room
- use the Madman Key on the madman chamber - 2nd from right
- take the Door Tokens
- Door Token Puzzle
- go through the house and hospital to find each tokens scene and hold it in front and click like you did before
- see screenshots for solution
- return to the chamber room
- replace e Activated Door Tokens on the madman chamber
- go through the door
- go right
- examine the bulletin board
- find the changing objects
- push the lever to open the gate
- go through the gate
- look at the photograph on the man's lap
- return to the hospital
- go down the corridor and into the room on the left
- examine the pillowcase and take the Red Handle
- return to the asylum
- open the asylum doors and enter
- go right
- examine the desk
- find the changing objects
- take the Reel
- pull down the right candle stick on the mantle
- examine the area you just revealed
- make a note of the photograph
- go through the door on the right
- turn the chair around and take the Pickaxe
- examine the bookshelf and take the Key
- pull out the book and make a note of the ventilation system
- exit the room
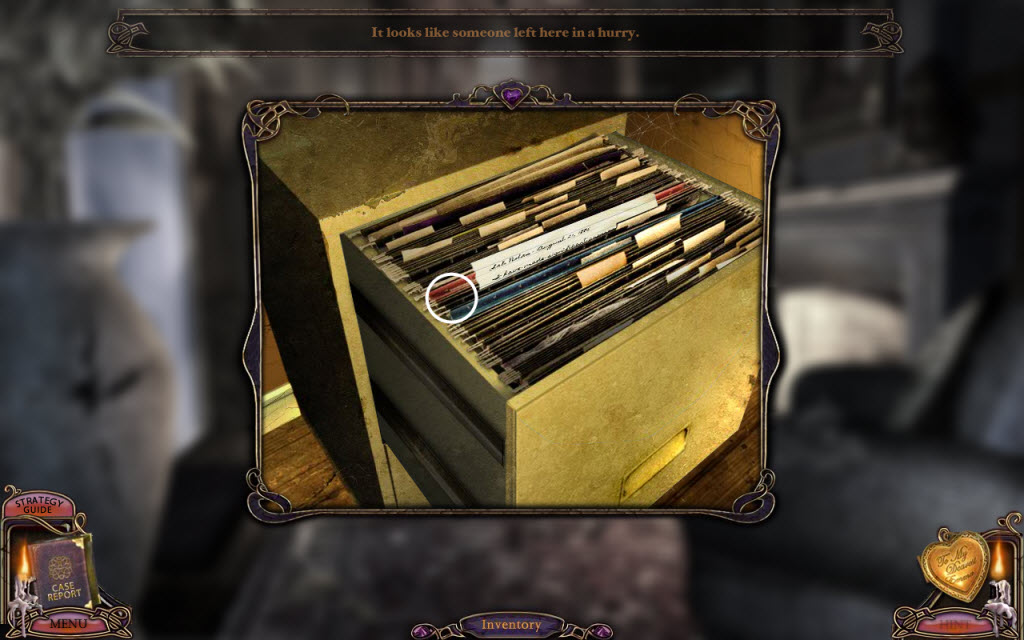
- examine the filing cabinet and use the Key to open it
- read the piece of paper inside
- go up the stairs
- continue left
- go through the left door
- find the changing objects
- examine the book
- tear off the page and take the Eyedropper
- read the blue post-it note
- read the yellow post-it note
- Lock Puzzle
- examine the book on the floor with the periodic table
- find MO, RE, RA, and IN and write down the corresponding numbers
- go back to where the yellow post-it note was and input those numbers
- solution: 42, 75, 88, 49
- look in the drawer and take the Liquid Nitrogen
- exit the room and examine the door on the right
- examine the door on the right
- Asylum Door Puzzle
- Part 1
- the first objective is to catch the butterfly in the net
- click each butterfly and wait for it to get near the man with the net
- when it's close click the button on the right (black button) to bring the net down and catch the butterflies - you need to catch all three
- Part 2
- next click the green button to display a chess board
- you have to move the "horse" around the board until the entire board is lit up
- the "horse" can only move two in one direction and one in another direction (e.g. two up and one right or two left and one down)
- Part 3
- next click the playing card
- behind each spade is a letter
- the objective is to reveal the letters in the same order as the red letters in the alphabet along the sides (E, G, I, J, L, N, O, Q)
- this puzzle is random
- Part 4
- the last objective is to move the red eye over the nine and to move the blue eye so it's over the three
- click the switch on the left to choose which chain you want to move
- move the chains by pulling/pushing the arms
- click the switch on the right to choose which ruler you want to move
- move the ruler by turner the lever on the right
- enter the room
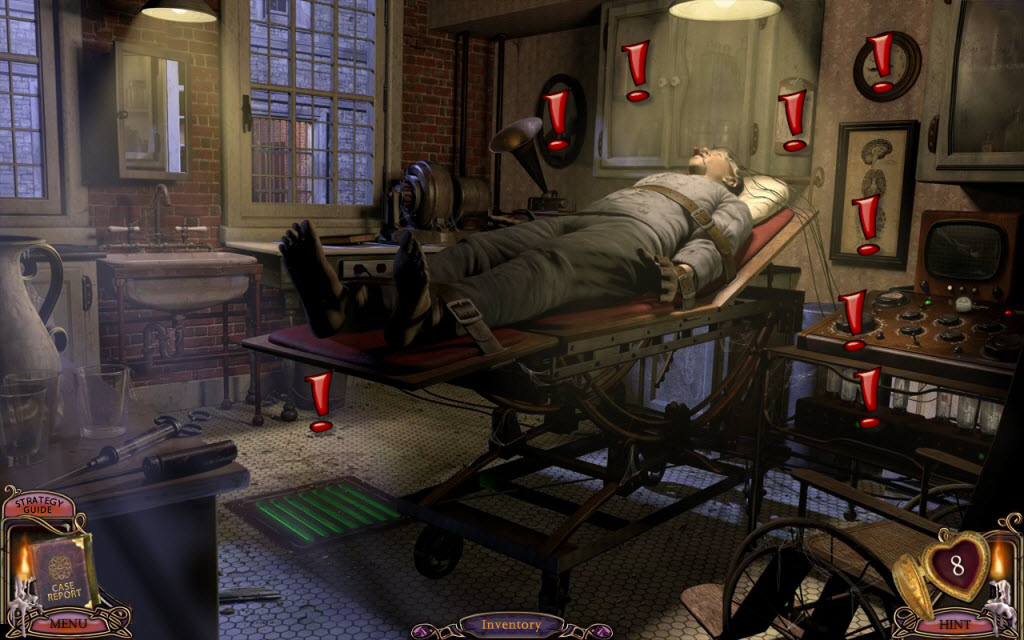
- find the changing objects
- examine the patient
- use the Eyedropper to collect the sweat
- take the Icepick off the table
- exit the room and across the hall
- use the Eyedropper on the beaker
- exit the room and go back across the hall
- open the window
- use the Bed Sheet on the open window
- go out the window
- examine the manhole
- use the Liquid Nitrogen on the manhole cover
- use the Pickaxe to break the manhole cover
- go down
- click on the tape player
- turn off the taper player and remove the reel
- place the Reel from your inventory onto it and play it
- make a note of the patient number
- examine the crate and use the Pickaxe on it
- take the Dynamite
- use the Pickaxe on the loose rocks on the wall
- go through the tunnel and take the Ladder
- return to your car
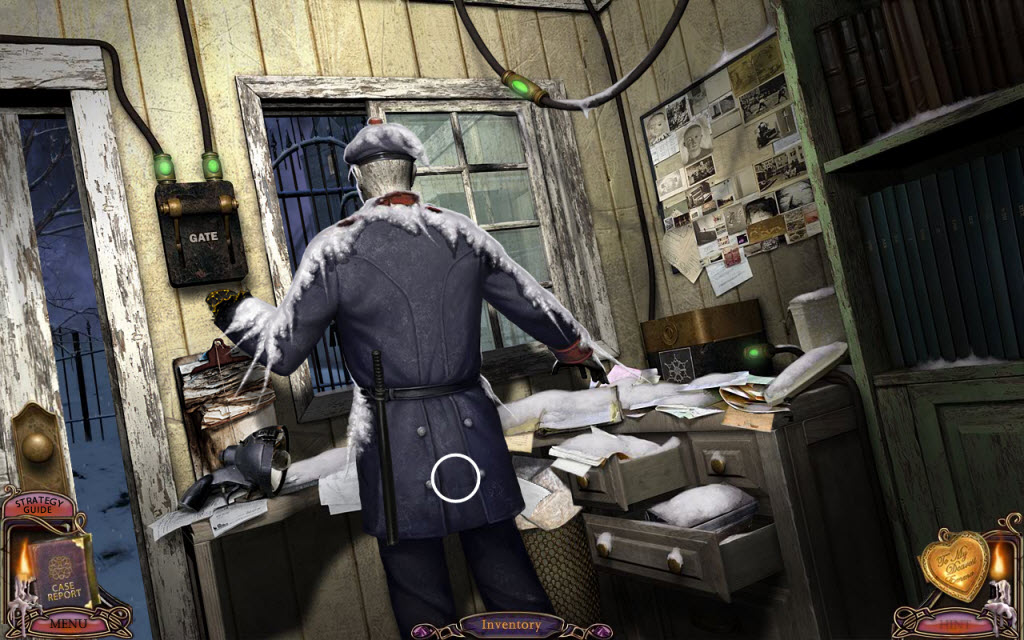
- examine the broken intercom on the left side of the gate
- use the Wire Clippers to take the four Wires
- return to the cliff and go left to re-enter the asylum
- go back up
- use the Ladder to reach the window on the left
- exit the asylum and return to the hospital
- go to the surgical room and examine the spilled blood on top of the cabinet on the left
- use the Eyedropper to collect the blood
- return to the room upstairs in the asylum and use the Eyedropper on the beaker
- exit the asylum again and return to Charles house
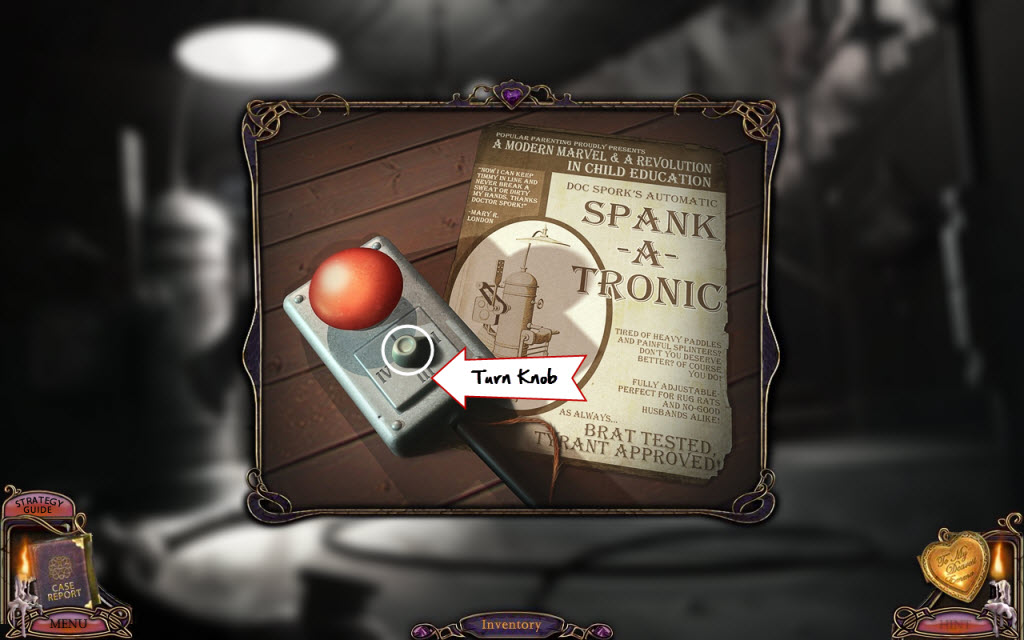
- examine the broken wire on the floor
- use the colored Wires to fix it
- push the red button to start the spanking machine
- examine the mannequins face and use the Eyedropper to take the tears
- return to the lab in the asylum and use the Eyedropper on the beaker
- take the Sleeping Potion
- go downstairs and go all the way to the back
- use the Ice Pick on the grate to remove it
- place the Sleeping Potion into the grate
- examine the mannequin with the medals
- examine his head
- use the Razor to remove his hair
- open the panel on his head and use the Ice Pick to turn it from "normal" to "lobotomy"
- attempt to play cards with him
- look in his neck and take the Proposal Key
- go back upstairs and this time go right
- find the changing objects in each cell
- go through the door
- examine the photograph on top of the boxes
- examine the doors
- return the courtyard and climb the ladder again - make a note of the current numbers
- hurry back to the locked doors and input that exact number - the numbers are random
- if you wait to long the number will change again
- enter the room
- watch the television
- click on the various papers and drawings and the doll house
- examine the book on the desk and enter Charles patient number that you got from the recording - 7149
- read the entry
- go downstairs to the security room
- look at the upper second from left monitor - you will have to cycle through the picture by pressing the button
- make a note of the security code
- return to the locked cells and use the code to open the right one - next to Charles
- examine the picture on the back wall
- exit the asylum and return to Charles house
- enter the bathroom and look at the pipe on the sink - as seen in the photograph
- take the Green Handle
- go downstairs and enter the kitchen
- place the Dynamite into the pie
- take the Pie and go upstairs and visit Charles mother
- feed the Pie to the mannequin
- quickly exit downstairs
- after the explosion return to the bedroom
- find the changing objects
- examine the heart shaped box
- look inside and take the Wedding Ring
- return to the chamber room
- find the proposal chamber - left
- use the Proposal Key on the lock
- take the Door Tokens
- Door Token Puzzle
- go through the asylum, house, grounds, and hospital to find each tokens scene and hold it in front and click like you did before
- see screenshots for solution
- return to the chamber room
- replace the Activated Door Tokens on the proposal chamber
- go through the door
- return to the asylum and escape back to your car
- go forward and look under the fountain to get the Blue Handle
- return to the chamber and go through the proposal door
- use the Pickaxe on the rubble
- take the "V" Key and the Yellow Handle
- go forward
- find the changing objects
- examine each music box
- on the front is a colored dot
- match the correct Handle to the colored dot
- go forward
- place the Ring on Charles finger
- take the Heart Key
- return to the chamber
- use the Heart Key on the heart chamber
- take the Door Tokens
- Door Token Puzzle
- go through the asylum, house, grounds, and hospital to find each tokens scene and hold it in front and click like you did before
- see screenshots for solution
- return to the chamber room
- replace the Activated Door Tokens on the proposal chamber
- go back to the asylum and escape to the cottage
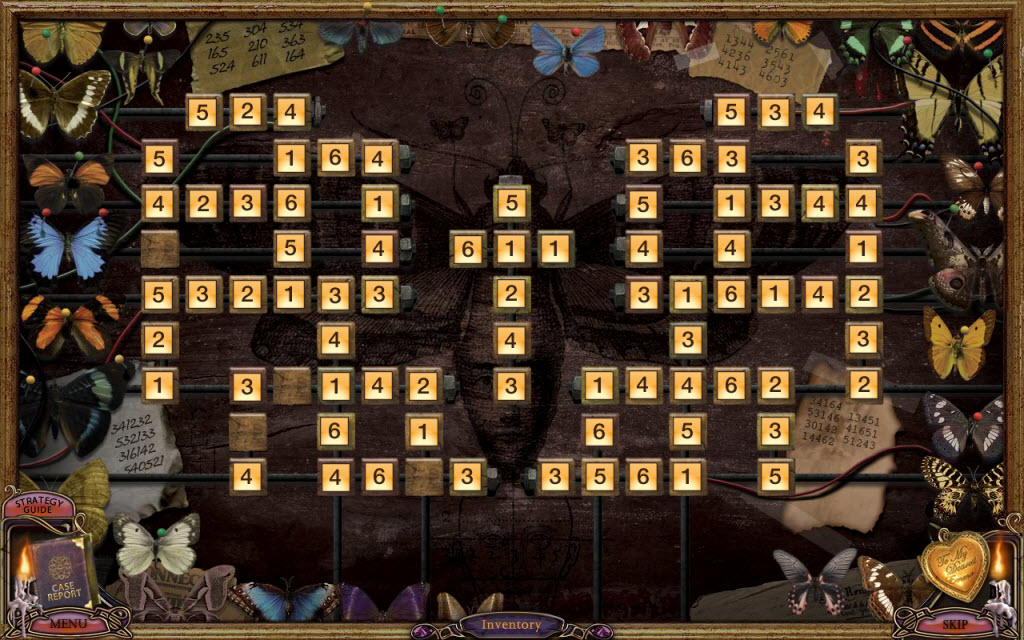
- examine the box on the left with
- Cottage Box Puzzle
- replace the "V" Keys
- Part 1
- click the keys so that all the V's are in the correct position
- Part 2
- the objective is to push all the keys down
- you need to jump the keys to an empty space
- #1 = 1 jump, #2 = 2 jumps, #3 = 3 jumps, #4 jumps 4
- click the knob on the upper-left to reset the puzzle
- read the note and take the Override Key
- return to the chamber room
- go through the right chamber
- go forward and watch the television
- enter the house
- talk to Charles and Victor
- go upstairs
- Override Puzzle
- place the Override Key on the large monitor
- go into the left room and examine the woman's face
- watch her eyes and write down the right/left pattern
- return to the monitor and flip the switch to the right
- input the right/left pattern using the circles - solution: Right, Right, Left, Left, Right, Left
- go into the right room and examine the woman's face
- watch her eyes and write down the up/down pattern
- return to the monitor and flip the switch up
- input the up/down pattern using the bars - solution: Up, Down, Up, Up, Down, Up
- go into the second room on the right
- examine the little girls eye patterns - you need to count them
- return to the monitor and flip the switch left
- input the number of blinks you saw - solution: 3, 5, 2,
- watch the ending unfold...
The End!