
True Fear: Forsaken Souls: Chapter Six: The Basement
Trust our True Fear: Forsaken Souls Walkthrough, as you begin to hear the sounds of whatever has been stalking you begin to close in on you. Use our detailed instructions, custom marked screenshots, and simple puzzle solutions to help you survive this terrifying ordeal as you encounter a sinister force lurking just a step behind you in this thrilling hidden object adventure game.
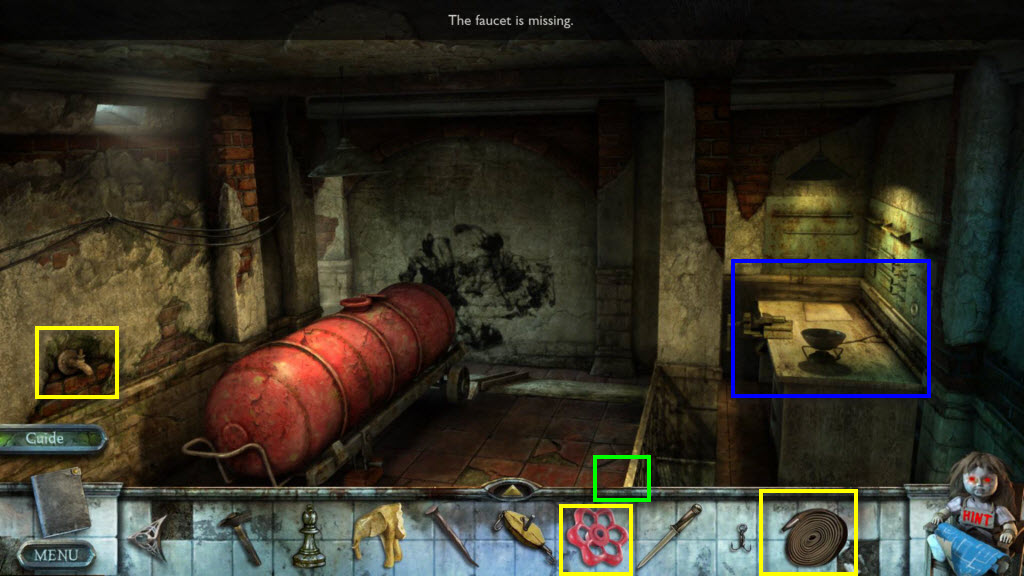
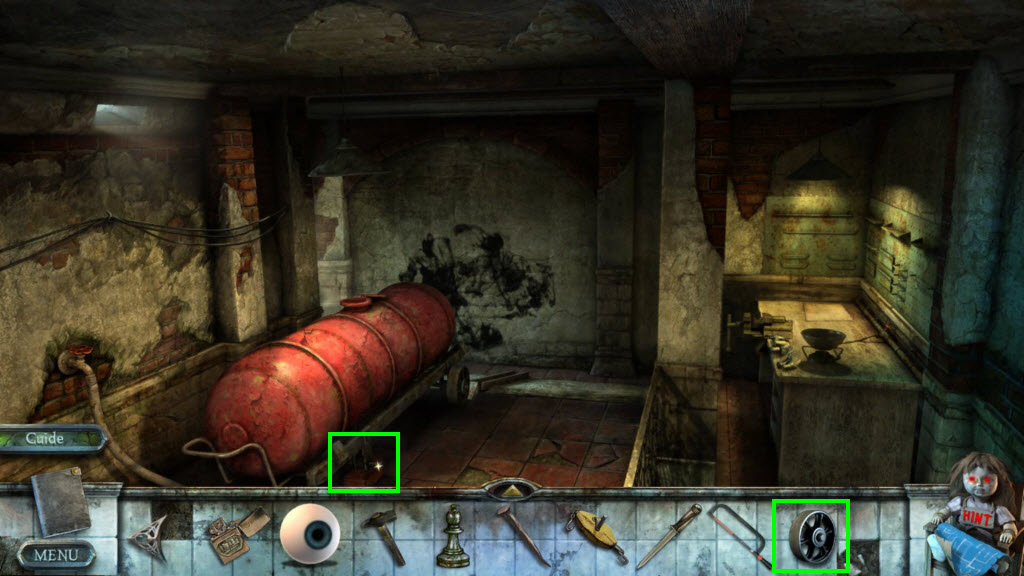
- Take the note.
- Use the Faucet Stem on the faucet.
- Use the Fire Hose on the faucet.
- Click on the faucet to fill the cistern with water.
- Click to zoom in on the table on the right.
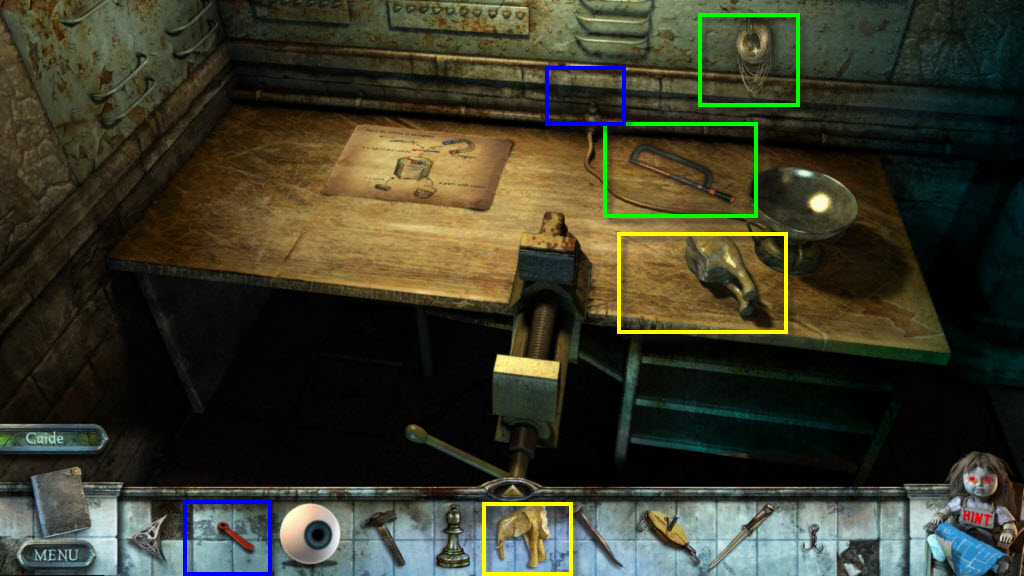
- Take the Fishing Line.
- Take the Hacksaw.
- Use the Broken Elephant on the other half.
- Use the Gas Knob on the faucet.
- Go to the room with the birdcage in it.
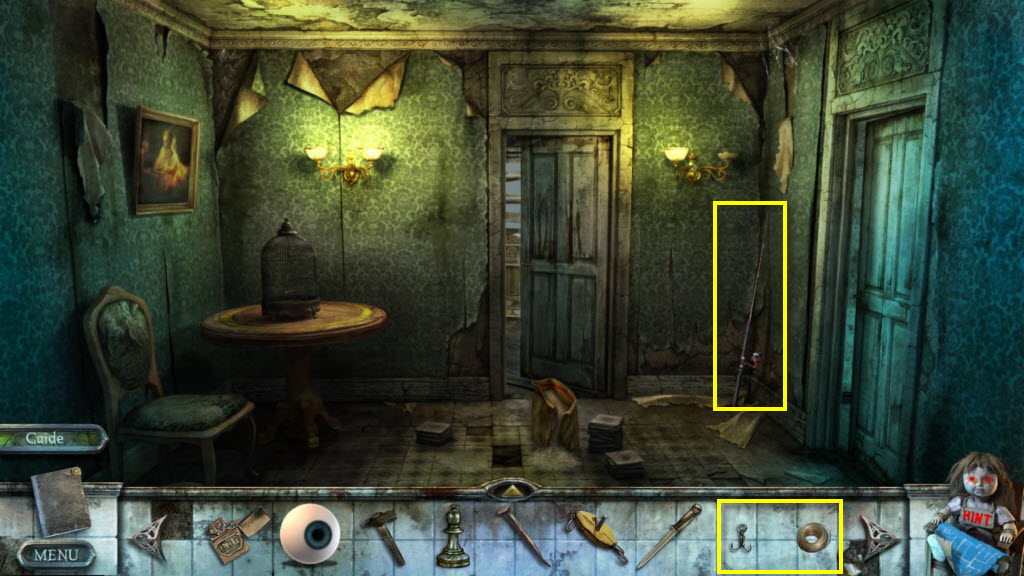
- Click to zoom in on the fishing pole.
- Use the Fishing Hook and the Fishing Line on the pole.
- Take the Fishing Rod.
- Go to the back of the house where the well is.
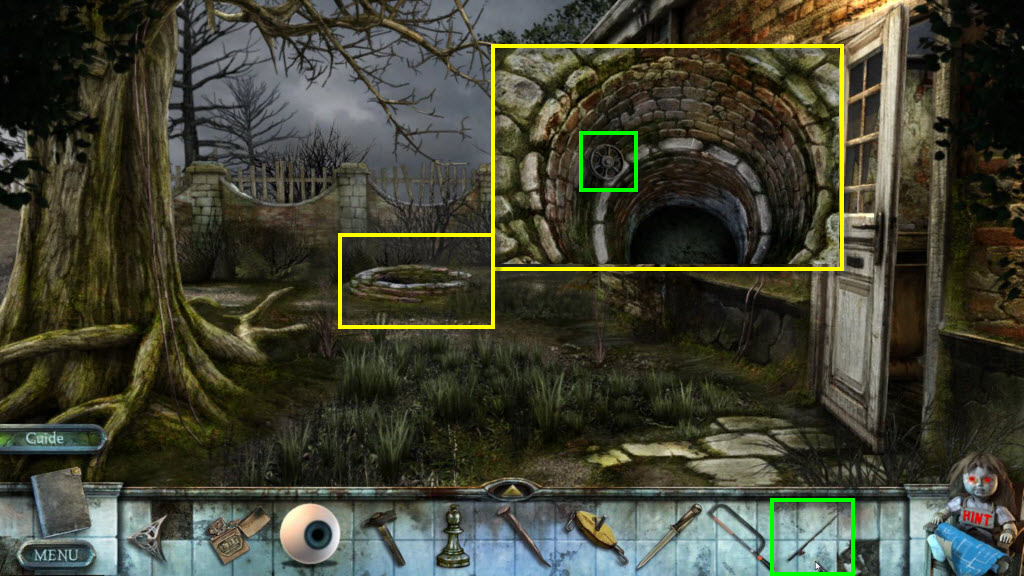
- Click to zoom in on the well.
- Use the Fishing Rod on the wheel.
- You will receive the Cistern Wheel.
- Return to the scene with the Cistern.
- Use the Cistern Wheel on the cistern.
- Click to move the block from the cistern.
- Move forward.
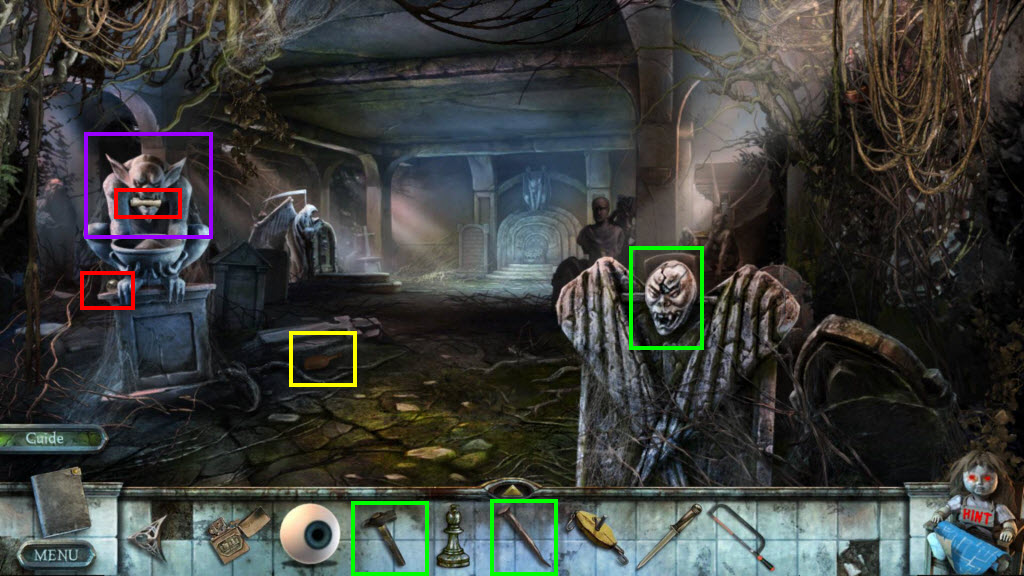
- Take the Scoop.
- Use the Bolt on the statue's head.
- Use the Hammer on the Bolt.
- Take the Skull 5/7.
- Click to zoom in on the statue on the left.
- Take the note.
- Take the Light bulb.
- Go forward.

- Click on the plaque to zoom in.
- Use the Winch on the tombstone to turn it over.
- Take the Corkscrew.
- Go back one screen.
- Click on the area to the back left to zoom in.
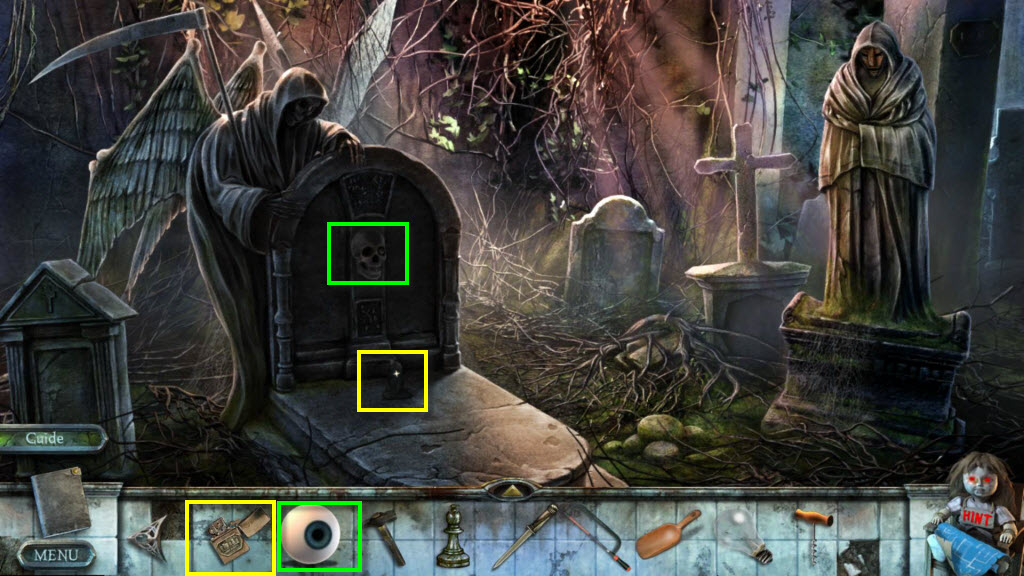
- Use the Lighter on the candle to light it.
- Use the Ceramic Eye on the skull.
- Take the Chest Key.
- Return to the top of the treehouse.
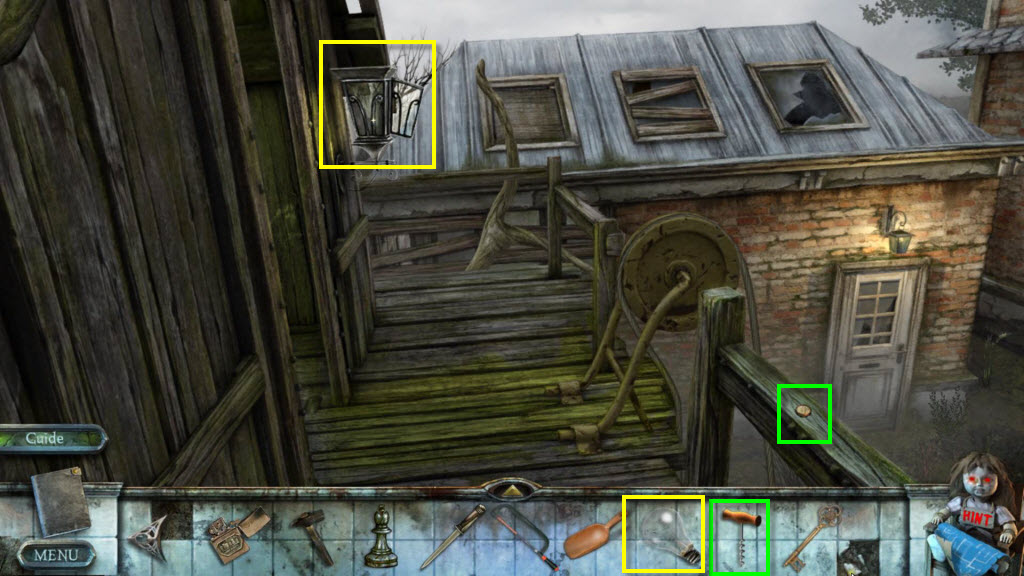
- Use the Corkscrew to get the cork.
- Take the Skull 6/7 - be careful, this one is easy to miss. It's in the hole where the cork was.
- Click to zoom in on the lantern.
- Use the Light Bulb on the lamp.
- Take the Collector's Figurine.
- Go to the scene at the bottom of the stairs in the house.
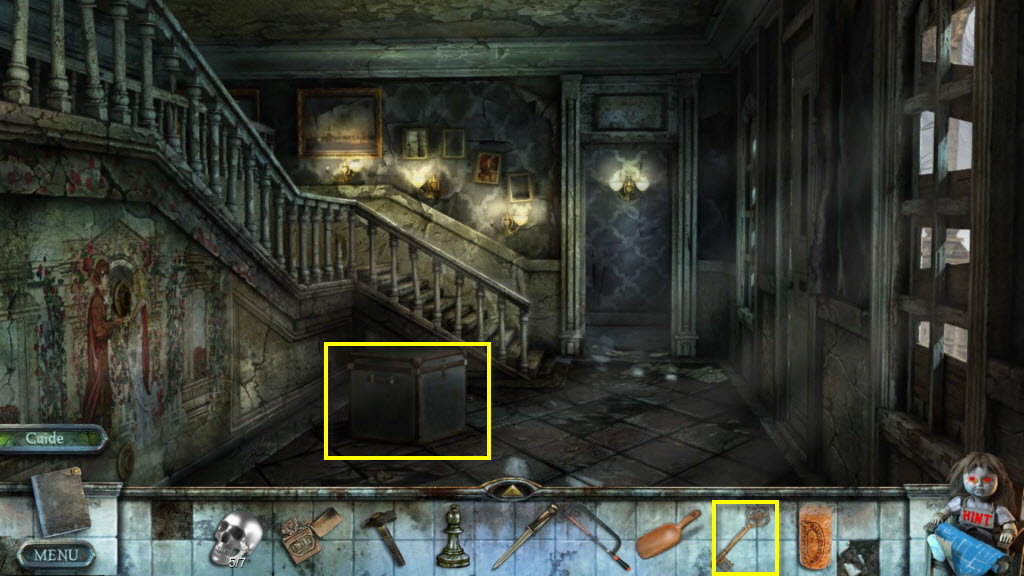
- Click to zoom in on the chest.
- Use the Chest Key to open it.
- Take the Sieve.
- Go forward one screen.
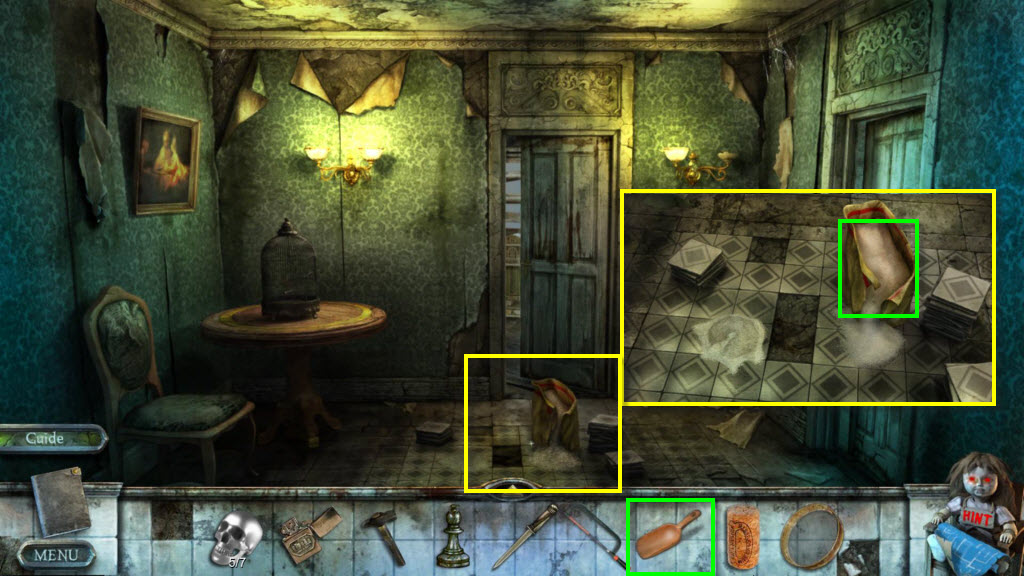
- Click to zoom in on the floor.
- Use the Scoop to get the Glue Powder.
- Return to the scene with the cistern and zoom in on the table on the right.
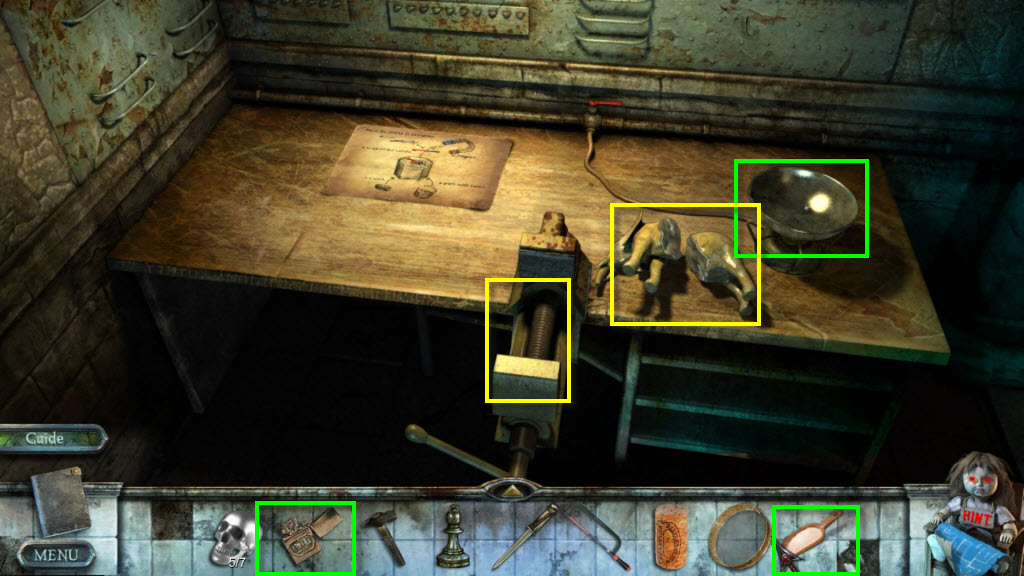
- Use the Glue Powder on the bowl.
- Use the Lighter on the burner.
- Take the Liquid Glue.
- Use the Liquid Glue on the elephant.
- Use the broken Elephant on the Vise.
- Click on the vise to get the Repaired Elephant.
- Use the Cork on the table.
- Back out of the zoomed view and move forward.
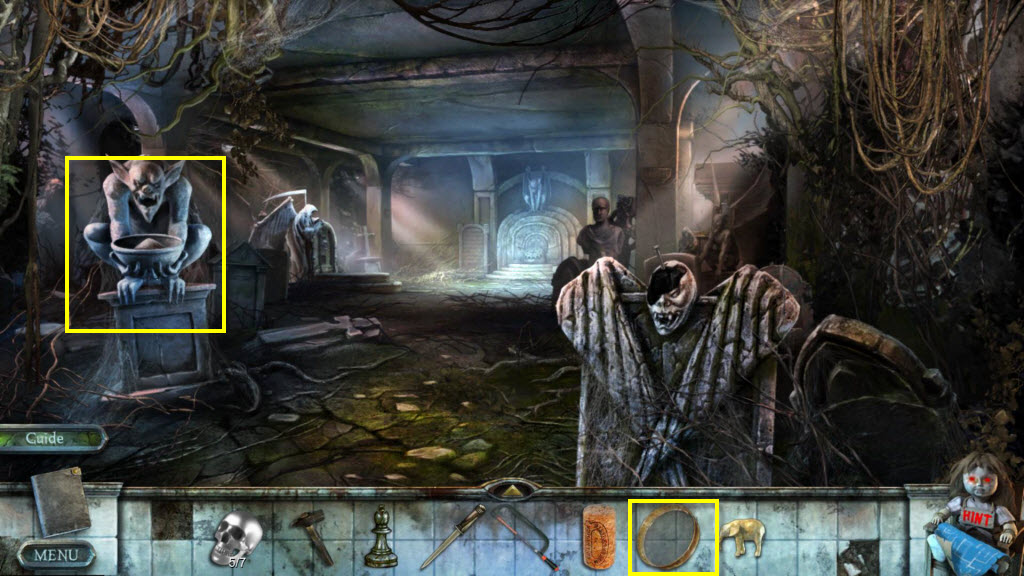
- Click to zoom in on the statue on the left.
- Use the Sieve on the ashes.
- You will receive the Skull 7/7.
- Return to the room with the dining room table.
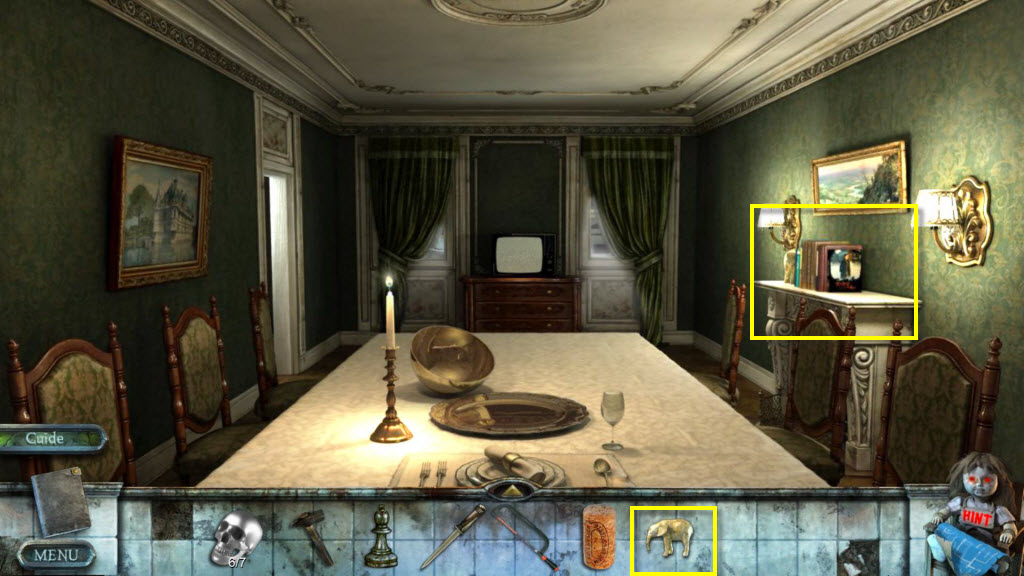
- Click to zoom in on the shelf.
- Use the Repaired Elephant on the shelf.
- Take the Dictionary.
- Go to the scene with the big tomb in it.
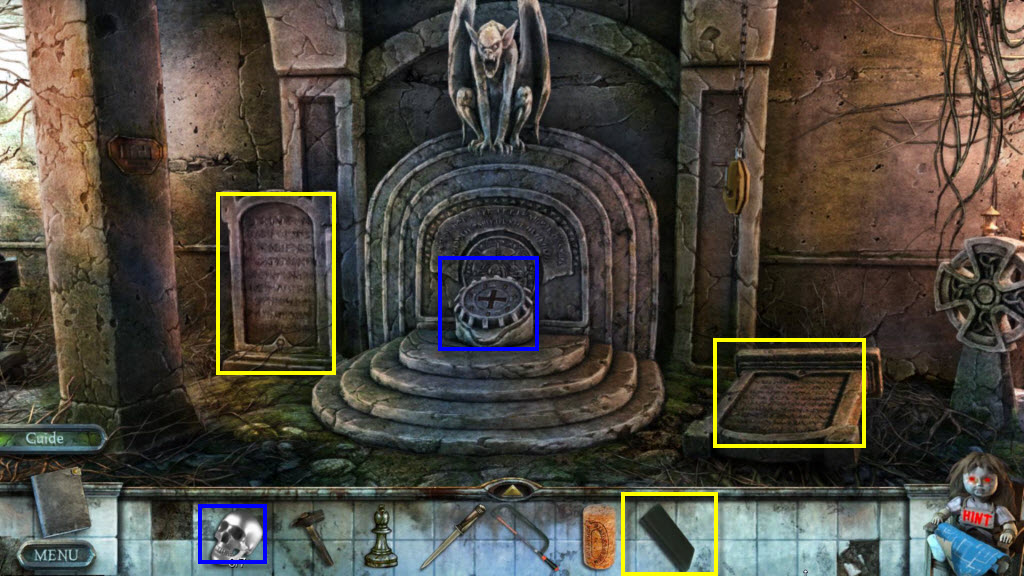
- Use the Dictionary on both of the tombstones.
- Click to zoom in on the center tomb.
- Use the 7 Skulls on the indentations.
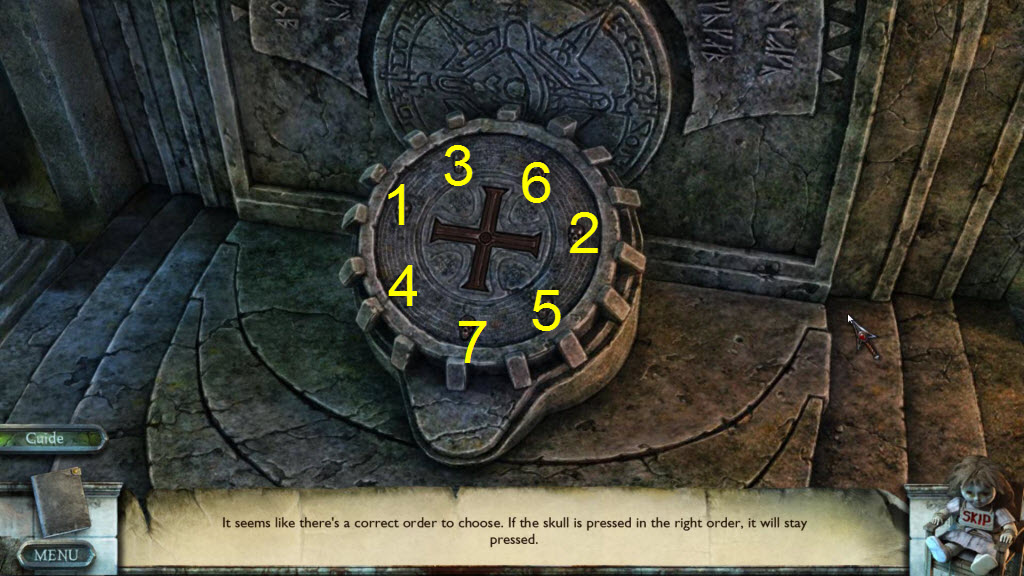
- Click on the skulls in the correct order.
- See the screenshot for the solution.
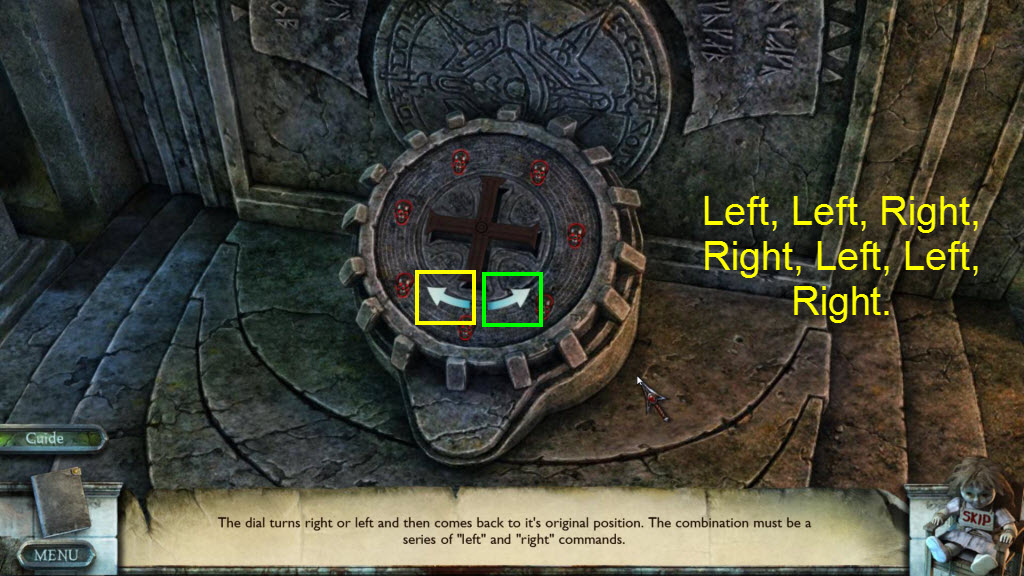
- Next you need to use the correct sequence of directions by clicking on the arrows.
- The correct sequence is: Left, Left, Right, Right, Left, Left, Right.