
Tales of Terror: Estate of the Heart: Chapter 1 Estate
Our Tales of Terror: Estate of the Heart Walkthrough features step-by-step instructions and colorful pictorial guides to escort you through this mystery of ghostly proportions. Our guide will help you solve the mini games and hidden object areas that you'll encounter and survive this ghastly tale.
General Information & Tips
Chapter 1 Estate
Chapter 2 Enter the Corridor
Chapter 3 The Maze
Chapter 4 Tower
Chapter 5 Back to the Corridor
Ask for help in the comments below!
Chapter 1 Estate
Chapter 2 Enter the Corridor
Chapter 3 The Maze
Chapter 4 Tower
Chapter 5 Back to the Corridor
Ask for help in the comments below!
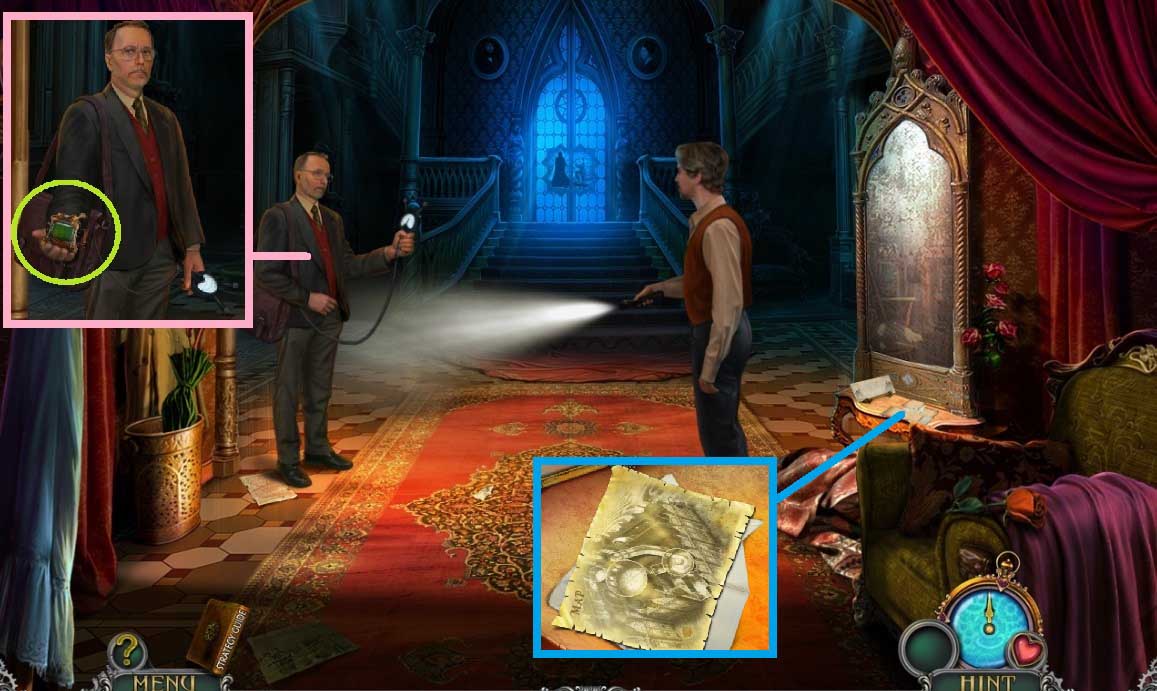
- Collect the uncharged detector.
- Click the curtain.
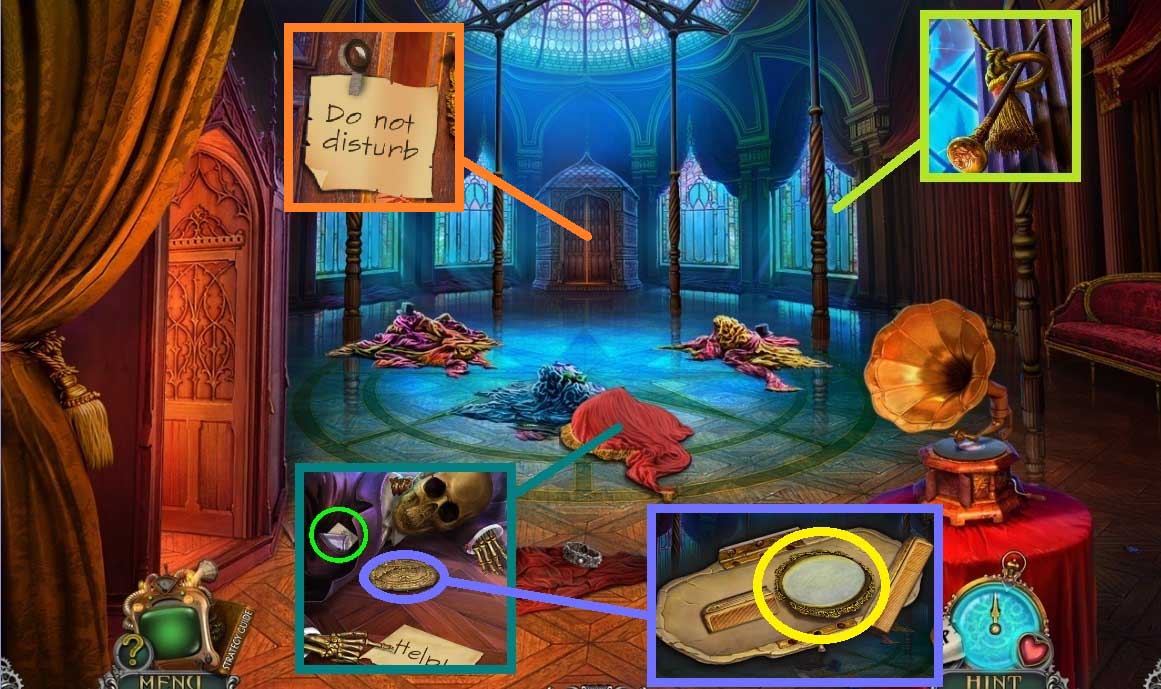
- Click the 4 pieces of paper; collect the map.
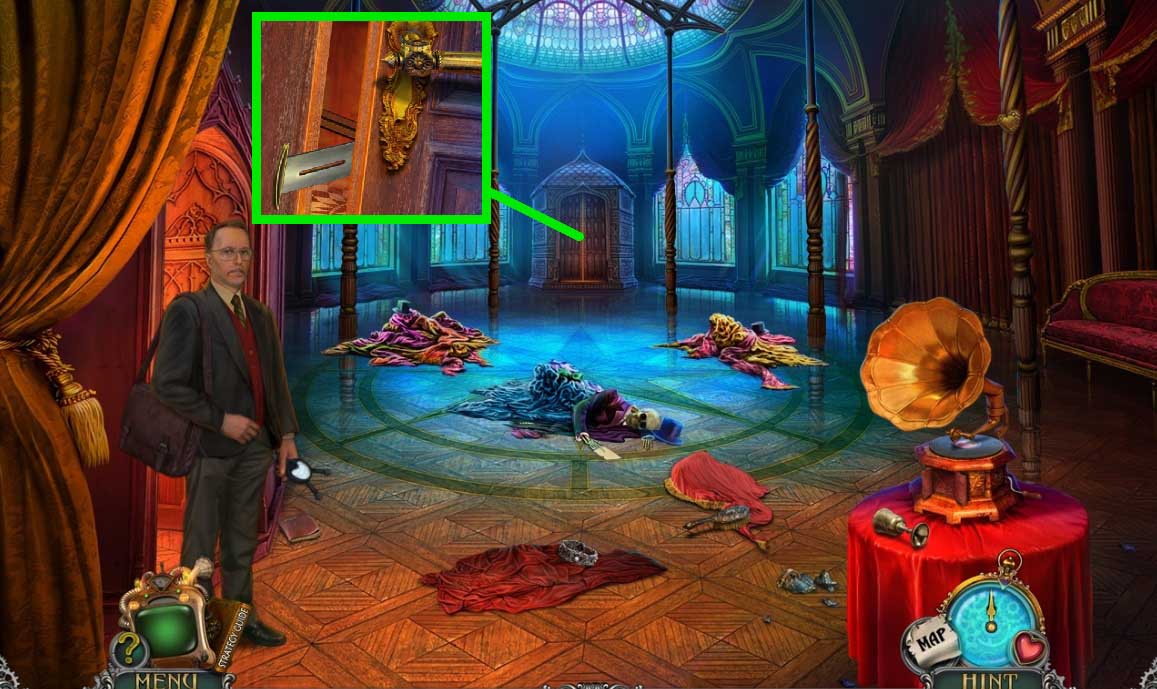
- Collect the cloth & the letter knife.
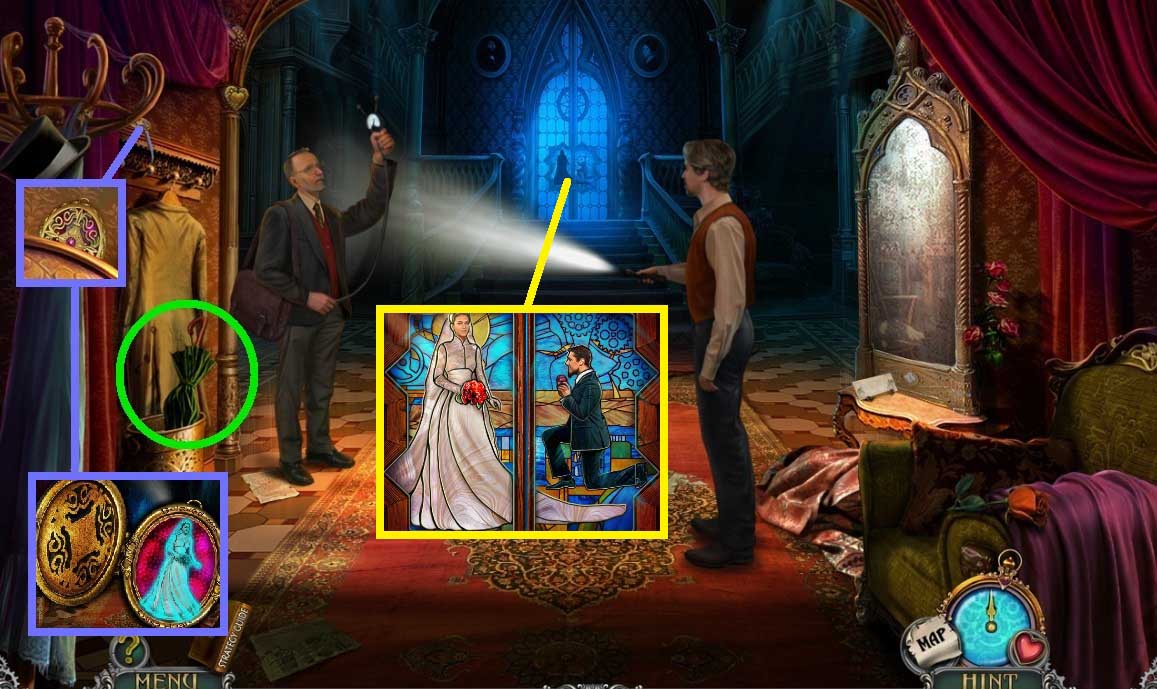
- Collect the umbrella & use it to knock down the locket; use the letter knife to cut the string.
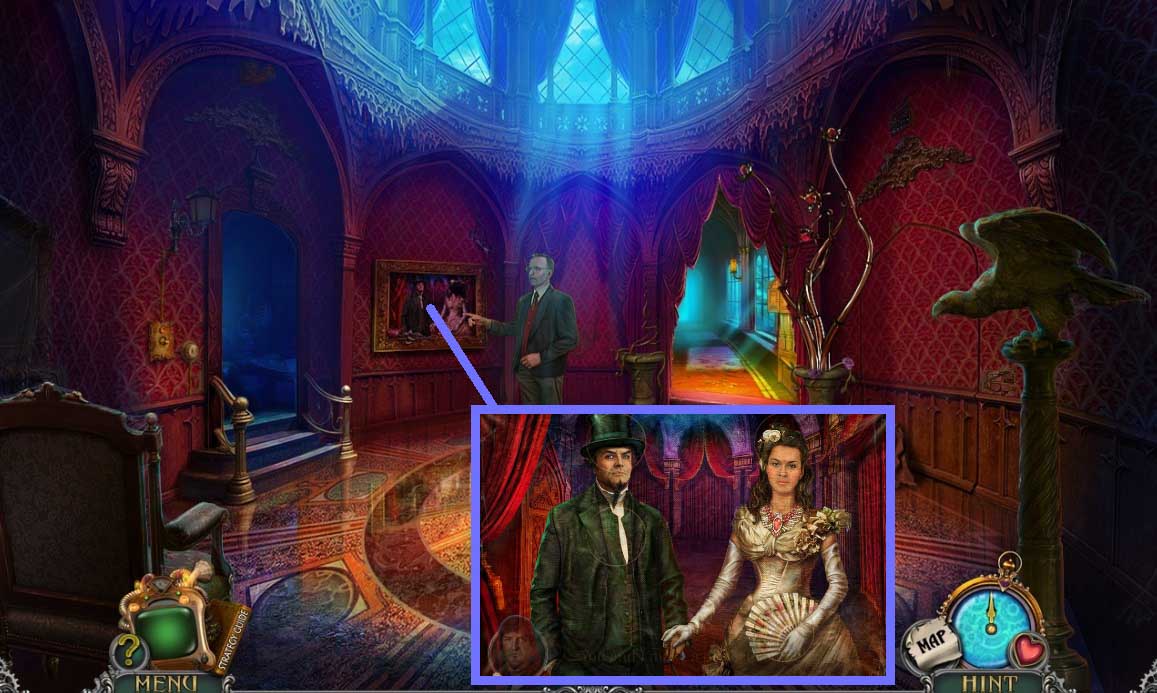
- Click the locket open; collect the picture of Luisa.
- Insert the picture; restore the image.
- Move ahead.
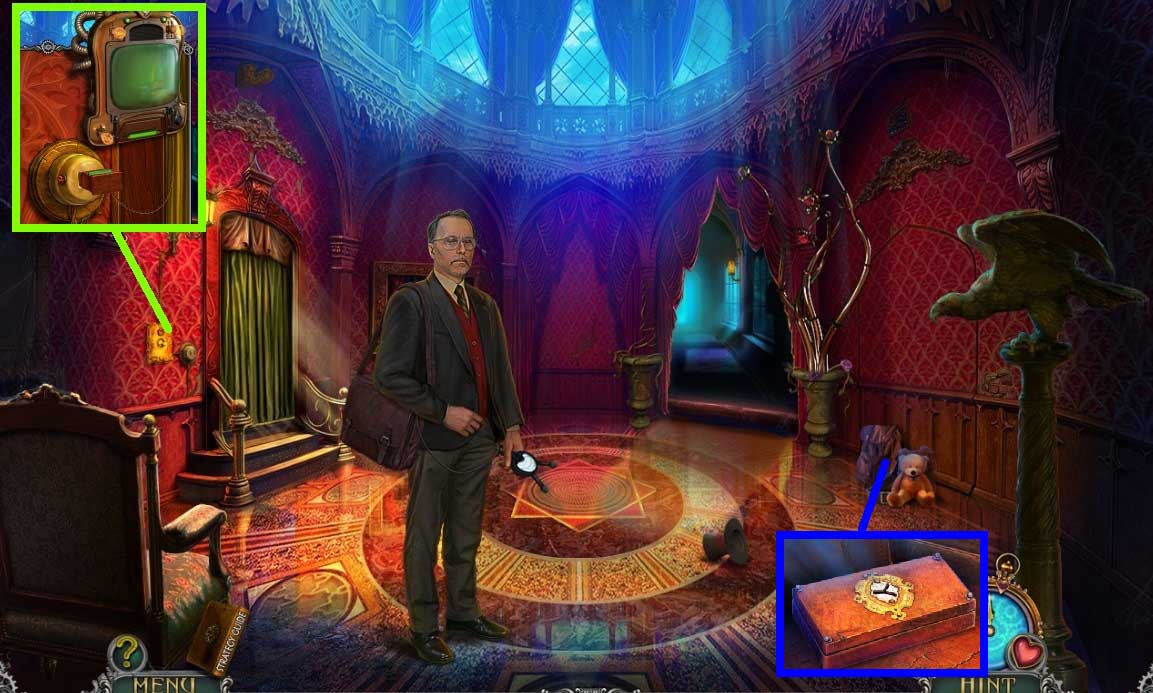
- Plug in the uncharged detector; click the charged detector.
- Click the items aside; collect the repair kit.
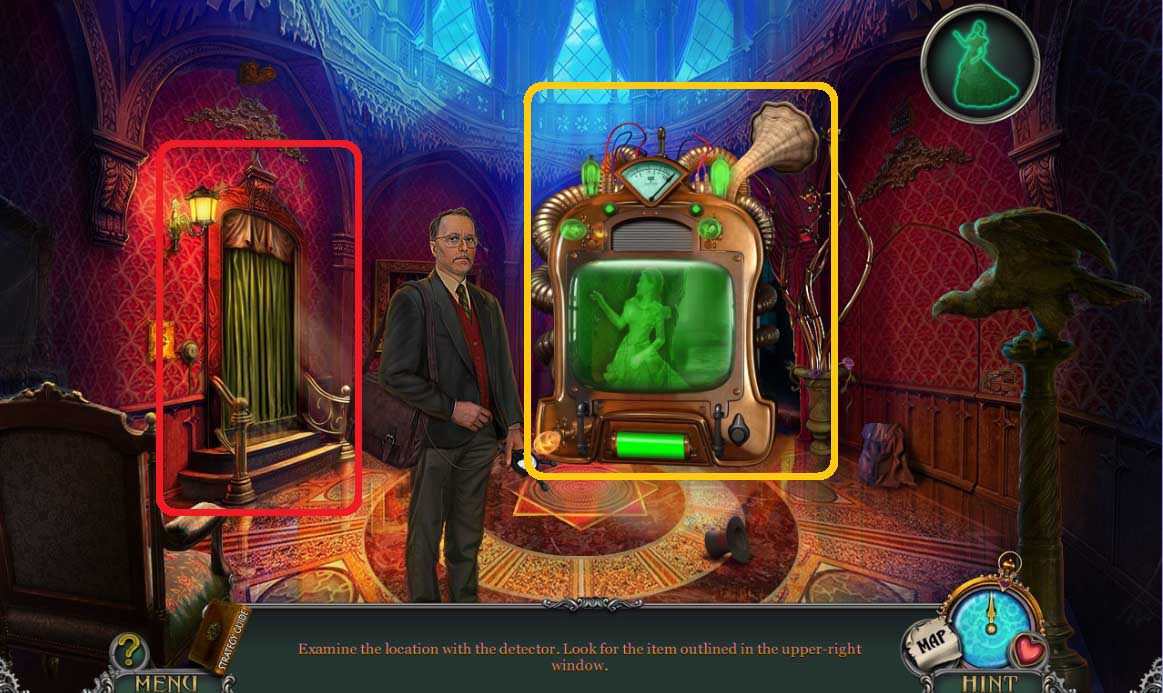
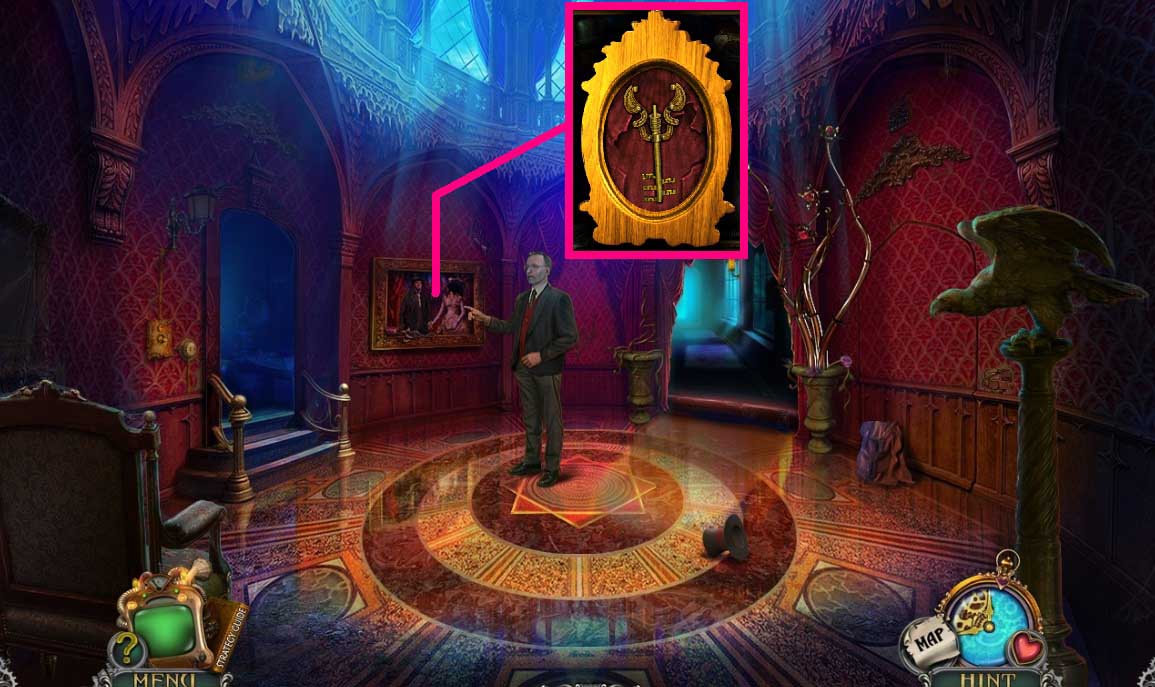
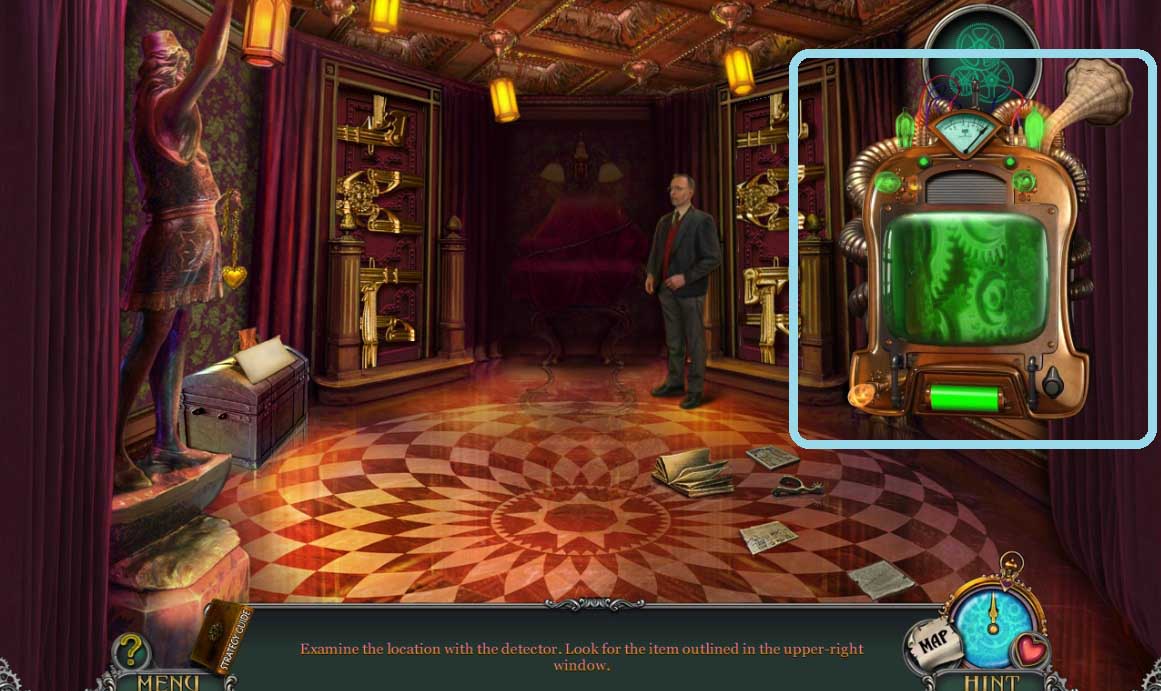
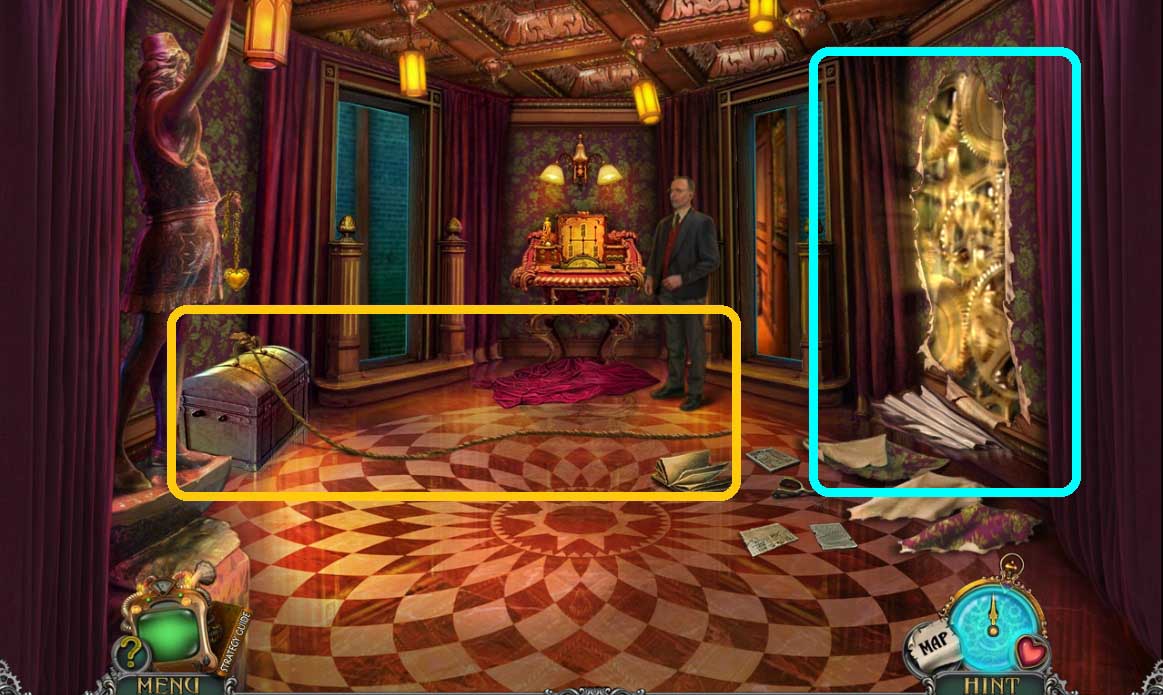
- Use the detector on the scene.
- Select the image that matches the image.
- Click the curtain to trigger a hidden objects area.
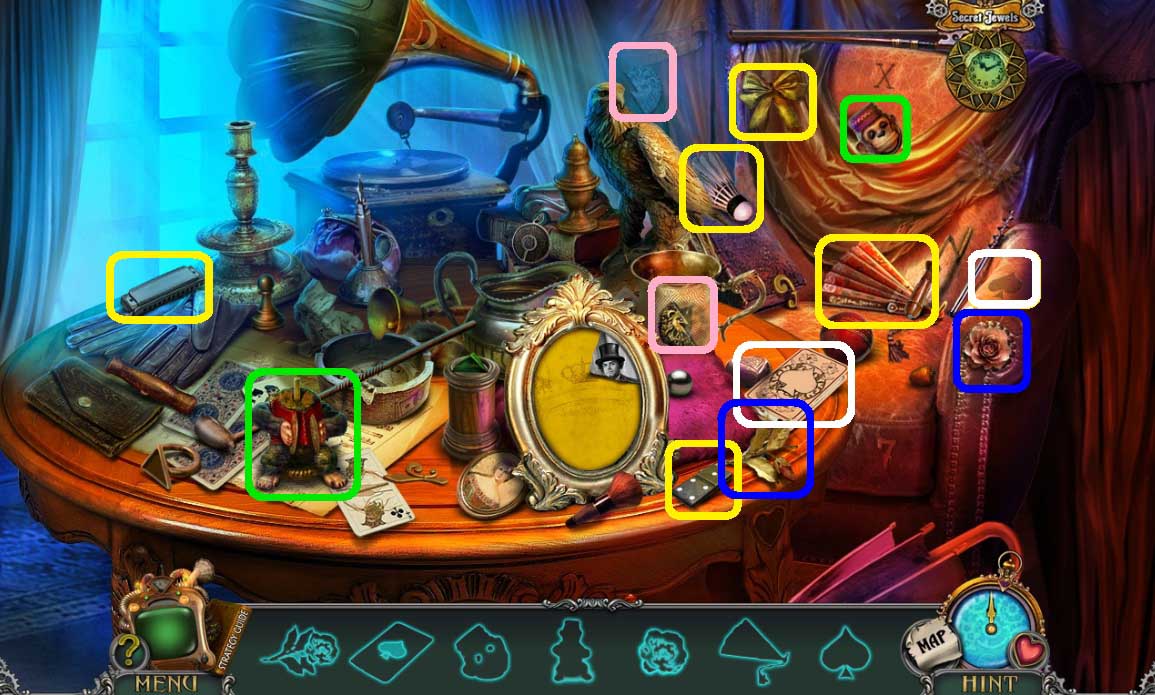
- Find the items.
- Click the shards beneath the items.
- Collect the photo.
- Zoom into the photo; collect the skeleton key.
- Move ahead once.
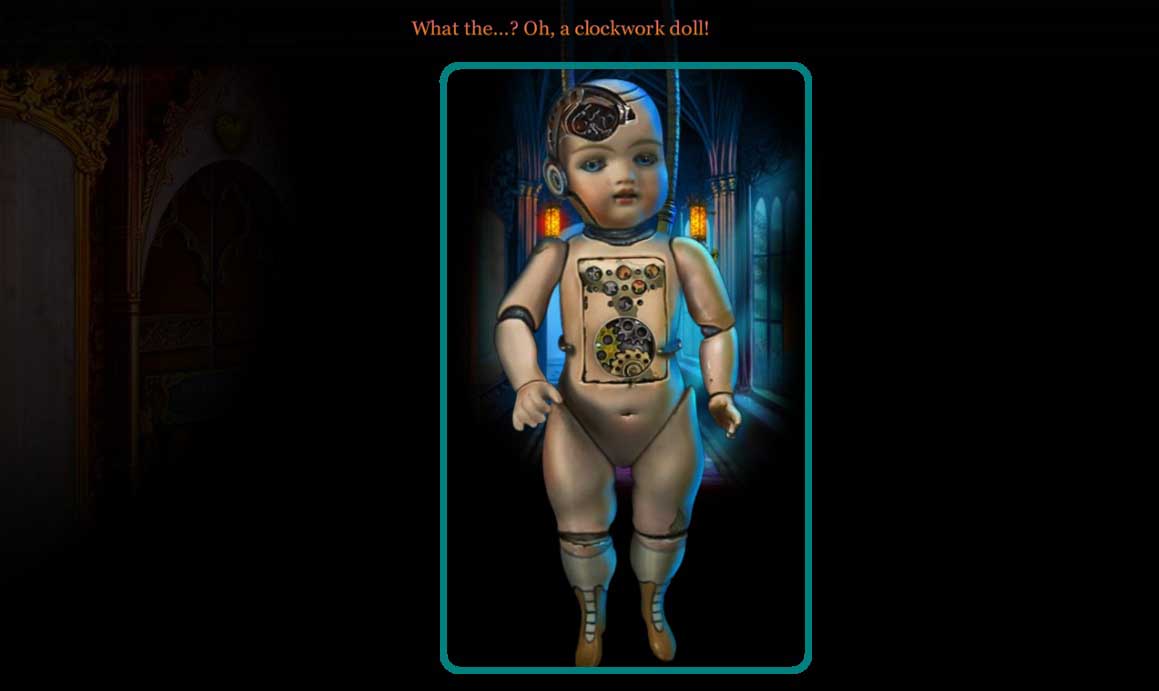
- Attempt to collect the doll.
- Collect the canvas piece.
- Collect the pin; click the curtains.
- Click the pin 5x’s.
- Insert the lock pick into the repair kit; collect the socket wrench.
- Click the record to trigger a hidden objects area.
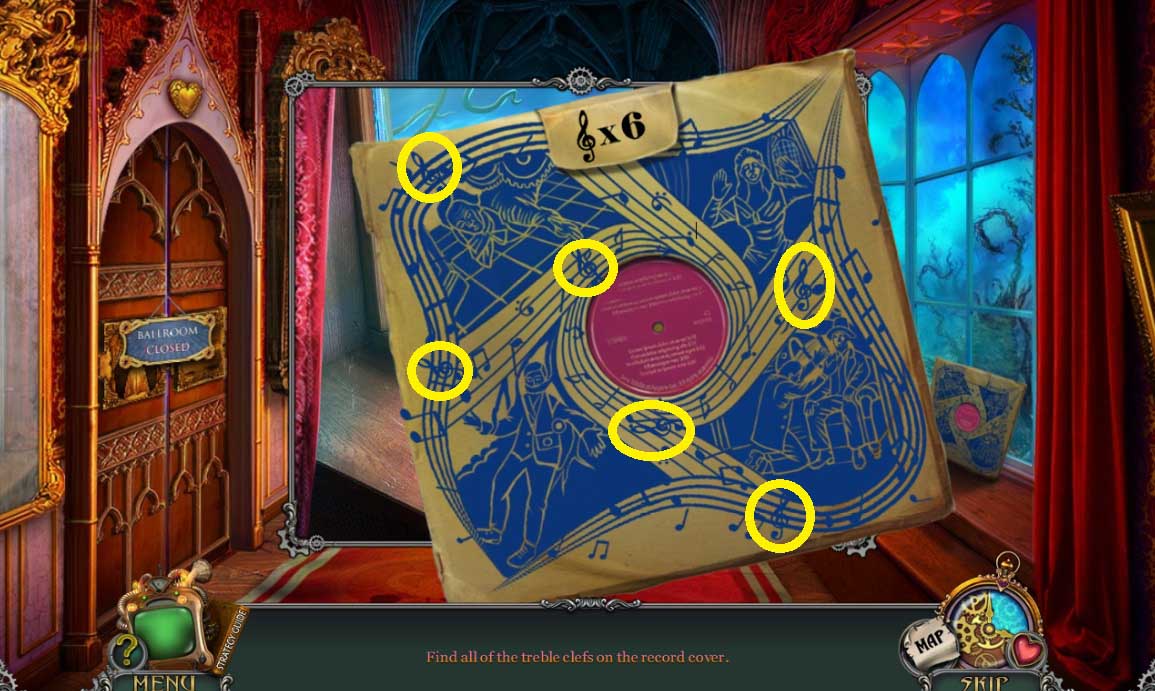
- Find the items.
- Collect the record.
- Move down once.
- Insert the canvas piece to trigger a mini game.
- Solve the game by arranging the pieces correctly.
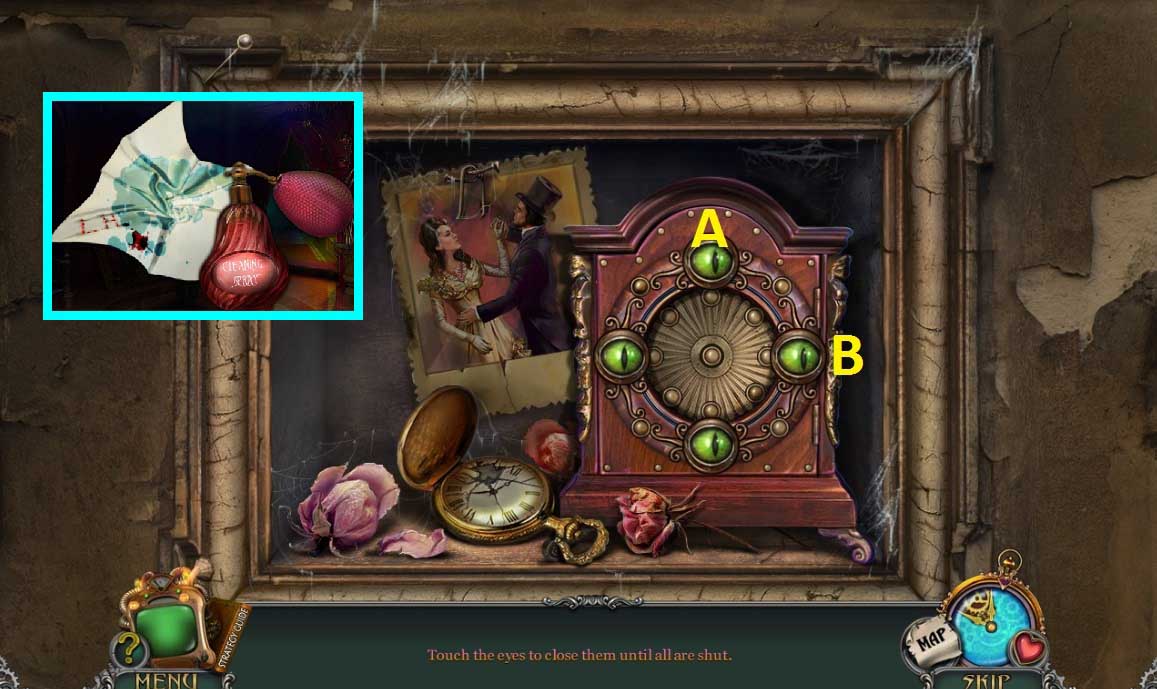
- Click the eyes correctly.
- Collect the cleaning spray and place it along with the cloth.
- Move ahead once.
- Select the wet cloth to clean the mirror.
- Click the grill; collect the lighter and use it to melt the wax.
- Click the doors; click the bottle and examine the diary to trigger a mini game.
- Solve the game by selecting the pairs.
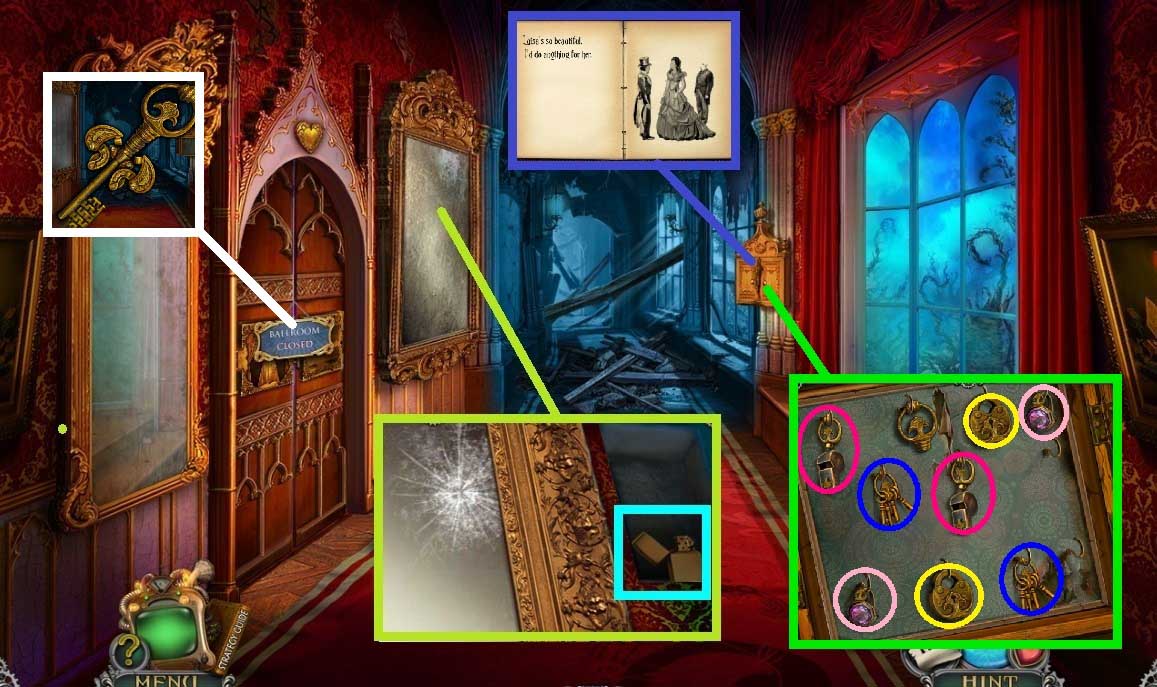
- Collect the key part and place it with the skeleton key.
- Click the sign and insert the ballroom key.
- A mini game will trigger.
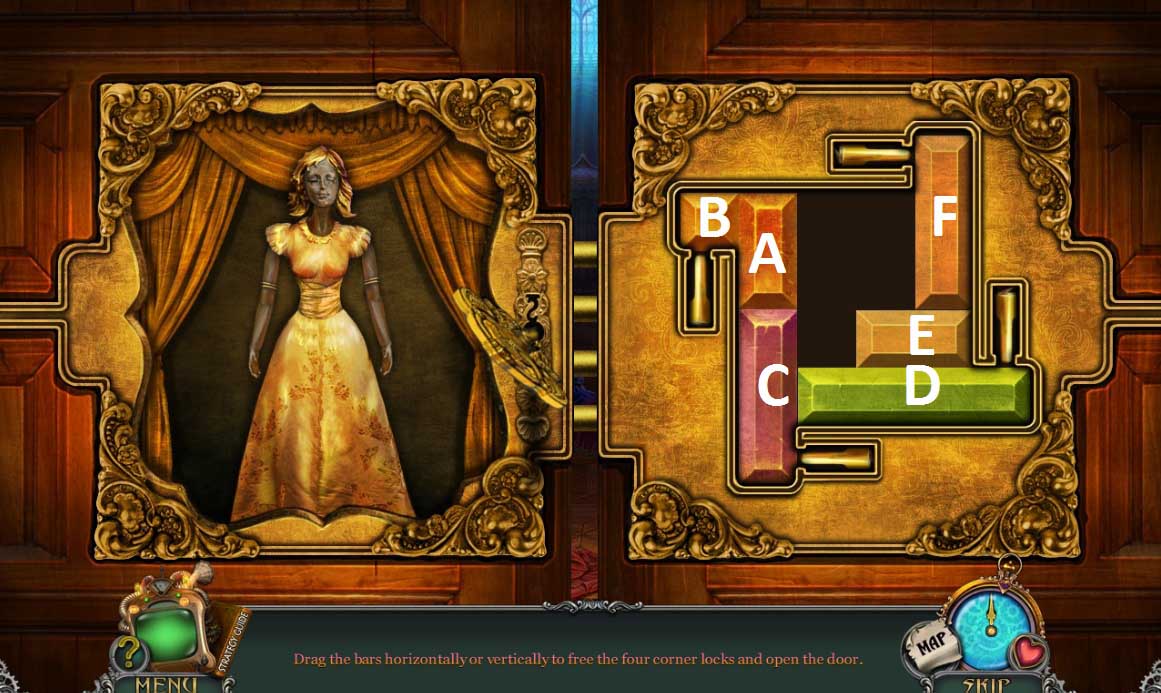
- Slide the bars correctly to open the lock.
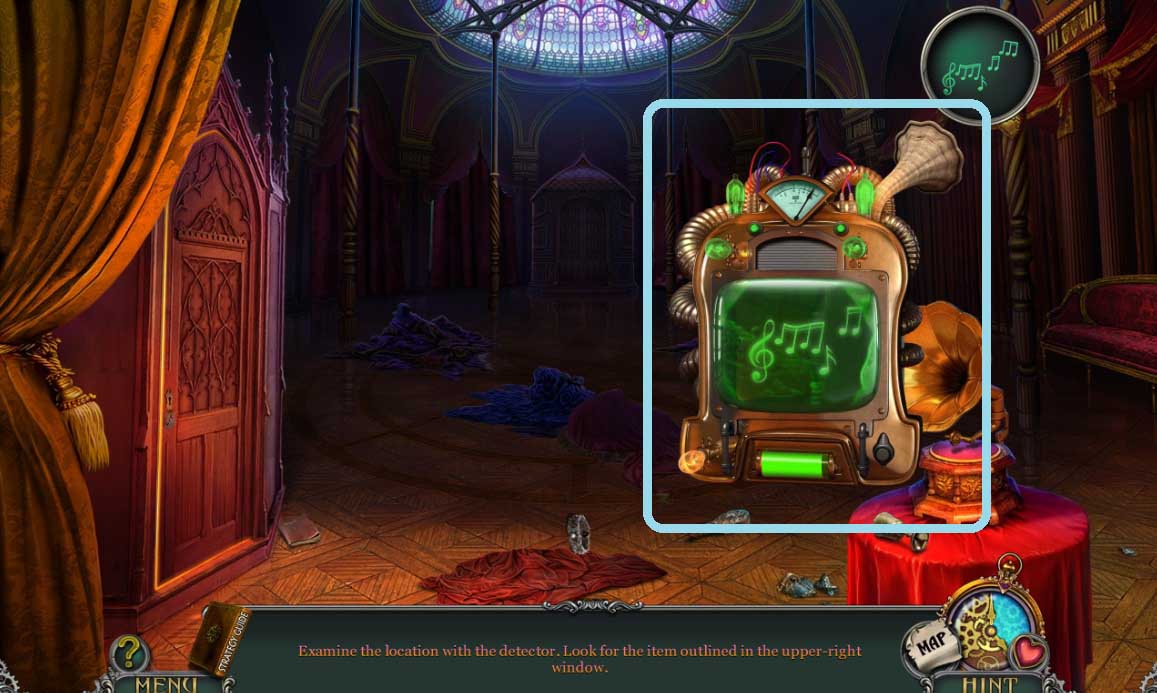
- Use the detector on the scene.
- Select the image that matches the image.
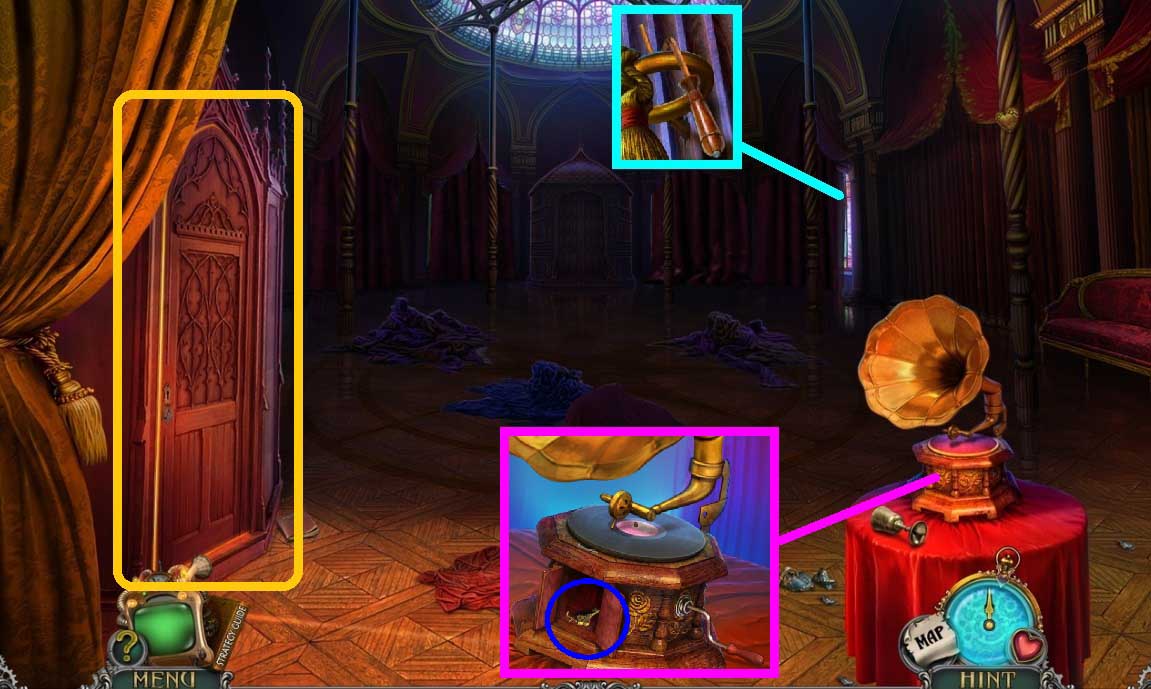
- Collect the gramophone crank and attach it onto the gramophone.
- Place the record down and click the crank.
- Collect and insert the wardrobe key.
- Zoom into the wardrobe to trigger a mini game.
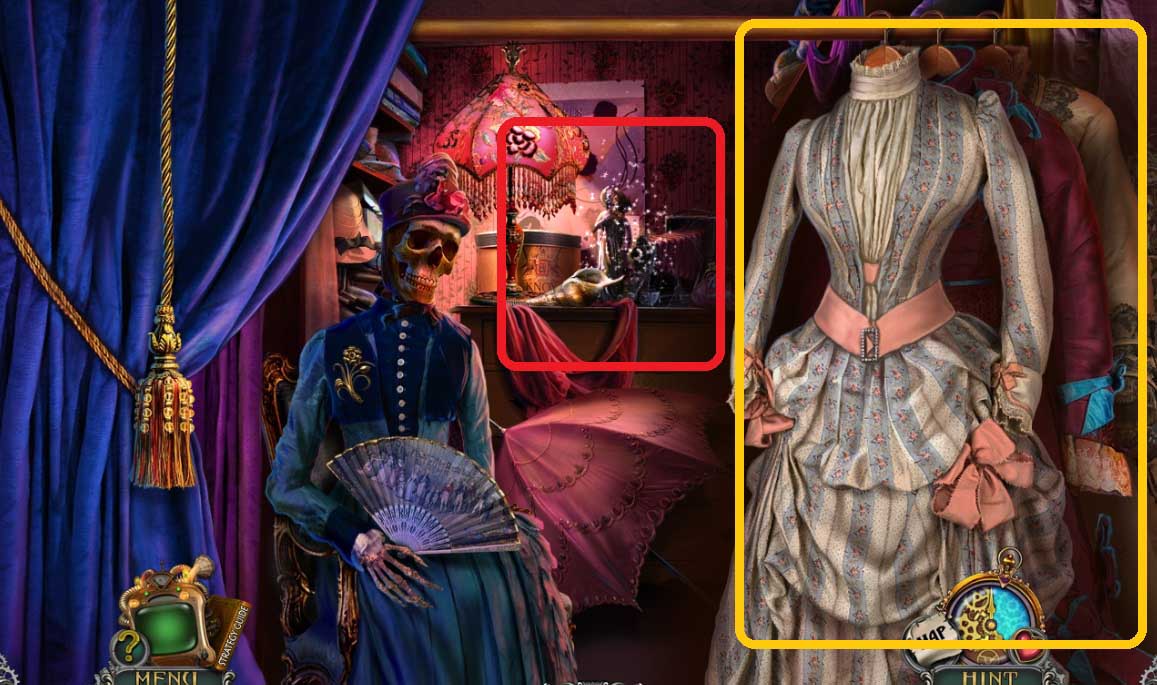
- Solve the game by arranging the items correctly.
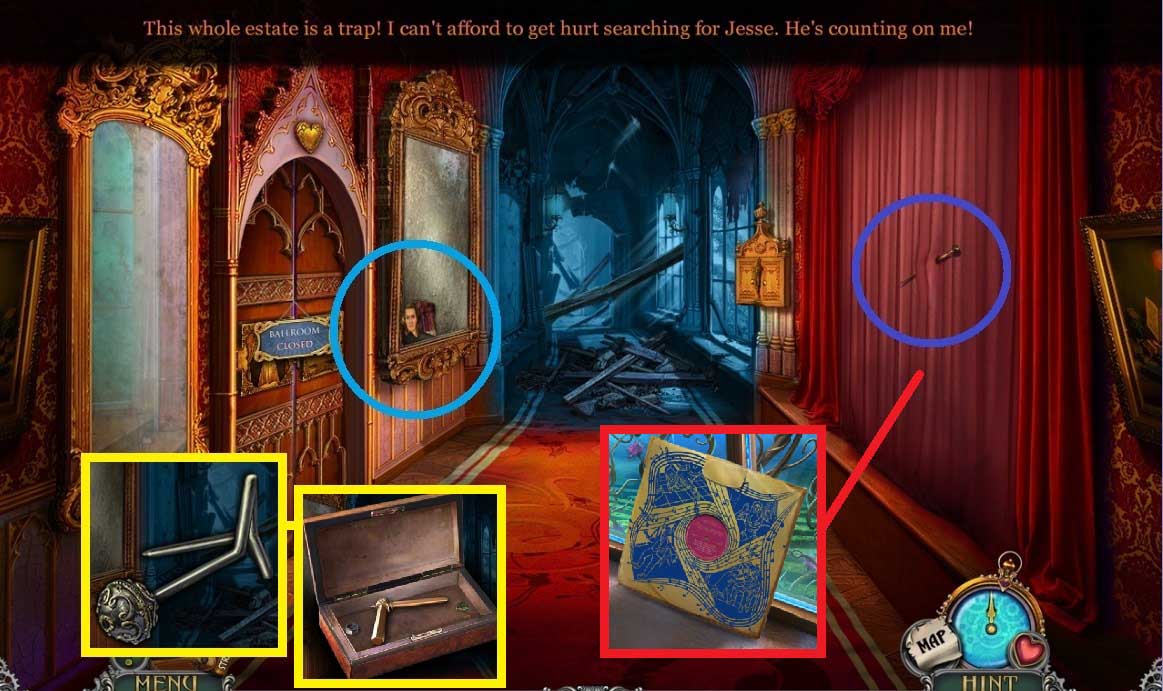
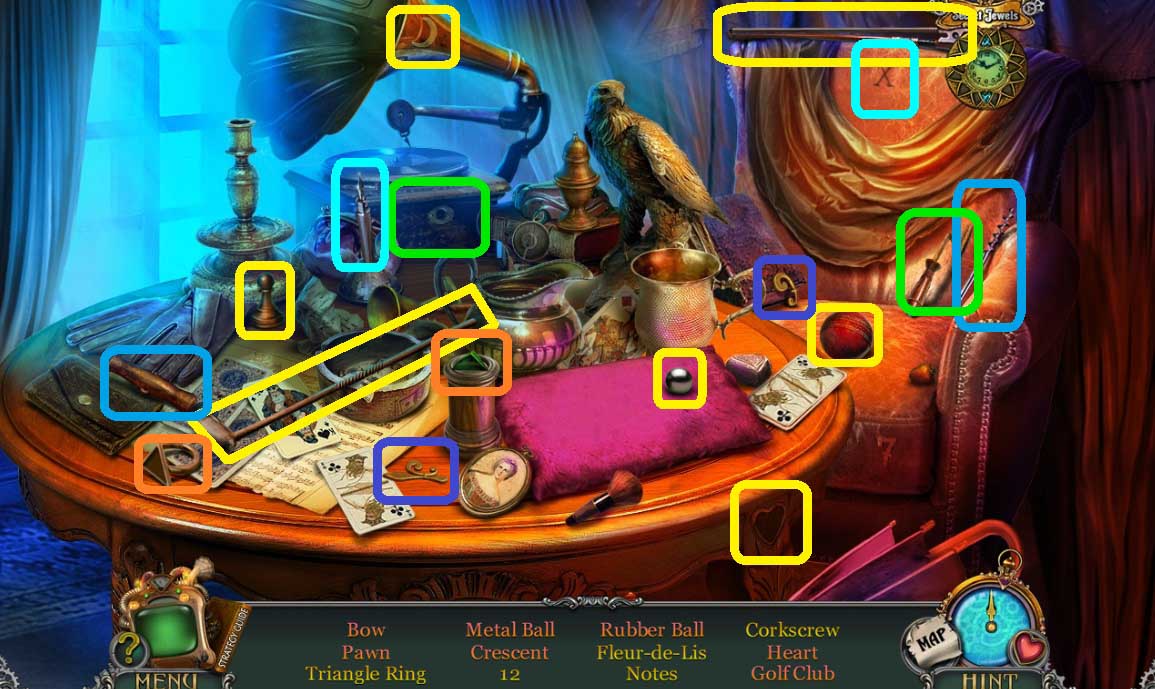
- Click the hidden objects areas.
- Find the items.
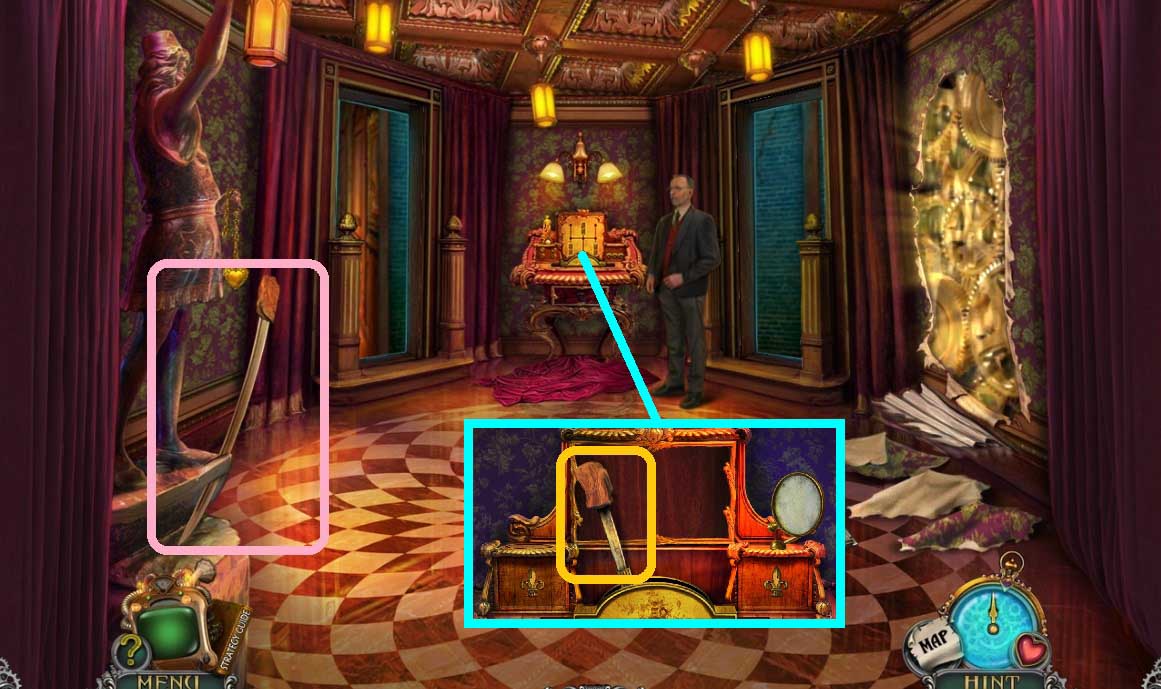
- Collect Bertram’s cane.
- Select Bertram’s cane to remove the curtain hook.
- Click the items; collect the broken etui & the cigar guillotine.
- Click the broken etui; click the comb pieces and collect the round mirror.
- Collect the note & the insulation tape.
- Move down 2x’s.
- Select the socket wrench & the insulation tape to repair the switch.
- Click it once.
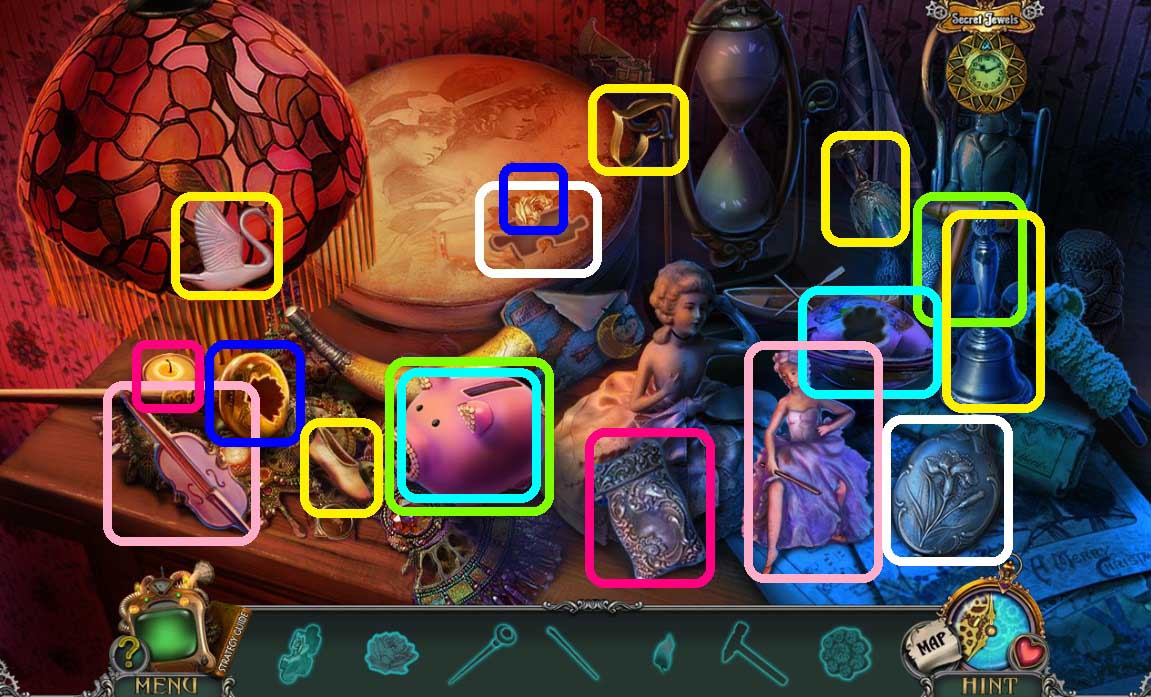
- Click the hidden objects area.
- Find the items.
- Collect the triangle ring.

- Attach the cigar guillotine & the triangle ring.
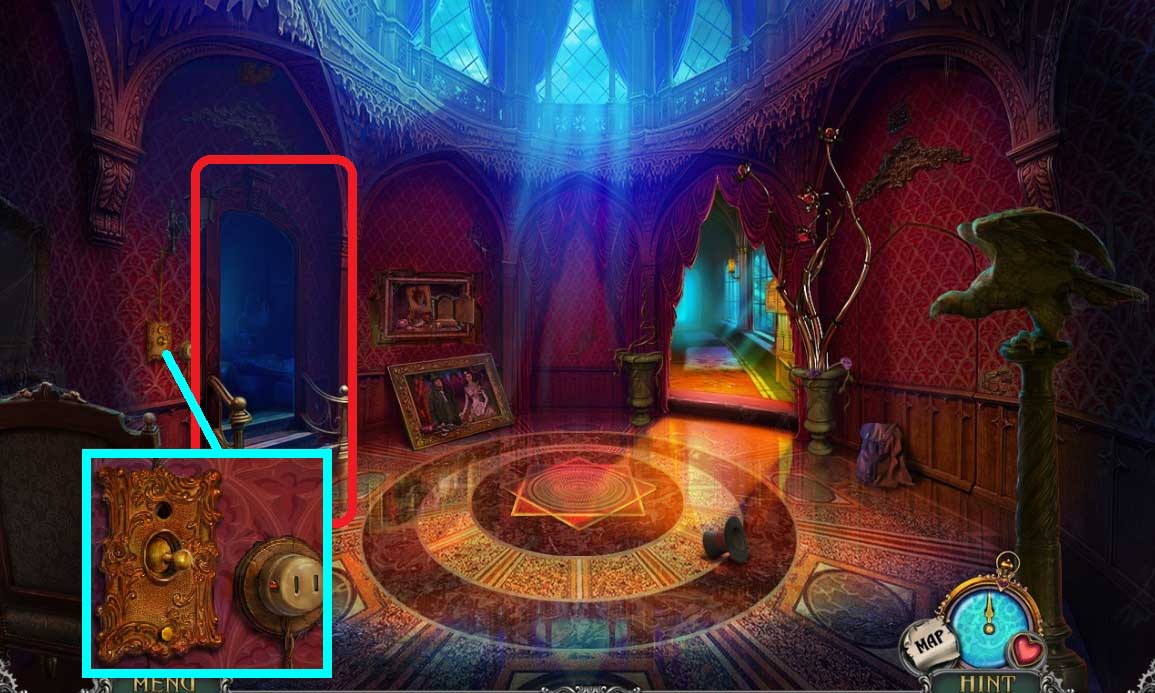
- Move ahead and to the left.
- Select the thin blade to open the door.
- Move ahead once.
- Use the detector on the scene.
- Select the image that matches the image.

- Read the note & collect the glove.
- Click the door locks.
- Click the mechanism.
- Select the thin blade to collect the rope.
- Attach the round mirror & click it 2x’s.
- Click the buttons correctly.
- A mini game will trigger.
- Solve the game by arranging the tokens correctly.
- Exit the close-up.
- Select the thin blade to slice the wallpaper.
- Place the rope onto the chest; click it 2x’s.
- Select the glove to collect the saber.
- Insert the saber into the mechanism; click it once.
General Information & Tips
Chapter 1 Estate
Chapter 2 Enter the Corridor
Chapter 3 The Maze
Chapter 4 Tower
Chapter 5 Back to the Corridor
Ask for help in the comments below!
Chapter 1 Estate
Chapter 2 Enter the Corridor
Chapter 3 The Maze
Chapter 4 Tower
Chapter 5 Back to the Corridor
Ask for help in the comments below!