
Shiver: Moonlit Grove: Chapter Five: The Village
Our Shiver Moonlit Grove Walkthrough will light your way as you attempt to discover the dark secrets this tiny village is so desperately trying to hide. Could there be a connection between your murky past and your beloved foster father's disappearance hidden here? Find out, using our detailed instructions, custom screenshots, and puzzle solutions, as you attempt to survive another terrifying night lost in this chilling addition to the Shiver series.
General Information & Tips
Chapter One: The Village
Chapter Two: The Girl
Chapter Three: Trapped
Chapter Four: Escape
Chapter Five: The Village
Chapter Six: The Curse
Ask for help in the comments below!
Chapter One: The Village
Chapter Two: The Girl
Chapter Three: Trapped
Chapter Four: Escape
Chapter Five: The Village
Chapter Six: The Curse
Ask for help in the comments below!

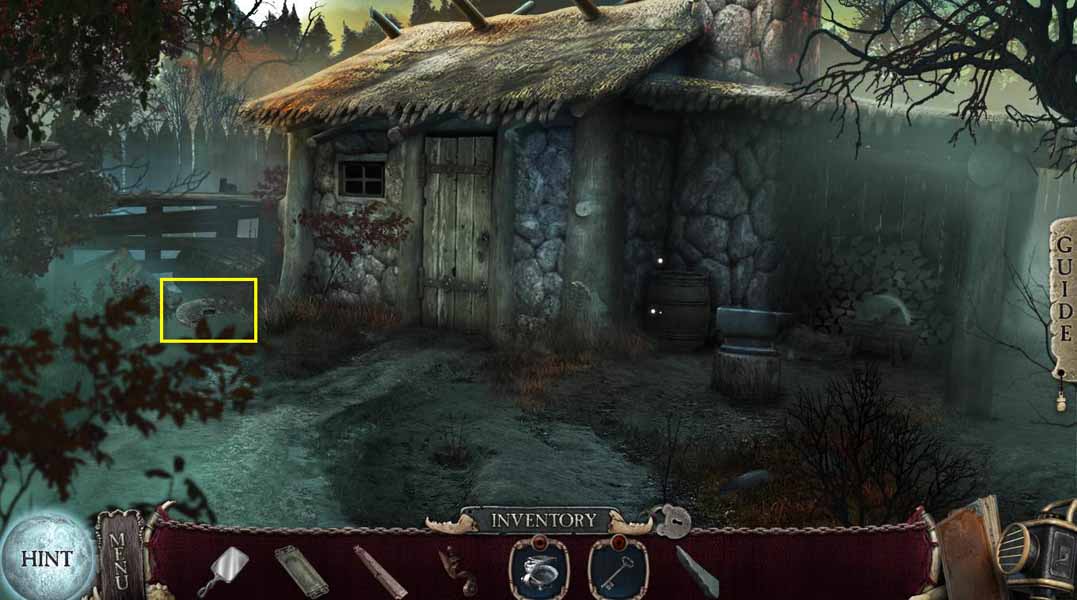
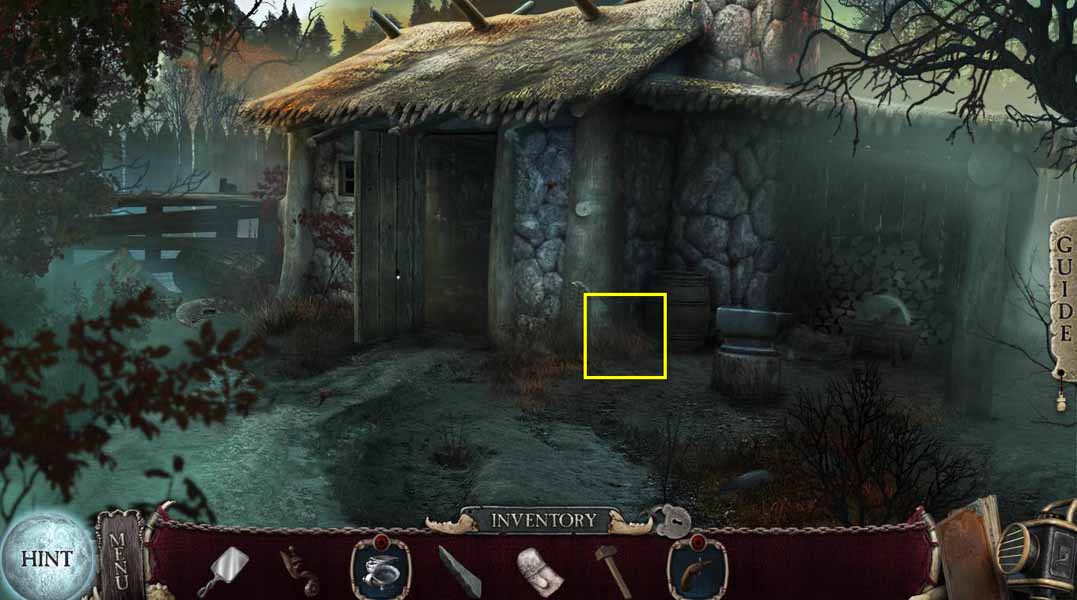
- Go back one screen and then go to the right.
- Click to zoom in on the puddle.
- Take the TROUGH.
- Click to open the door.
- Go inside the shack.

- Click to zoom in on the bag.
- Take the SURGICAL SAW.
- Click to zoom in on the table.
- Read the note.
- Take the KITCHEN UTENSILS.
- Take the GUN LOCK.
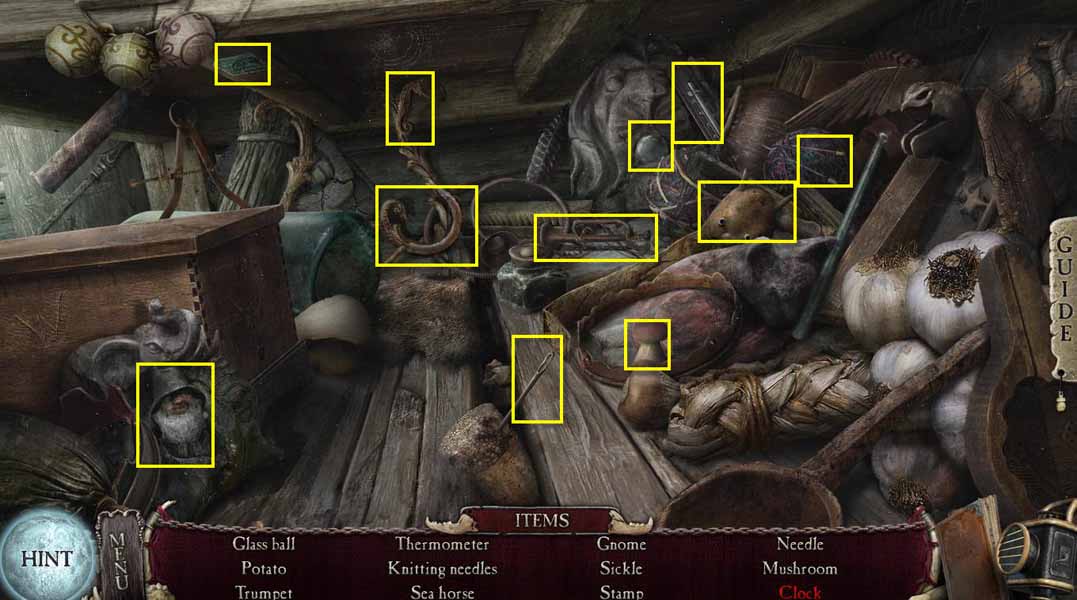
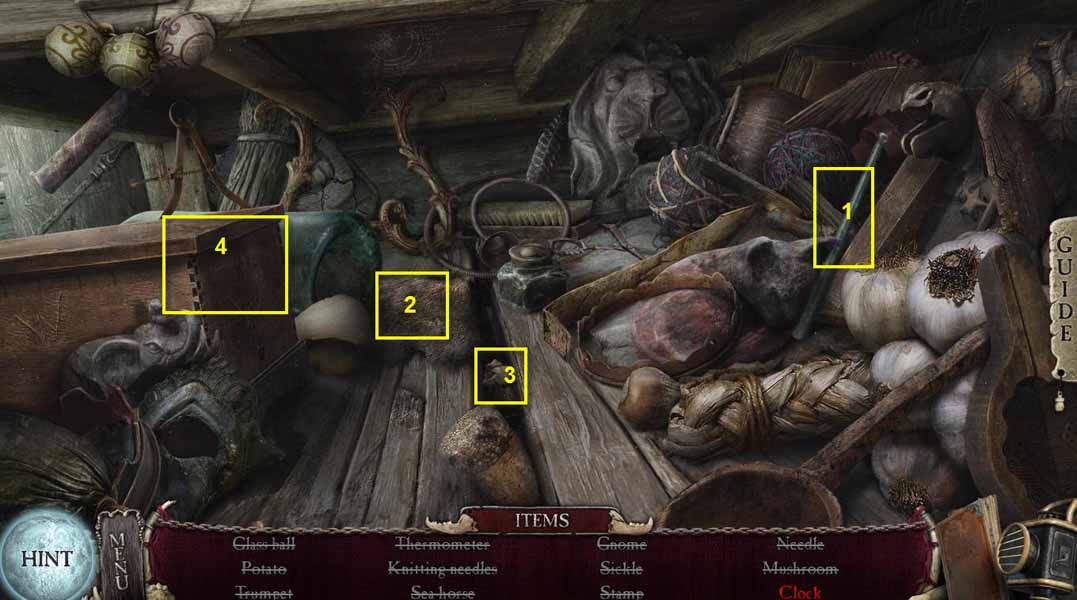
- Click on the sparkles to play the HOG.
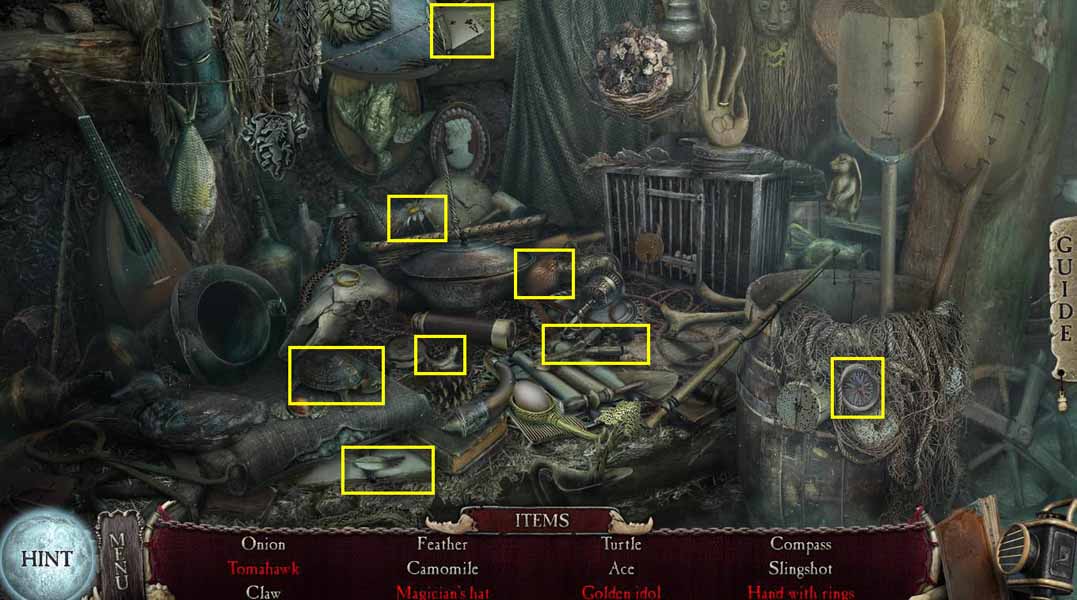
- Find all the items on the list in white.

- To find the Magician's hat, use the bunny on the hat.
- To find the Tomahawk, move the oar.
- To find the golden idol, move the curtain, and then use the shovel on the dirt.
- To find the hand with rings, use the dagger on the fish, use the hook on the pole. Get the key. Use the key on the lock to release the mouse. The snake will chase the mouse. Take the ring and use it on the hand.
- You will receive the KEY.
- Go back two screens and then forward 6 screens.
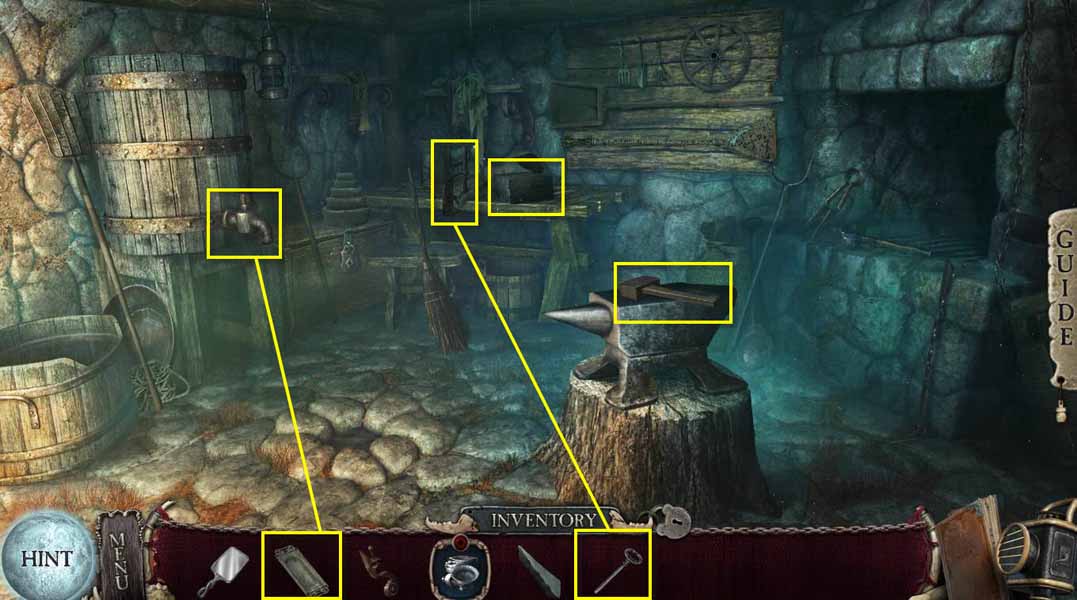
- Click to zoom in on the wheel that fell.
- Take the WHETSTONE.
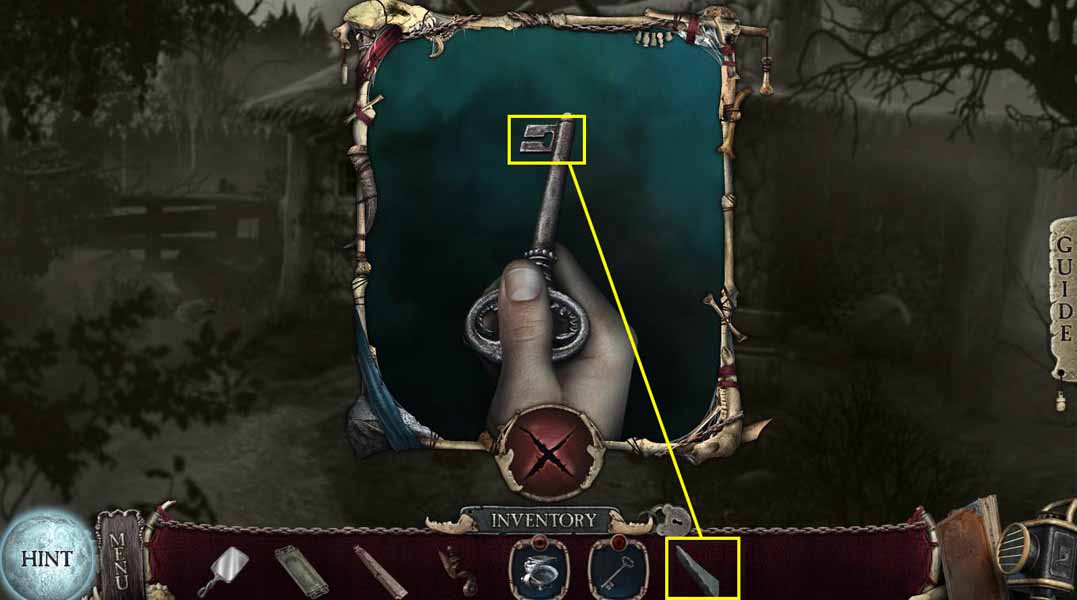
- Click on the KEY in your inventory.
- Use the WHETSTONE on it to create the KEY SHAFT.
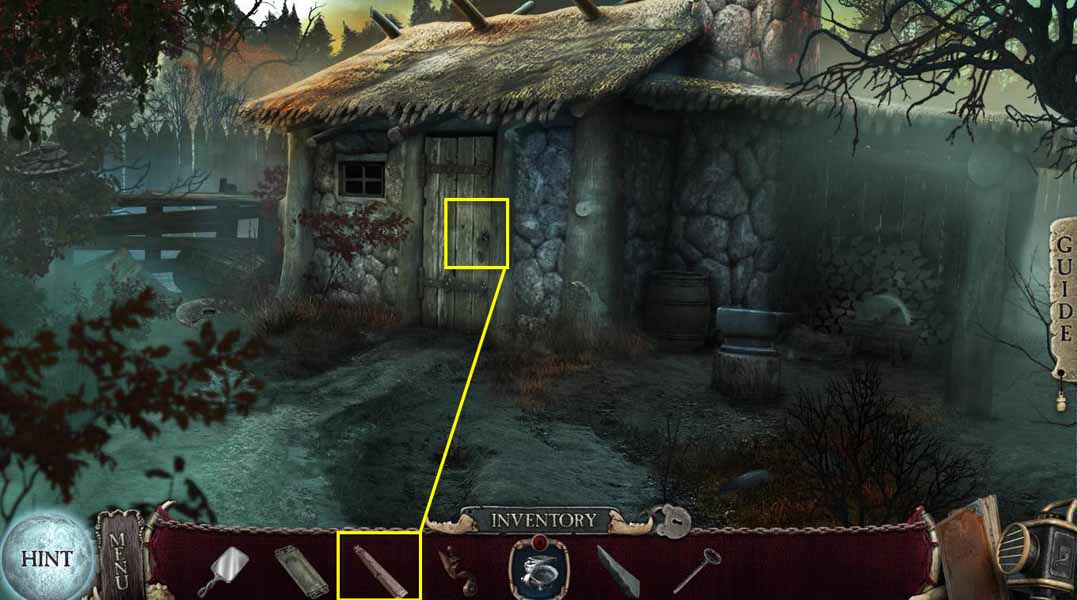
- Click to zoom in on the door.
- Click to zoom in on the lock.
- Use the SURGICAL SAW on the latch.
- Go inside.
- Click to zoom in on the table.
- Click on the note.
- Take the BOX.
- Use the KEY SHAFT on the clamp on the table.
- Click to turn it.
- Take the CLAMP and the MITT.
- Click to zoom in on the anvil.
- Take the SLEDGEHAMMER.
- Click on the barrel on the left to zoom in.
- Use the TROUGH on the spigot.
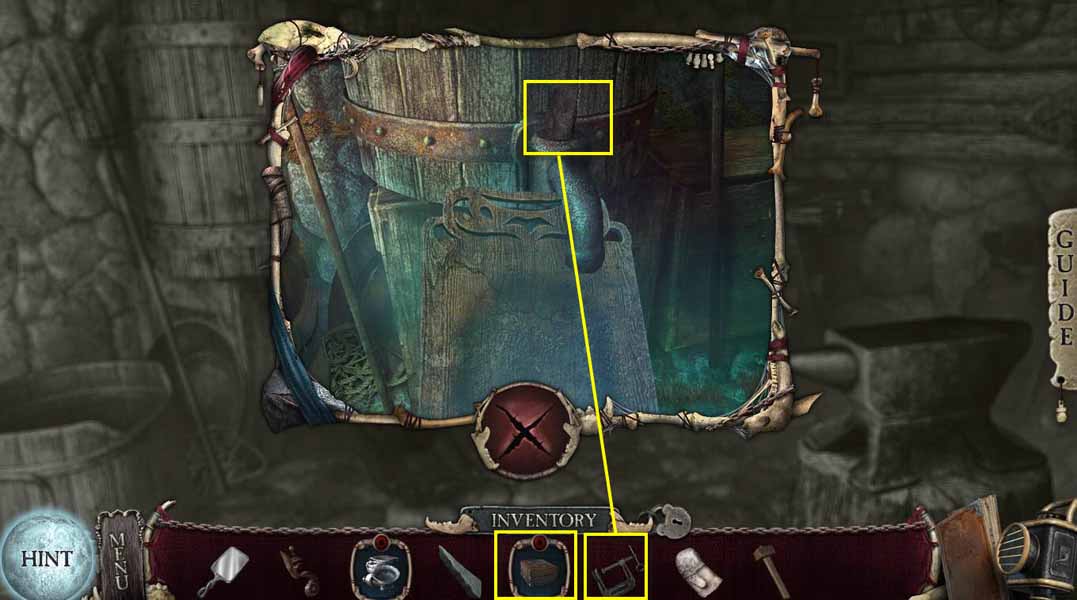
- Use the CLAMP on the spigot.
- Click to turn it.
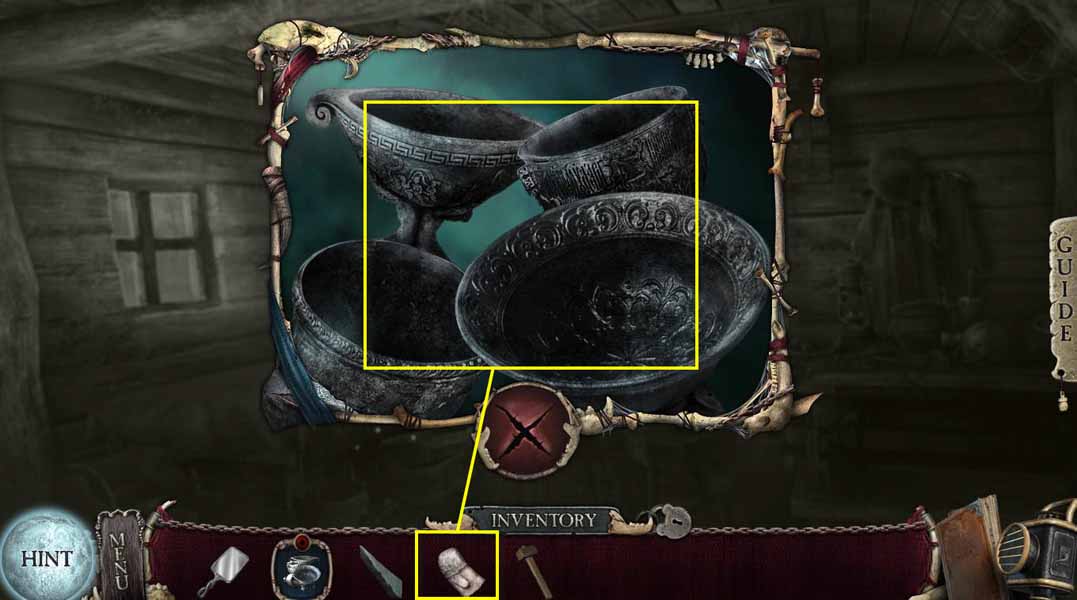
- Click on the BOX in your inventory.
- This will start a mini-game.
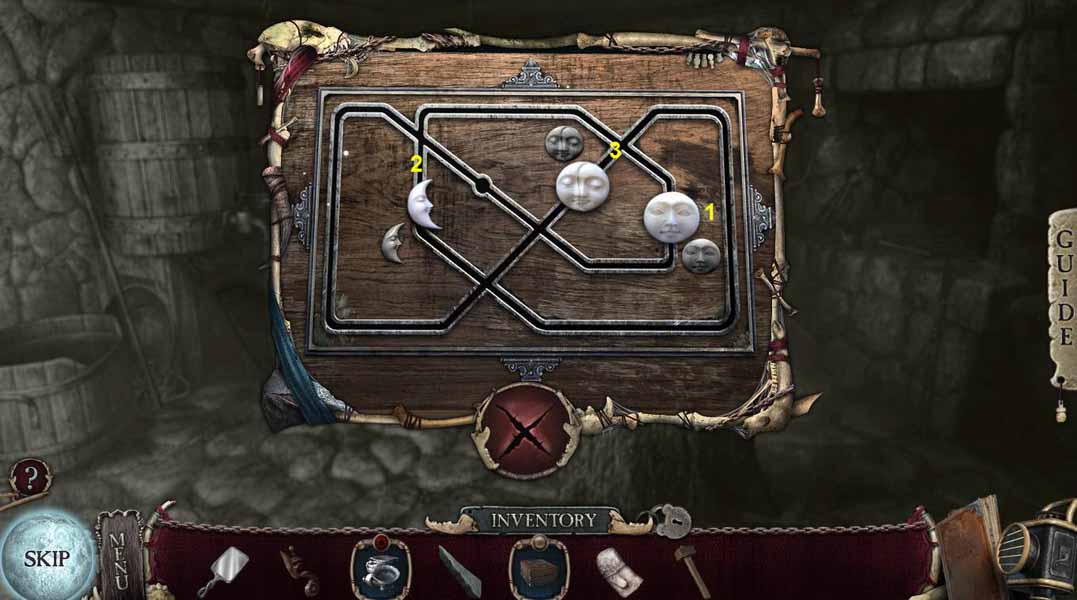
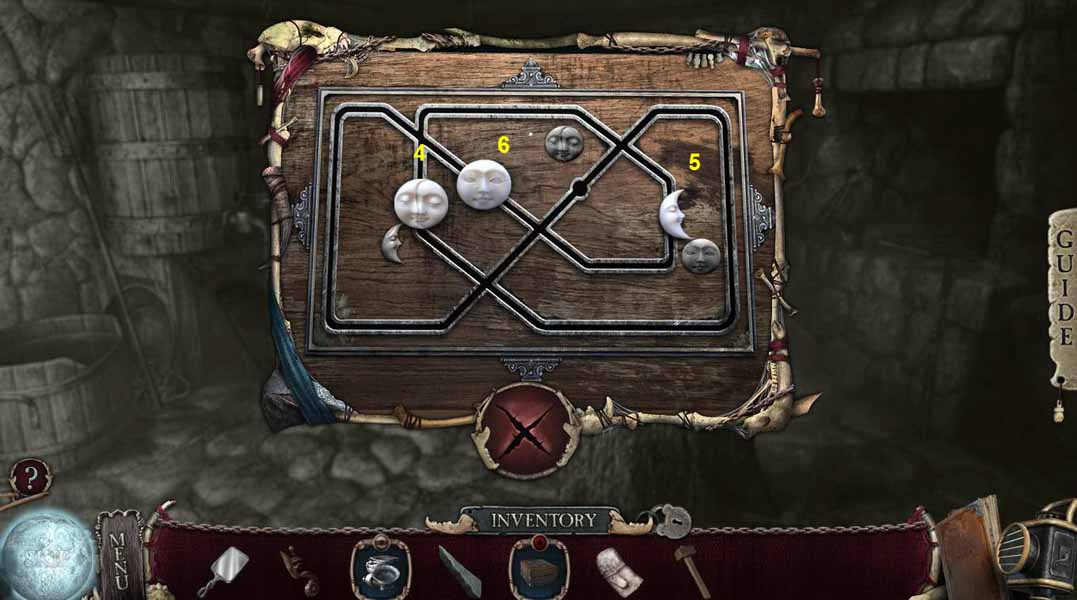
- The goal of the puzzle is to move each moon so that they are next to the matching moon.
- See the solution above.
- Take the GUN HANDLE.
- Go back one screen.
- Click to zoom in on the drain.
- Take the GUN BARREL.

- Click to zoom in on the GUN HANDLE in your inventory.
- Use the GUN LOCK and the GUN BARREL on it.
- You will create the GUN.
- Go back one screen.
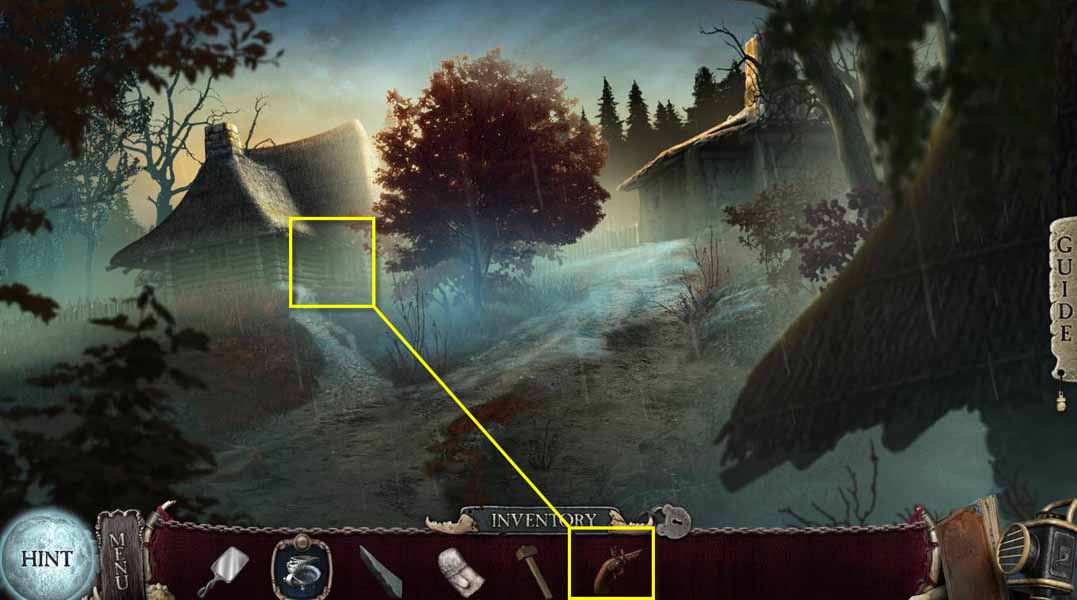
- Click to zoom into the door.
- Use the GUN on the lock.
- Click to open the door and then go inside the cabin.
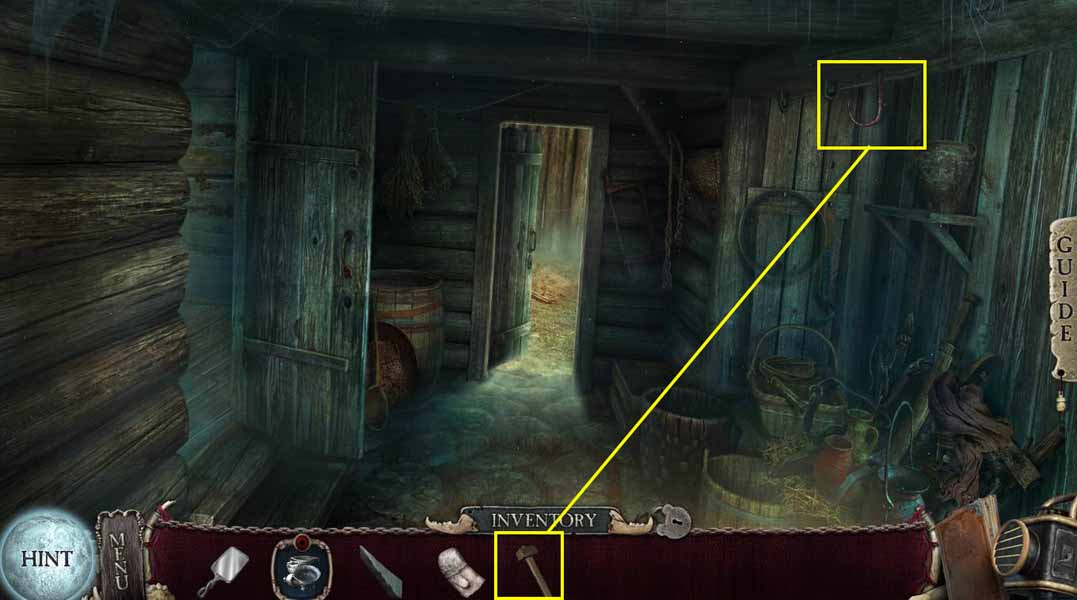
- Click to zoom in on the hook on the ceiling on the right.
- Use the SLEDGEHAMMER on the hook.
- Take the HOOK.
- Go to the left.
- Click on the KITCHEN UTENSILS in your inventory.
- Use the MITT on them.
- Click and drag the MITT to clean them.
- Click on the sparkles to play the HOG.
- Find all the white items on the list.
- To find the clock, use the rod on the rug.
- Use the charged rod on the crack in the floor to get the crumpled paper
- Use the paper scraps on the chest.
- Arrange the scraps to see the code 1423.
- Take the clock.
- You will receive the SICKLE.
- Click to zoom in on the chest.
- This will start a mini-game.
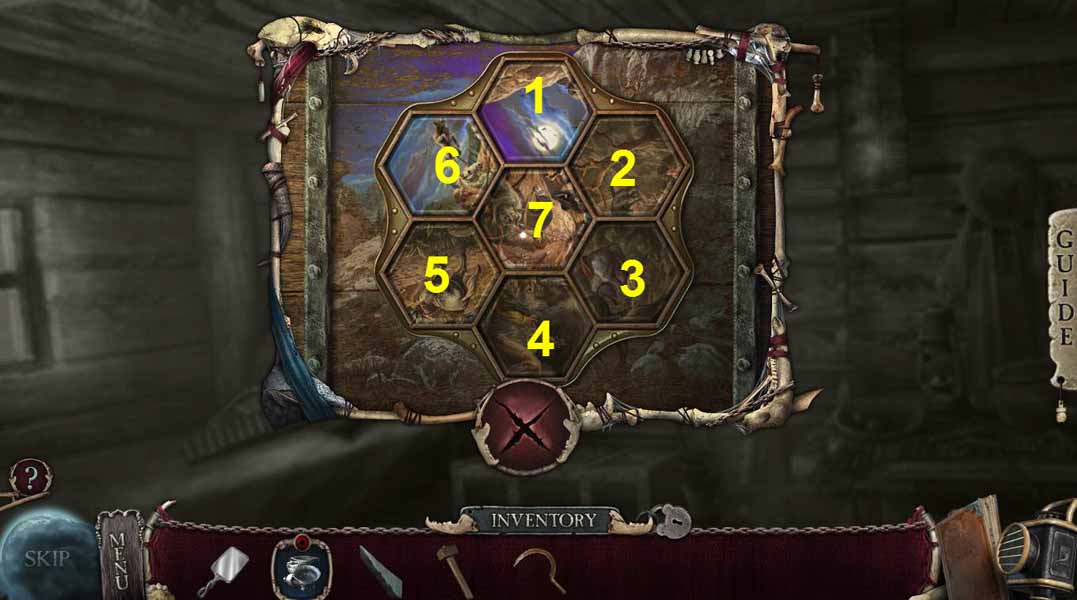
- The goal of the game is to move the tiles so they form the correct picture.
- The solution is as follows: 6, 1, 1, 5, 5, 5, 3, 2, 7, 7
- Click to read the note.
- Take the PLIERS.
- Take the SCOOP.
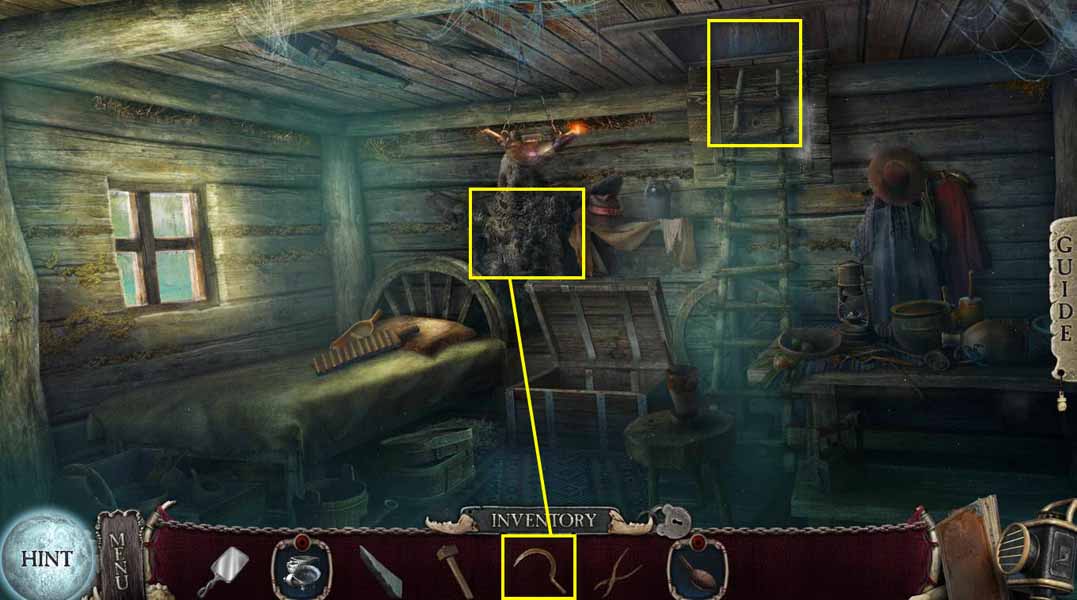
- Click to zoom in on the pelt on the wall.
- Use the SICKLE on it,
- Take the WADDING.
- Go up the ladder.

- Take the HORSESHOE.
- Go back two screens.
- Go forward one screen.
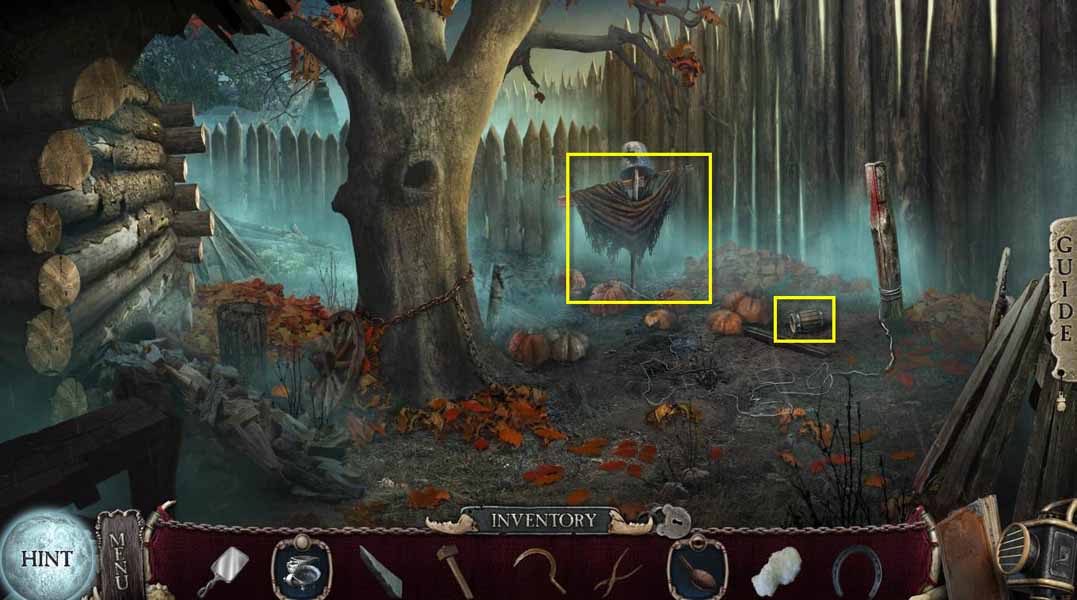
- Click to zoom in on the scarecrow.
- Take the RAGS.
- Click on the bucket to remove it.
- Click on the arms to remove it.
- Click on the stake a few times.
- You will receive the LEVER.
- Click on the ground to zoom in.
- Take the OLD MUG.
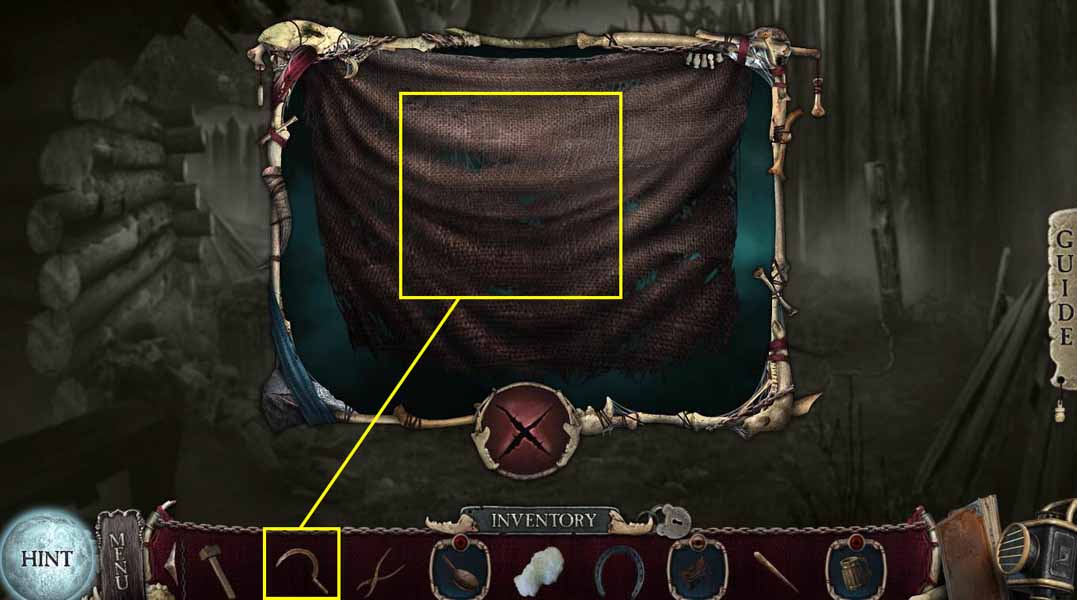
- Click on the RAGS in your inventory.
- Use the SICKLE on them.
- You will create the ROPE.
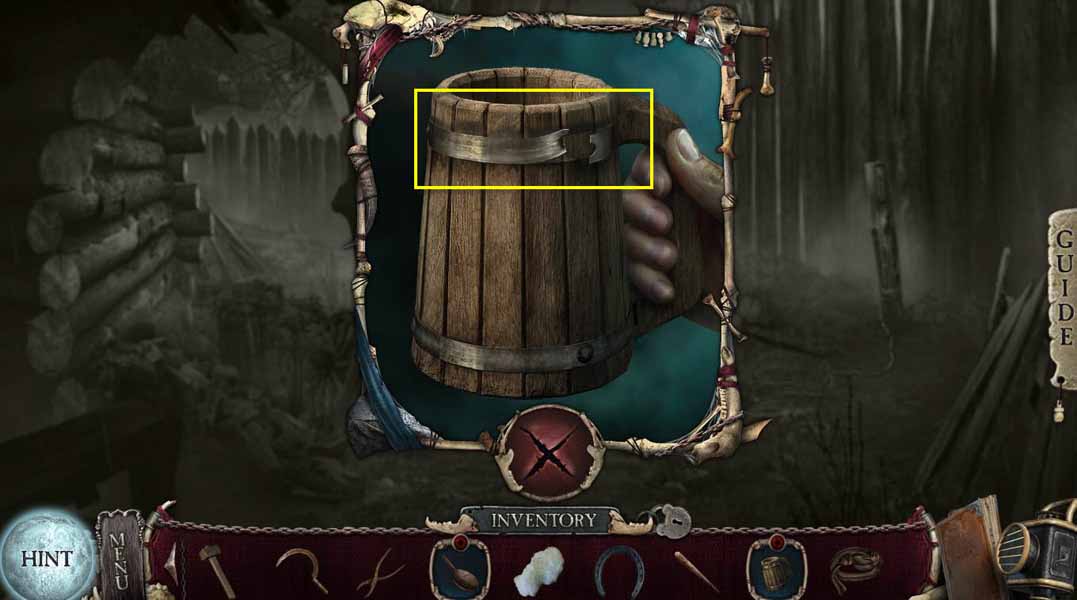
- Click on the OLD MUG in your inventory.
- Take the METALLIC BAND.
- Go back two screens.
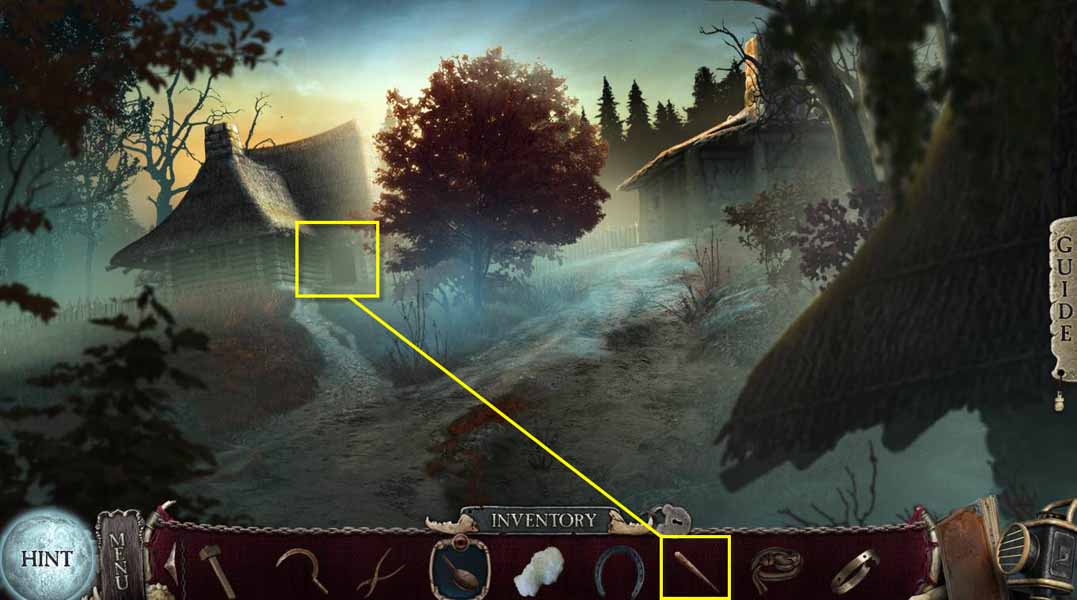
- Click on the door on the left to zoom in
- Use the LEVER on the door.
- Take the DOOR.
- Go inside the cabin.
- Go to the left and then up the ladder again.
- Click to zoom in on the tree.
- Use the DOOR on the tree.
- Go forward.
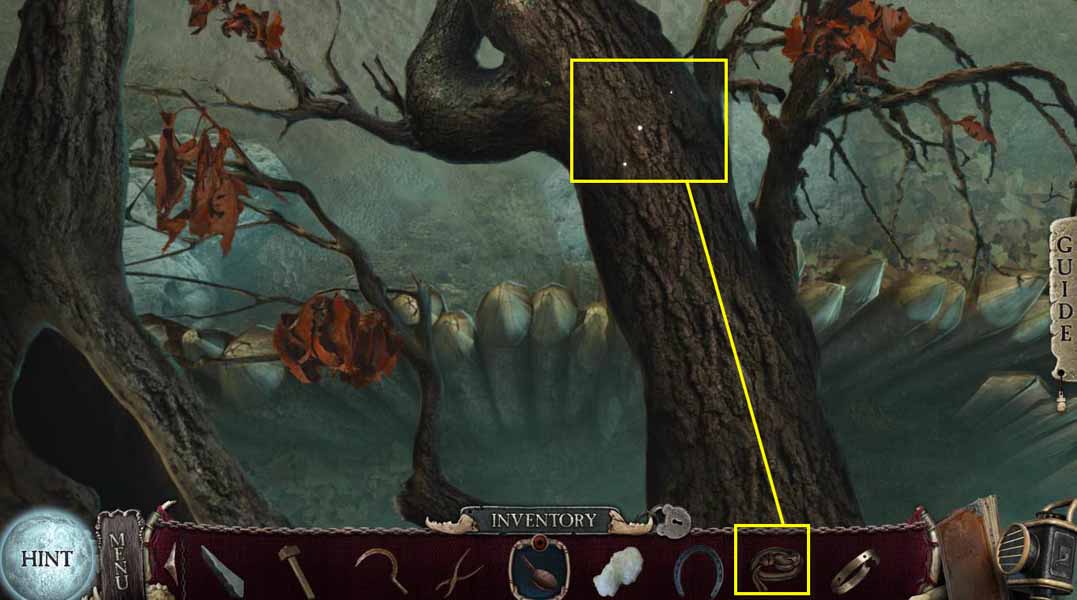
- Use the ROPE on the branch.
- Go down the rope.
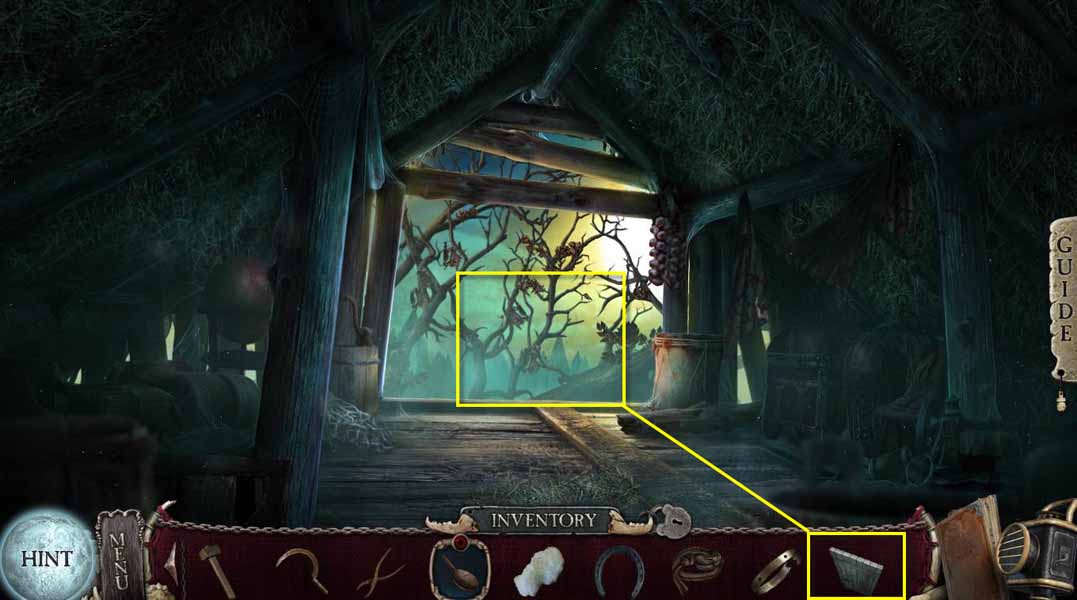
- Go forward one screen toward the water.
- Click to zoom in on the floating debris.
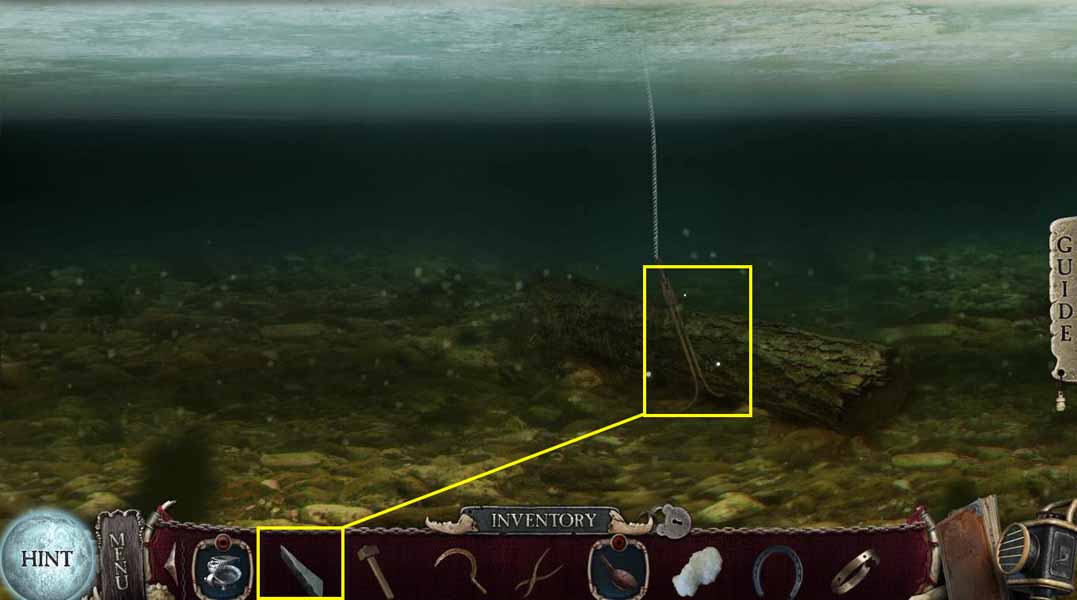
- Click to zoom in on the log.
- Use the WHETSTONE on the anchor.
- Click and drag the whetstone back and forth.
- If the screen darkens, go back up for air.
- You will receive the BROKEN ANCHOR.
- Go back one screen.
- Go forward up the hill on the left.
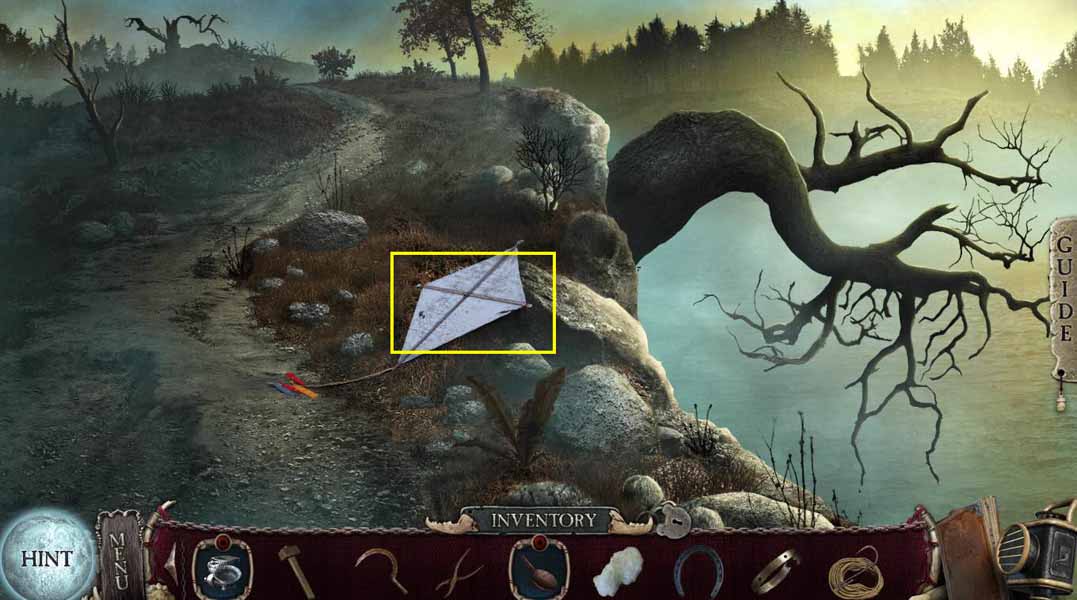
- Take the KITE.
- Go forward one screen.
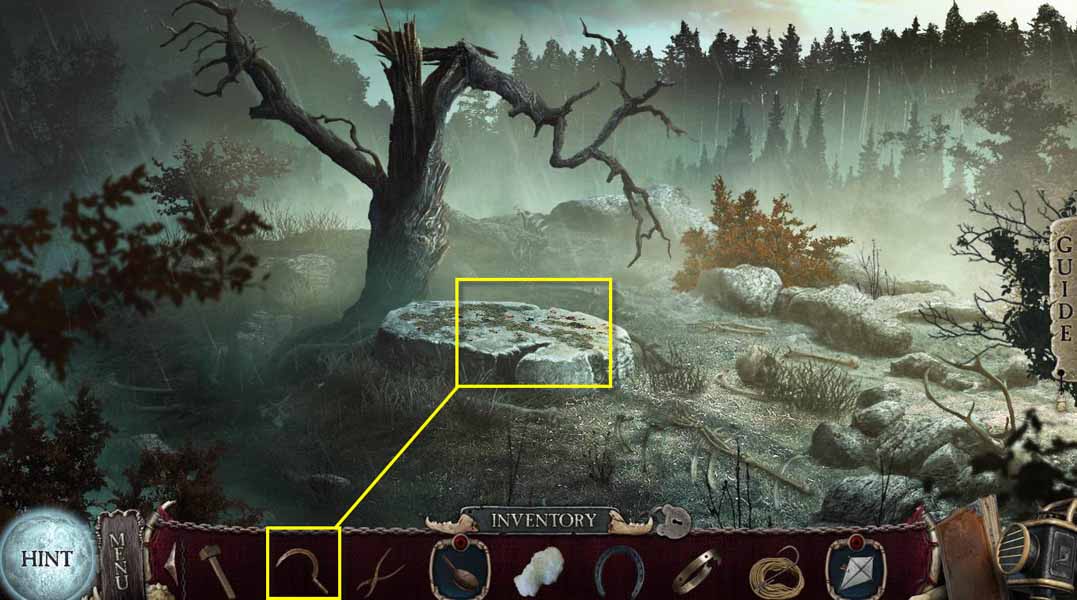
- Click to zoom in on the altar.
- Take the WHITE FUR.
- Use the SICKLE on the moss.
- Click and drag the sickle to scrape away the moss.
- Go back two screens.
- Go back up the rope.
- Go back four screens.
- Go forward two screens.
General Information & Tips
Chapter One: The Village
Chapter Two: The Girl
Chapter Three: Trapped
Chapter Four: Escape
Chapter Five: The Village
Chapter Six: The Curse
Ask for help in the comments below!
Chapter One: The Village
Chapter Two: The Girl
Chapter Three: Trapped
Chapter Four: Escape
Chapter Five: The Village
Chapter Six: The Curse
Ask for help in the comments below!