
Lost Souls: Timeless Fables: Chapter Two: The Backroom
Our Lost Souls: Timeless Fables Walkthrough will act as your much needed and helpful assistant as you venture through some classic literary tales in search of your brother, Stan. Our resourceful instructions, custom marked screenshots, and helpful puzzle solutions will guide your progress as you make your way through the faded yellowed pages in search of answers.
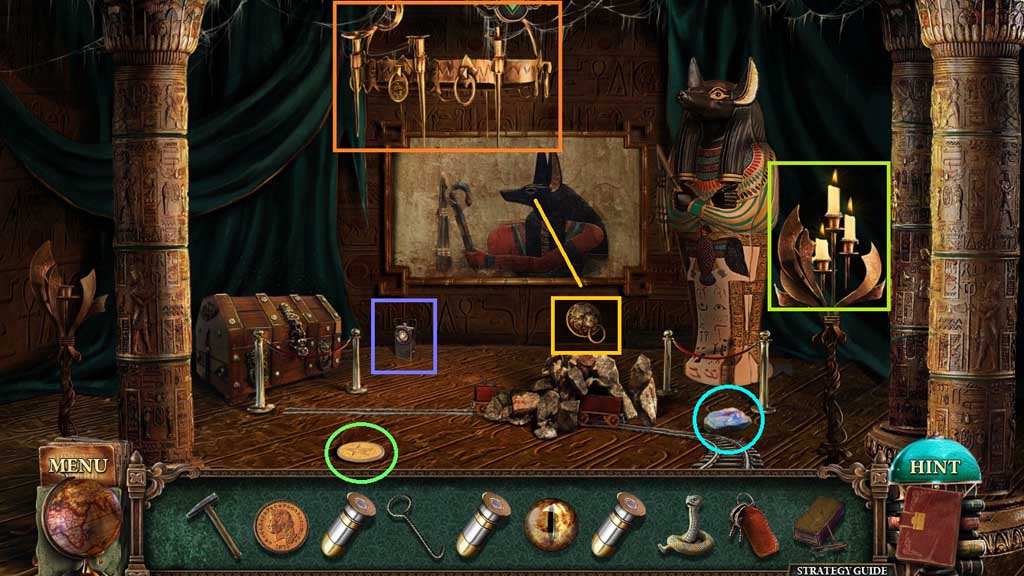
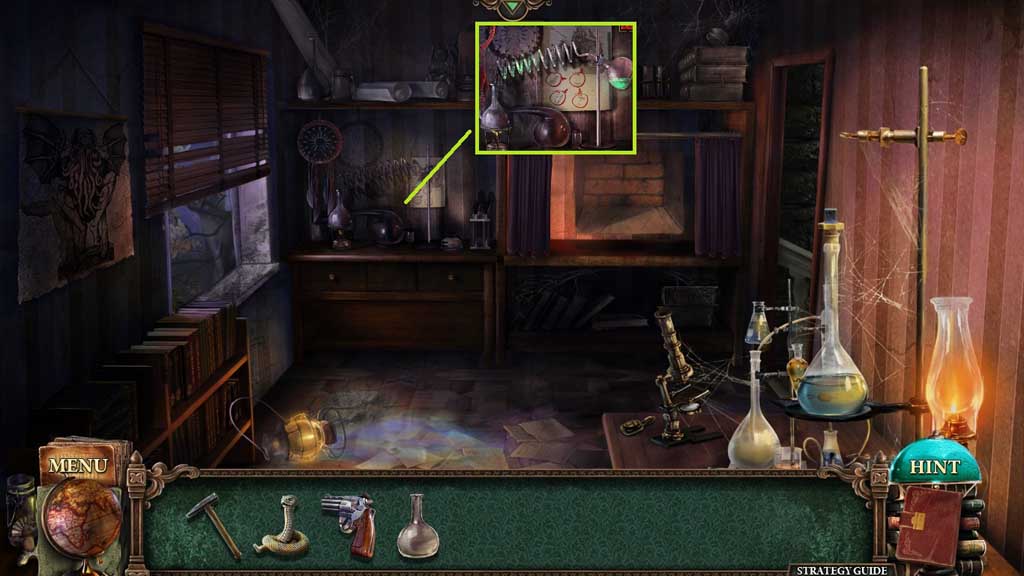
- Click the chandelier.
- Select the matches to re-light the candelabra.
- Collect the moon stone, the coin and the flashlight.
- Insert the eye; collect the drawer handle.
- Move to the Town Hall.
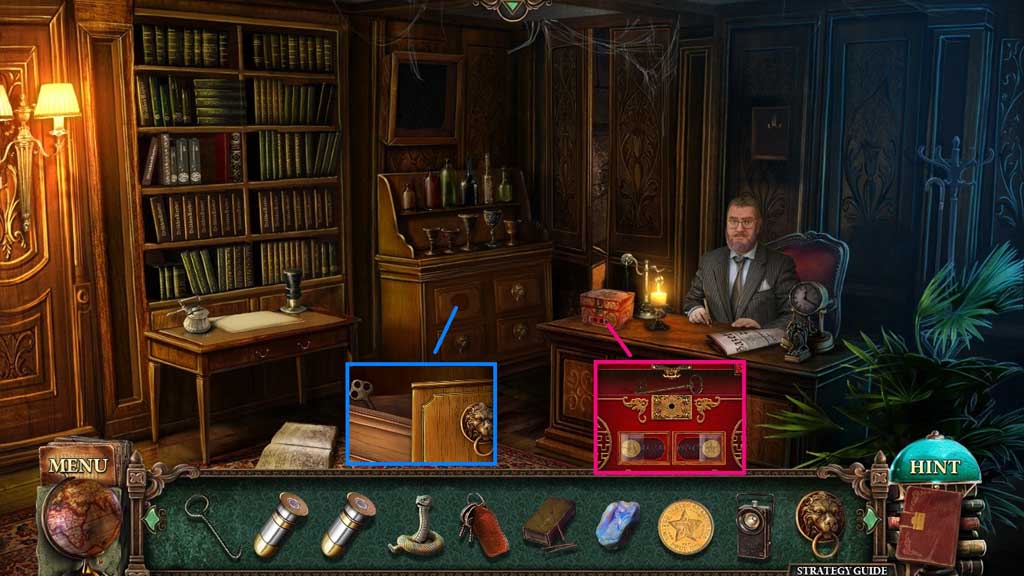
- Insert the 2 coins; collect the key.
- Attach the drawer handle and click it once.
- Collect the key.
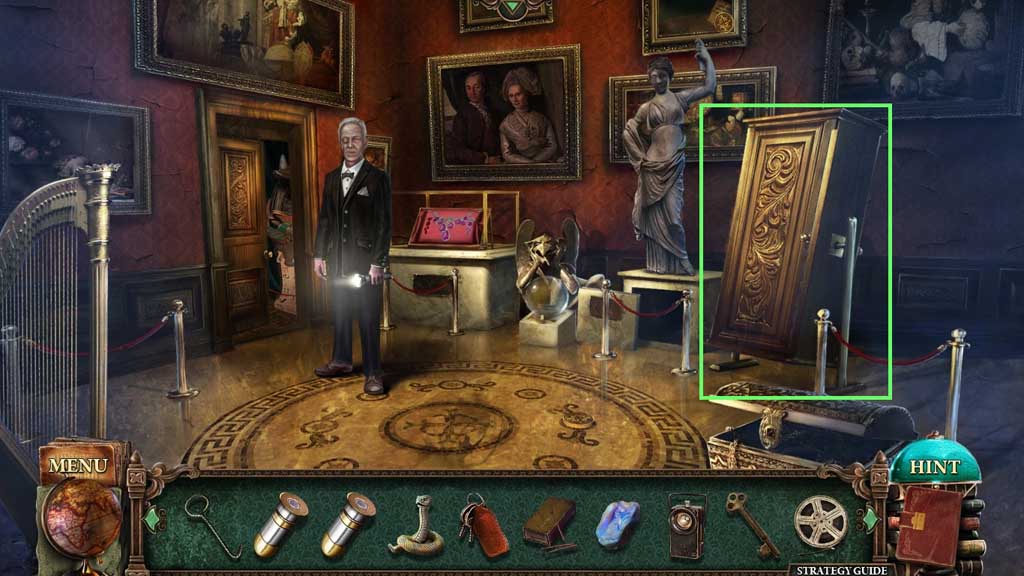
- Move to the Museum and move left.
- Insert the key and click it 2 times.
- Collect the film.
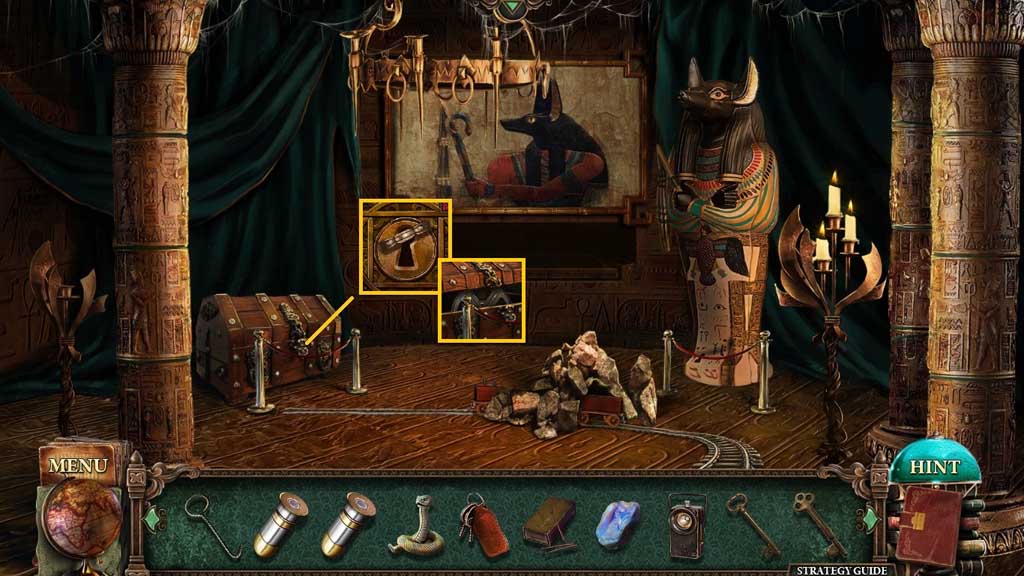
- Move down once.
- Insert the key and click it once.
- Move to the Professor’s House.
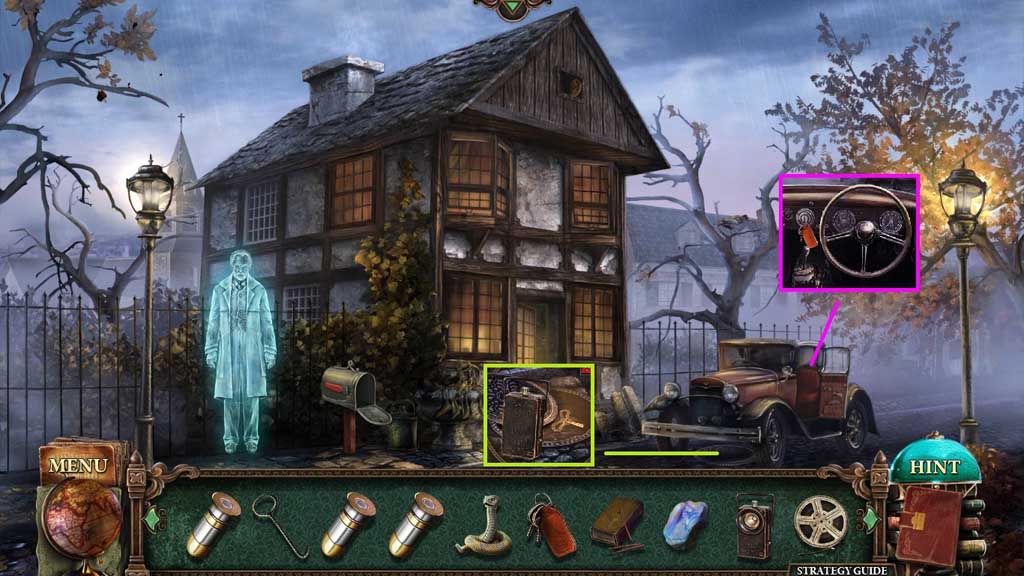
- Zoom into the car.
- Insert the car keys; click it once.
- Select the hook and the flashlight to collect the key.
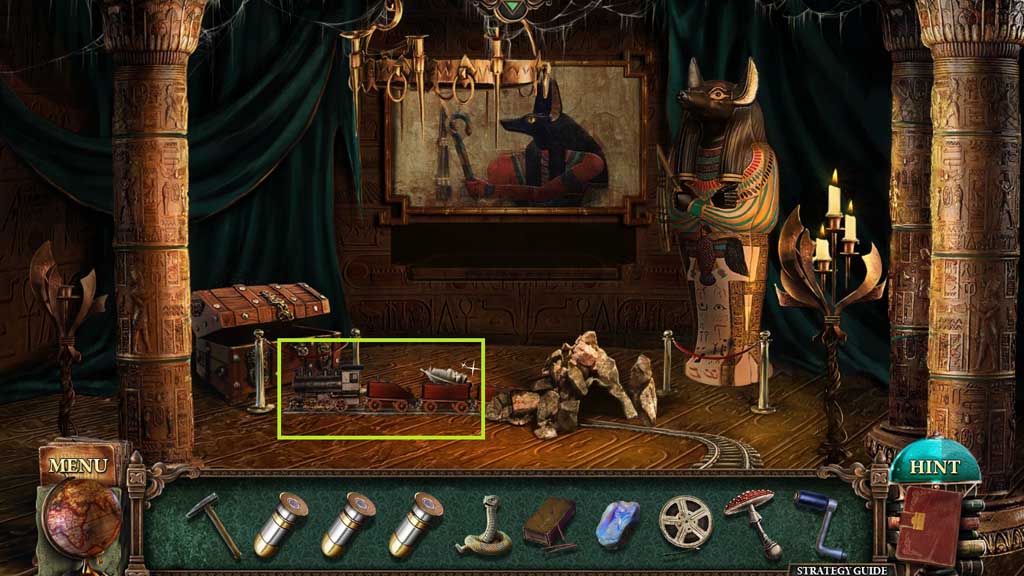
- Move ahead 2 times and click the hidden objects area.
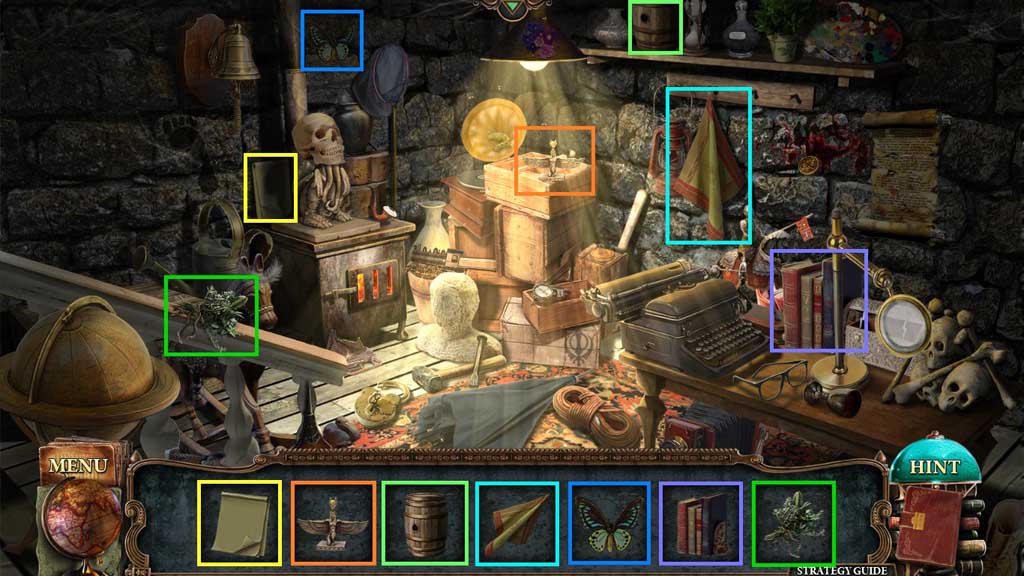
- Find the items.
- Collect the engine.
- Insert the key and click it 2 times.
- Collect the jewelry.
- Move to the Museum.
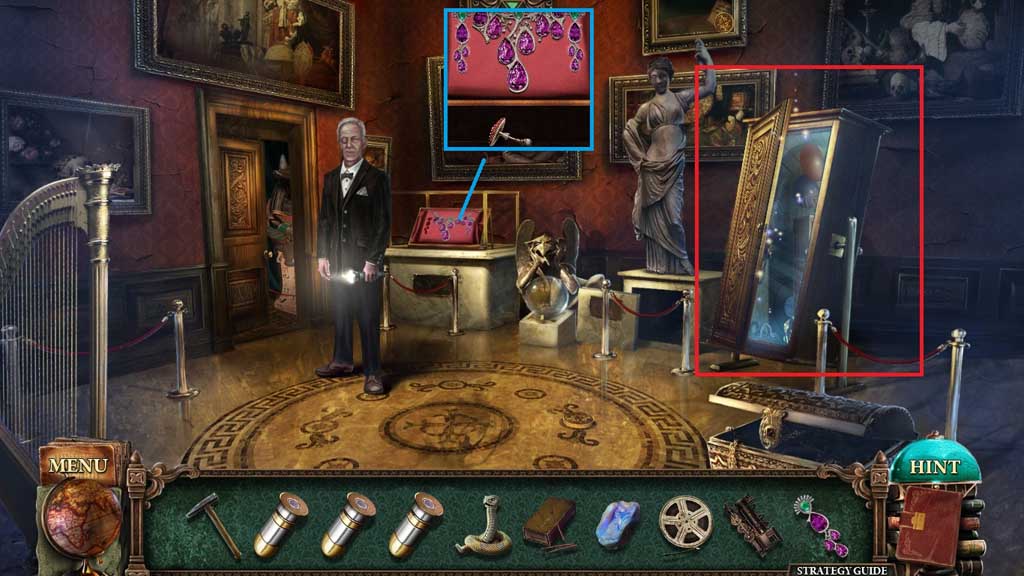
- Place the jewelry down; collect the toadstool.
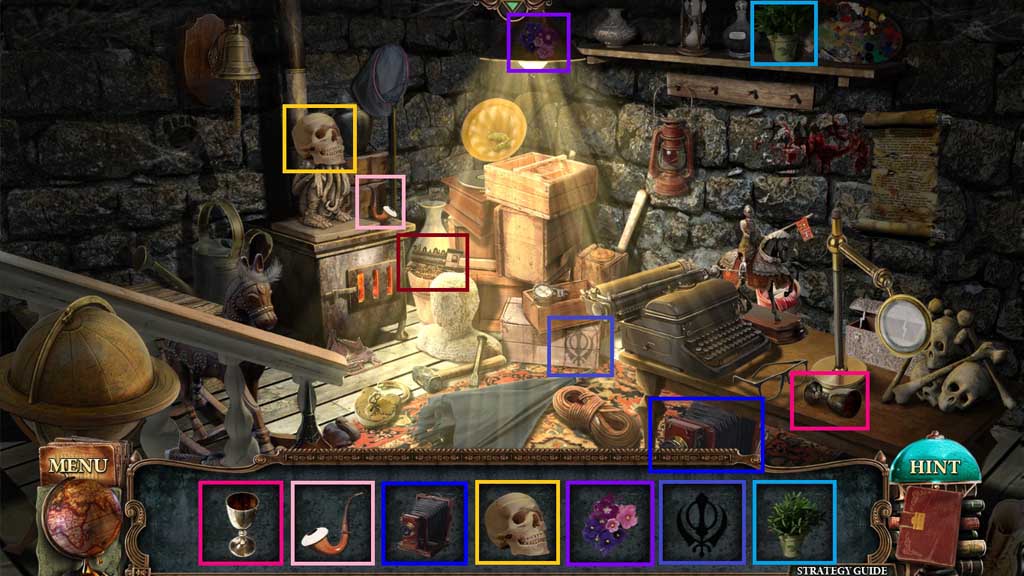
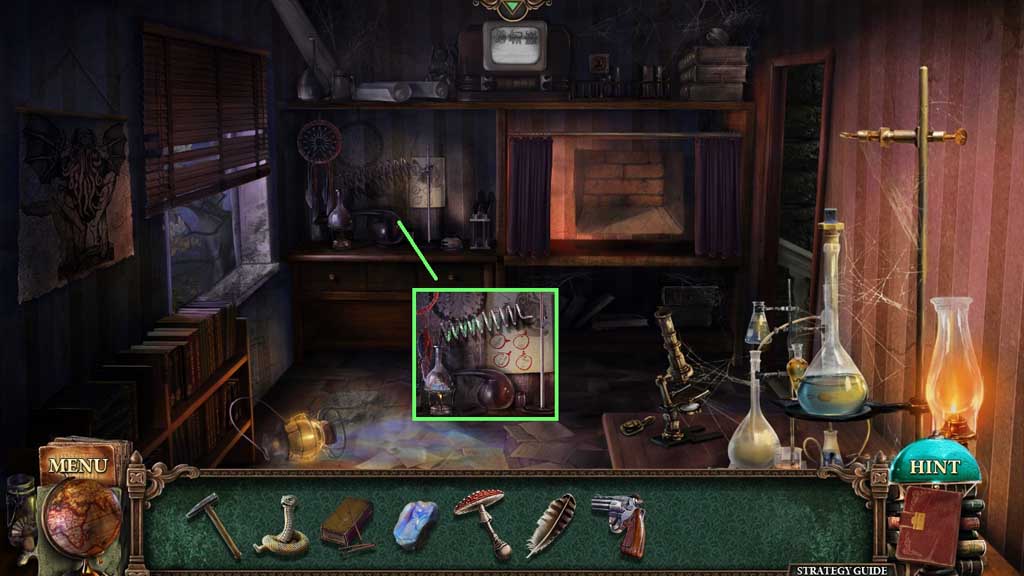
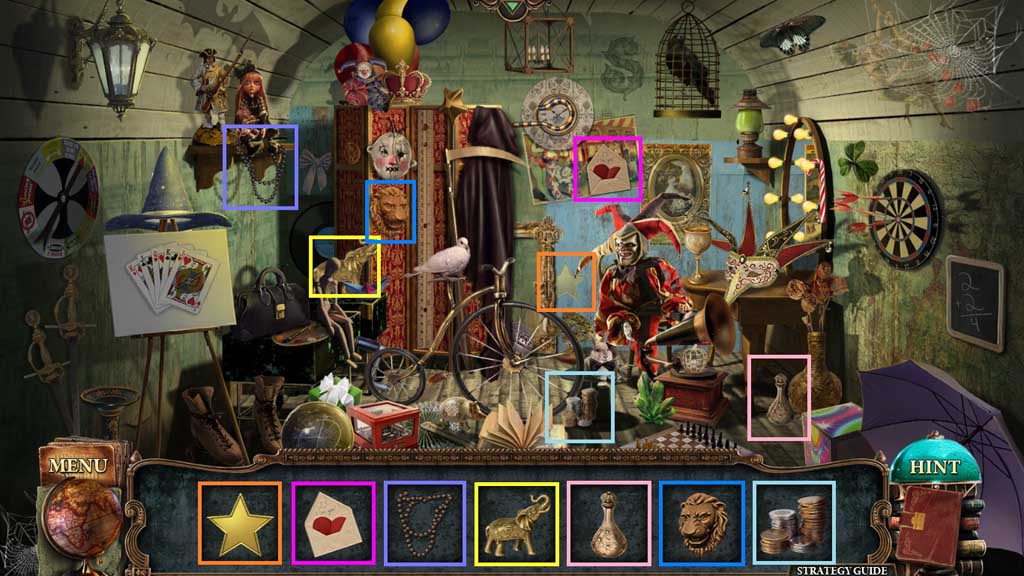
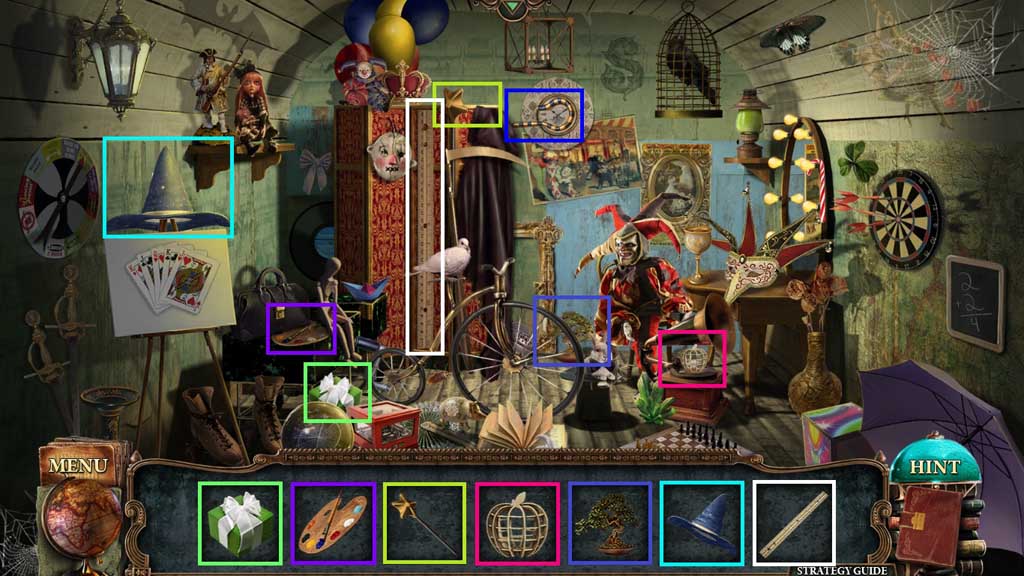
- Click the hidden objects area.
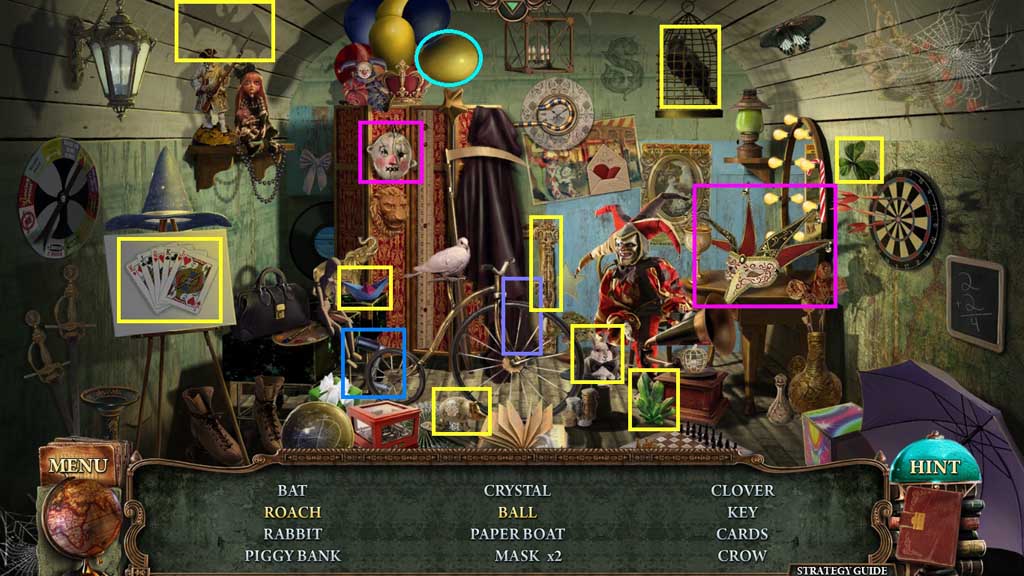
- Find the items.
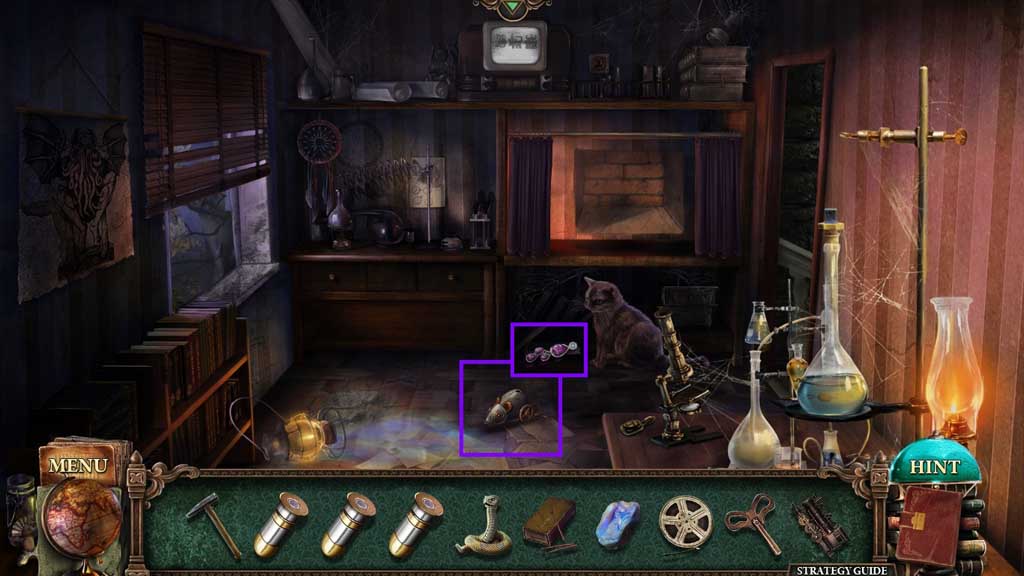
- Click the yellow balloon; collect the roach.
- Click the curtain; collect the ball.
- Collect the projector handle.
- Move left.
- Attach the engine; collect the feather.
- Move to the Professor’s House and go forward once more.
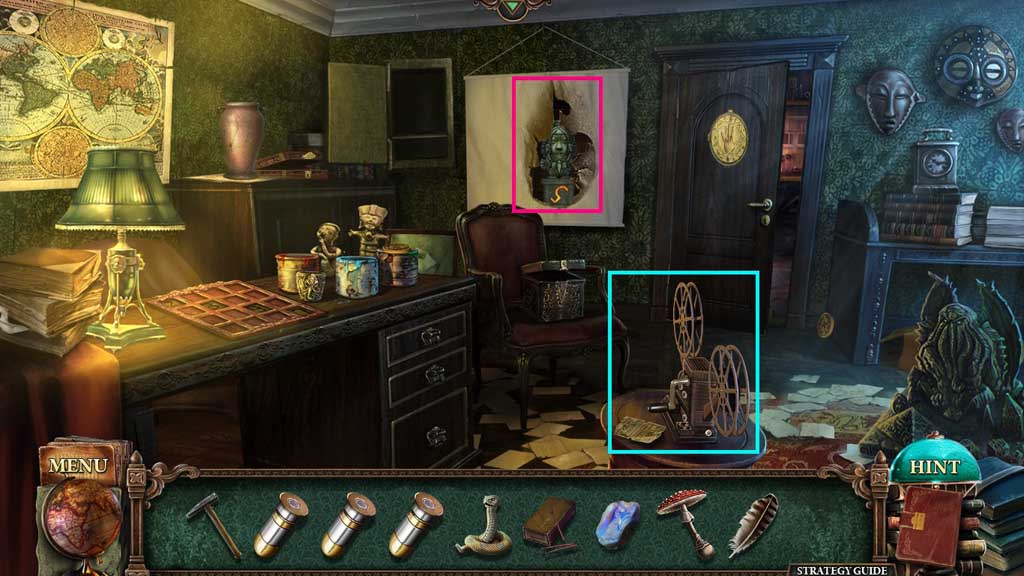
- Attach the projector handle and the film.
- Click the handle.
- Collect the figurine.
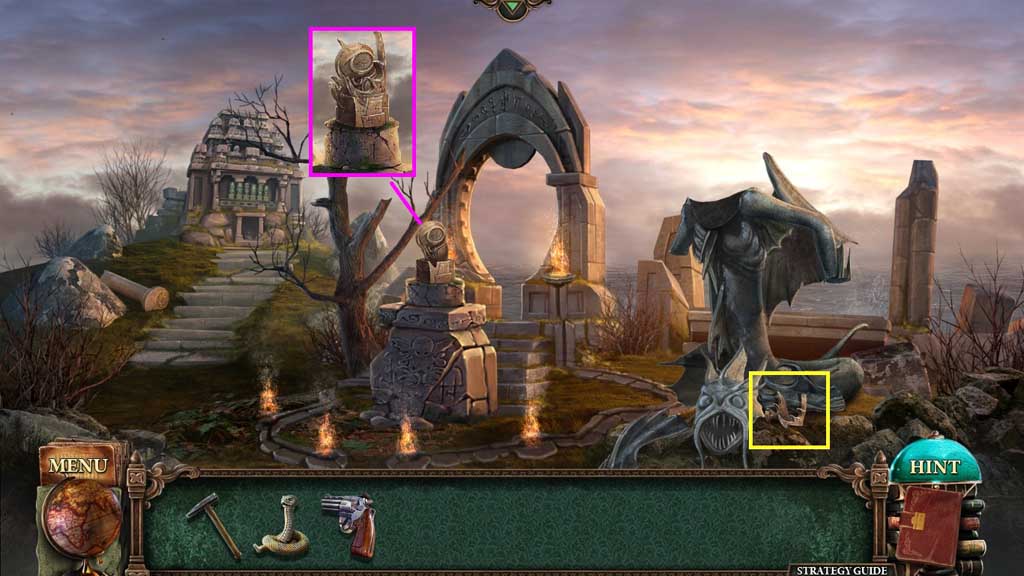
- Move to the Portal.
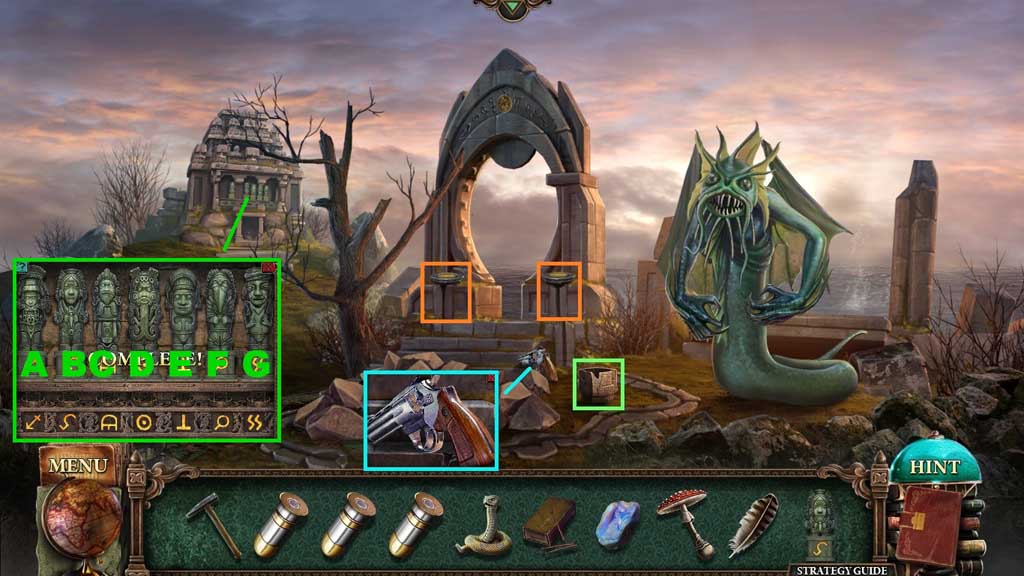
- Collect the statue part.
- Insert the 3 bullets and click the cylinder; receive the revolver.
- Zoom into the building and place down the figurine to trigger a mini game.
- Solve the game by aligning the statues correctly.
- Use the following sequence to solve: A – B –E – G – E – G – F – G - E
- Receive the statue part.
- Select the matches to ignite the torches.
- Attach the 2 statue parts.
- Move to the Professor’s House and go forward 2 times.
- Select the matches, the moonstone, the toadstool and the feather to use as shown in the diagram.
- Move to the Town Hall and click the hidden objects area.
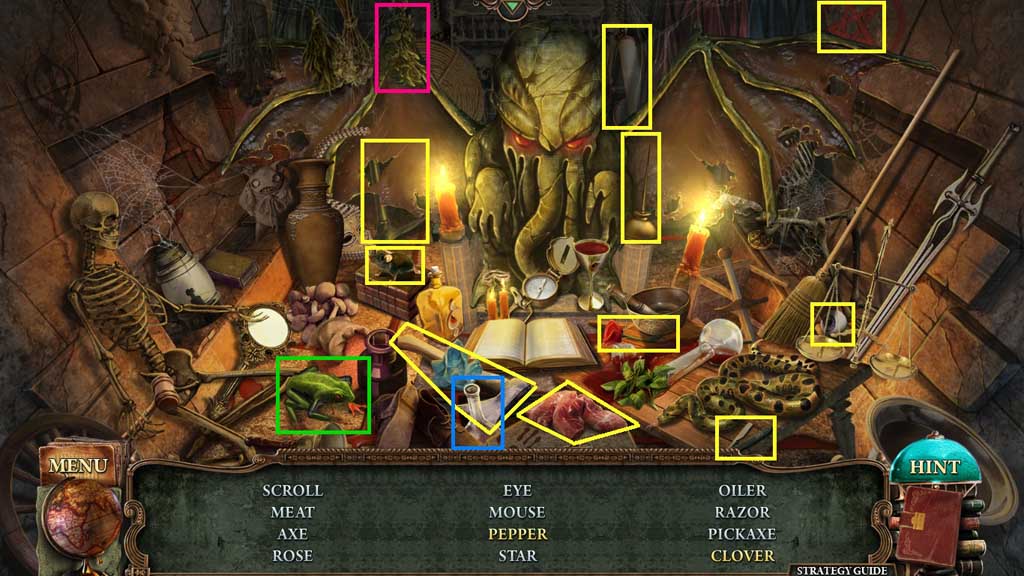
- Find the items.
- Click the herb; collect the pepper.
- Click the frog; collect the clover.
- Collect the flask.
- Move to the Professor’s House and go forward 2 more times.
- Attach the flask; collect the potion.
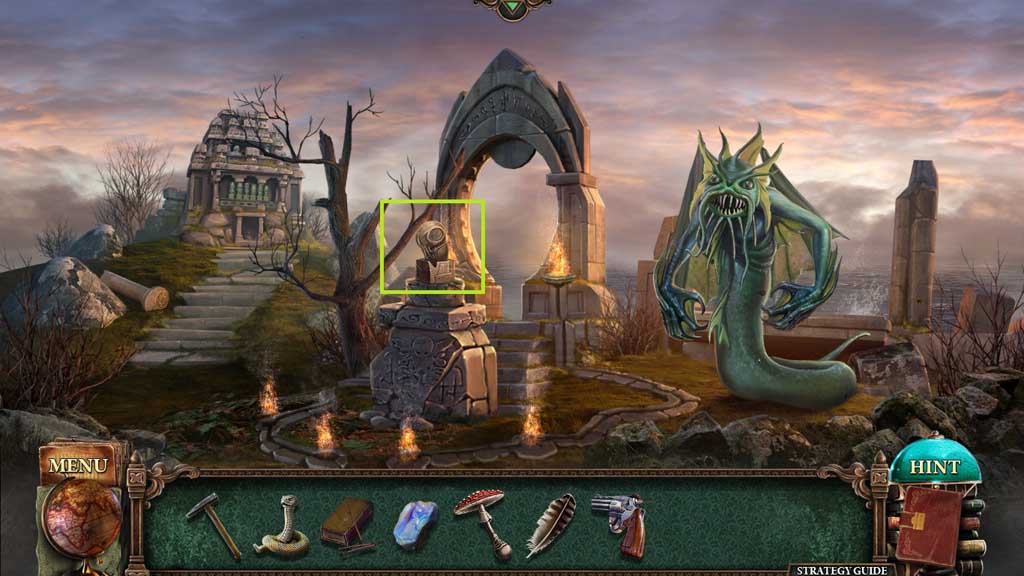
- Move to the Portal.
- Toss the potion toward the monster.
- Collect and place the statue part.
- Move ahead.
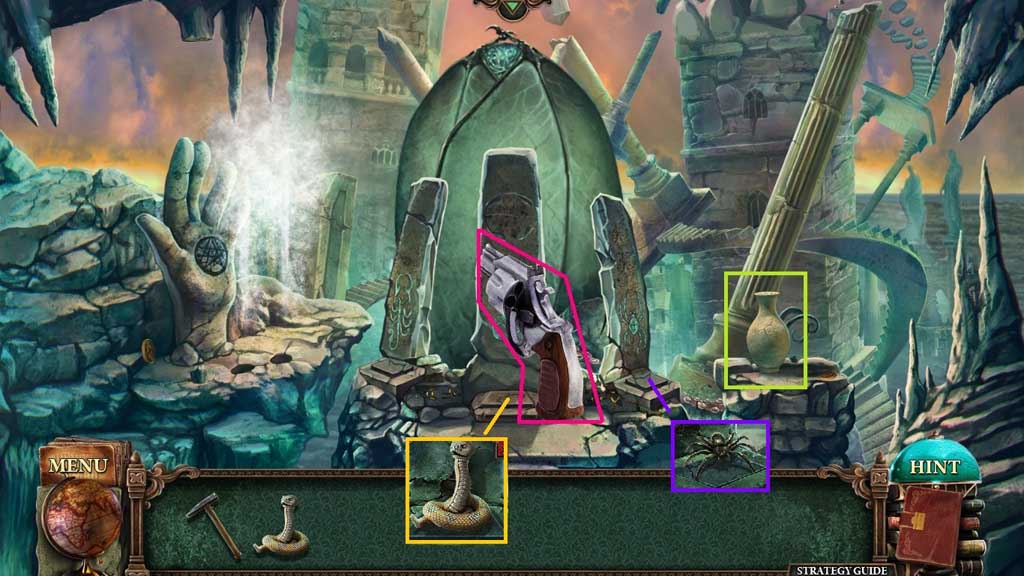
- Select the revolver and shoot it 3 times.
- Select the hammer to smash the vase; collect the spider figurine.
- Place down the spider and snake figurines.
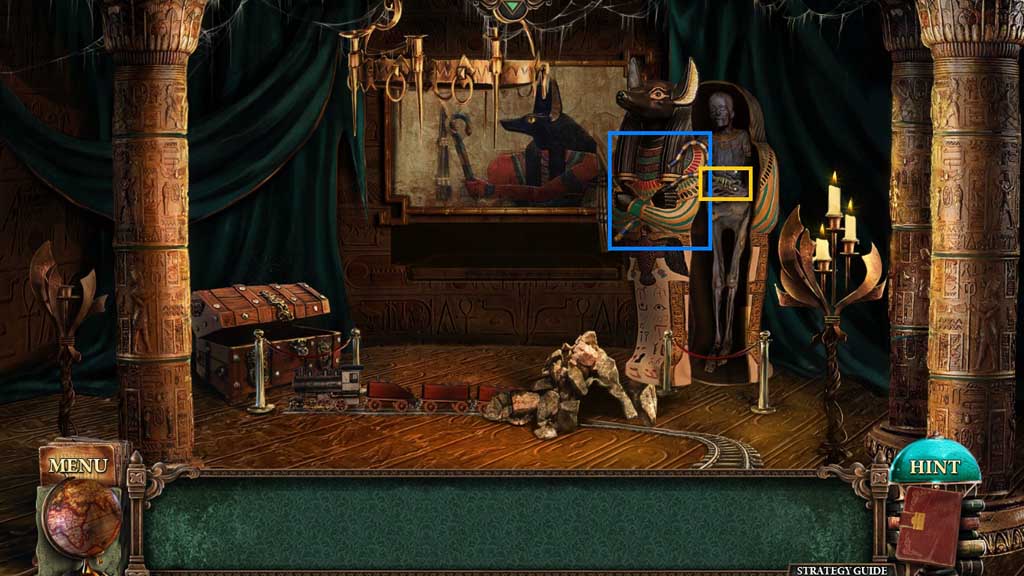
- Move to the Museum and click the hidden objects area.
- Find the items.
- Collect the scepter.
- Move ahead.
- Attach the scepter; collect the scorpion figurine.
- Move to the Portal and move ahead once more.
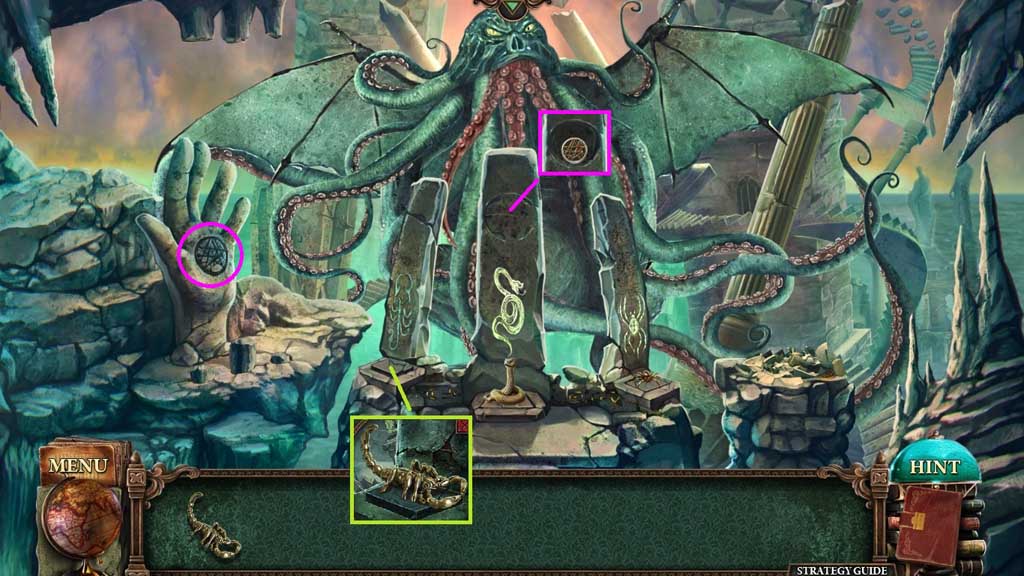
- Place the scorpion figurine down.
- Collect the amulet and insert it into the groove.