
Labyrinths of the World: The Devil's Tower: Chapter 5 Crystal
Our Labyrinths of the World: The Devil's Tower Walkthrough includes easy instructions & colorful screen shots to help you along in this enthralling hidden objects adventure game!
General Tips & Information
Chapter 1 Tower
Chapter 2 Memory
Chapter 3 Sanderion
Chapter 4 Margaret
Chapter 5 Crystal
Ask for help in the comments below!
Chapter 1 Tower
Chapter 2 Memory
Chapter 3 Sanderion
Chapter 4 Margaret
Chapter 5 Crystal
Ask for help in the comments below!
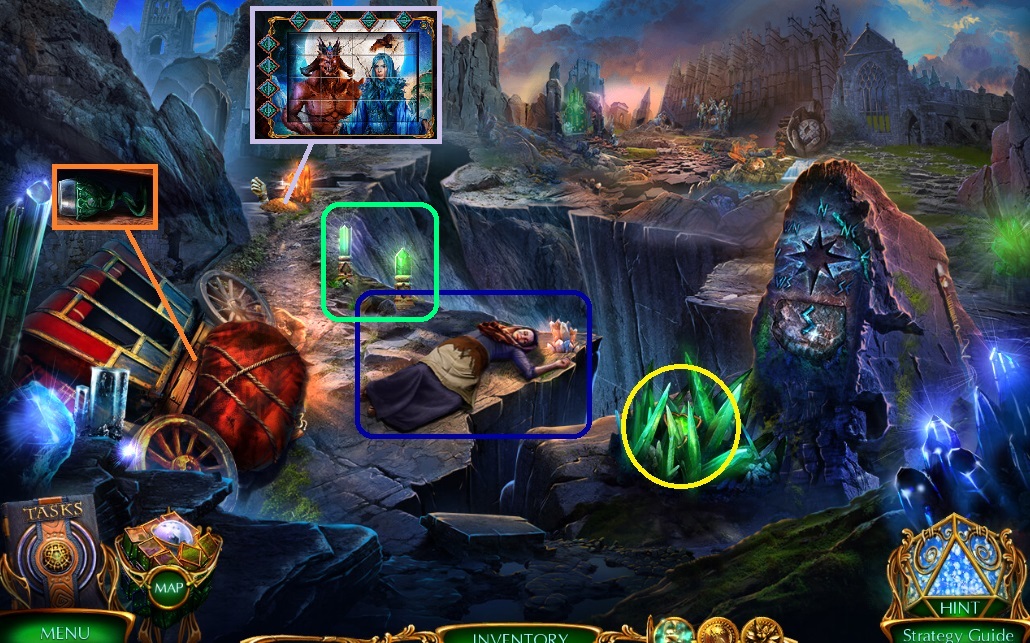
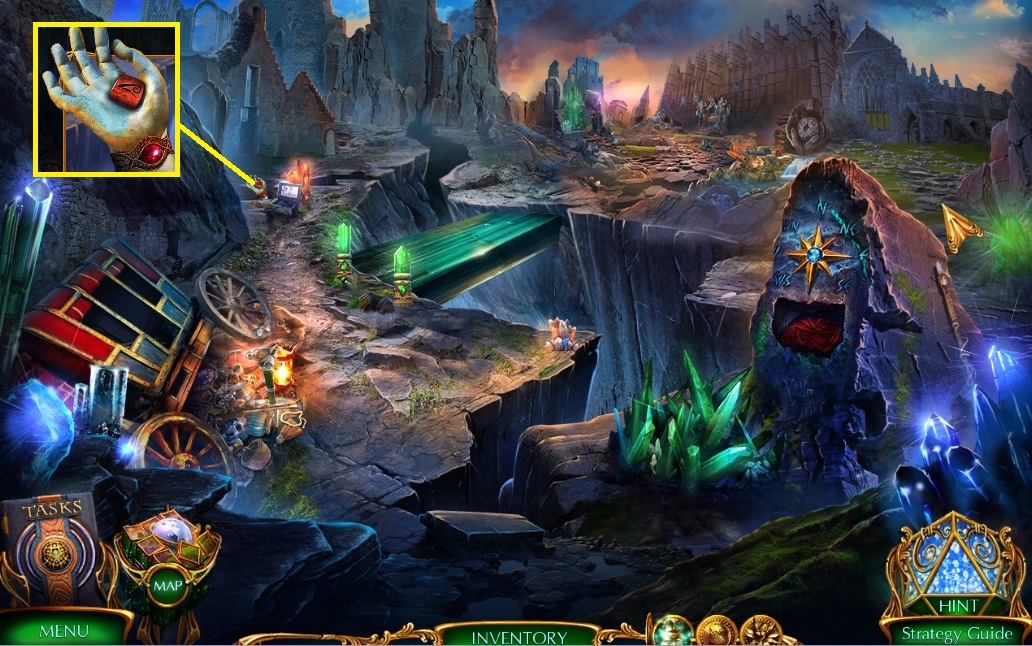
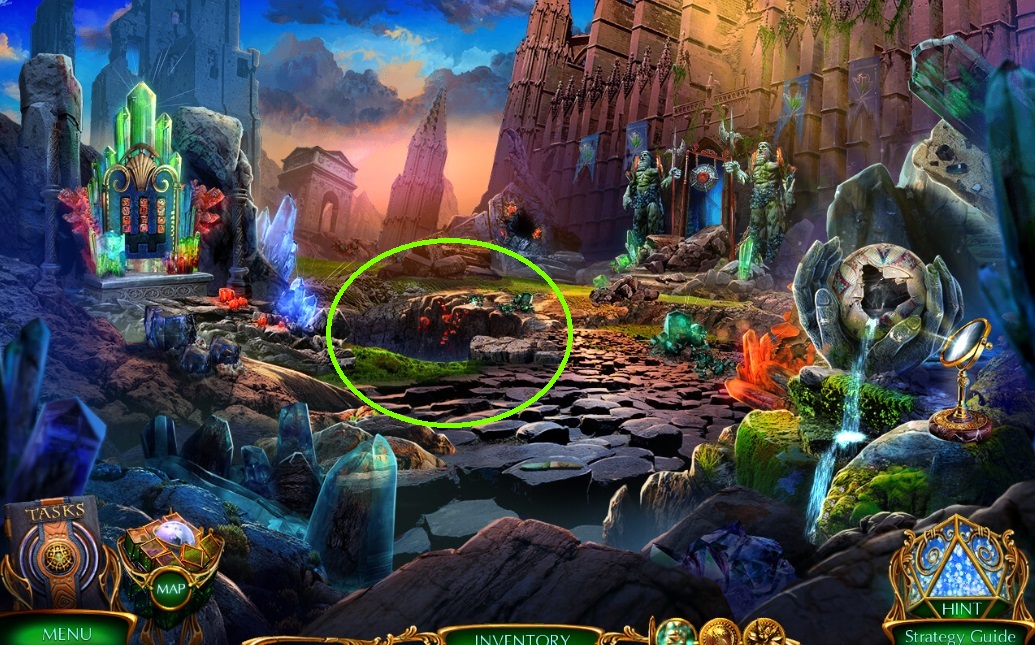
- Speak to Gretta.
- Select the Sandrion glove to collect the emerald amulet.
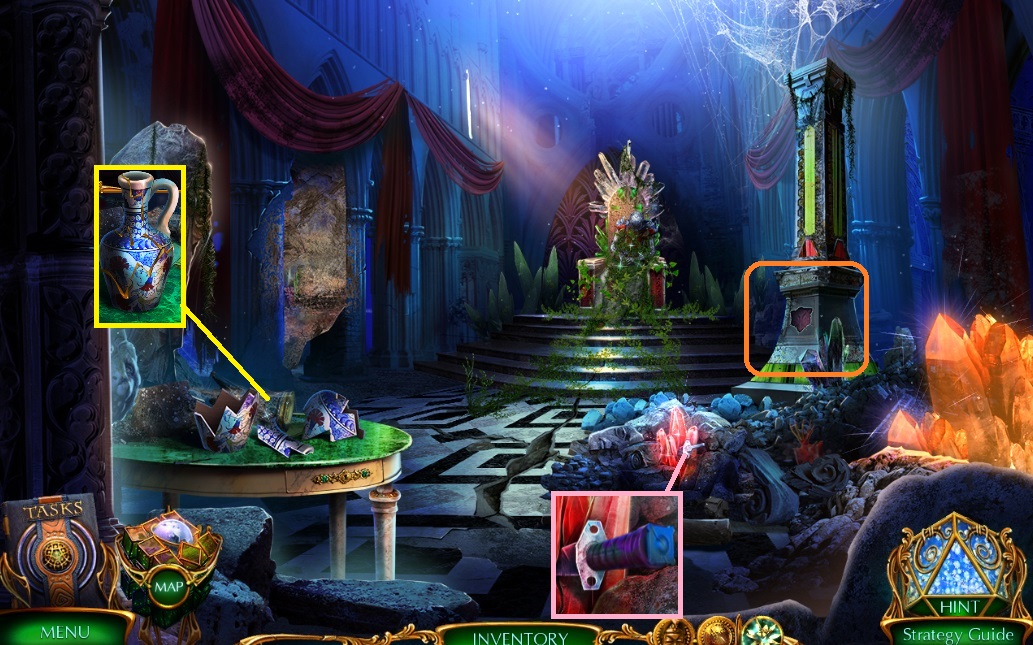
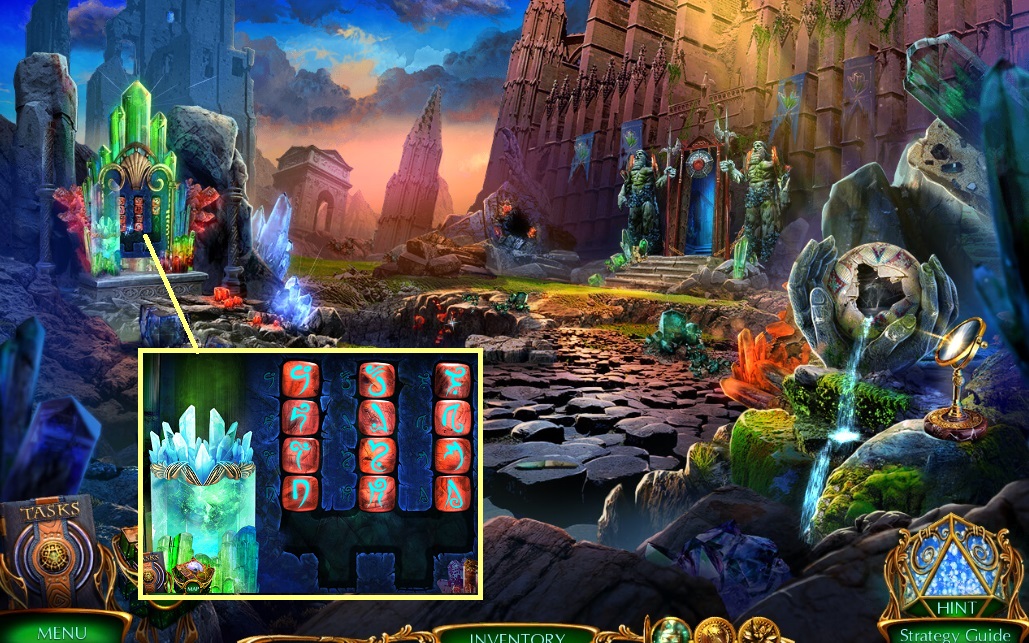
- Use the copper plate to trigger a mini game.
- Solve the game by placing the tiles correctly.
- Collect the purple hilt & emerald amulet.
- Select the nail puller to collect the board.
- Collect the goblet.
- Insert the emerald amulet.
- Move ahead once.
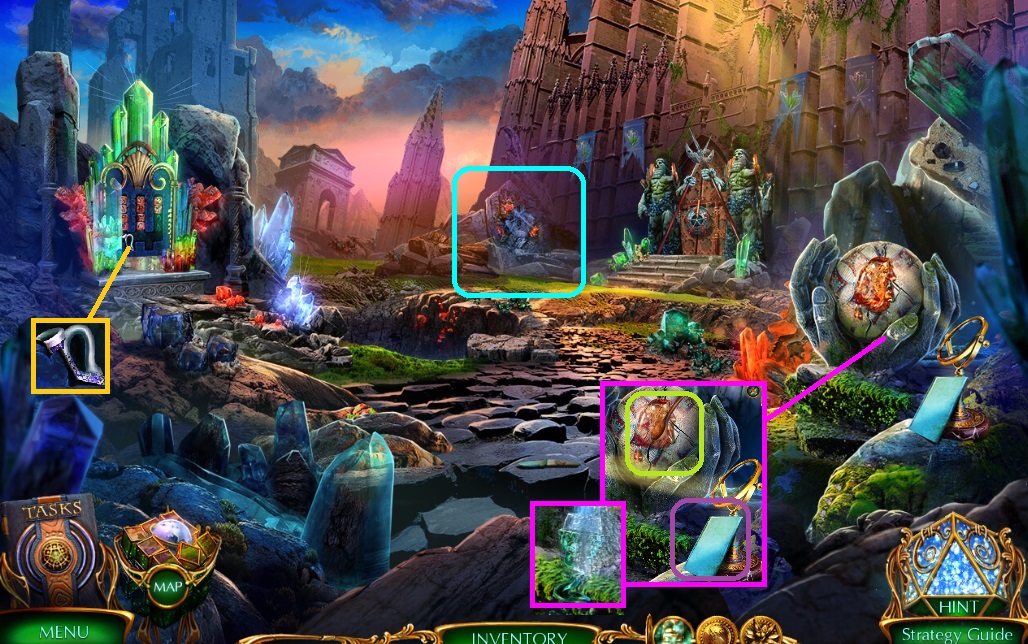
- Collect the jug piece.
- Select the board to collect the gong stick topper.
- Examine the note. Dip the spoon into the resin.
- Collect the water using the goblet.
- Move down once.
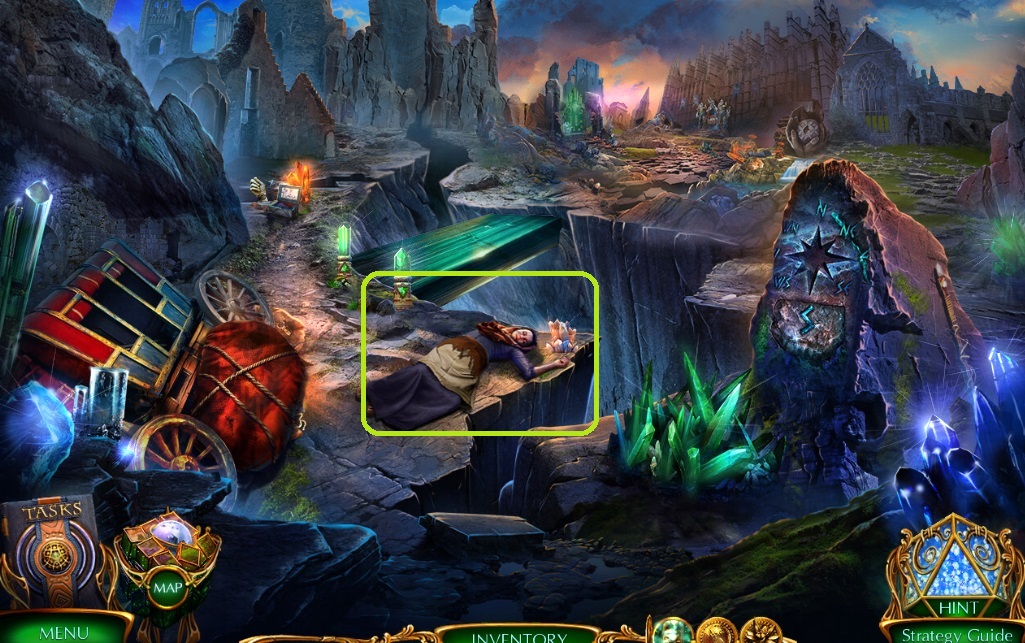
- Give Greta the revitalizing water – collect the goblet.
- Move ahead once.
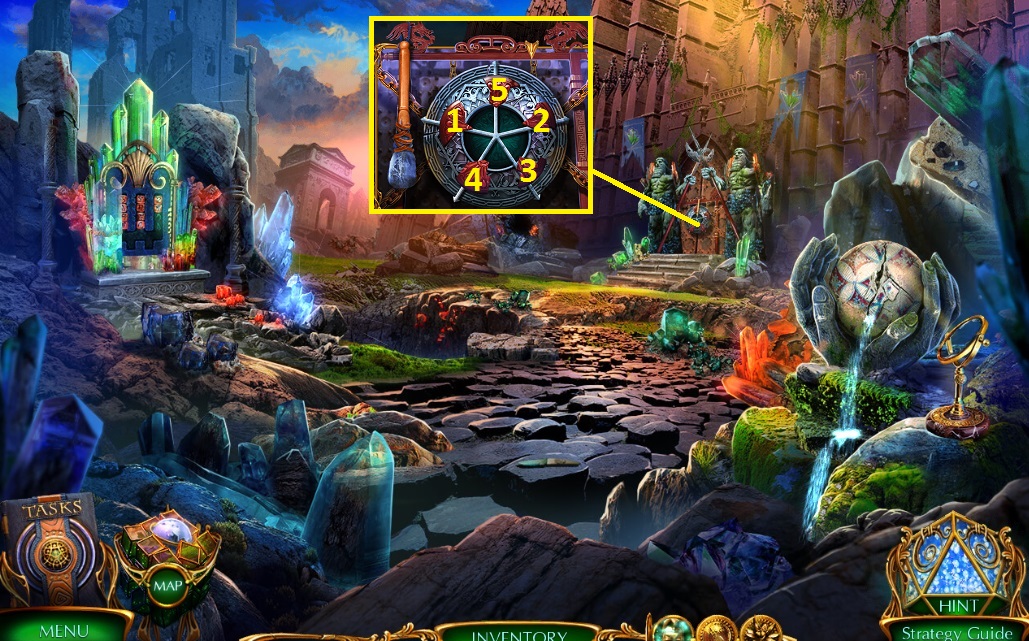
- Attach the gong stick topper & belt to trigger a mini game.
- Solve the game by assembling the gong correctly.
- Move ahead once.
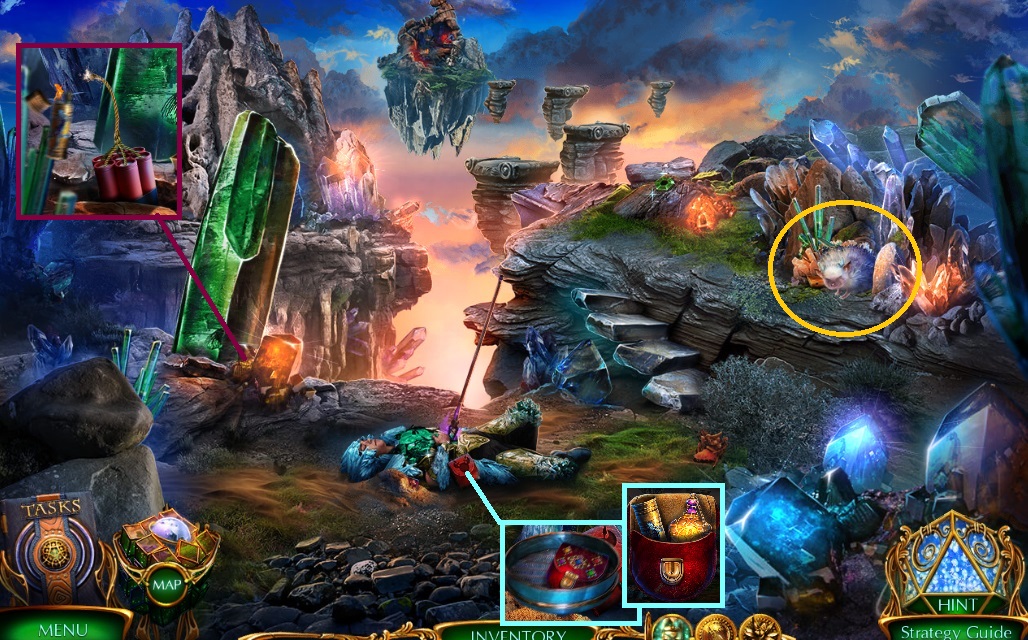
- Attach the purple hilt-collect the dagger.
- Insert the seeker amulet - collect the note & dynamite.
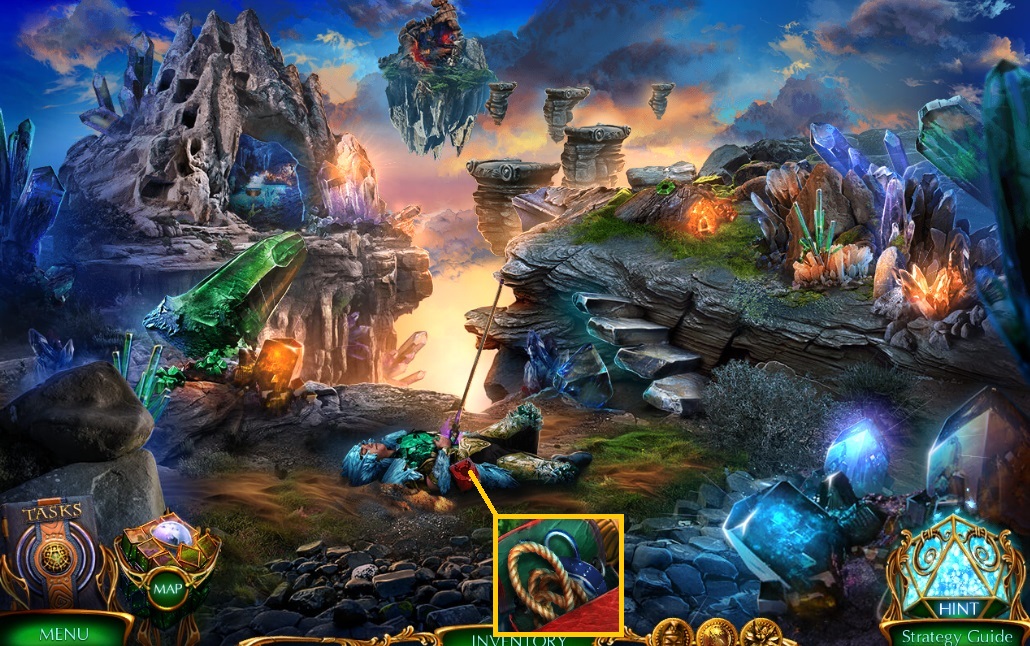
- Fix the jug using the resin & jug piece.
- Move down once & use the jug to collect the water.
- Move down once.
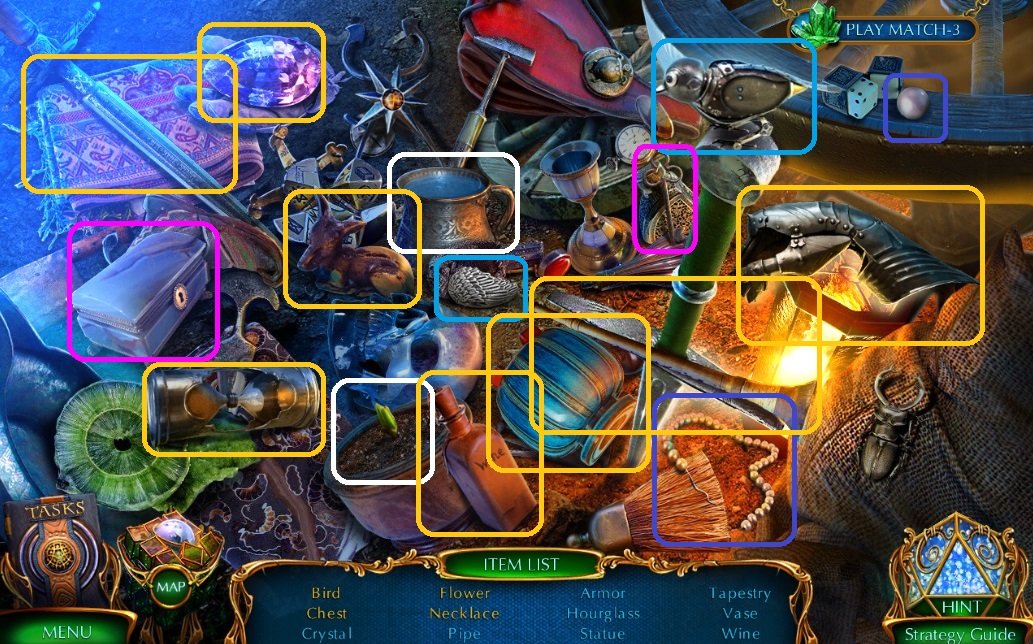
- Use the dagger on the caravan to trigger a hidden object area.
- Find the items – collect the wind rose inlay.
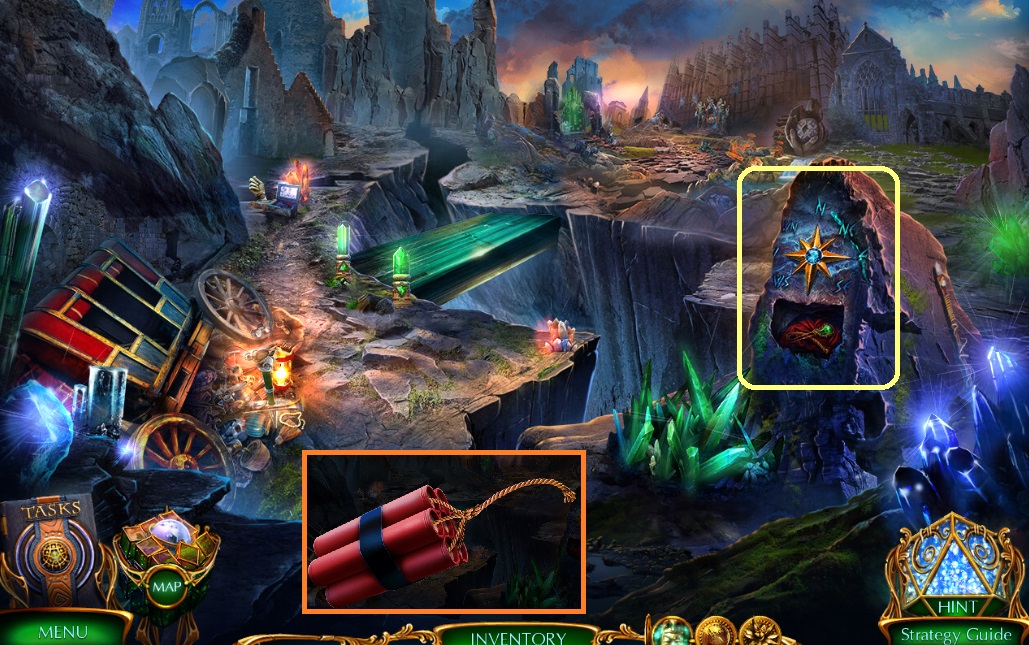
- Insert the wind rose inlay – collect the hair pin & fuse.
- Place the fuse onto the dynamite.
- Move ahead 2x’s.
- Select the hair pin to collect the bracelet & sieve.
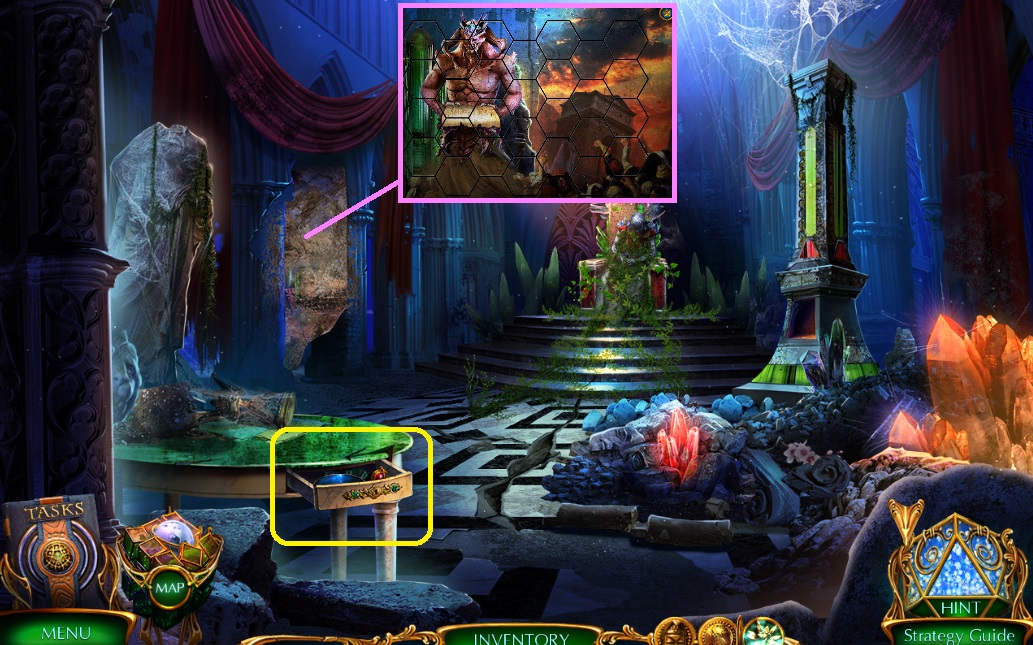
- Pour the water jug to trigger a mini game.
- Solve the game by restoring the image.
- Collect the red stone & lens.
- Move down once.
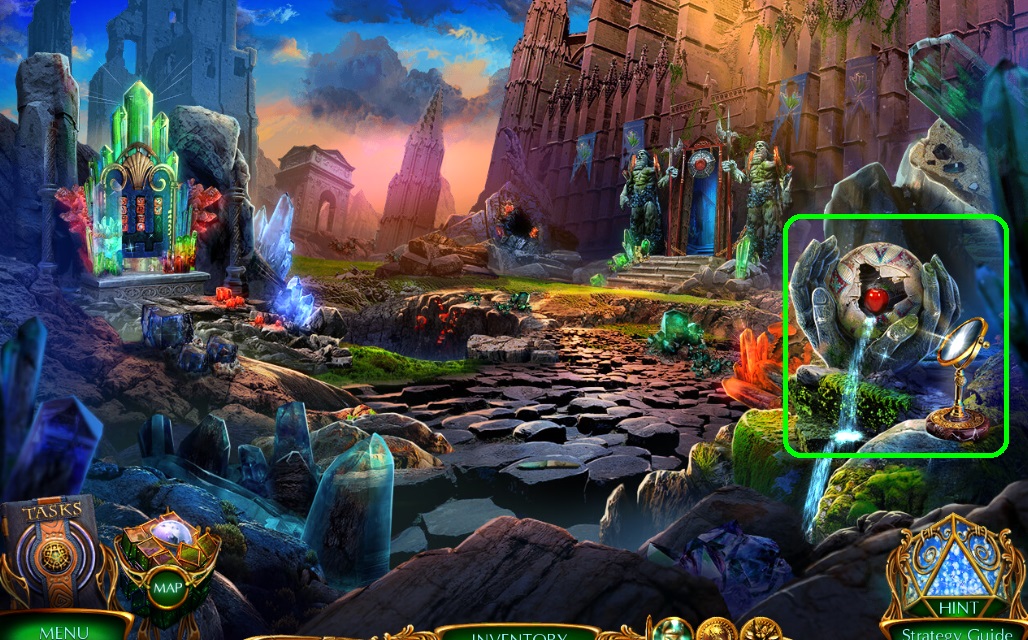
- Repair the lens – collect the apple.
- Move down once.
- Attach the bracelet – collect the red stone.
- Move ahead once.
- Insert the red stone to trigger a mini game.
- Solve the game by arranging the stones correctly.
- Collect the crown.
- Move ahead once.
- Place the crown – collect the halberd.
- Move ahead once.
- Use the halberd to collect the ladder.
- Move ahead.
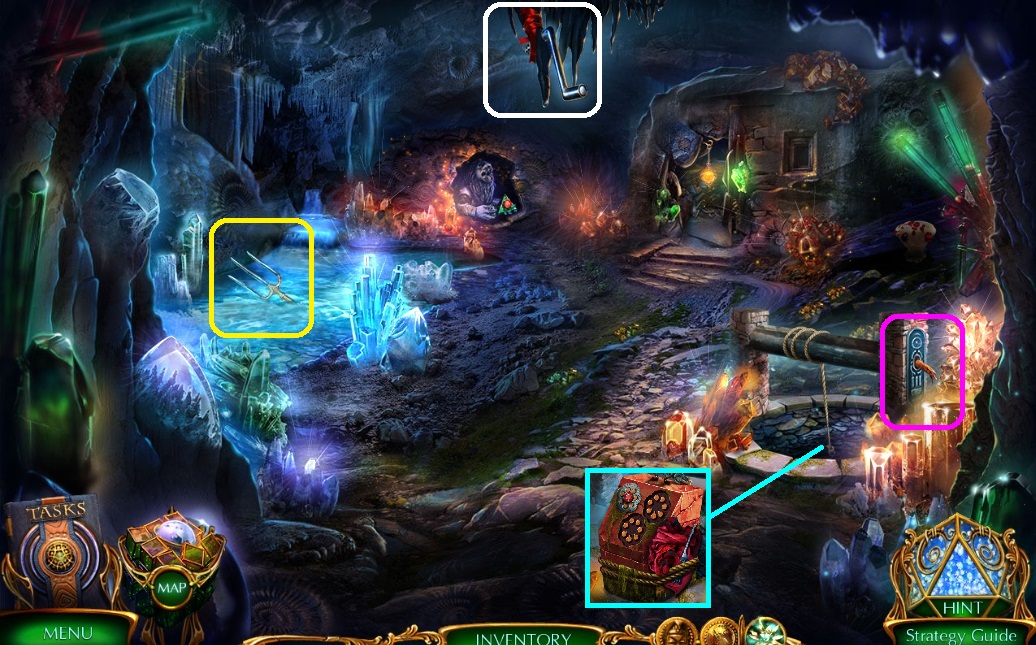
- Use the sieve – collect the red bag; click it open.
- Collect the glowing amulet & lighter.
- Ignite the dynamite using the lighter.
- Give the creature the apple – collect the saw.
- Move to the left.

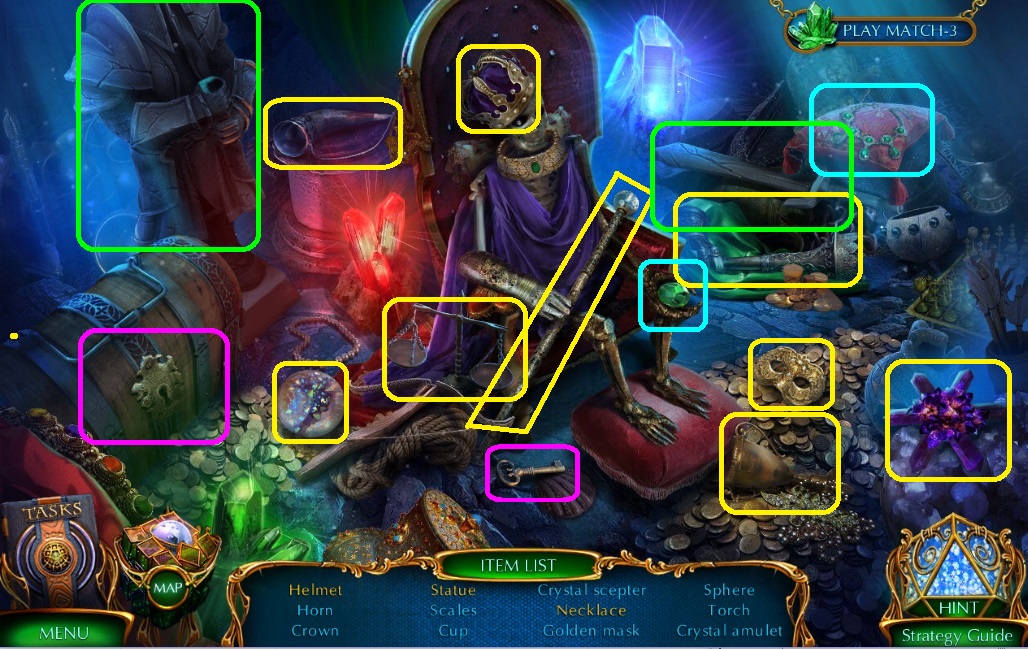
- Hang the glowing amulet to trigger a hidden objects area.
- Find the items.
- Collect the pick ax.
- Use the pick ax – collect the rocks.
- Collect the golden amulet.
- Use the saw to collect the broken slingshot.
- Move down once.
- Place the golden amulet – collect the lasso, band & pouch.
- Use the broken slingshot- band & pouch & rocks to create the slingshot.
- Move left.
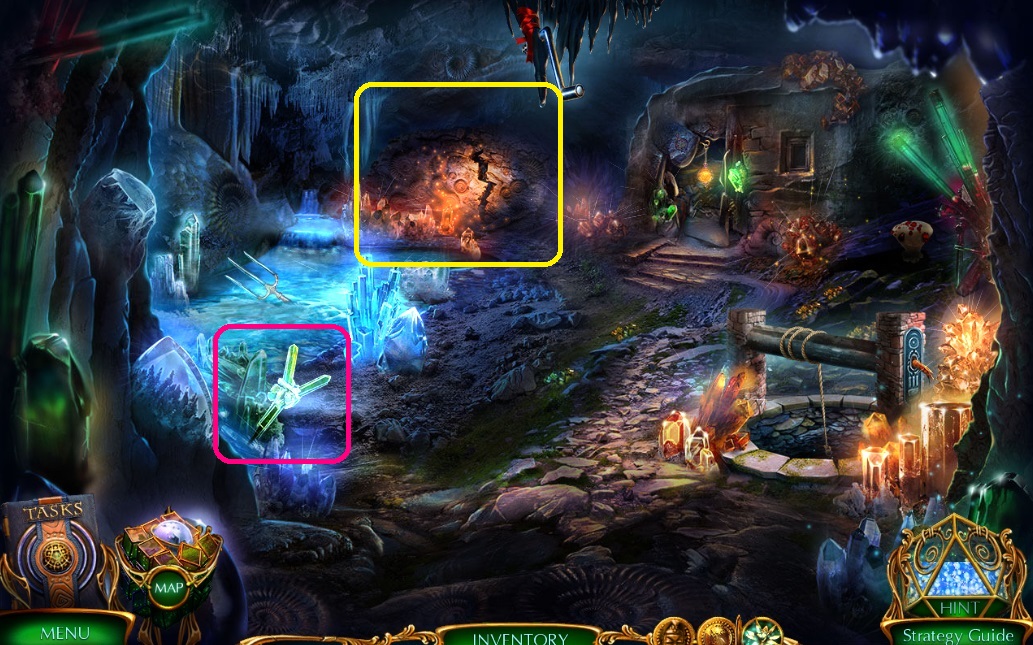
- Use the slingshot – collect the crank.
- Use the lasso – collect the gravity trident.
- Repair the crank.
- Collect the lock pick & cloth.
- Move down once.
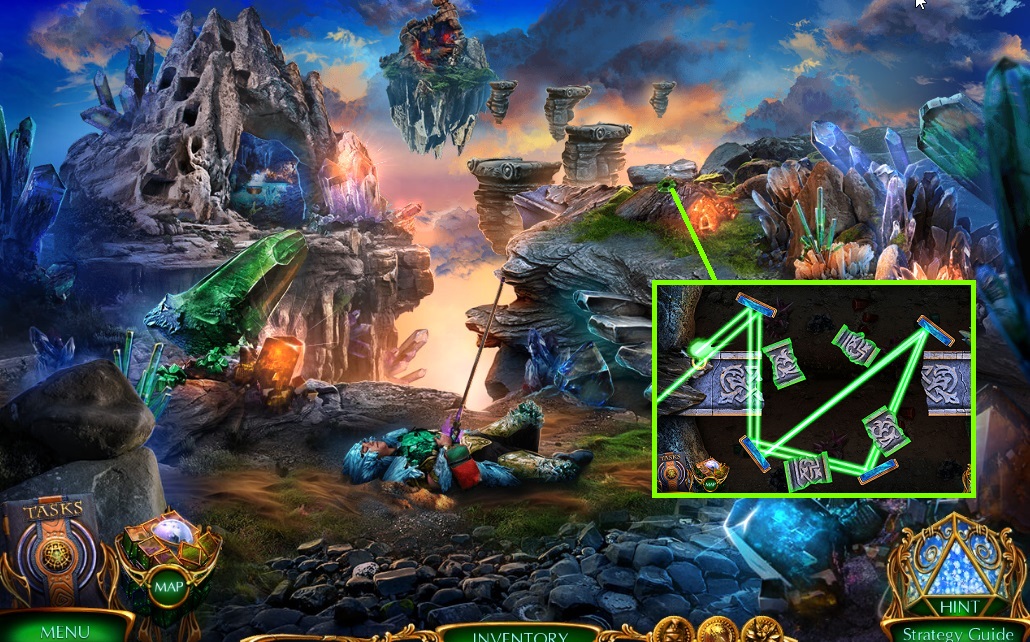
- Place the gravity trident to trigger a mini game.
- Solve the game by rotating the crystals correctly.
- Move ahead once.
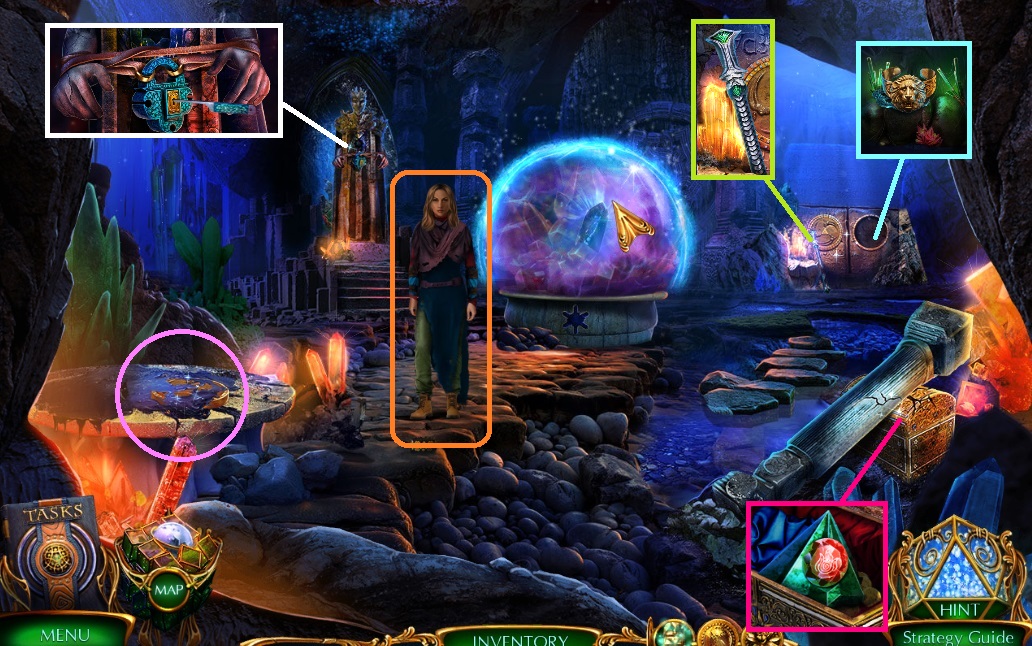
- Speak to Margaret – collect her spear.
- Select the cloth to collect the yellow disk.
- Collect the staff.
- Place the yellow disk – collect the lion bracelet & metal token.
- Select the staff to collect the pyramid.
- Insert the lock pick – collect the belt.
- Move down once & go left.
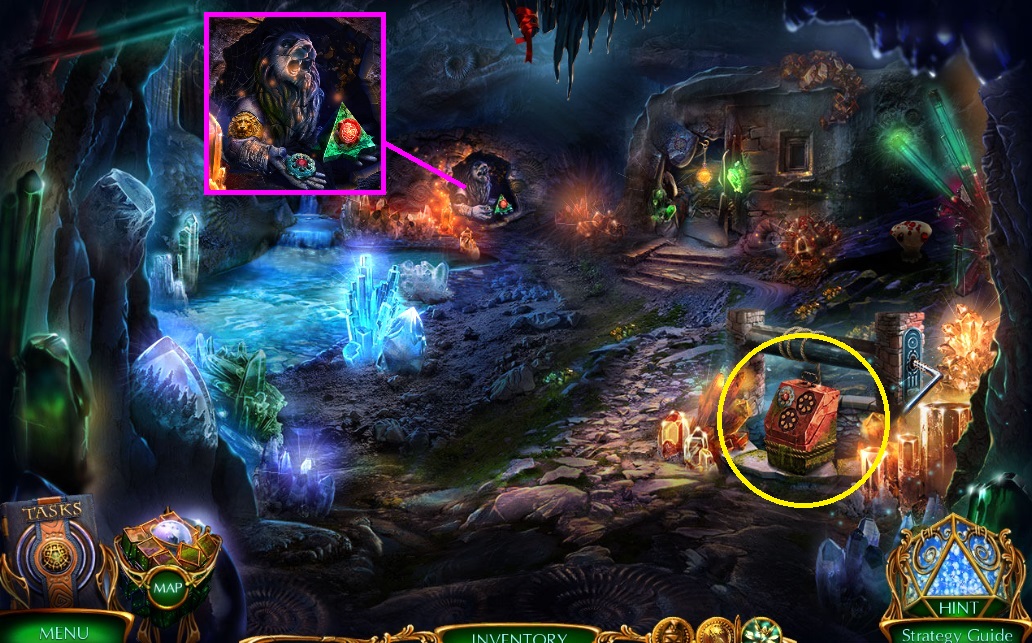
- Place the lion bracelet – collect the metal token & pyramid.
- Place the metal token – collect the pyramid.
- Move down once & ahead once.
- Place the pyramid – click the hidden objects area.
- Find the items.
- Collect the crystal amulet.
- Place the crystal amulet – collect the shard of heart & use it along with Margaret’s spear & the belt.
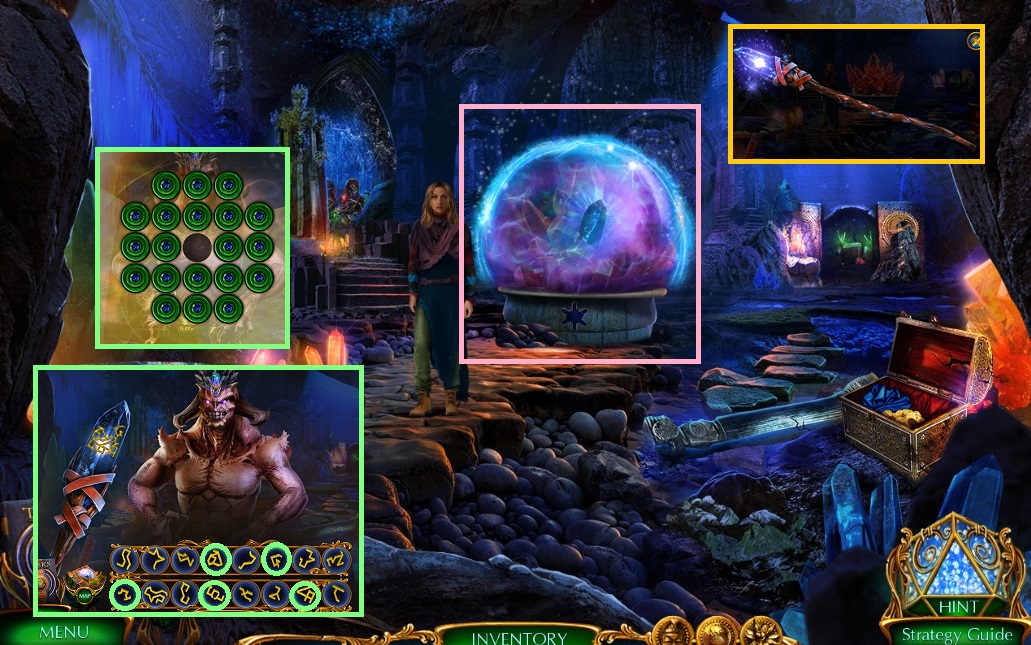
- Use the spear to trigger a mini game.
- Solve the game by removing the tokens in the correct order – then re-create the design from the symbols below.
- Congrats! You have successfully completed the main game of Labyrinths of the World: The Devil’s Tower.
General Tips & Information
Chapter 1 Tower
Chapter 2 Memory
Chapter 3 Sanderion
Chapter 4 Margaret
Chapter 5 Crystal
Ask for help in the comments below!
Chapter 1 Tower
Chapter 2 Memory
Chapter 3 Sanderion
Chapter 4 Margaret
Chapter 5 Crystal
Ask for help in the comments below!