
Labyrinths of the World: A Dangerous Game: Chapter 5 Kevin
Our Labyrinths of the World: A Dangerous Game Walkthrough includes simple instructions & colorful screen shots to help you along in this enthralling hidden objects game!
General Tips & Information
Chapter 1 Elves
Chapter 2 Charles
Chapter 3 Dragons
Chapter 4 Trolls
Chapter 5 Kevin
Ask for help in the comments below!
Chapter 1 Elves
Chapter 2 Charles
Chapter 3 Dragons
Chapter 4 Trolls
Chapter 5 Kevin
Ask for help in the comments below!
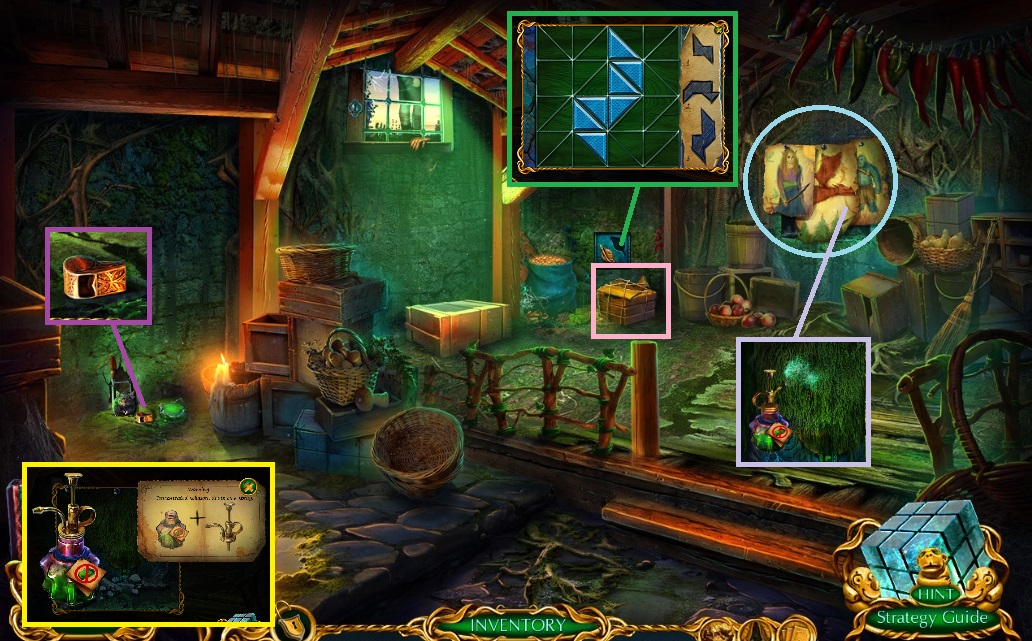
- Click the portraits.
- Collect the caustic instructions – select the chisel; collect the leaf emblem.
- Select the pruners – collect the sprayer & broken box.
- Place the leaf emblem to trigger a mini game.
- Solve the game by re-creating the shapes on the right.
- Collect the caustic – use the instructions; create the fungicide.
- Collect the whistle.
- Use the fungicide.
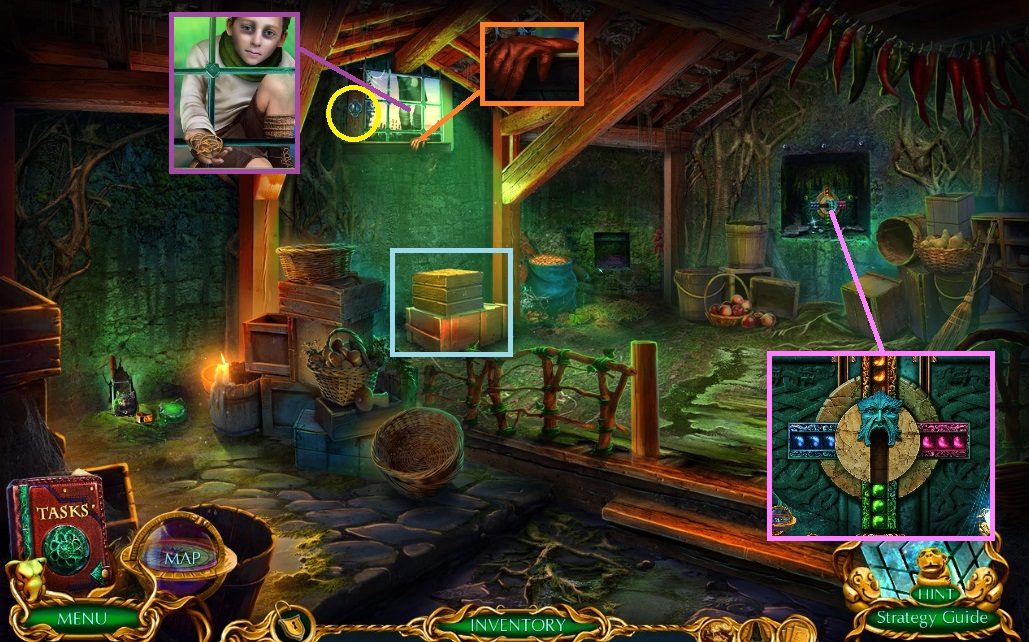
- A mini game will trigger.
- Solve the game by moving the balls to the color coded areas.
- Collect the window key.
- Use the nail & hammer on the broken box & use beneath the window.
- Collect the glove.
- Use the whistle – collect the twine.
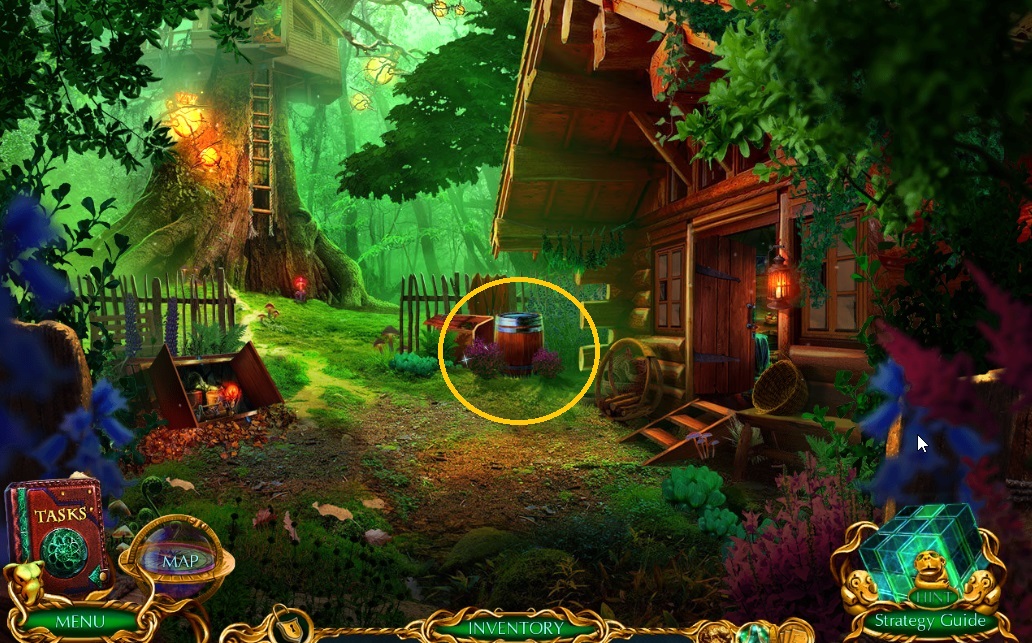
- Use the window key – move to the Backyard & collect the box handle.
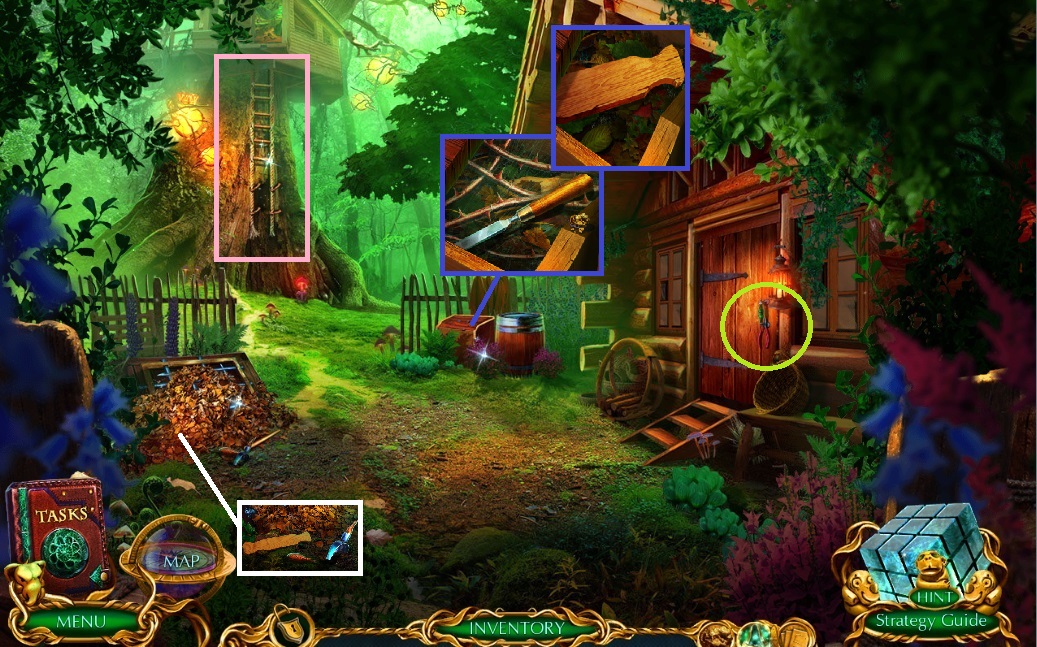
- Collect the step & pliers.
- Use the twine – collect the scoop.
- Attach the box handle – collect the chisel.
- Use the glove – collect the step.
- Place the steps – move to the Treehouse.
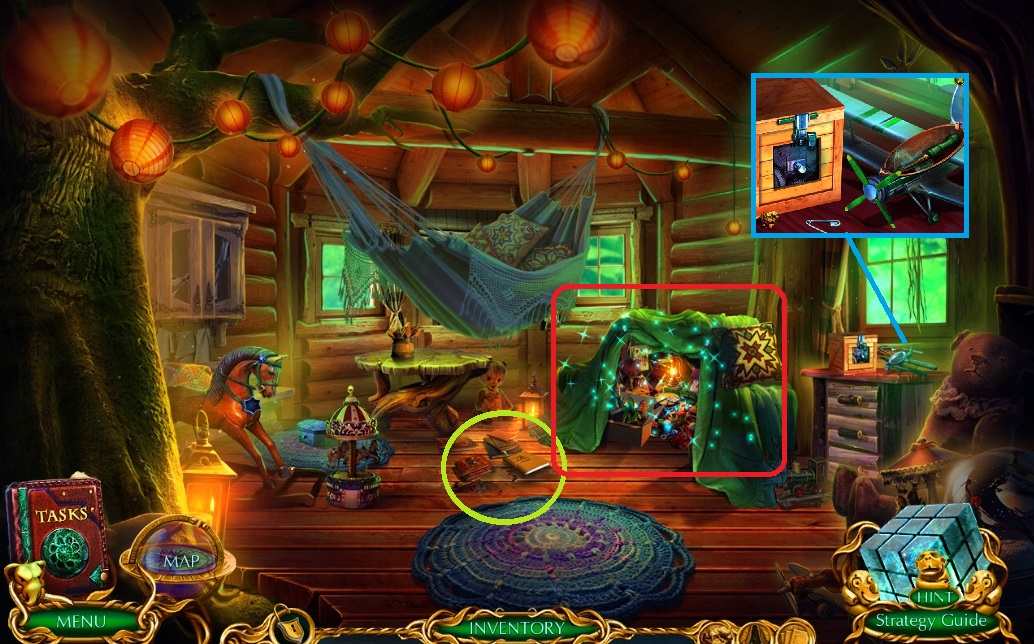
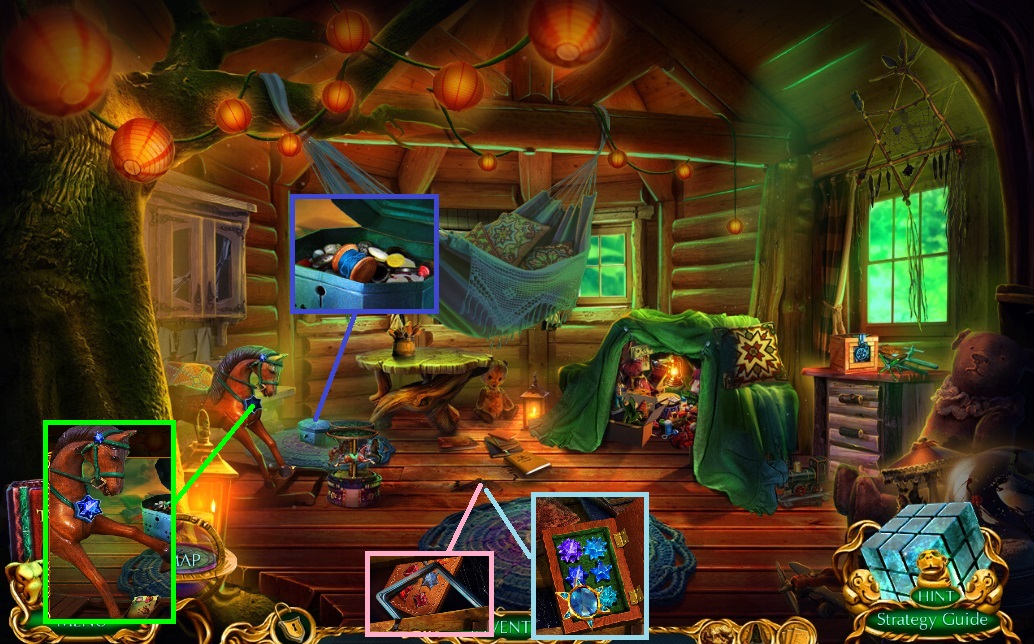
- Collect the safety pin – click the book; collect the propeller – click the pages.
- Use the propeller – collect the little hook.
- Collect the safety pin.
- Use the safety pin to trigger a hidden objects area.

- Find the items.
- Collect the toy horse.
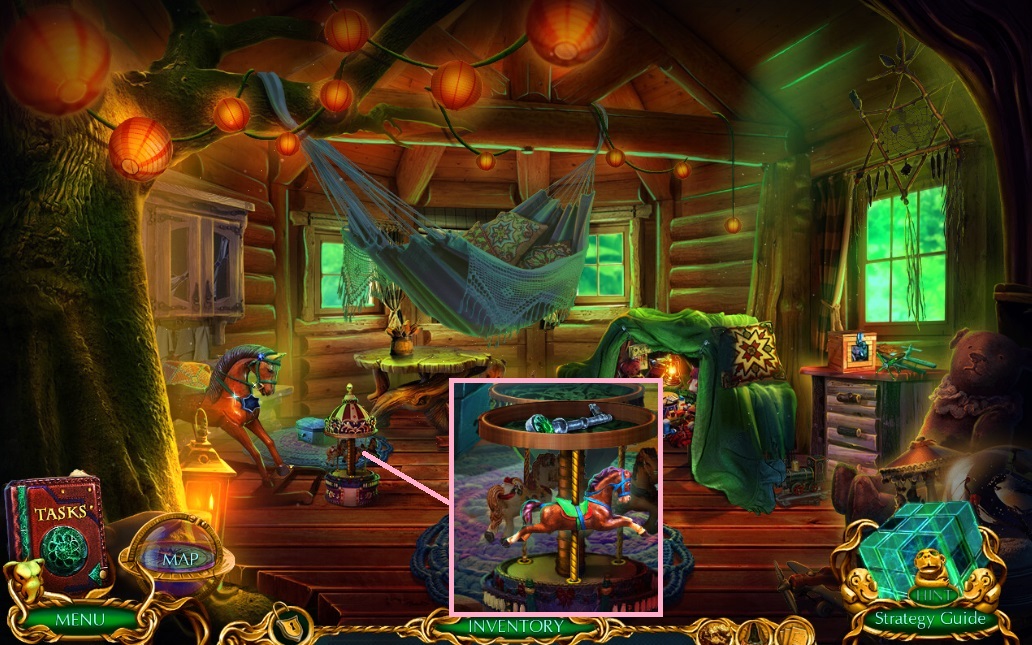
- Place the toy horse – collect the house key.
- Move to the Basement.
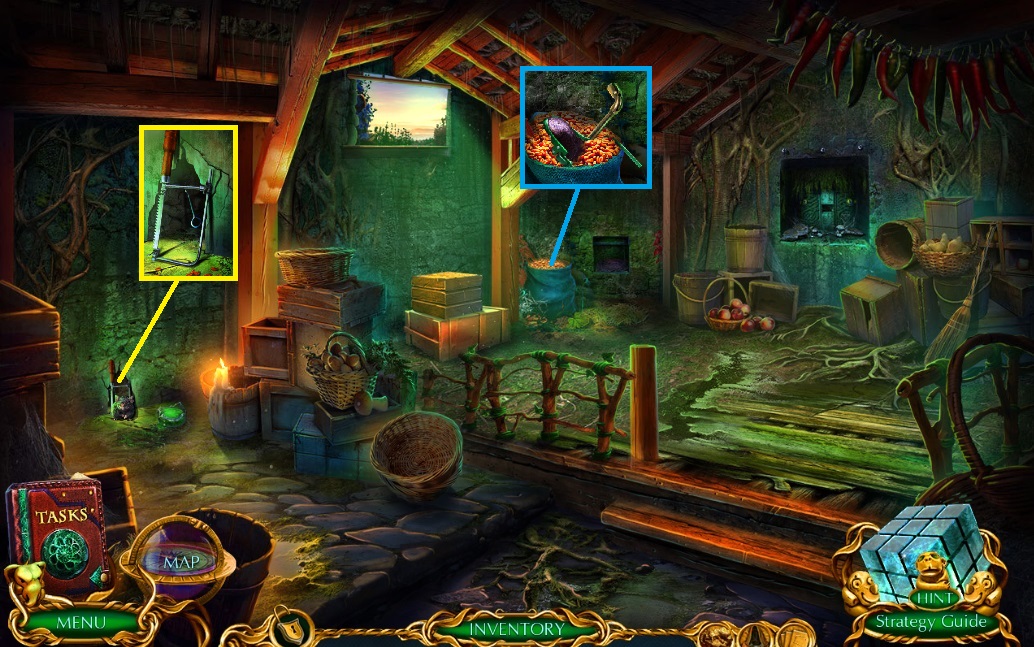
- Use the scoop – collect the seeds, loaded sling & hex wrench.
- Use the seeds – collect the fretsaw.
- Move to the Backyard.
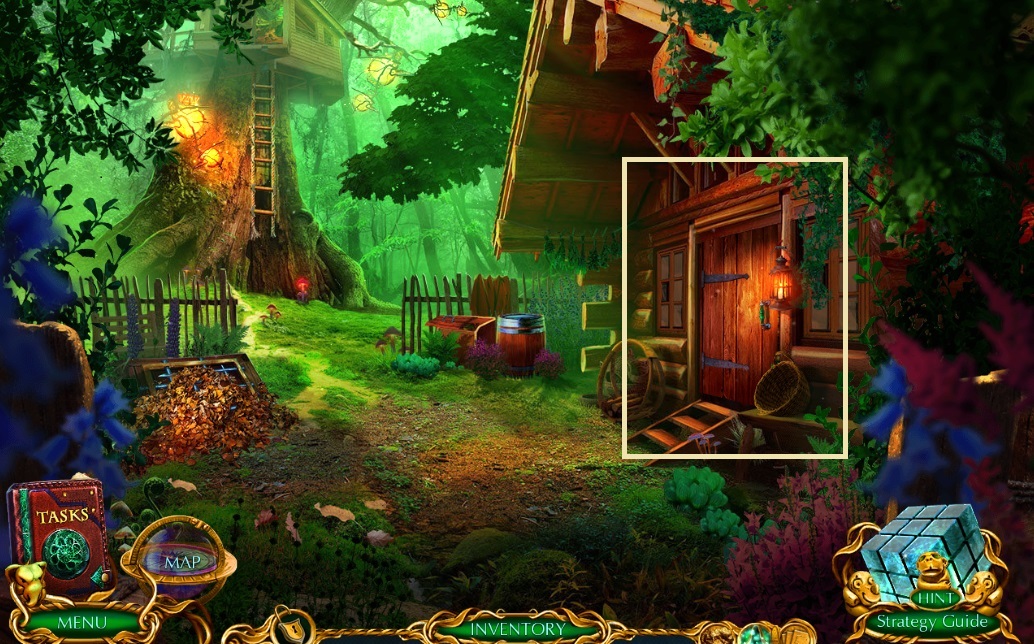
- Insert the house key.
- Move inside.
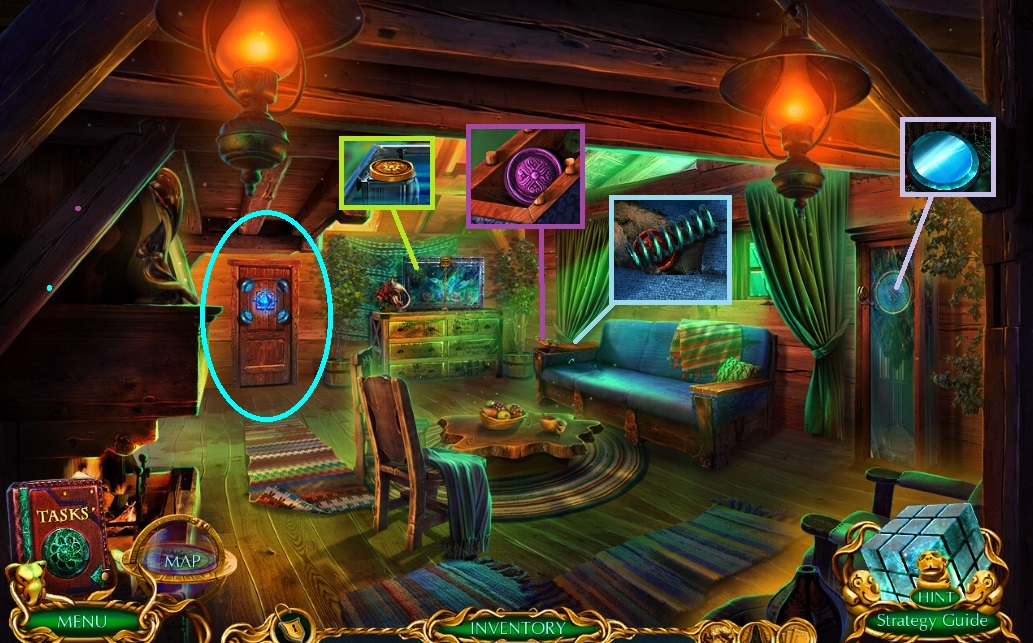
- Use the little hook; collect the spring & clock piece.
- Use the fret saw – collect the clock piece.
- Use the chisel – collect the clock piece.
- Use the pliers – collect the wire.
- Place the clock piece to trigger a mini game.
- Solve the game by arranging the time correctly.
- Collect the mirror & use it.
- Move to Charles’ Workshop.
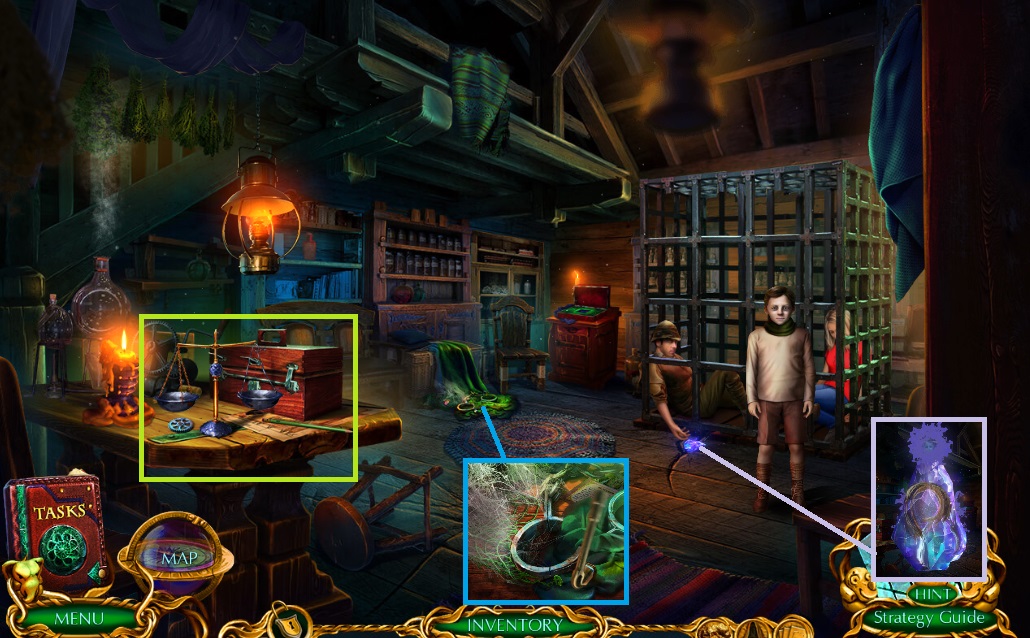
- Use the loaded sling shot – shoot it toward the cage – collect Kevin’s curl.
- Collect the inactive crystal & use Kevin’s curl on it – collect the stencil.
- Use the wire – collect the cogwheel.
- Use the wrench – collect the nut.
- Move to the Treehouse.
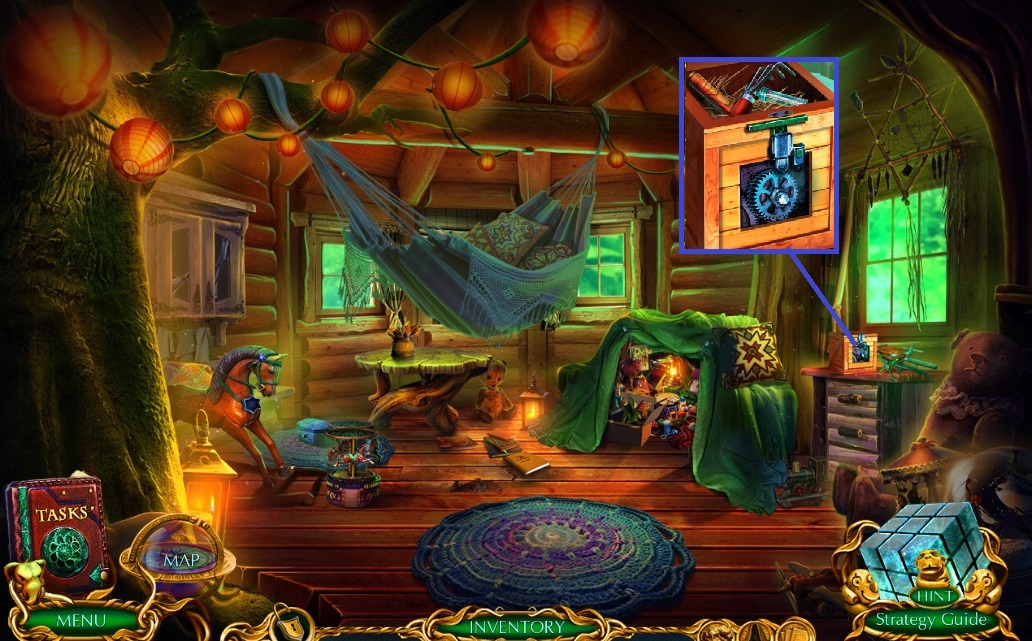
- Use the cogwheel – nut – hex wrench; collect the syringe, rake & scoop net handle.
- Move to the Basement.
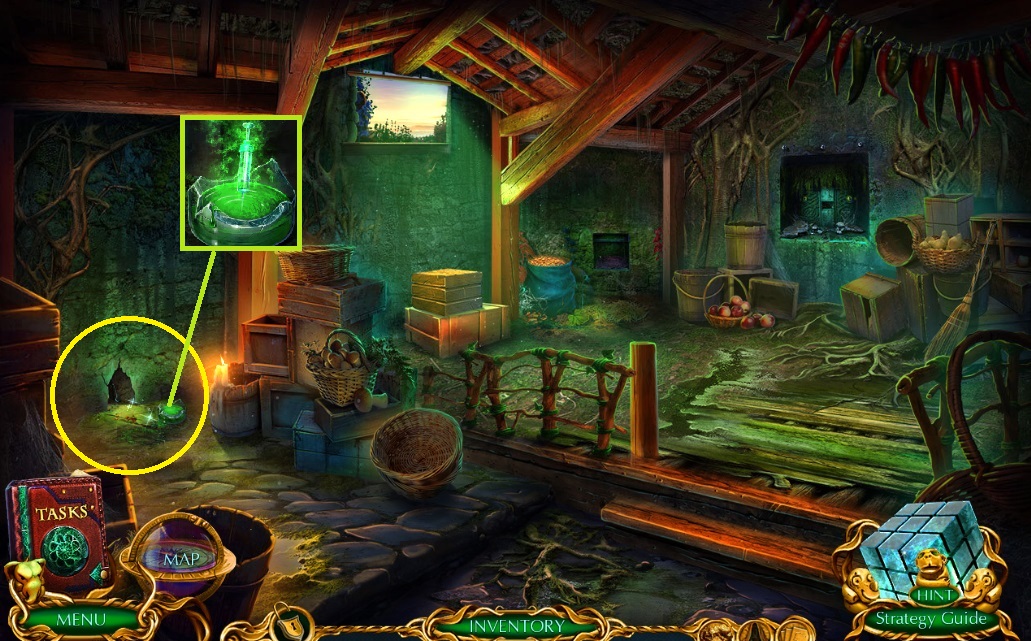
- Use the spring – collect the lock pick.
- Use the syringe – collect the syringe with acid.
- Move to the Backyard.

- Use the rake to trigger a mini game.
- Solve the game by clicking the bars in the correct order.
- Click the hidden objects area.
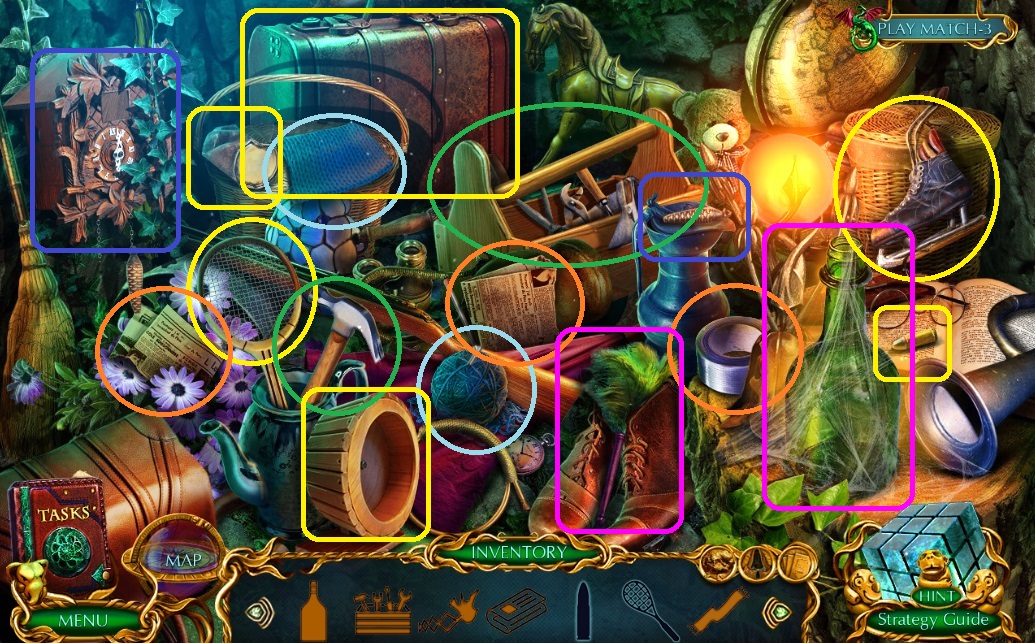
- Find the items.
- Collect the can opener.
- Use the can opener – collect the nail puller.
- Move to the Treehouse.
- Use the nail puller – collect the broken scoop net.
- Click –place the stencil; collect the gem stone.
- Use the lock pick – collect the thread.
- Use the gem stone – collect the last spell.
- Move to Charles’ Workshop.
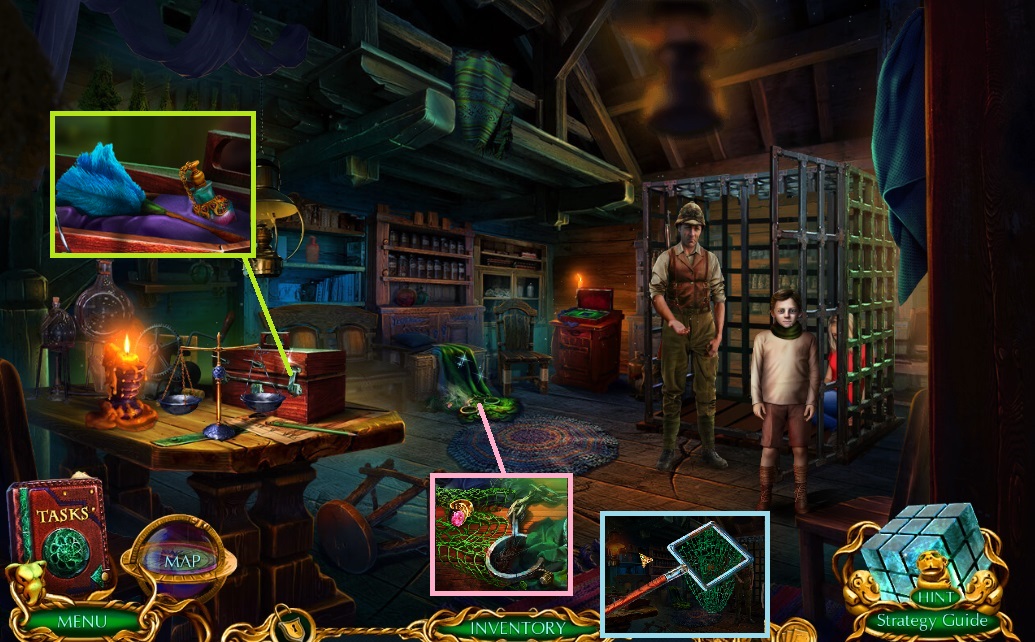
- Use the syringe with acid – collect the duster & locket with potion.
- Use the duster – collect the ring half & net.
- Attach the scoop net & handle and thread.
- Move to the Living Room.
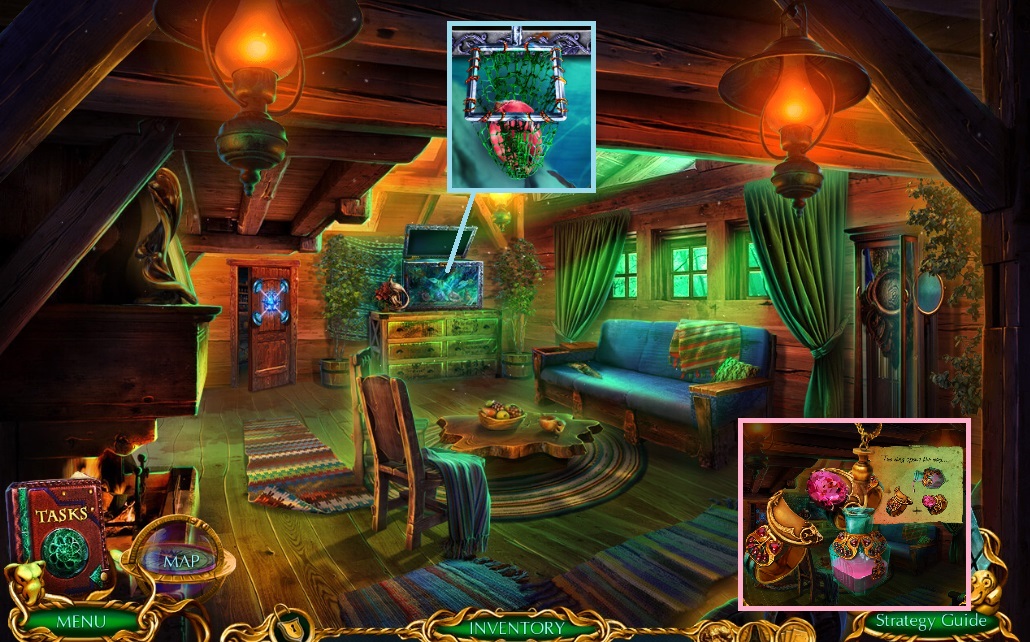
- Use the scoop net – a mini game will trigger.
- Solve the game by collecting the seashells while avoiding the fish.
- Collect the ring half.
- Use the ring half & locket with potion on the last spell.
- Move to Charles’ Workshop.
- Use the ritual ring.
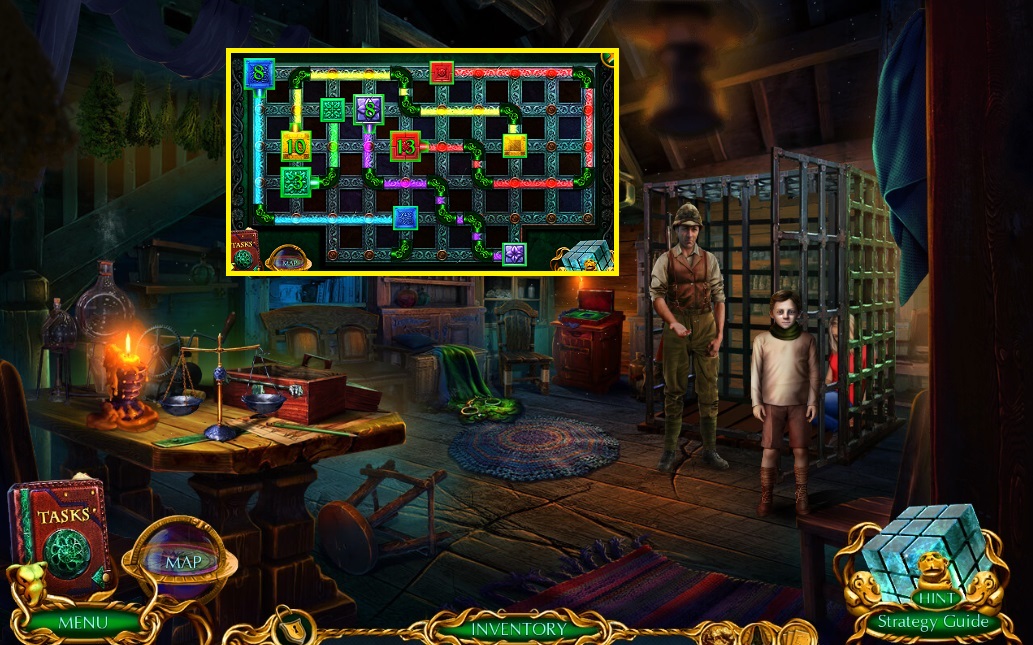
- Click to trigger a mini game.
- Solve the game by aligning the flow correctly.
- Congrats! You have successfully completed the main game od Labyrinths of the World: A Dangerous Game!
General Tips & Information
Chapter 1 Elves
Chapter 2 Charles
Chapter 3 Dragons
Chapter 4 Trolls
Chapter 5 Kevin
Ask for help in the comments below!
Chapter 1 Elves
Chapter 2 Charles
Chapter 3 Dragons
Chapter 4 Trolls
Chapter 5 Kevin
Ask for help in the comments below!