
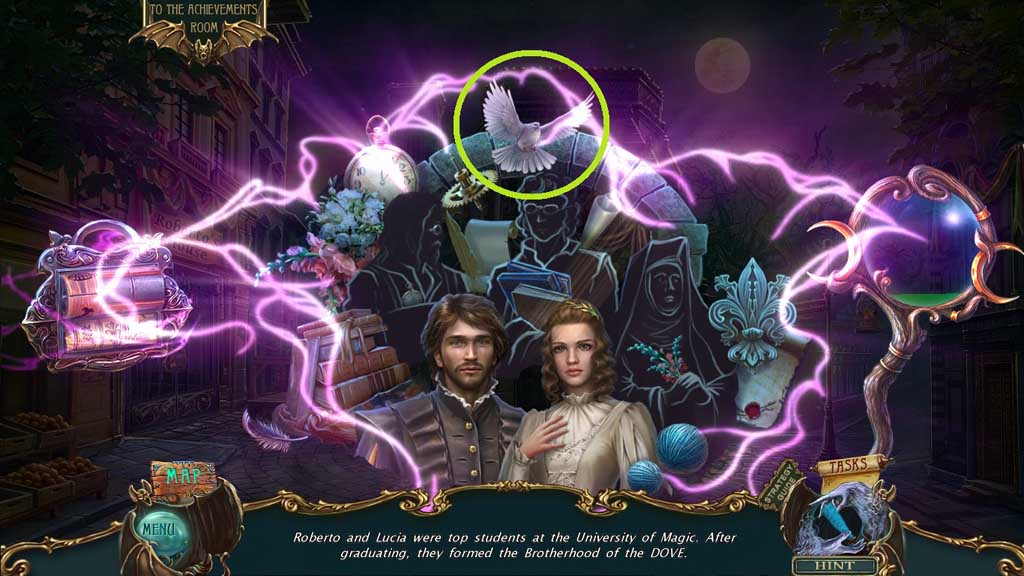
Haunted Legends: The Dark Wishes: Chapter One: Mystery and Magic
Our Haunted Legends: The Dark Wishes Walkthrough is filled with 6 chapters of detailed, clear, and colorful screen shots, easy-to-follow instructions and hidden objects and mini game solutions to help you through this action packed hidden objects game of mystery, love, and murder. Help vindicate Lucia, as she is accused of murdering her beloved Roberto! Only you can clear her name and uncover the truth in this gripping hidden objects adventure of tragically romantic love and loss.
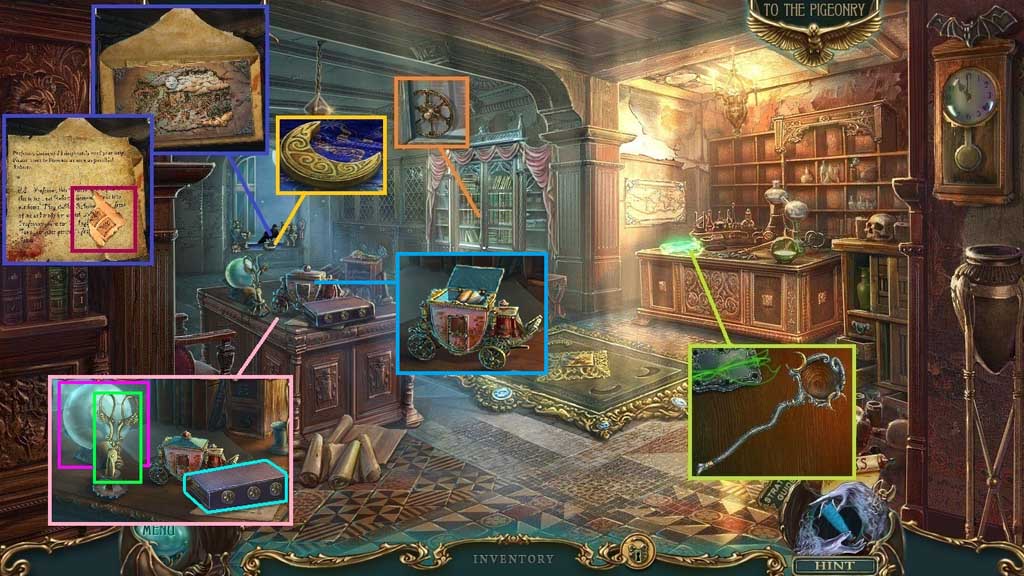
- Collect the toy wheel.
- Arrange the pieces of the staff.
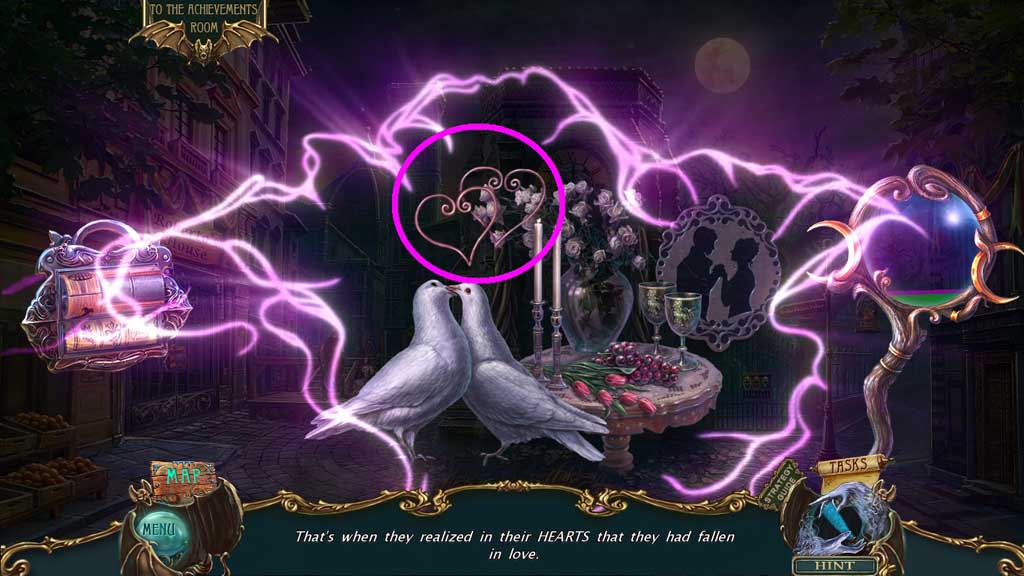
- Collect the letter from the bird and click it open.
- Collect the map; click the letter.
- Collect the lock code.
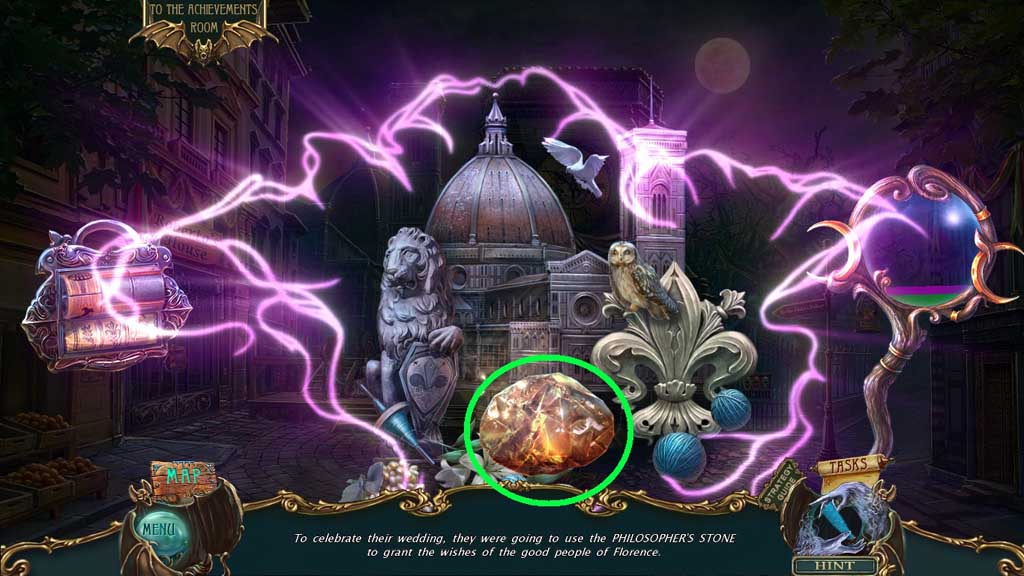
- Collect the golden moon.
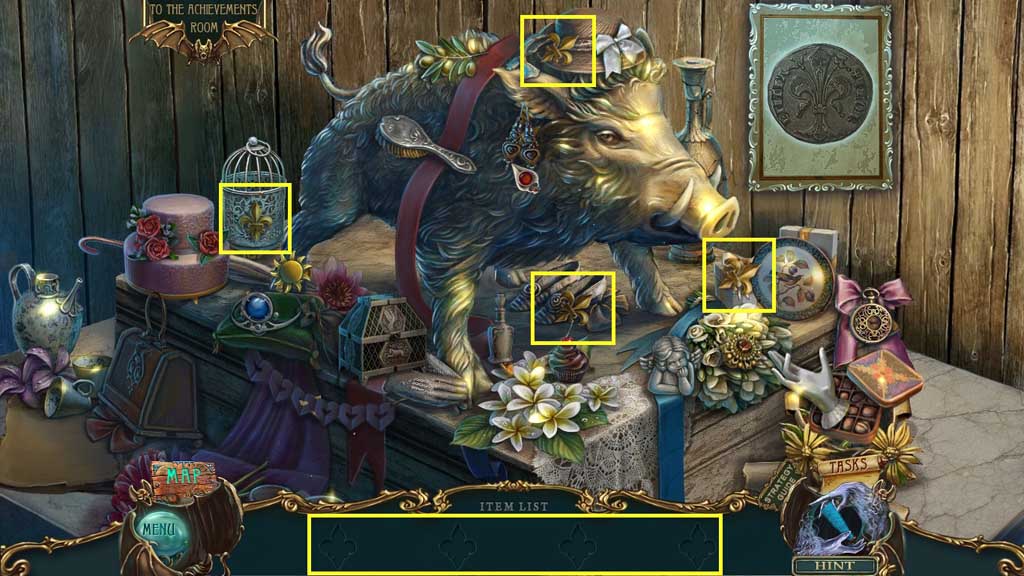
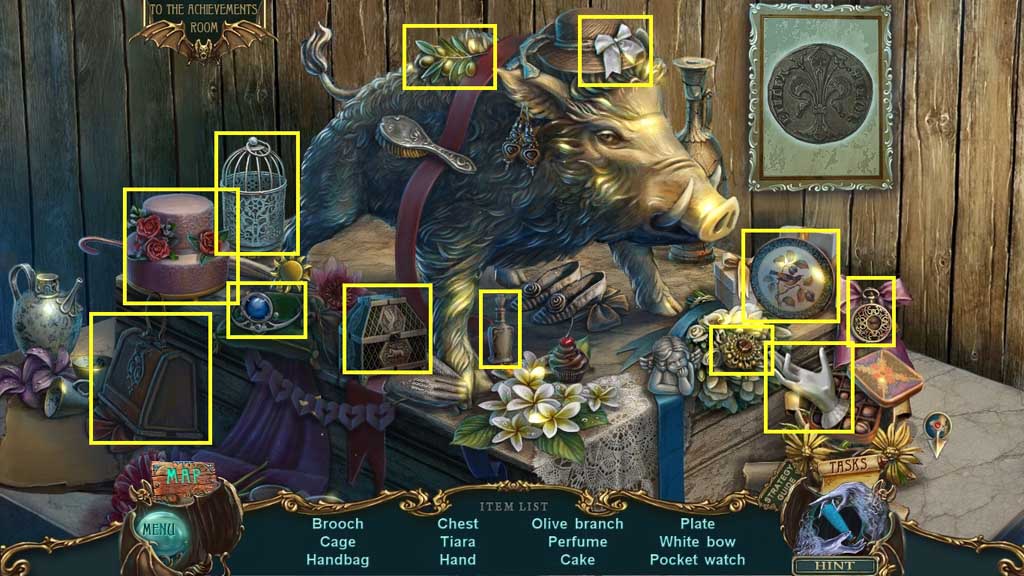
- Collect the scissors, the magic orb and the violet book.
- Attach the toy wheel onto the carriage and collect the bookcase key.


- Insert the magic orb into the staff and use it on the box to trigger a mini game.
- Solve the game by following the prompts correctly to select the items.
- Click the box; collect 1 /3 coins and the golden moon.
- Insert and click the bookcase key.
- Collect the golden moon.
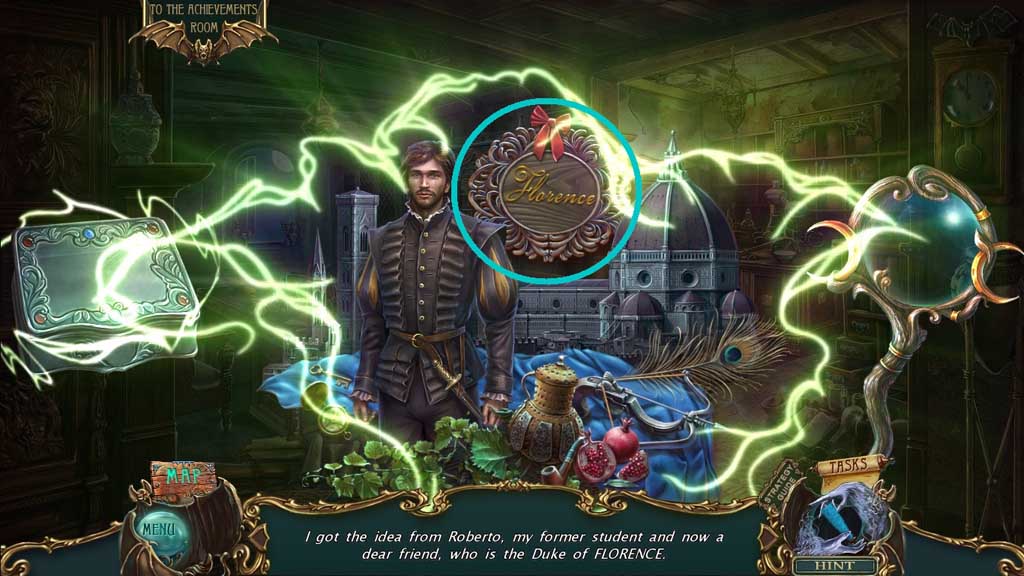
- Zoom into Lucia and Roberto.
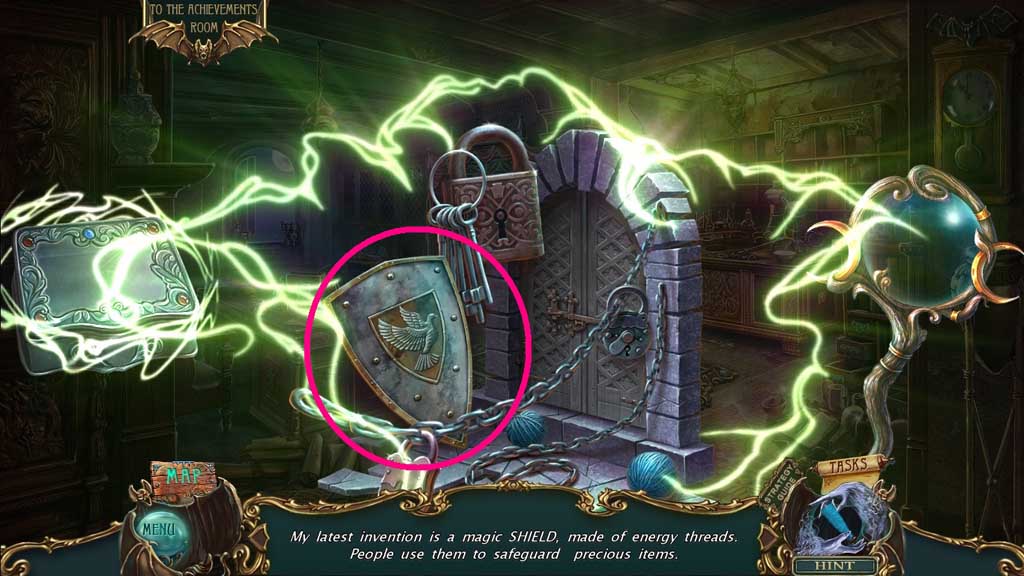
- Insert the golden moons.
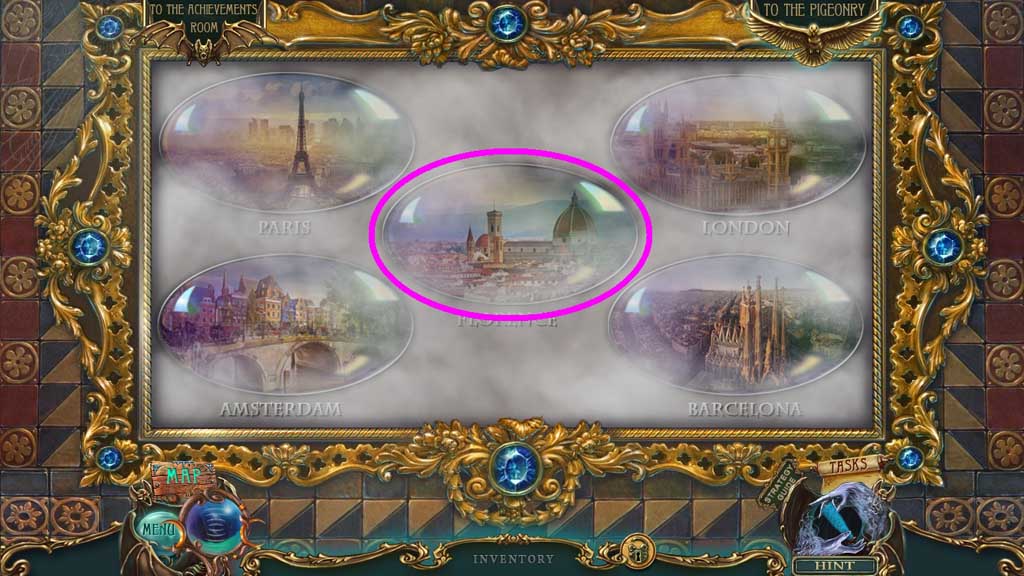
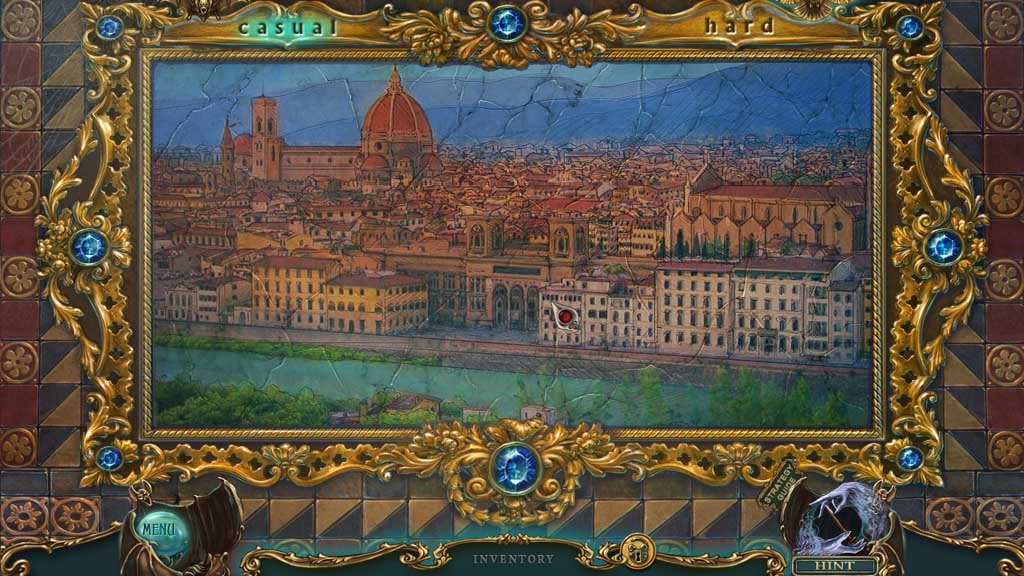
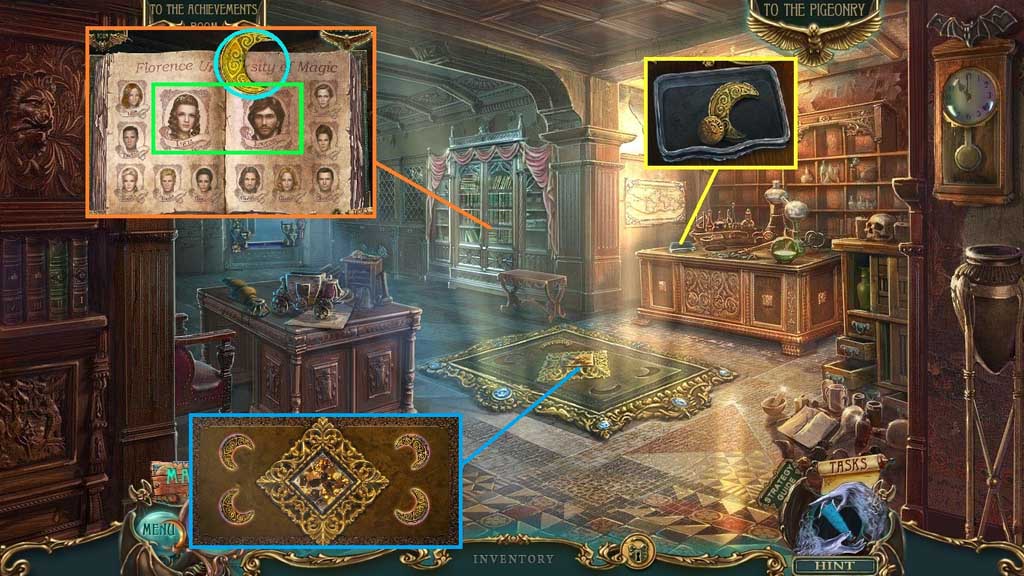
- Zoom into the frame of Florence to trigger a mini game.
- Solve the game by assembling the image correctly.
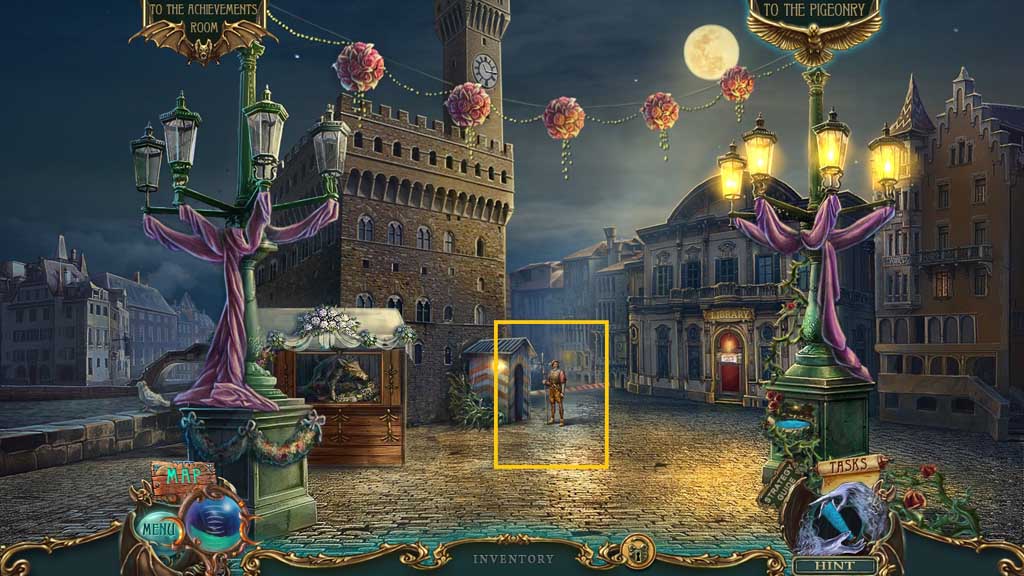
- Move down into the Portal.
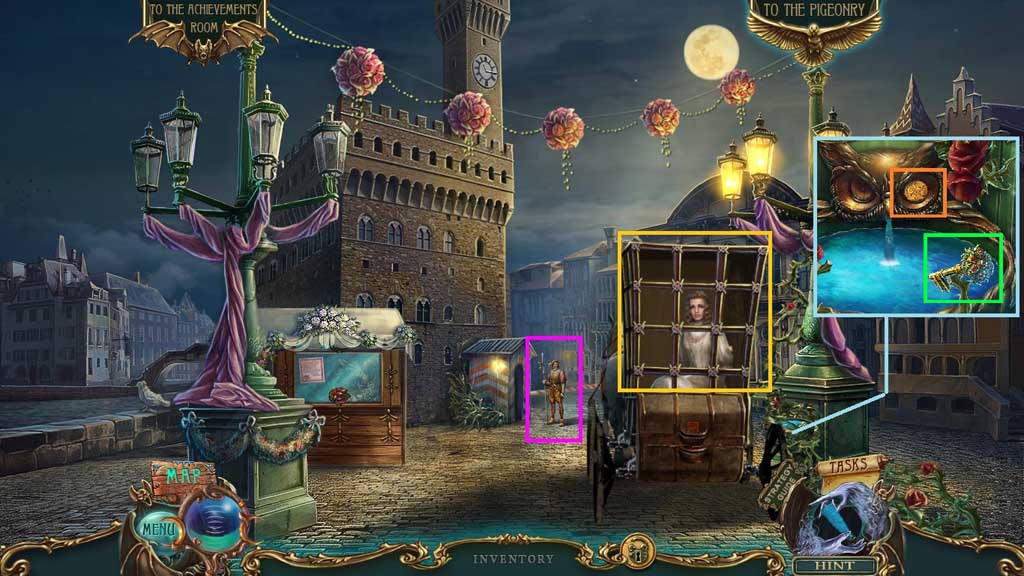
- Speak to Lucia.
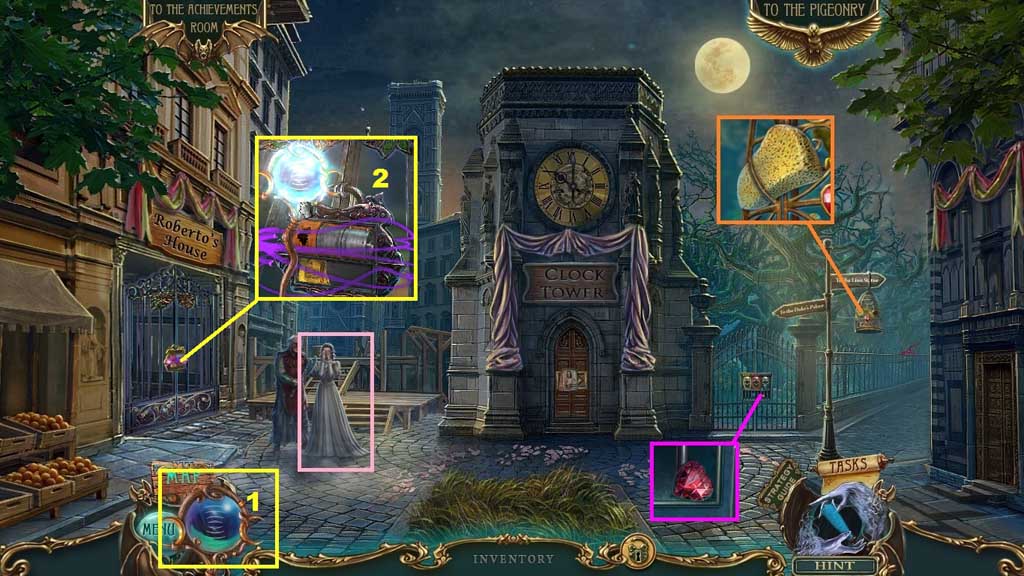
- Speak to the guard 2x’s.
- Select the scissors 3x’s to collect 2 /3 coins and the bouquet key.
- Zoom into the sign; collect the half moon.
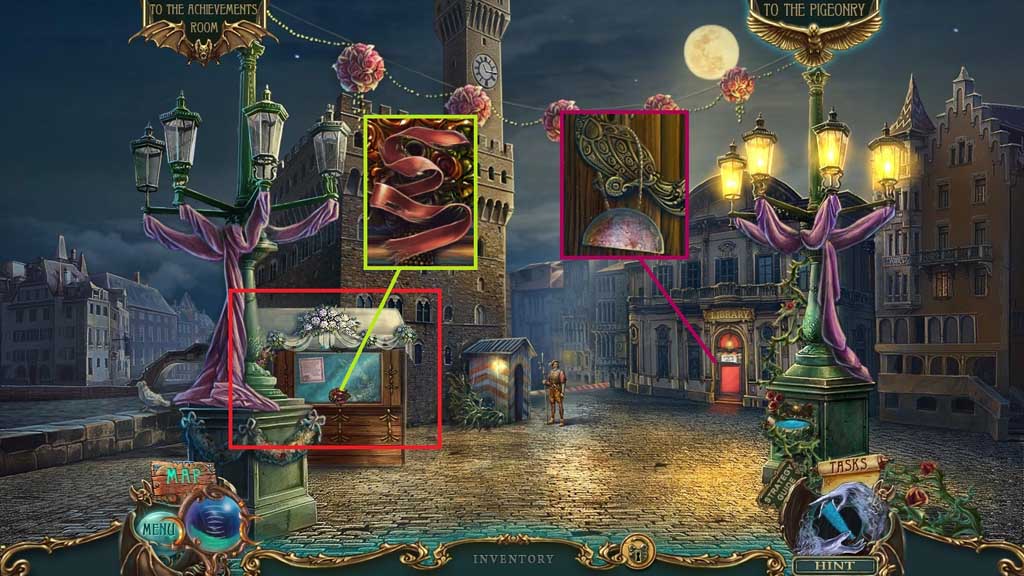
- Collect the red ribbon.
- Insert the bouquet key to trigger a hidden objects area.
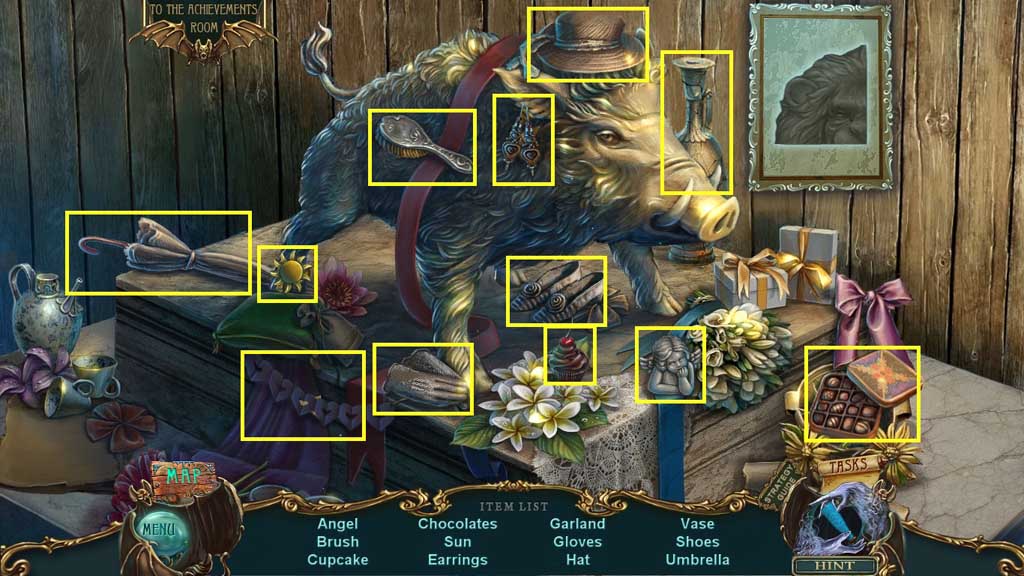
- Find the items.
- Collect 3 /3 coins.
- Give the coins to the guard.
- Move ahead.
- Speak to Lucia.
- Collect the dry sponge.
- Collect 1 /2 crystal hearts.
- Select the staff to use on the lock to trigger a mini game.
- Solve the game by following the prompts correctly to select the items.
- Move down once and click the hidden objects area.
- Find the items.
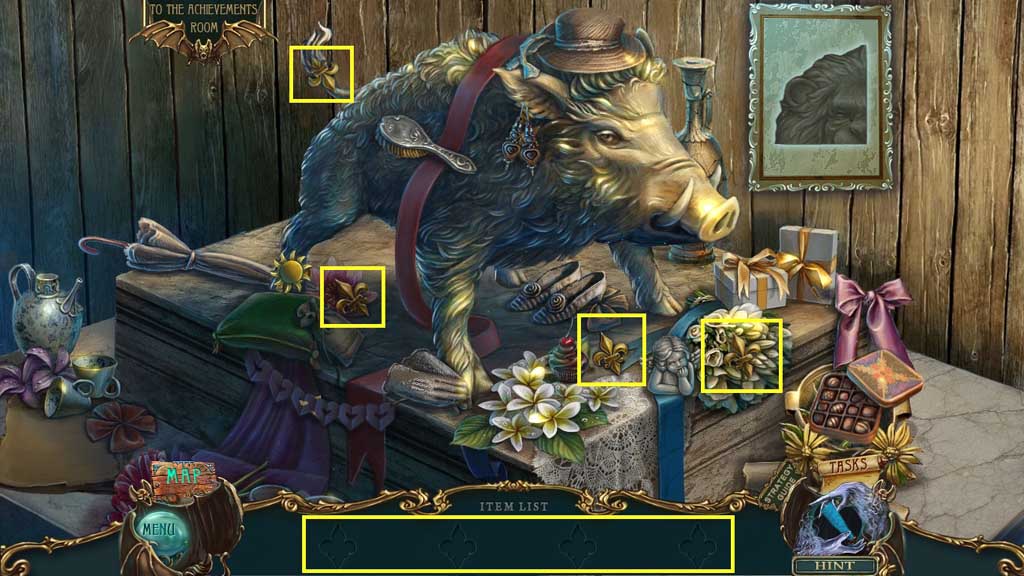
- Collect the lion emblem.

- Dip the dry sponge into the water.
- Move ahead and to the right.
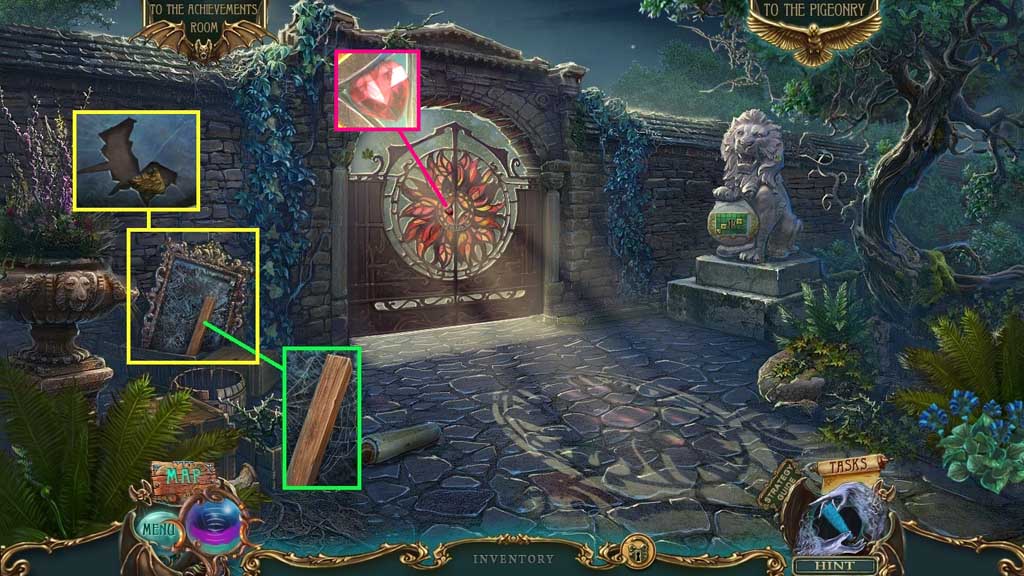
- Collect 1 /2 planks and use the wet sponge to clean the mirror.
- Collect the lion emblem.
- Collect 2 /2 crystal hearts.
- Move down once.
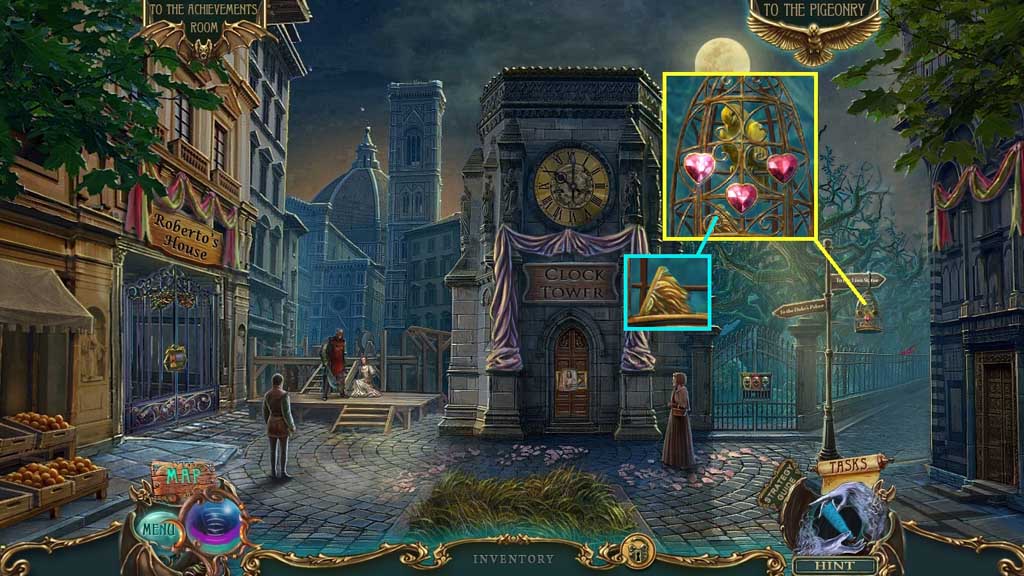
- Insert the 2 crystal hearts.
- Collect the lion emblem.
- Move to the right.

- Insert the lion emblem to trigger a mini game.
- Solve the game by moving the pieces to assemble the lion face.
- Solution: pink C 6 / pink C 3 / purple A 6 / green A 5 / blue A 1 / blue A 4 / purple D 6 / green A 6 / green C 6 / green C 4 / purple D 1 / purple A 1 / purple A 3 / purple B 3 / blue B 4
- Collect the Lucia figurine, the lock part and the red book.
- Speak to the Fate; collect the yellow ribbon.
- Move down once.
- Place the red and yellow ribbons.
- Collect the threads of fate.
- Move to the right.

- Give the threads of fate to the Fate.
- Collect the lock part.
- Move down once.
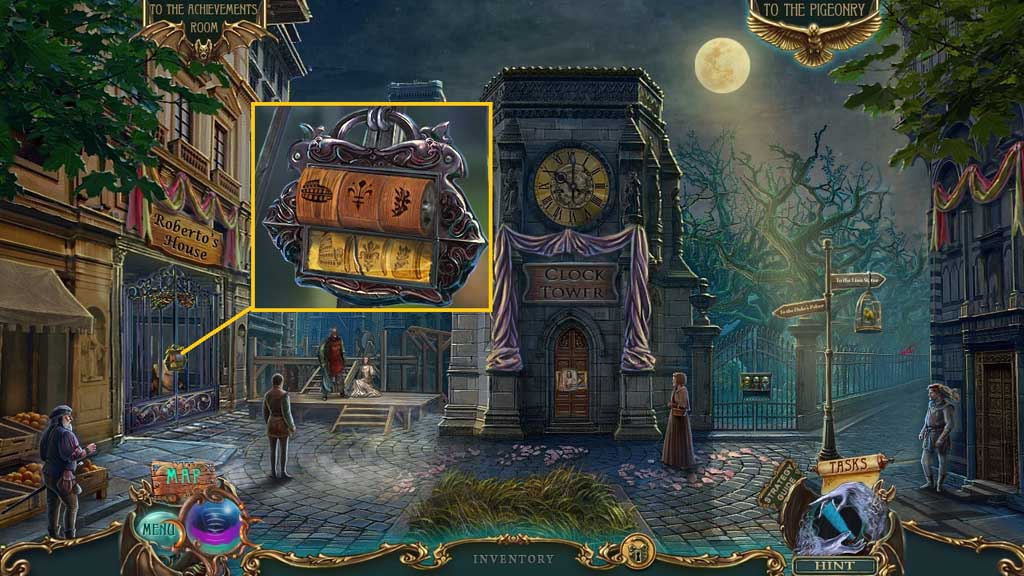
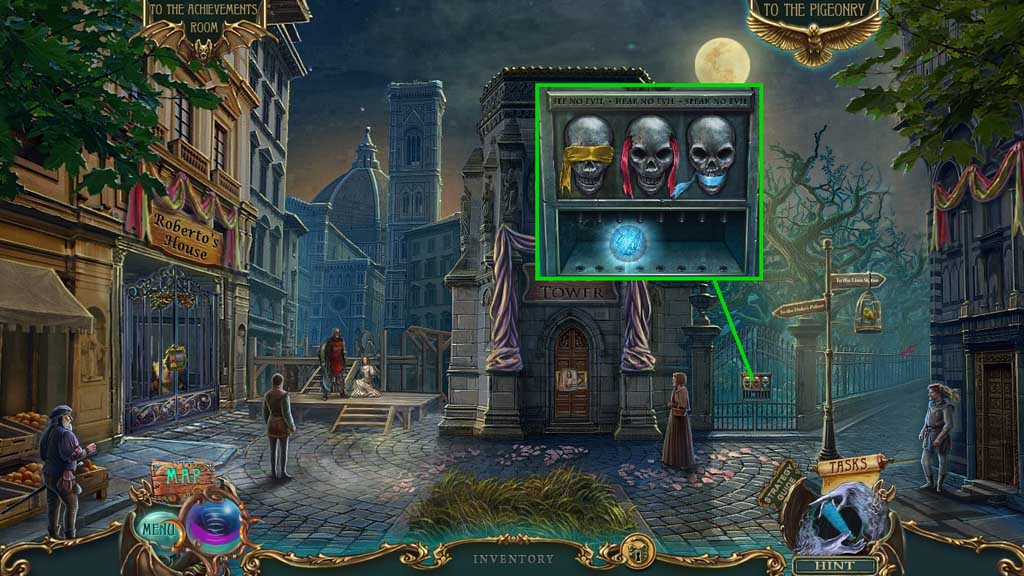
- Place the code and the lock parts onto the lock to trigger a mini game.
- Solve the game by spinning the lock parts to match the code.
- Move to the left.