
Forest Legends: The Call of Love: Chapter Five: Inside the City of Felizes
Our Forest Legends: Call of Love Walkthrough will help you reunite star-crossed lovers Aurelio and Eveline, werecat and human, caught in an unjust war between their kind. Our detailed instructions, simple puzzle solutions, and beautifully marked custom screenshots will guide you as you help Eveline save her beloved and discover the truth about her destiny.
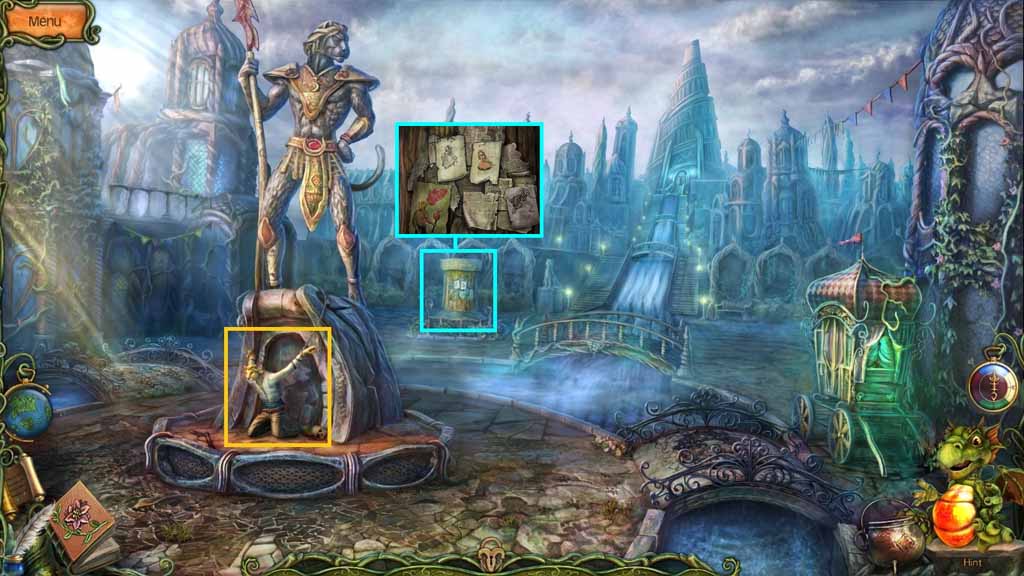
- Speak to Aurelio.
- Read the memos.
- Move ahead to the Street.
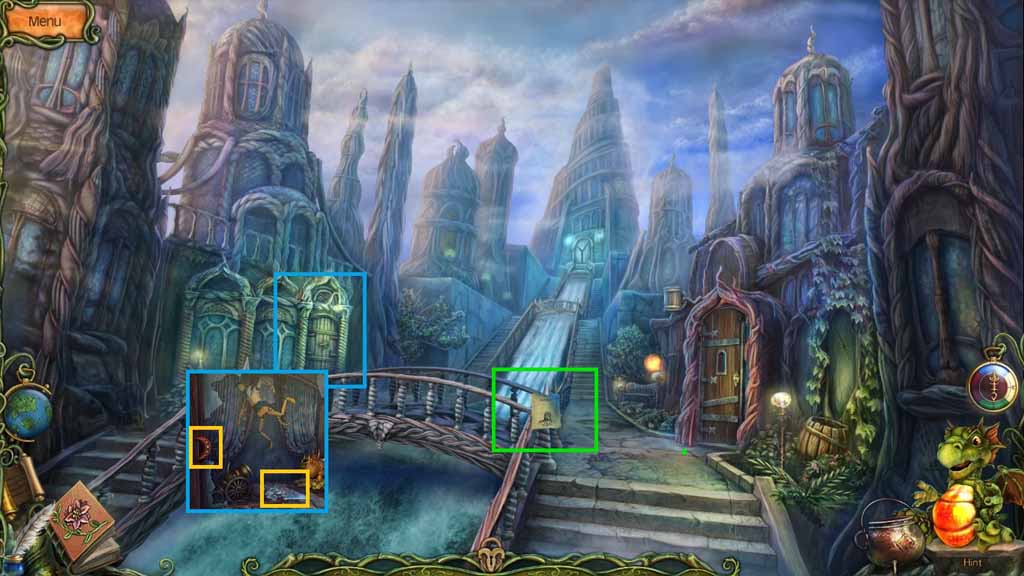
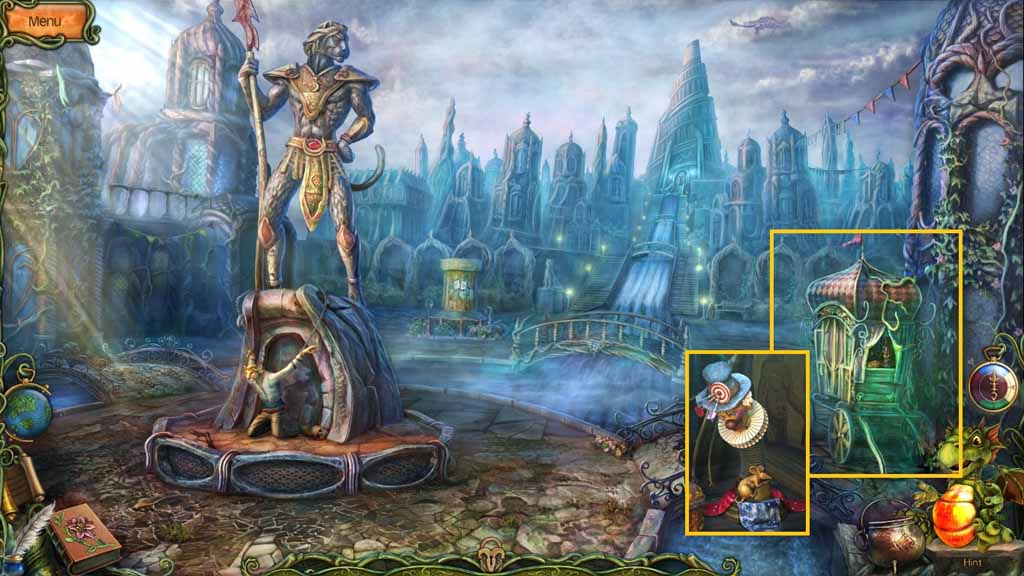
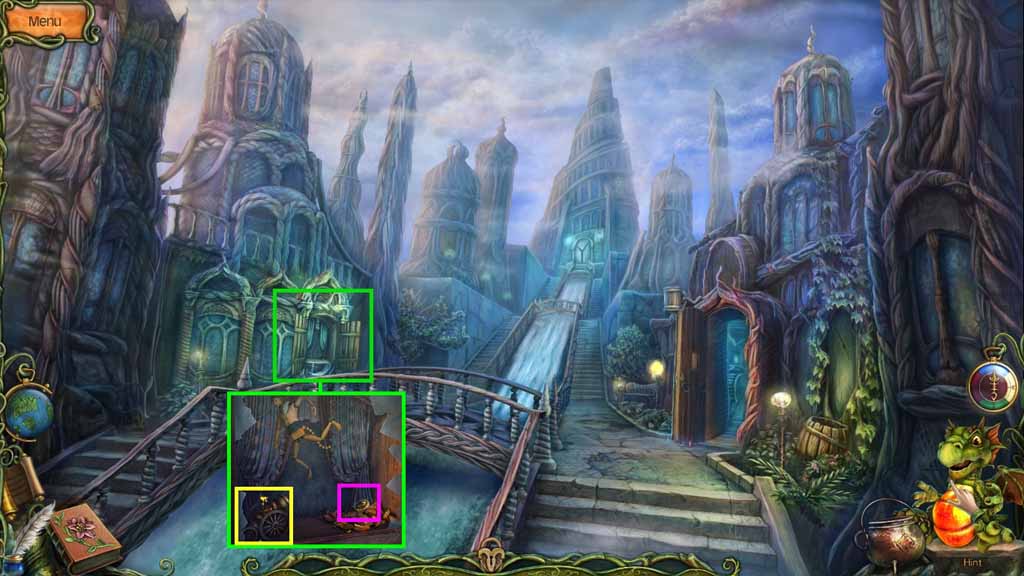
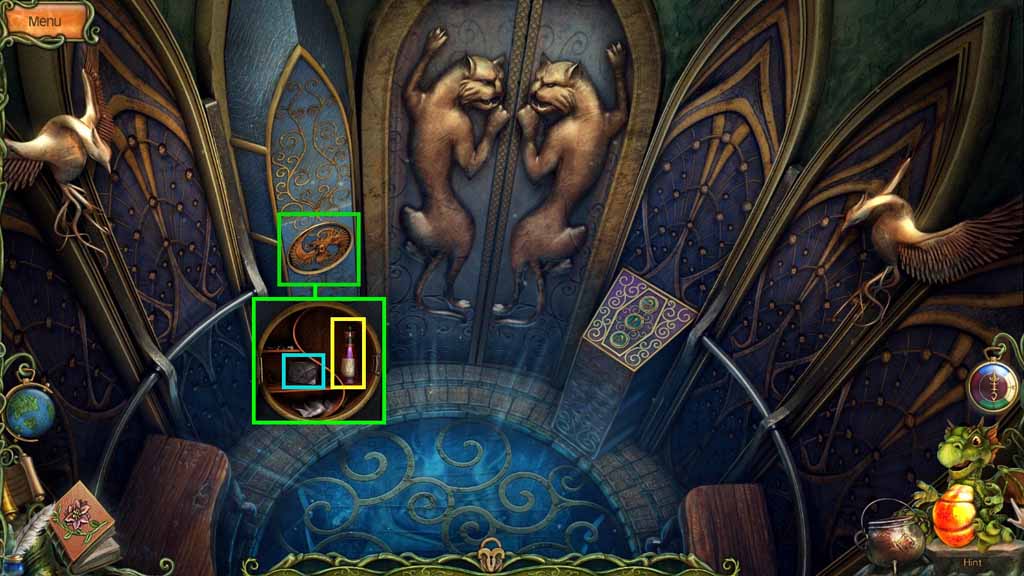
- Click the shutters.
- Collect the locket fragment and the glass shard.
- Read the memo.
- Move to the Town Square.
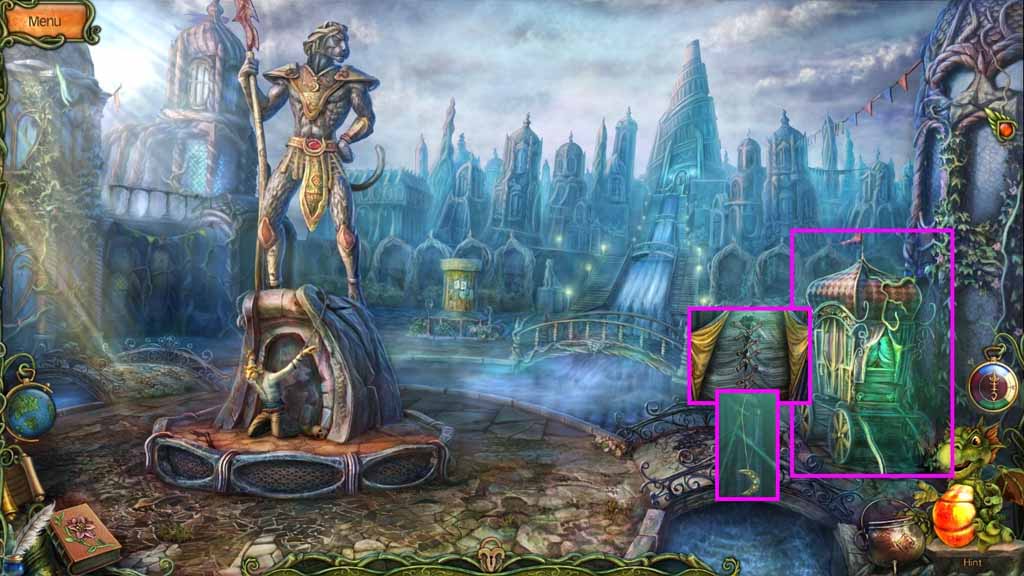
- Select the glass shard; use it to cut the rope on the circus wagon.
- Collect the locket fragment.
- Move to the Entrance of the Archives.
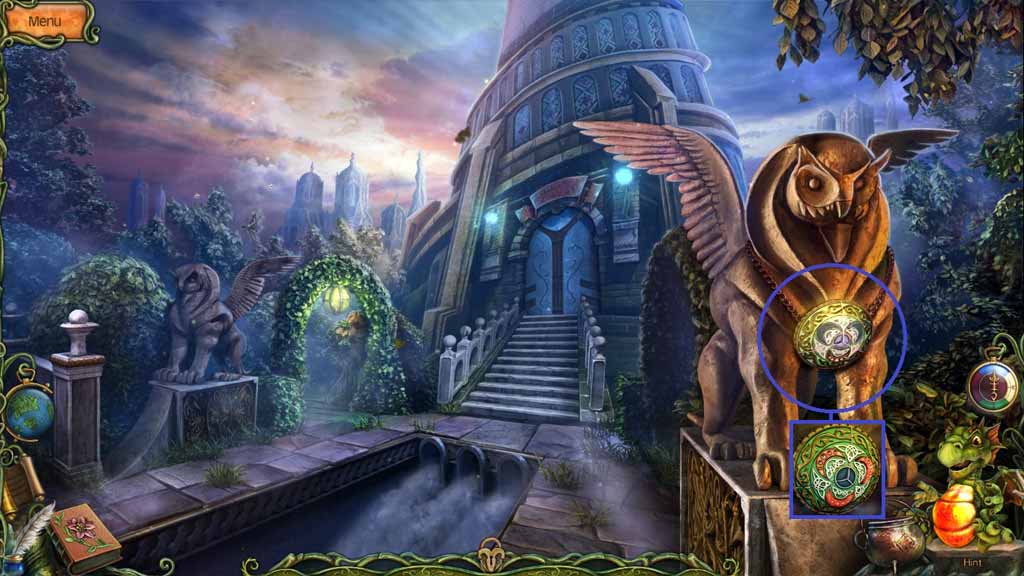
- Insert both locket parts into the mechanism on the statue.
- Move into the Archives.
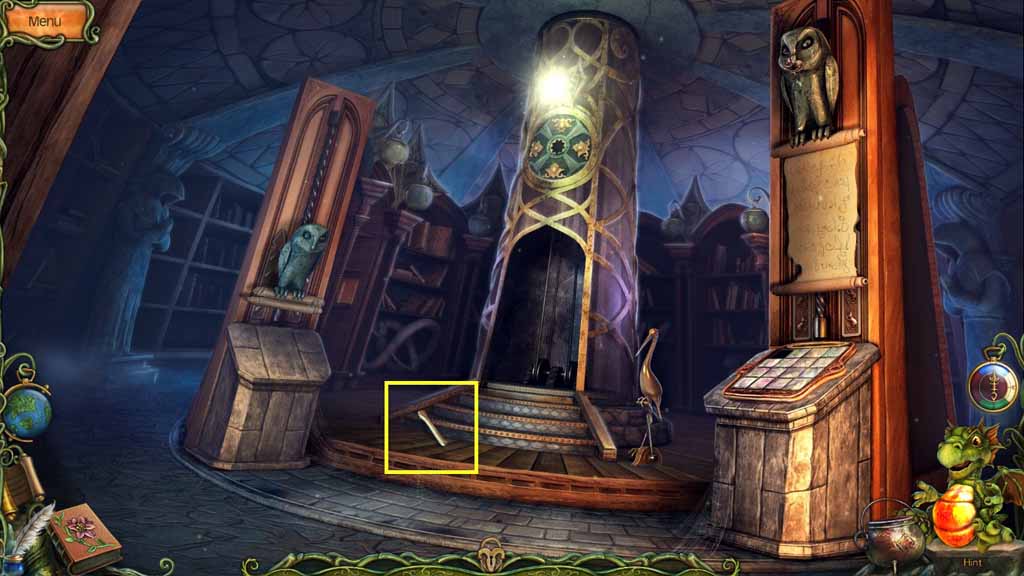
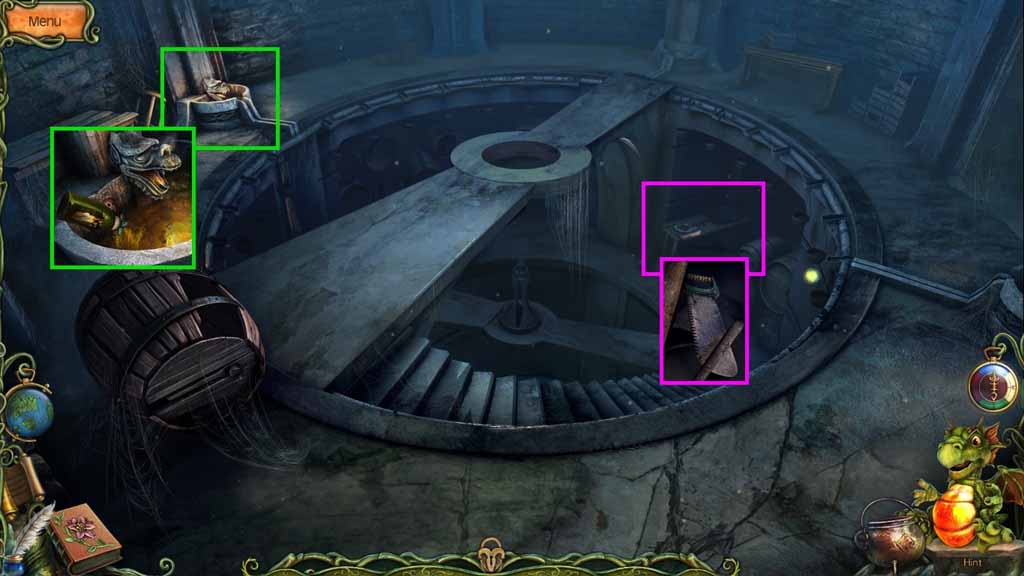
- Collect the axe handle.
- Move outside.
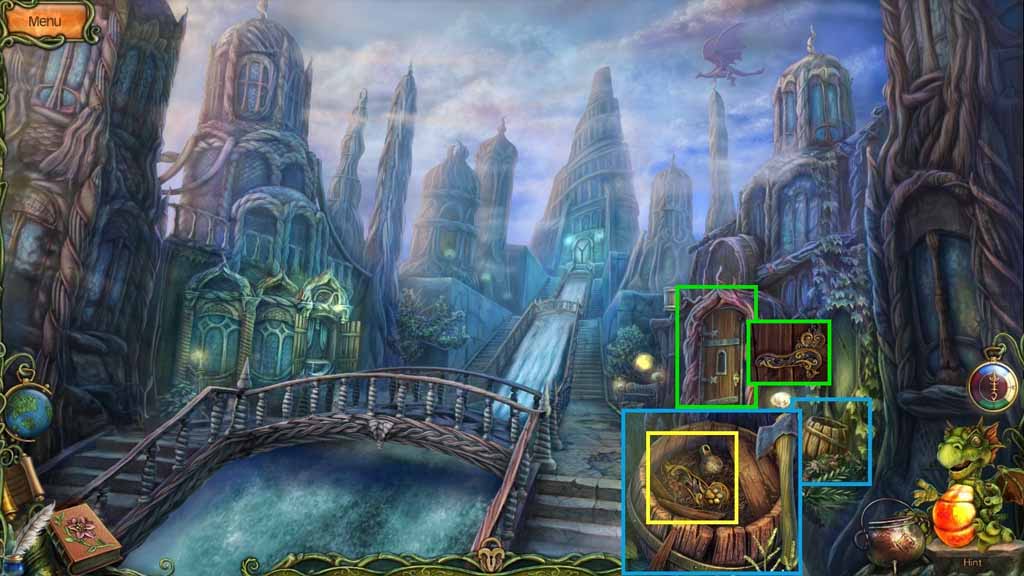
- Click the Garden.

- Attach the axe handle onto the axe.
- Collect the axe.
- Move to the Street.
- Select the axe to smash the barrel.
- Collect the weight and the lion’s paw.
- Insert the lion’s paw into the Tavern door; enter the Tavern.
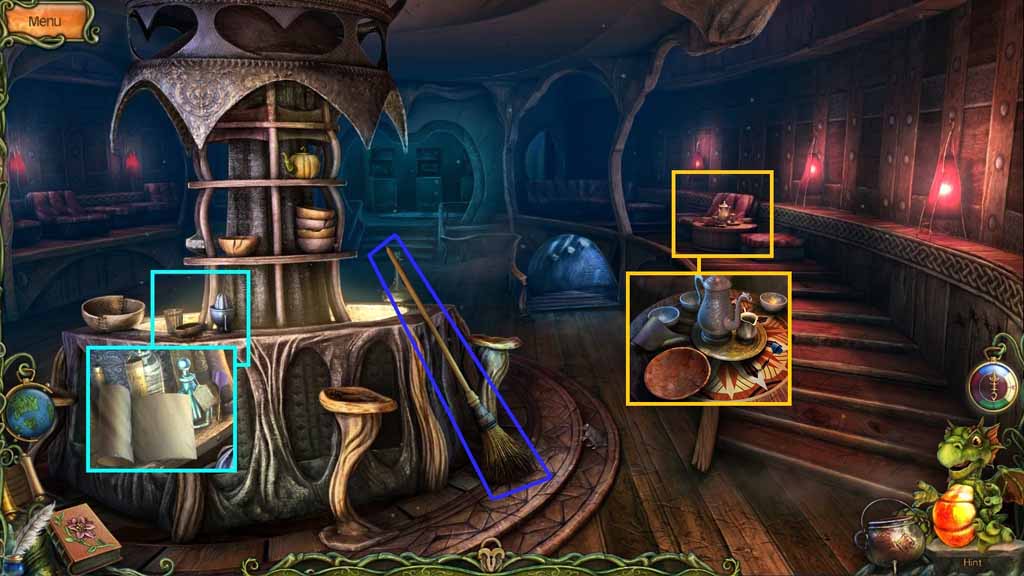
- Collect the broom.
- Click the bar; collect the decipher potion and dart.
- Read the memo.
- Click the table; collect the 2nd dart.
- Read the memo.
- Move to the Street.
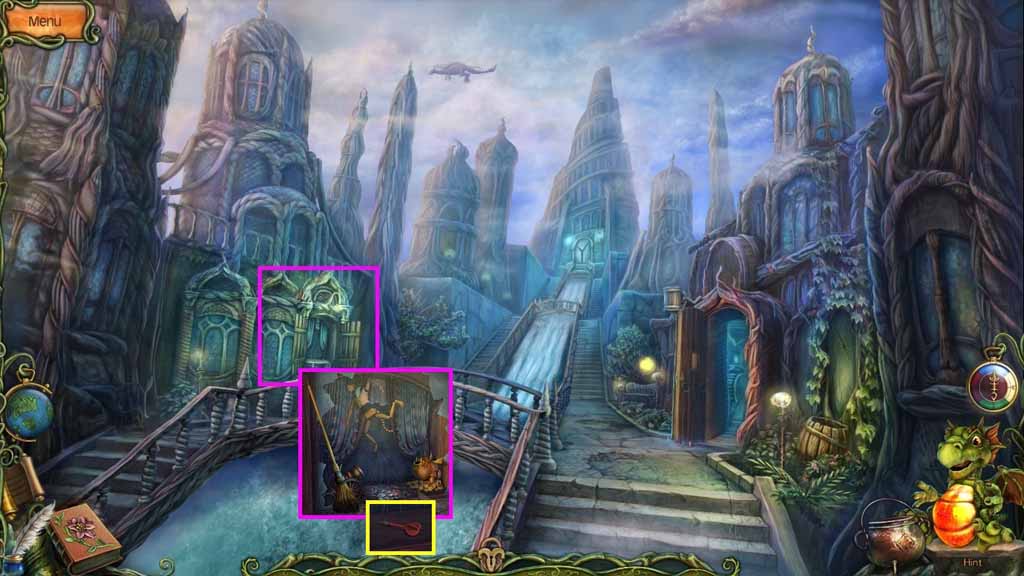
- Select the broom to sweep the glass shards.
- Collect the 3rd dart.
- Move to the Town Square.
- Throw the 3 darts at the clown in the wagon.
- Collect the gold mouse.
- Move to the Archives.
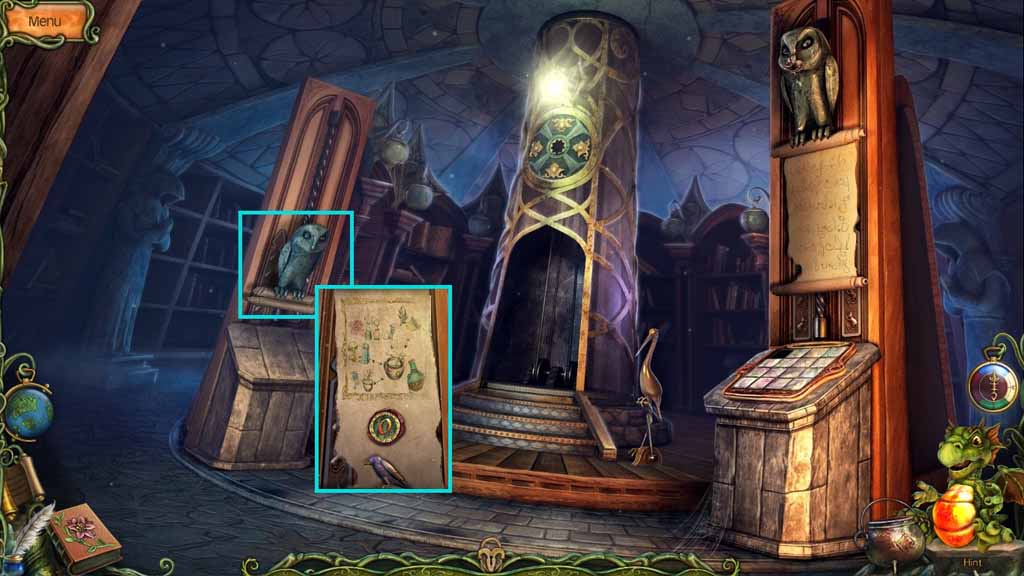
- Insert the gold mouse into the beak of the owl on the left.
- Pour the decipher potion onto the scroll; collect the Freedom Potion recipe.
- Collect the elevator button and the bird figurine.
- Move to the Tavern.

- Zoom into the door behind the bar.
- Insert the bird figurine; collect the 2nd weight.
- Read the memo.
- Move into the Tavern Cellar.
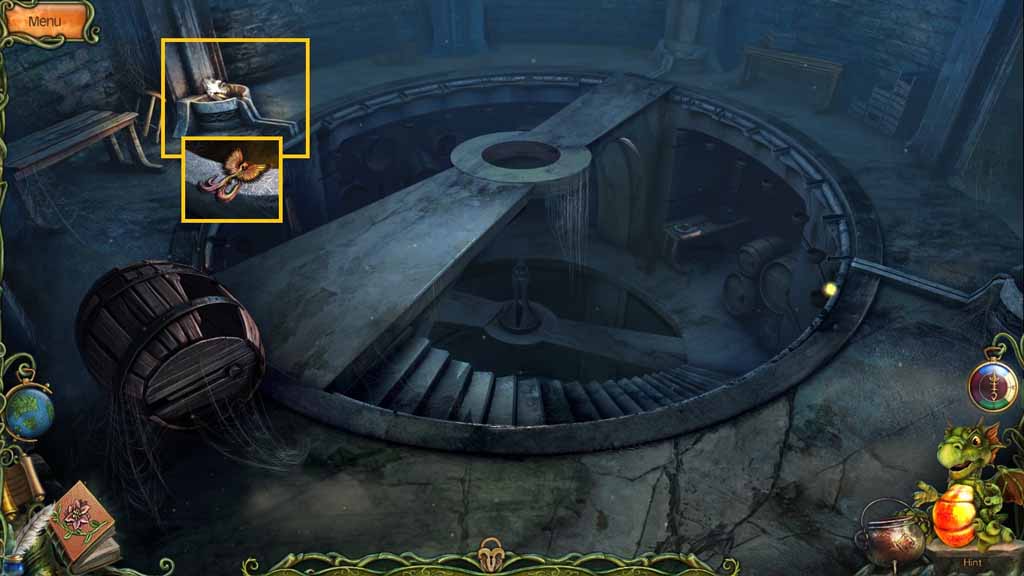
- Collect the Phoenix.
- Move to the Town Square.
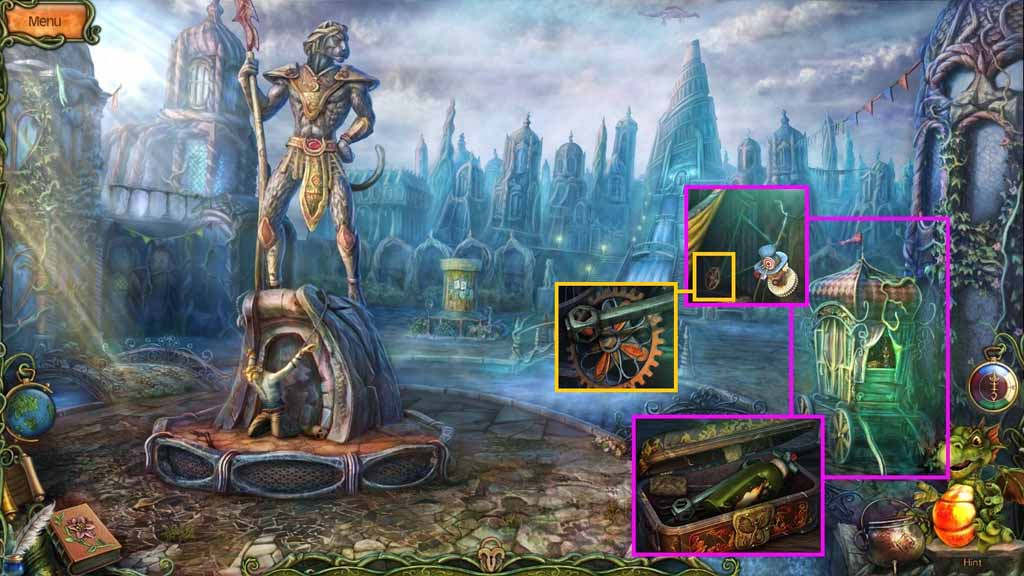
- Zoom into the circus wagon.
- Insert the Phoenix into the case; collect the wrench and the oil.
- Select the wrench and use it to remove the gear from the bicycle.
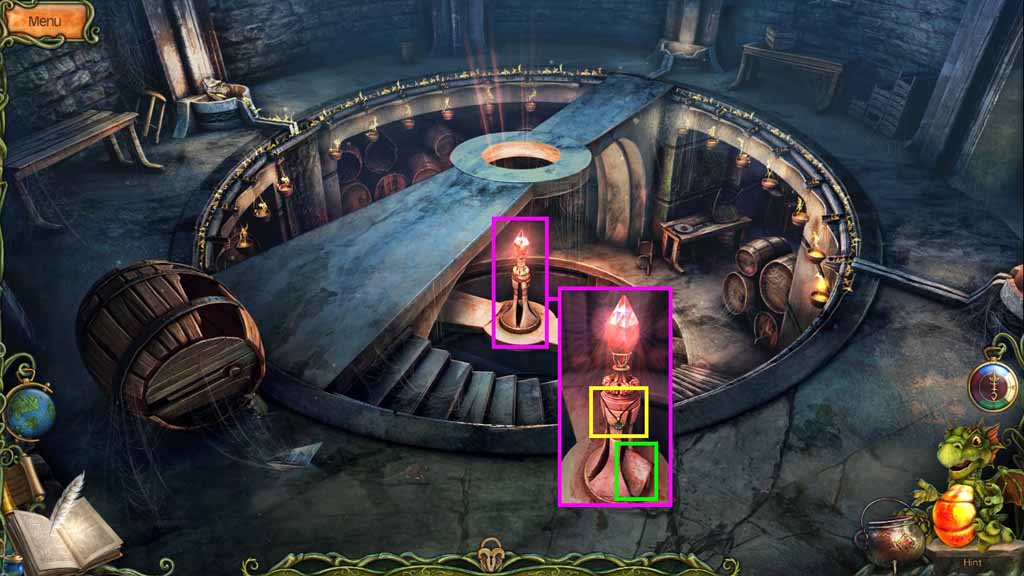
- Move to the Tavern Cellar.
- Pour the oil into the bowl.
- Collect the saw.
- Move to the Archives.
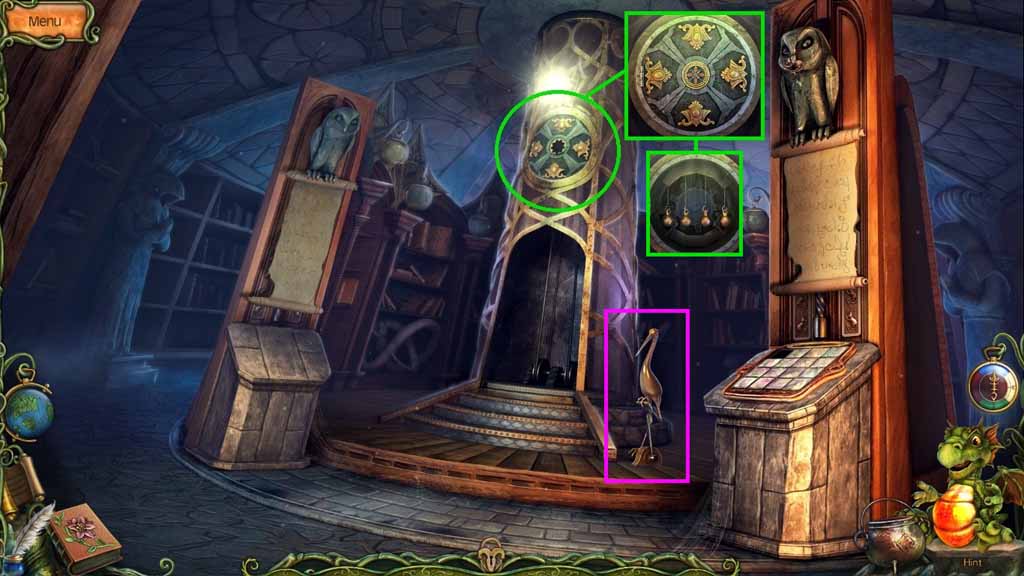
- Select the gear to open the mechanism.
- Place the weights onto the hooks.
- Click the lever; move into the elevator.
- Insert the elevator button.
- Click the down button.
- Select the saw to cut the plank.
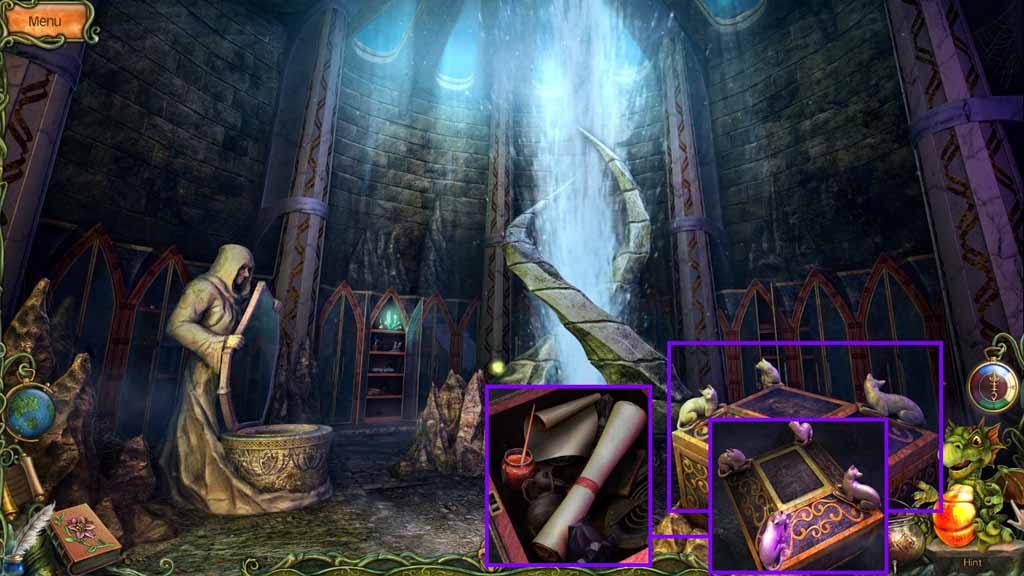
- Move into the Storeroom.
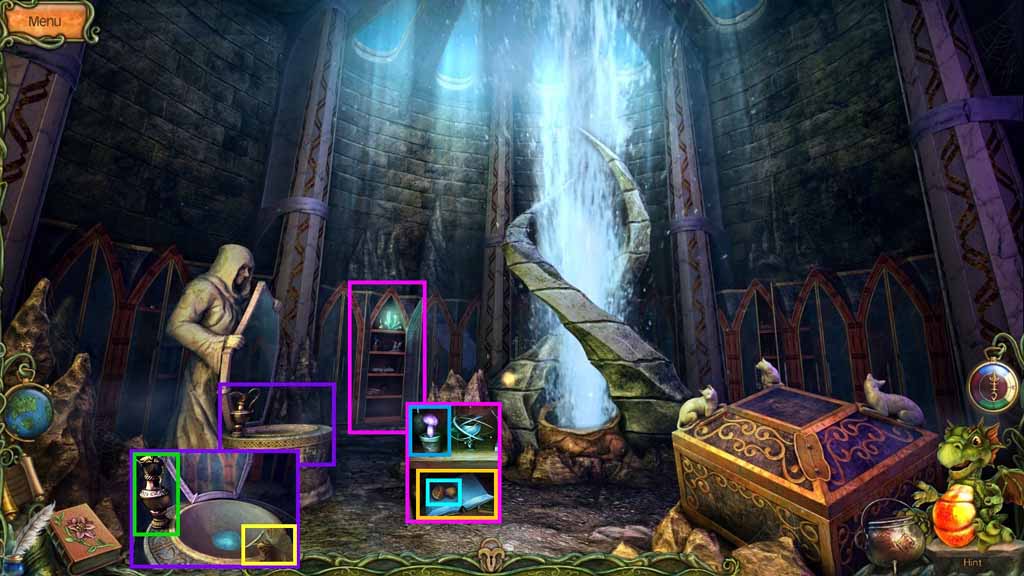
- Collect the jug.
- Collect the red miola leaf.
- Collect the blue mushroom.
- Collect the lemon.
- Read the memo.
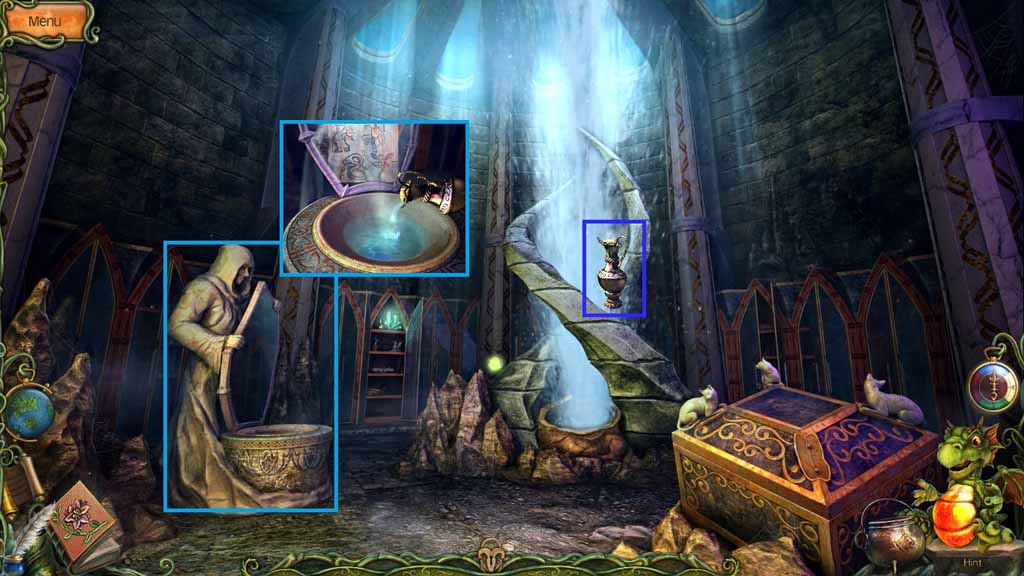
- Fill the jug with water; collect the jug of hot water.
- Pour it into the bowl.
- Notice the images on the mirror.
- Move to the Entrance of the Archives.
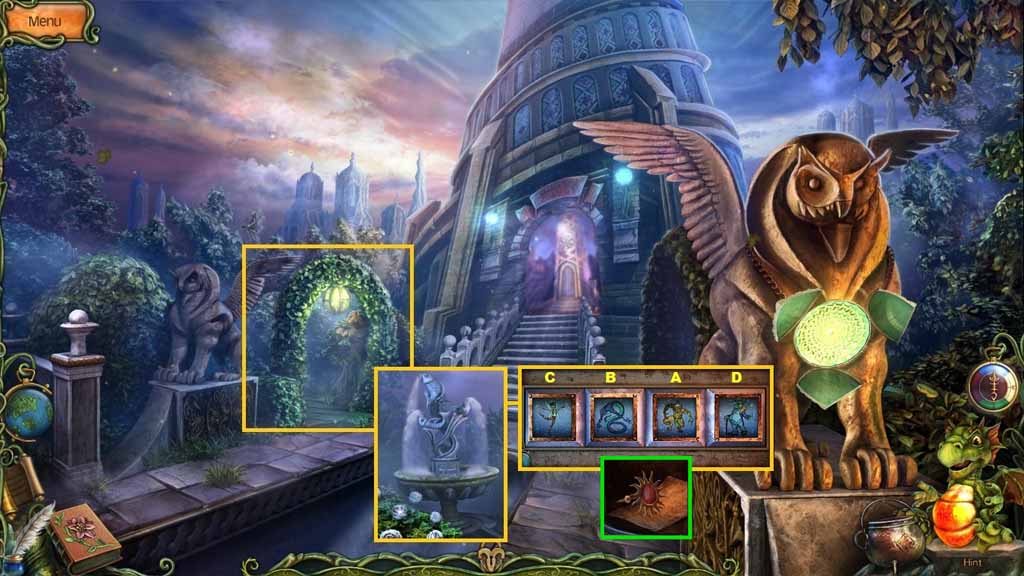
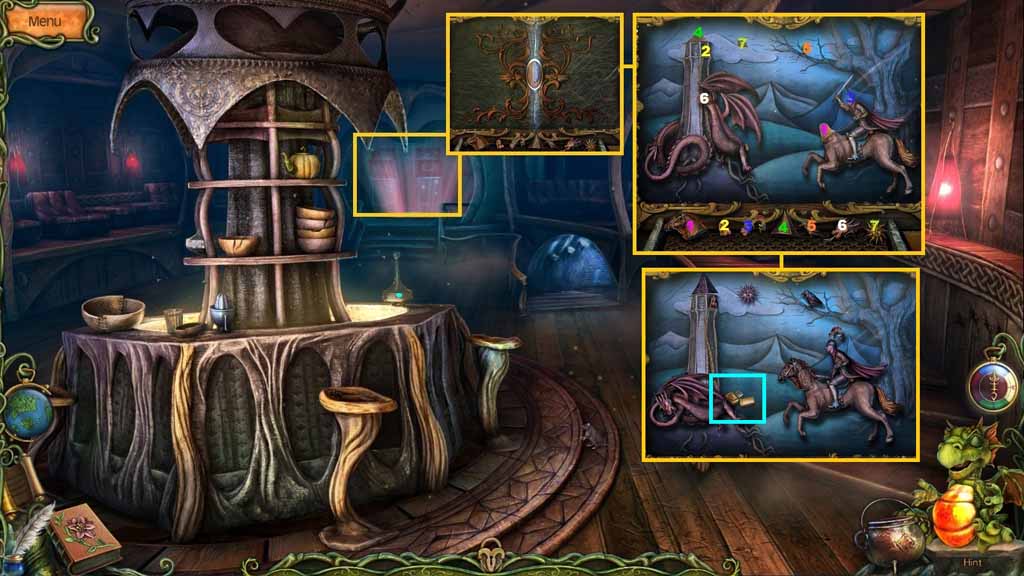
- Click the fountain.
- A mini-game will trigger.
- Solve the game by using the code from the mirror in the Storeroom.
- Click the buttons in ABC order.
- Collect the special key.
- Read the memo.
- Move to the Tavern.
- Zoom into the bar and zoom once more into the cubby hole.
- Insert the special key into the gem lock; collect the gem.
- Squeeze the lemon; collect the lemon juice.
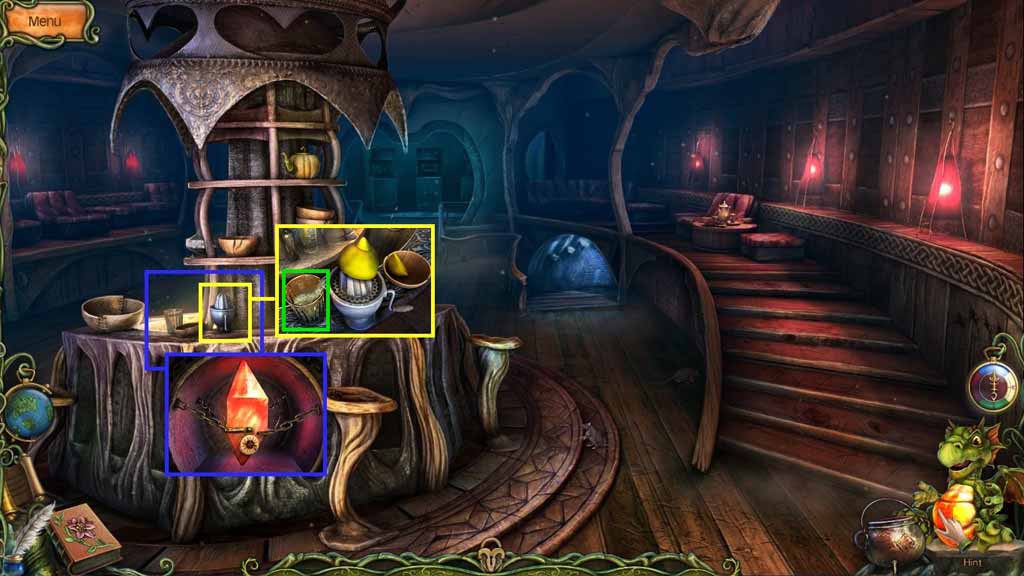
- Move to the Tavern Cellar.
- Insert the gemstone into the base.
- Collect the token.
- Read the memo.
- Move upstairs.
- Click the slot machine.
- Insert the token to trigger a mini-game.
- Solve the mini-game by placing the pieces into the correct places.
- Collect the lighter.
- Move to the Street.
- Select the lighter to ignite the fuse.
- Collect the elevator button.
- Move to the elevator.
- Insert the elevator button and click it once.
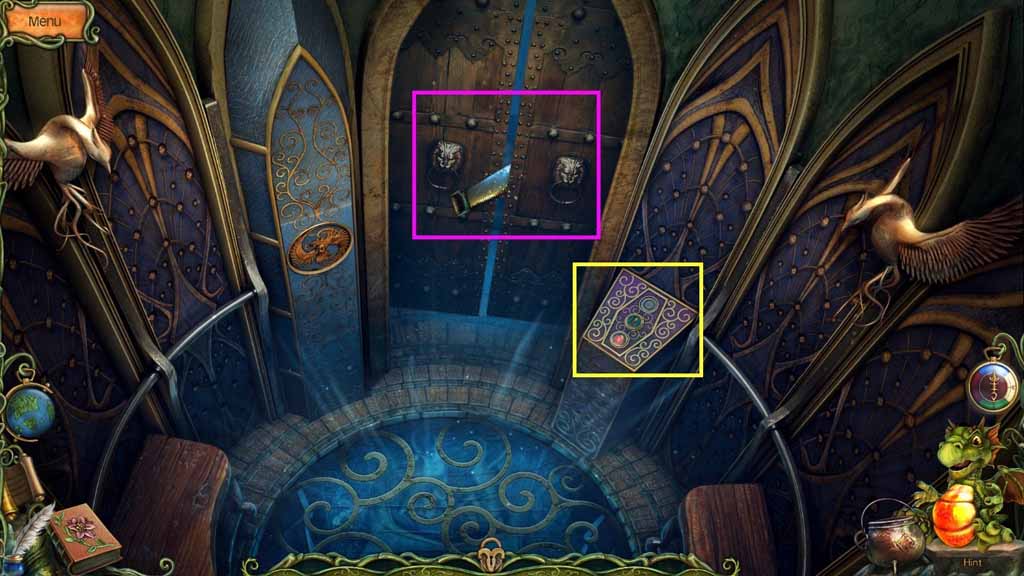
- Move into the Mirrored Hall.
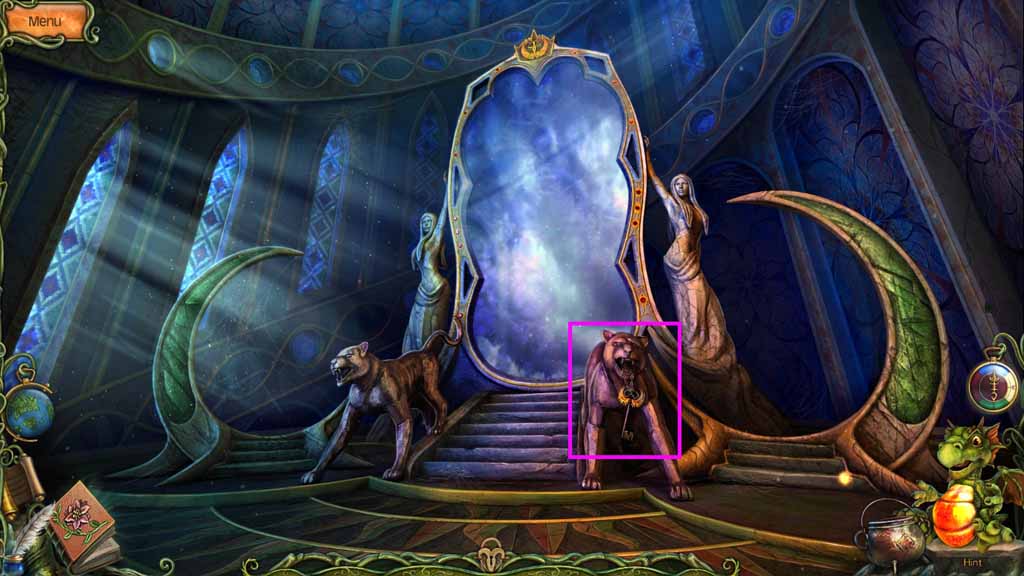
- Collect the bird shaped key.
- Move to the elevator.
- Insert the bird shaped key into the cabinet; collect the stone tile.
- Collect the kahkara bubbles.
- Move to the Archives.
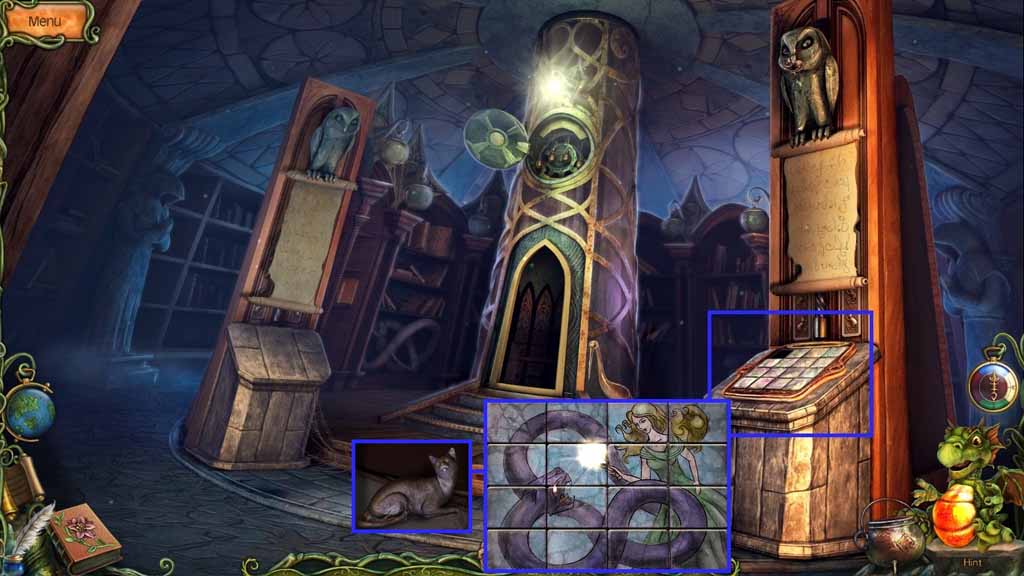
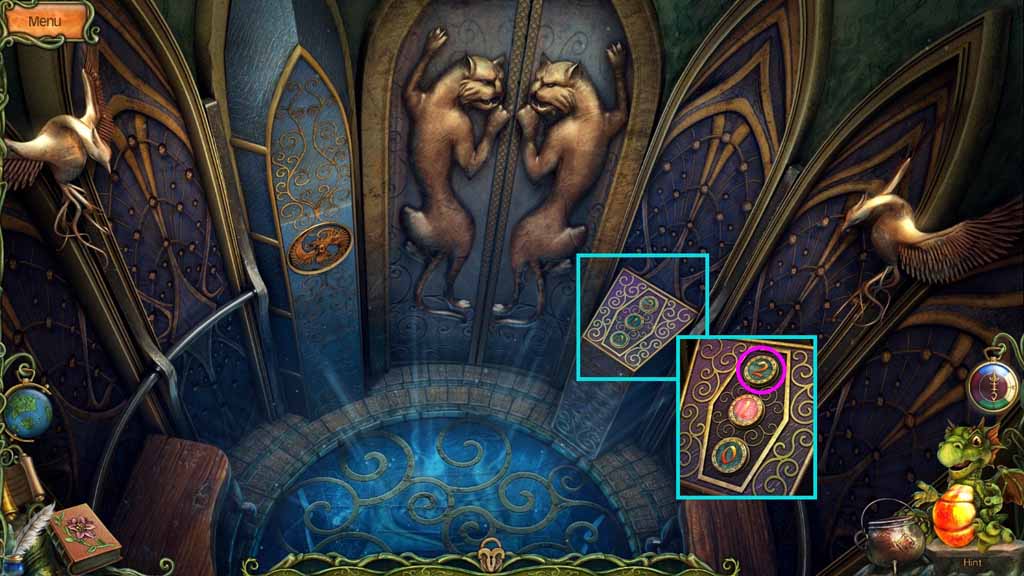
- Insert the stone tile into the picture to trigger a mini-game.
- Flip the tiles to create a completed image to solve the mini-game.
- Collect the cat figurine.
- Move to the Storeroom.
- Put the cat figurine onto the chest lid.
- Collect the red paint.
- Read the memos.
- Move to the Entrance to the Archives.
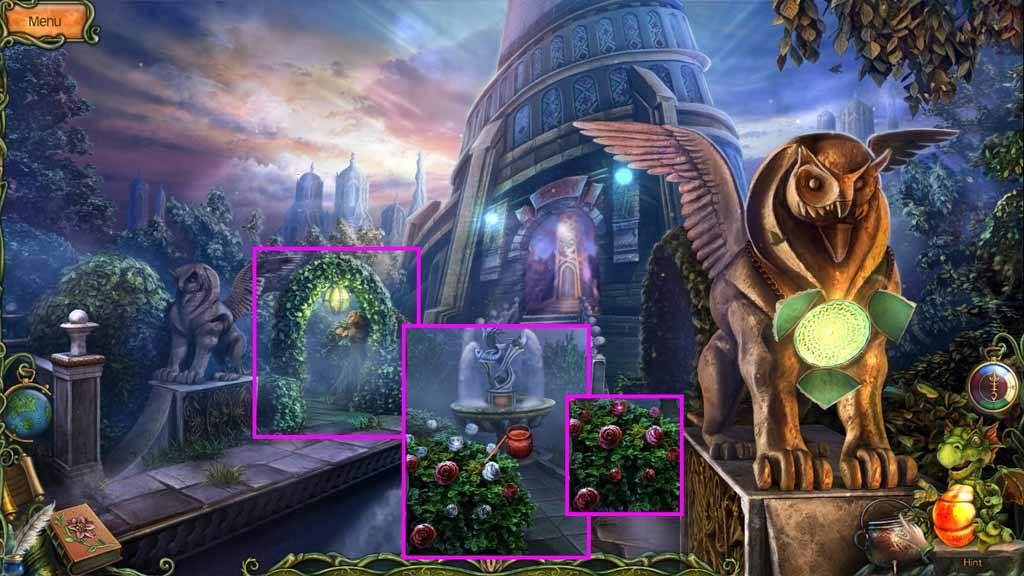
- Paint the white roses using the red paint.
- Collect the red rose petals.
- Create the Freedom Potion.

- Put the red miola leaf onto the cutting board and cut it up.
- Place the kahkara bubbles into the pot.
- Place the red rose petals into the pot.
- Grate the blue mushroom.
- Place the lemon juice into the distiller.
- Stir the ingredients.
- Collect the Freedom Potion.
- Move to the Town Square.
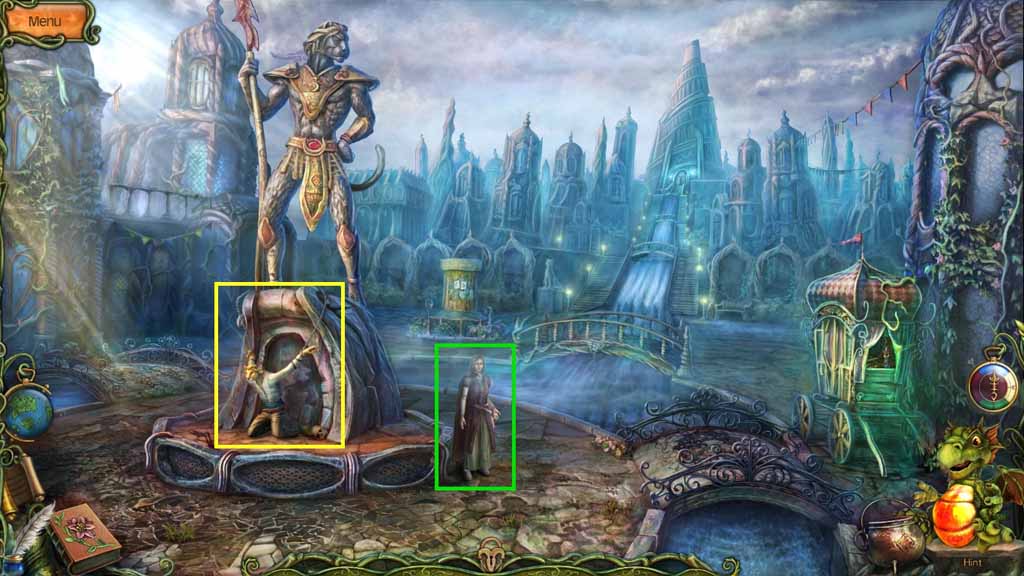
- Pour the Freedom Potion onto the shackles.
- Speak to the healer; collect the maze key.
- Move to the Mirror Hall.
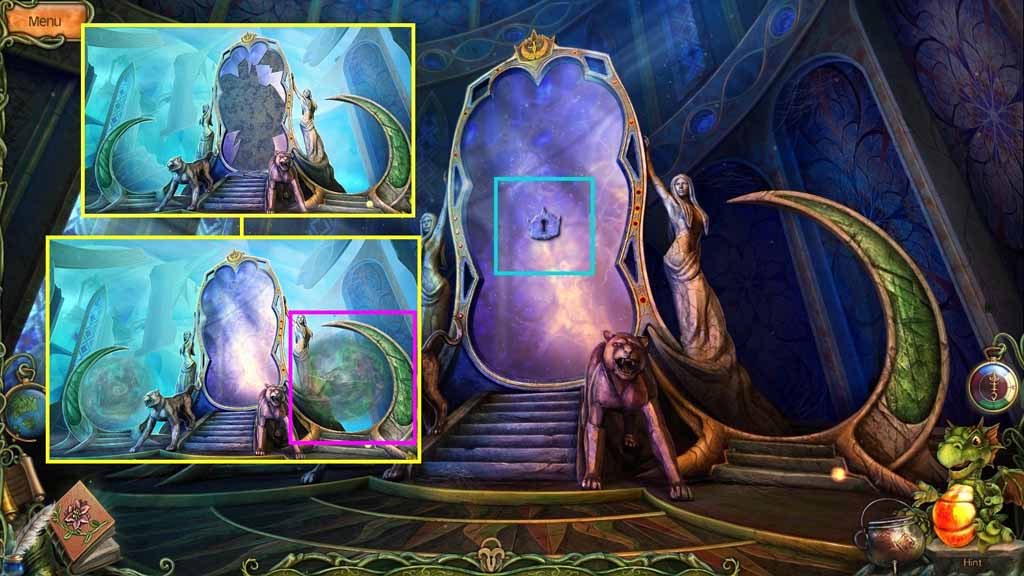
- Click the mirror; insert the maze key.
- Click the mirror to trigger a mini-game.
- Assemble the shattered mirror to solve the mini-game.
- The portal to the Maze will open; enter through the right portal.