
Forest Legends: The Call of Love: Chapter Two: Enter the Forbidden Forest
Our Forest Legends: Call of Love Walkthrough will help you reunite star-crossed lovers Aurelio and Eveline, werecat and human, caught in an unjust war between their kind. Our detailed instructions, simple puzzle solutions, and beautifully marked custom screenshots will guide you as you help Eveline save her beloved and discover the truth about her destiny.

- Select the stick; the trap will spring.
- Move to the Mushroom Glade.
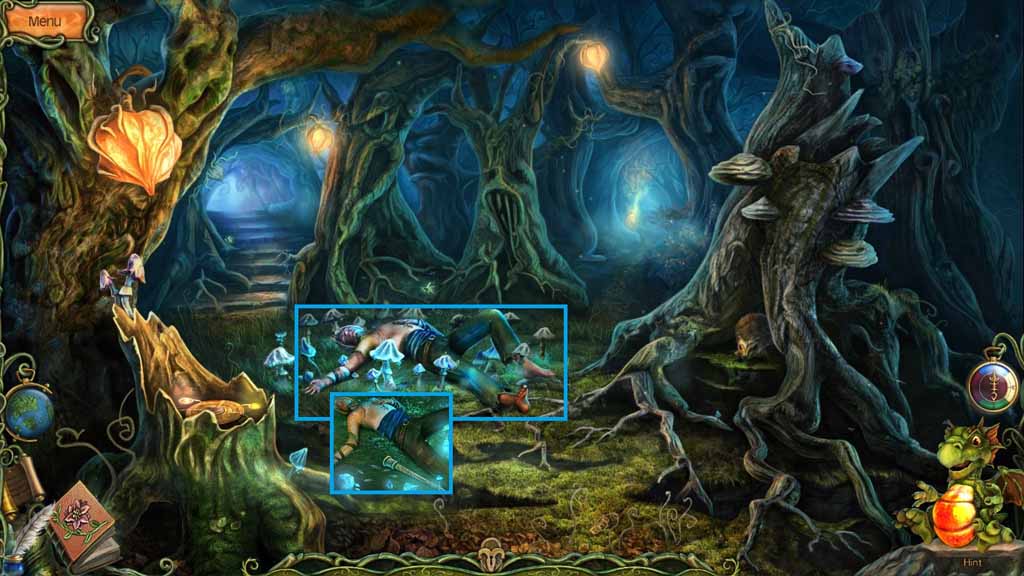
- Zoom into Aurelio; select the torch.
- Move down the path on the right and move deeper into the Forbidden Forest.
- Select the torch and place it into the fire mound.
- Collect the burning torch.
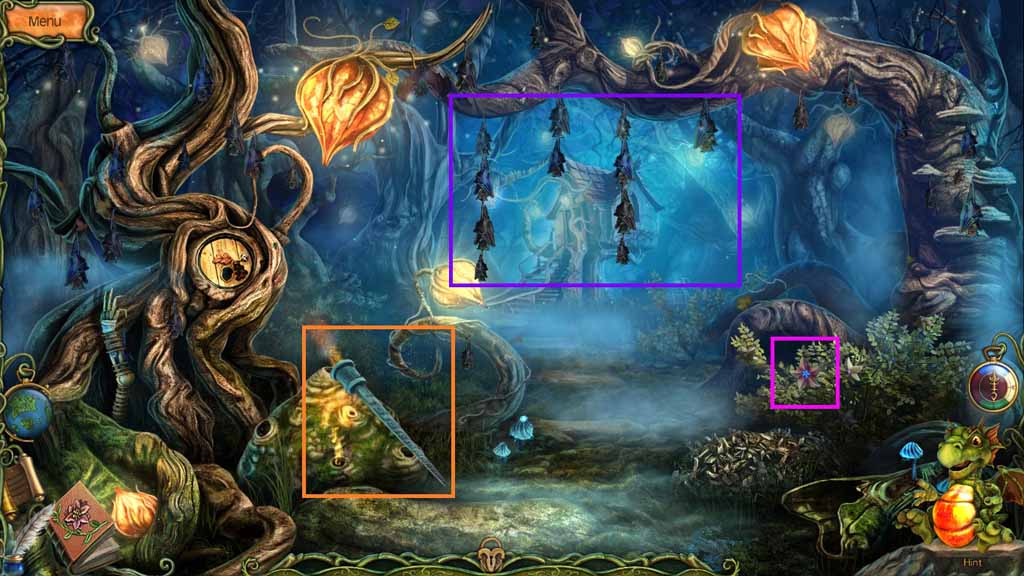
- Collect the star nut.
- Clear the bats away and move ahead to the Outside of the Healer’s Hut.
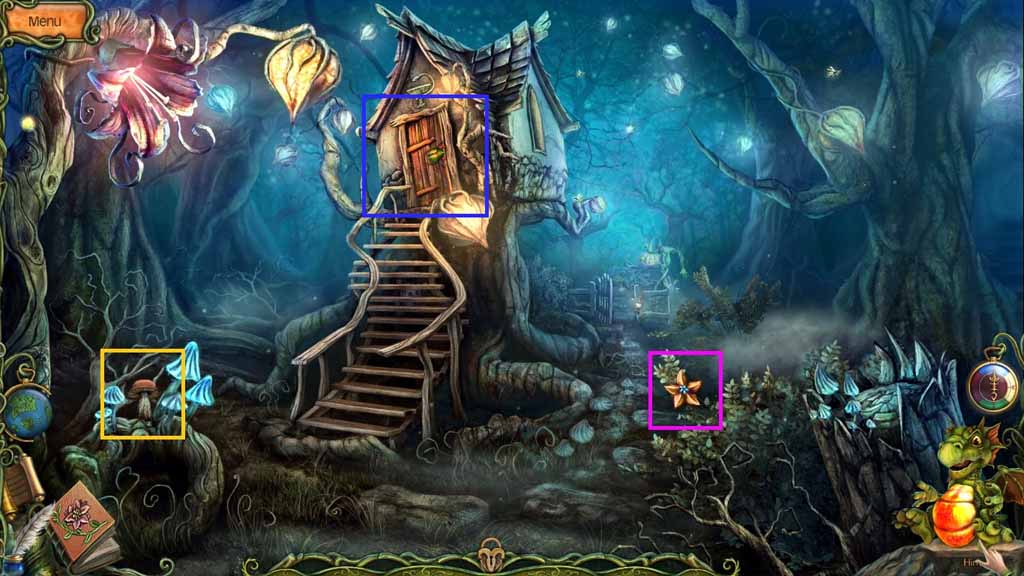
- Collect the mushroom.
- Collect the star nut.
- Attempt to go into the hut.
- Move forward to the Garden.
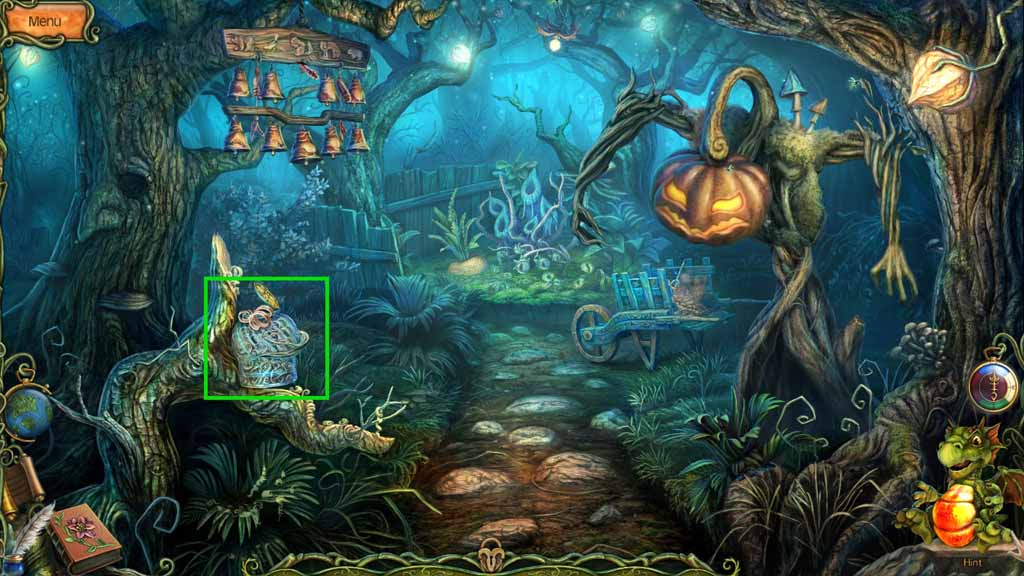
- Collect the wood shavings.
- Move to the Outside the Healer’s Hut.
- Put the wood shavings under the stairs.
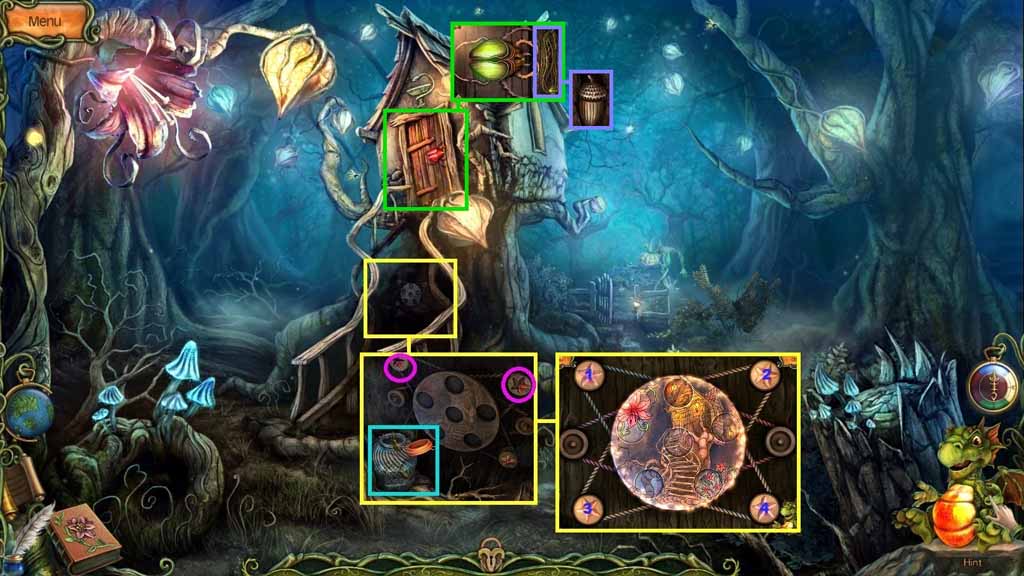
- Collect the termites.
- Insert the star nuts into the places where the broken star nuts are.
- A mini-game will trigger.
- Recreate the healer’s hut.
- Click the star nuts as follows to solve the mini-game.
- 1 – 1 – 4 – 3 – 4 – 3 – 3.
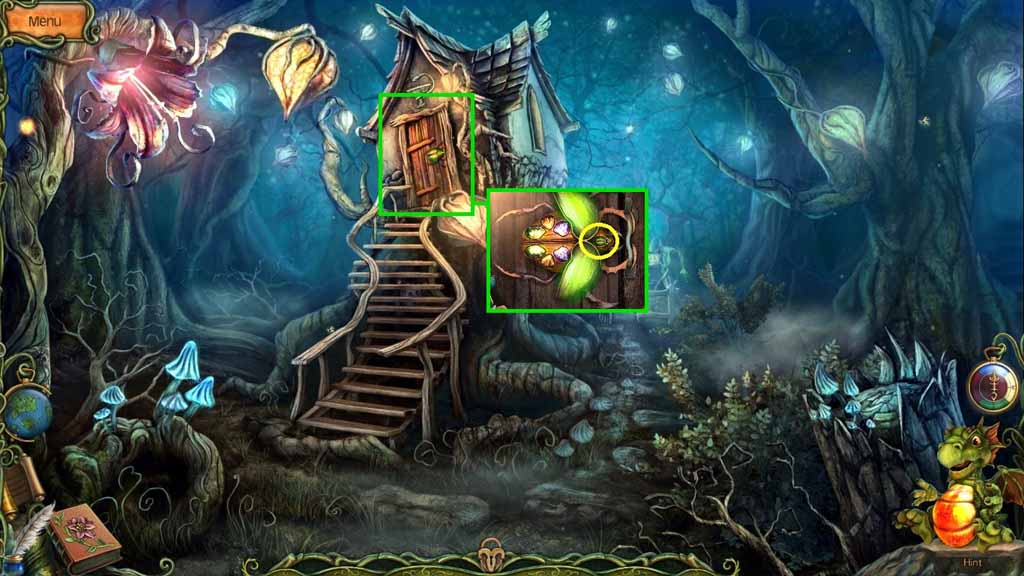
- Click the door; collect the rope.
- Collect the acorn under the rope.
- Move to the Forbidden Forest.
- Select the acorn and insert it into the door.
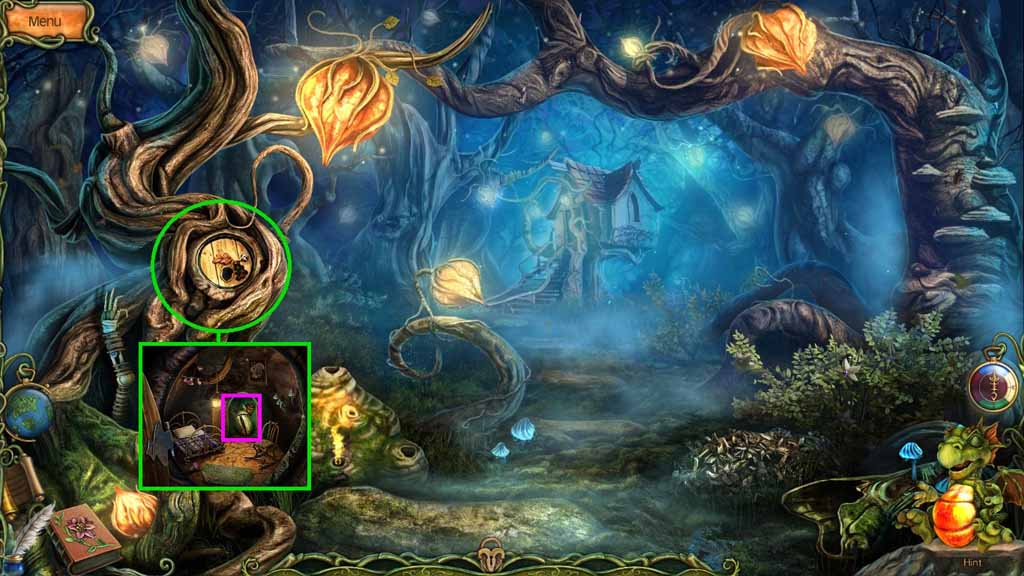
- Click the wardrobe; collect the metal beetle.
- Read the memo.
- Move to the Mushroom Glade.
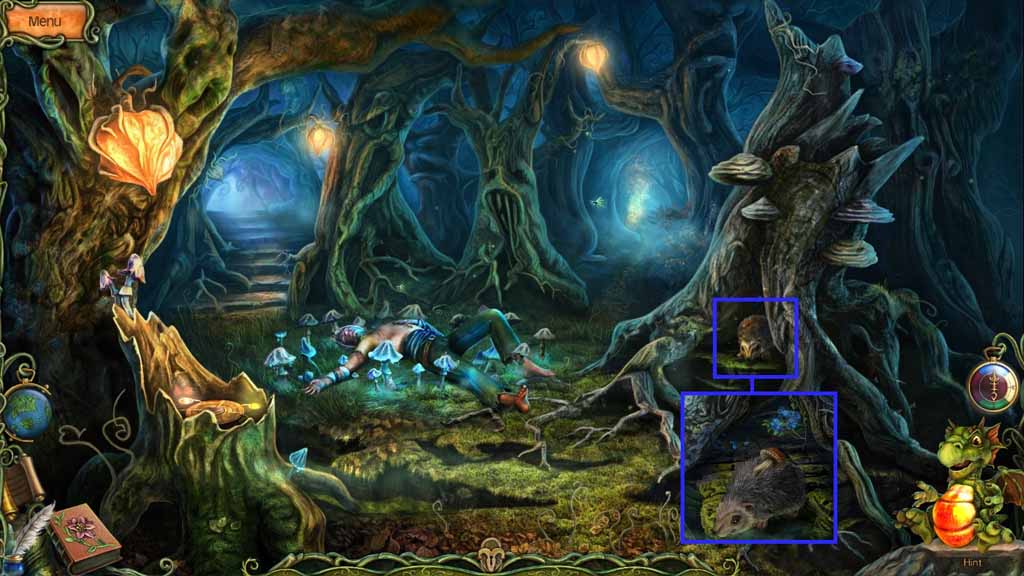
- Give the hedgehog the mushroom.
- Collect the berries.
- Move to the Outside of the Healer’s Hut.
- Click the door; insert the metal beetle.
- Enter the doorway.
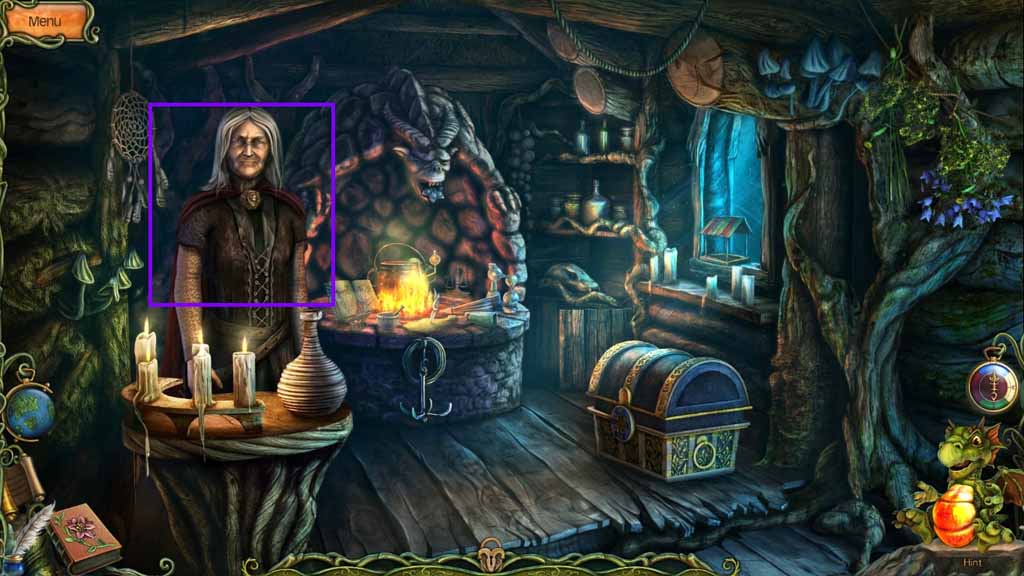
- Speak to the healer.
- Read the healing potion recipe.
- Collect the pot.
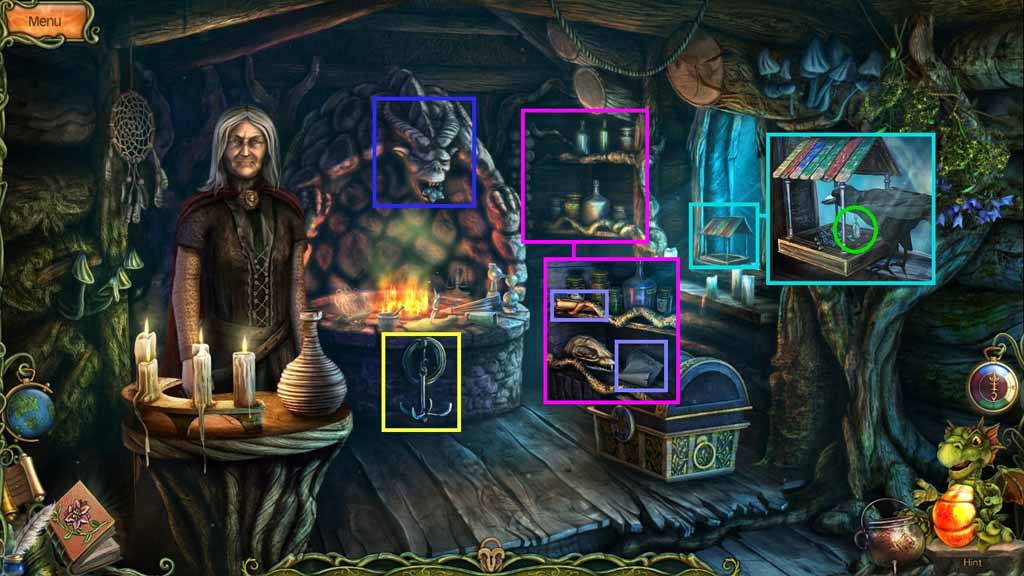
- Collect the hook.
- Collect the puzzle piece.
- Place the berries into the bird feeder.
- Collect the death token.
- Read the memo; collect the bowl.
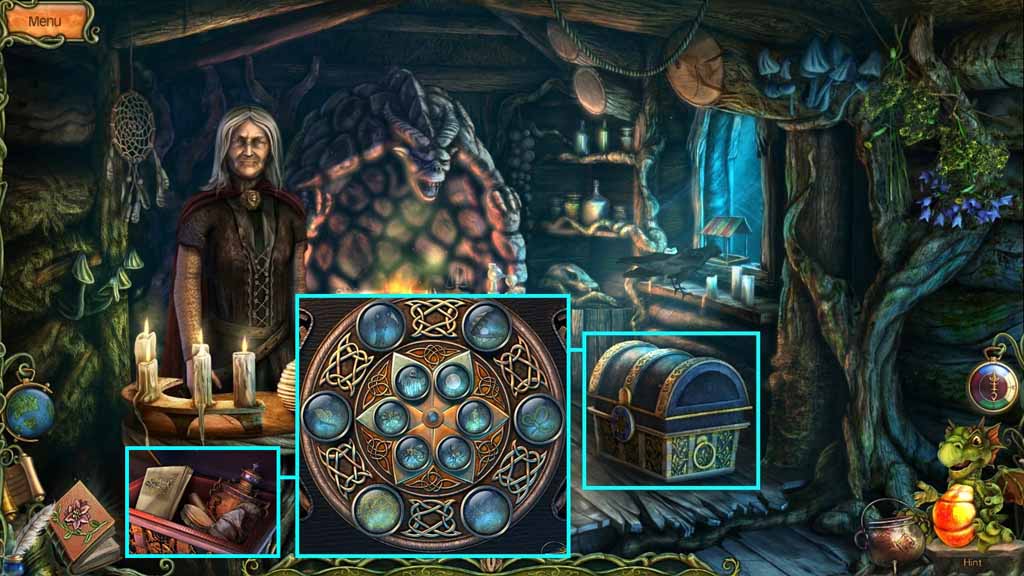
- Zoom into the chest.
- Insert the puzzle piece and the death token to trigger a mini-game.
- Click the petals so that they are pointing to their corresponding images to solve the game.
- Read the memo.
- Collect the brush and the gardening glove.
- Move to Beyond the Gate.
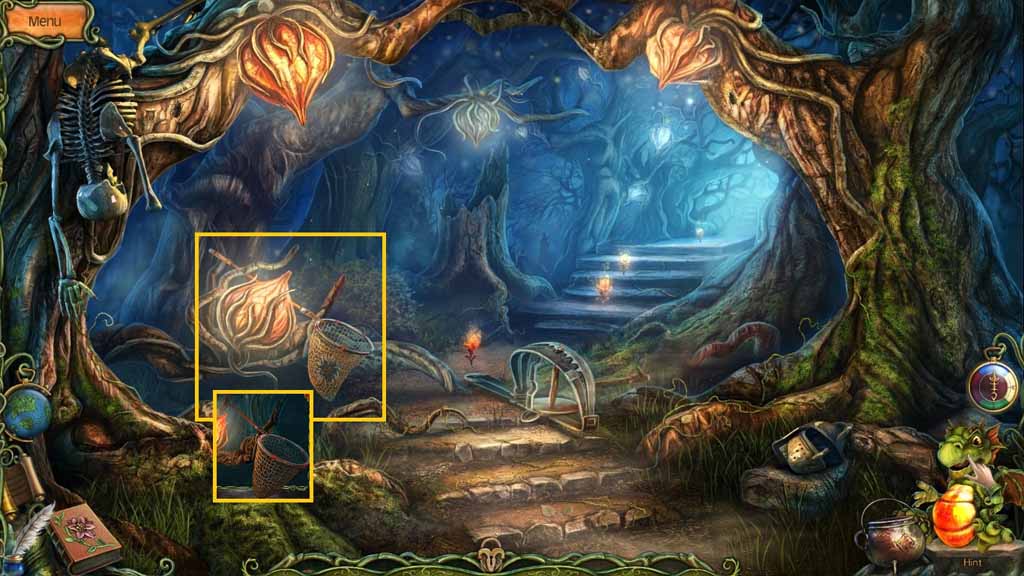
- Fix the butterfly net using the rope.
- Collect the butterfly net.
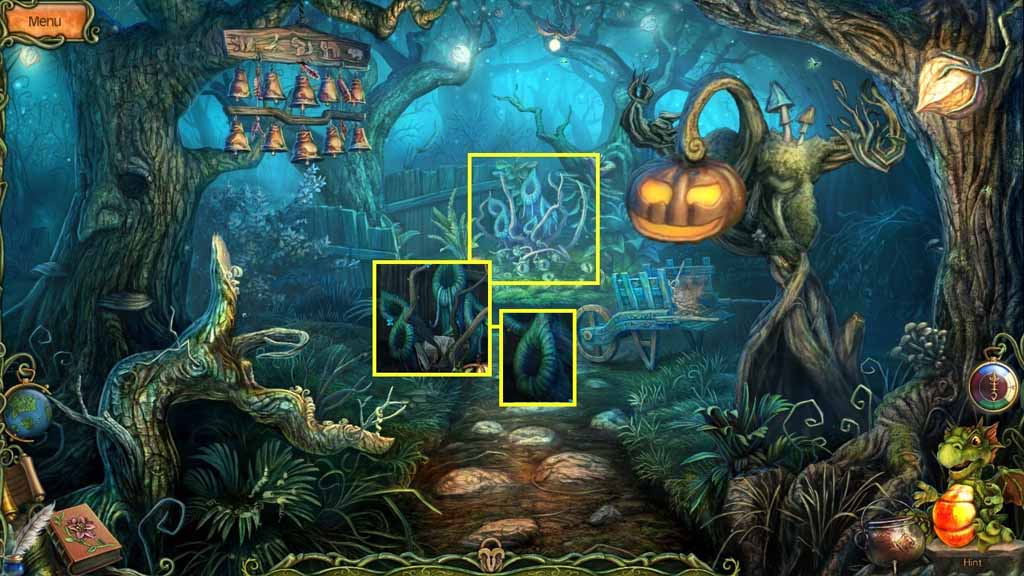
- Move to the Mushroom Glade and go down the path on the left.
- Click the trap.
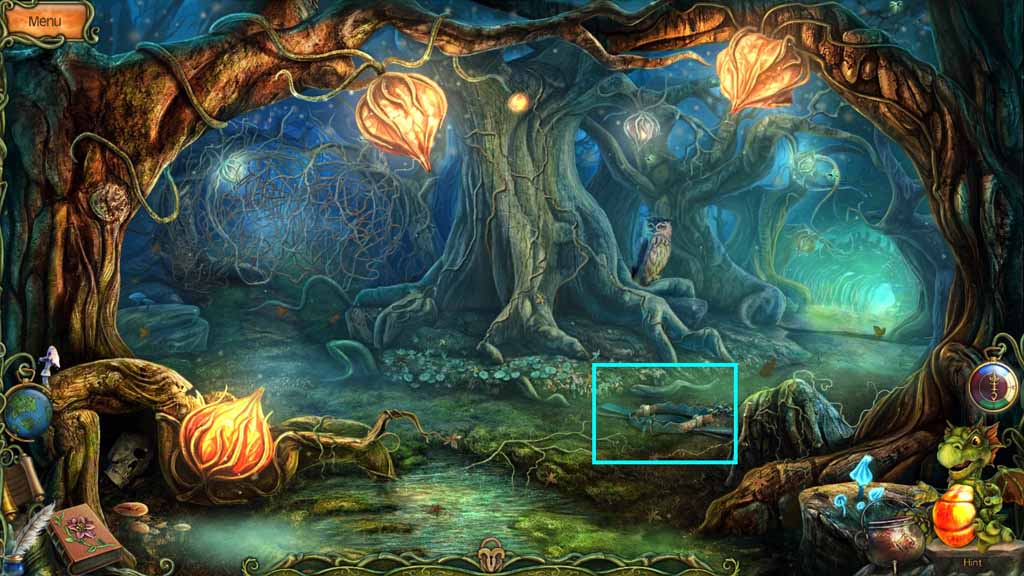
- Move down the path on the right to get to the Swamp.
- Select the burning torch to ignite the green smoke.
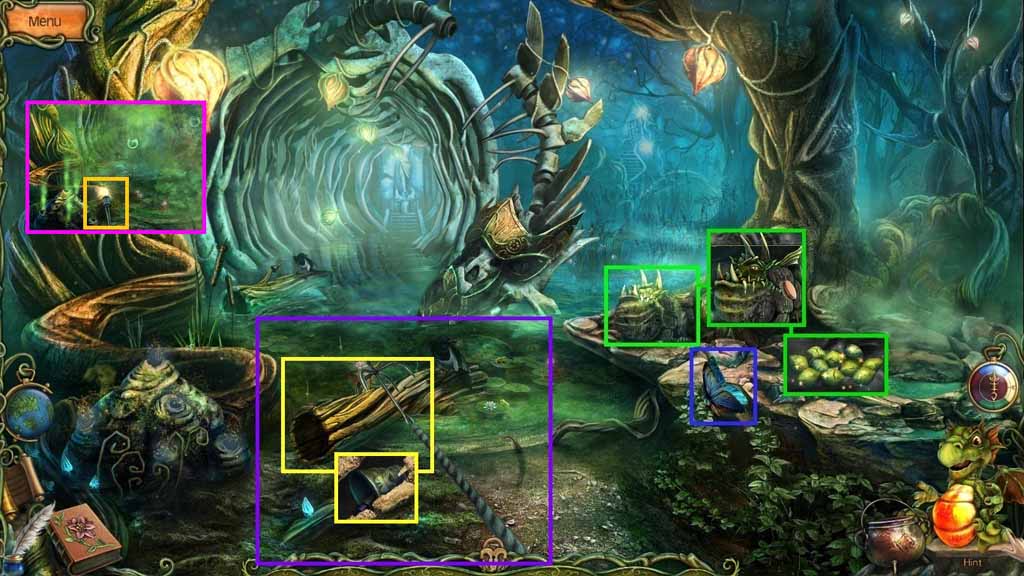
- Select the butterfly net and use it to capture the butterfly.
- Select the brush; use it to clean the Belcherog.
- Collect the belcherog scales.
- Throw the hook towards the log.
- Select the jar of termites to pour onto the log.
- Collect the hanging bell.
- Move to the Outside the Healer’s Hut.
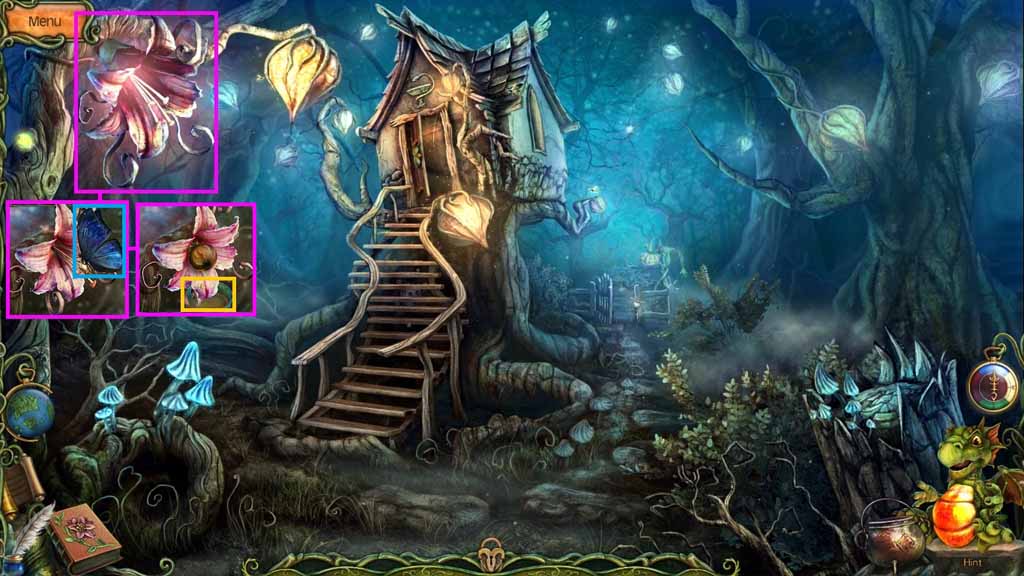
- Place the butterfly onto the magic flower.
- Collect the berry juice using the bowl.
- Move to the Garden.
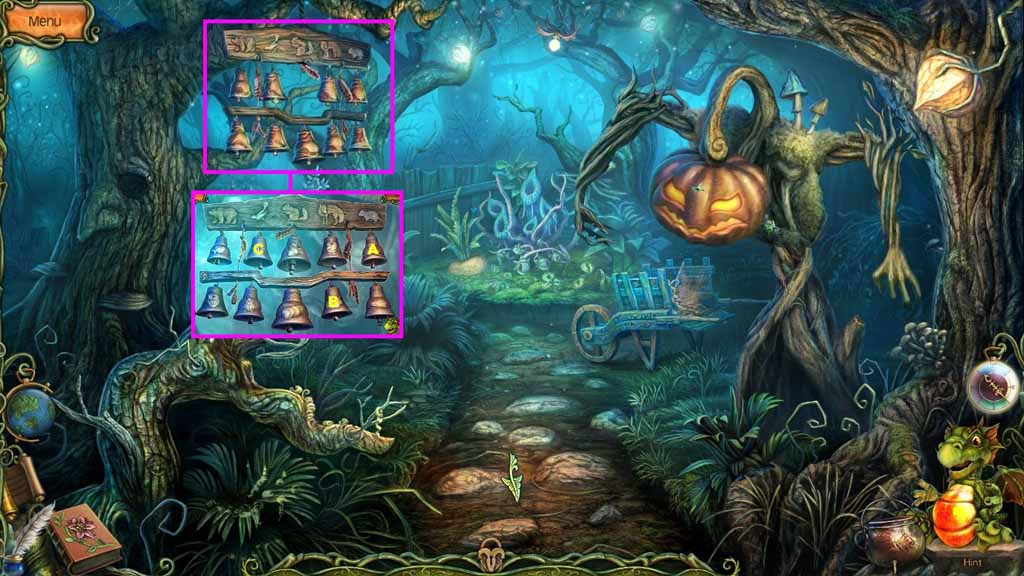
- Place the hanging bell onto the hook to trigger a mini-game.
- Solve the game by rotating the bells to show what each animal likes to eat.
- Click the bells in ABC order.
- Move into the Garden.
- Select the gardening glove to remove the thorns.
- Collect the vivory leaves.
- All the potion ingredients have been collected; create the healing potion.
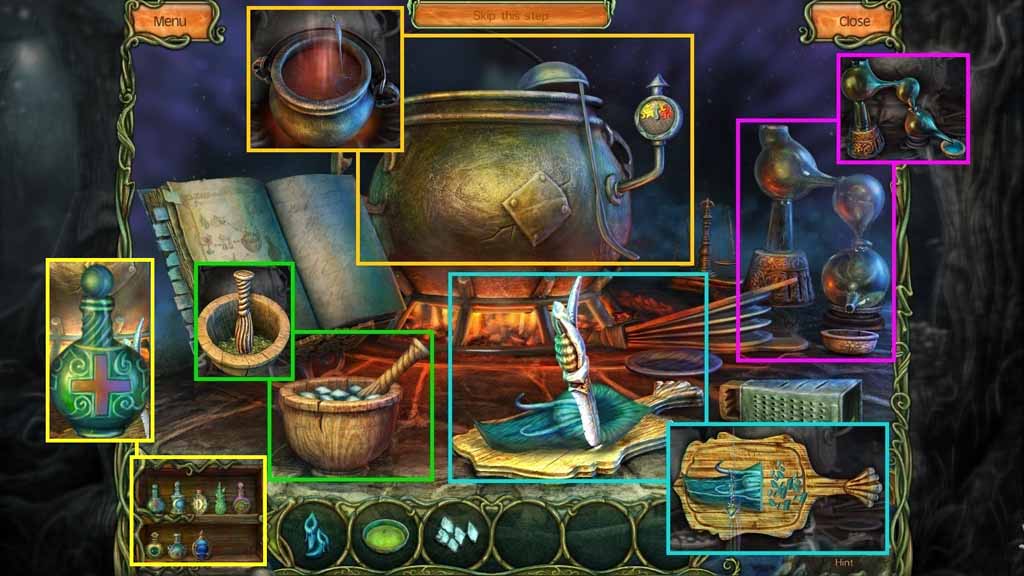
- Lay the vivory leaves onto the cutting board.
- Cut them by holding down the left mouse button and following the arrow shown.
- Pour the gold berry juice into the distiller.
- Put the belcherog scales into the mortar and crush them.
- Stir the ingredients together; collect the healing potion.
- Move to the Mushroom Glade.
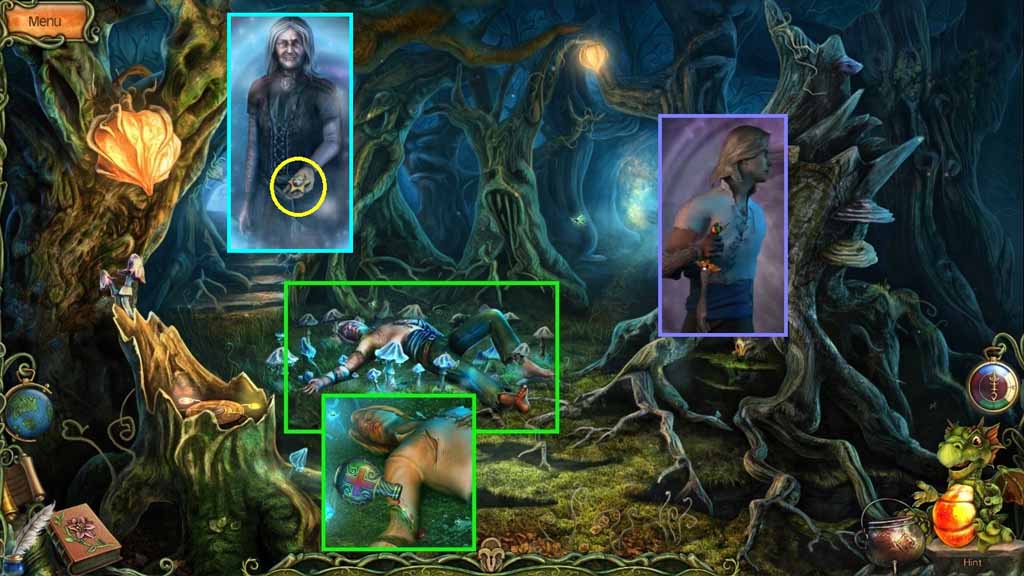
- Pour the healing potion onto Aurelio’s wound.
- Speak to Aurelio.
- Speak to the healer.
- Collect the coat of arms.
- Move to the Village Square.
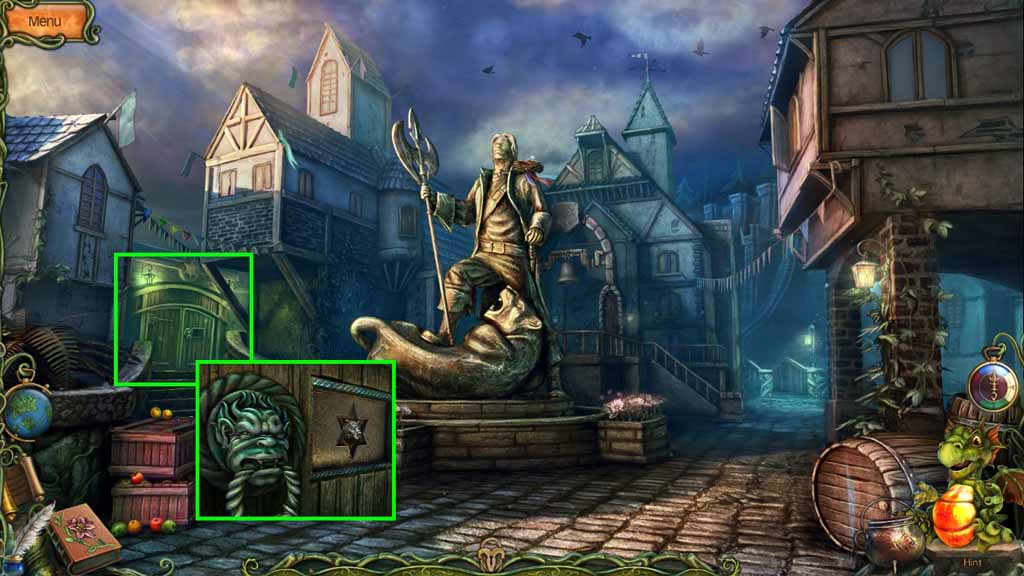
- Insert the coat of arms into the door.
- Click the window.
- Read the memo.
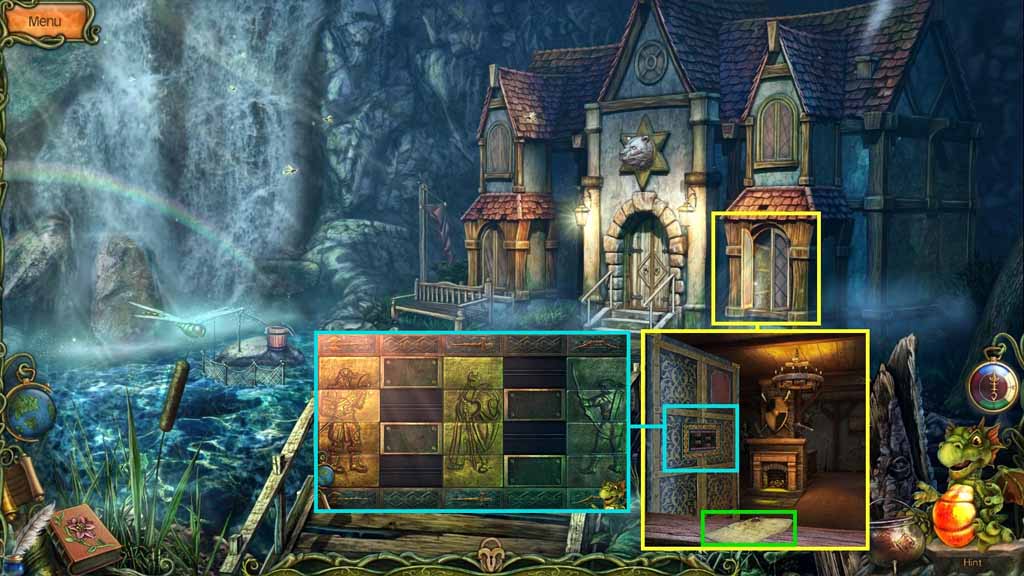
- Click the wardrobe to trigger a mini-game.
- Solve the game by clicking the tiles so that the warriors correspond to the objects above and below each column.
- Click the wardrobe.
- Read the Moonlight potion recipe.
- Collect the magic magnet.
- Collect the magic umbrella.
- Collect the wrangler’s hammer.
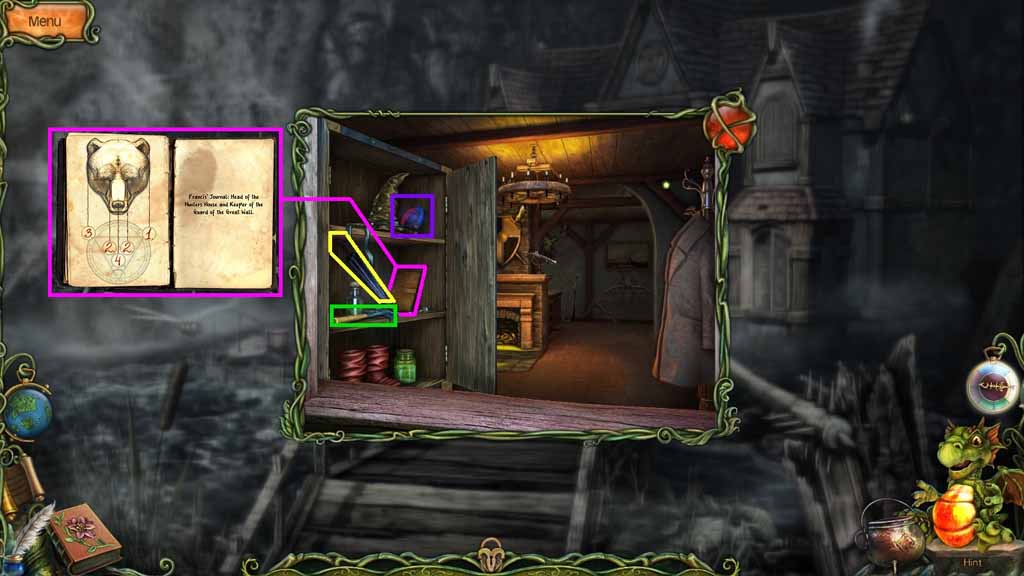
- Read Francis’ journal.
- Exit the close-up.
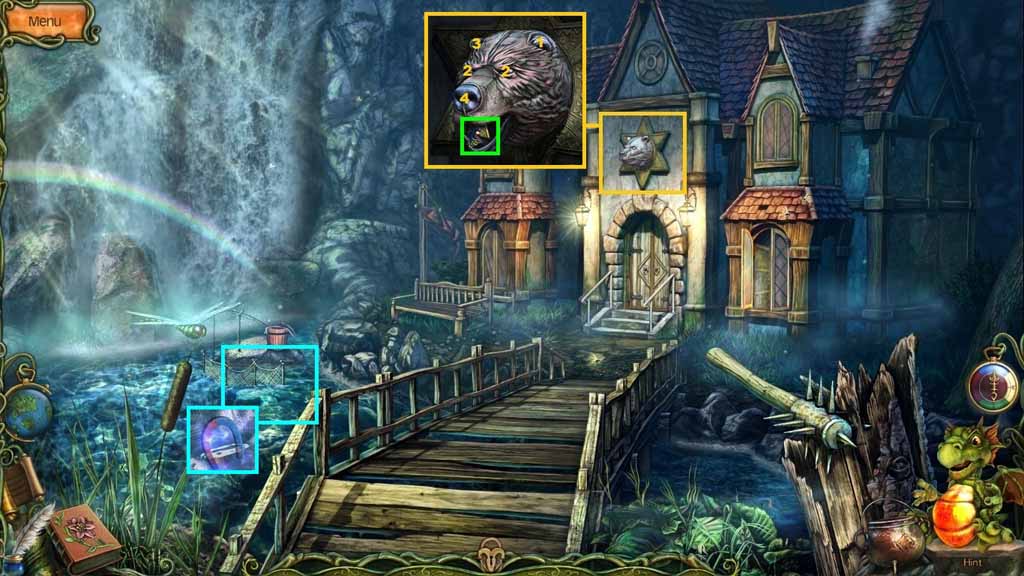
- Zoom into the cache over the entrance to the Hunter’s House.
- Use the journal to assist in opening the cache.
- Collect the dragon diadem.
- Select the magic magnet to collect the old coin from the river.
- Move to the Village Square.
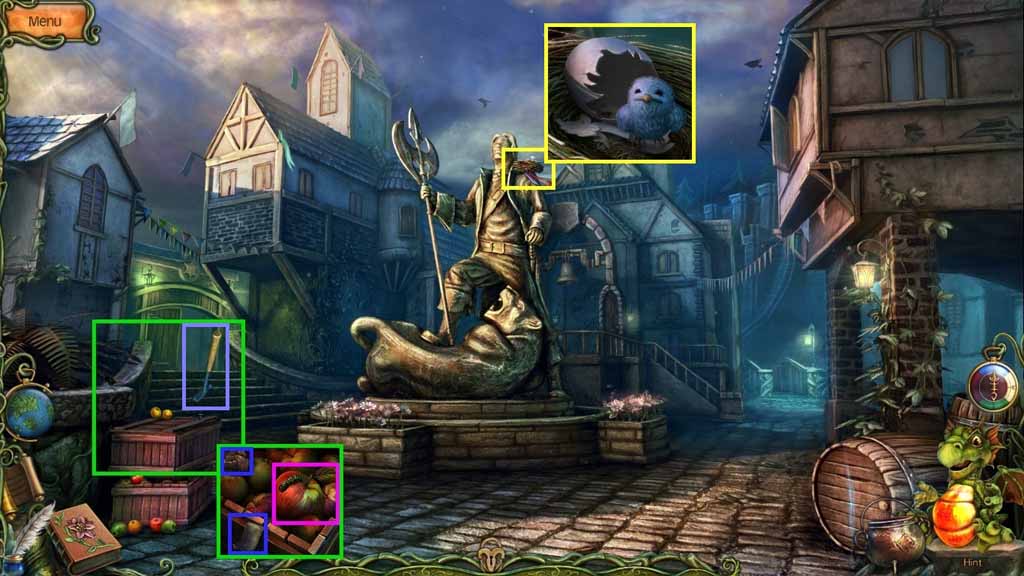
- Select the wrangler’s hammer to open the crate.
- Click the apple; collect the worm.
- Read the memo.
- Give the chick the worm.
- Collect the egg shell.
- Move to the Mushroom Glade.
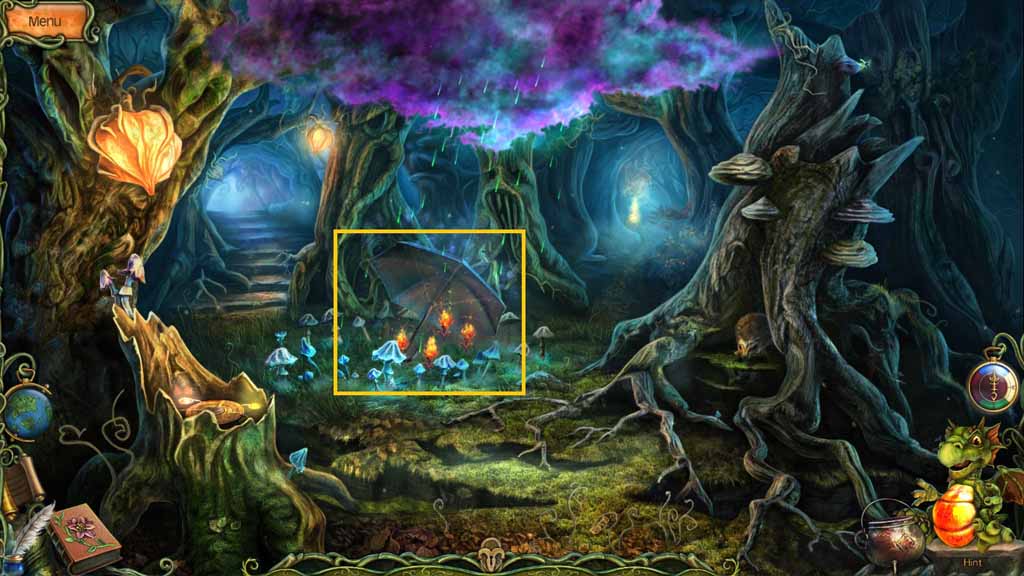
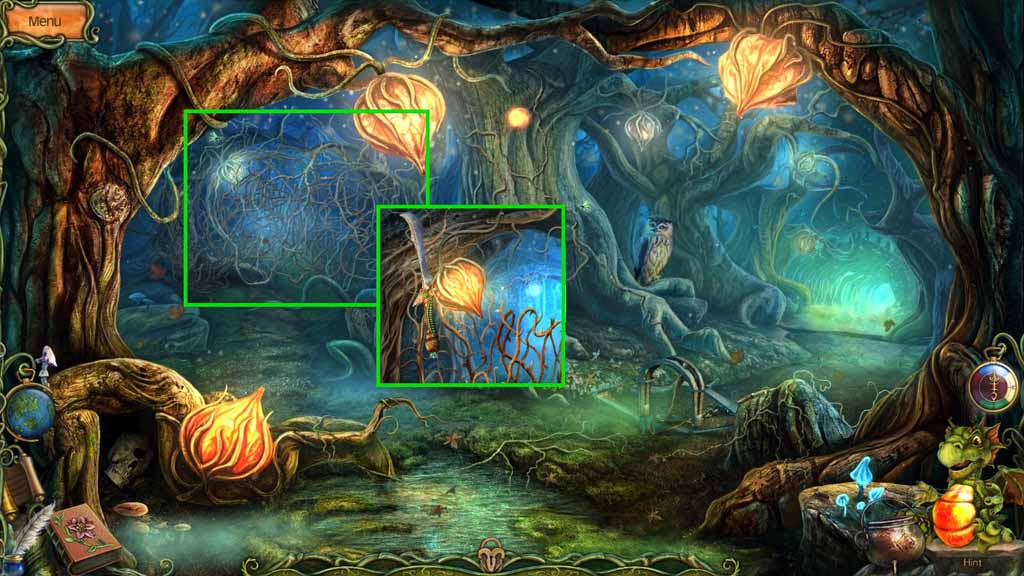
- Place the magic umbrella onto the Glade.
- Collect the fiery flowers.
- Move to the Swamp.
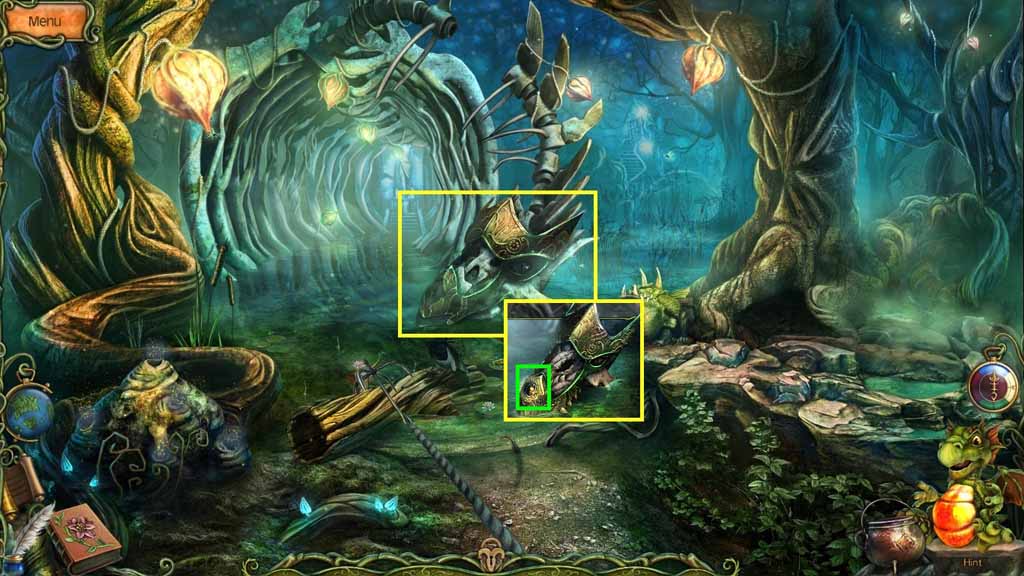
- Zoom into the helmet.
- Insert the dragon diadem.
- Move to the Ruined Temple.
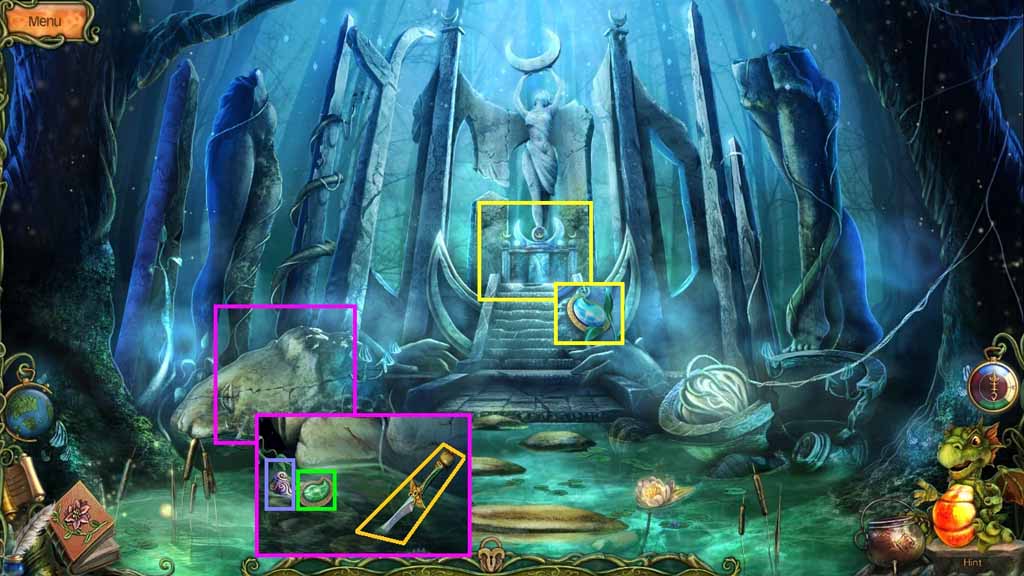
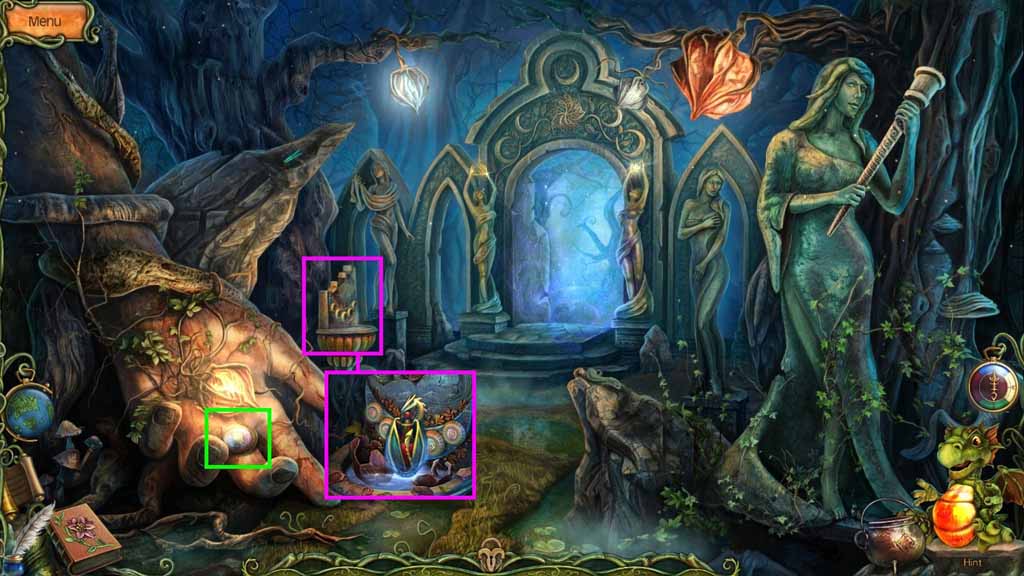
- Collect the dagger.
- Collect the glittering ash root.
- Collect the green puzzle element.
- Collect the blue puzzle element.
- Move to the Mushroom Glade.
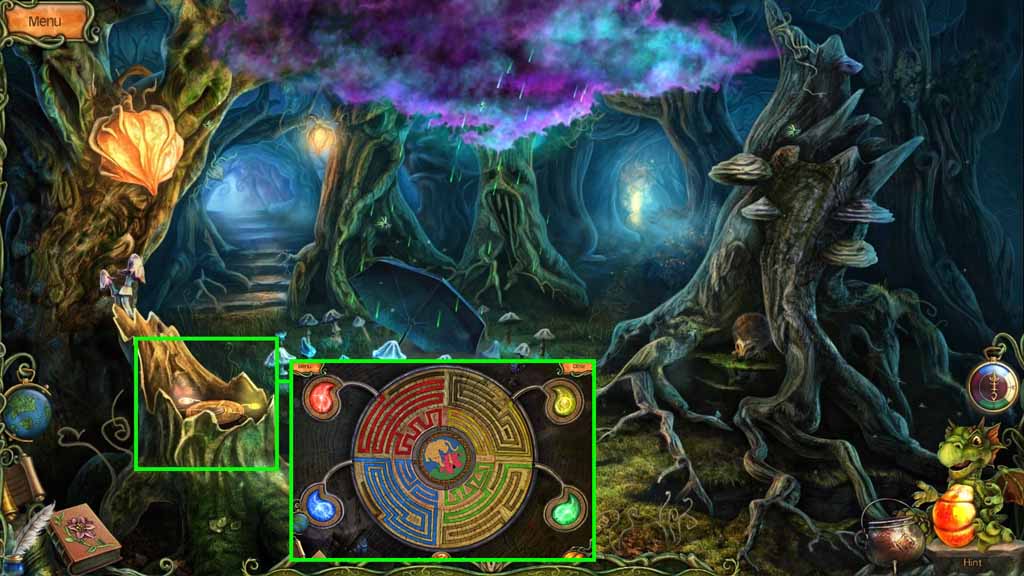
- Insert the blue and green puzzle elements into the tree stump.
- A mini-game will trigger.
- Solve the game by clicking and dragging the circles until the middle of the maze is connected to the crystals.
- Collect the tiger token.
- Move to the Crossroads.
- Select the dagger to slice through the vines on the left path.
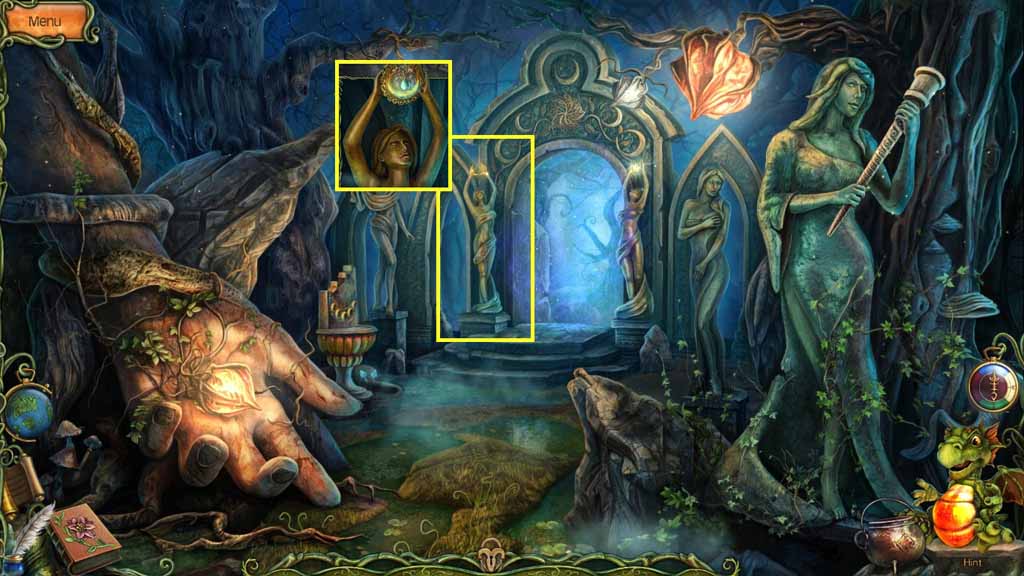
- Move to the Arch.
- Collect the owl token.
- Insert the tiger and the owl tokens above the water bowl.
- Collect the old dragon’s blood.
- Create the Moonlight potion.
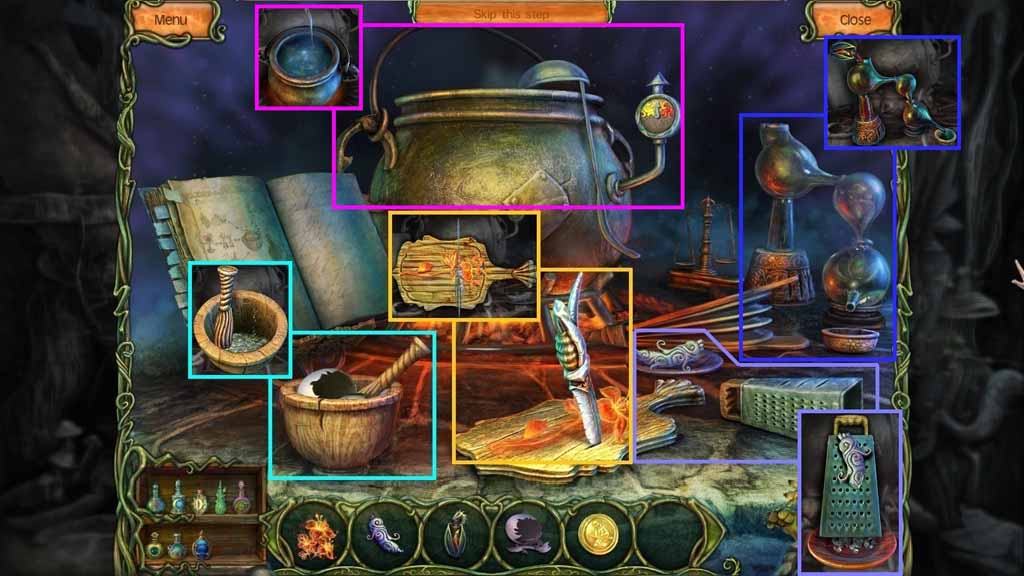
- Lay the fiery flowers onto the cutting board.
- Slice them up.
- Grate the glittering ash root.
- Place the dragon’s blood into the distiller.
- Crush the egg shell in the mortar.
- Place the old coin into the pot.
- Stir the ingredients.
- Collect the Moonlight potion.
- Move to the Ruined Temple.
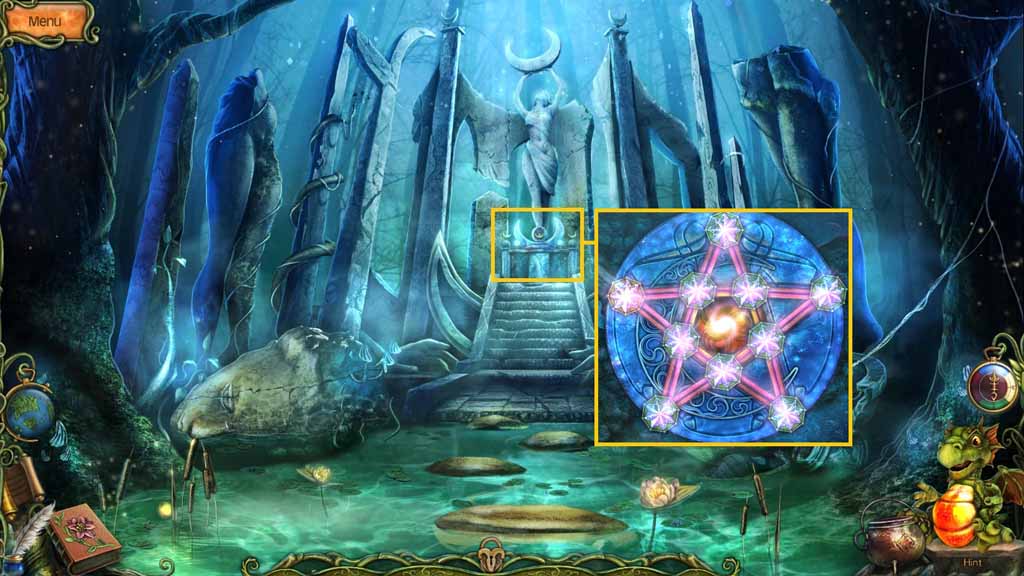
- Pour the moonlight potion onto the crystal to trigger a mini-game.
- Click the crystals to illuminate the star to solve the game.
- Collect the charged locket.
- Move to the Arch.
- Insert the charged locket into the left statues hand.