
Fairly Twisted Tales: The Price Of A Rose: Chapter Five: The Secret Hallway
Our Fairly Twisted Tales: The Price of a Rose Walkthrough will be your guide as you attempt to discover the truth in this mysterious kingdom. When Bella agrees to stay with the beast in exchange for her father’s life you are called to see if there isn’t a way to rescue her. Now you must use your wits to find the scroll that could be the key to saving Bella. Our helpful hints, step-by-step instructions, and custom screen shots will help you as you race to find a happy ending in this twisted tale.
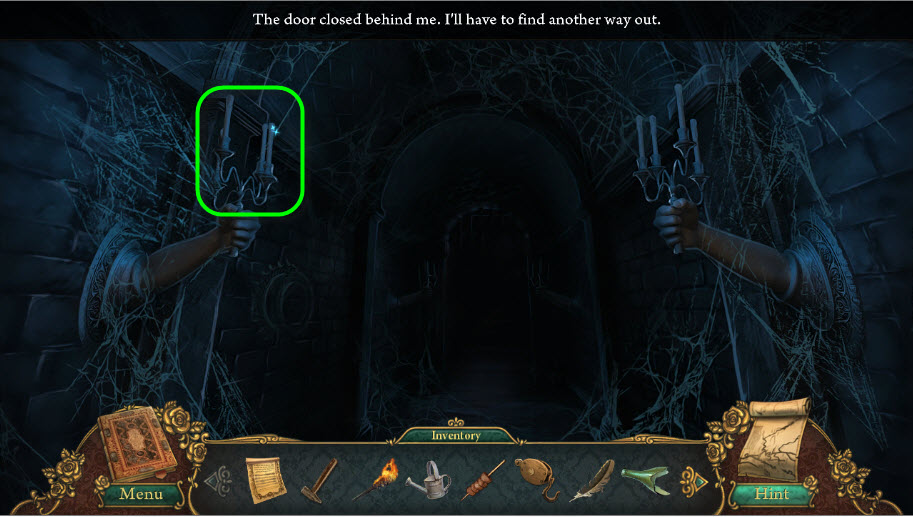
- Enter the Secret Hallway behind the bookcase in the Library
- Use the LIT TORCH to light the candles
- Move on to the Altar Room
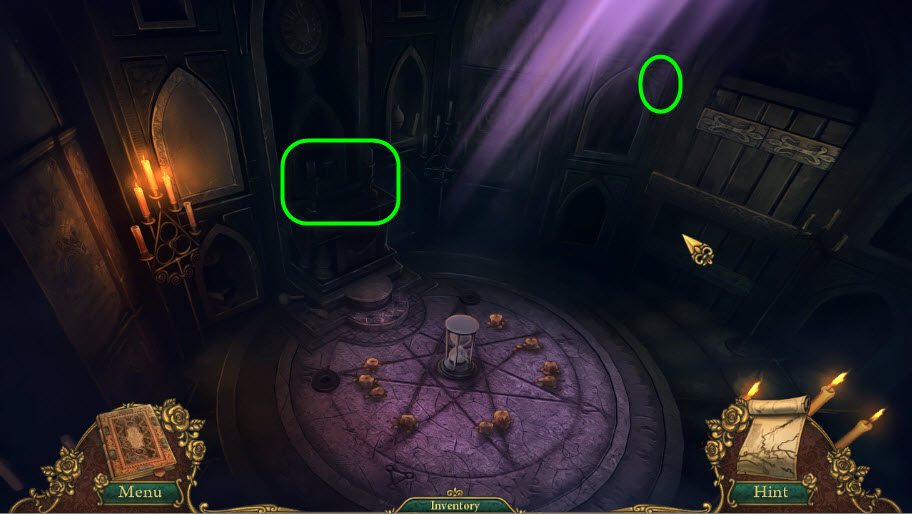
- Use the LIT TORCH again to light the candles circled above
- Then select the HAMMER from the inventory and use it on the panel circled in the image to open a new door to the Hunter's Room.
- Now click on the shimmerin altar to begin a hidden object area.
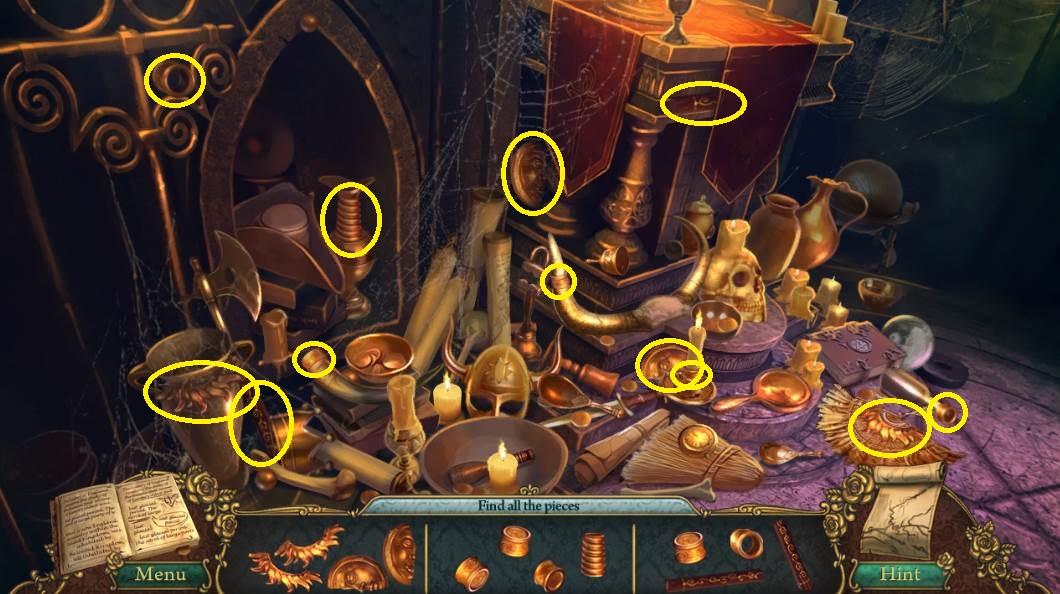
- After all the pieces are found; receive the SUN STAFF for the inventory
- Go to the Tavern; use the map to travel
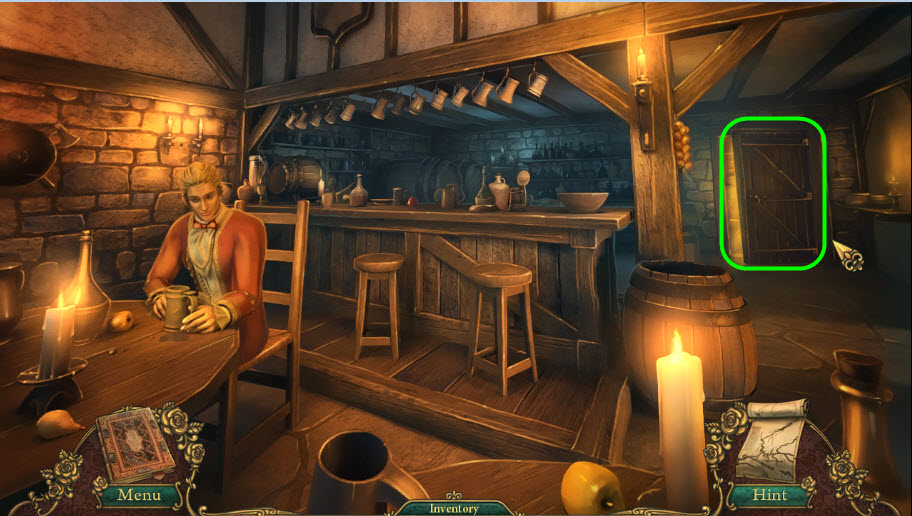
- Select the OIL CAN from the inventory and oil the back door hinges
- Then go into the Backroom
- Select the BLACKBIRD FEATHER to tickle Malger’s foot
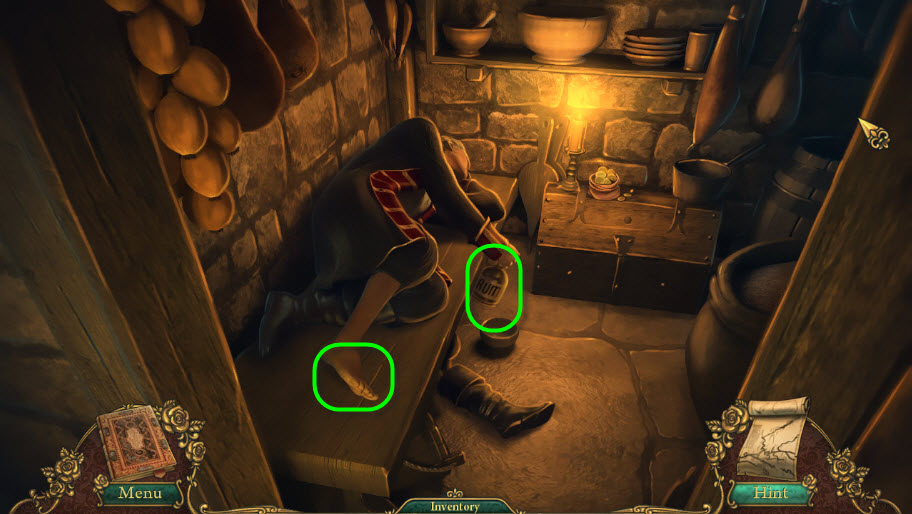
- Grab the RUM
- Talk with Malger; listen to his story
- Go to the Town Gates

- Select the RuUM from the inventory and give it to the officer

- Click the gates to enter the Bridge
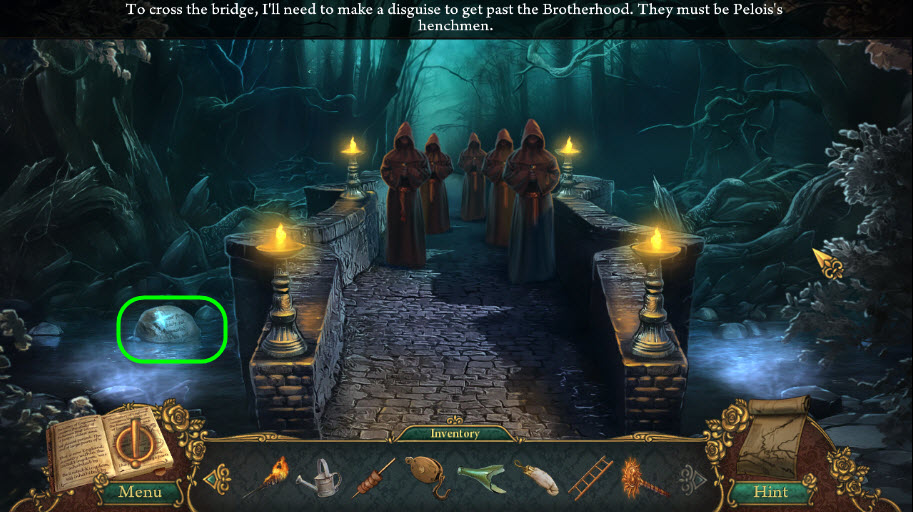
- Select the ANCIENT SCROLL from the inventory and click the third line of text on the rock circled in the image
- Go back to the Curio Shop
- Give the shop owner the RABBIT FOOT from the inventory
- Click on the shimmers to start the hidden object game
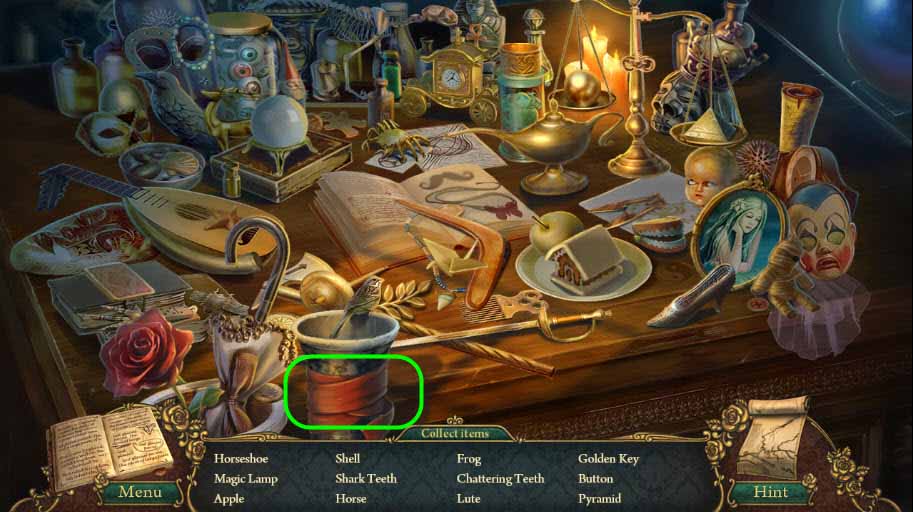
- Locate all the items on the list and grab the RED SASH for the inventory
- Go to the Theatre Backstage
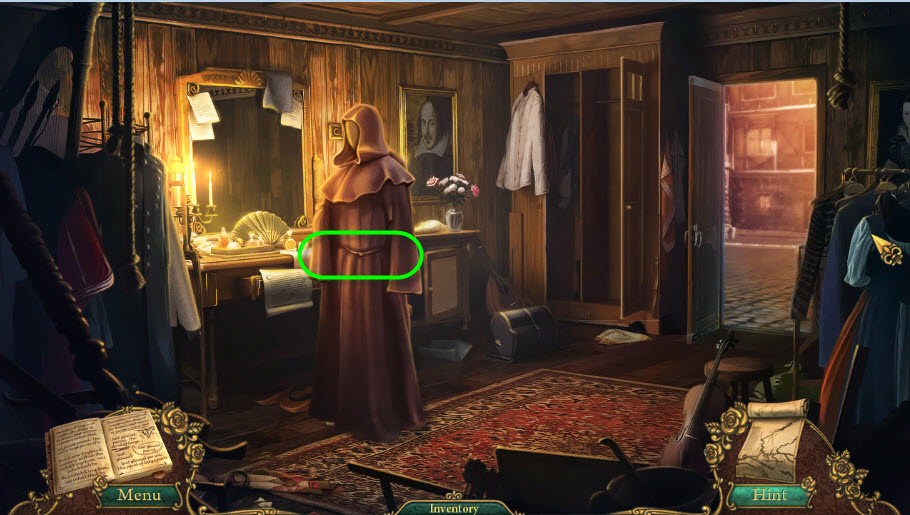
- Select the RED SASH from the inventory and place it around the Mannequin’s waist
- Go back to the Castle Ballroom; use the map to travel
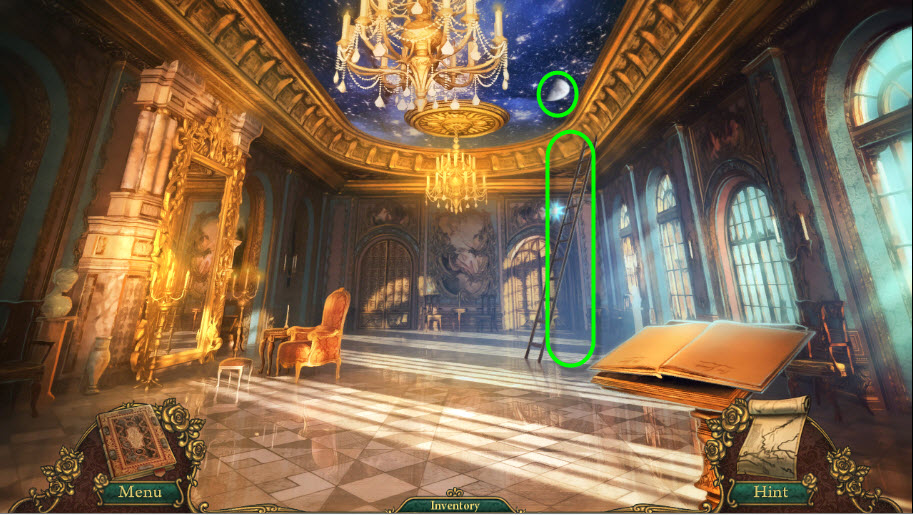
- Select the LADDER from the inventory and place as shown in the image above
- Use it to grab the HALF MOON
- Go back to the Guardian’s Room
- Click the Clock hanging over the nightstand
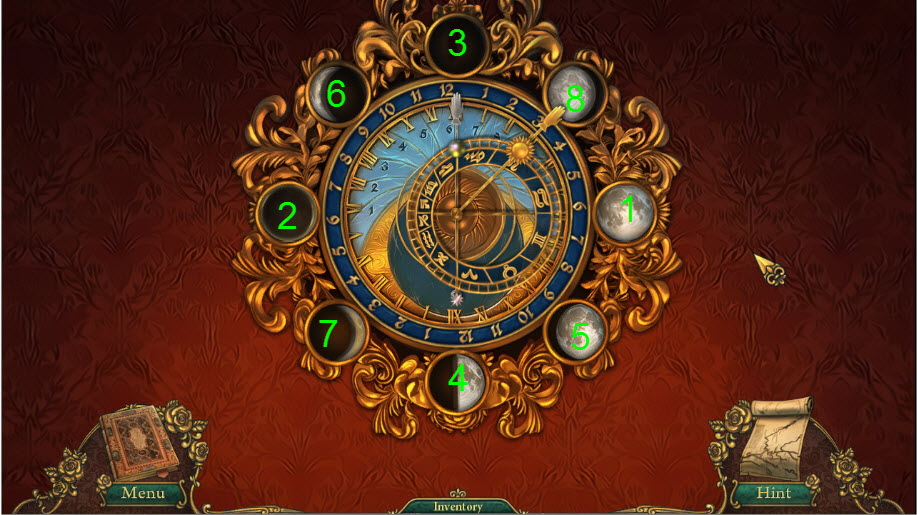
- Place the half in the in what would the 12:00 o’clock spot
- To solve this puzzle, you need to click on the moon phases in a particular order. Each time a click is made the clock will spin; wait until it stops to press the next number
- Click numbers 1-8 as shown in the image
- Grab the MOON SCEPTER when complete
- Go through the door to get to the to the Altar Room
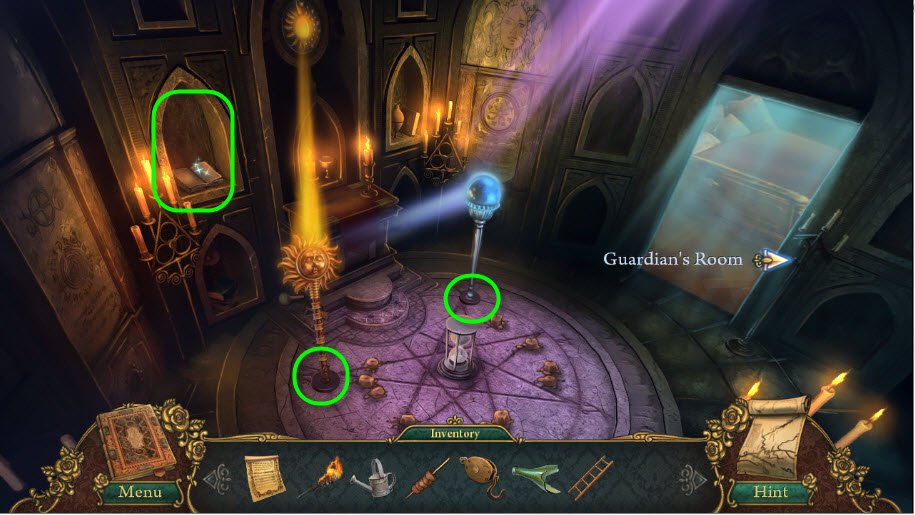
- Place the MOON SCEPTER and then the SUN STAFF in the spots circled above
- This will cause the cupboard to open exposing a hidden book
- Click the book to receive the CHAMBER KEY for the inventory
- Go to the Throne Room
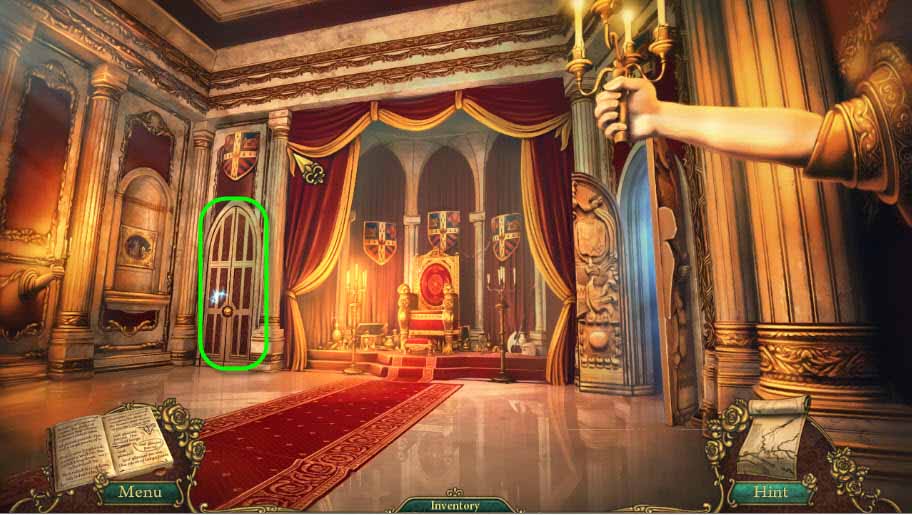
- Click the Chamber Room door lock
- Select the CHAMBER KEY from the inventory
- Open the door; enter the Beast's Room
- Click the shimmers to start the hidden object game
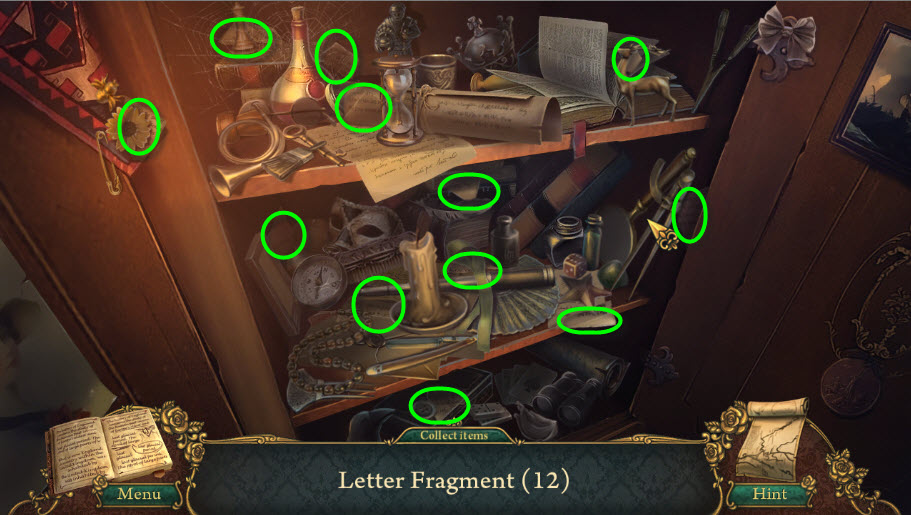
- Find all of the LETTER FRAGMENTS circled above and then grab them all at the end for the inventory
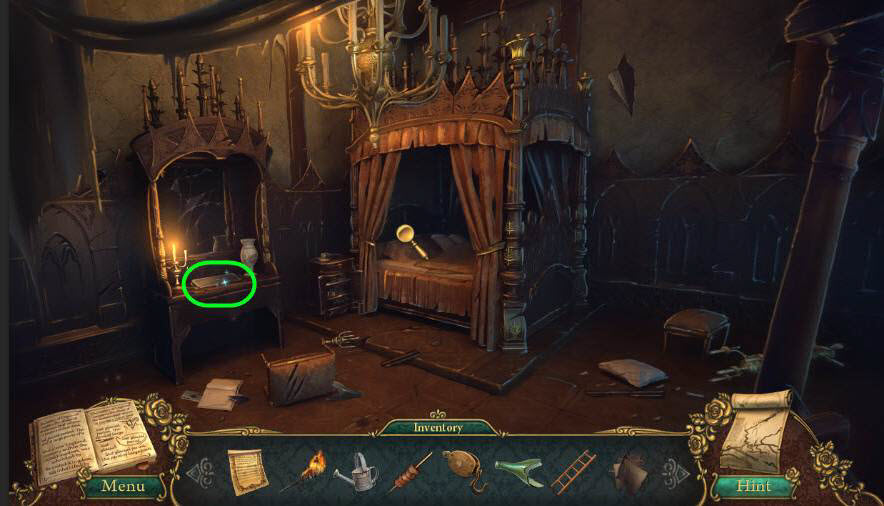
- Still in the Beast’s Chamber, click the tray circled in the above image
- Select the LETTER FRAGMENTS from the inventory and place them on the tray
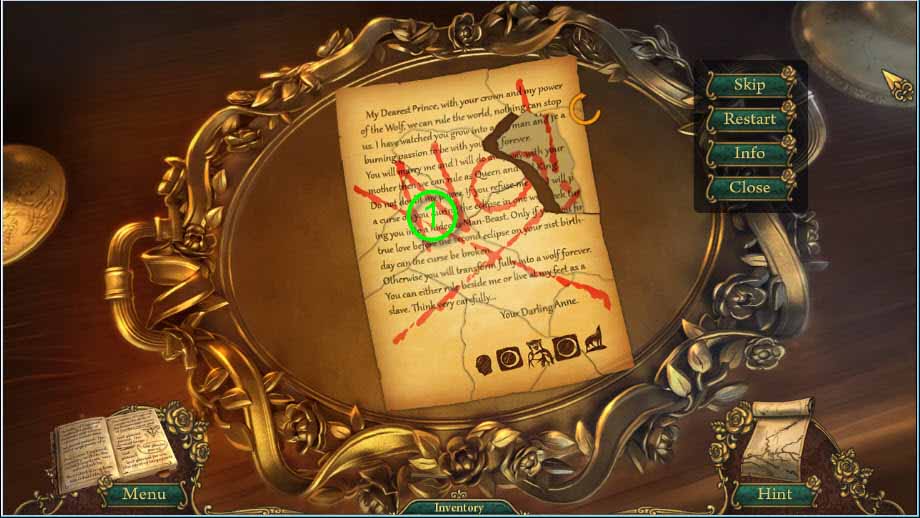
- Number 1 circled above is a piece that does not move
- Build the letter around that piece, remembering that the pieces can be rotated
- Go back to the Caravan
- Click the shimmers at the desk area to start the hidden object game
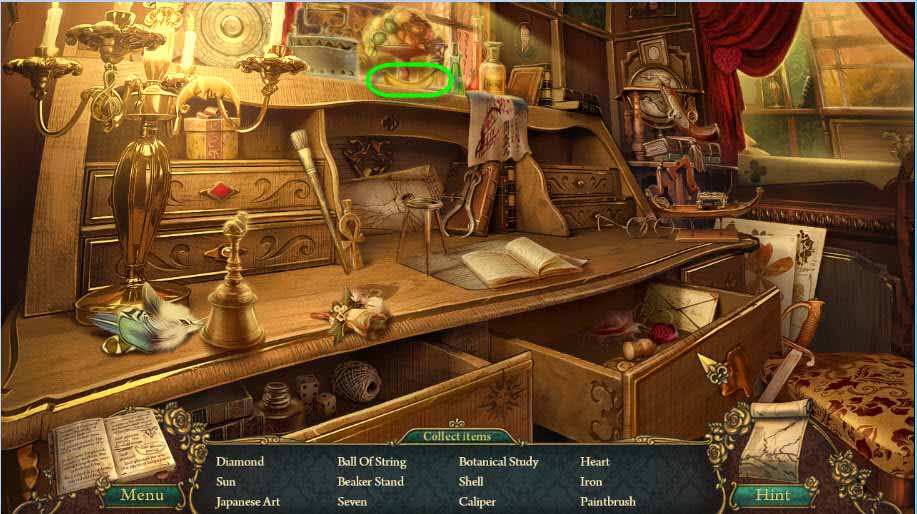
- Find all the items on the list; then collect the BANANA for the inventory
- Go back to the Curio Shop
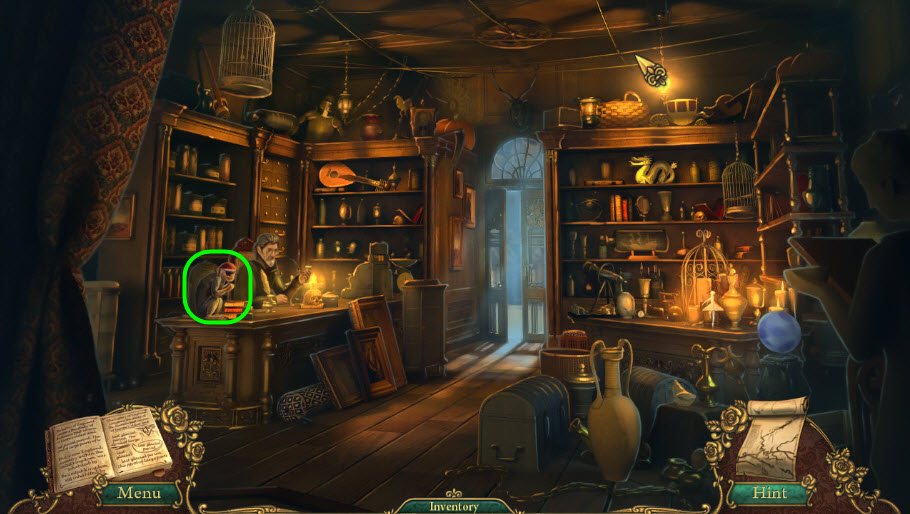
- Click on the monkey
- Select the BANANA from the inventory and give it to the monkey; then grab his EYE PATCH for the inventory
- Go back to the Back Room of the Tavern; use the map to travel
- Click the box on the bench next to Malger
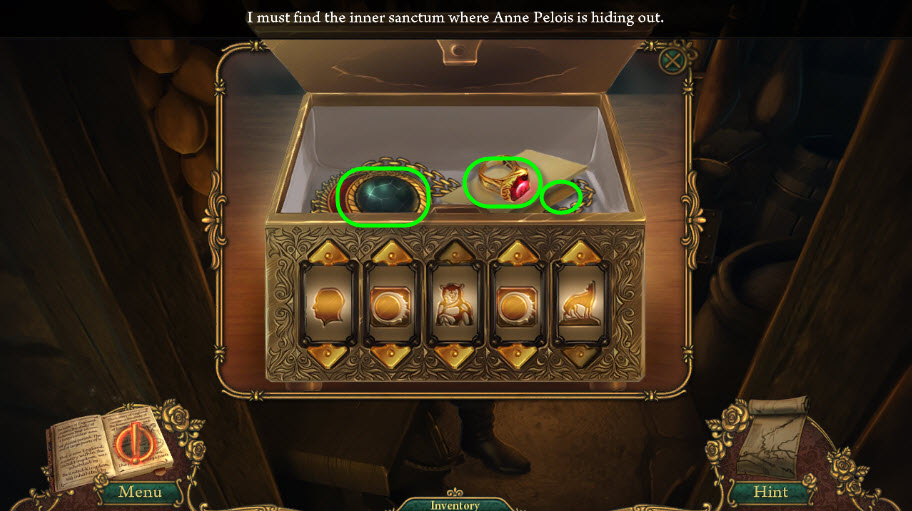
- Arrange the dials as shown in the image above
- Grab the ECLIPSE, ENCHANTED RING, and the LETTER
- Go back to the Theater Back Stage
- Select the EYE PATCH and ECLIPSE from the inventory and place on the Mannequin
- Grab the DISGUISE for the inventory
- Go back to the Bridge; use the map
- Select the DISGUISE from the inventory
- Hold it over the bridge; click
- Move forward to the Scary Path
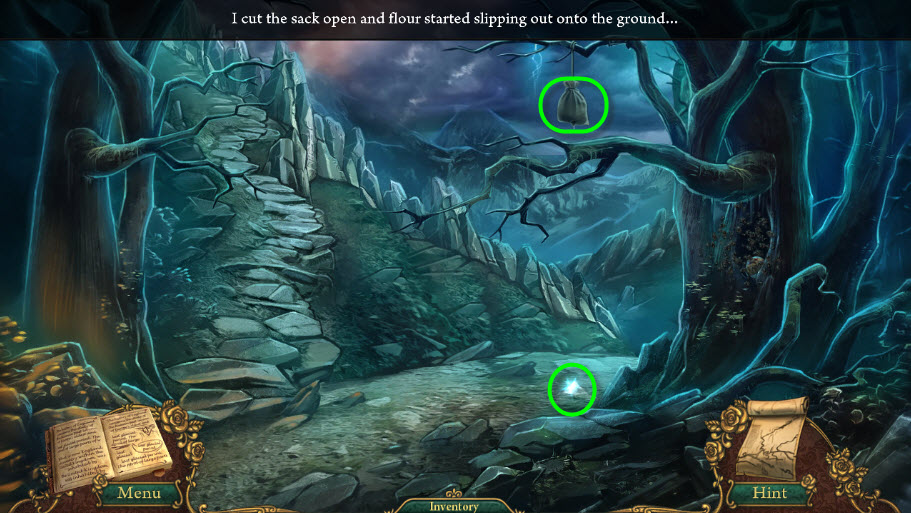
- Select the BROKEN BOTTLE to cut open the sack
- Flour will spill to the ground; see image above
- Select the FULL WATERING CAN and pour water on the flour to create a CRACKER, grab it for the inventory
- Move the cursor around the right side of the screen to find the Forest Clearing; click
- Click the shimmer at the log opening to being the hidden object game
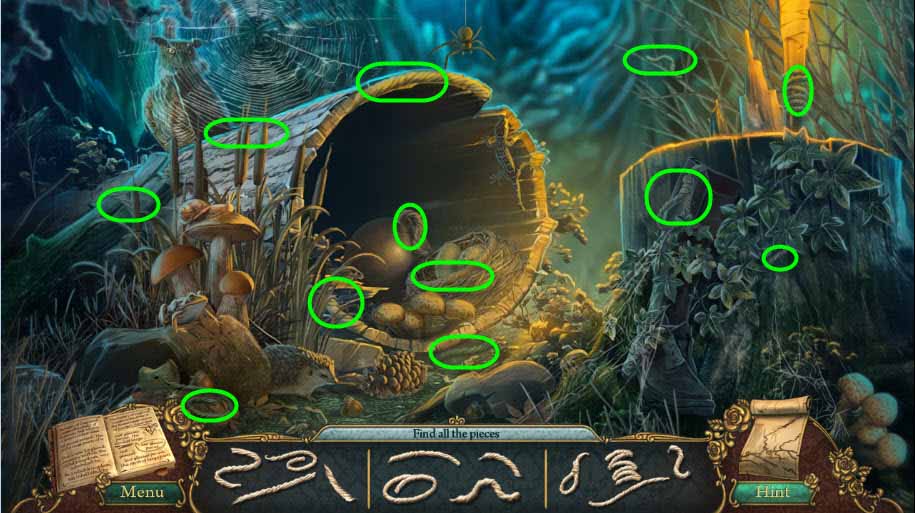
- Find all the pieces of rope as shown in the image above to receive a ROPE for the inventory
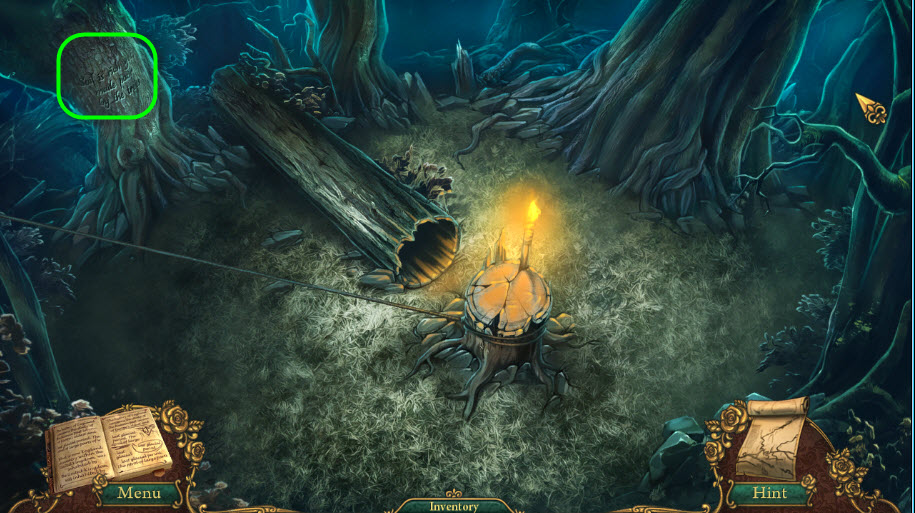
- Back in the Forest Clearing click the text on the tree
- Place the ANCIENT SCROLL over the third line of text
- Go back to the Scary Path
- Move forward to Sound Garden by moving the cursor over the stone stair path
- Select the PULLEY from the inventory and hang from the tree limb
- Select the ROPE from the inventory
- Click the tree limb to hang the ROPE from the PULLEY
- Feed the Parrot the CRACKER from the inventory
- Click the plaque on the road
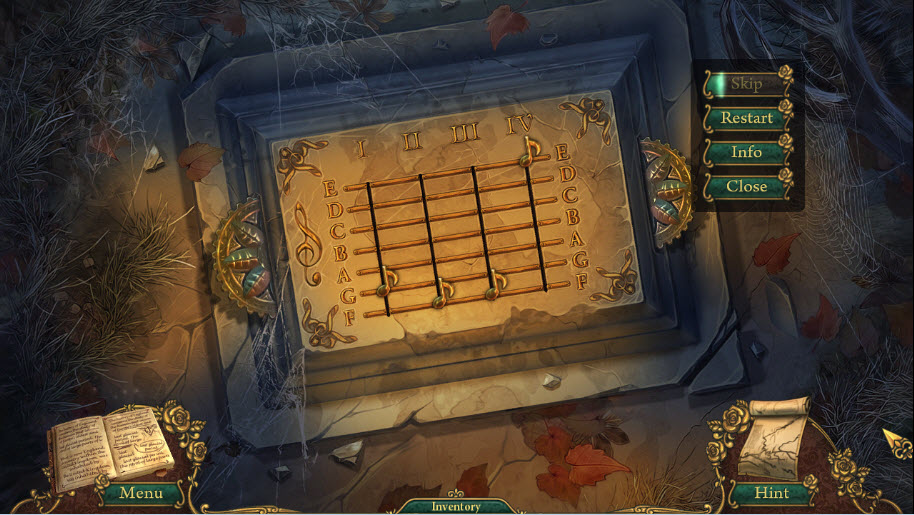
- Slide the notes up or down to spell the word FEED
- Click and slide the first music note to the F line
- Continue in this manner until the FEED is spelled across the plaque
- Click on the pulley to ride it down to the forest clearing. Be sure you're clicking on the pulley and not the rope.