
Dark Tales: Edgar Allan Poe's The Fall of the House of Usher: Chapter Five: In the Treehouse
Our Dark Tales: Edgar Allan Poe's The Fall of the House of Usher Walkthrough is the perfect companion for the ever vigilant detective as you once again join your friend Dupin in a strange and dangerous new investigation. As this new case draws you deeper into its murky circumstances, you'll be glad you have our detailed notes, step-by-step instructions, custom screenshots, and puzzle solutions to help you solve the case of the Usher Twins and the missing townspeople.
- Select the photograph to use on the scene.
- Collect the photograph.
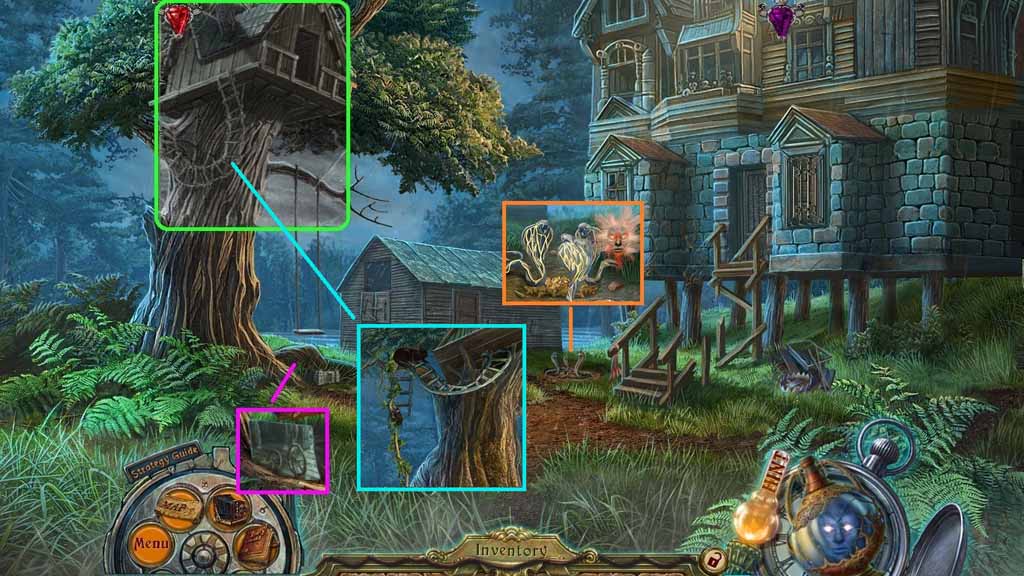
- Select the Reborn One to use on the snakes.
- Select the long ivy branch to use on the ladder.
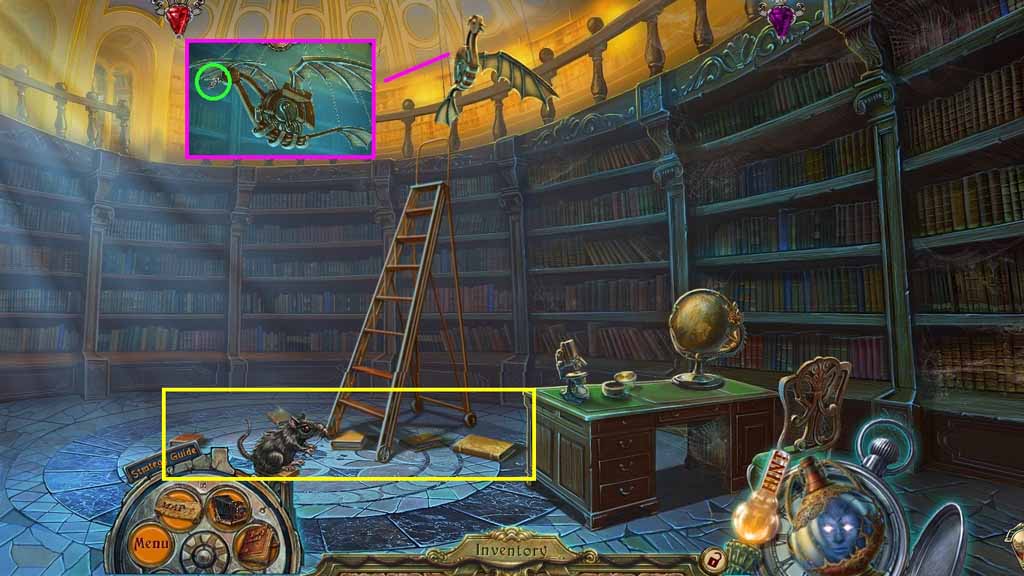
- Select the trained mouse to use on the cat.
- Move up the ladder.
- Place the photograph onto the scene.
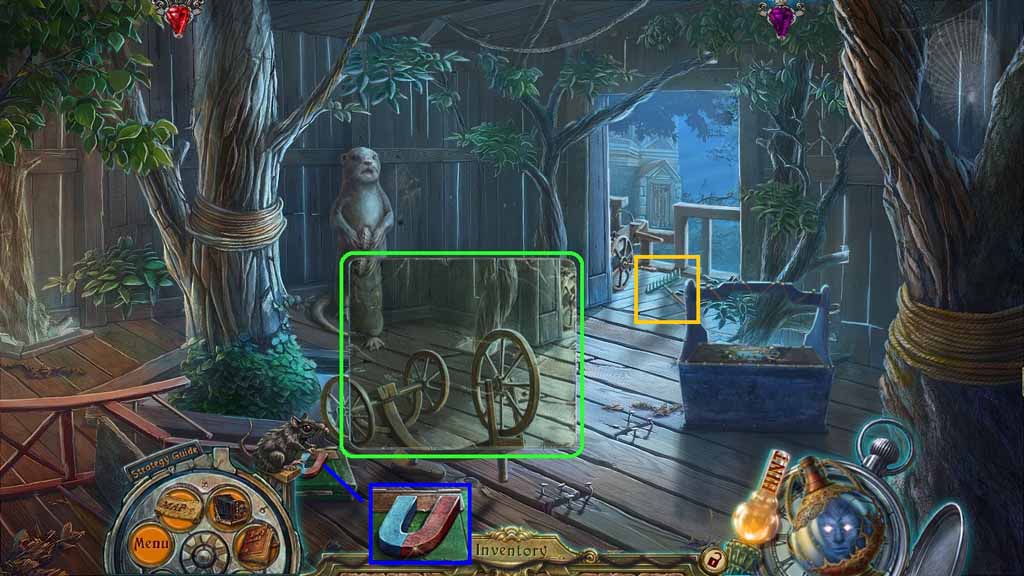
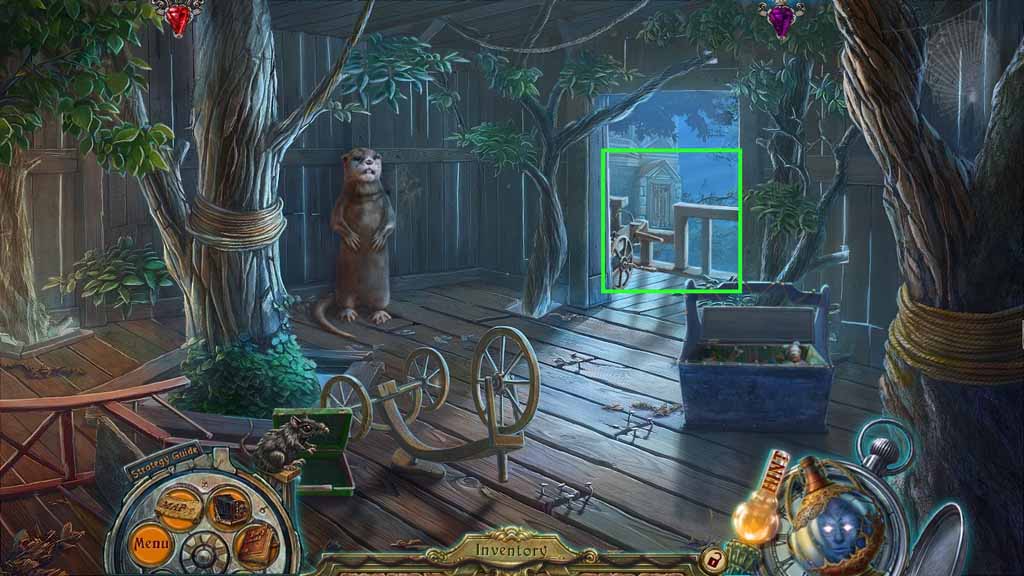
- Collect the magnet.
- Collect the toy rake.
- Move down once.
- Select the magnet to use on the latch.
- Collect the latch knob.
- Select the toy rake to rake the leaves.
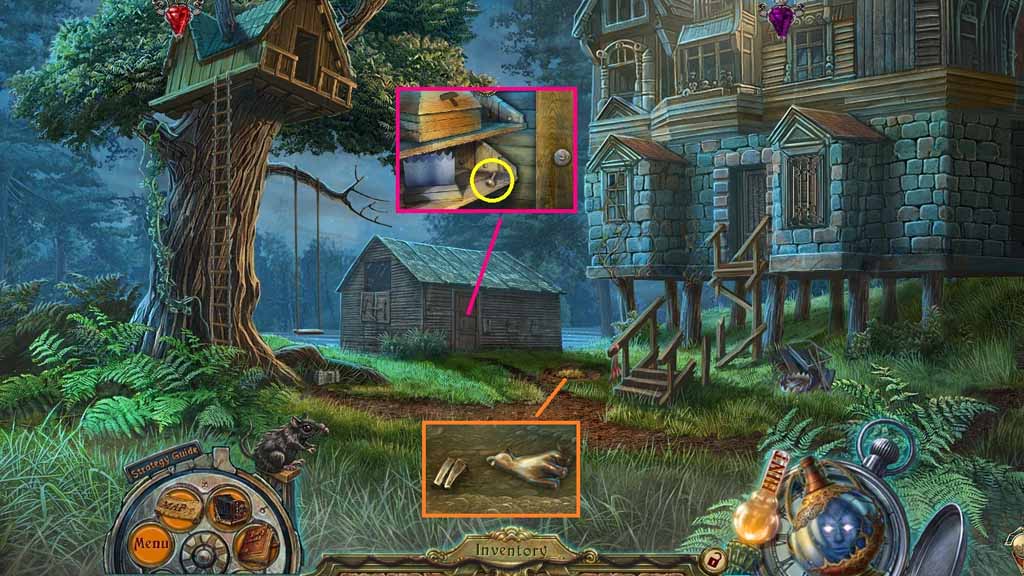
- Collect the beaver teeth and the dog figurine.
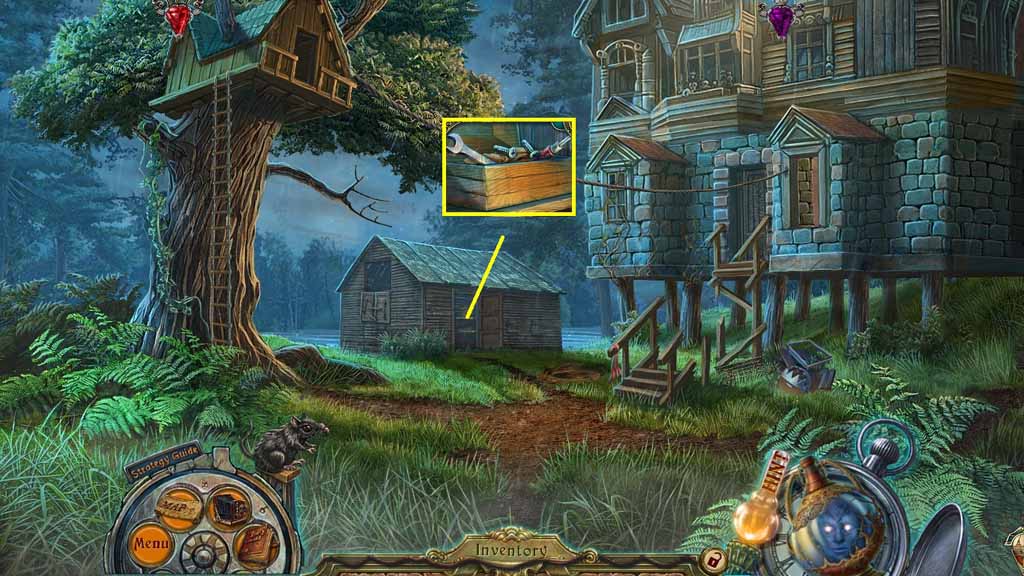
- Move to the Treehouse.
- Place the beaver teeth onto the beaver.
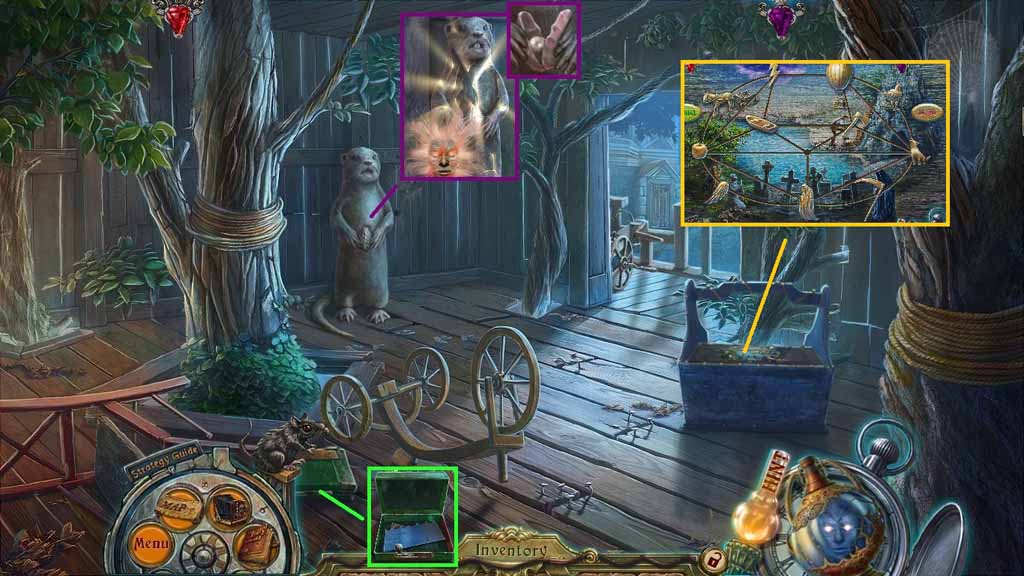
- Select the Reborn One to use on the beaver.
- Collect the pearl and the cracked shell.
- Place the latch knob onto the box; collect the metal wave and the photograph.
- Click the mini game and place the dog figurine onto the grid.
- Solve the game by placing the figures into the correct spots.
- Click the chest open to trigger a hidden objects area.
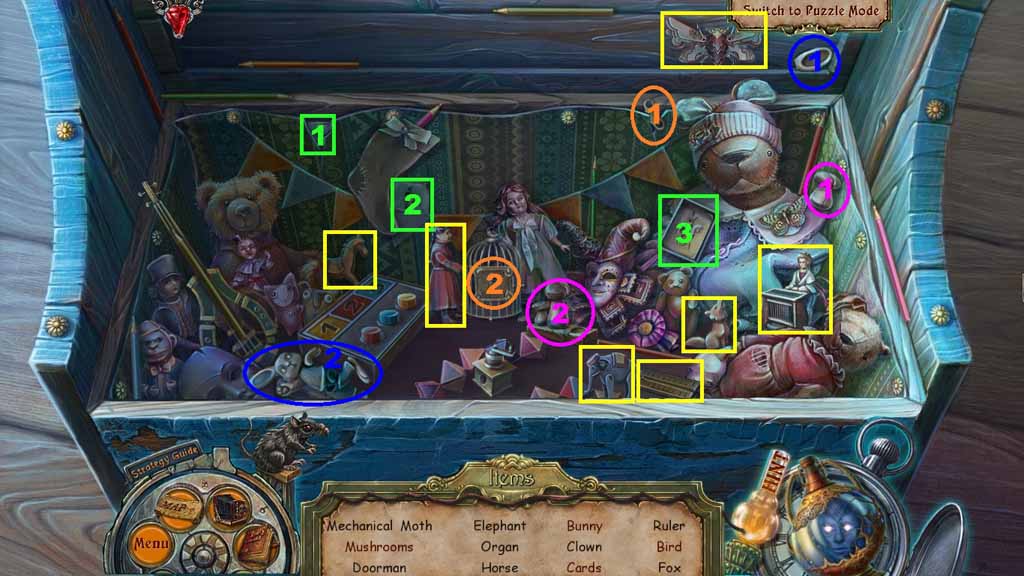
- Find the listed items.
- Select the mushroom and place it with the others; collect the mushrooms.
- Select the bunny ear and attach it onto the bunny; collect the bunny.
- Select the cards and place them with the others; collect the cards.
- Select the key and insert it into the cage lock; collect the bird.
- Collect the ruler.
- Move down once.
- Place the metal wave onto the stand.
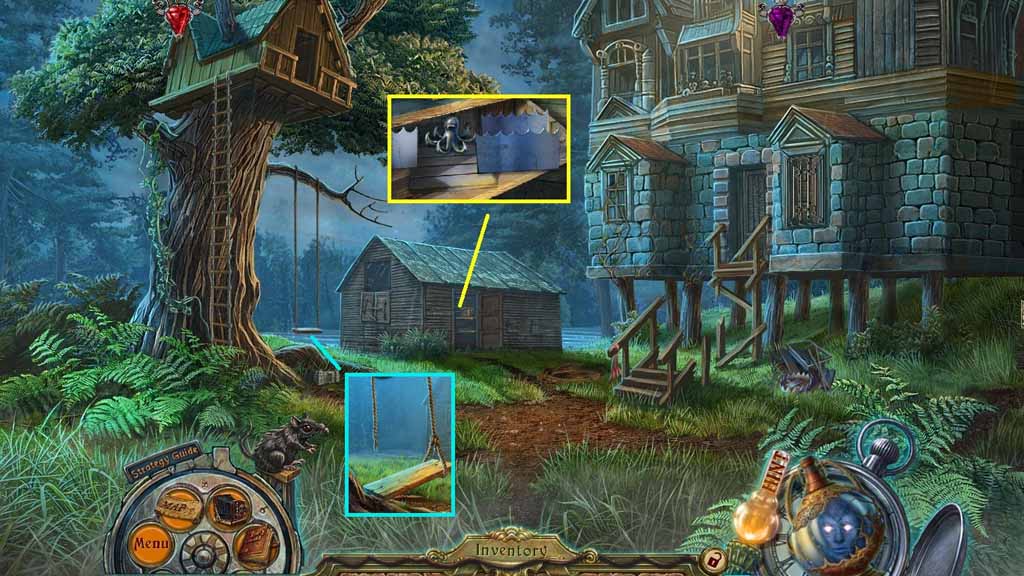
- Collect the metal octopus.
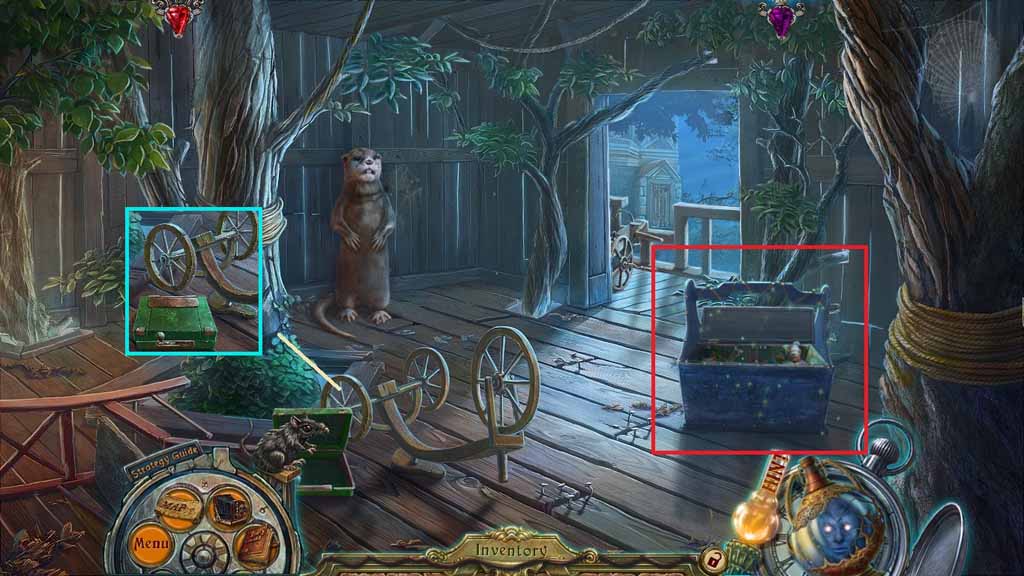
- Select the cracked shell to use on the swing.
- Collect the plank and the rope.
- Move to the Treehouse.
- Place the rope and the metal octopus onto the crossbow.
- Click the bowstring and shoot it toward the window.
- Click the rope back up and shoot it once again.
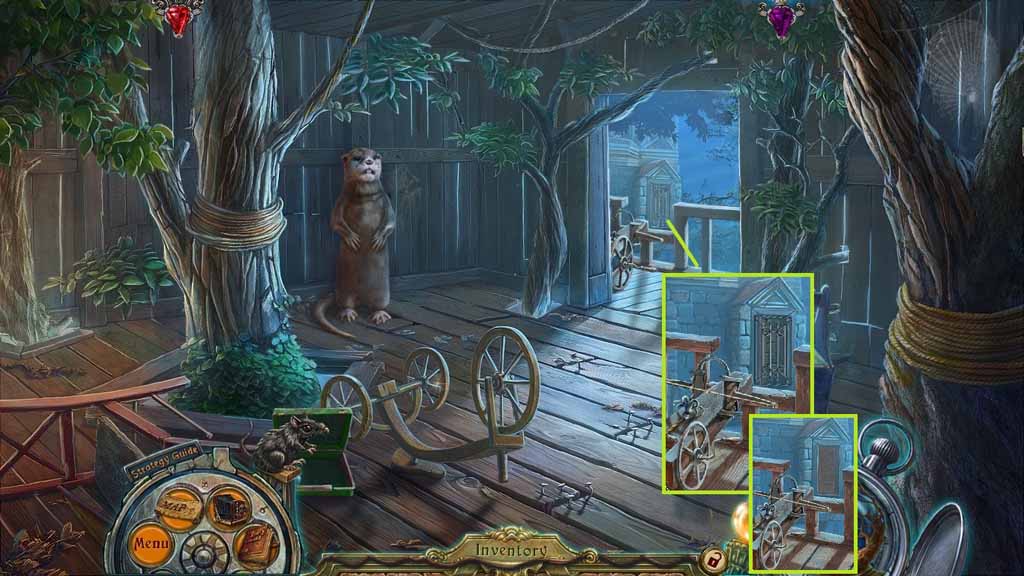
- Move down once.
- Select the 1st pole to use on the trap.
- Select the 2nd pole to open the trap; collect the bent steel bar.
- Move to the Treehouse.
- Select the bent steel bar to use on the rope.
- Move to the right.
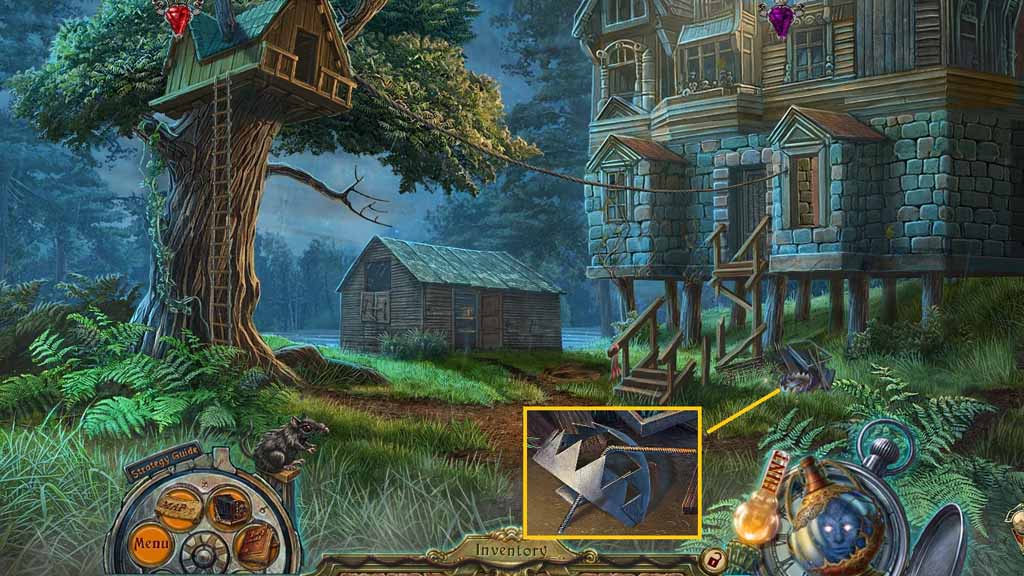
- Collect the chained hammer.
- Place the plank onto the ladder.
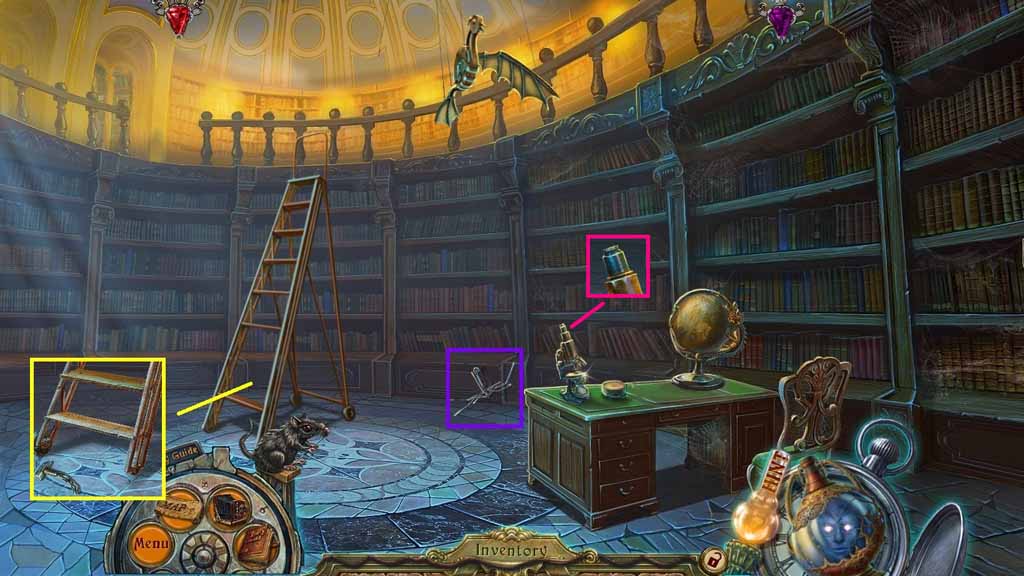
- Collect the umbrella ribs.
- Collect the eyepiece.
- Move down 2 times.
- Place the chained hammer onto the box.
- Collect the screws, the wrench and the Phillips screwdriver.
- Move into the Treehouse.
- Select the wrench to collect the bolt and the tricycle wheel.
- Click the crate to trigger a hidden objects area.
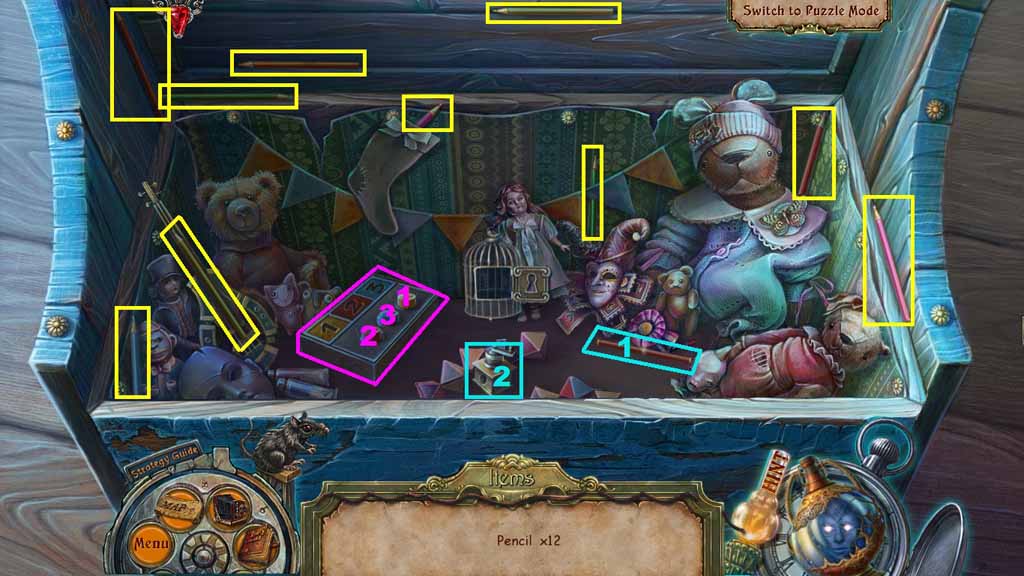
- Find the 12 pencils.
- Select the unsharpened pencil and place it into the sharpener; collect the pencil.
- Click the buttons in the order shown to collect the pencil.
- Collect the pencil.
- Move to the right.

- Select the screws and the Phillips screwdriver to secure the step.
- Attach the tricycle wheel and the bolt using the wrench.
- Click the ladder 2 times.
- Move ahead.
- Collect 1 / 3 round locks.
- Read the list and collect the compass needle.
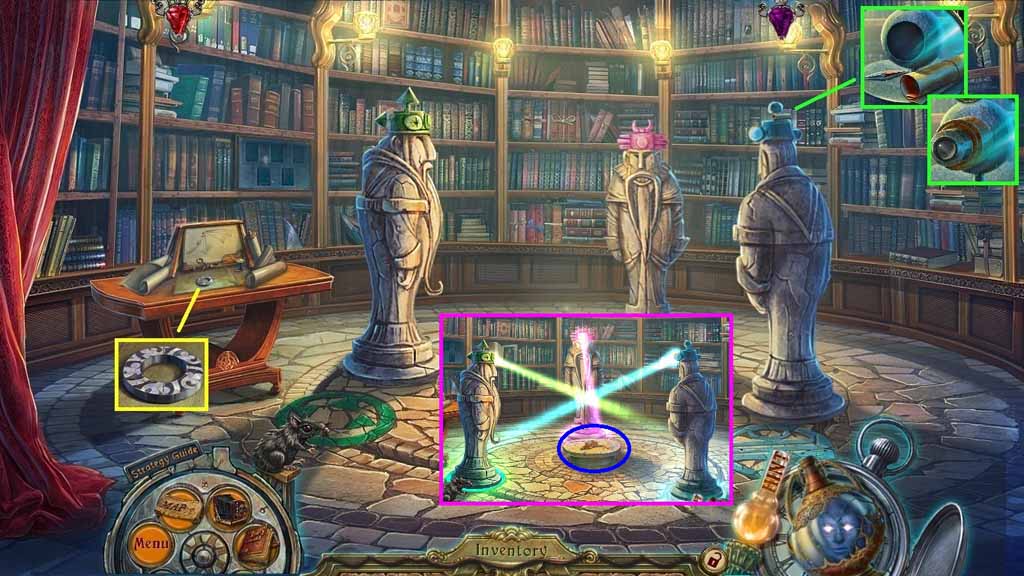
- Place the eyepiece into the hole.
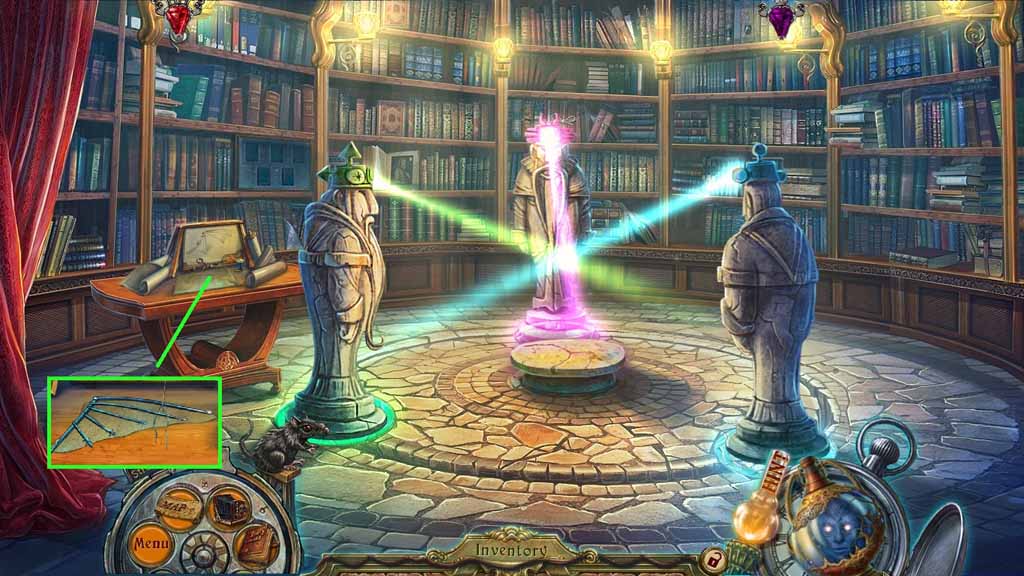
- Click the statues onto the colored circles.
- Collect the map fragment.
- Move down once.
- Insert the compass needle into the compass.
- Collect the thread and the straw puppet.
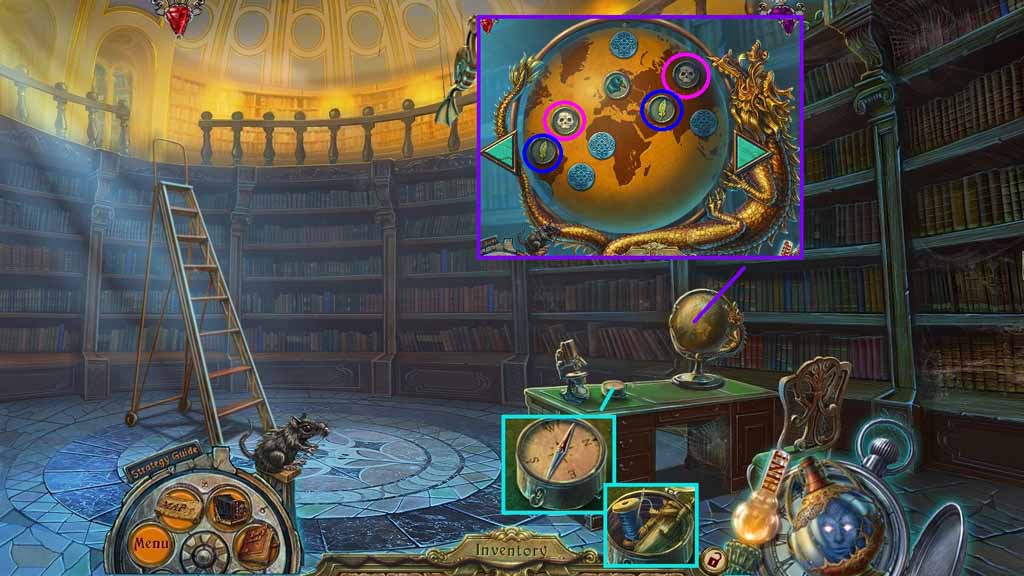
- Click the globe.
- Insert the map fragment into the globe.
- Click the chips to find the matches.
- Click the arrows to turn the globe.
- Select the silver stamp.
- Move ahead.
- Place the umbrella ribs, the ruler, the thread and the pencil onto the table.
- Place the ruler onto the cloth, and select the pencil to mark the cloth.
- Select the scissors to cut the cloth.
- Place the umbrella ribs onto the cloth and use the thread to secure it to the ribs.
- Collect the wing.
- Move down once.
- Click the ladder to the right.
- Attach the wing onto the bird; collect 2 / 3 round locks.
- Collect the 5 books.
- Click the ladder and move ahead.

- Place the 5 books onto the panel to trigger a mini game.
- Click and drag the books to the correct year.
- Select the journal for reference.
- Collect the coat of arms.
- Select the silver stamp to use on the seal.
- Collect 2 / 3 symbols.
- Move down 3 times and view the cut scene, move down once more and go into the house, move upstairs into Madeline’s Room.
- Place the coat of arms onto the door.
- Collect 3 / 3 symbols.
- Move down once.
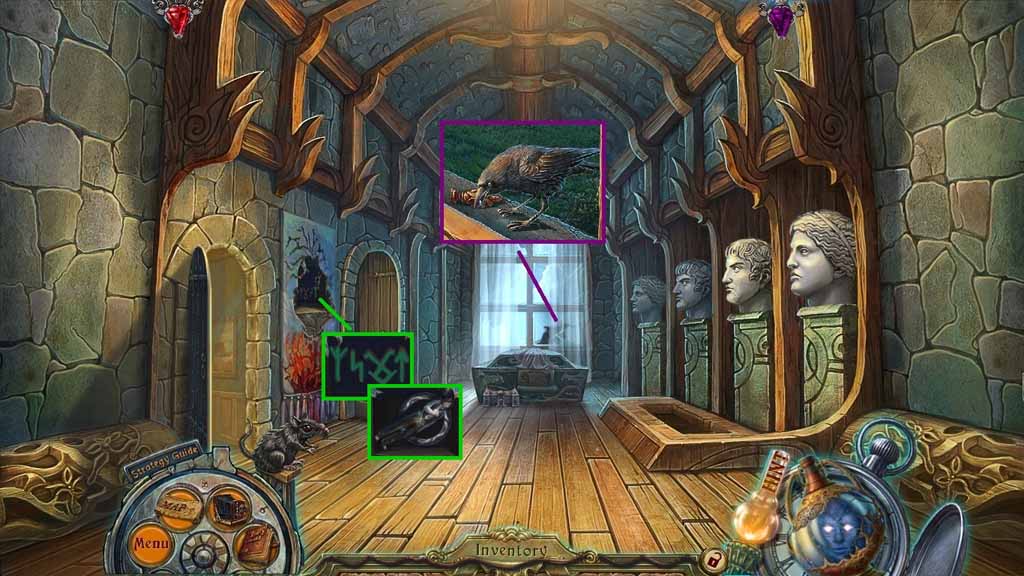
- Give the crow the pearl; collect the wooden puppet.
- Place the 3 symbols into the panel.
- Collect the Roderick figurine and 3 /3 round locks.
- Move into Estelle’s Room.
- Insert the 3 round locks into the door.
- Click the pieces to complete the pattern.
- Click the bed to trigger the hidden objects area.
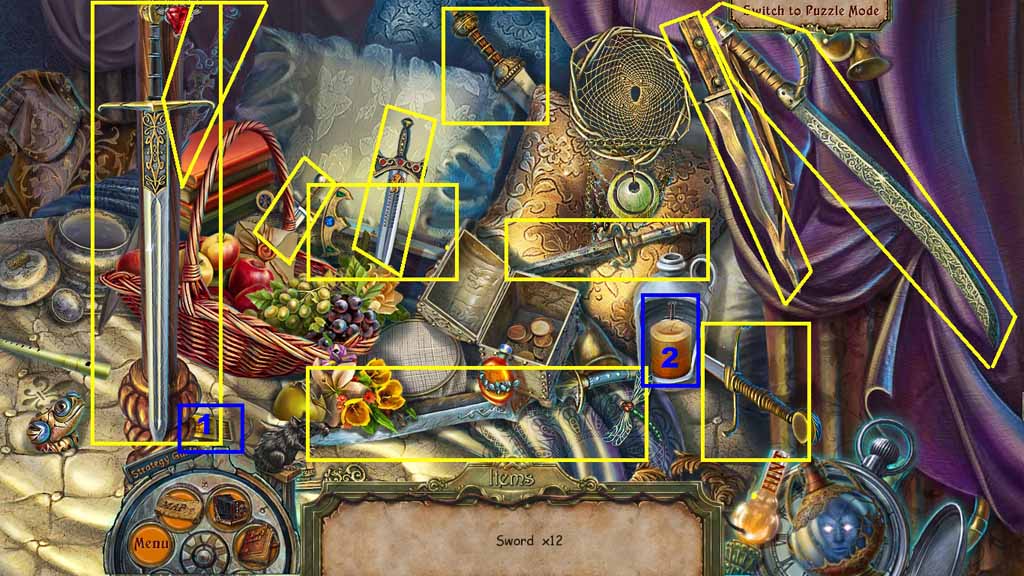
- Find the 12 swords.
- Select the matches and use them to light the candle; collect the sword.
- Collect the puppet sword.
- Move down once and move into Madeline’s Room.
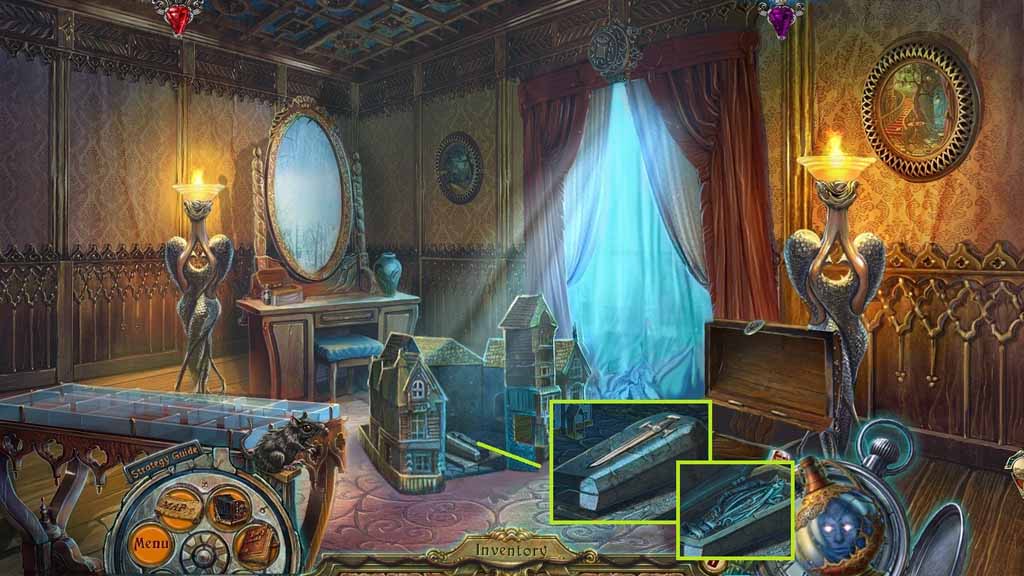
- Place the puppet sword onto the coffin.
- Collect the stone puppet.
- Move to Estelle’s Room.
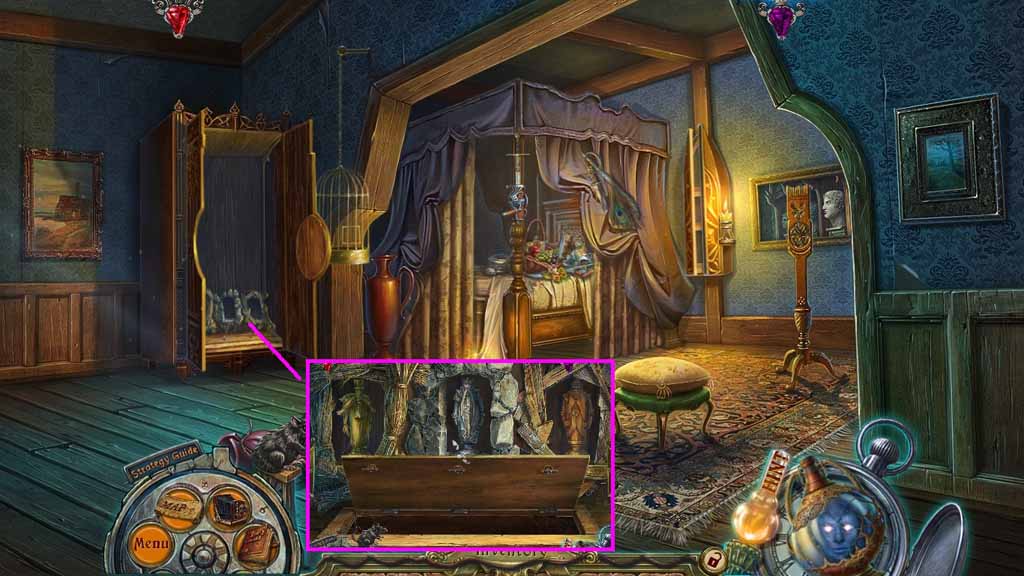
- Place the straw, stone and the wooden puppets into the frames.
- Move into the trapdoor.