Dark Arcana: The Carnival: Chapter Two: Hall of Mirrors
Our Dark Arcana The Carnival Walkthrough will keep you company as you investigate the dark alternate dimension that lurks behind the Hall of Mirrors and is home to the being known only as The Evil One. Use our detailed screenshots and step-by-step instructions to find your way between this dark world and our reality, save Susan Jones, and stop the evil one from breaking his chains and invading our world!
General Info and Tips
Chapter One: The Carnival
Chapter Two: Hall of Mirrors
Chapter Three: The Mirror World
Chapter Four: Back to the Mirror World
Chapter Five: Chasing Jim
Chapter Six: Escape from the Island
Chapter Seven: Jim's Plan
Chapter Eight: Stopping the Ritual
Ask for help in the comments below!
Chapter One: The Carnival
Chapter Two: Hall of Mirrors
Chapter Three: The Mirror World
Chapter Four: Back to the Mirror World
Chapter Five: Chasing Jim
Chapter Six: Escape from the Island
Chapter Seven: Jim's Plan
Chapter Eight: Stopping the Ritual
Ask for help in the comments below!
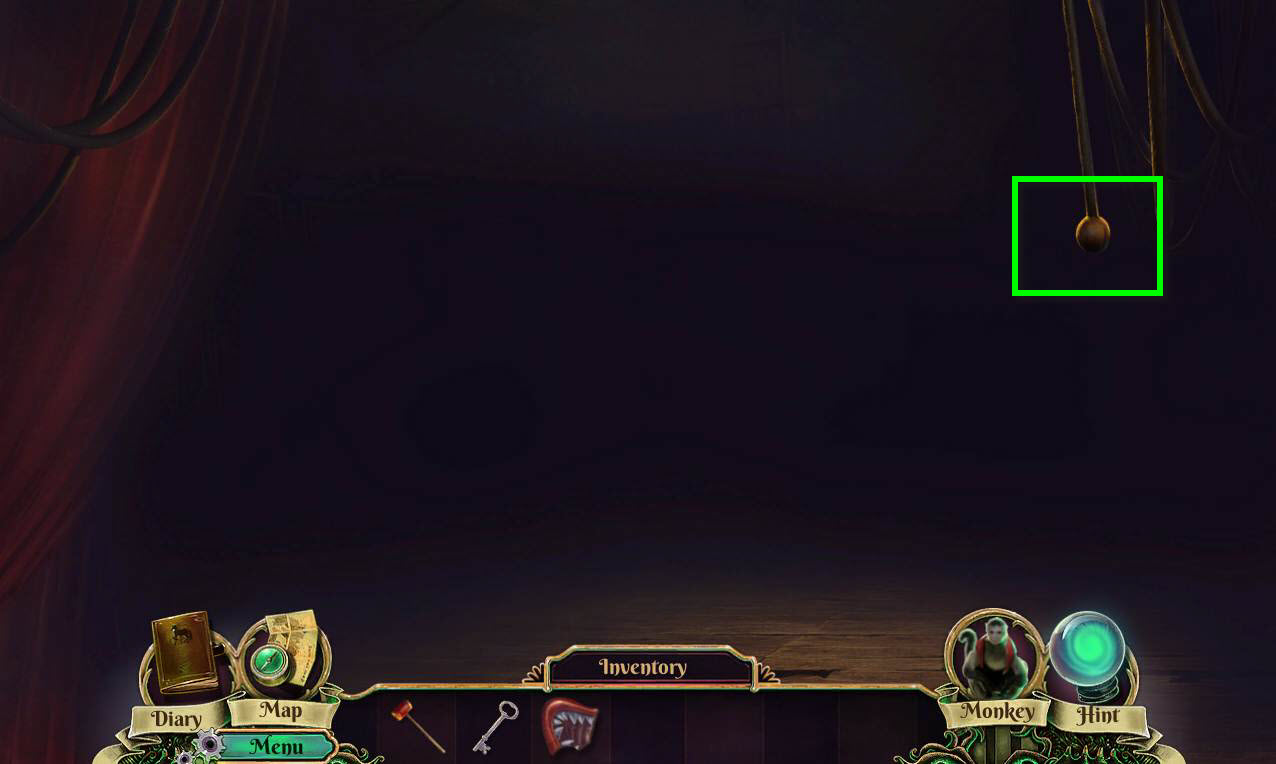
- Click on the switch to turn on the lights.
-
Watch the cutscene.
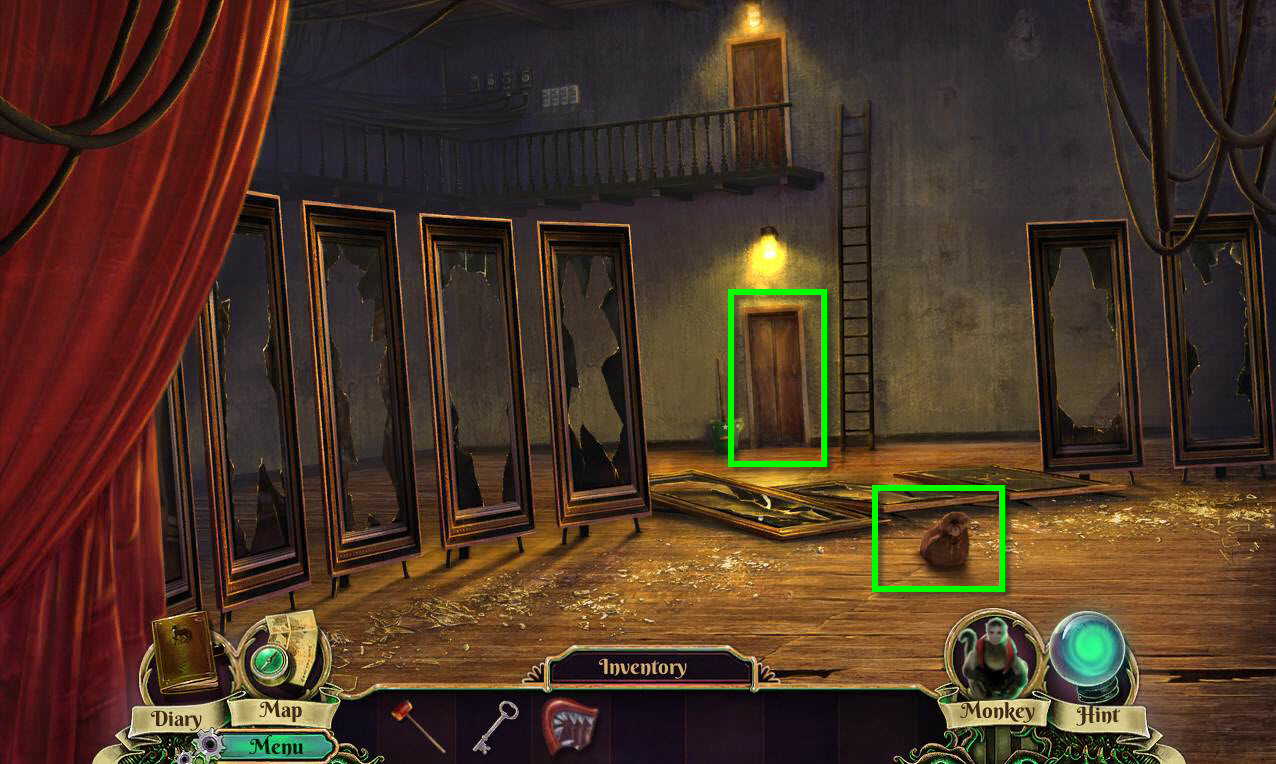
- Click on the bag to zoom in.
- Click to open the bag.
- Take the CLOWN NOSE KEY.
- Click on the door to open it.
- Click on the sparkles.
-
This will start a hidden object game.
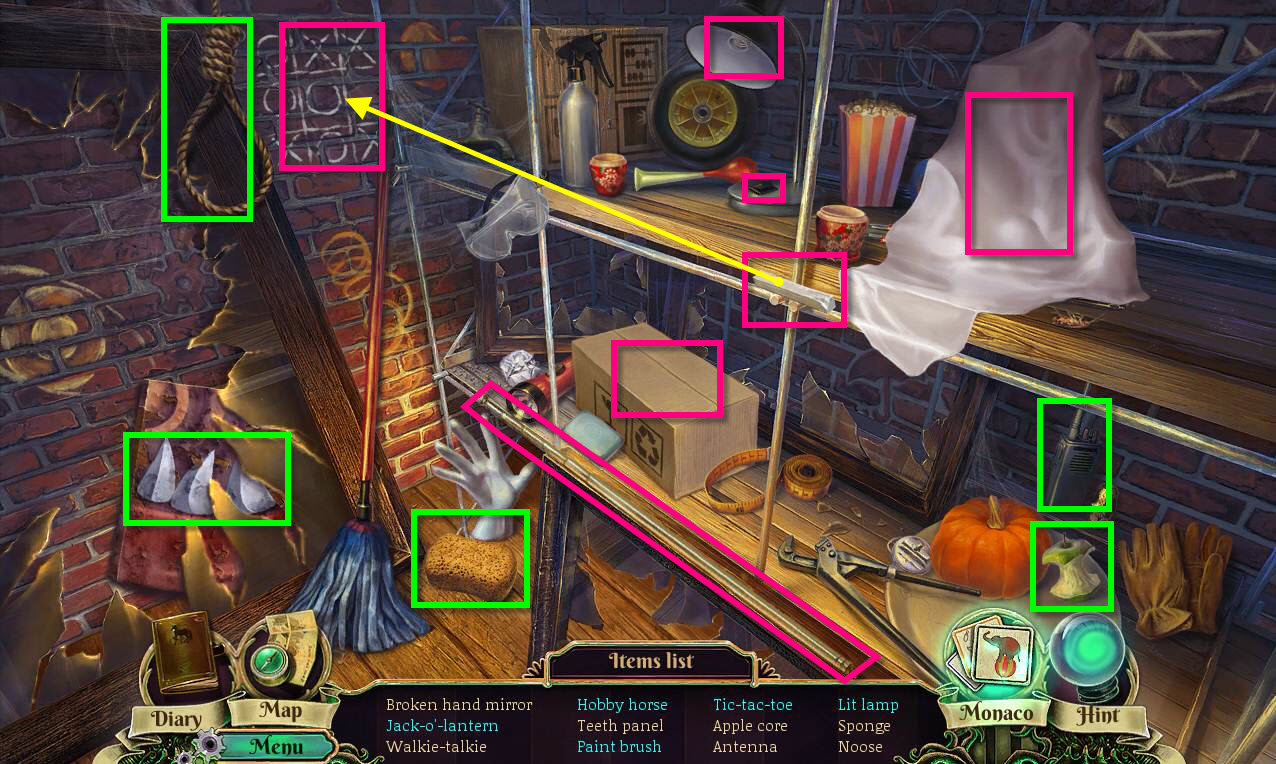
- Find all the items on the list.
- Use the chalk on the tic tac toe board to complete it.
- Click to open the box. Find the Broken Hand mirror in the box.
- Take the light bulb out of the box and use it on the lamp. Click the switch to get the Lit Lamp.
- Click to remove the cloth.
- Find the paint brush and the hobby horse under the cloth.
- Find a carving knife under the cloth. Use it on the pumpkin to get the Jack0-o-lantern.
- You will receive the SECOND TEETH PANEL.
-
Return to the manager's office.
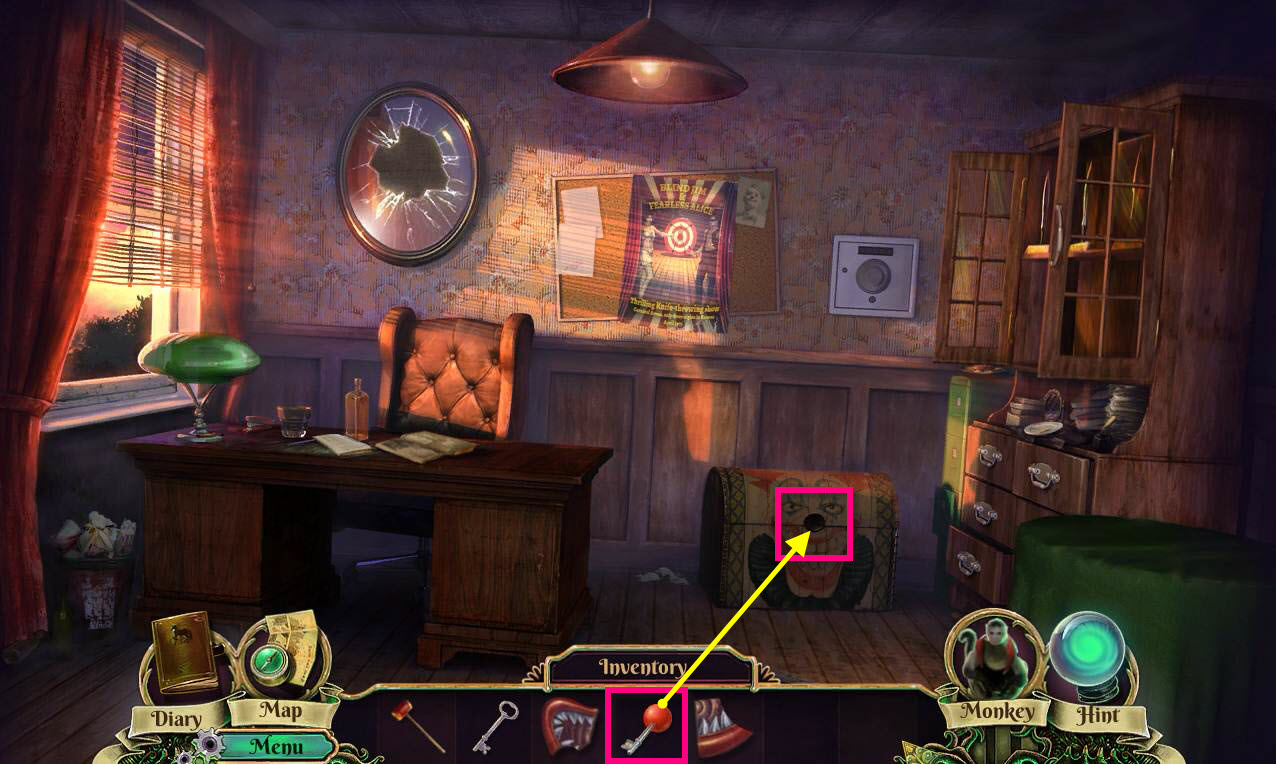
- Click to zoom in on the clown chest.
- Use the CLOWN NOSE KEY on the lock.
- Take note of the awards.
- Take note of the combination R1 L4 R2 L1 R8
- Take the HANDLE.
-
Click on the safe on the wall to zoom in.
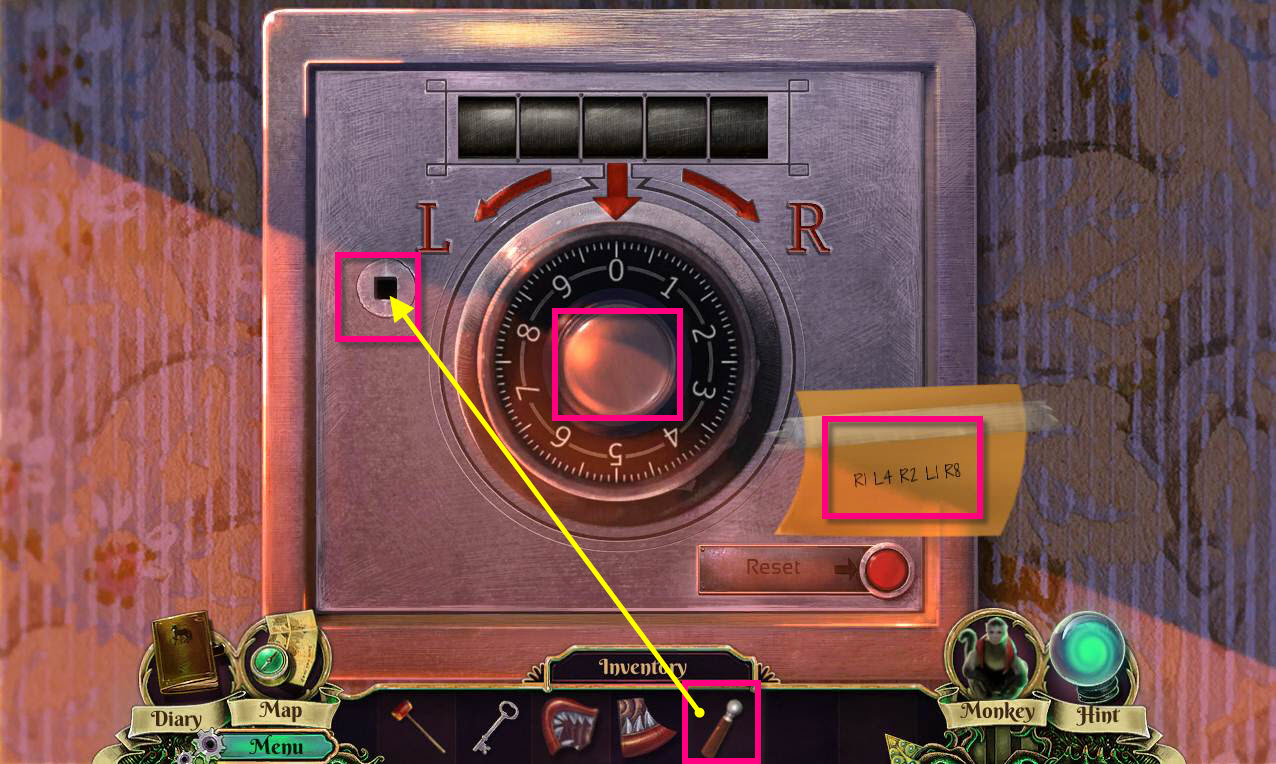
- Use the HANDLE on the safe.
- Now enter the correct code that's taped to the safe by clicking on the safe and moving the wheel to the right spots.
- If you make a mistake, click the reset button.
- Click the handle to open the safe.
- Take the GATE PLATE.
- Click to look at the pictures and see the connection between Alice and Susan.
-
Go back to the square.

- Click to zoom in on the gate.
- Click to zoom in on the lock.
- Use the GATE PLATE on the lock.
- Use the GATE KEY on the lock and click on it to unlock it.
- Click on the handle to open the gate.
-
Go forward to the Alley.
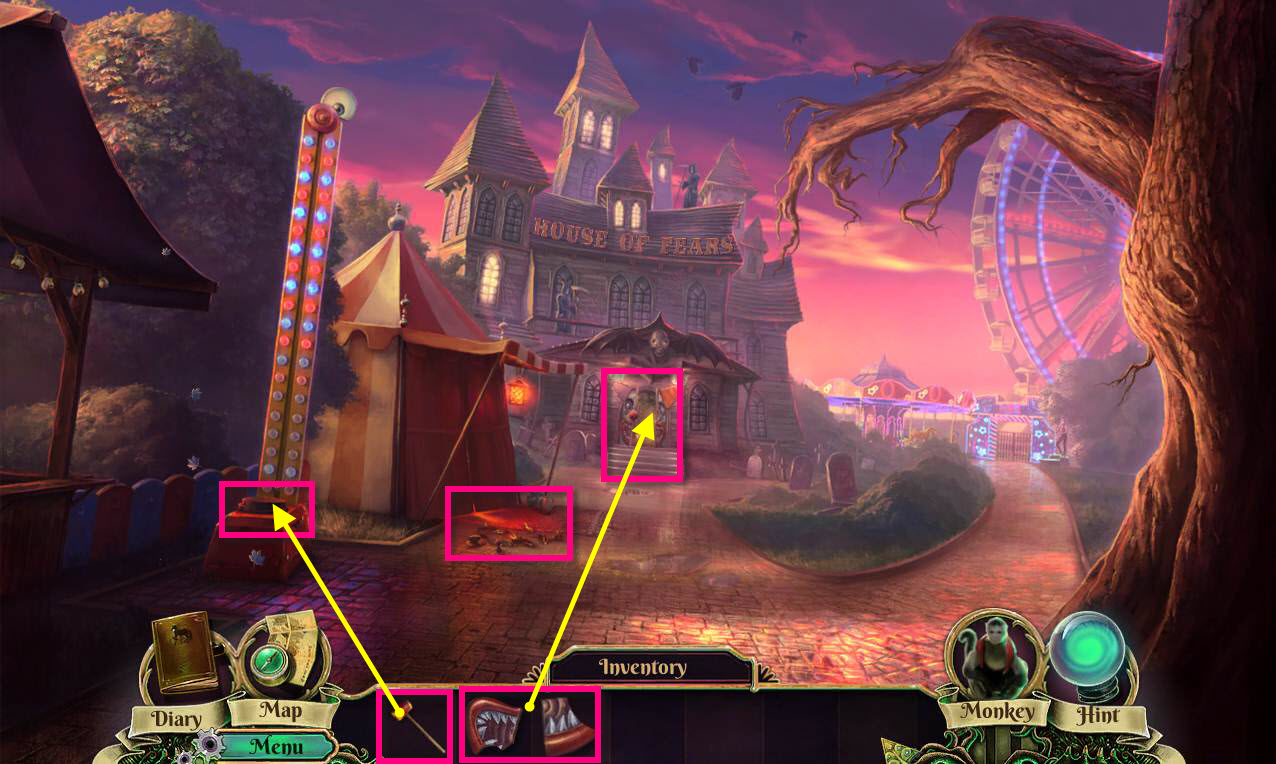
- Click on the broken vase outside the tent to start a cutscene.
- Use the HAMMER on the strength game on the left.
- Click on the door to the House of Fears to zoom in.
- Use the FIRST TEETH PANEL and the SECOND TEETH PANEL in the missing slots.
-
Go into the Fortune Teller's Tent.
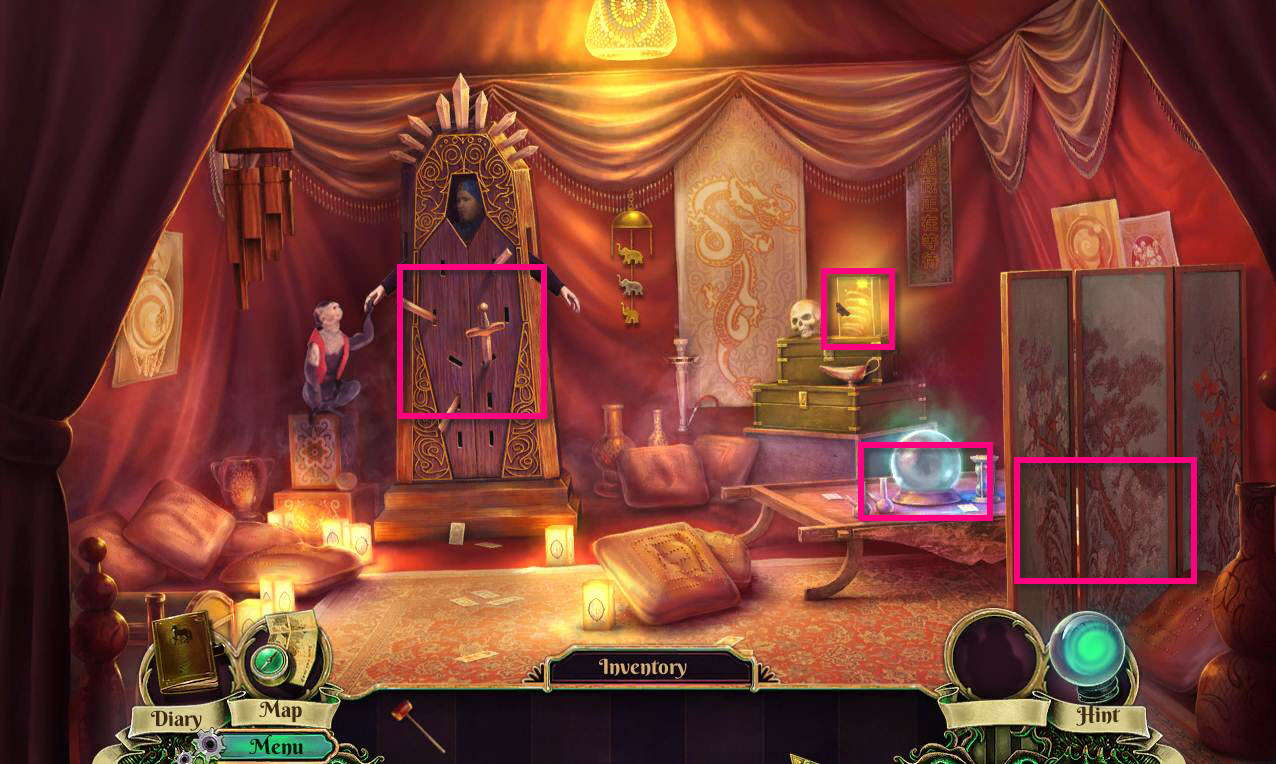
- Click on the box the Fortune Teller is in.
- Remove the one sword with the hilt. We'll need to find the rest of the hilts somewhere.
- Click to zoom in on the table and read the note from the fortune teller.
- Click on the room screen to push it back.
- Take the WIG PANEL.
- Click on the case by the skull to remove it.
- Take the SPRING.
-
Go back one screen and then go to the Carousel.
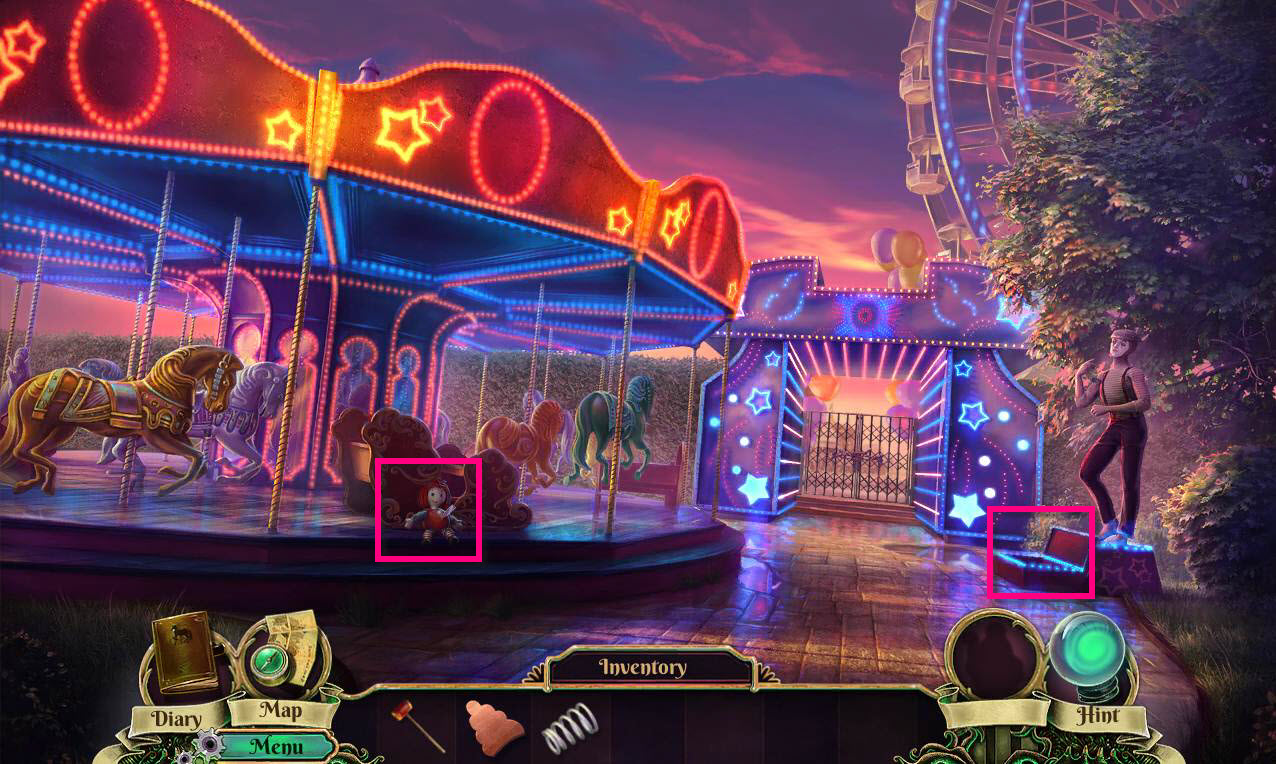
- Click on the doll to zoom in.
- Click on the glass and all the doll parts to remove them.
- Take the NOSE PANEL.
- Click on the box under the mime to zoom in.
- Take the SCREWDRIVER.
-
Go back one screen.
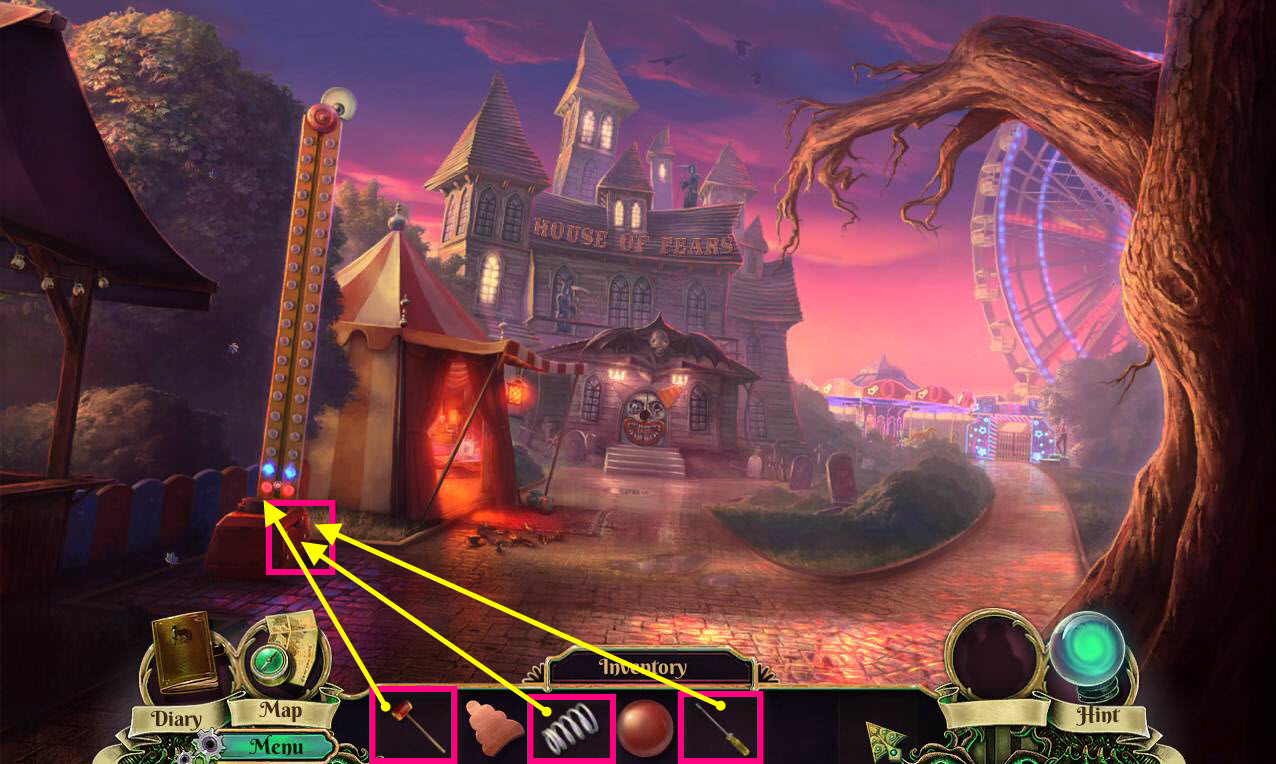
- Click on the broken strength game to zoom in.
- Use the SCREWDRIVER on the screws to remove the panel.
- Use the SPRING on the game to fix it.
- Now use the HAMMER again on the game.
-
Take the EYE PANEL that falls.
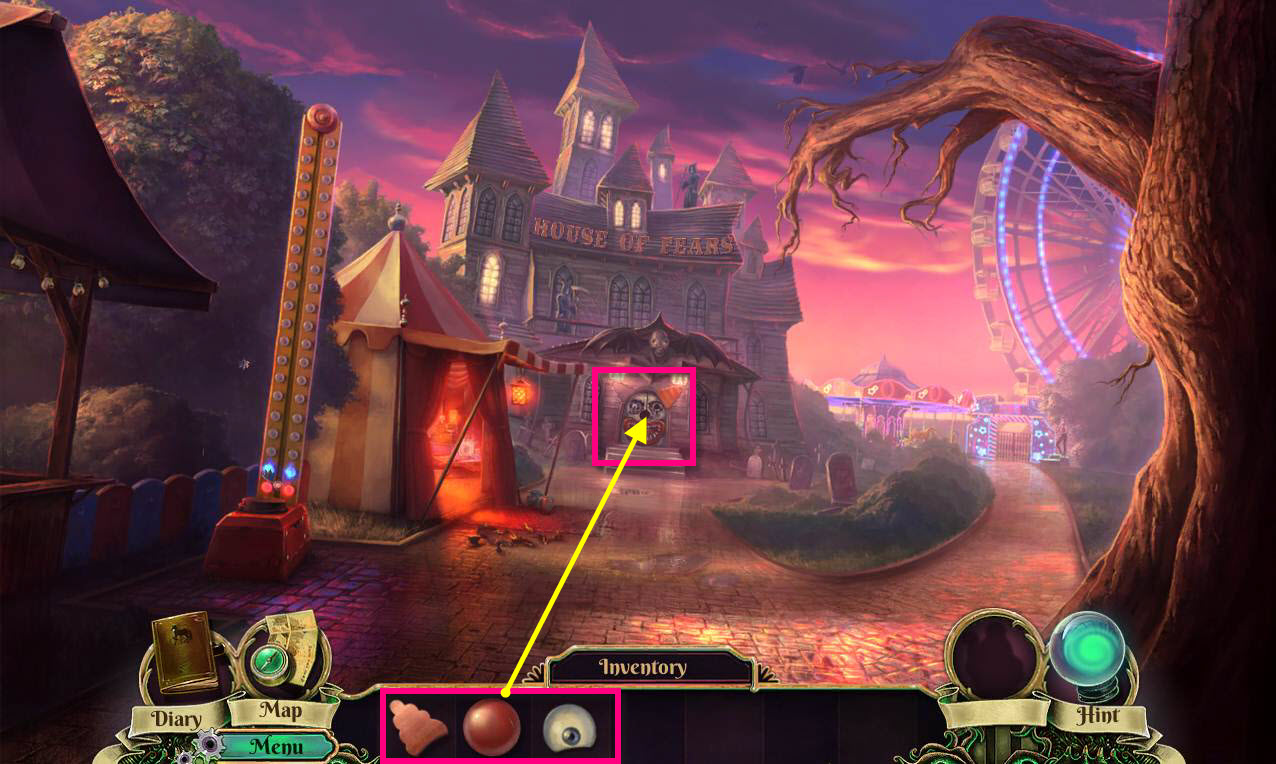
- Click on the door of the House of Fears to zoom in.
- Use the WIG PANEL, the NOSE PANEL, and the EYE PANEL on the empty slots in the door.
- Click on the doors to open them.
- Enter the House of Fears.
General Info and Tips
Chapter One: The Carnival
Chapter Two: Hall of Mirrors
Chapter Three: The Mirror World
Chapter Four: Back to the Mirror World
Chapter Five: Chasing Jim
Chapter Six: Escape from the Island
Chapter Seven: Jim's Plan
Chapter Eight: Stopping the Ritual
Ask for help in the comments below!
Chapter One: The Carnival
Chapter Two: Hall of Mirrors
Chapter Three: The Mirror World
Chapter Four: Back to the Mirror World
Chapter Five: Chasing Jim
Chapter Six: Escape from the Island
Chapter Seven: Jim's Plan
Chapter Eight: Stopping the Ritual
Ask for help in the comments below!
