
Brink of Consciousness: The Lonely Hearts Murders: Chapter Three: Exploring Chinatown
Rely on our Brink of Consciousness The Lonely Hearts Murders Walkthrough to help you navigate the dark streets of London, as you desperately search for the missing Olivia Wright, the latest victim of the maniacal man known only as The Lonely Hearts Killer. Our walkthrough will guide your steps during your search, providing you with in-depth instructions, sturdy advice, solutions to puzzles, and custom screenshots. Can you find Olivia Wright and stop the Lonely Hearts Killer before it's too late? With our Brink of Consciousness Walkthrough at your side, it will be an open and shut case.
Chapter One: Where is Olivia?
Chapter Two: Welcome to the Wharf
Chapter Three: Exploring Chinatown
Chapter Four: Inside Archie's Estate
Bonus Game
Ask for help in the comments below!
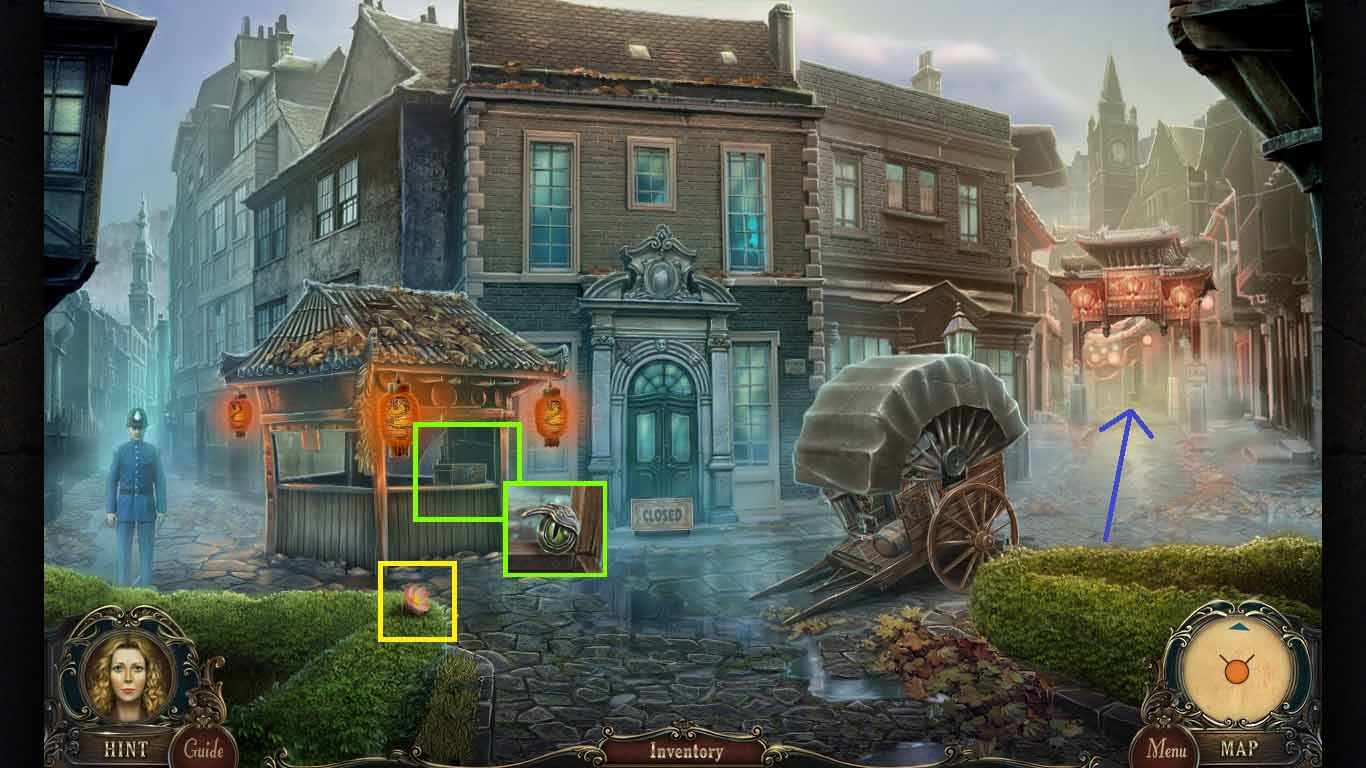
- Collect the flower.
- Zoom into the kiosk and collect the left eye.
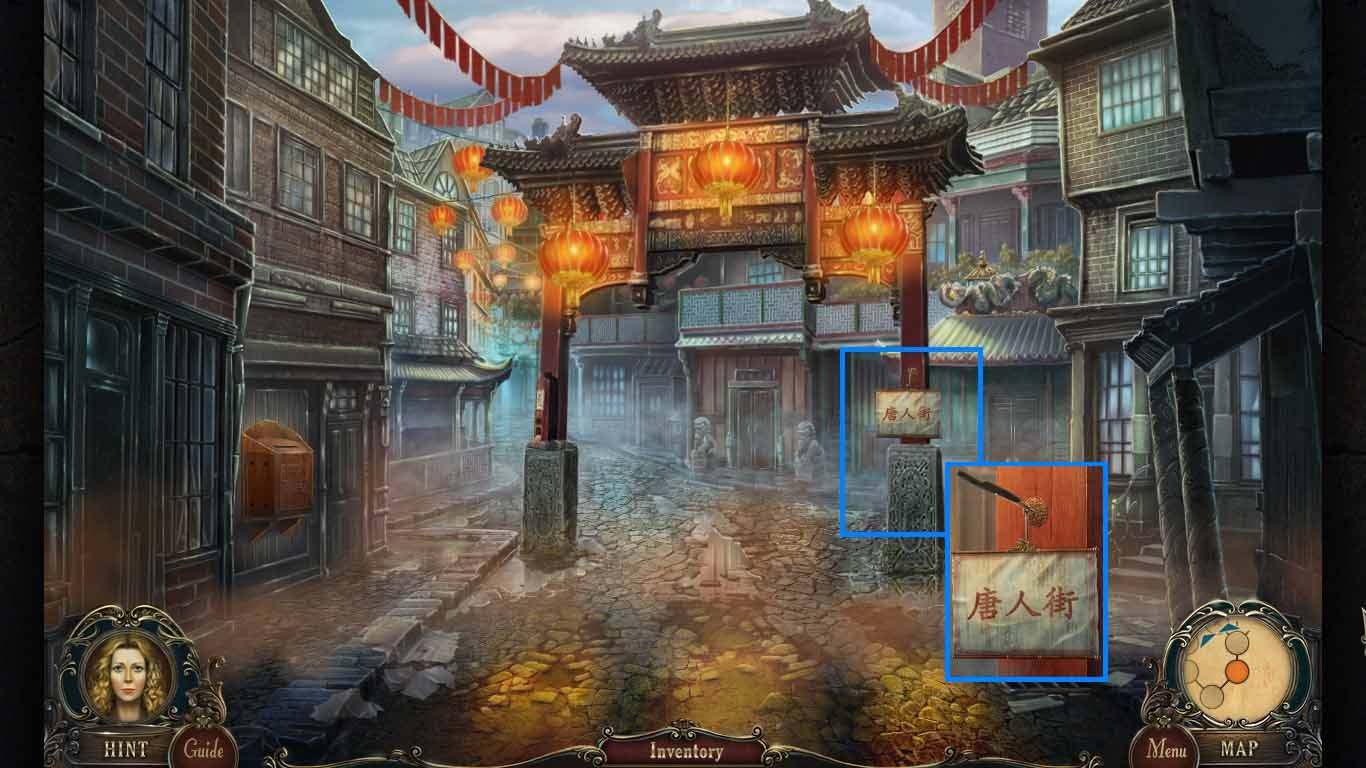
- Move forward to the road on the right.
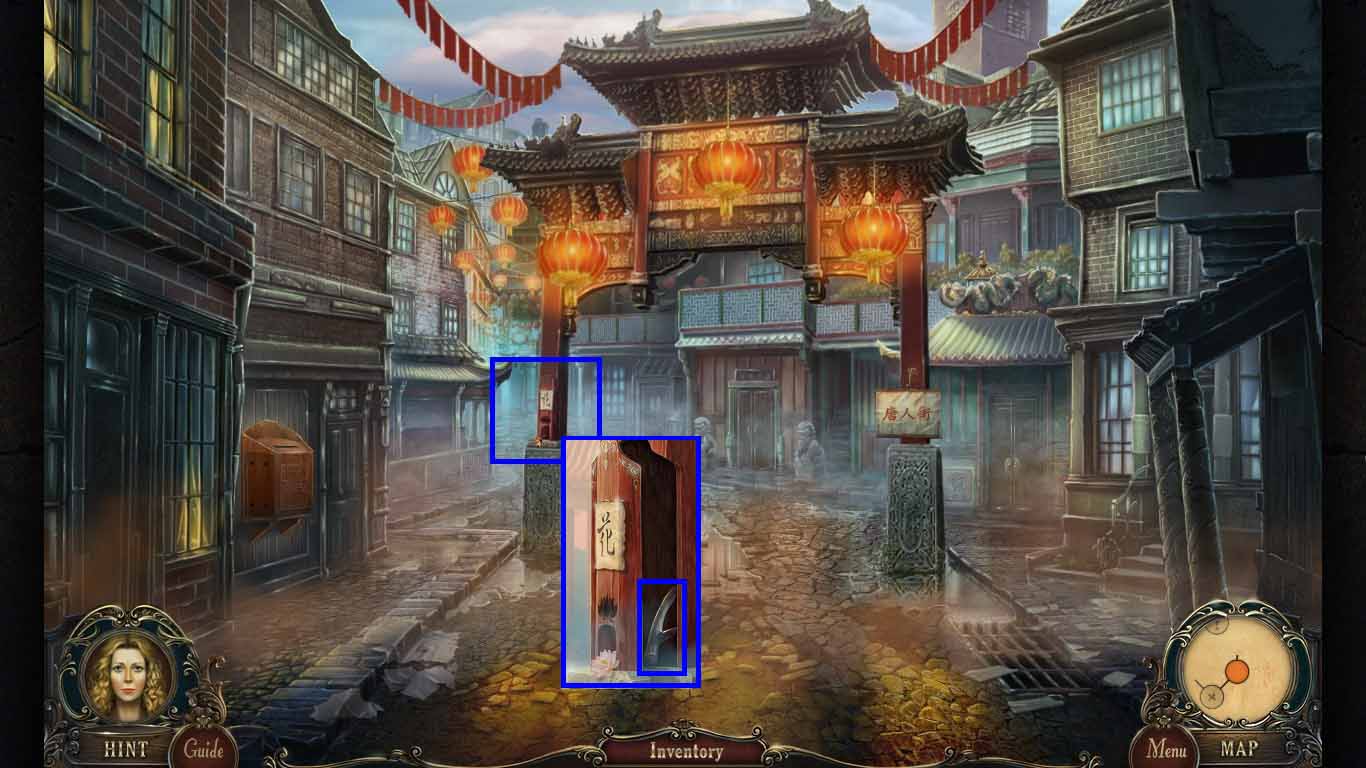
- Zoom into the column and insert the flower into the niche.
- Collect the stone horn.
- Move forward.

- Notice the path to the Chinese garden.
- Click the hutch to access a hidden objects area.
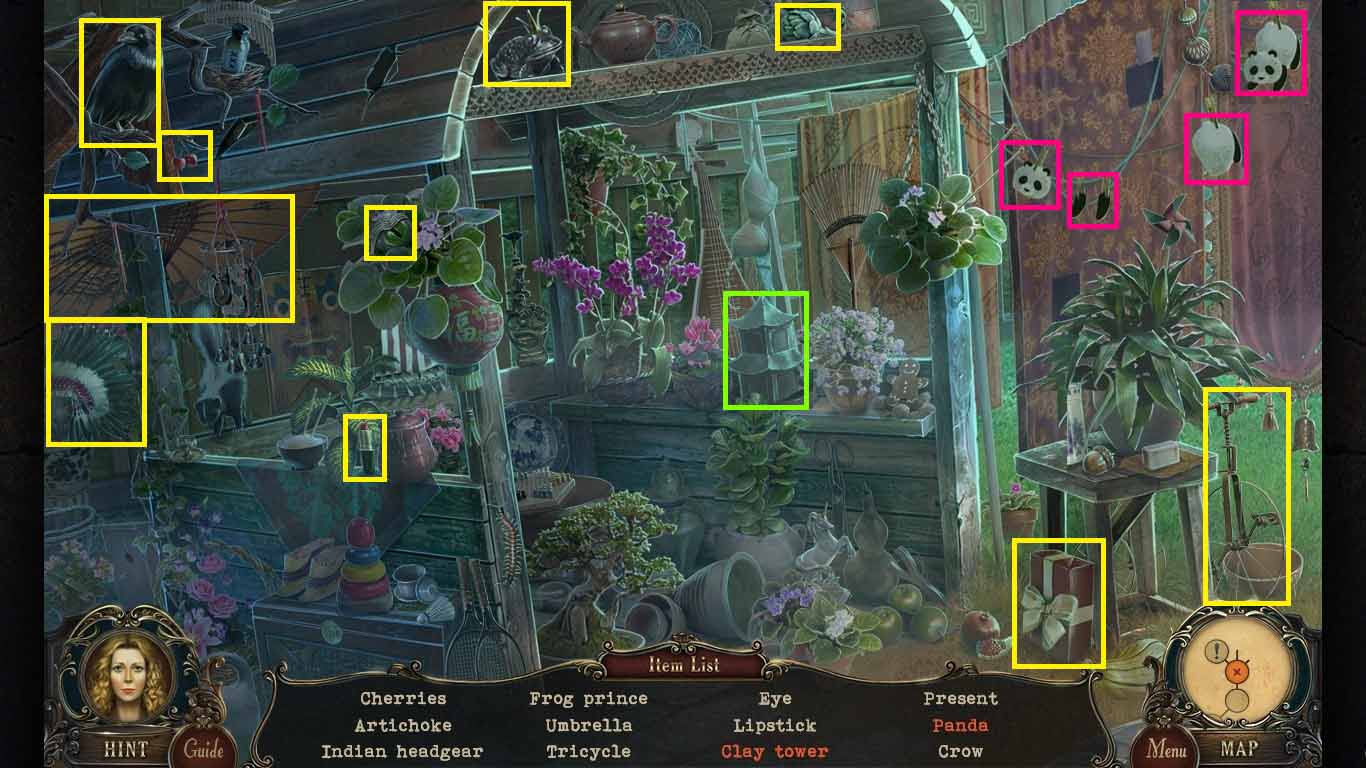
- Find the listed items.
- Move the head and body to the feet to create the panda.
- Click the clay several times to create a clay flower.
- Collect the right eye.
- Go left to the Chinese garden.
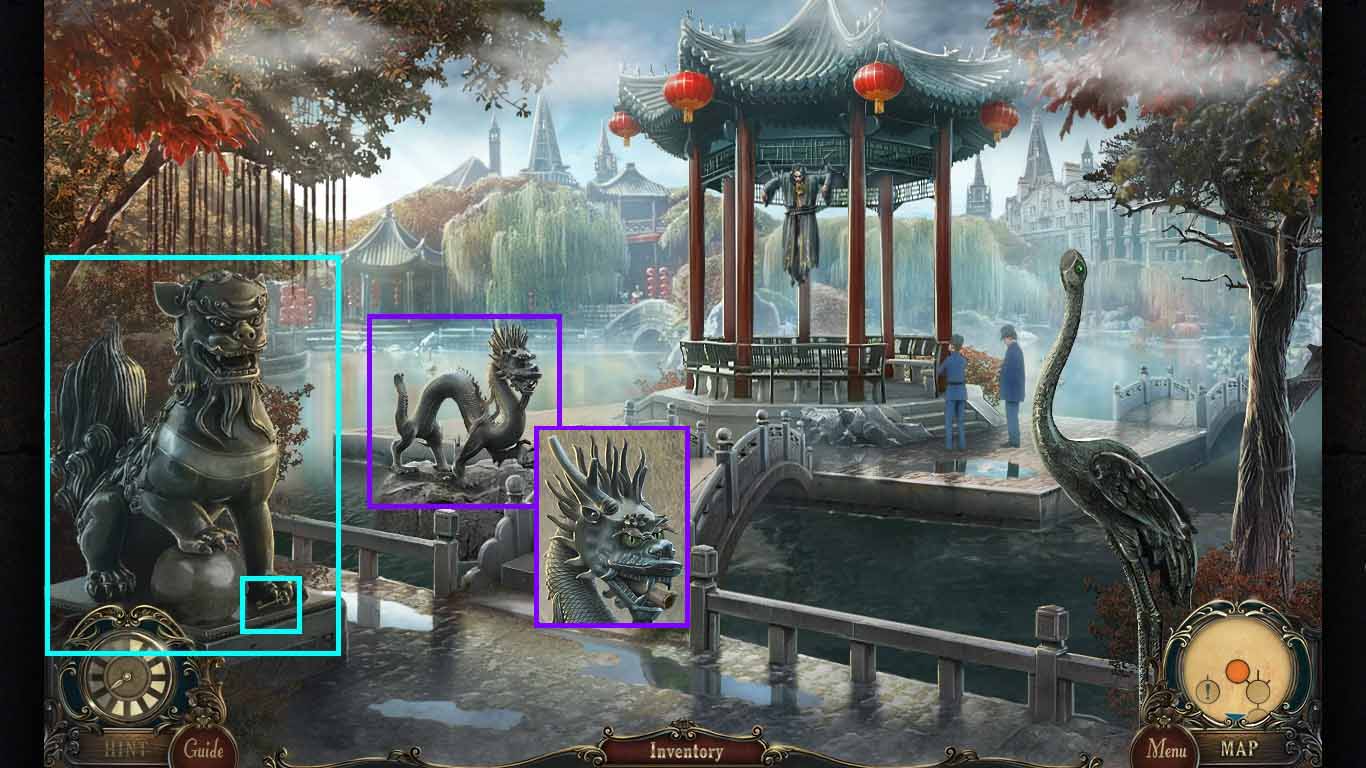
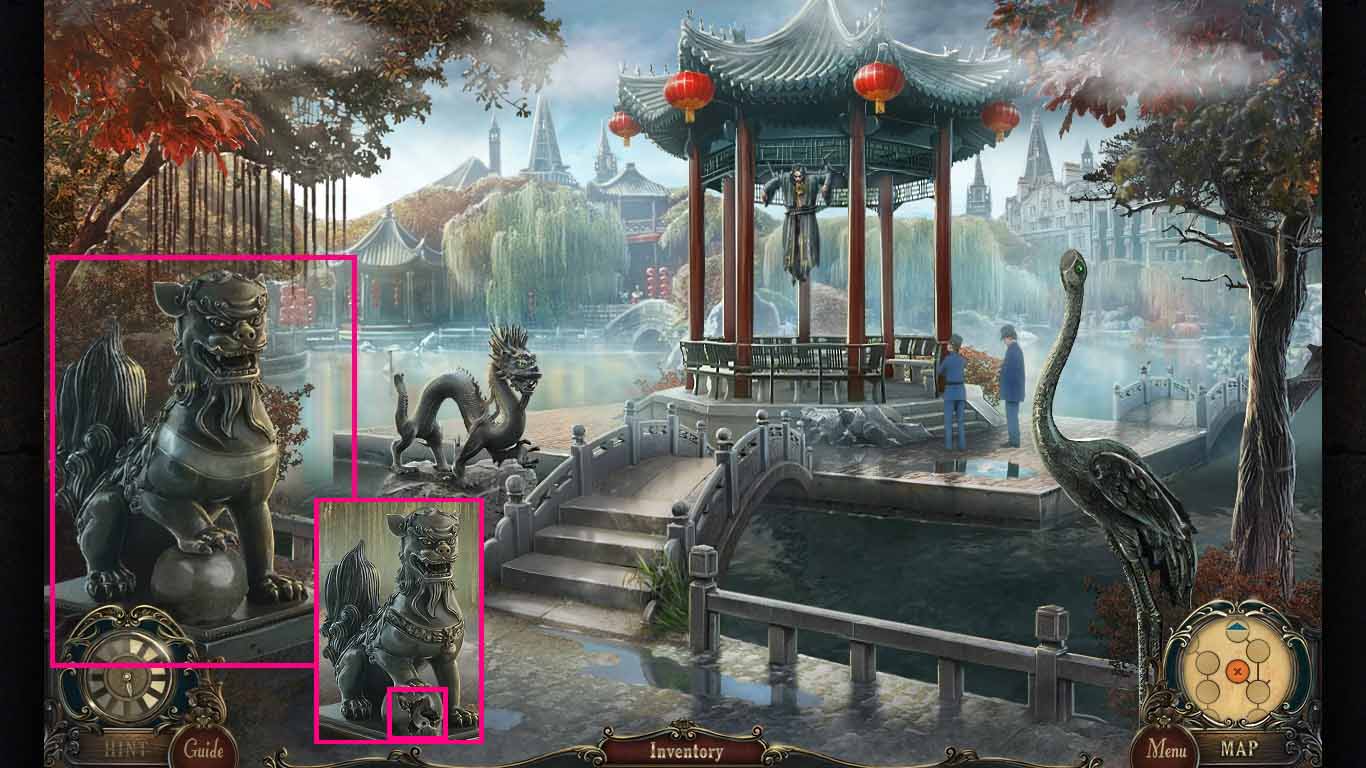
- Zoom into the statue on the left and collect the miniature key.
- Zoom into the dragon statue.
- Insert the right and left eye and the stone horn.
- Collect the 1st map fragment.
- Walk down three times and move forward on the left road.
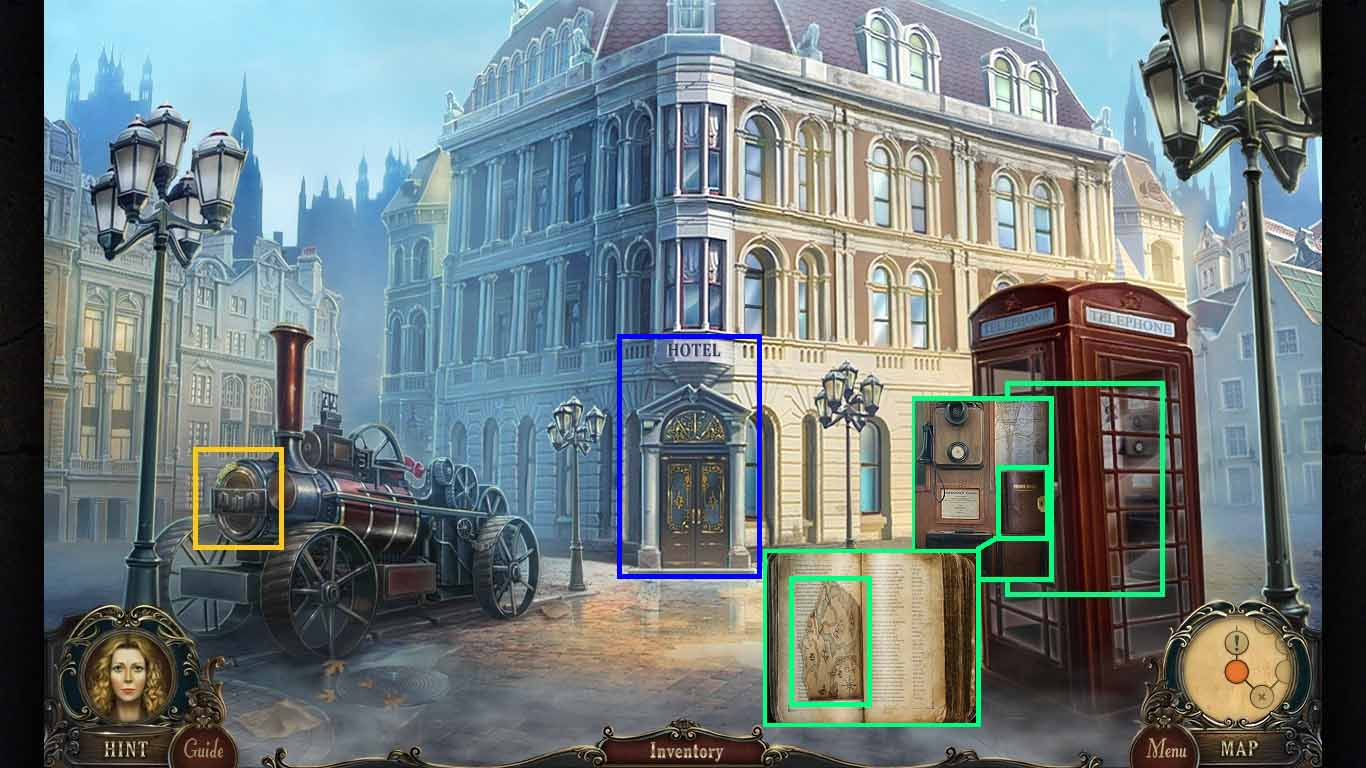
- Notice the front of the train engine.
- Zoom into the phone booth and then the book.
- Insert the miniature key into the lock.
- Click the key, open the book and collect the 2nd map fragment.
- Move forward into the hotel.
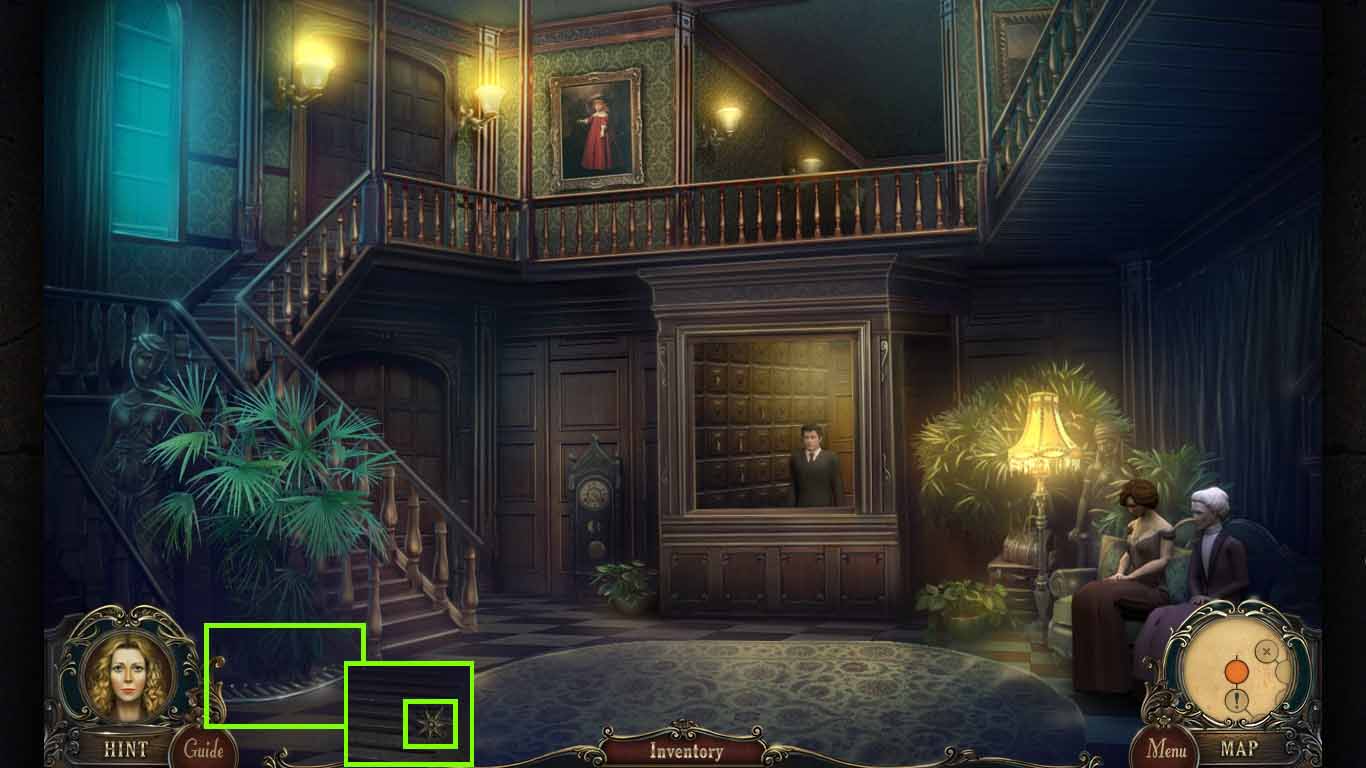
- Zoom into the grate and collect the star.
- Move up the stairs.
- Notice the door on the left side.
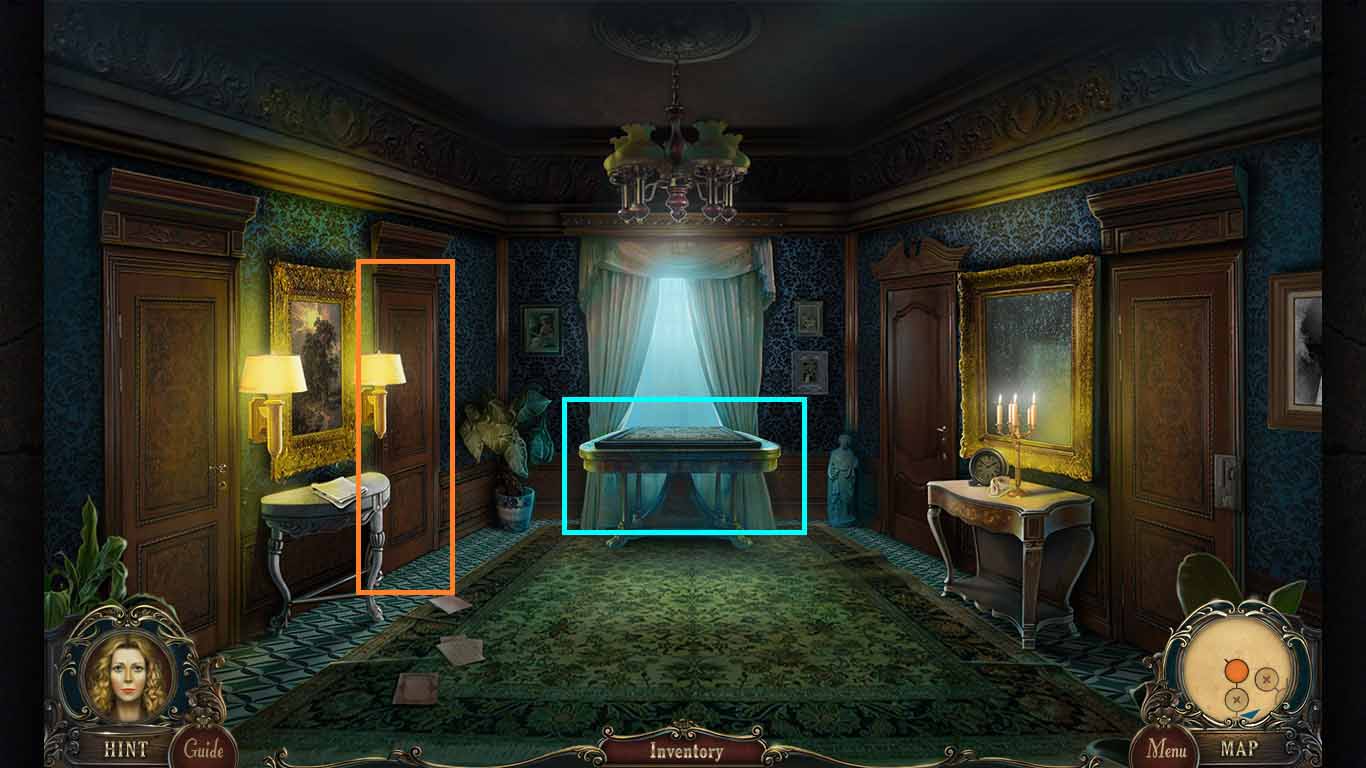
- Zoom into the table to access a mini-game.
- Insert the 2 map fragments to trigger the game.
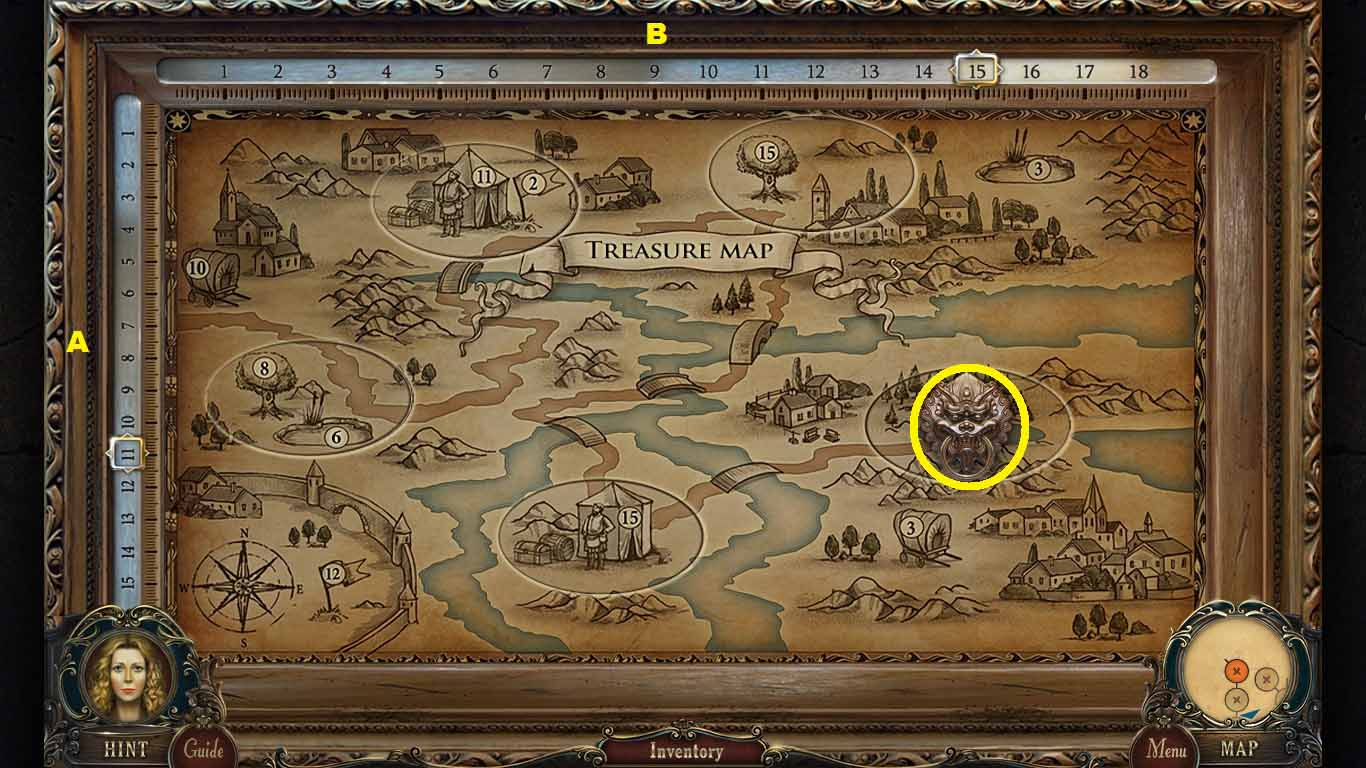
- Move the slides to find matching elements on the map.
- The vertical slide is listed as “A.”
- The horizontal slide is listed as “B.”
-
Move the slides as follows, the first number represents “A “and the second represents “B.”
- Wagon: (10, 3)
- Lake: (3, 6)
- Flag: (2, 12)
- Tree: (15, 8)
- Tent: (11, 15)
- Collect the 1st lion head.
- Go into the room on the left.
- Collect the lighter.
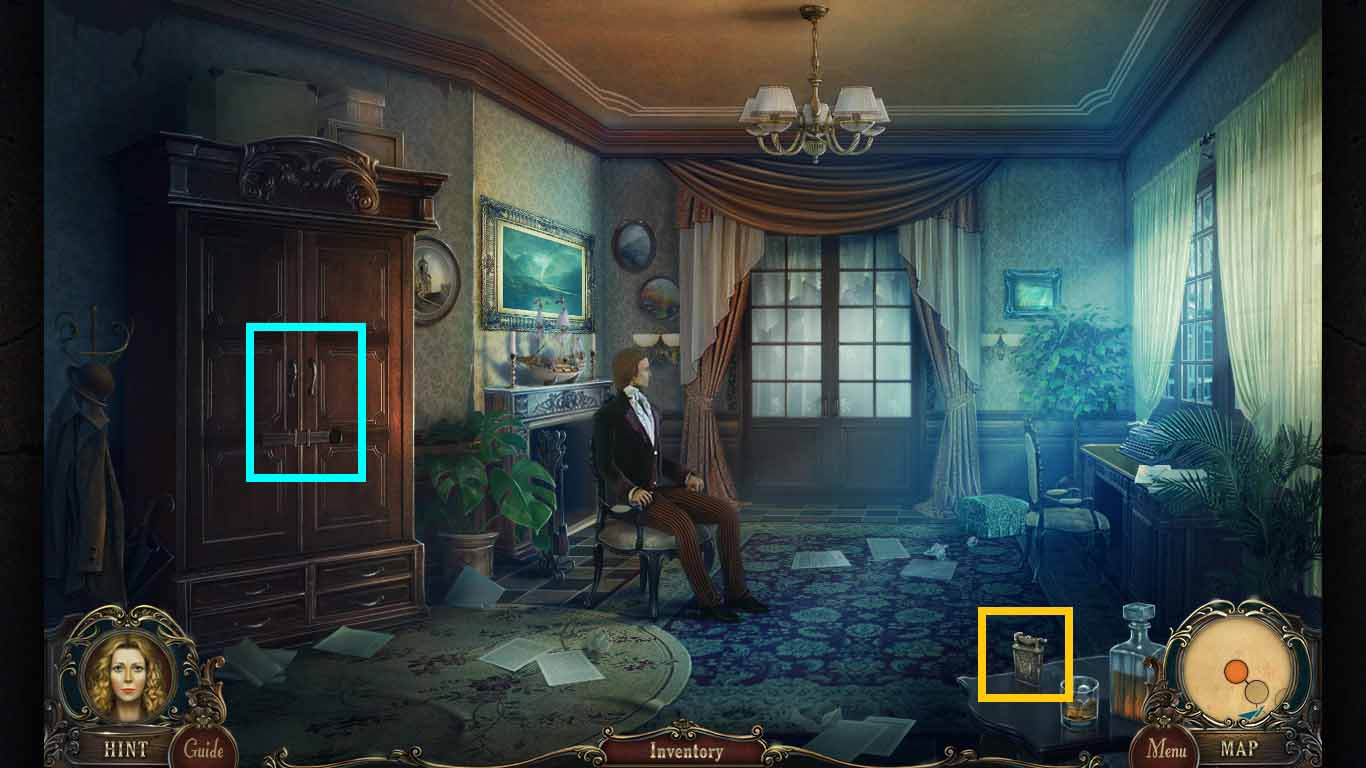
- Notice the wardrobe.
- Walk down 3 times; after the cut scene walk down once more, move right and then forward again.
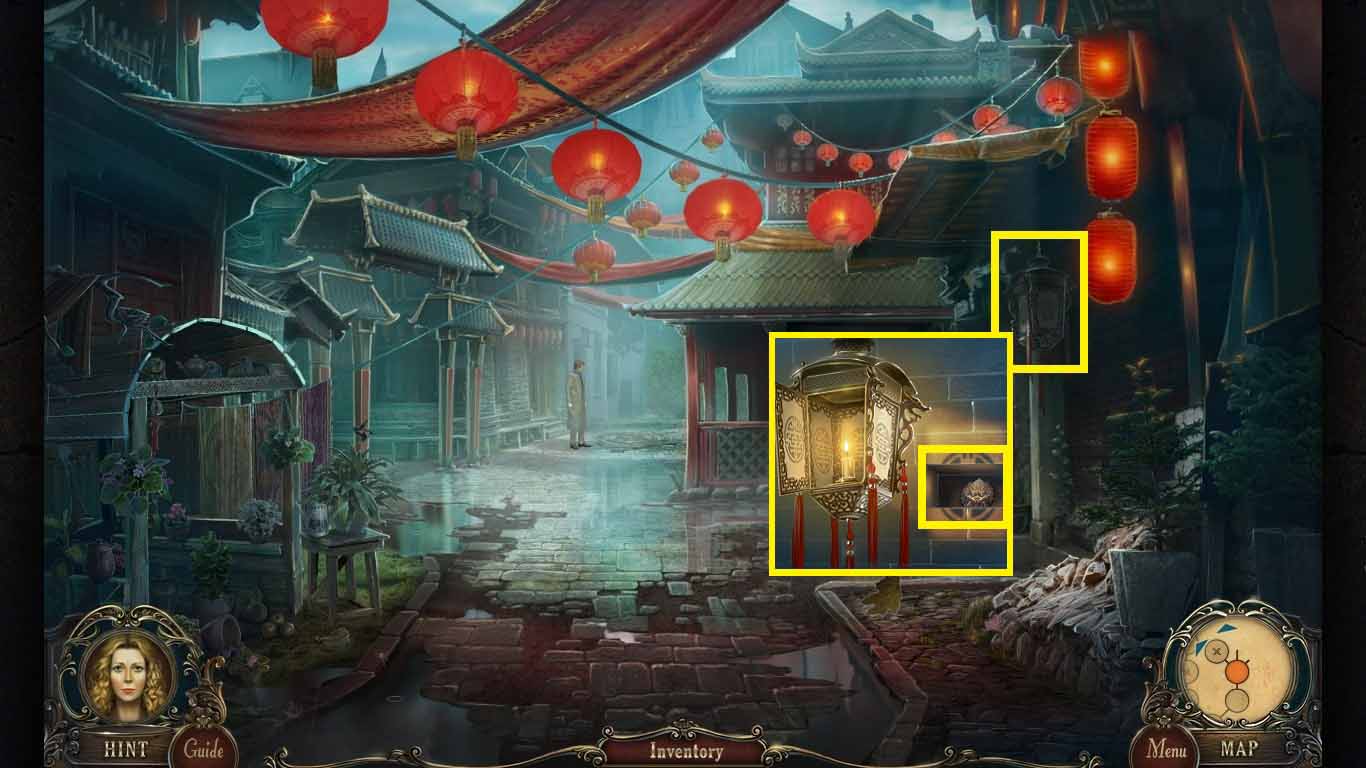
- Zoom into the lantern, click the cover and light the candle using the lighter.
- Remove the brick and collect the 2nd lion head.
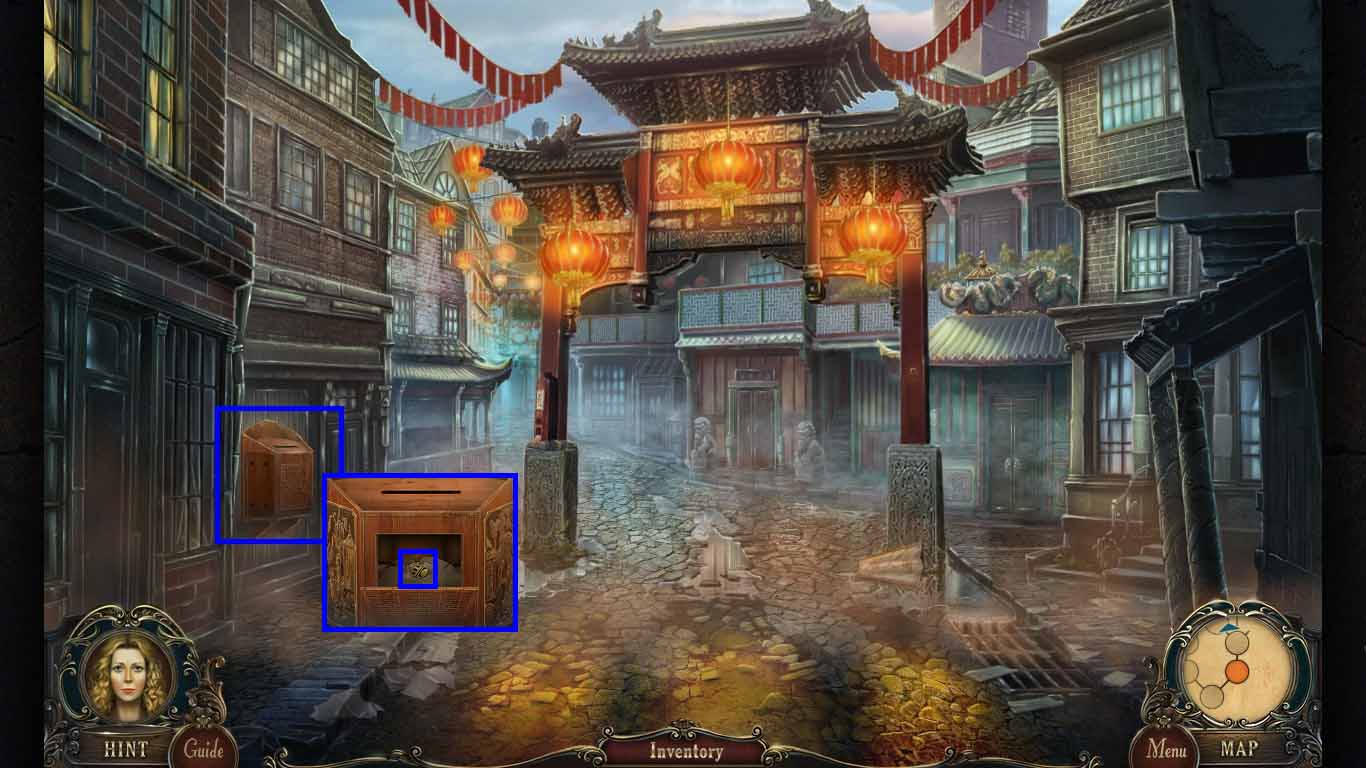
- Walk down two times.
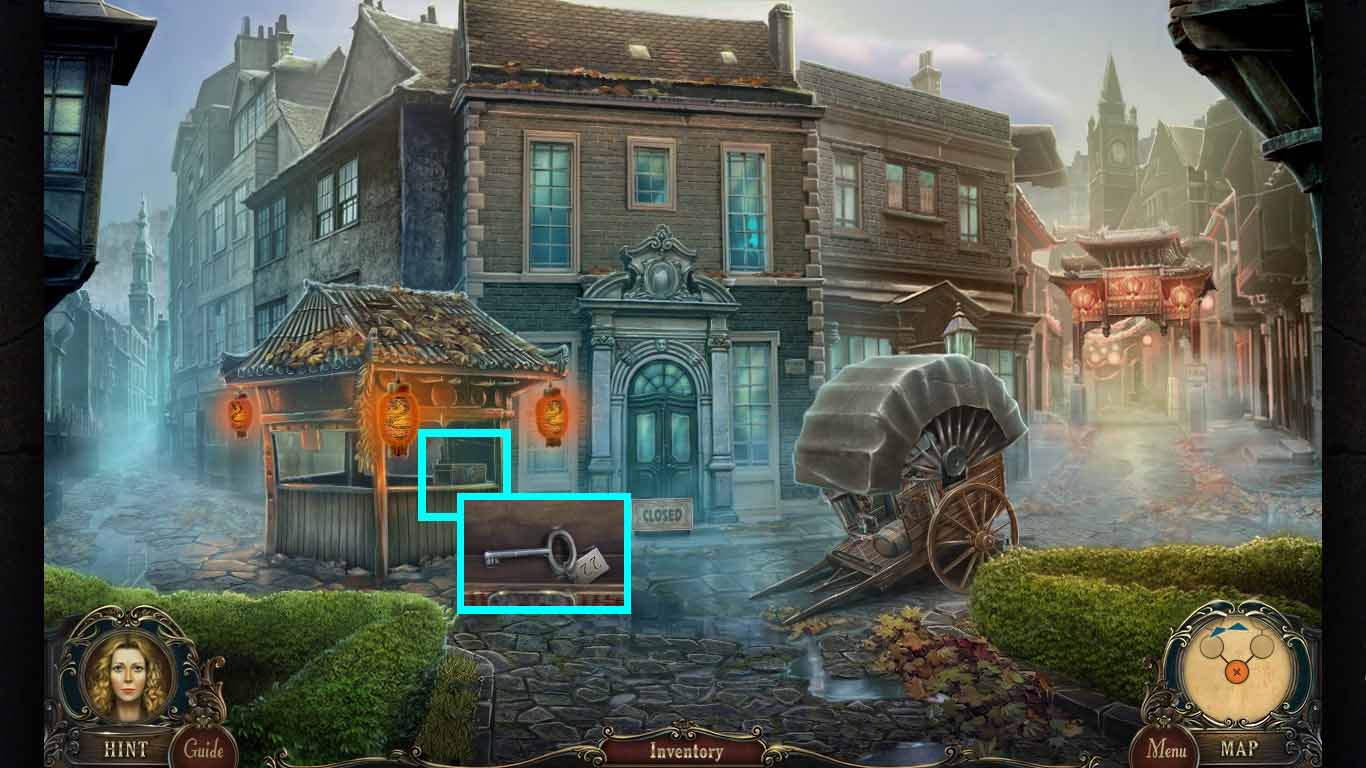
- Zoom into the kiosk and insert the 2 lion heads into the box.
- Collect the key to lockbox.
- Move left and then go into the hotel.
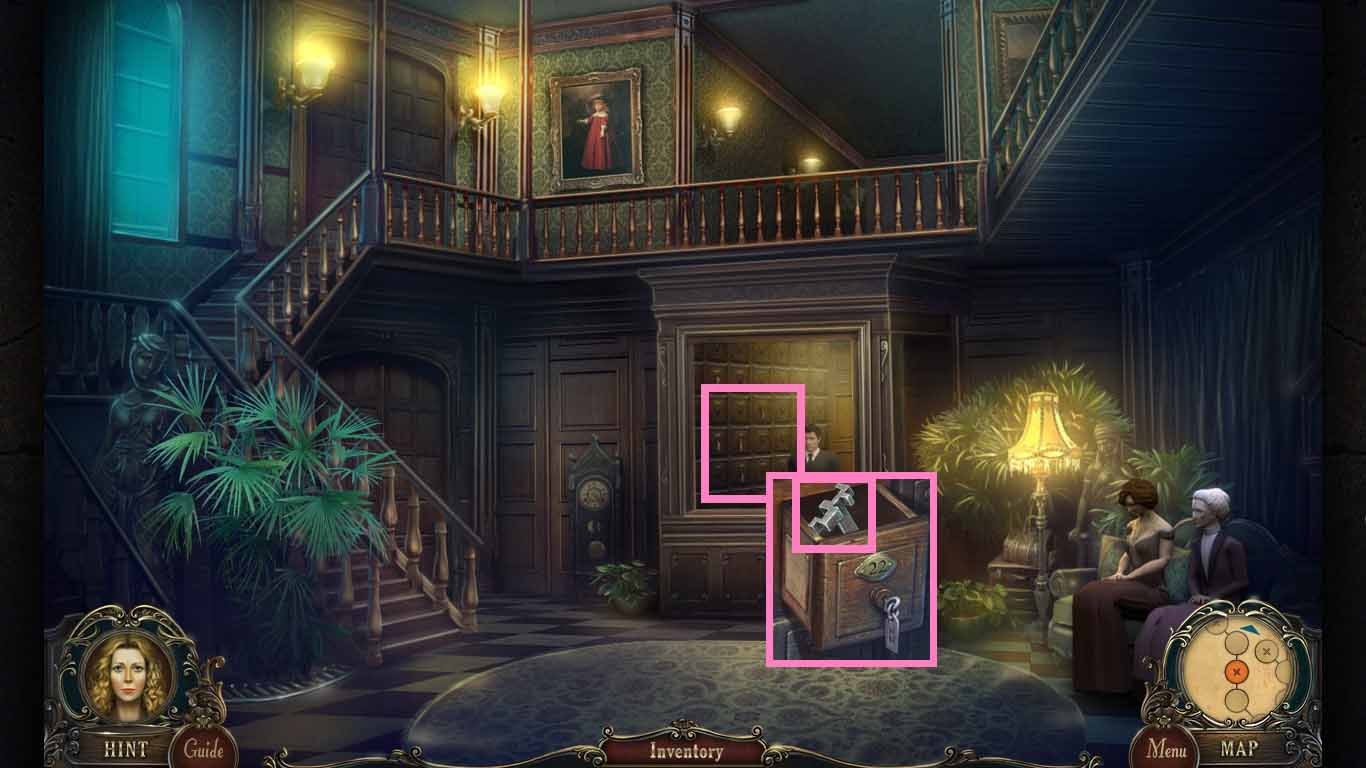
- Zoom into the boxes and unlock box 22 using the key to the lockbox.
- Collect the heavy key.
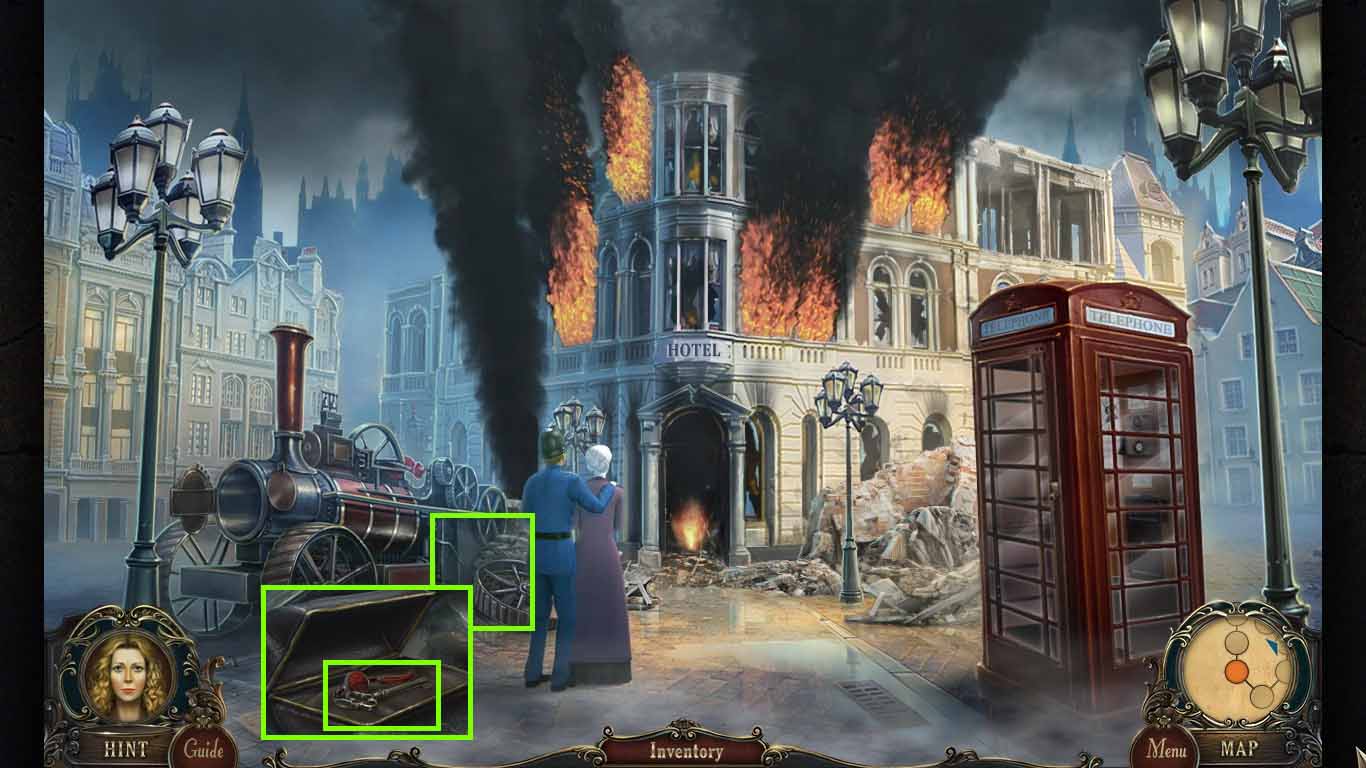
- Walk down one time.
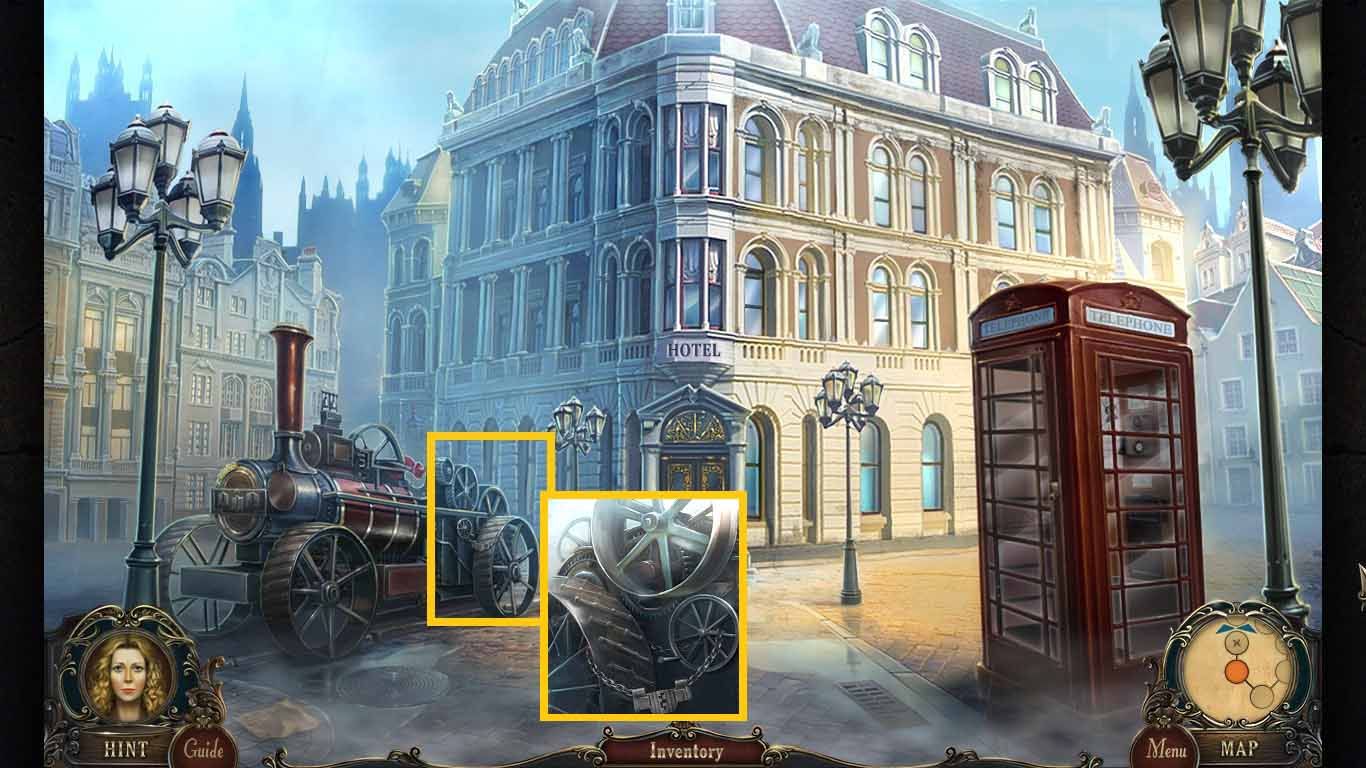
- Zoom into the rear of the train and insert the heavy key into the lock.
- Collect the cart wheel.
- Walk down once.
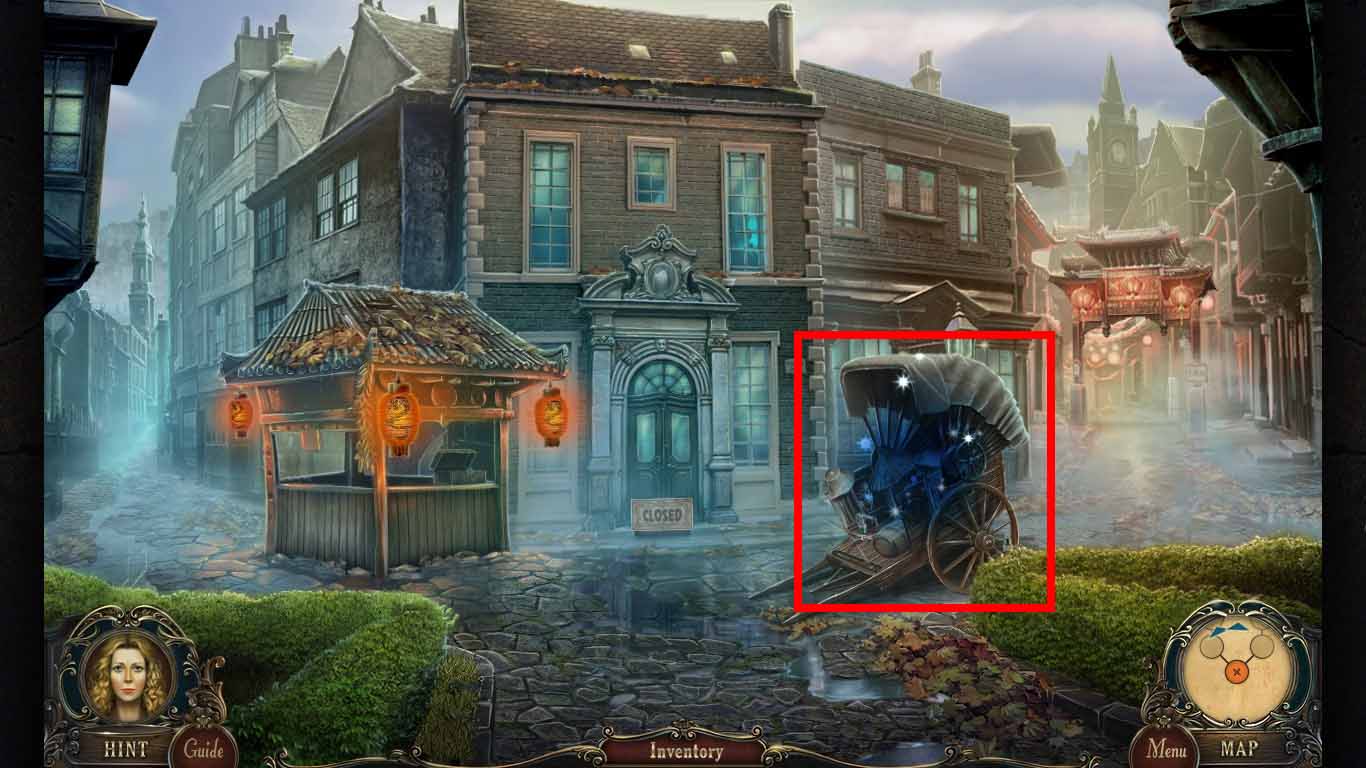
- Zoom into the cart and use the cart wheel on the awning.
- Click the wheel turning it to open the awning.
- Click the cart to access a hidden objects area.
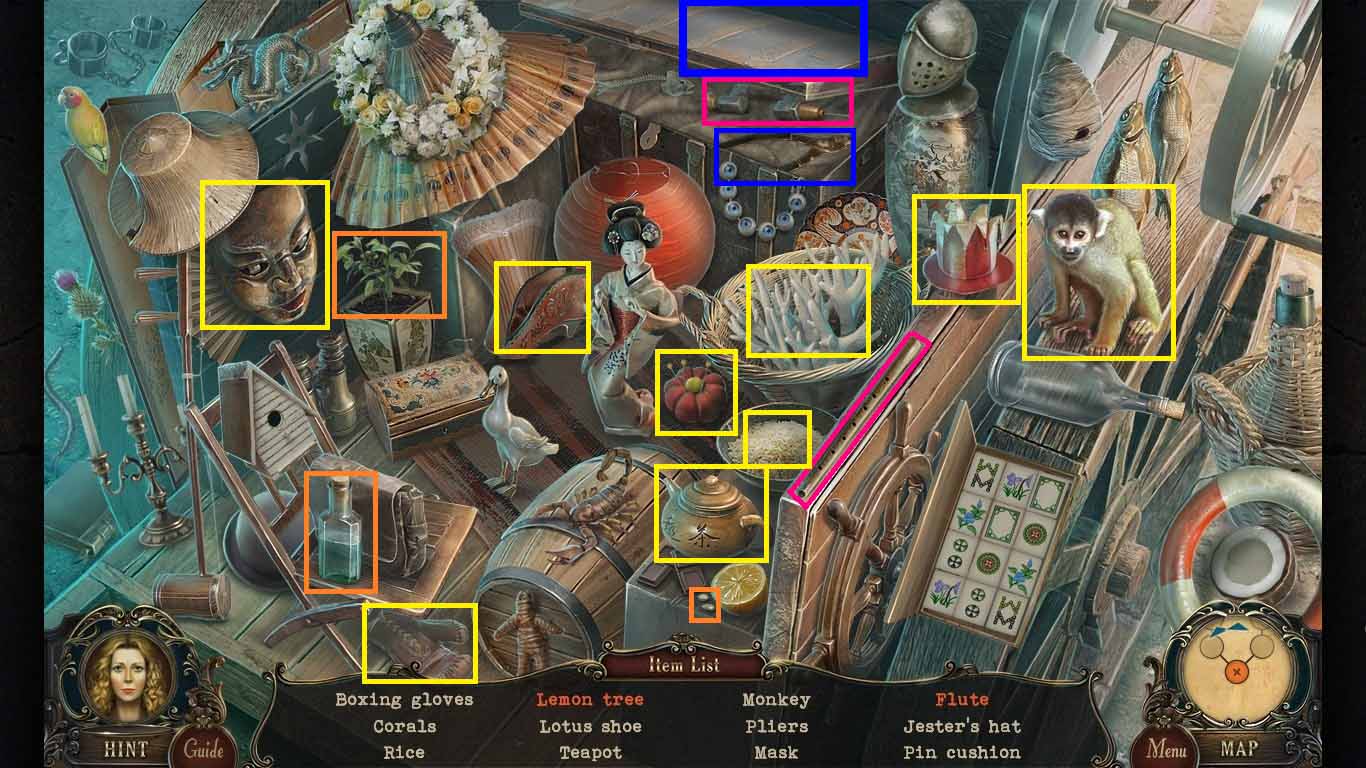
- Find the listed items.
- Click the chest open to collect the pliers.
- Make the flute using the drill on the pipe.
- Put the lemon seeds into the pot; open the bottle and pour it into the pot to create the lemon tree.
- Collect the pliers.
- Move to the right.
- Zoom into the right column; pull out the metal hook using the pliers.
- Walk down one time and move left and into the hotel.
- Zoom into the grate; use the metal hook to collect the punched card.
- Move upstairs.
- Zoom into the right door; use the punch card on the lock.
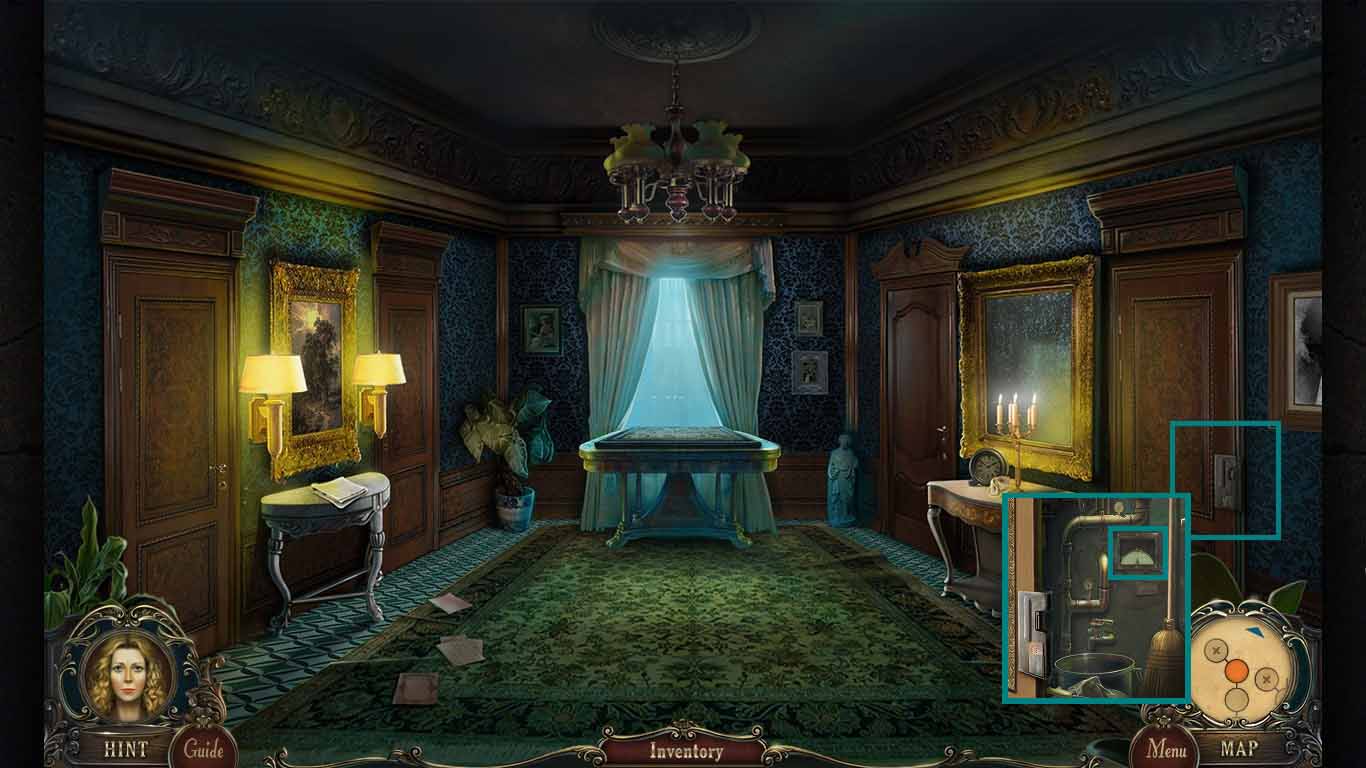
- Zoom into the door and collect the pressure gauge.
- Walk down two times.
- Zoom into the train front to access a mini-game.
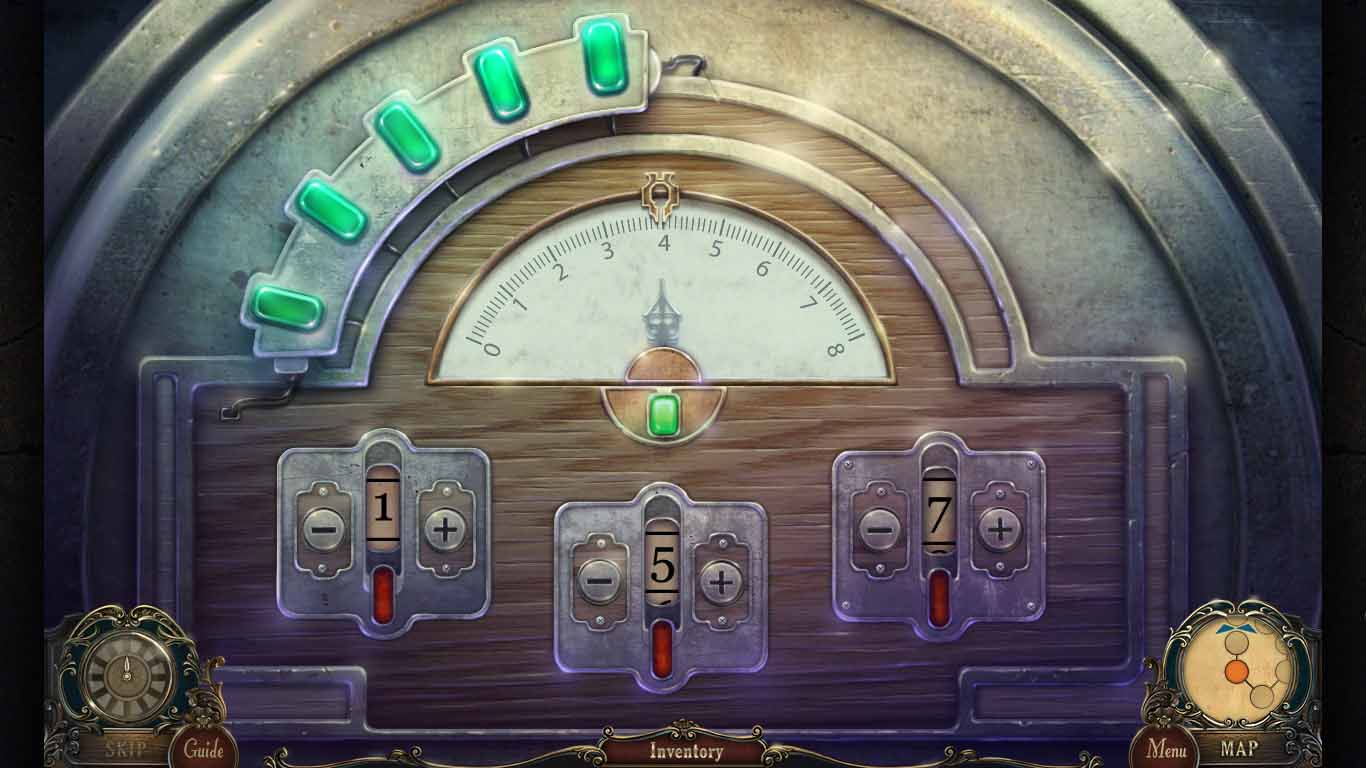
- Insert the pressure gauge into the center to trigger the mini-game.
- Complete the puzzle as follows:
- Click 1 +3 + 4 to get 8
- Click 7 – 5 + 1 to get 3
- Click 6 - 5 + 1 to get 2
- Click 3 + 5 – 2 to get 6
- Click 7 – 5 + 2 to get 4
- Collect the manhole hook from the nose of the train.
- Walk down one time go right and move forward.
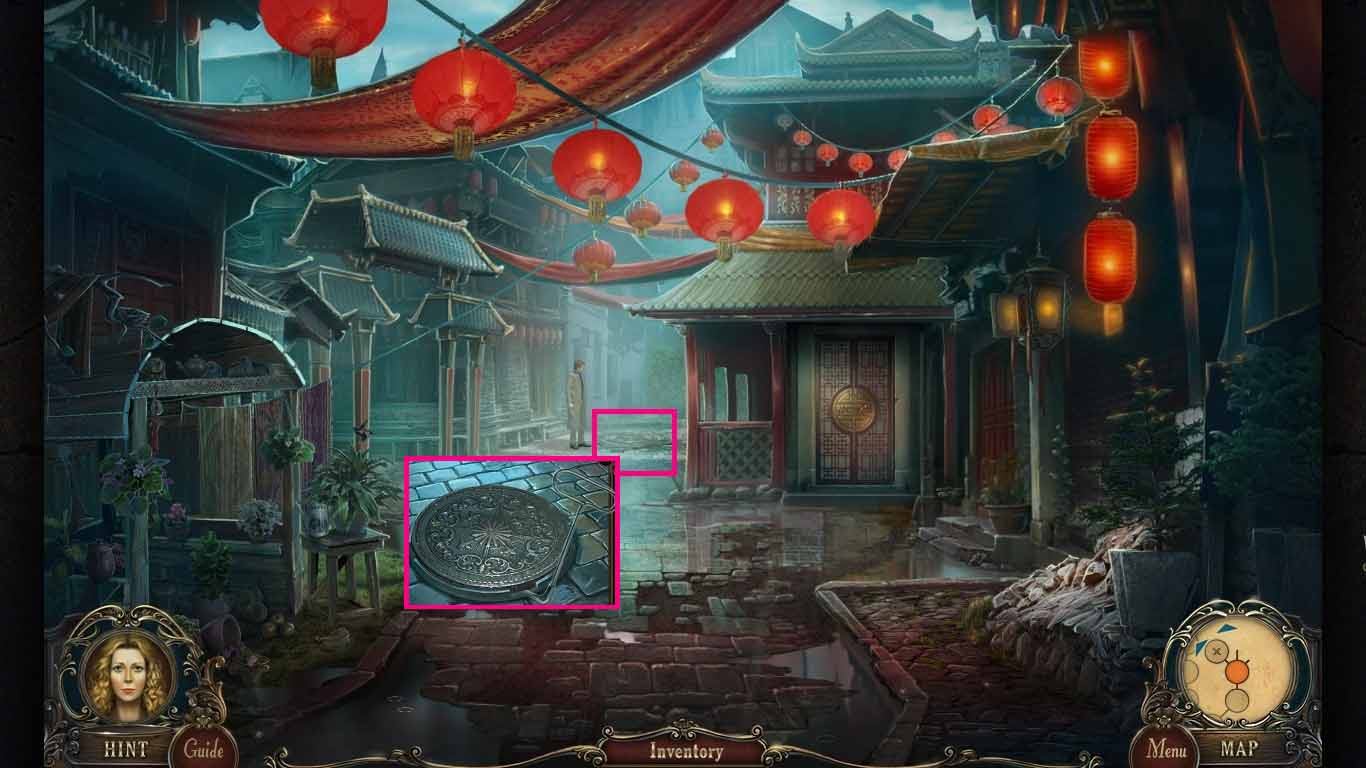
- Zoom into the manhole and place the manhole hook on the edge.
- Move forward and go into the sewers.
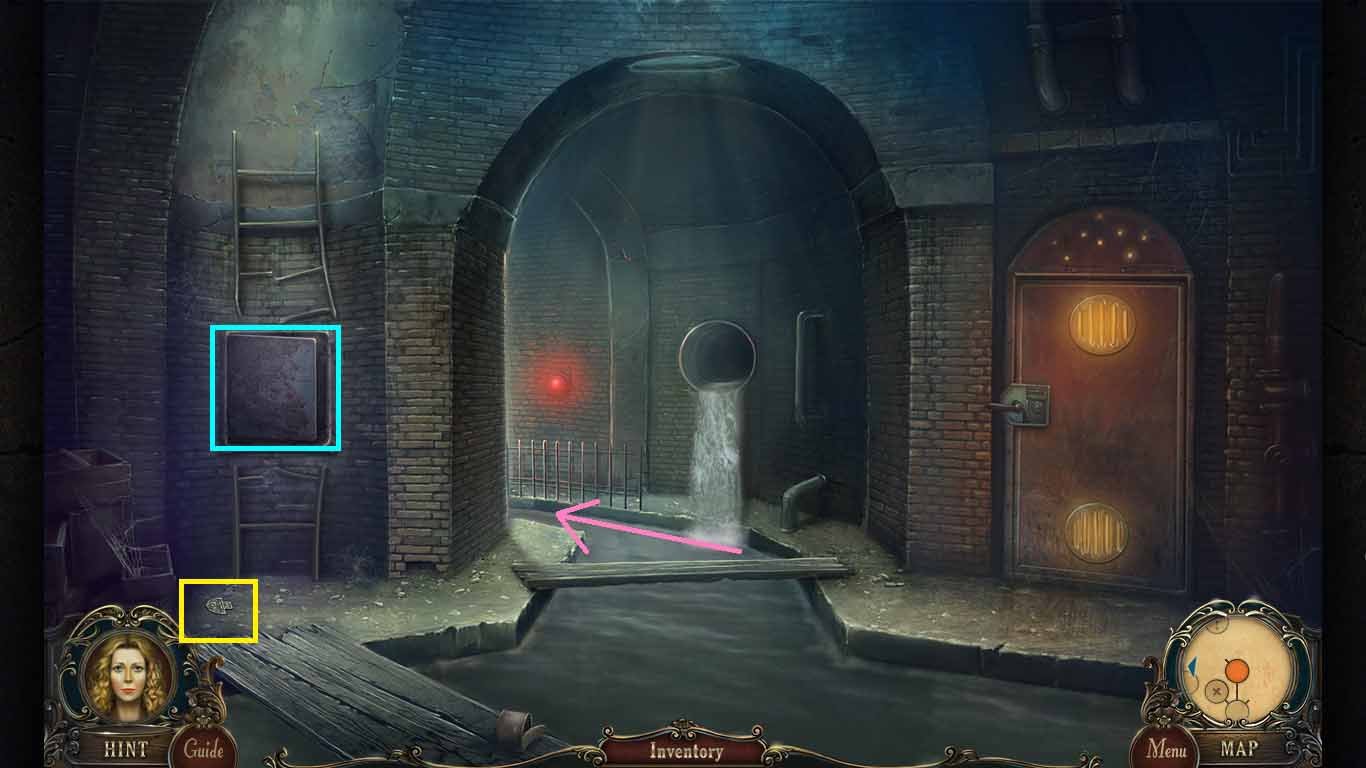
- Collect the 1st latch.
- Notice the mini-game near the ladder.
- Move forward.
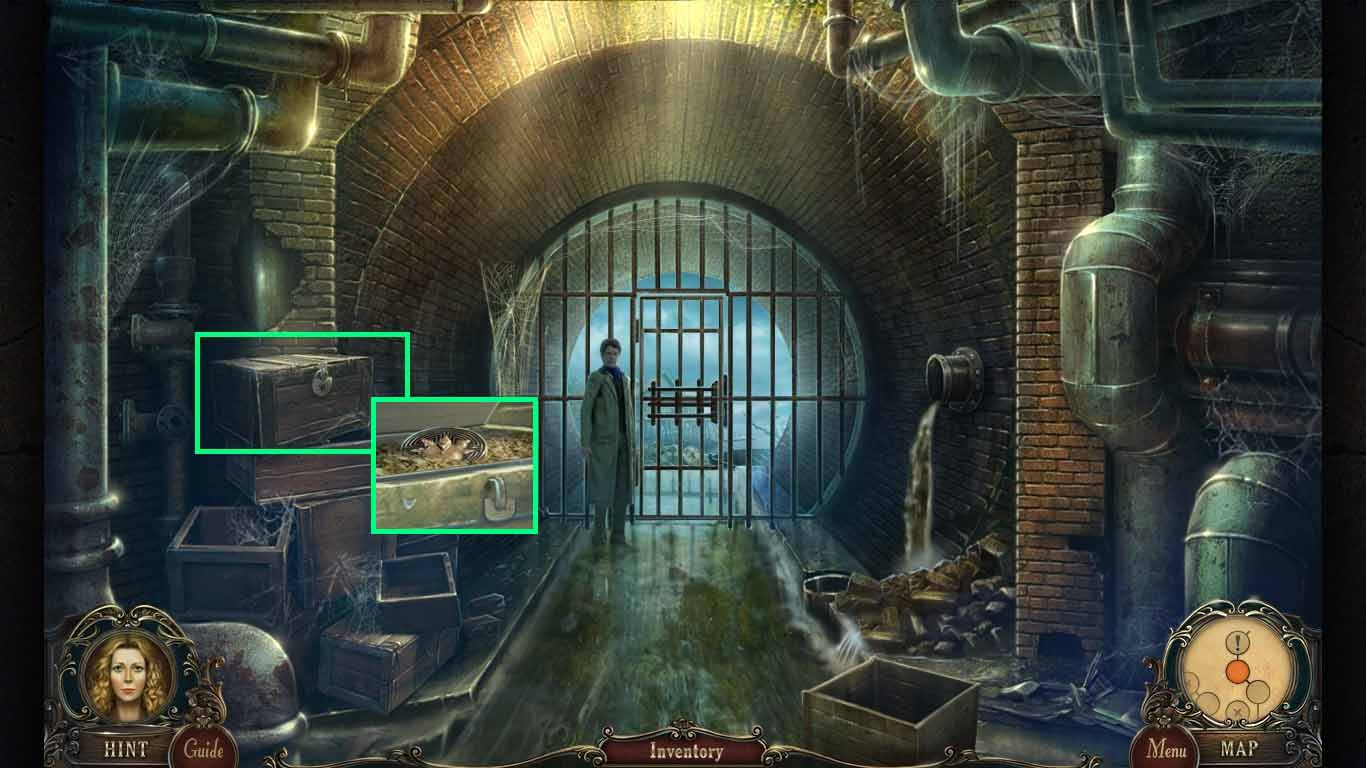
- Zoom into the chest and insert the start on the lock.
- Collect the lion’s paw.
- Walk down 4 times and move left, go into the hotel go upstairs and go into the room on the left.
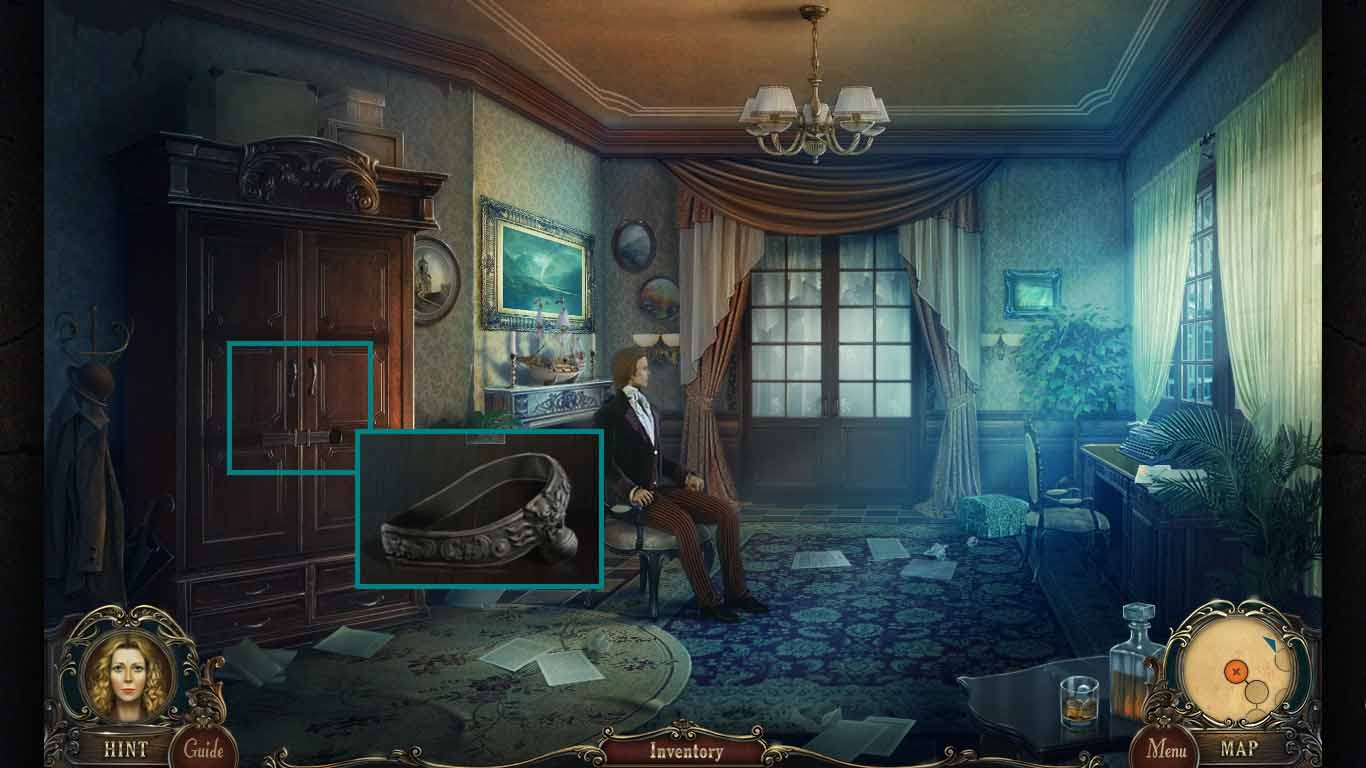
- Zoom into the wardrobe; insert the lion’s paw into the lock.
- Click the paw.
- Move the coats and collect the stone necklace.
- Walk down 4 times and go right and then forward.
- Click the hutch to access a hidden objects area.
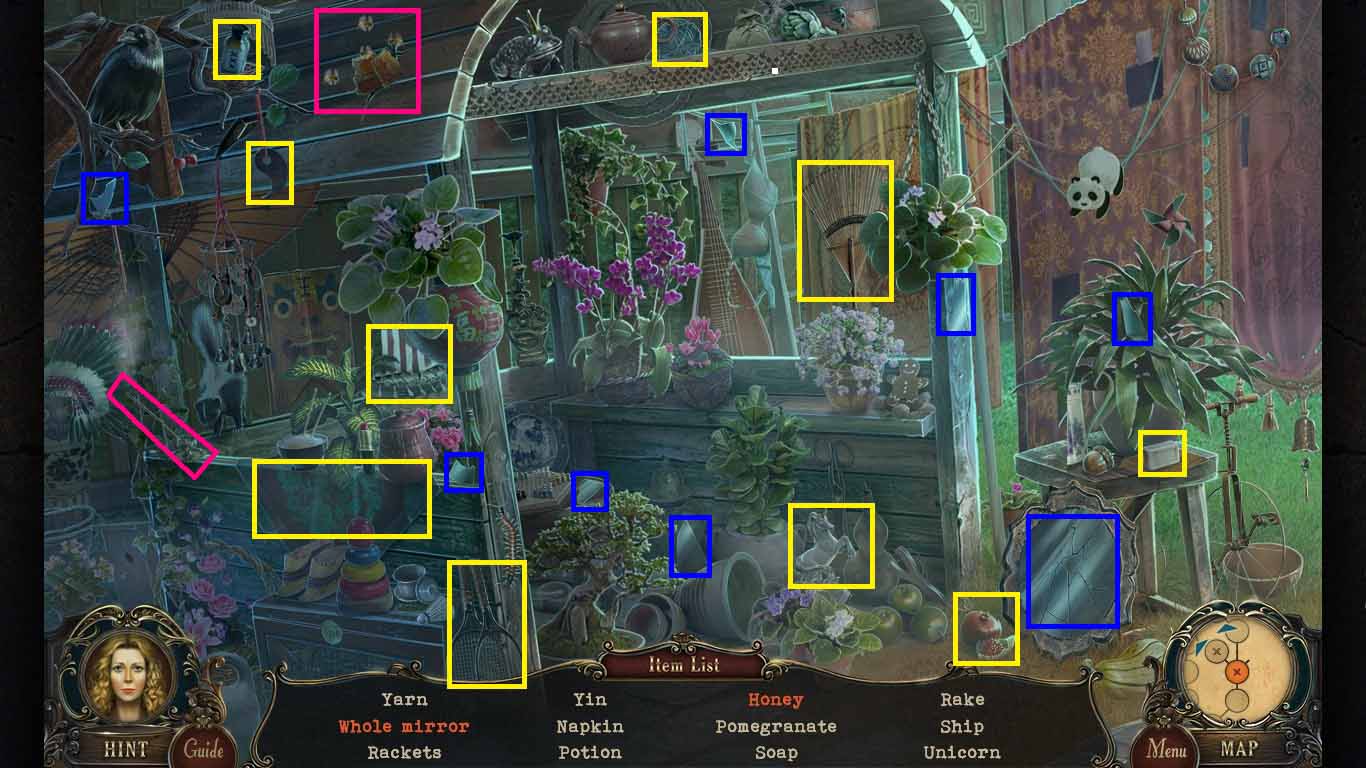
- Find the listed items.
- Get the honey by using the smoking stick on the hive.
- Insert the 7 mirror pieces into the frame to create the mirror.
- Collect the yin.
- Move left to the garden.
- Zoom into the statue on the left and put the stone necklace on it.
- Collect the yang.
- Walk down 3 times, move left and go into the hotel, move upstairs and into the room on the left.
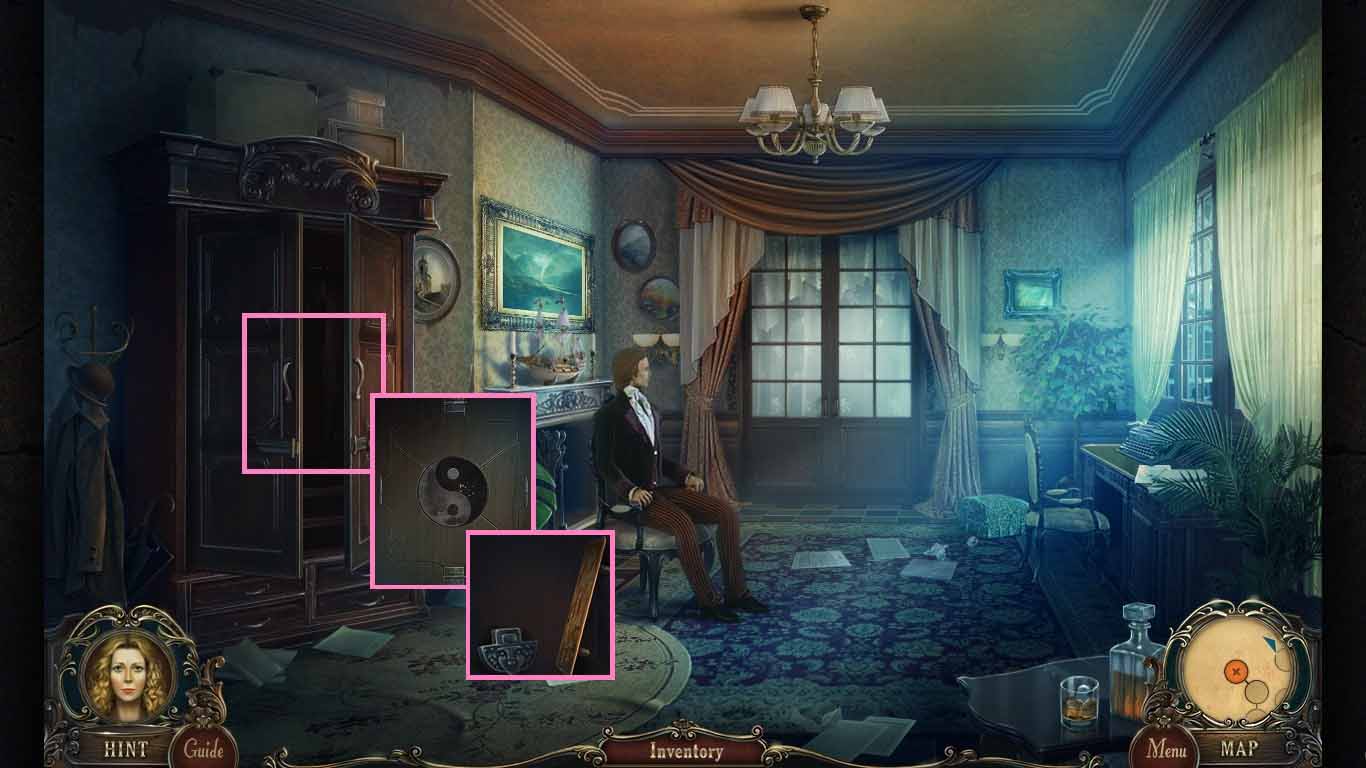
- Zoom into the wardrobe; insert the yin and yang into the design.
- Collect the 2nd latch and the carved plate.
- Walk down 4 times and move to the right.
- Zoom into the box and put the carved plate on the left.
- Collect the puzzle element.
- Move forward two times to the sewers and zoom into the mini-game near the ladder.
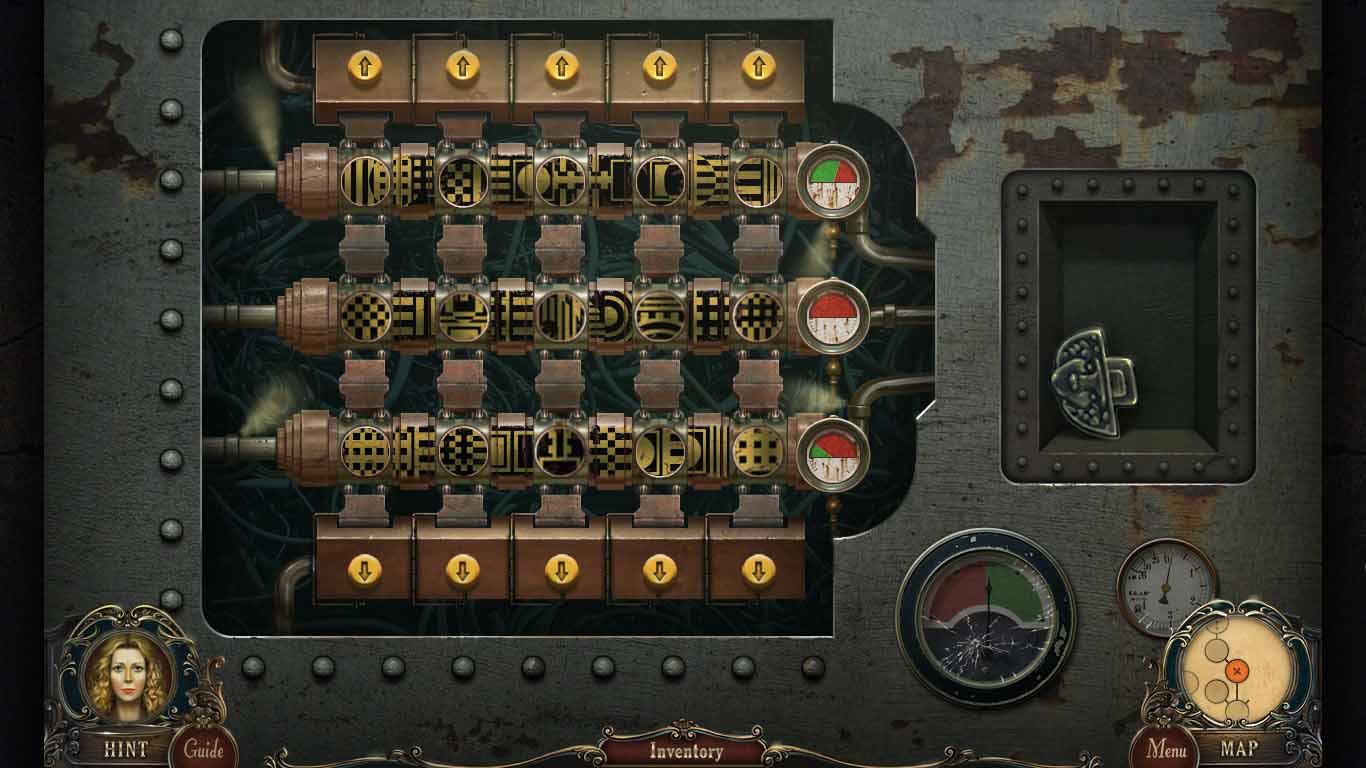
- Click the doors and insert the puzzle element to trigger a mini-game.
- Complete the patterns using the arrows.
- Collect the 3rd latch.
- Move forward.
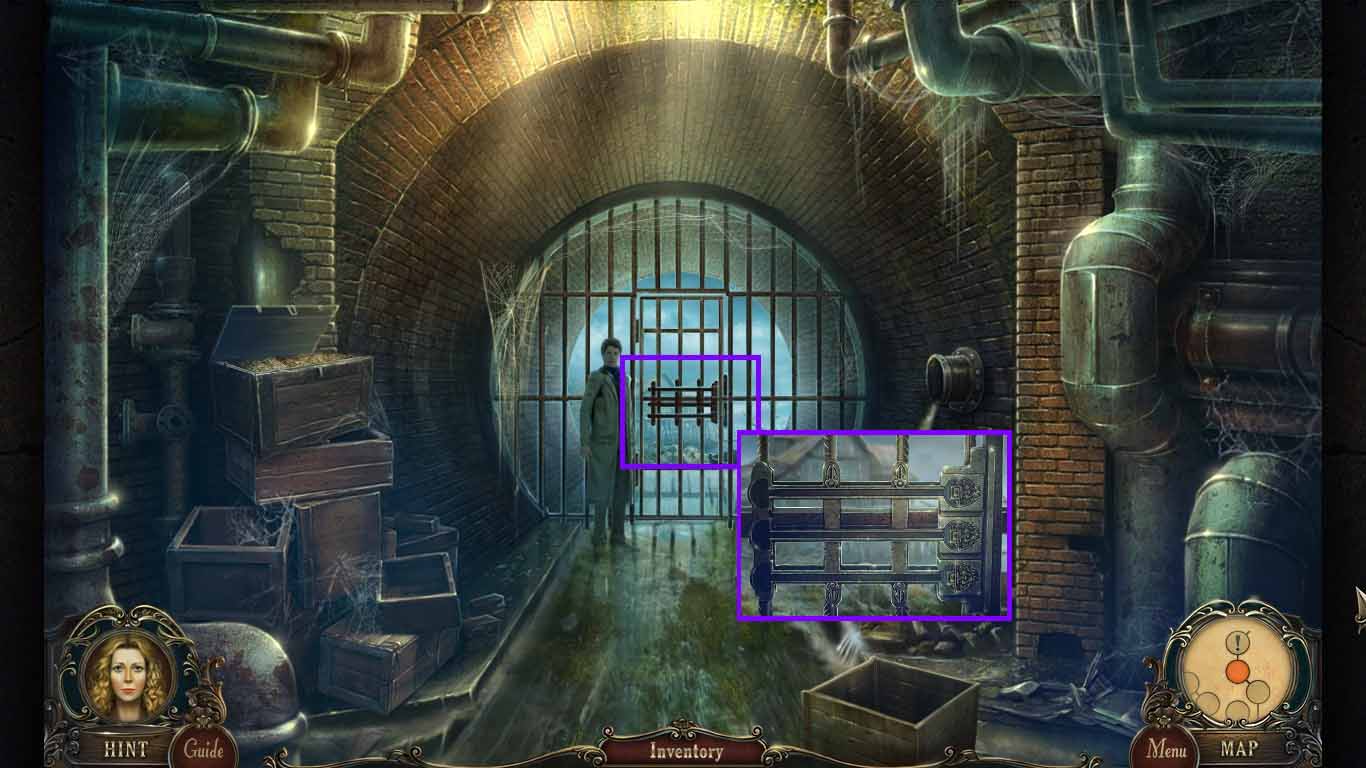
- Zoom into the gate and place the 3 latches on the left.
- Slide the latches all the way right.
- Move forward.
- Collect the lock component.
- Collect the crowbar.
- Walk down two times.
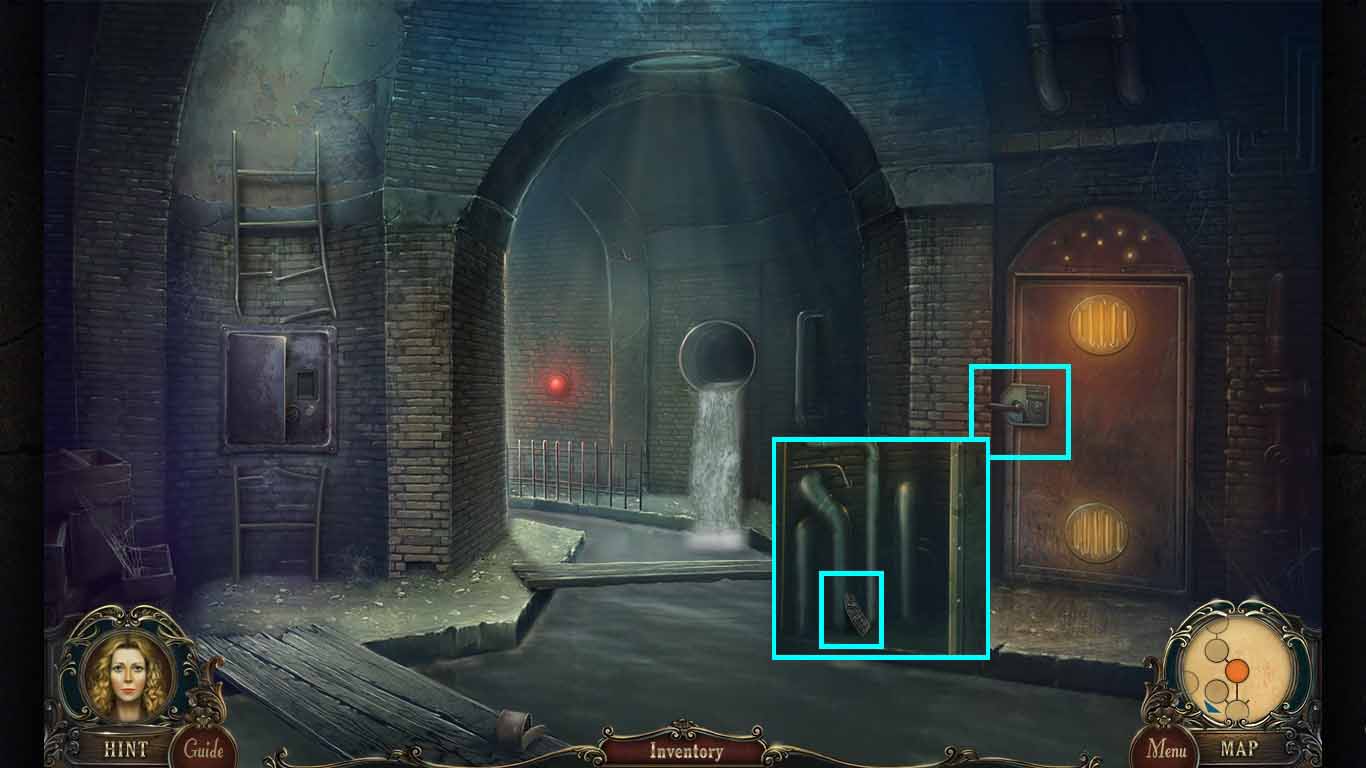
- Zoom into the door and insert the lock component.
- Click the lever.
- Zoom into the door and collect the pottery fragment.
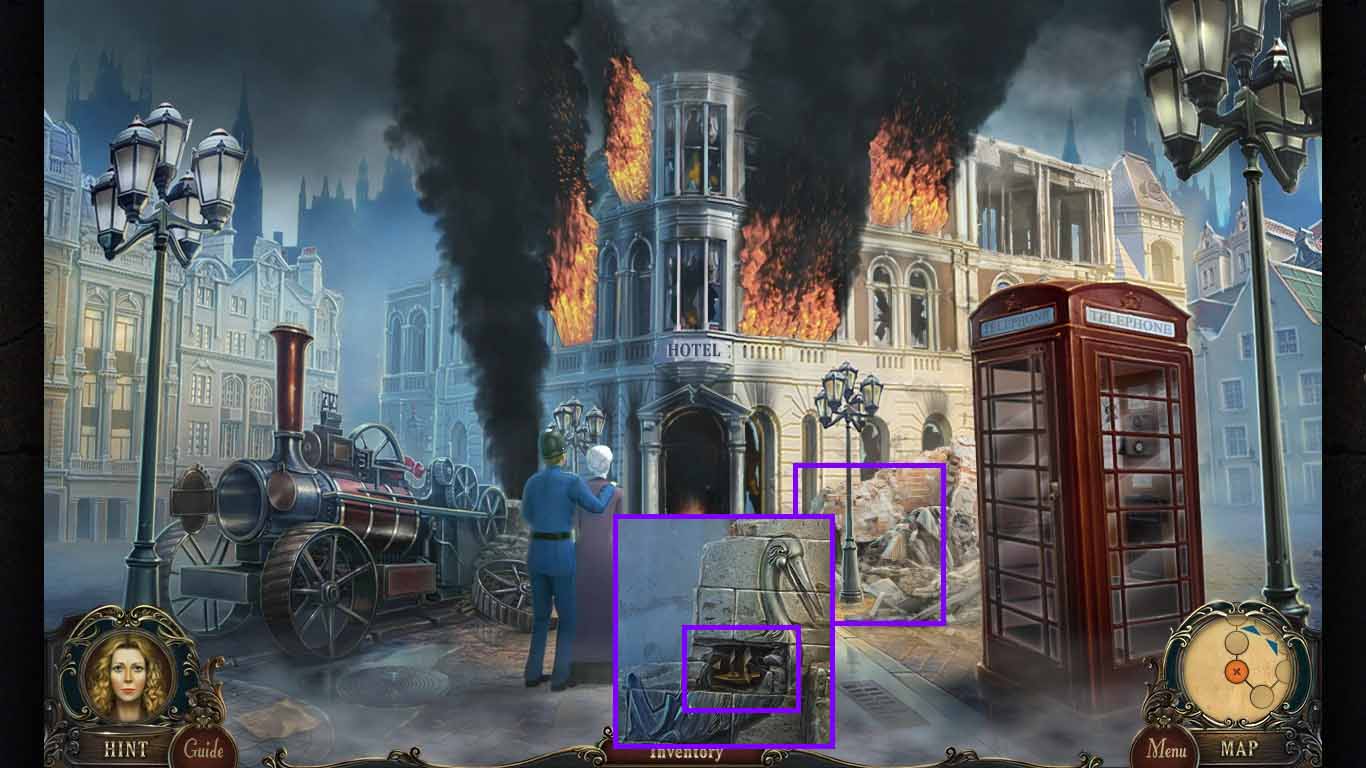
- Walk down 3 times and move left.
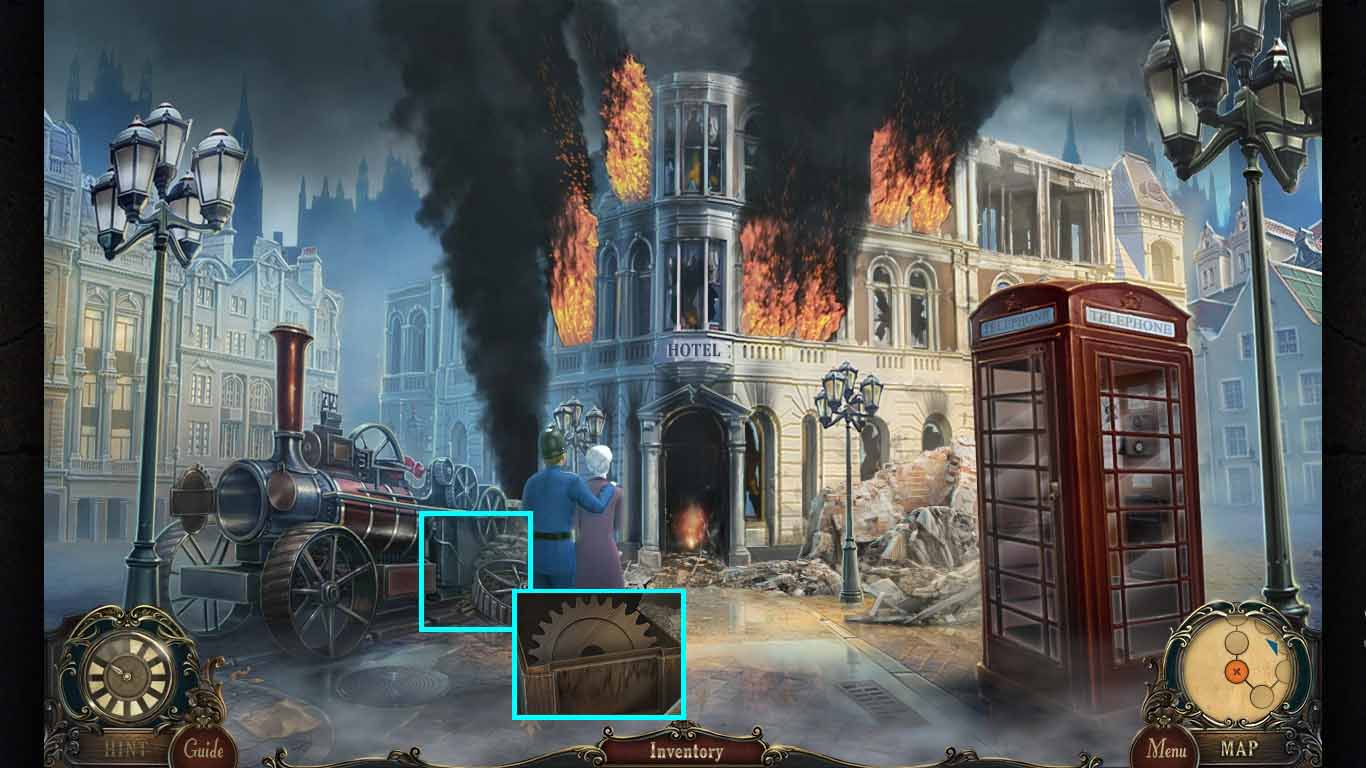
- Zoom into the rubble near the train; use the crowbar on the boards.
- Click the case open and collect the fancy key.
- Notice the cube mini-game.
- Walk down once and move right and then forward.
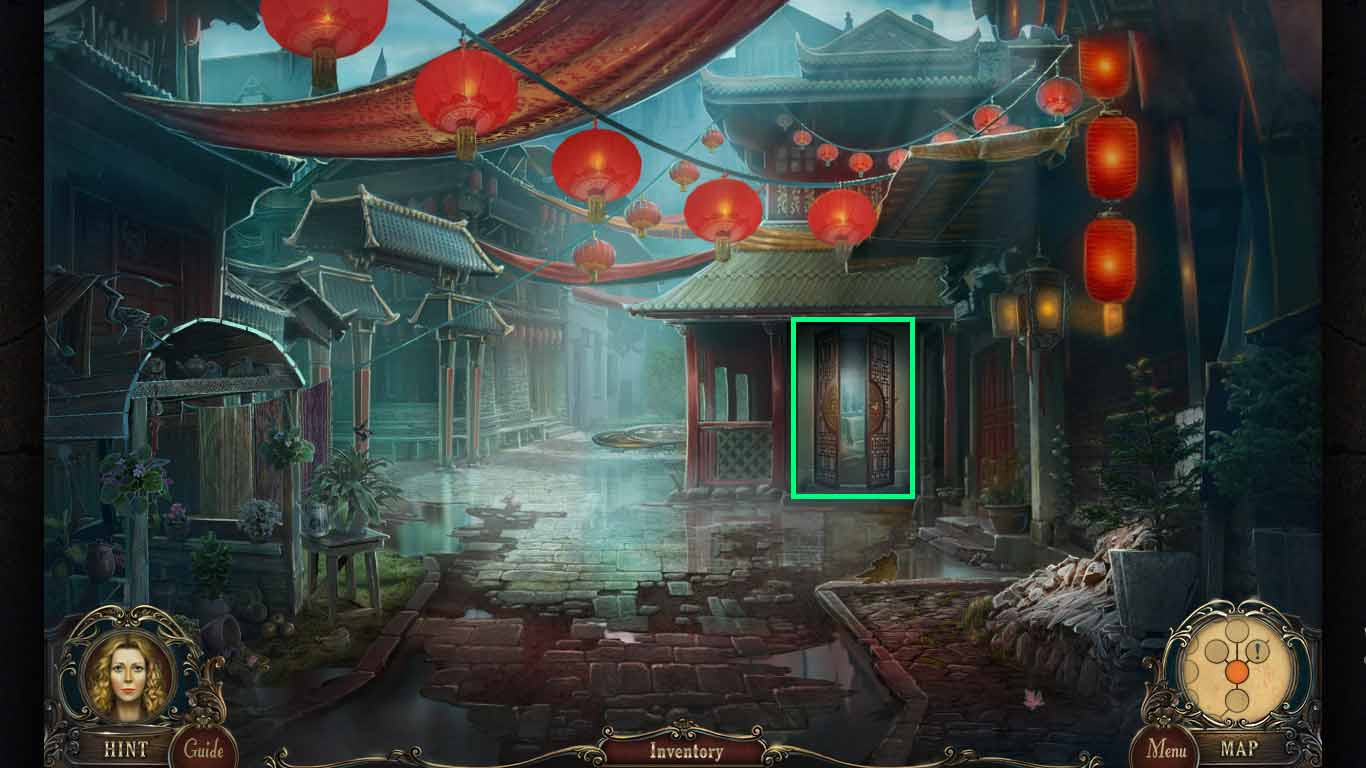
- Zoom into the door and insert the fancy key into the lock.
- Go into the tearoom.
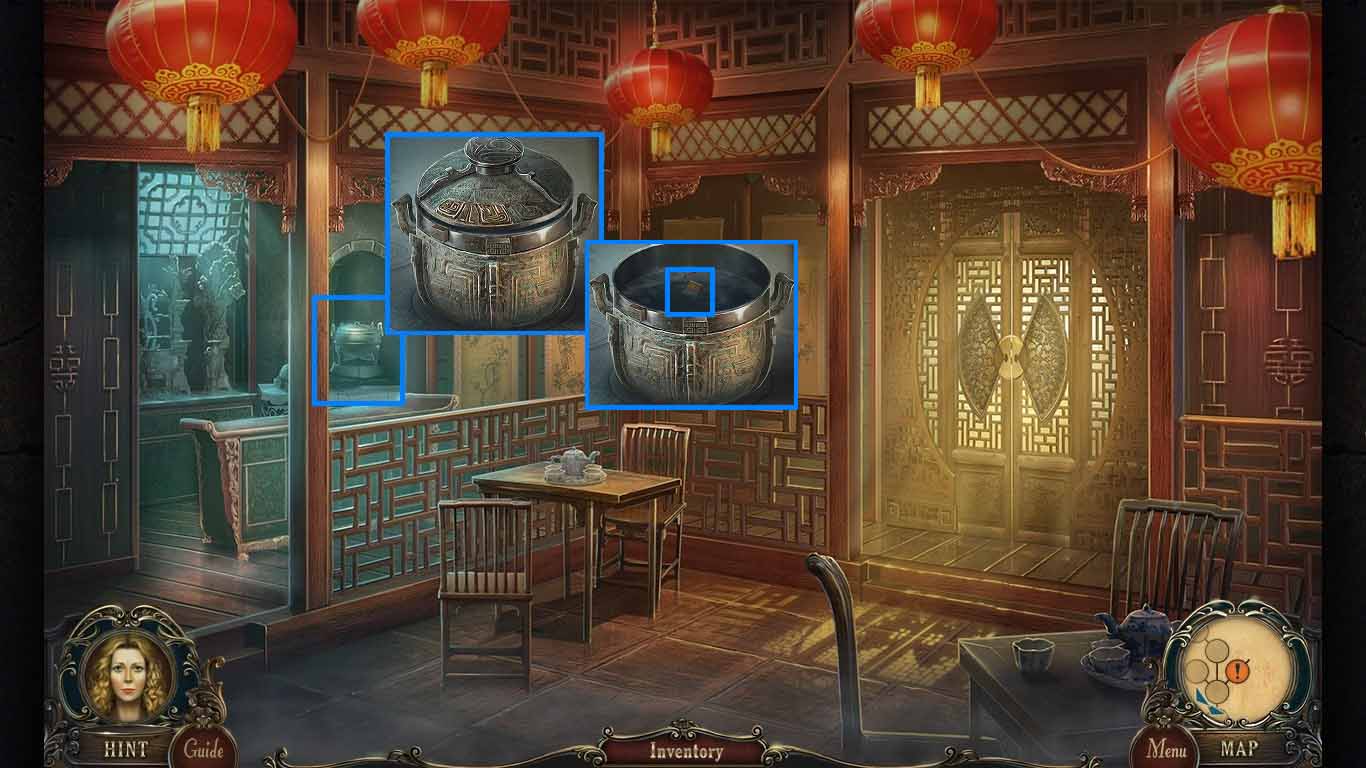
- Zoom into the pot and put the pottery fragment onto the lid.
- Collect the puzzle piece.
- Walk down 3 times.
- Click the cart to access a hidden objects area.
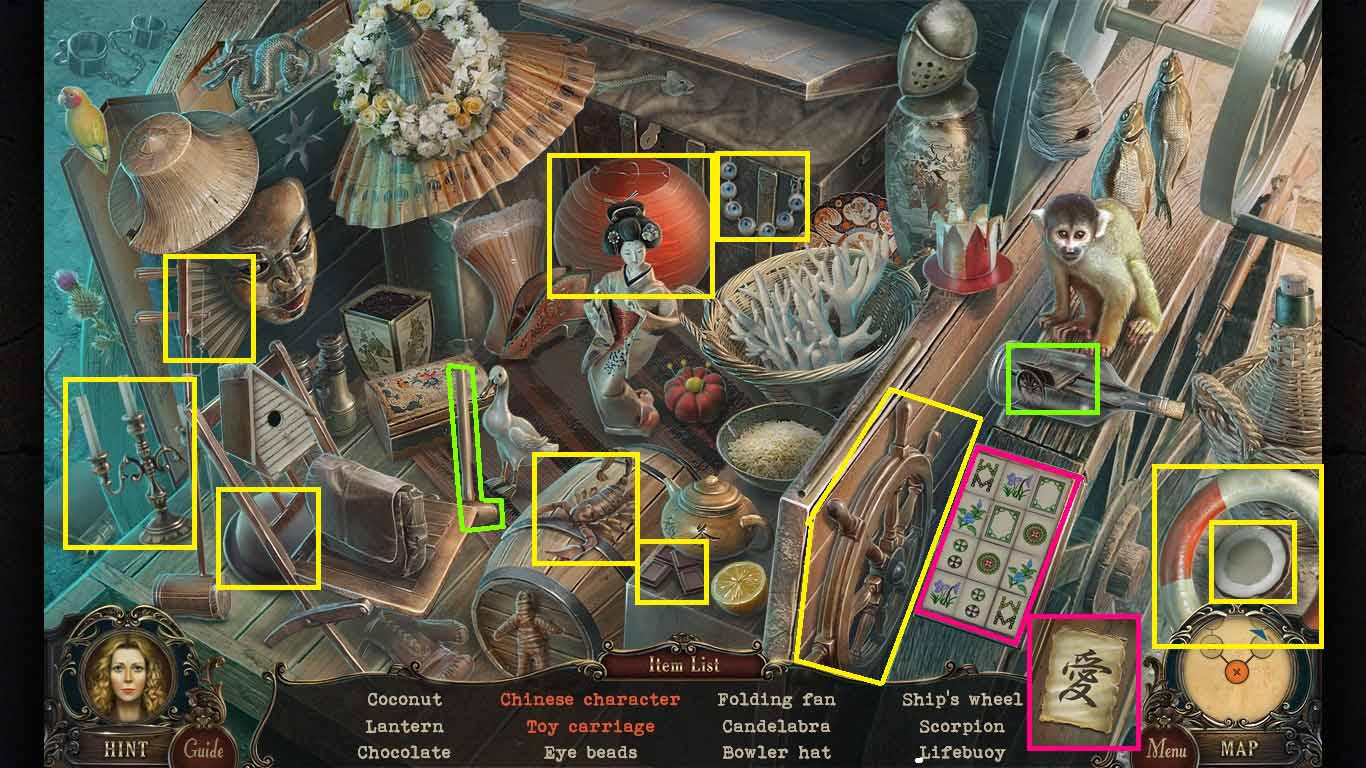
- Find the listed items.
- Collect the toy carriage by breaking the bottle using the hammer.
- Match the mahjong tiles and collect the Chinese character.
- Collect the 1st folding fan.
- Move left.
- Zoom into the rubble and put the puzzle piece on the cube.
- Move the tiles to create a gear symbol.
- Collect the wooden gear.
- Walk down once move right, then go forward 4 times to the beachfront.
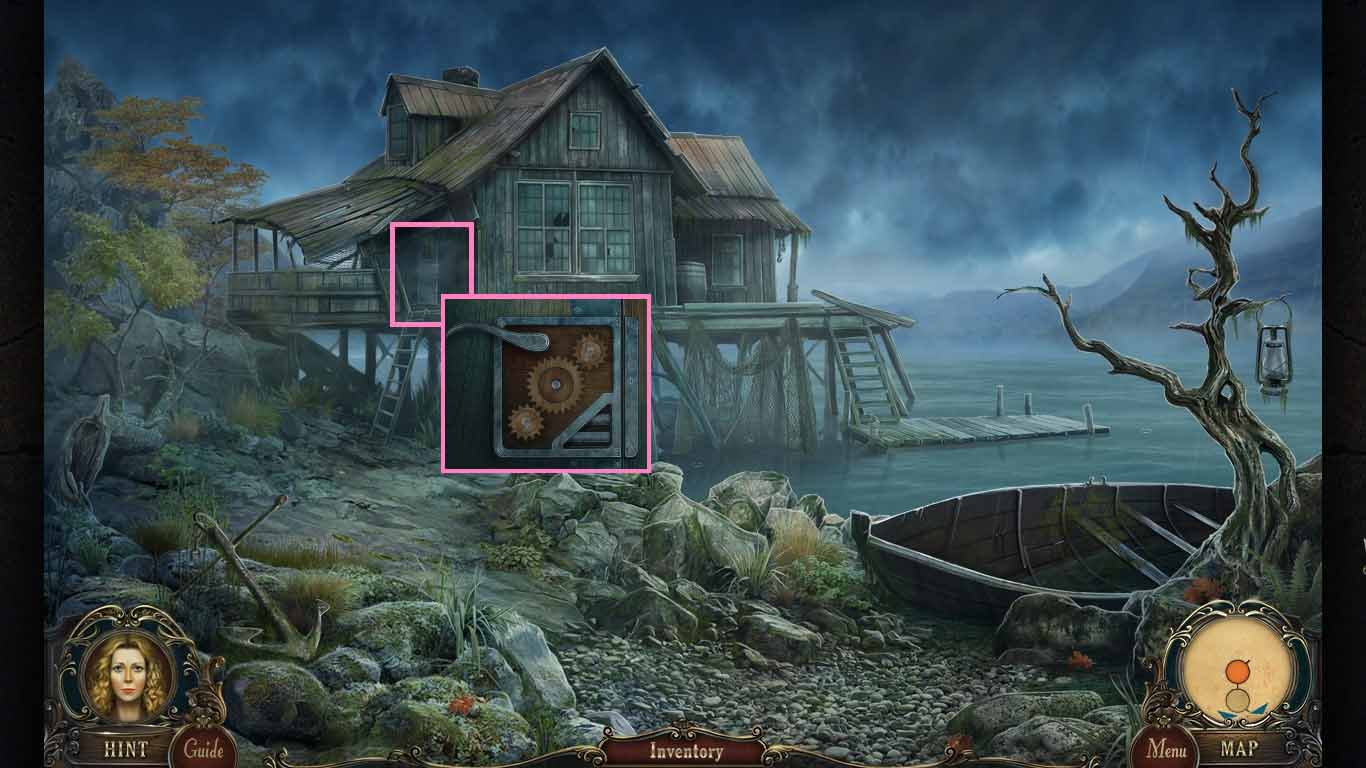
- Zoom into the door and insert the gear into the lock.
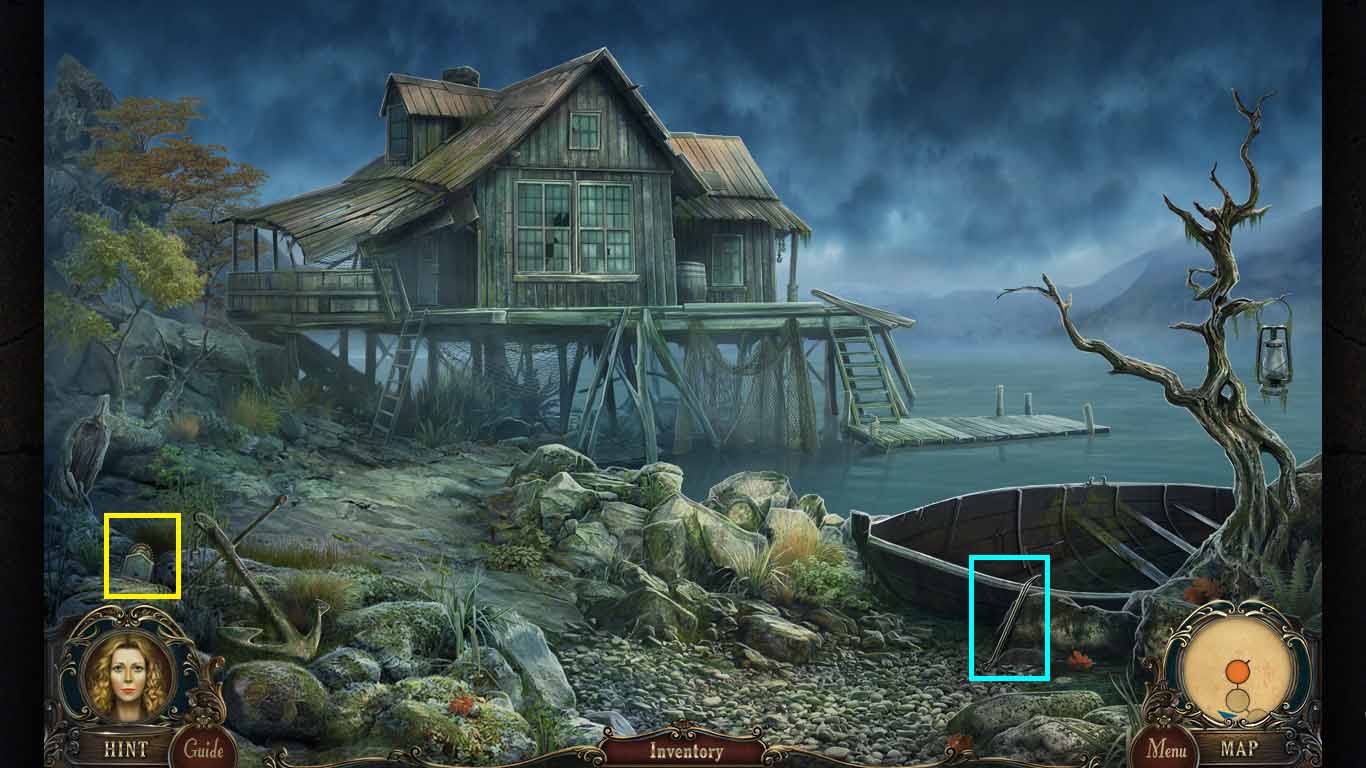
- Click the handle and go into the fisherman’s house.
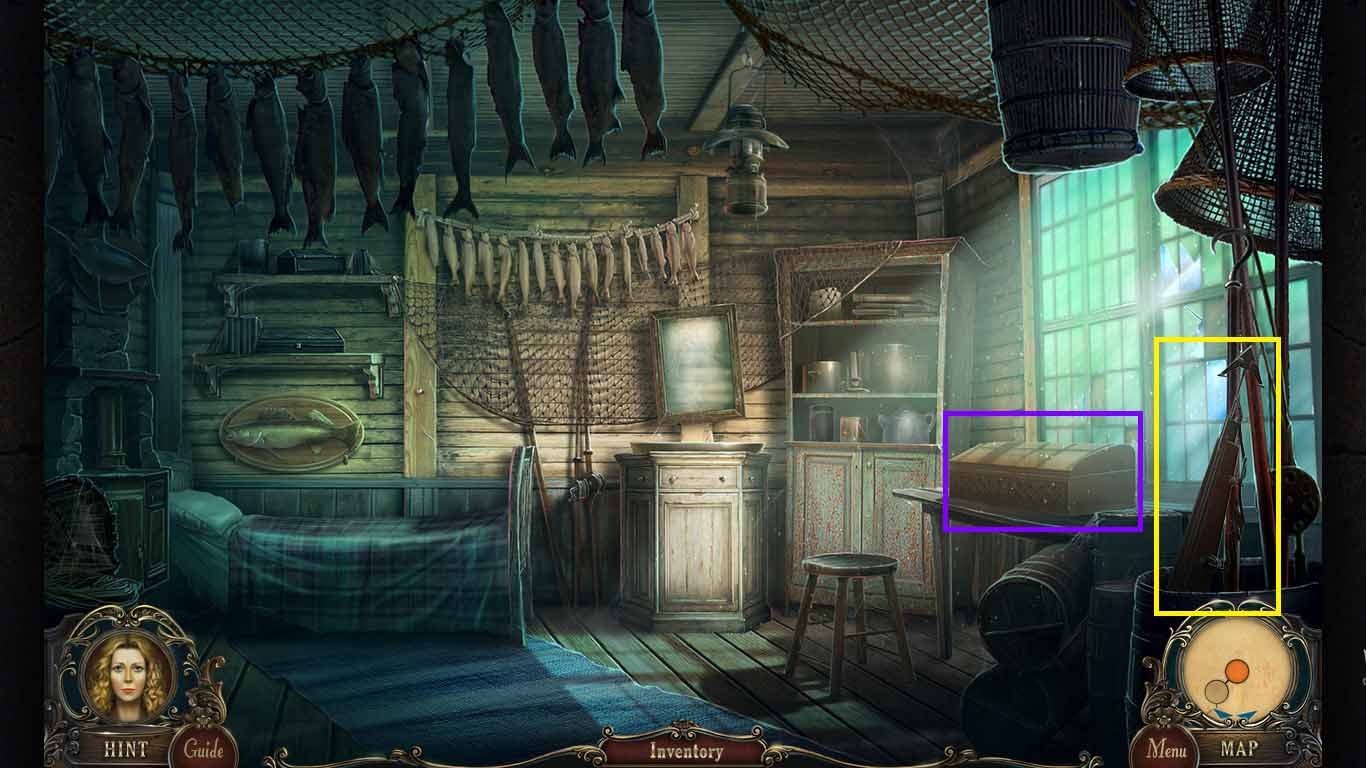
- Collect the harpoon.
- Notice the chest min-game on the table.
- Walk down two times.
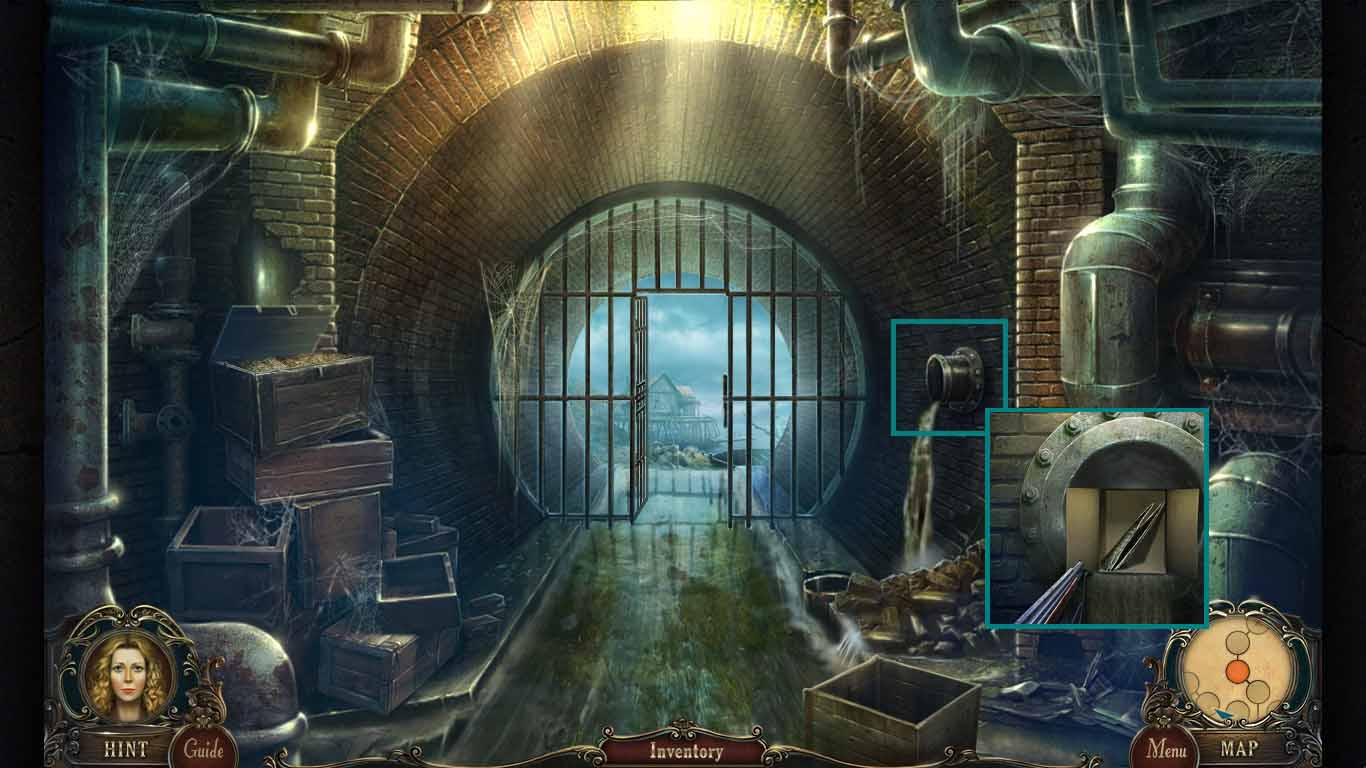
- Zoom into the pipe; use the harpoon on the box.
- Collect the beak.
- Walk down two times and move left.
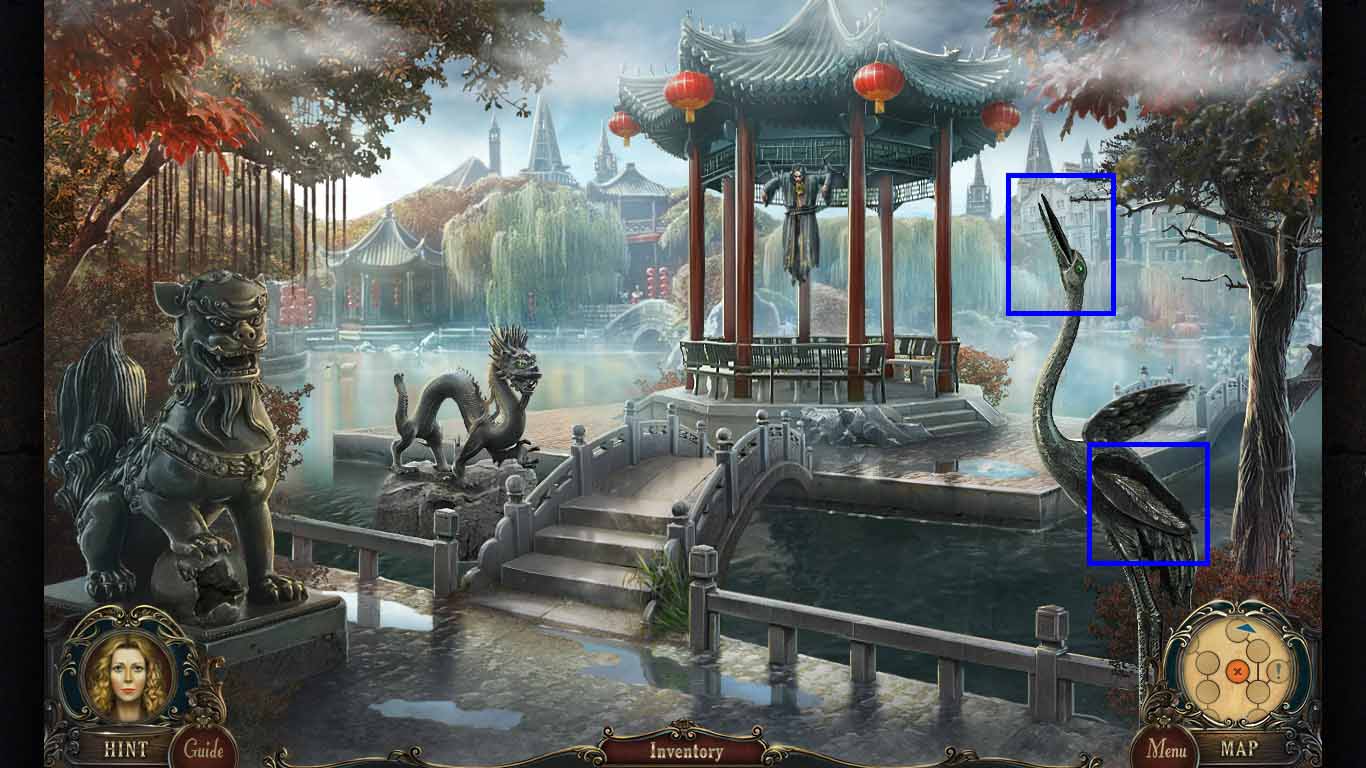
- Put the beak on the crane and collect the feather.
- Walk down 3 times and move left.
- Zoom into the rubble and insert the feather onto the carving.
- Collect the toy ship.
- Walk down once, go right and move forward 6 times to go to the fisherman’s house.
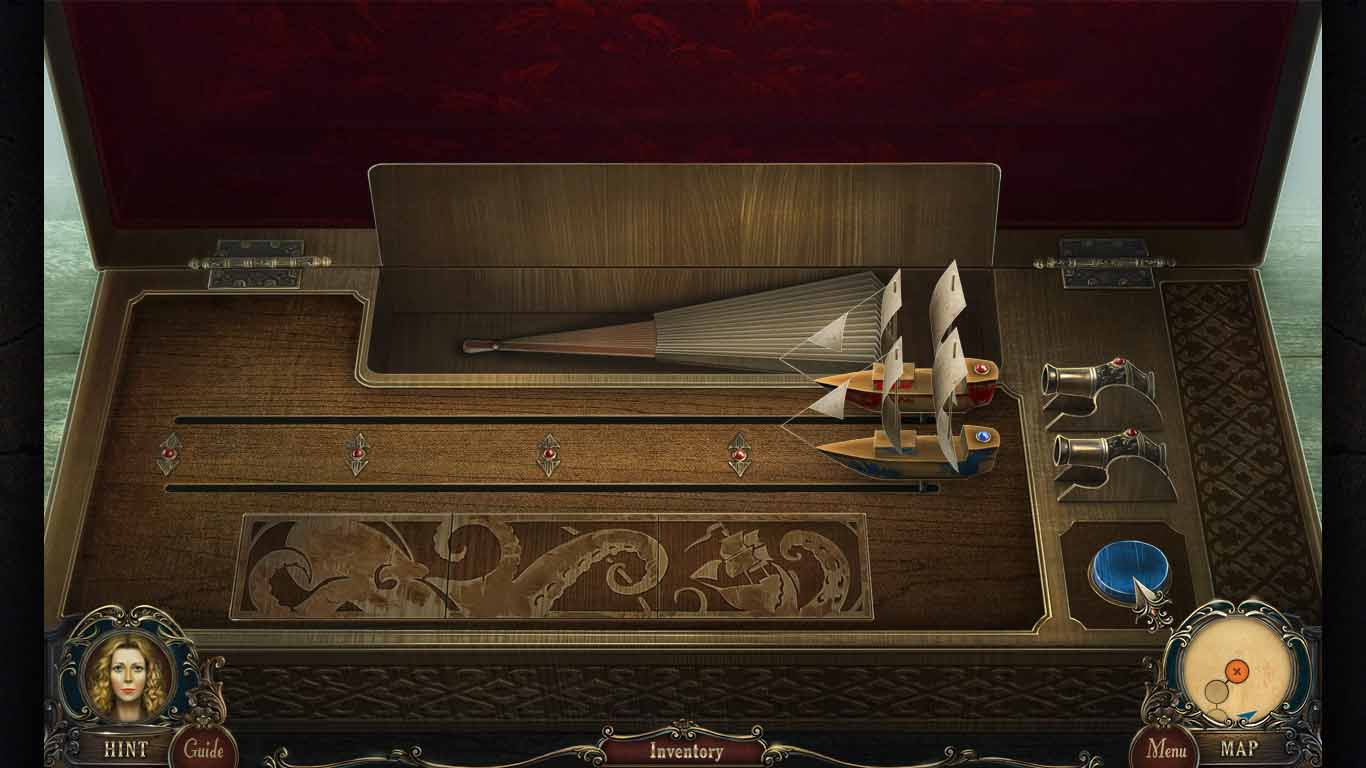
- Click the chest on the table to access a mini-game.
- Insert the toy ship near the other ship to trigger the game.
- Click the blue button numerous times to make sure the blue ship finishes first.
- Do this 3 times and collect the 2nd folding fan.
- Walk down 4 times, and go into the tea room.
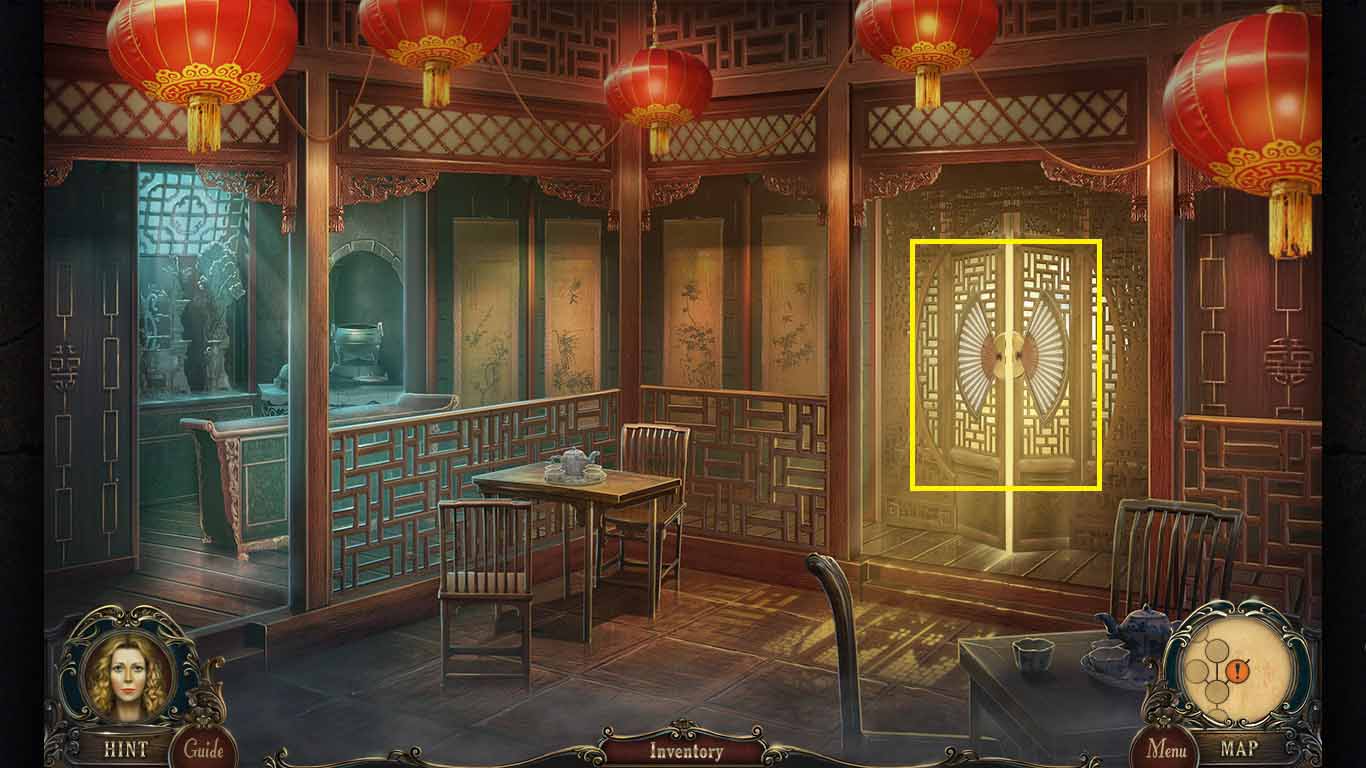
- Zoom into the door; insert the 2 folding fans into the grooves.
- Move forward.
Chapter One: Where is Olivia?
Chapter Two: Welcome to the Wharf
Chapter Three: Exploring Chinatown
Chapter Four: Inside Archie's Estate
Bonus Game
Ask for help in the comments below!