
Azada: Elementa: Chapter Five: Water World
Rely on our Azada: Elementa Walkthrough to see you through this mystery as you journey through magical lands searching for the lost elements of Azada. Use our custom screenshots, detailed instructions, and puzzle solutions in order to rescue this troubled world and learn the truth behind what's really happening in the land of Azada.

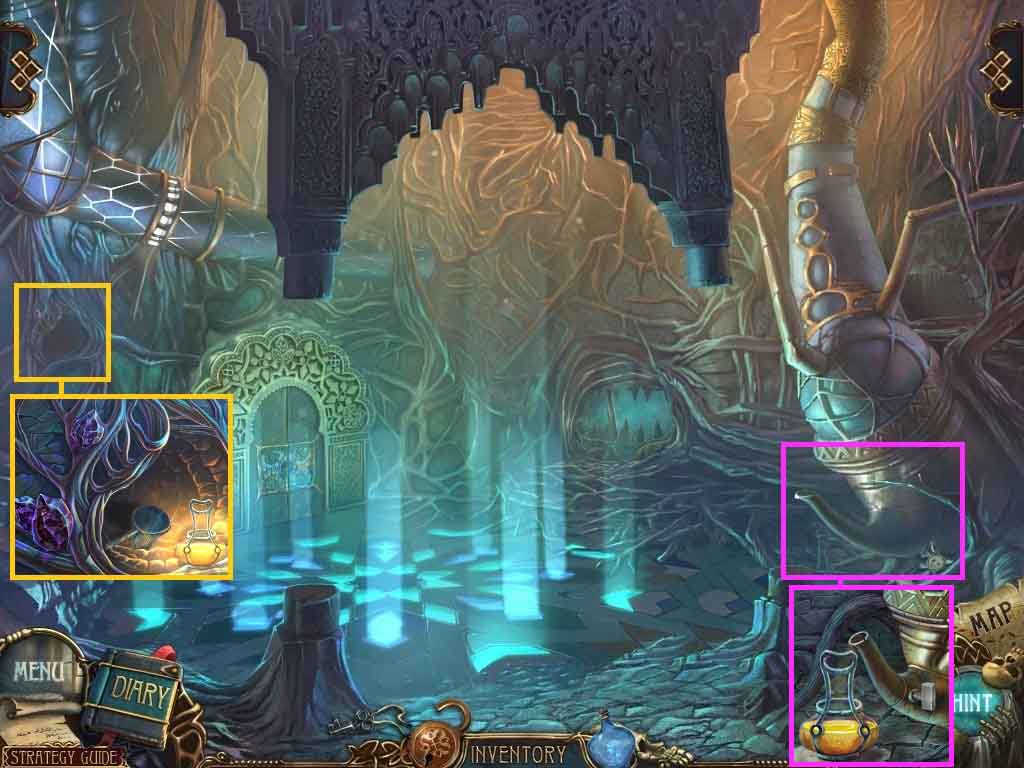
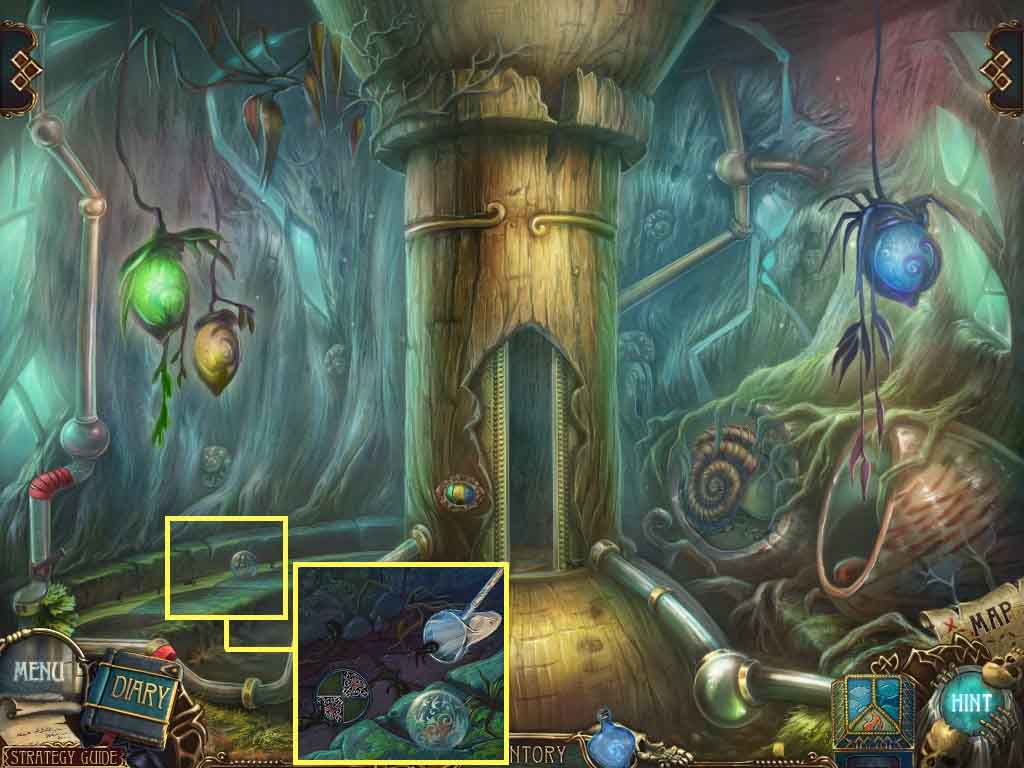
- Place the magic bottle onto the tree and once again on the close-up.
- Collect the pearl and the corkscrew.
- Move ahead.
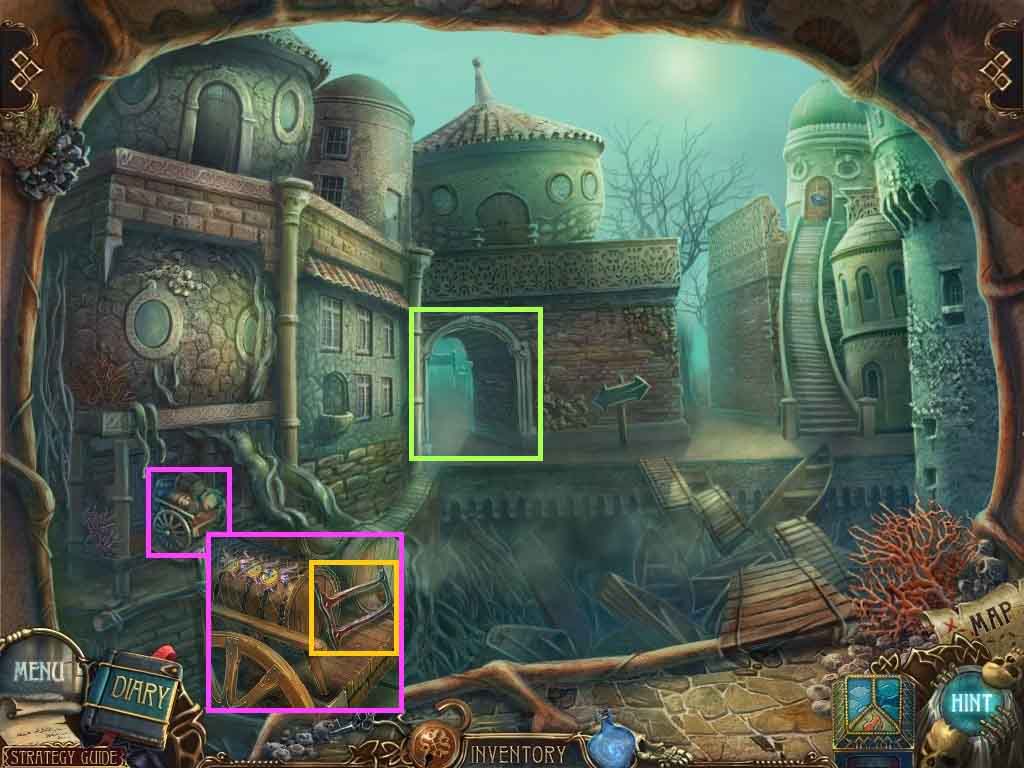
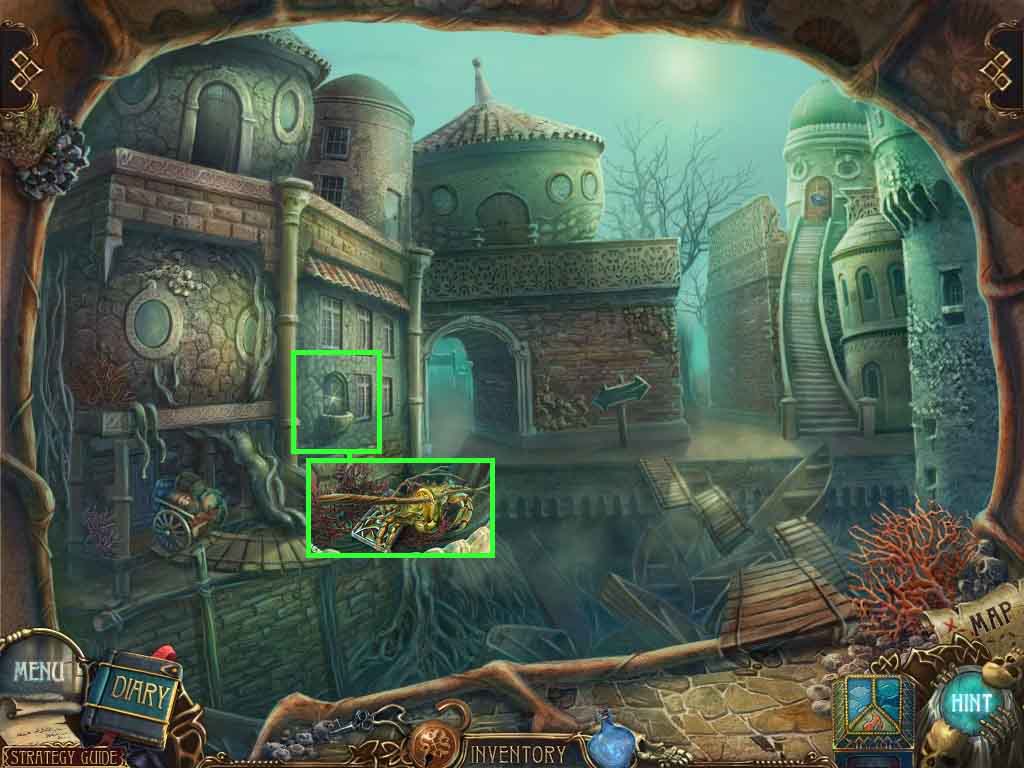
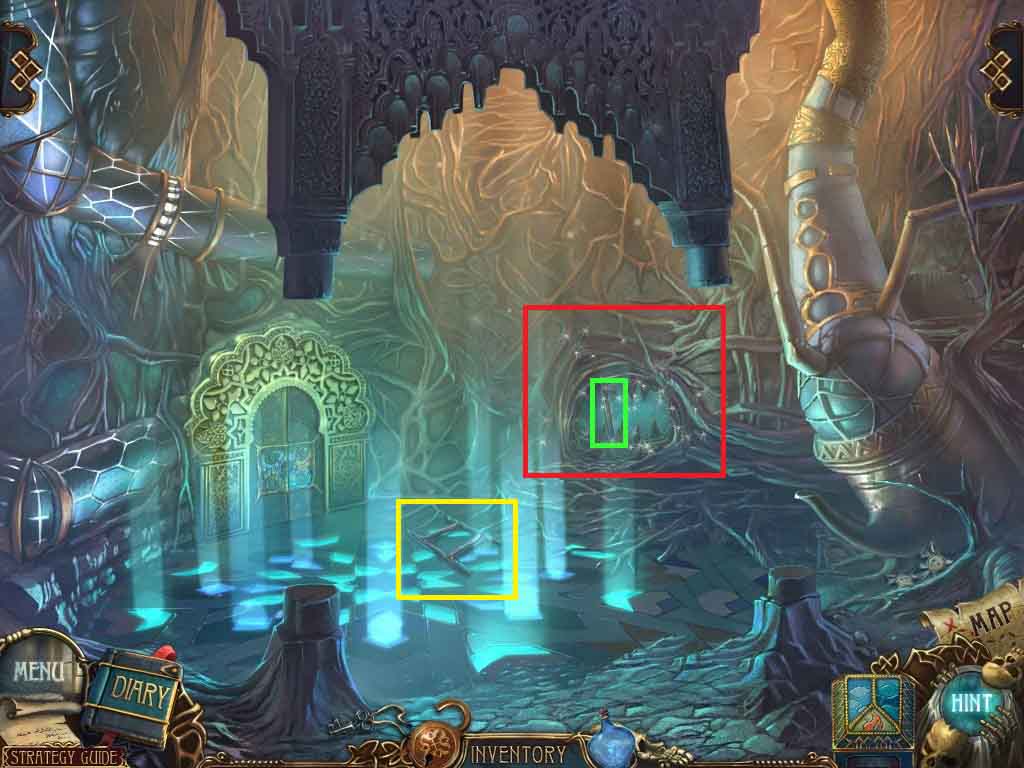
- Examine the cart; collect the ladder part.
- Enter the archway.
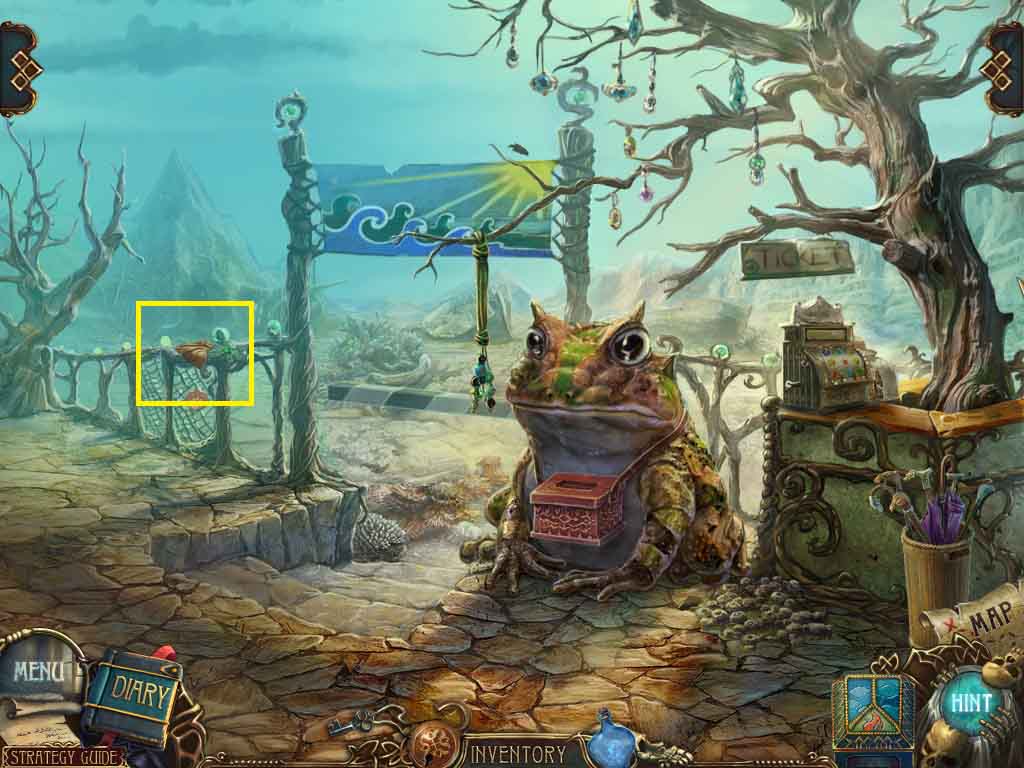
- Examine the railing.
- Collect the rag.
- Move down one time.
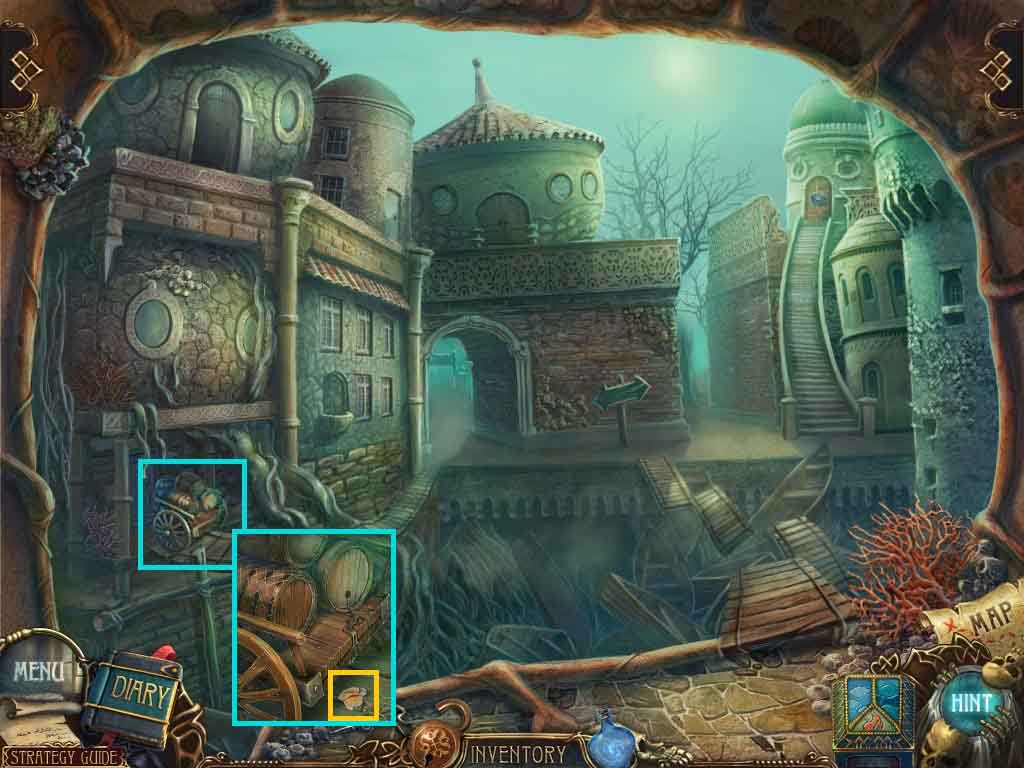
- Examine the cart.
- Uncork the cork using the corkscrew.
- Place the rag onto the water to collect the wet rag.
- Move to the right.
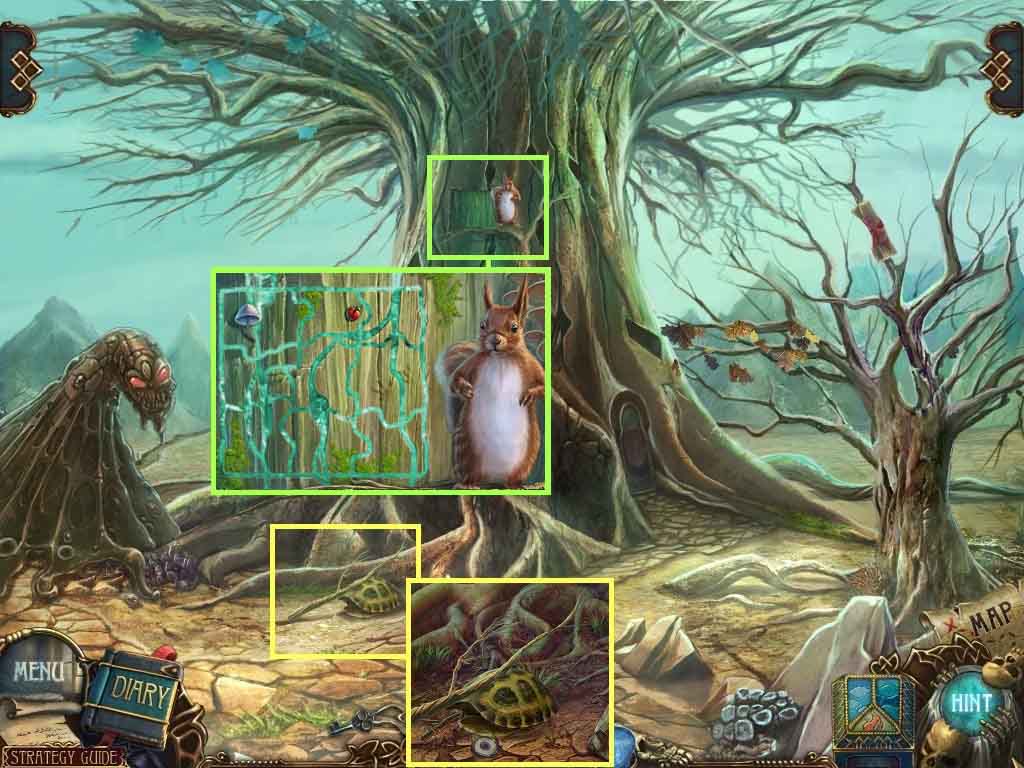
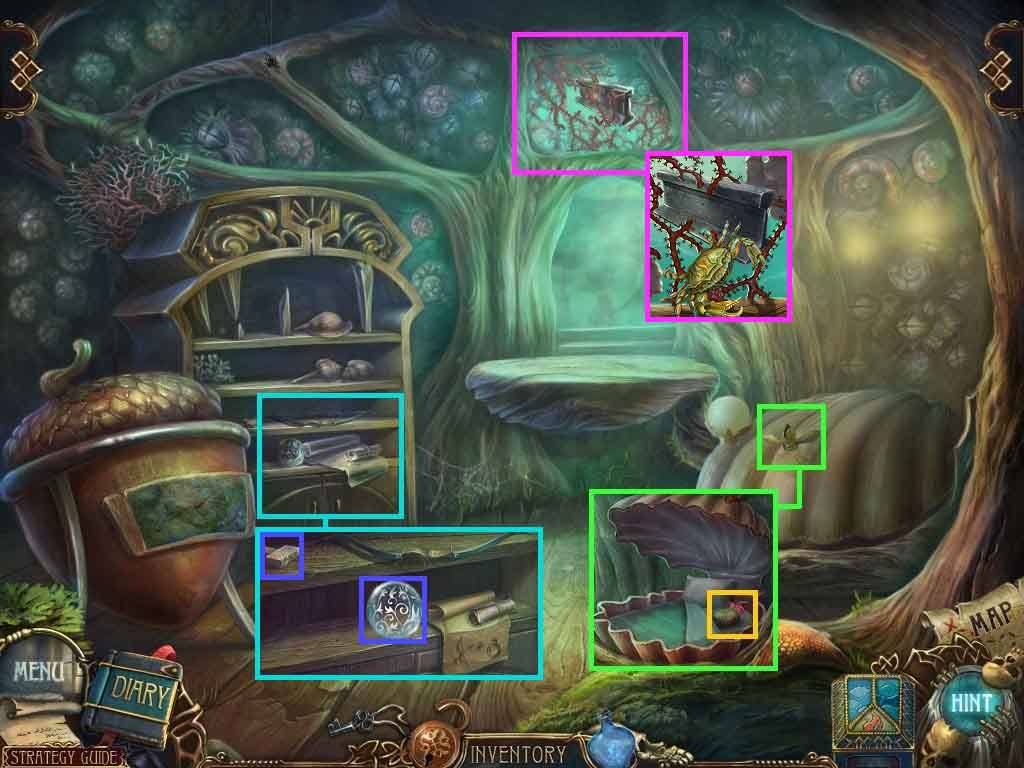
- Examine the roots; collect the branch.
- Click the shell; collect the eye.
- Zoom into the tree and insert the picture part.
- A puzzle will trigger.
- Place the pieces in the correct spaces.
- Move into the tree house.
![]()
- Collect the arrow.
- Move down two times.
- Examine the fountain.
- Collect the crab using the branch.
- Collect the well part.
- Move down one time.
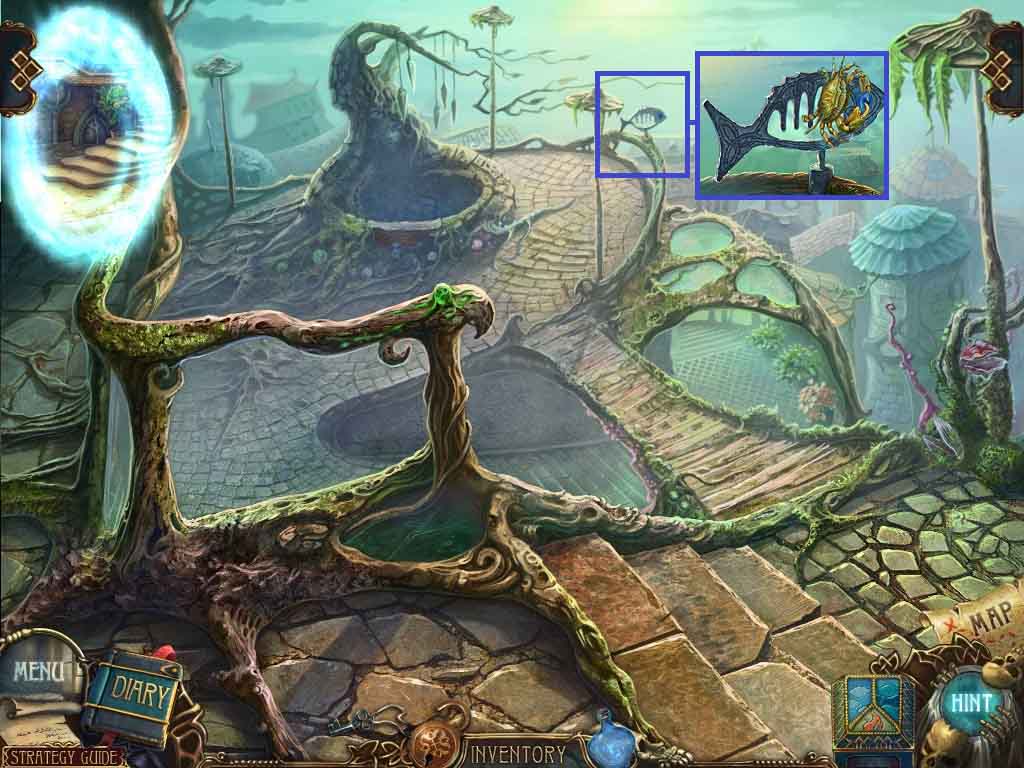
- Examine the fish.
- Select the crab to use on the fish; collect the eye.
- Move ahead.

- Examine the top door.
- Insert the 2 eyes to trigger a puzzle.
- Click the eyes to point toward the correct stones.
- Click as follows to solve:
- B – C – C – C – C
- Enter the doorway.
- Zoom into the shell and place the pearl onto the stand.
- Click the sheet; collect the patterned stone.
- Click the pillow; collect the ribbon.
- Zoom into the shelf.
- Click the sphere, click the letter and collect it.
- Collect the tap knob.
- Zoom into the coral.
- Lay the crab onto the coral; collect the beam.
- Go to the inside of the tree house.
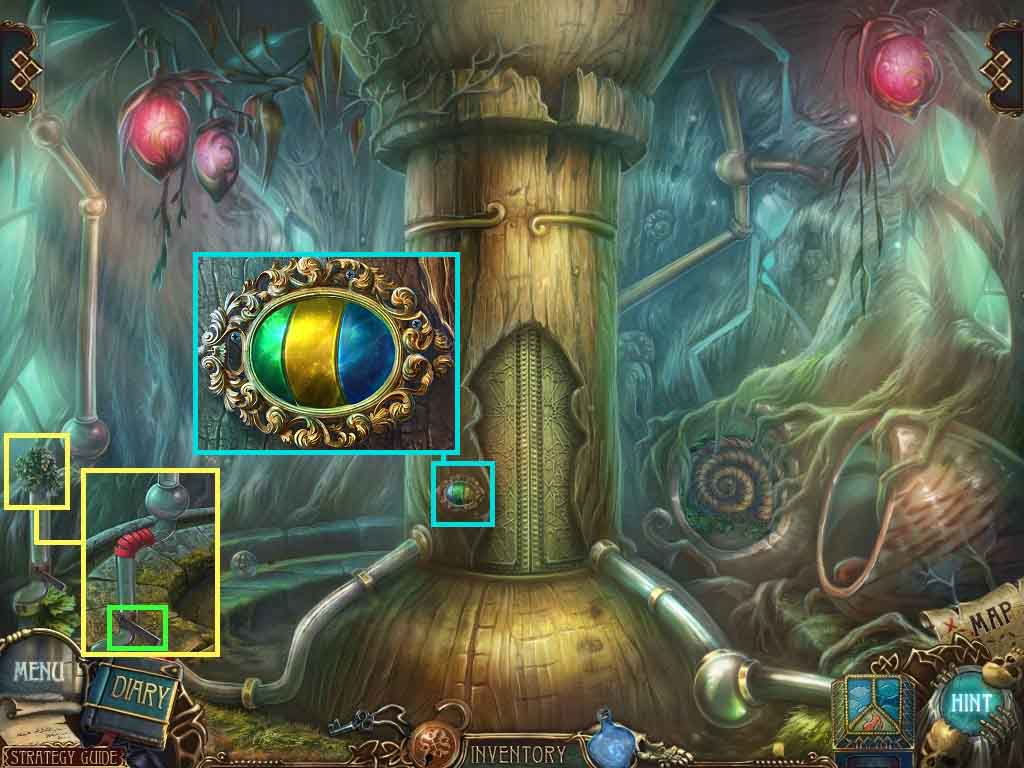
- Zoom into the pipe; remove the flowers.
- Lay the ribbon onto the crack; click the handle.
- Examine the panel; click the colors to green – yellow – blue.
- Move into the elevator.
- Collect the ladder part.
- Zoom into the jaws and place the beam onto it.
- Click the hidden objects area.
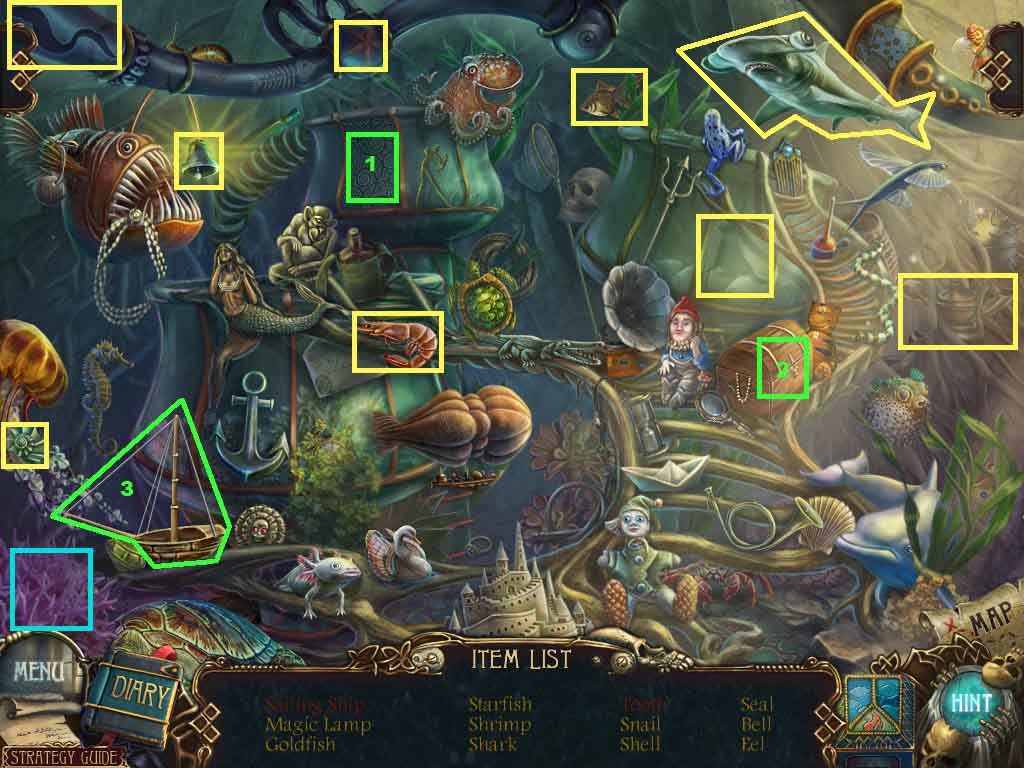
- Find the listed items.
- Click the panel to uncover the key.
- Insert the key into lock.
- Collect the sail and attach it to the ship; collect the sailing ship.
- Click the coral; collect the tooth.
- Collect the shell.
- Move down one time.
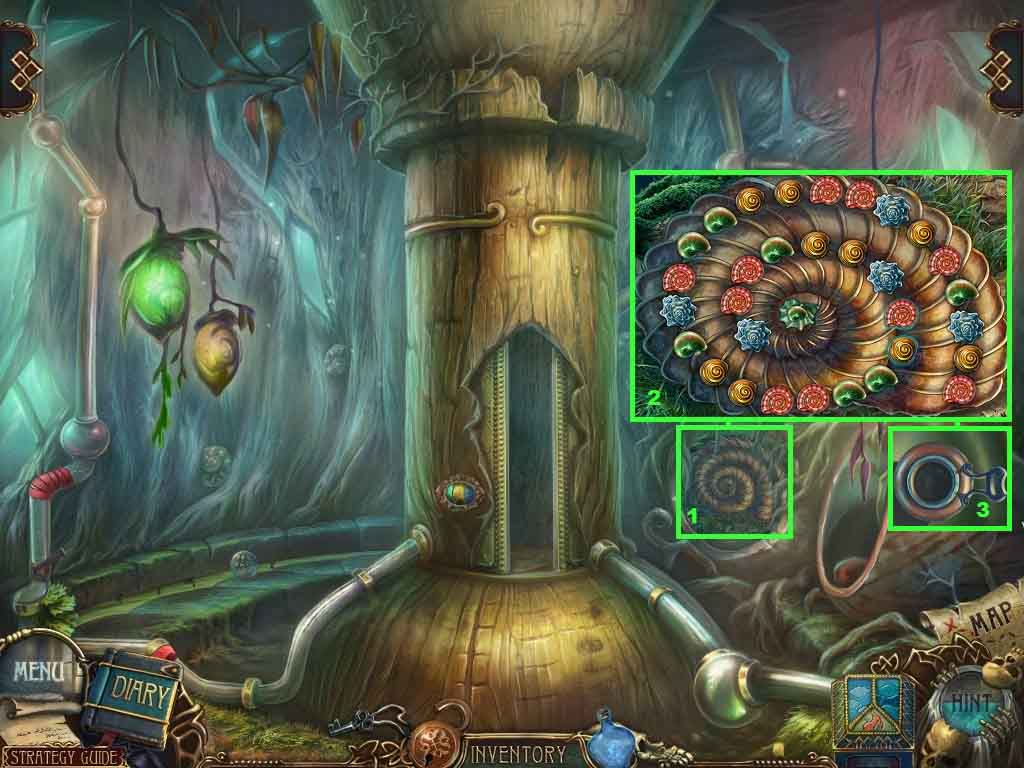
- Examine the shell; insert the shell to trigger the puzzle.
- Aim the shells towards the shells of the same color to remove them from the board.
- The solution is random.
- Collect the empty lantern.
- Move into the elevator.
- Examine the teapot.
- Attach the tap knob onto the spout.
- Lay the empty lantern onto the stump.
- Click the knob; collect the lighting lantern.
- Examine the wall; insert the lighting lantern onto the wall and collect the scoop net.
- Move down one time.
- Zoom into the crack.
- Click the sphere, click the note and collect it.
- Collect the tadpoles using the scoop net.
- Collect the magic disk.
- Move into the elevator.
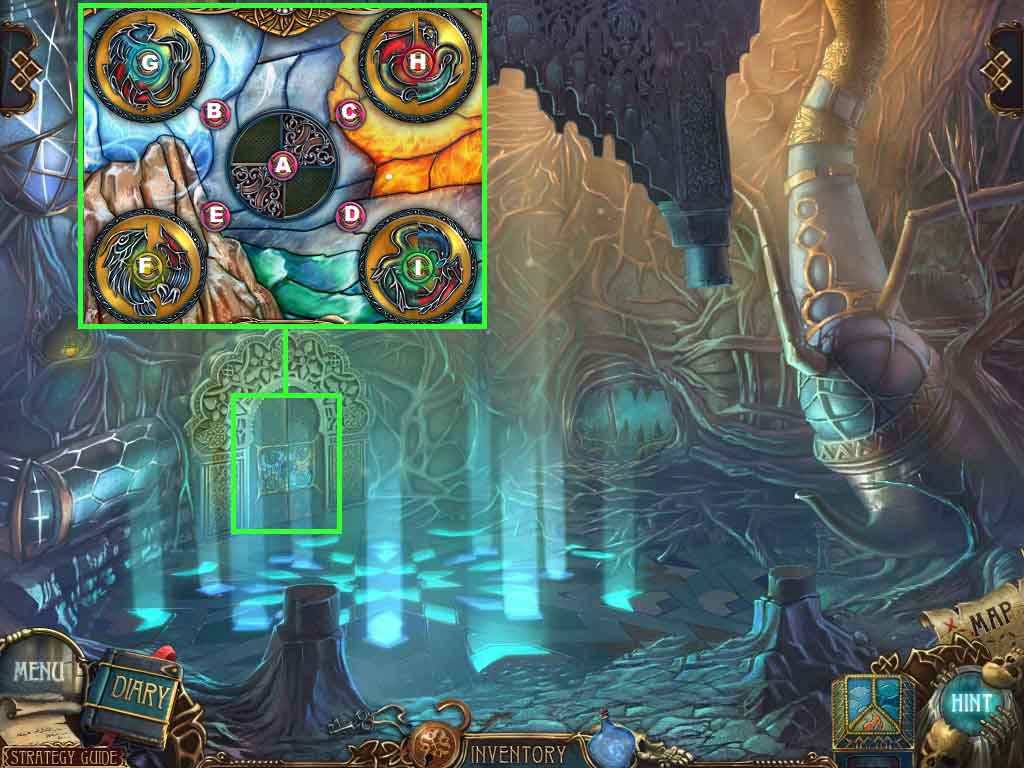
- Examine the door; insert the magic disk to trigger a puzzle.
- To solve the puzzle click the arrows as follows:
- D - A – F 3X’S – E – A – D – A- E – F 3X’S – E – C – A 2X’S – E – A – I 2X’S – D – A – C- H 3X’S – C – A 3X’S – D – A 2X’S – B – A – F 3X’S – E – A 2X’S – E – F 3X’S – A 2X’S – C – H 3X’S – C – A 2X’S – E – A 3X’S – G 3X’S –B – A 2X’S – B – A 2X’S – I 3X’S – D – A 2X’S – G 2X’S- B – A 2X’S – A 3X’S- H 3X’S – C – A 2X’S – C – A – B – A 2X’S- G – B – A 2X’S – B – G 3X’S – A 2X’S – B.
- Enter the doorway.