
Amaranthine Voyage: The Shadow of Torment: Chapter Seven: Enter the Reliquary
Our Amaranthine Voyage: The Shadow of Torment Walkthrough will guide you through Anther as you work to banish Torment and restore magic. Use our detailed directions, custom screenshots, and simple puzzle solutions to help you uncover the mystery of Torment and the hold it has on Anther.
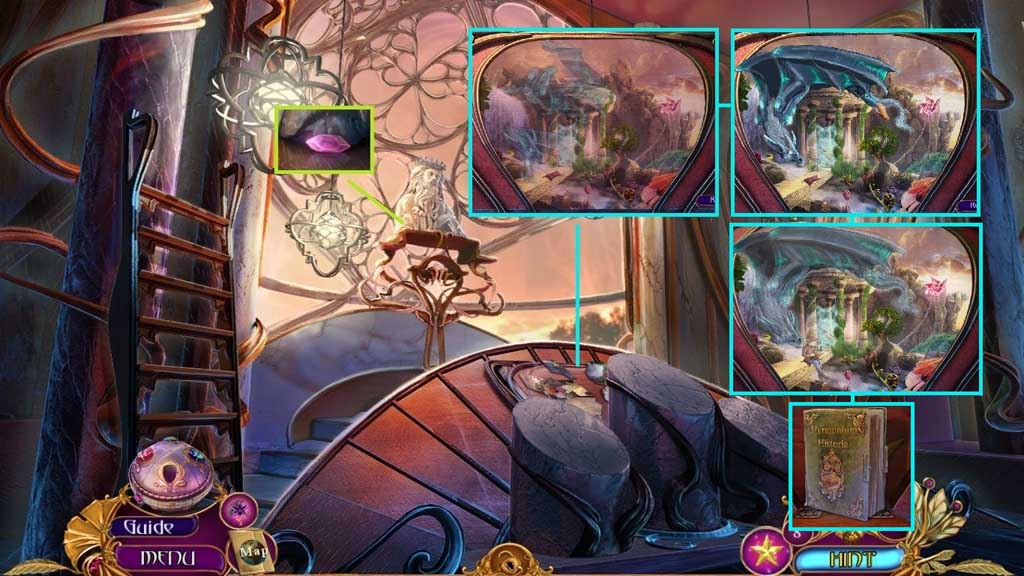
- Collect 2/ 3 jewel eyes.
- Zoom into the platform to trigger a mini game.
- Solve the game by arranging the pieces to complete the images.
- Collect the book, the Phoenix head and the shard fragments.
- Move down once and go right.
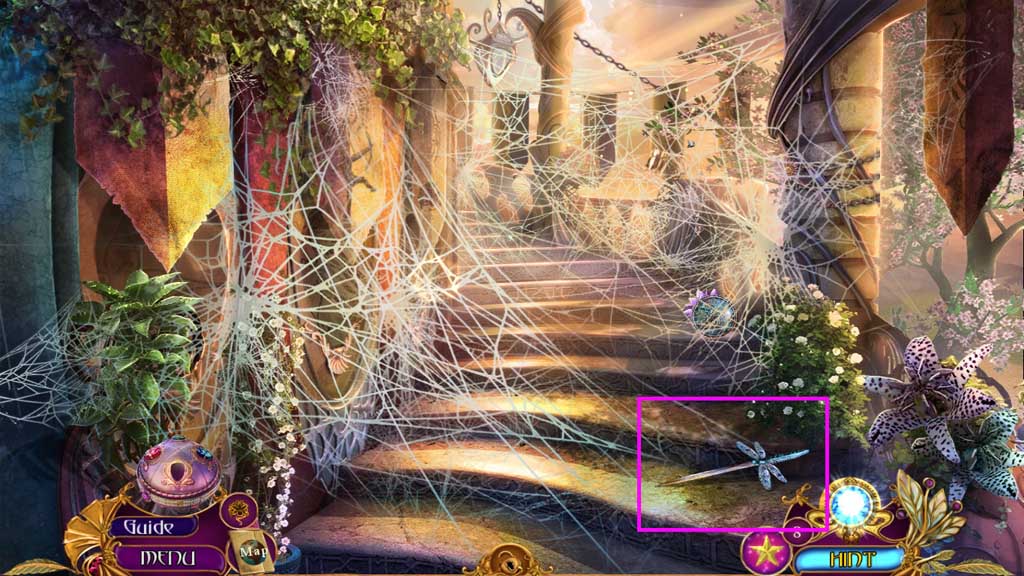
- Collect the dragonfly dagger.
- Move down once.
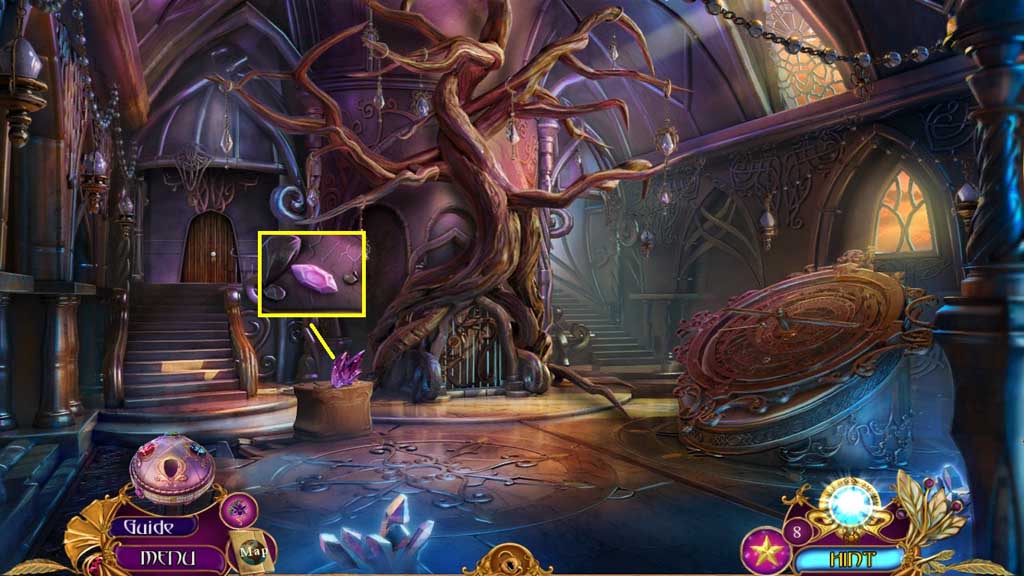
- Collect 3 /3 jewel eyes.
- Move down once.
- Insert the 3 jewel eyes.
- Collect 2/5 shard fragments and 2/ 2 butterfly ornaments.
- Move ahead.

- Insert the 2 butterfly ornaments.
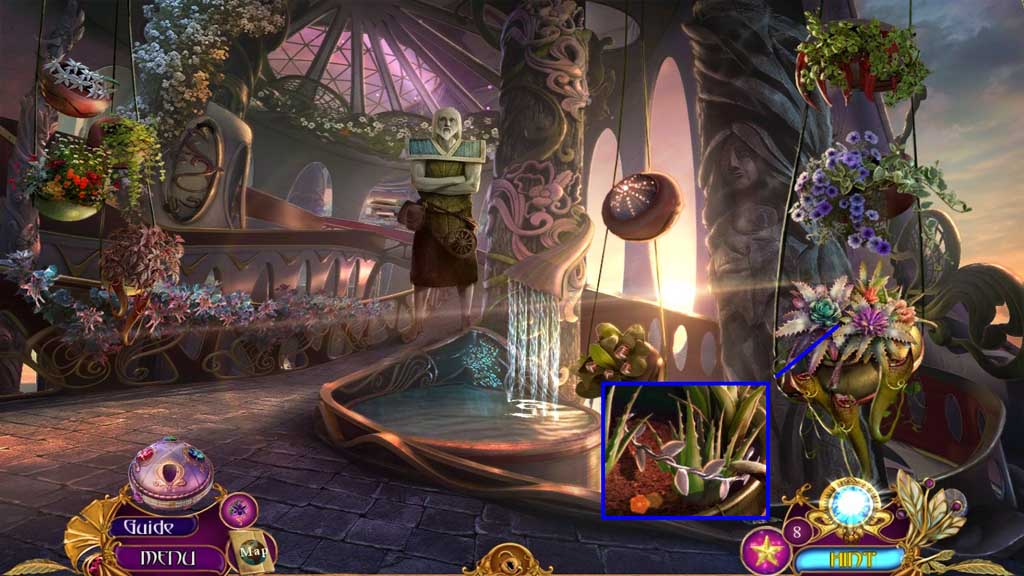
- Collect the 5 flower essences.
- Collect the square lock.
- Move left.
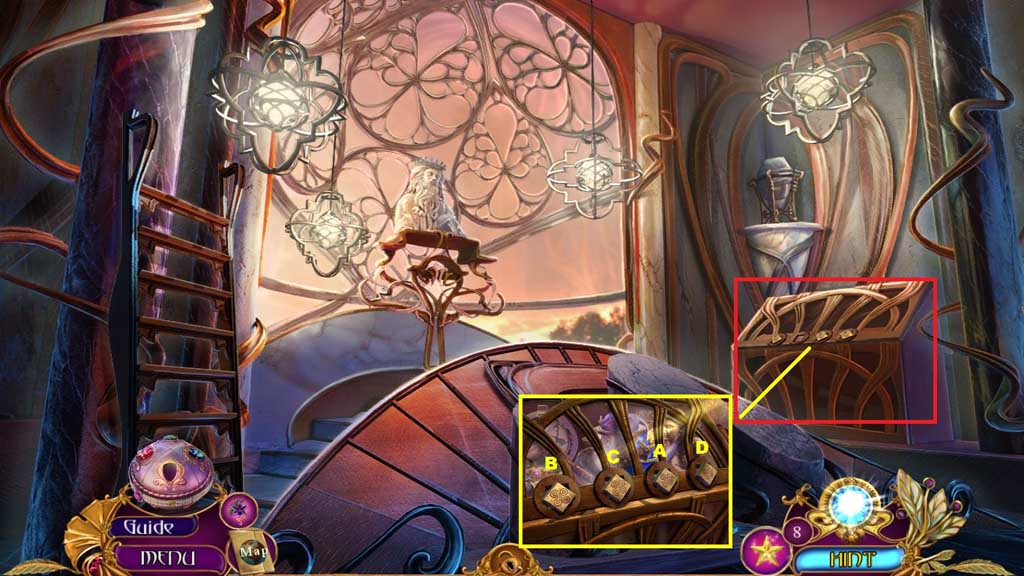
- Insert the square lock and click the squares in ABC order.
- Click the box open to trigger a hidden objects area.
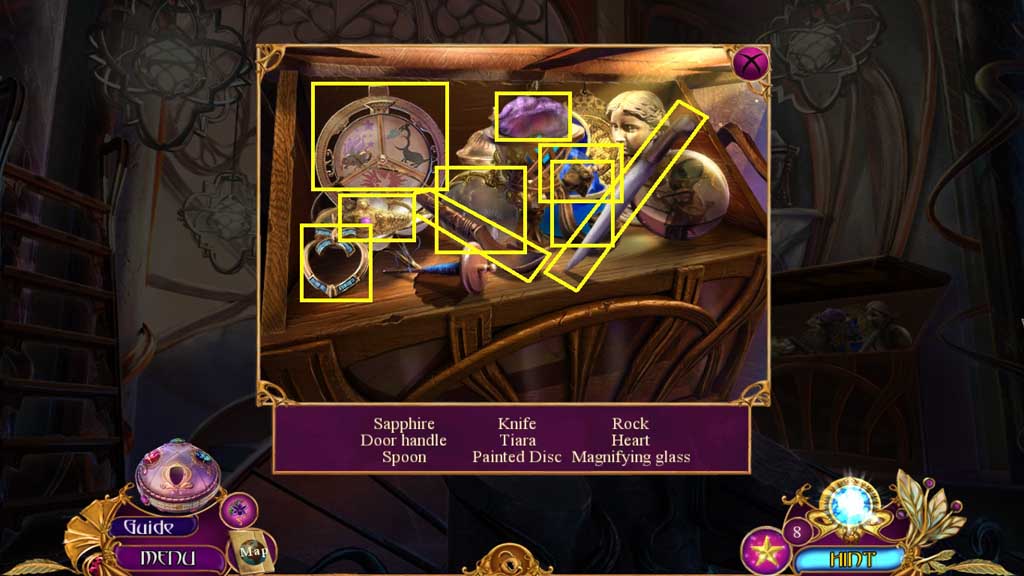
- Find the items.
- Collect the alidade.
- Move down once.
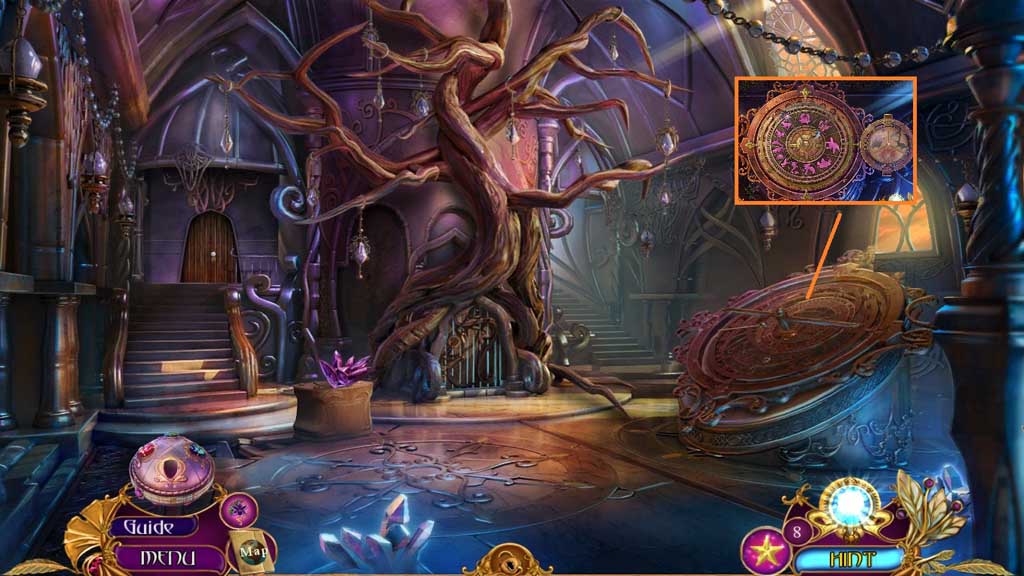
- Insert the alidade.
- Move down 2x’s.
- Select the dragonfly dagger to remove the vines and insert the air crystal to trigger a mini game.
- Solve the game by aligning the discs correctly to charge the crystal.
- Collect the fire crystal.
- Move ahead 2x’s and go to the right.
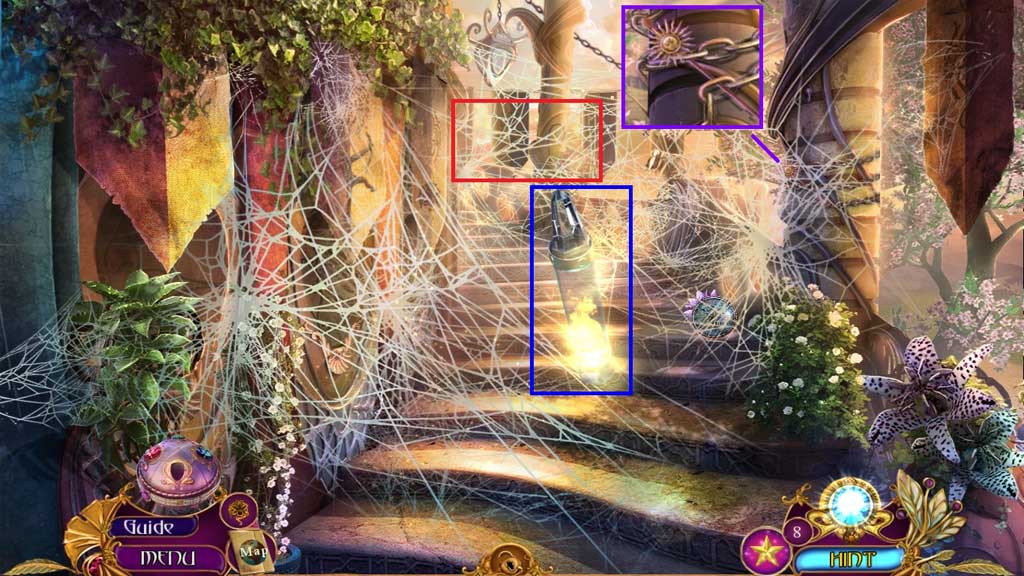
- Select the fire crystal to remove the cobwebs.
- Collect the sun.
- Click the hidden objects area.
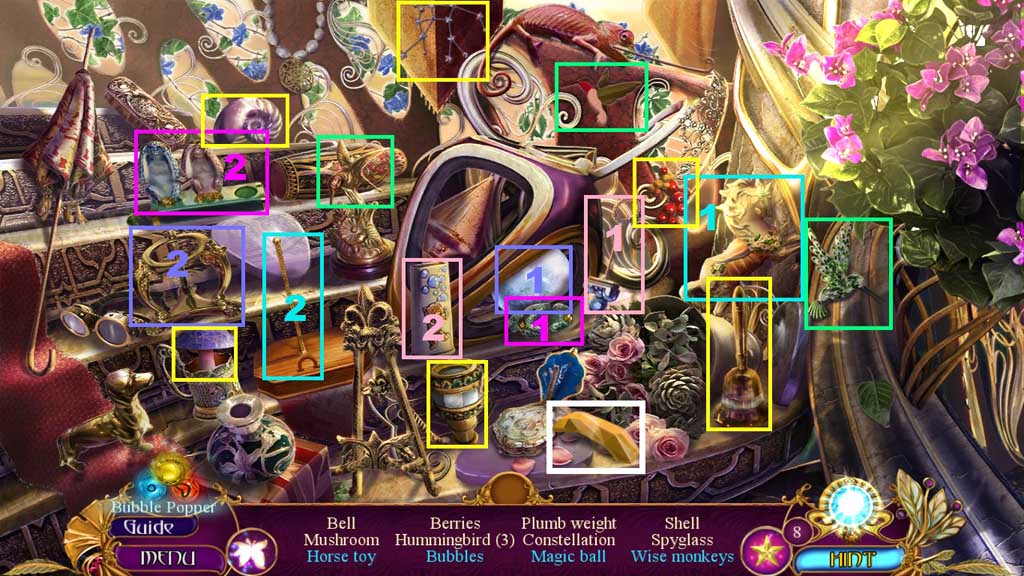
- Find the items.
- Select the horse and place it onto the base; collect the toy horse.
- Select the wand and insert it into the solution; collect the bubbles.
- Select the ball and place it onto the stand; collect the magic ball.
- Select the monkey and place it onto the base; collect the wise monkeys.
- Collect 3/5 shard fragments.
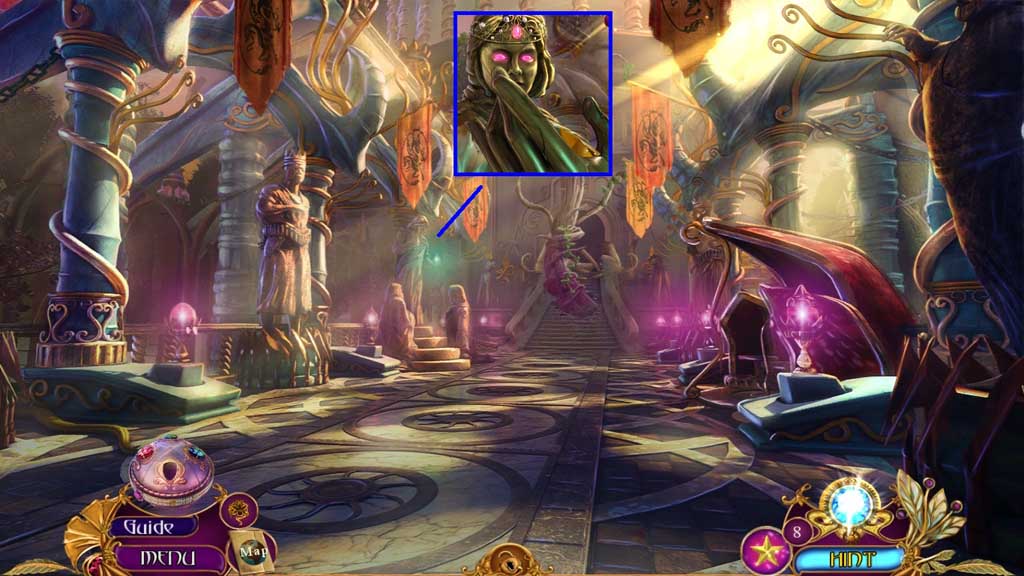
- Move ahead.
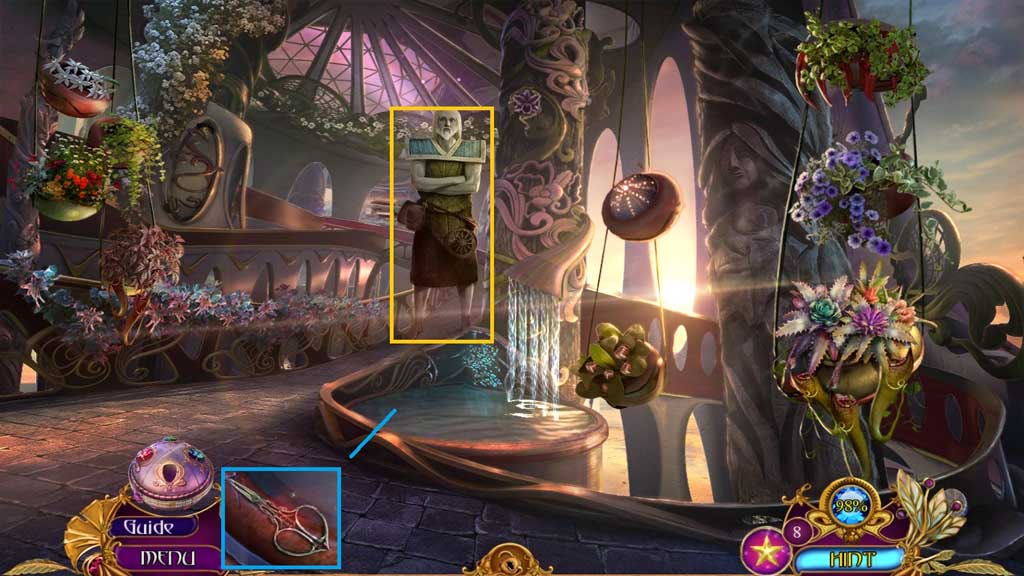
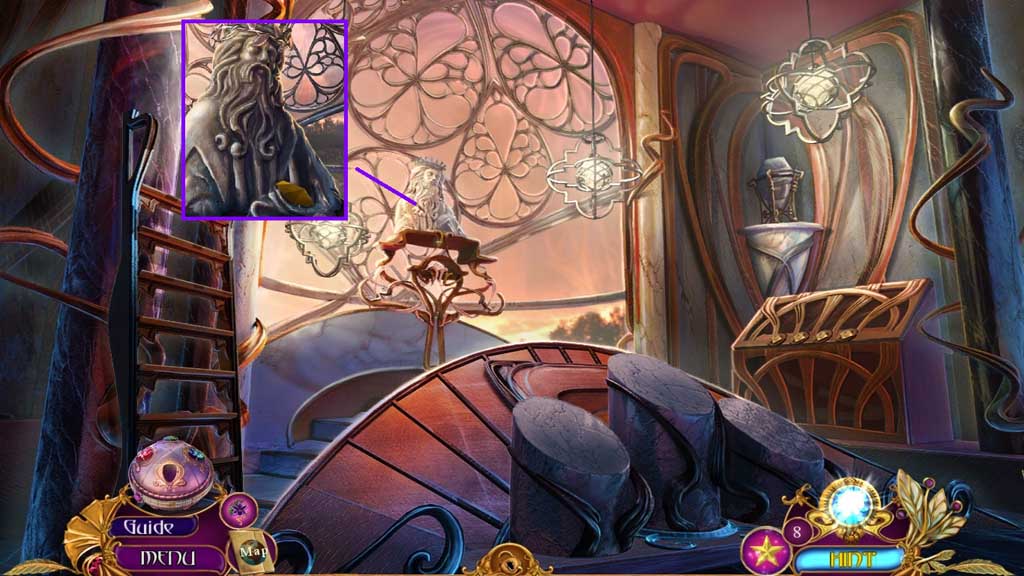
- Speak to the guardian.
- Collect the scissors.
- Move down once.
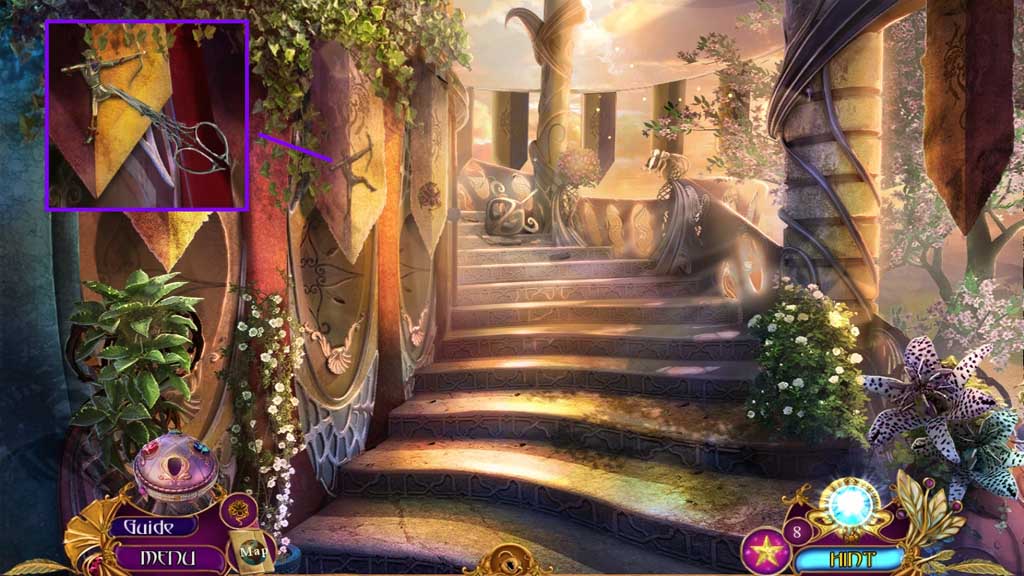
- Select the scissors to clip the threads.
- Collect the antehrian knight.
- Move ahead.

- Insert the antherian knight.
- Collect the 6 items; receive the wooden part.
- Move down 2x’s.

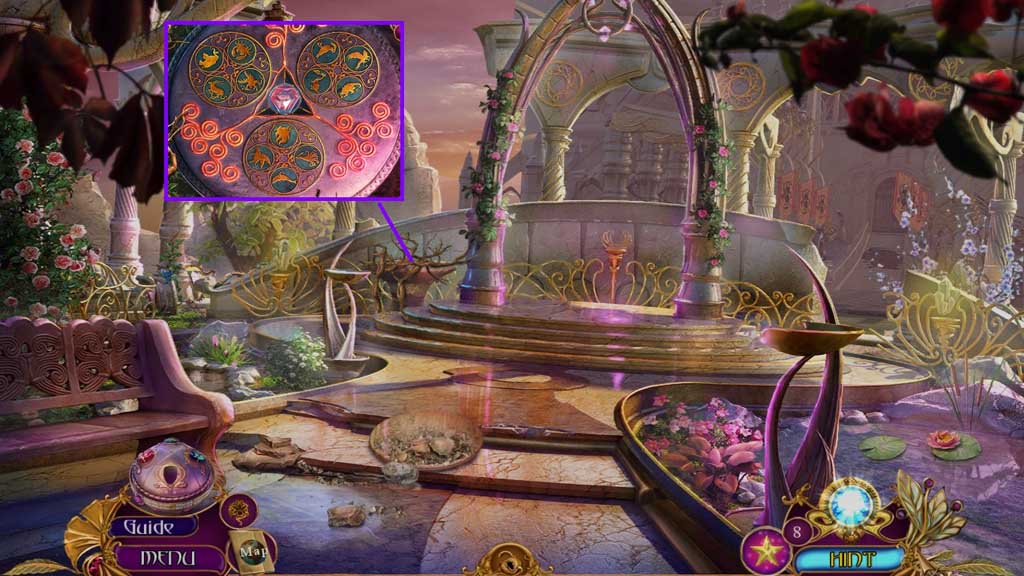
- Insert the sun to trigger a mini game.
- Solve the game by aligning the constellations to match the images on the right.
- Collect the fruit acid.
- Move to the right and go forward.
- Select the fruit acid to remove the cactus; collect the silver wreath.
- Move down 2x’s and move to the left.
- Place the silver wreath; collect 4/5 shard fragments.
- Move down once.
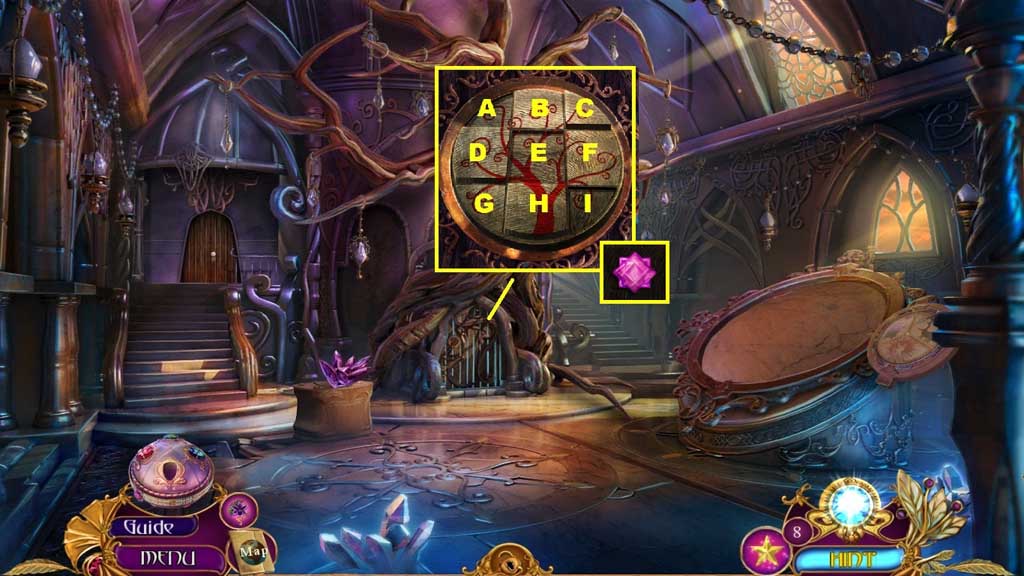
- Insert the wooden part to trigger a mini game.
- Solve the game by clicking the tiles until the image creates a continuous pattern.
- Use the following sequence to solve: E x 1 – H x 2 – F x 1 – D x 3 – G x 3 – A x 2 – C x 2 – B x 1 – I x 2
- Collect the freezing crystal.
- Move to the right and ahead once.
- Zoom into the waterfall.
- Insert the freezing crystal to trigger a mini game.
- Solve the game by arranging the shapes correctly to freeze the water flow.
- Collect 5 /5 shard fragments.
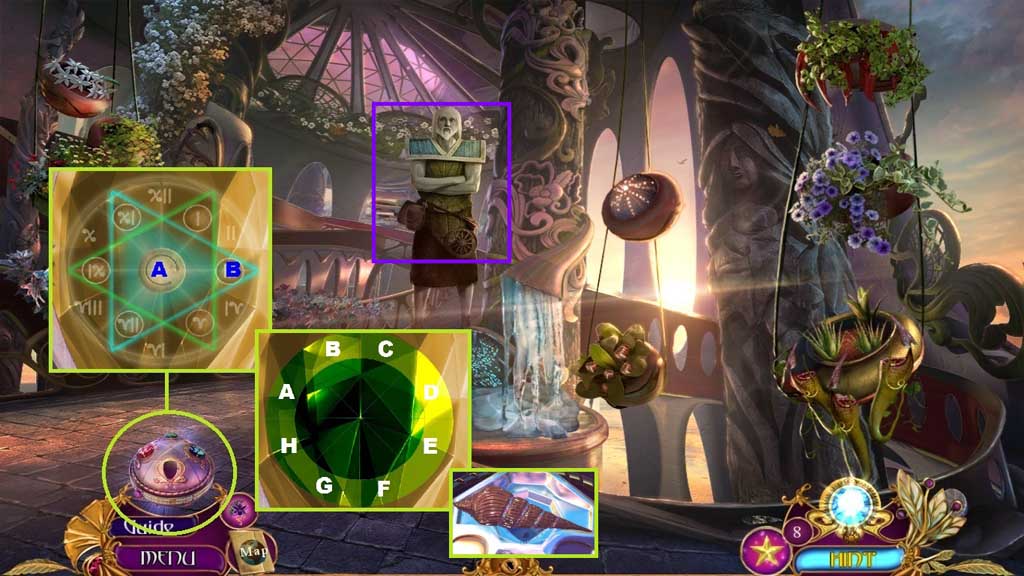
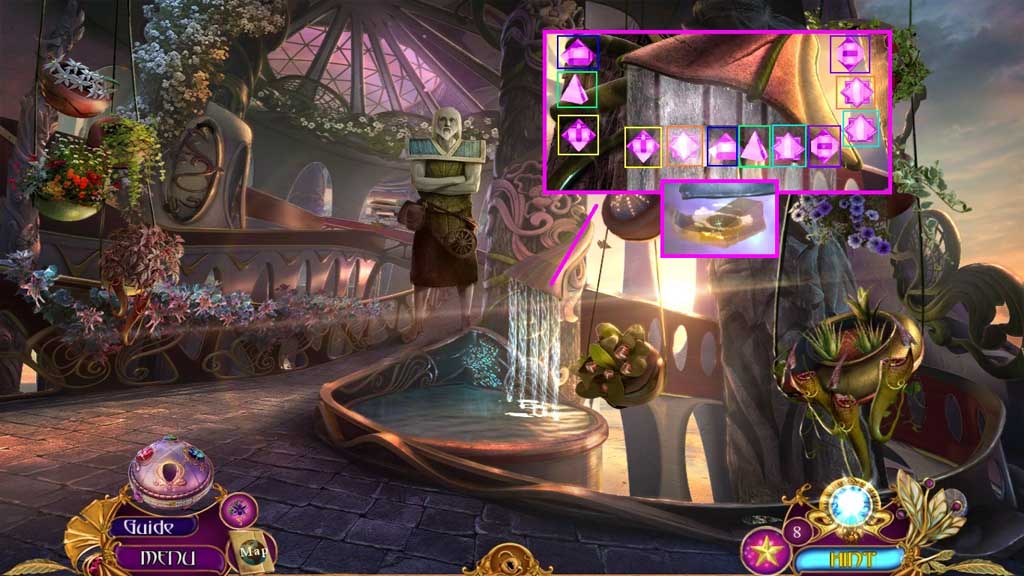
- Insert the 5 shard fragments into the orb to trigger a mini game.
- Solve the game by arranging the number in the correct order.
- Use the following sequence to solve: A x 5 – B x 1
- Another mini game will trigger.
- Solve the game by clicking the sections in the following sequence to solve: F – B – H – D – C – G – A – E
- Collect the shell and give it to the guard.
- Move ahead.
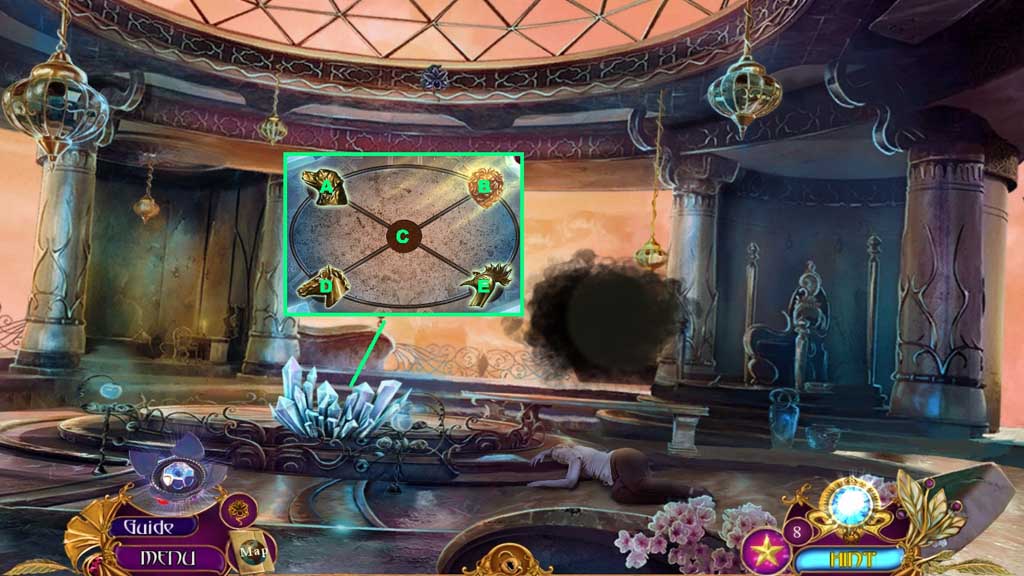
- Insert the Phoenix head to trigger a mini game.
- Solve the game by moving the animals to the correct slots.
- Use the following sequence to solve: E – B – A – C – D – E – B - C

- Insert the white essence catcher into the orb; receive the orb with harmonium and use it on the large crystal to receive the charmed arrow.
- Insert the charmed arrow onto the bow; collect the bow with charmed arrow.
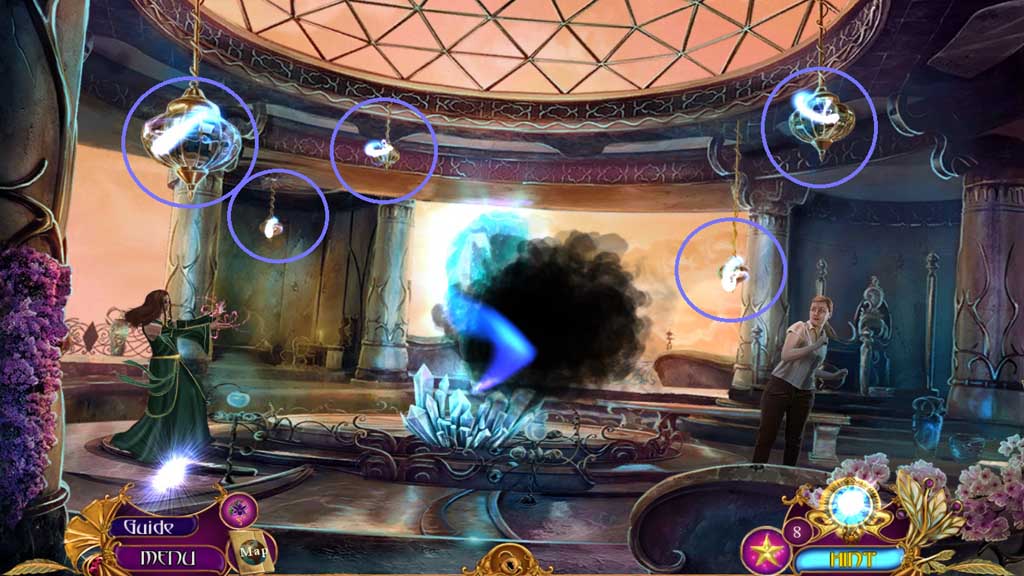
- Click the 5 lamps.
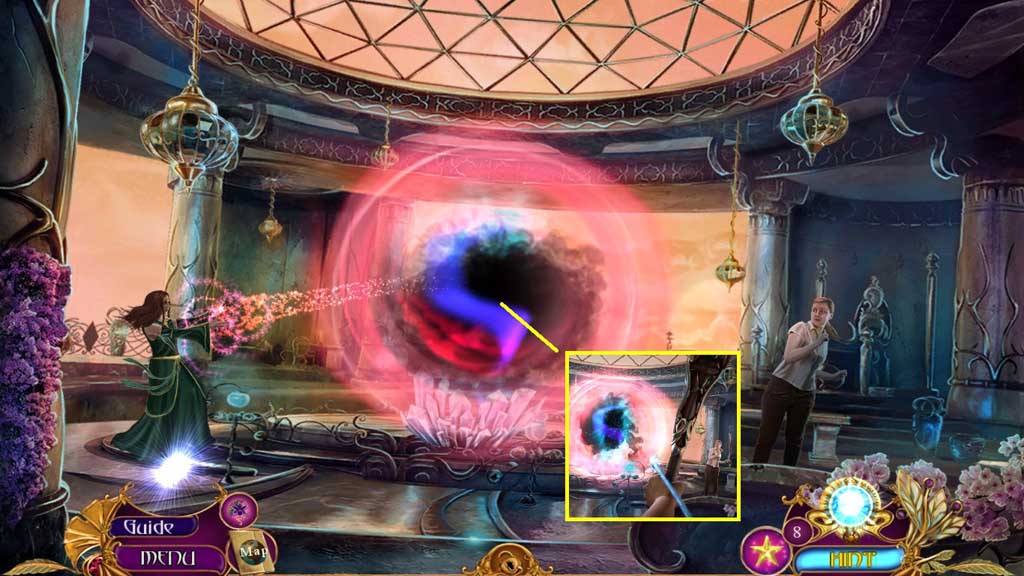
- Select the bow with charmed arrow and shoot it towards the sphere.
- Congratulations! You have successfully completed the main game of Amaranthine Voyage: The Shadow of Torment C. E.