F.A.C.E.S.
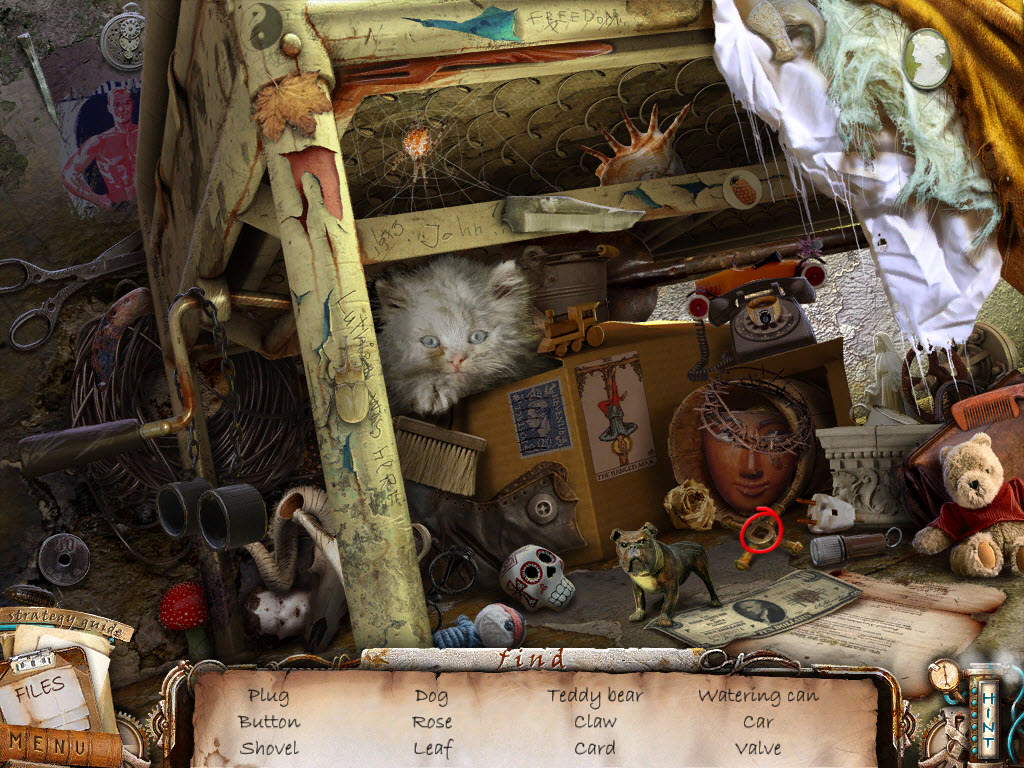
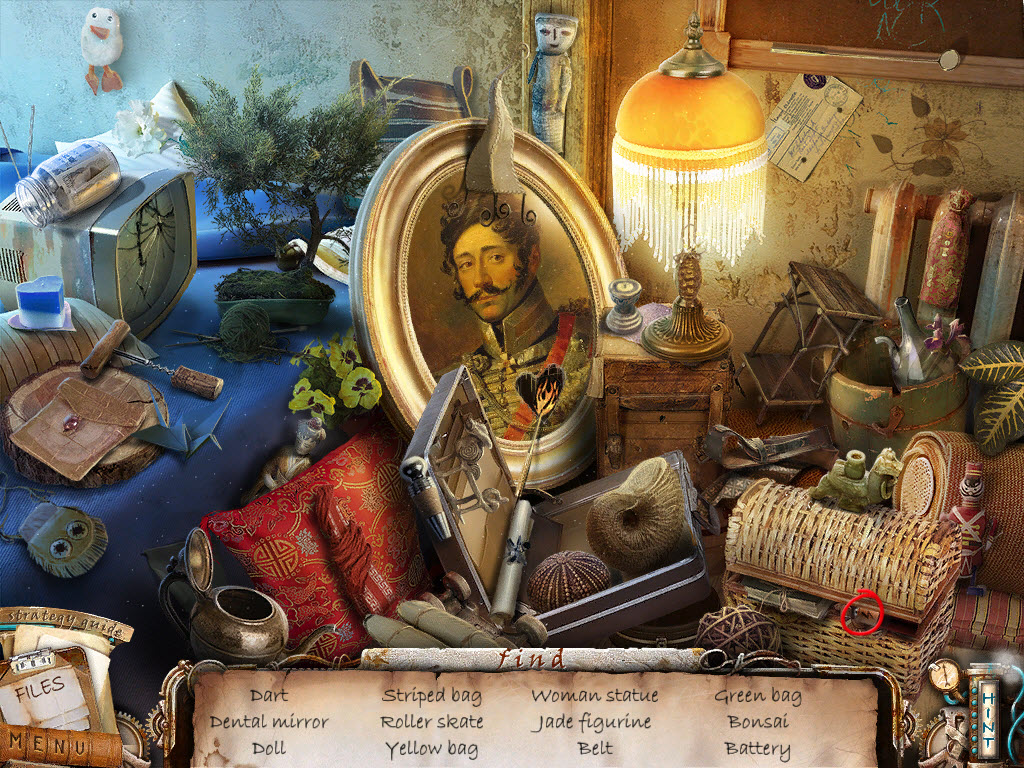
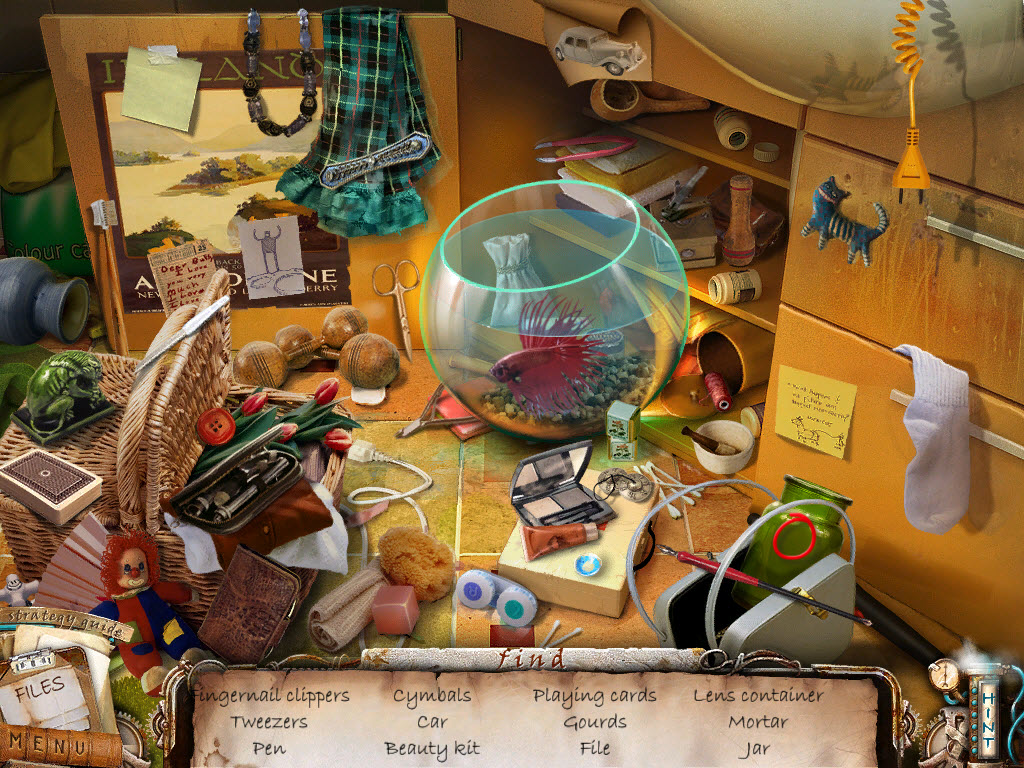
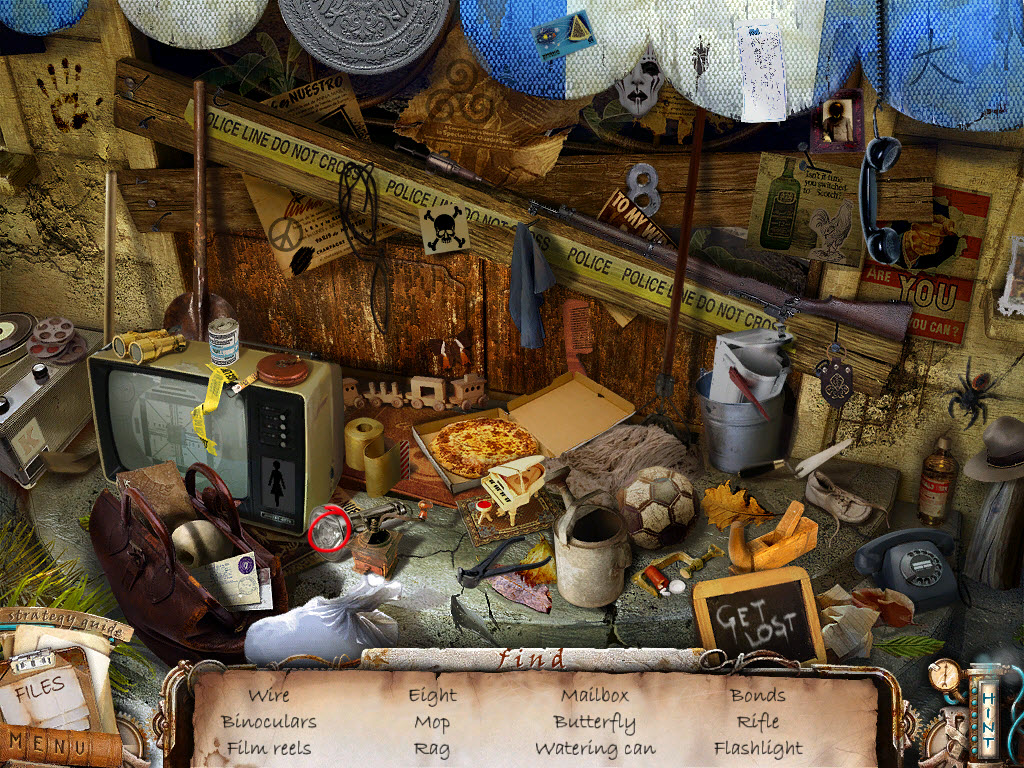
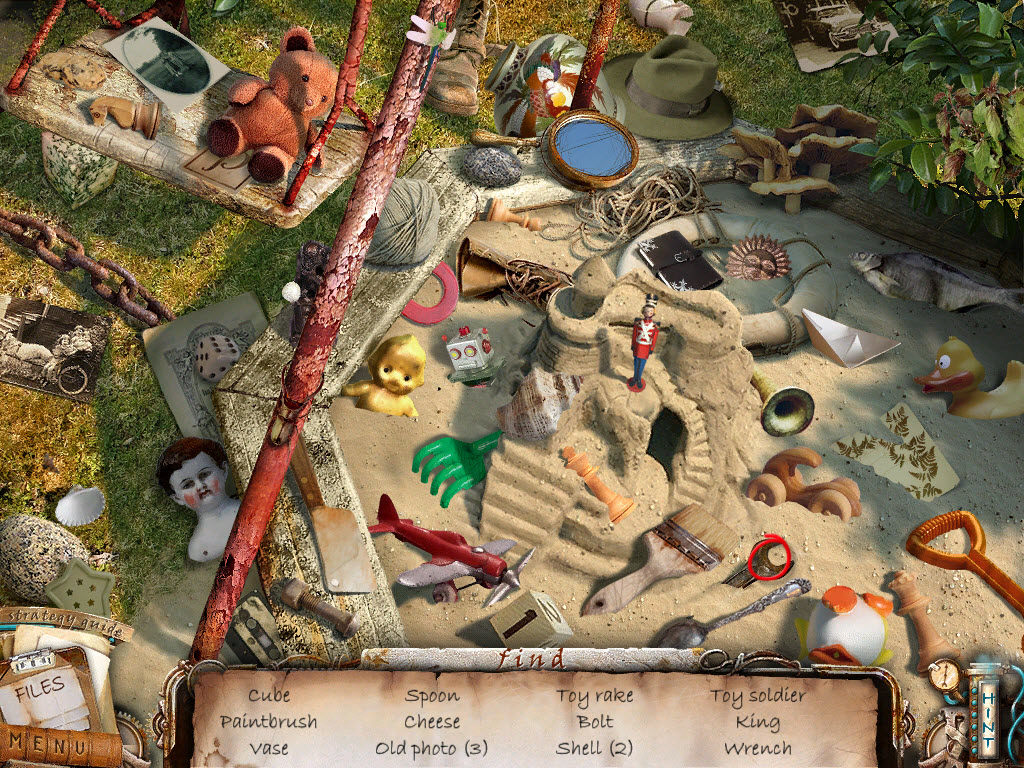
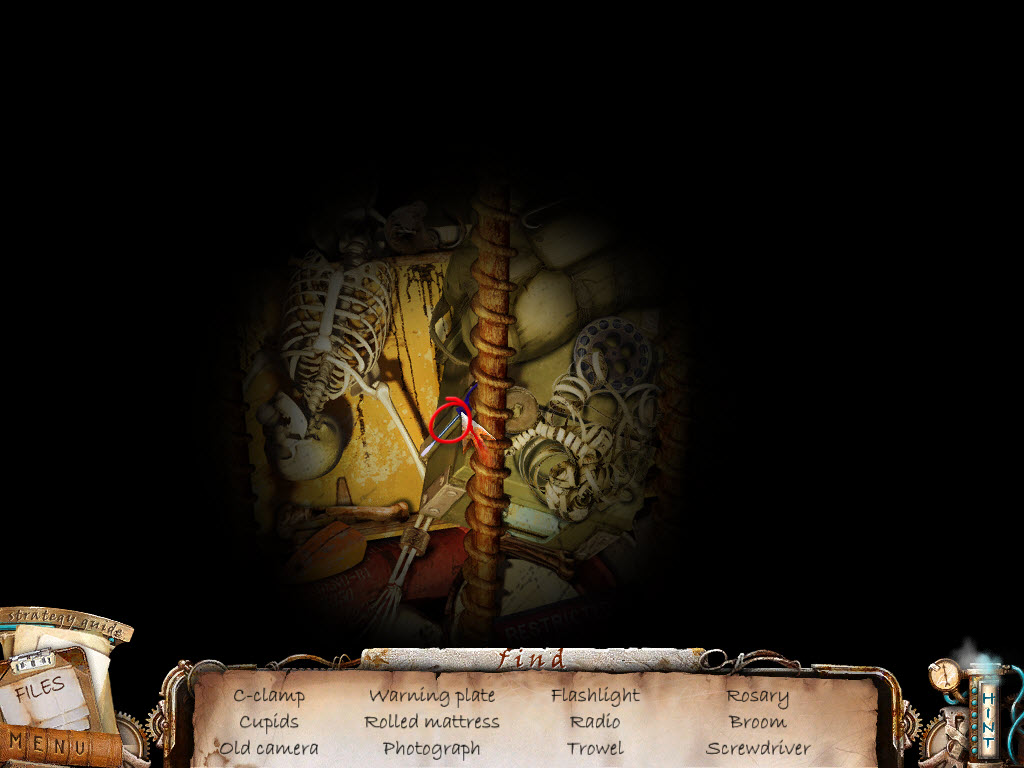
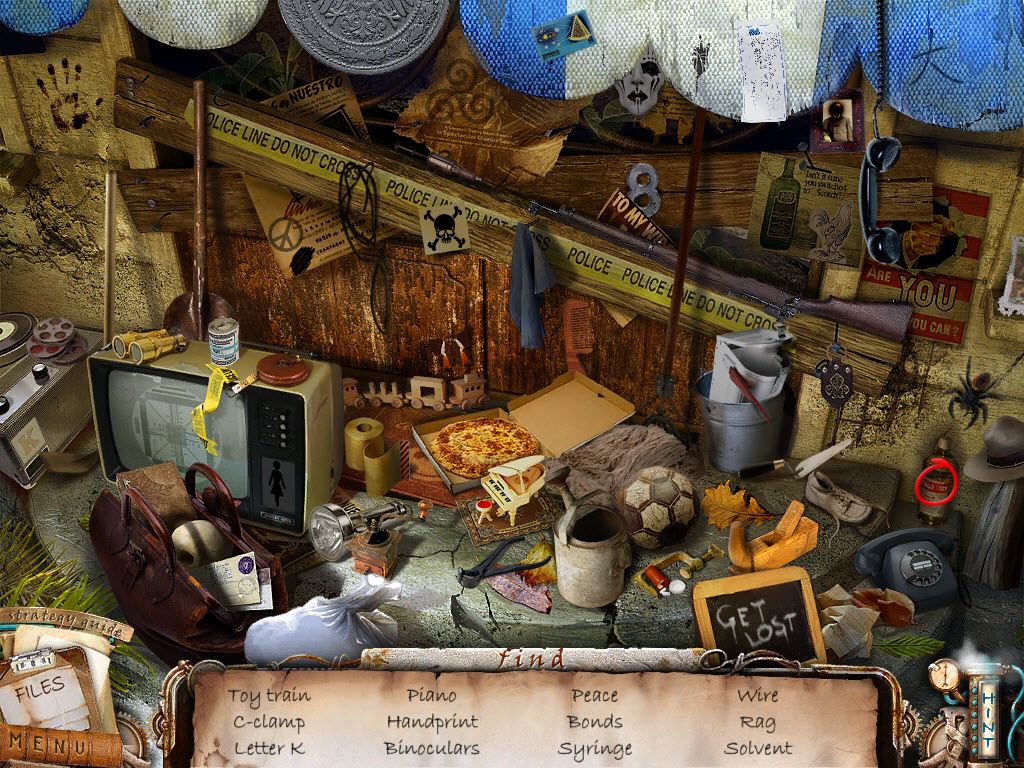
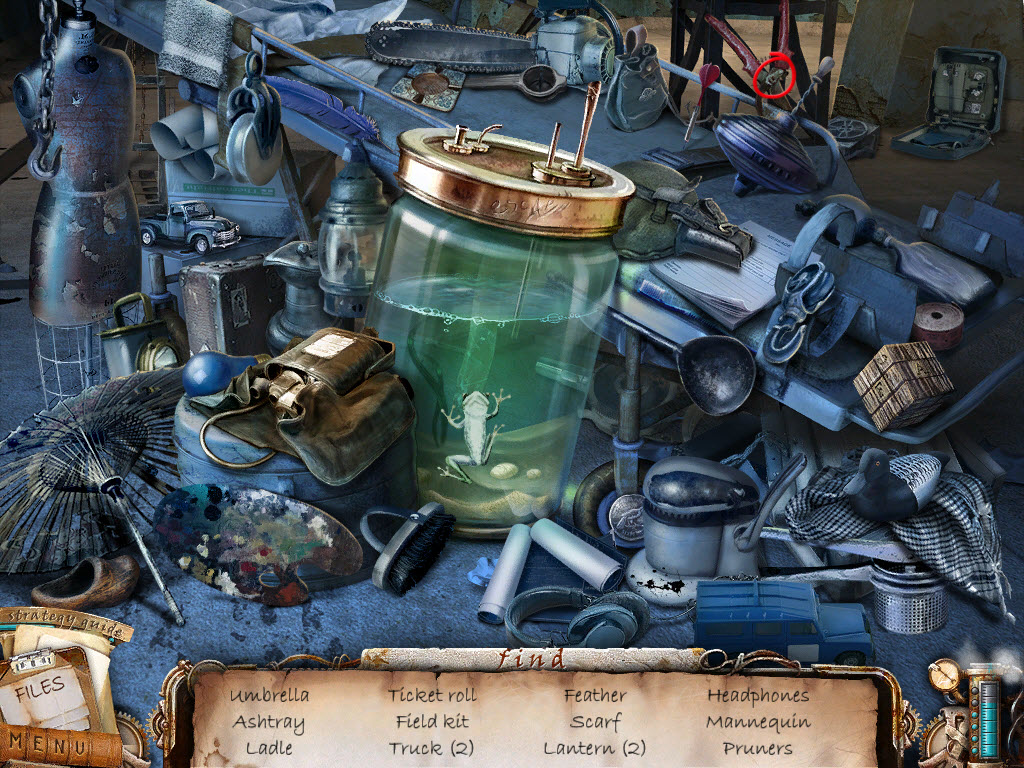
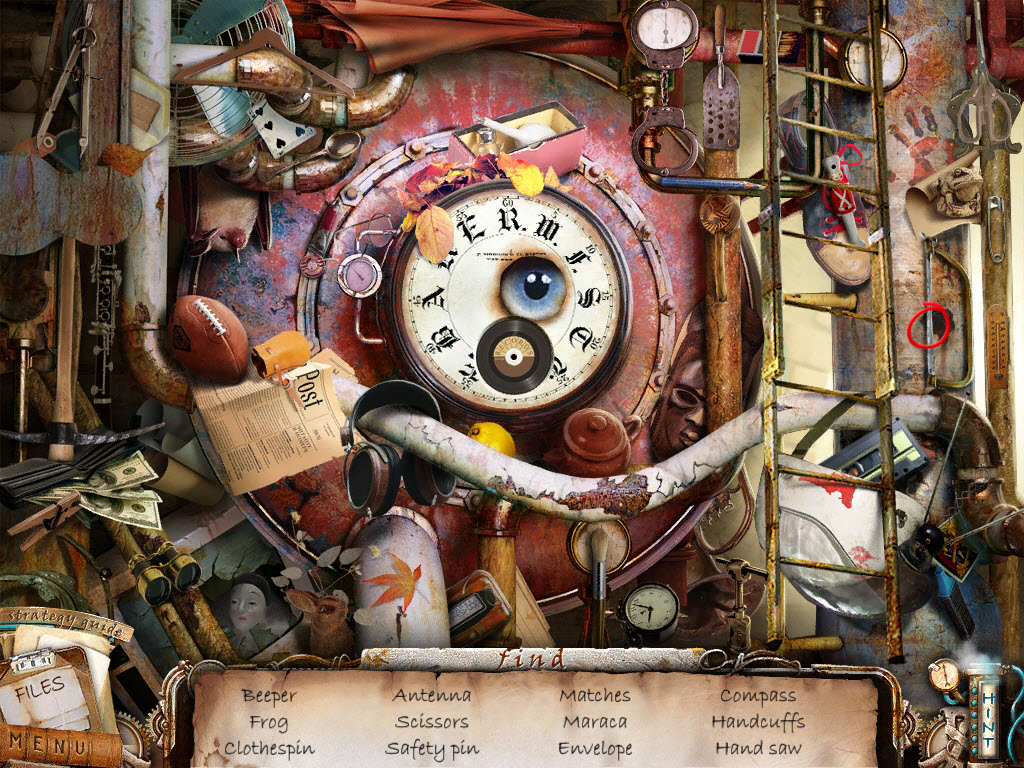
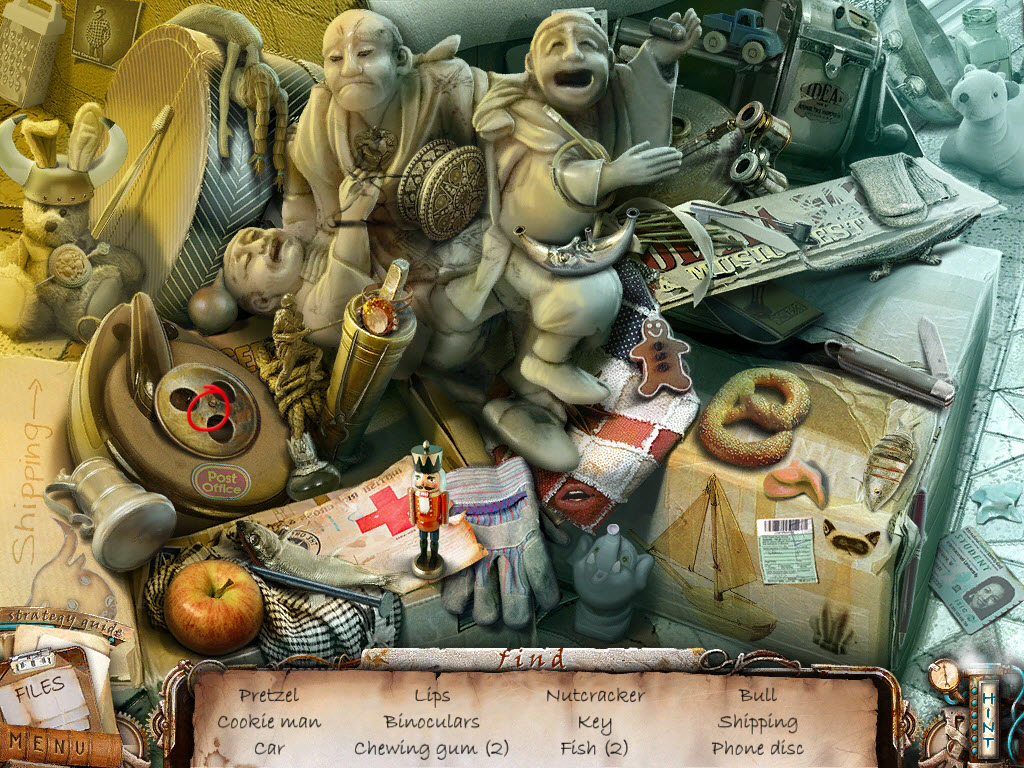
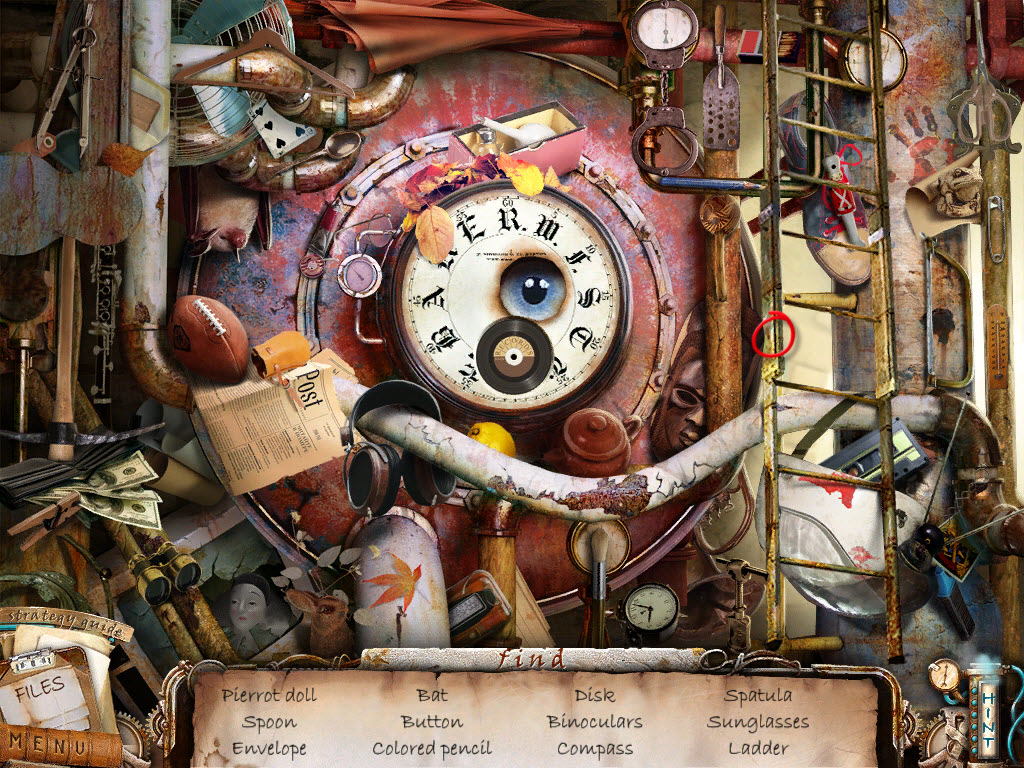
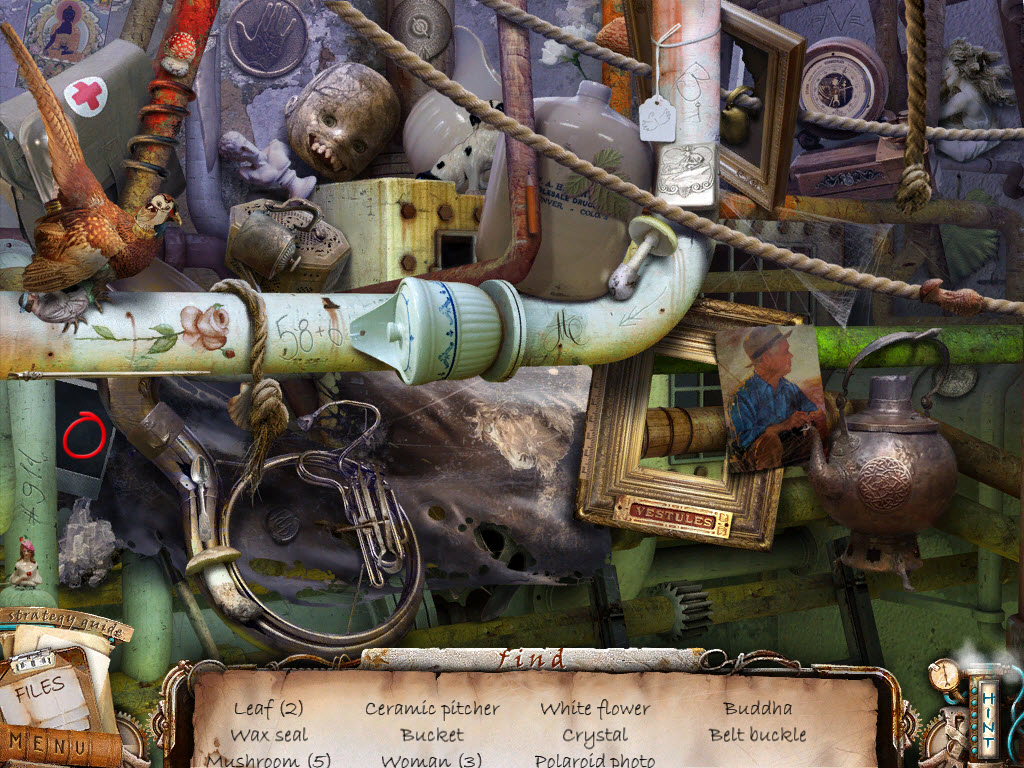
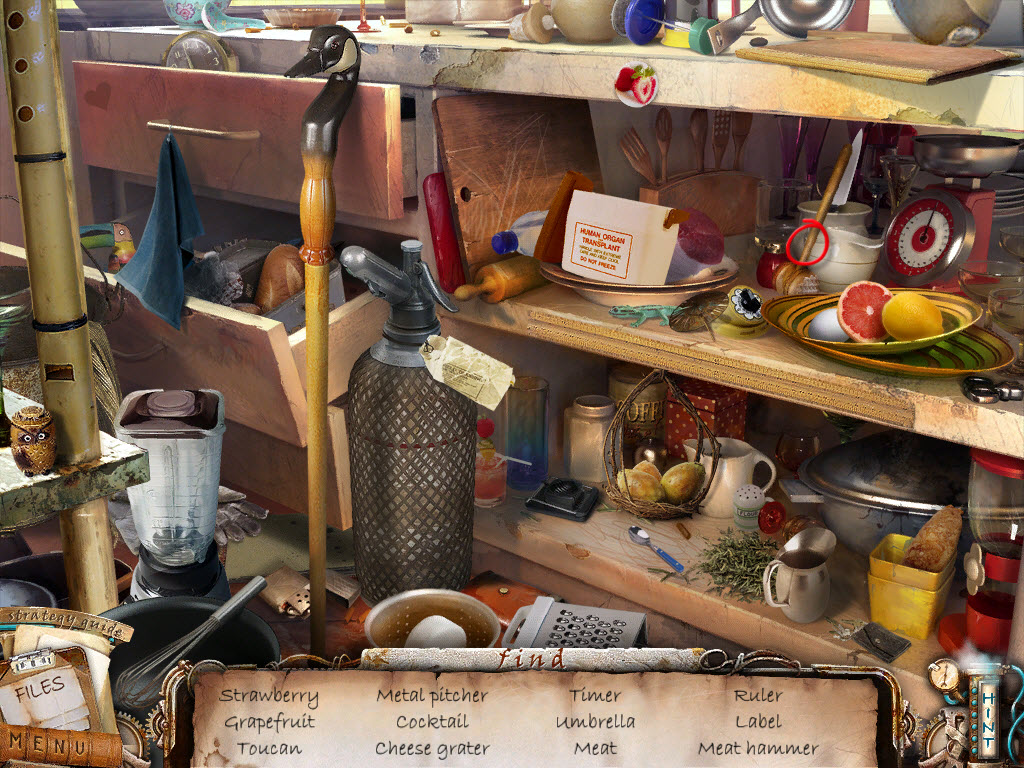
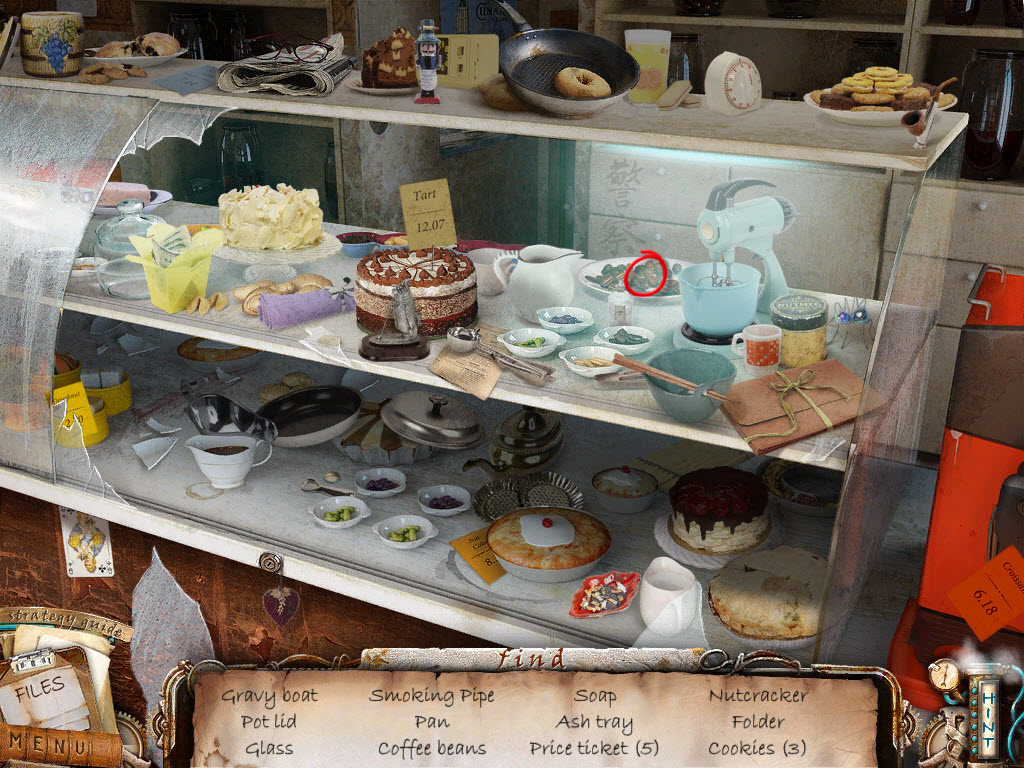
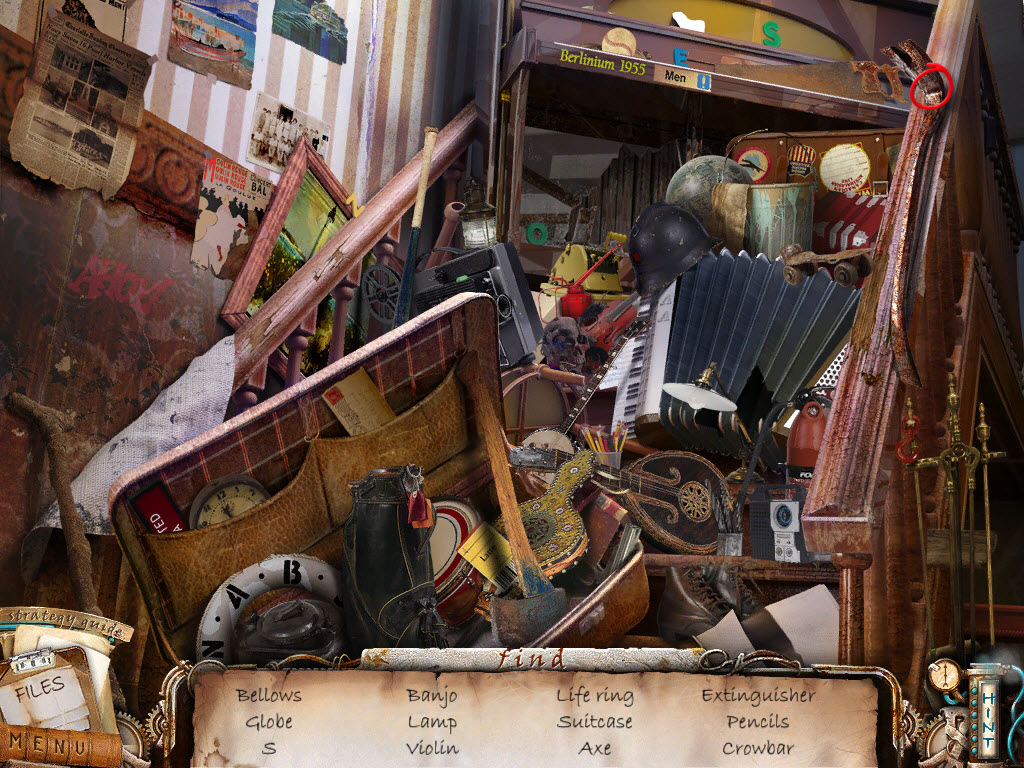
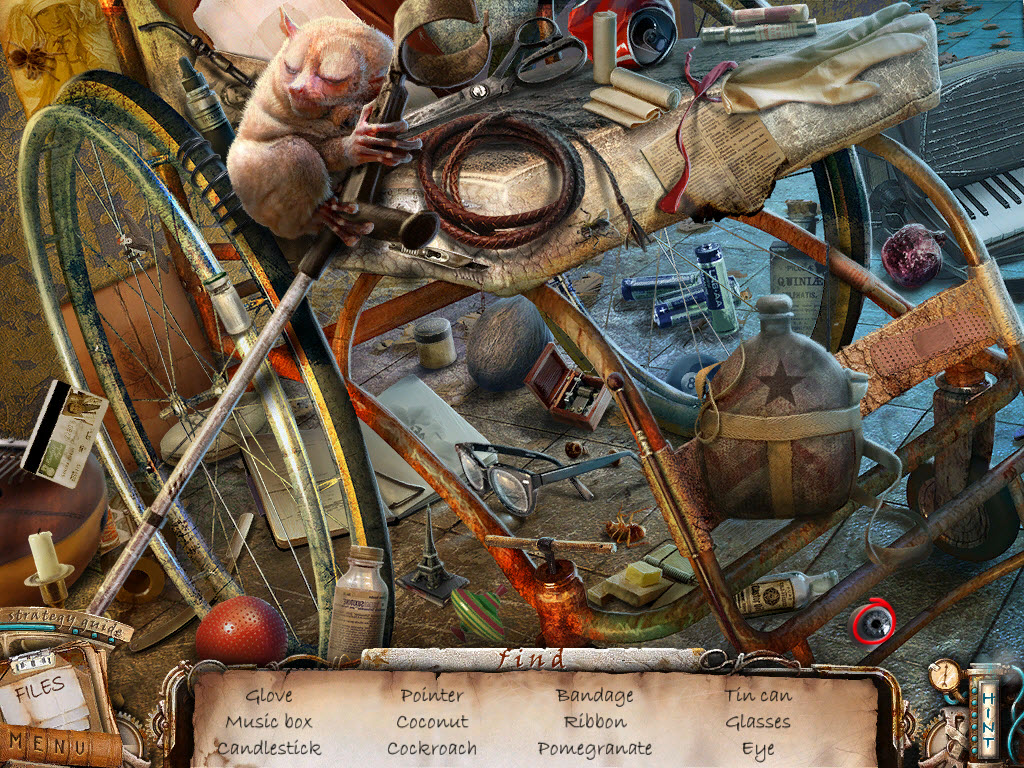
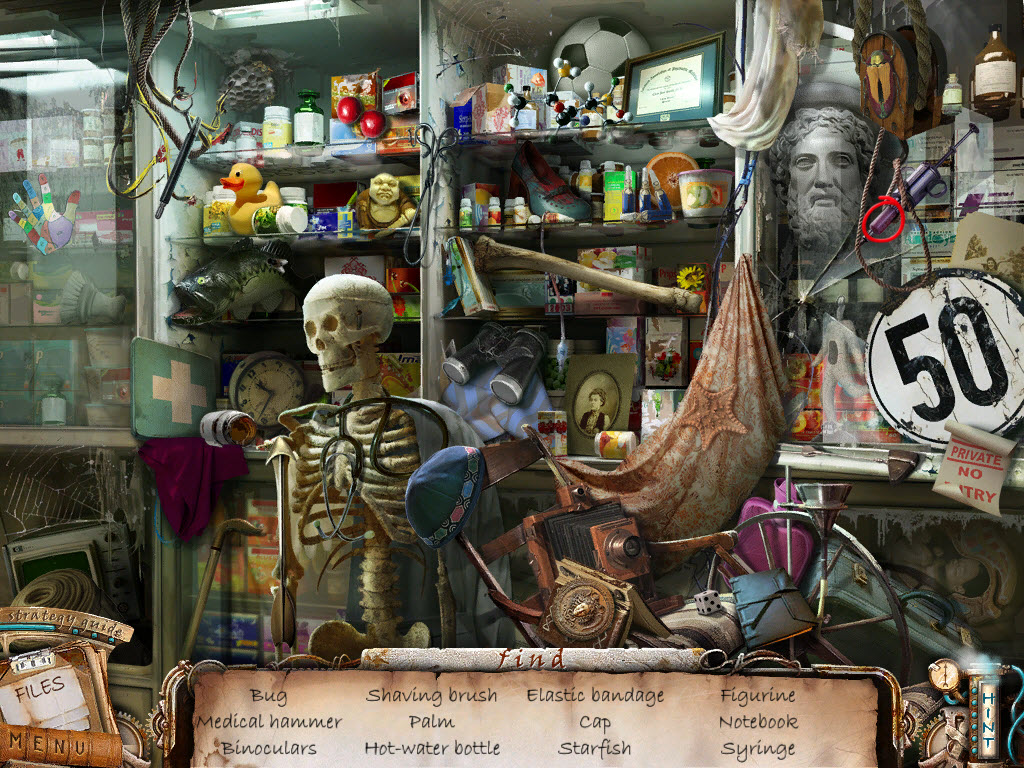
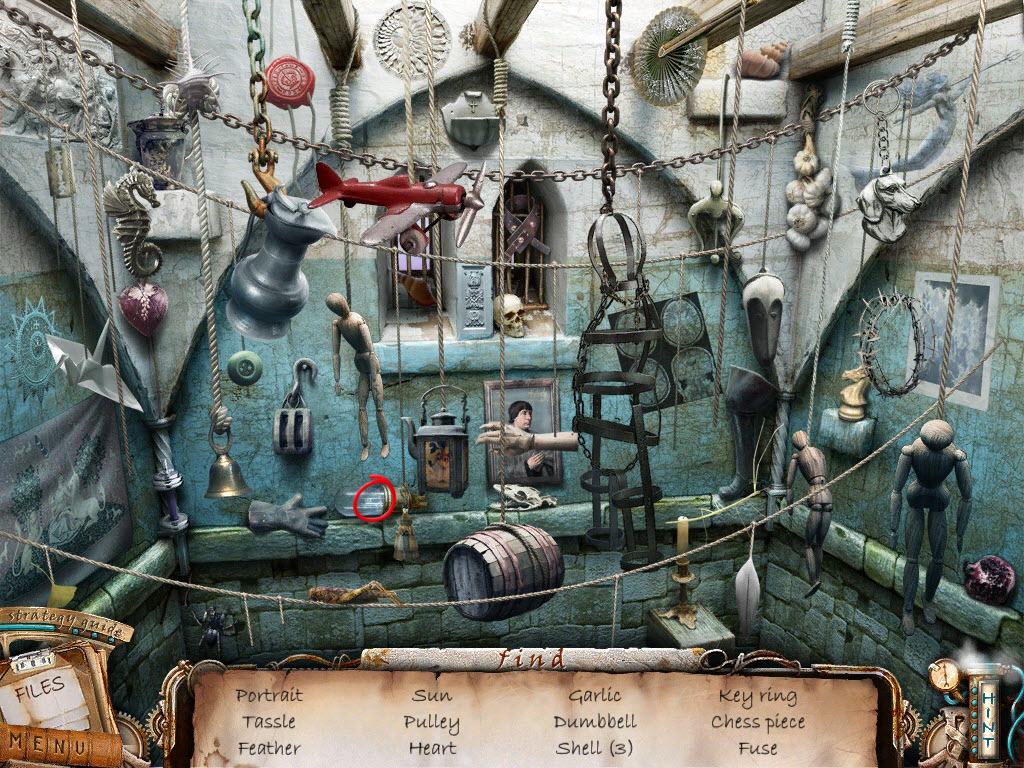
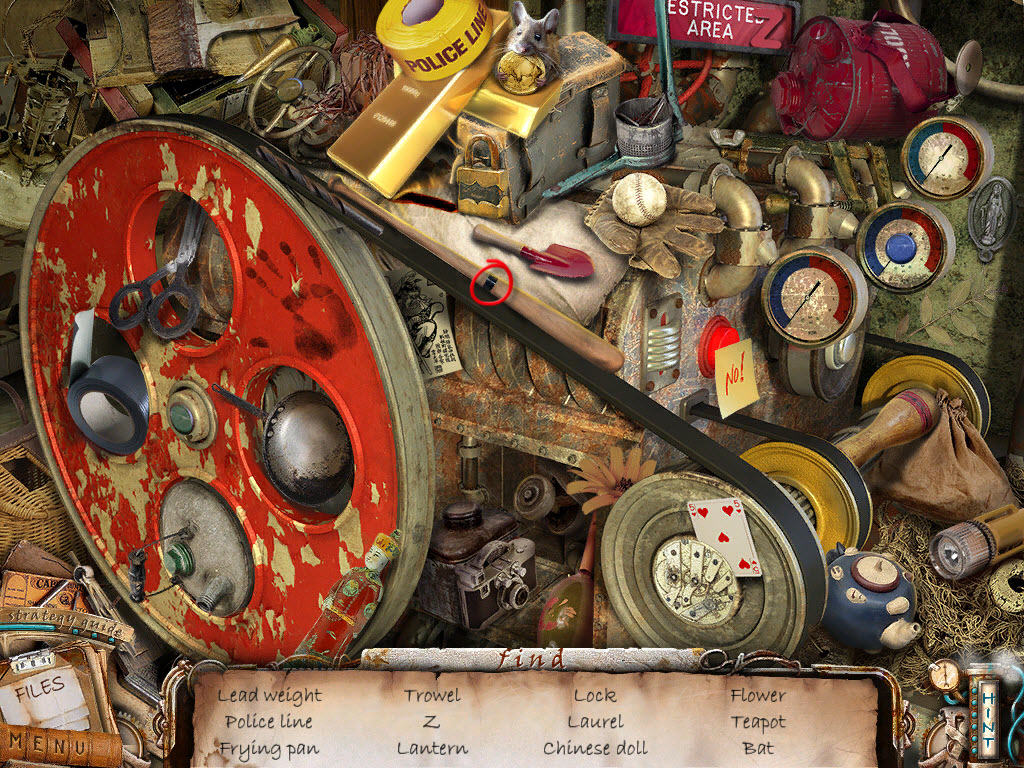
The F.A.C.E.S. Walkthrough covers every aspect of the game and includes screenshots for each hidden object area. Most puzzles have video solutions and some have either text or screenshot solutions. You need to use your special powers to solve the mystery of the asylum and escape before it's too late!
Images
©Vogat Interactive
Overview:
You find yourself trapped in an asylum where you are being experimented
on. You are about to face your final operation. Death. Can you escape
the asylum and use your gifts to free the others before it's too late?
Museum
Third Floor
Photo - Inside Consultation Center
Photo - Operating Room
Museum
- examine the laser switch
- pull the switch
- take the Ruby
- examine the window
- read the notice on the windowsill
- examine the hole in the floor
- read the crumpled paper
- go to the right
- pull back the covers on the bed
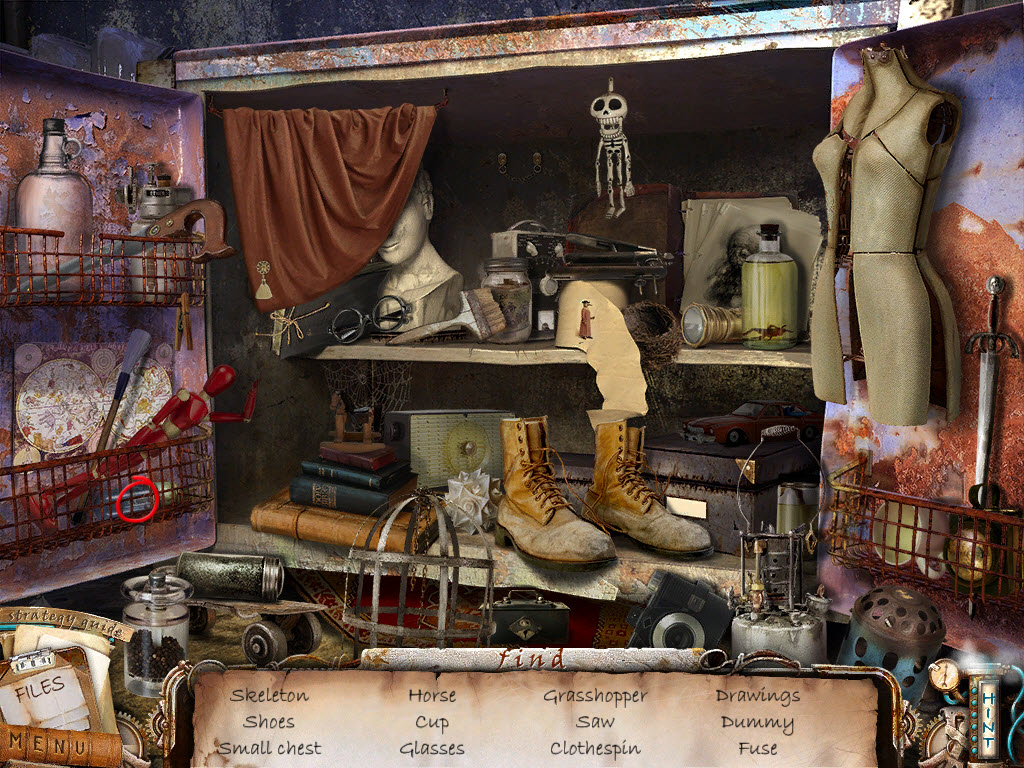
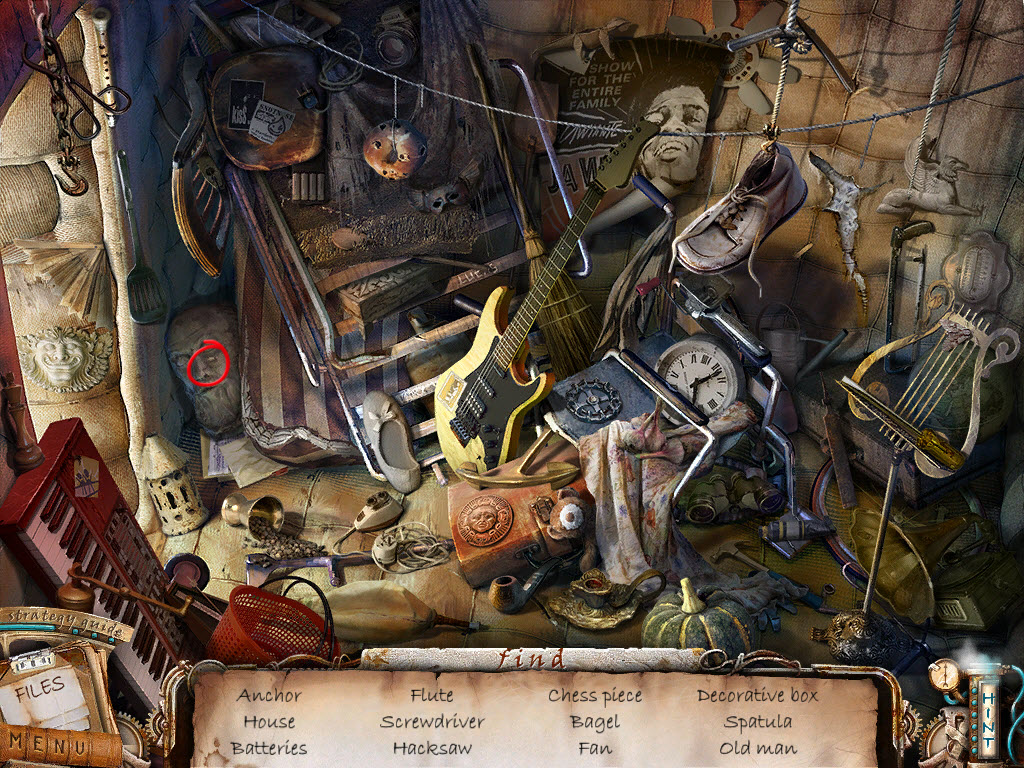
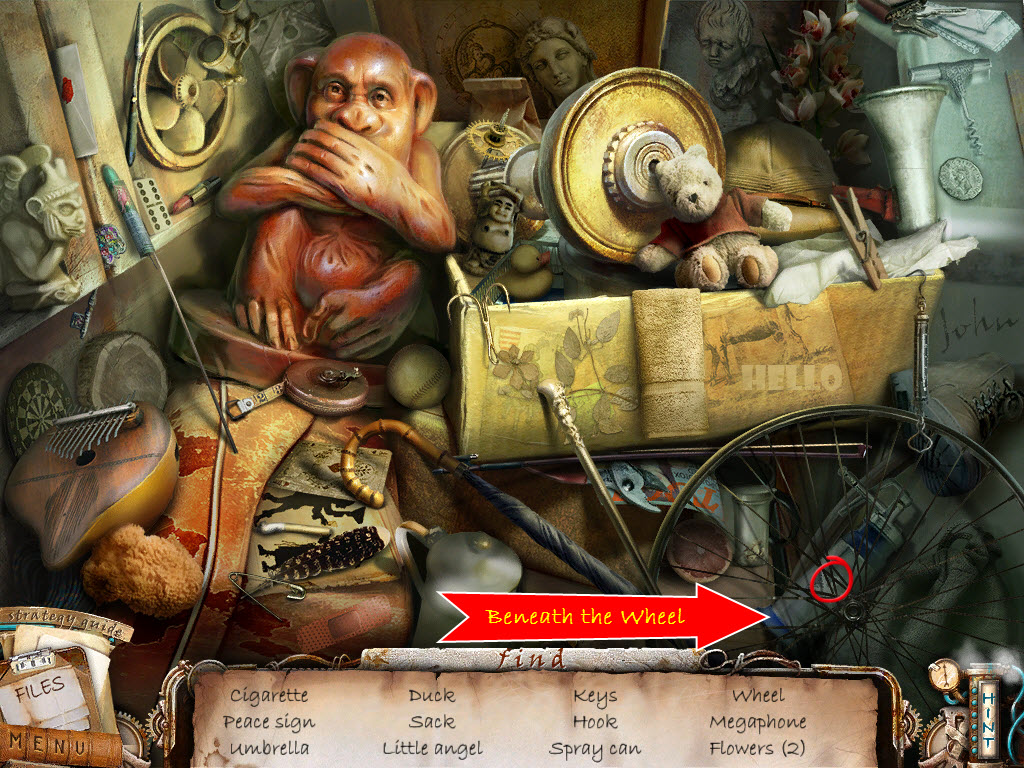
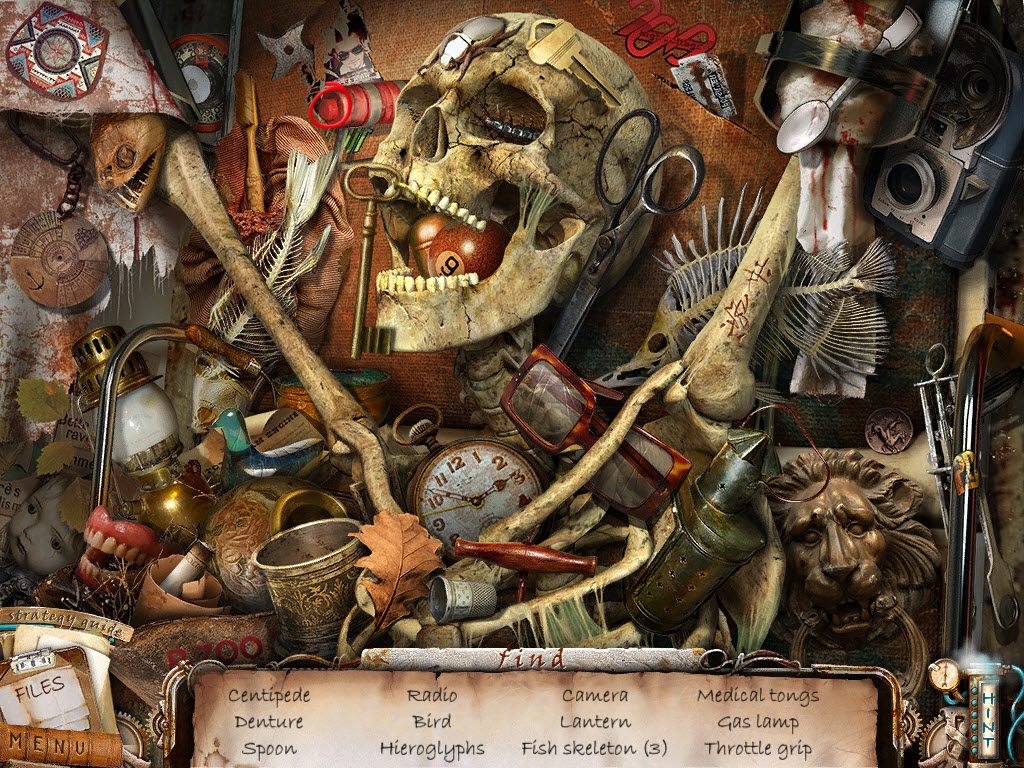
- look under the bed - hidden object area
- take the Valve
- pop the balloon
- read the Note that falls to the floor
- examine the sink
- use the Valve on the handle
- take the Chopsticks
- go to the left
- examine the hole in the floor
- use the Chopsticks to retrieve the Photo (Home)
- you will enter the photo
- examine the coffee table
- take the African Mask
- look at the remote - it needs fixed
- look at the photo
- make a note of the birth date
- examine the briefcase on the couch
- enter the birth date you found on the photo (5831)
- read the pamphlet on the asylum
- pick up the Glass Eye 1/4
- go up the stairs
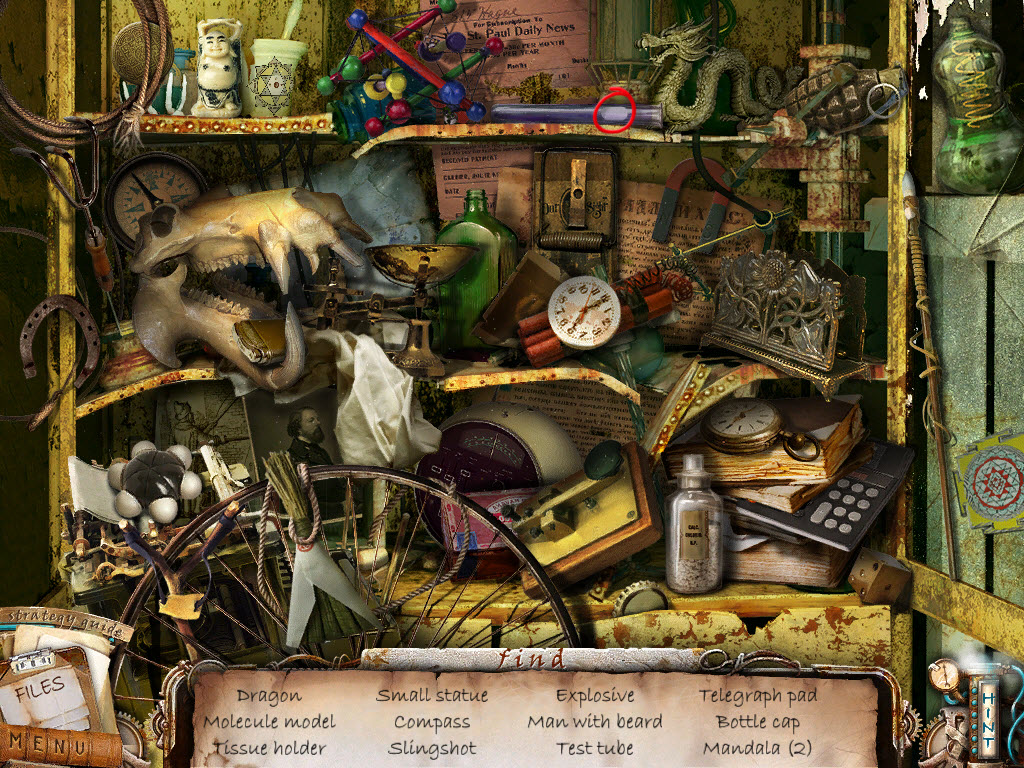
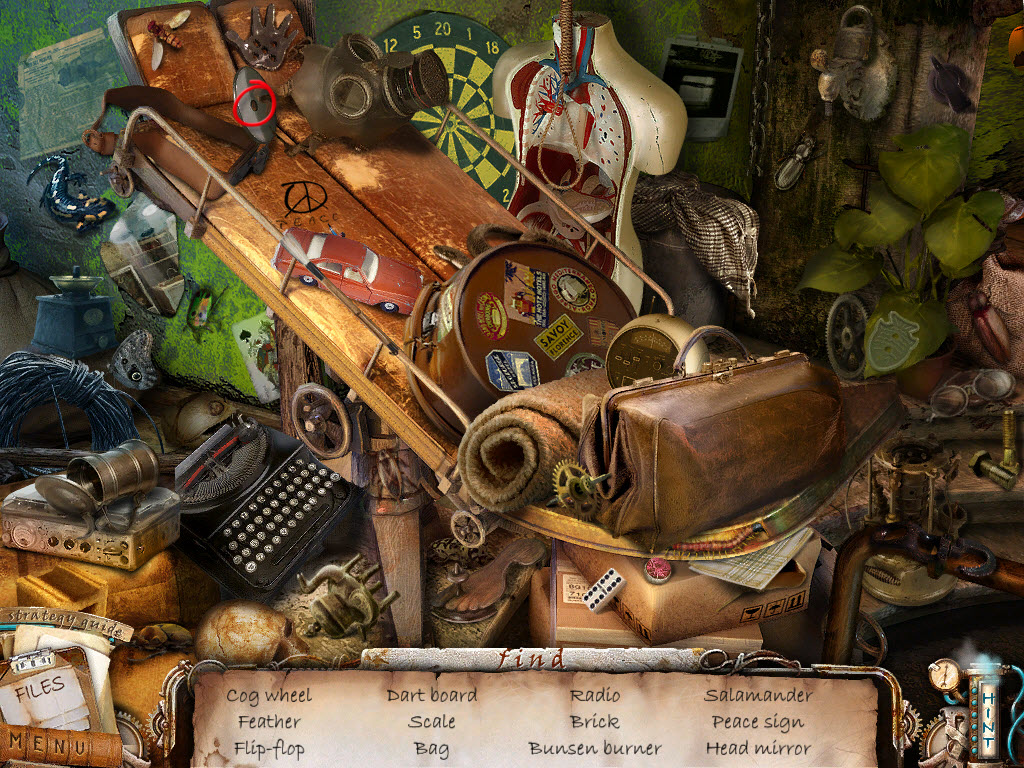
- examine the bed - hidden object area
- take the Battery 1/2
- examine the closet
- remove the hat and take the Venetian Mask from the mannequin
- examine the right floor area
- take the Dummy Arm
- plug in the lava lamp
- unscrew the top of the lava lamp
- take the Glass Eye 2/4
- return to the closet
- place the Dummy Arm on the mannequin
- push down the pinky finger, ring finger, and thumb to form a peace sign
- take the Glass Eye 3/4
- go through the door
- examine the bathtub
- pull the chain and drain the tub
- take the Glass Eye 3/4
- examine the hamper
- move the clothes around until you find the Battery 2/2
- open the door on the sink cupboard - hidden object area
- take the Jar
- go back down the stairs
- examine the aquarium
- use the Jar to trap the scorpion
- take the Mask with Beak
- examine the coffee table
- place the Batteries in the remote control
- pick up the remote control
- go forward towards the wall
- place each Mask in it's correct spot (African Mask, Mask with Beak, Venetian Mask)
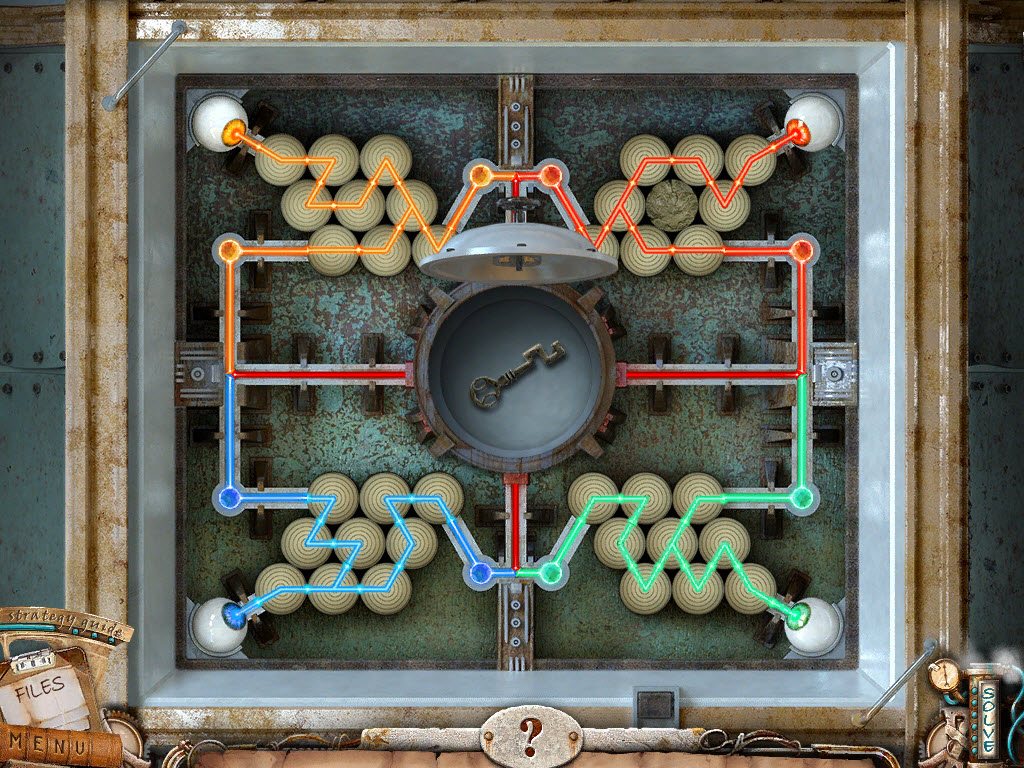
- Glass Eye Puzzle
- place the Glass Eyes in the puzzle
- rotate the balls so they create a continuous line
- see screenshot for solution
- take the Skeleton Key
- use the Key on the door
- examine the lock on the door
- use the Skeleton Key on the door
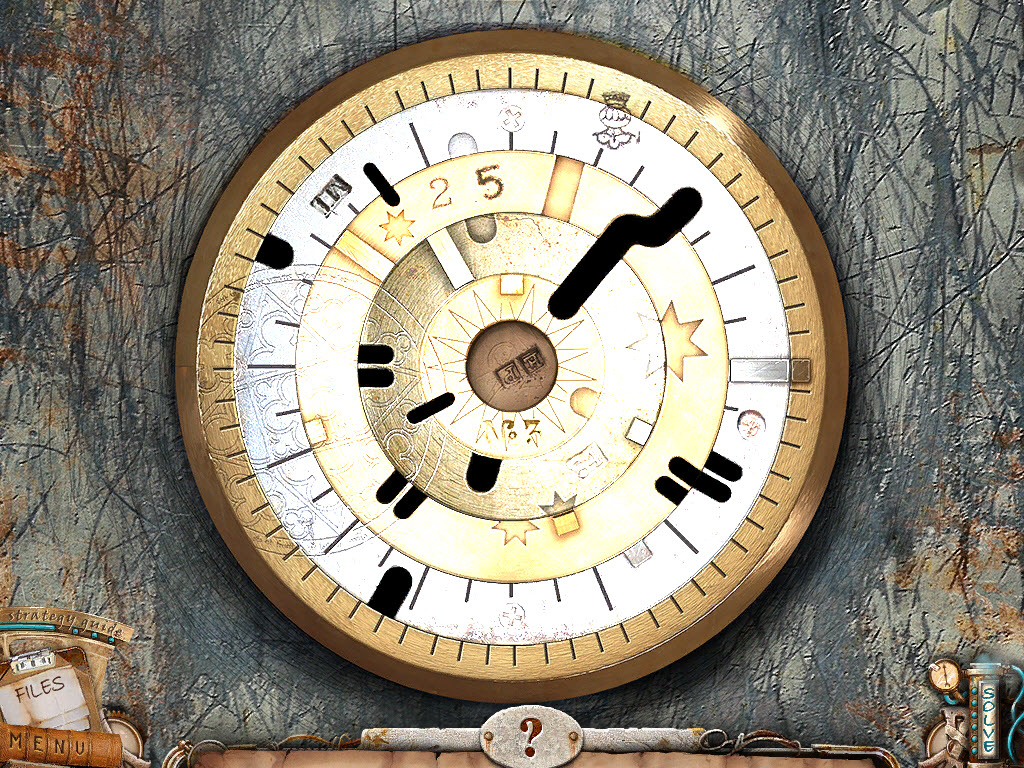
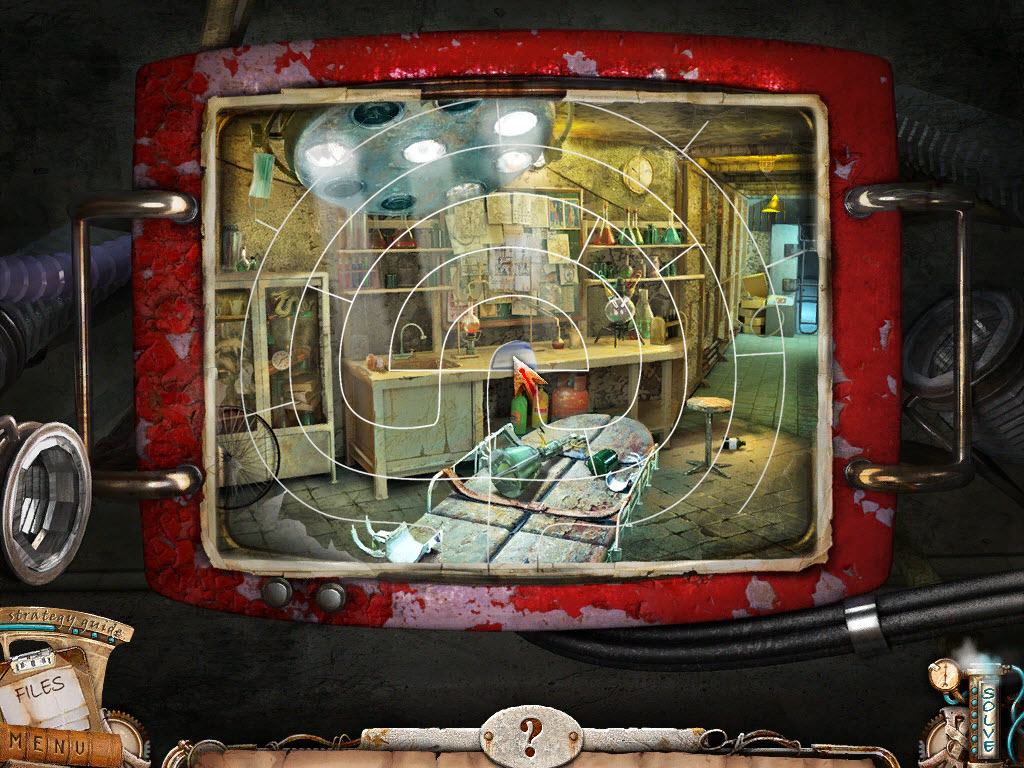
- Cell Door Puzzle
- turn the rings to line up the picture
- turning one ring may turn another
- solution: turn the center ring first (ring 1) - the writing should face the bottom, turn the ring outside the center next (ring 2), turn the next ring (ring 3), go back and turn ring 2, and then finally the outer ring (ring 1)
- see screenshot for solution
- exit the cell
- examine the switch and flip it
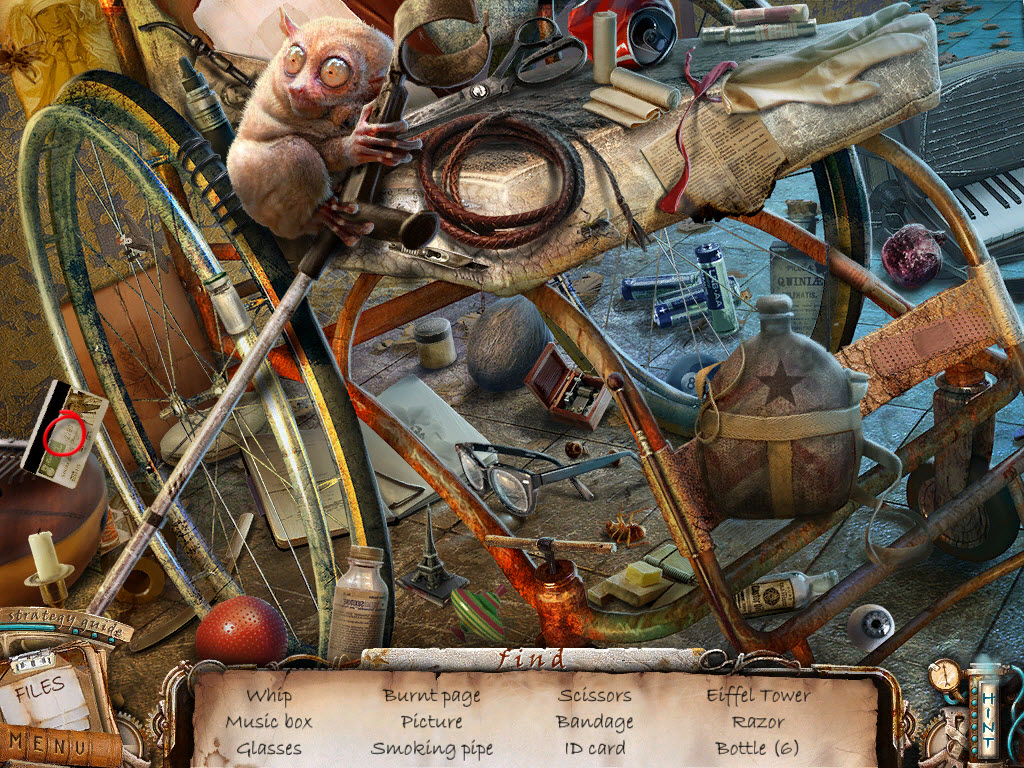
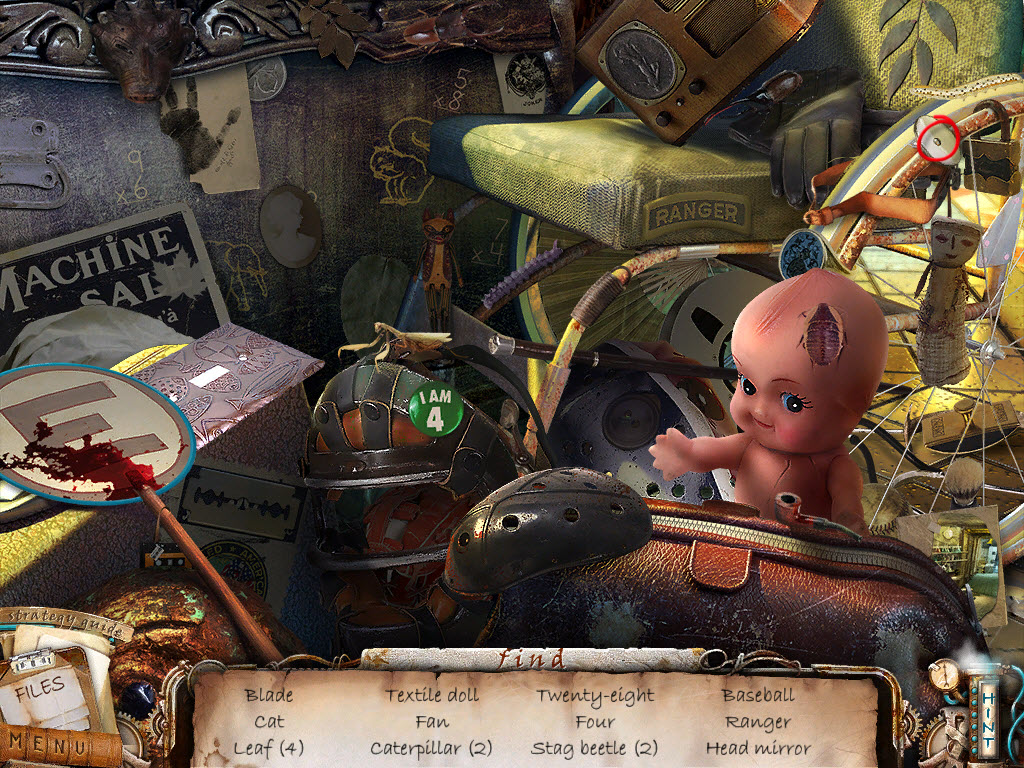
- examine the wheelchair - hidden object area
- take the ID Card
- read the clipboard on the floor between the door and the elevator
- read the sign on the door
- push the elevator button
- enter the elevator
- examine the elevator buttons
- swipe the ID Card
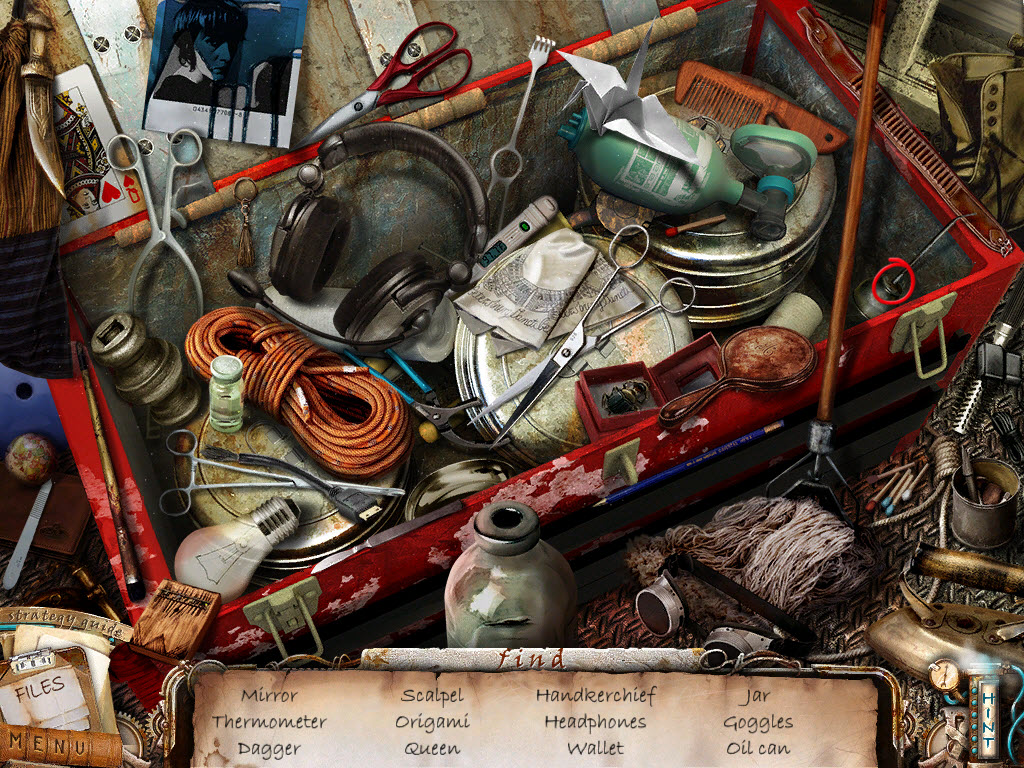
- examine the trunk - hidden object area
- take the Oil Can
- read the clipboard
- read the yellow post-it note
- examine the lock on the elevator doors
- take the Pliers
- examine the elevator buttons
- use the Pliers to retrieve the Pin
- examine the lock again
- use the Oil Can and then the Pin on the lock
- examine the elevator buttons and press the button for the 3rd floor
- exit the elevator
- examine the windows
- pick up the Glass Shard 1/4
- go forward through the door
- look at the warning screen on the left
- click the on/off lever on
- X-Ray Puzzle
- click the x-ray pictures that are different from the others
- the solutions will vary per player/per game
- take the Data Disc
- examine the danger screen
- open the door
- take the Third Floor Fuse
- examine the gurney in the back
- take the Glass Shard 2/4
- read the article under the table
- read the yellow post-it note
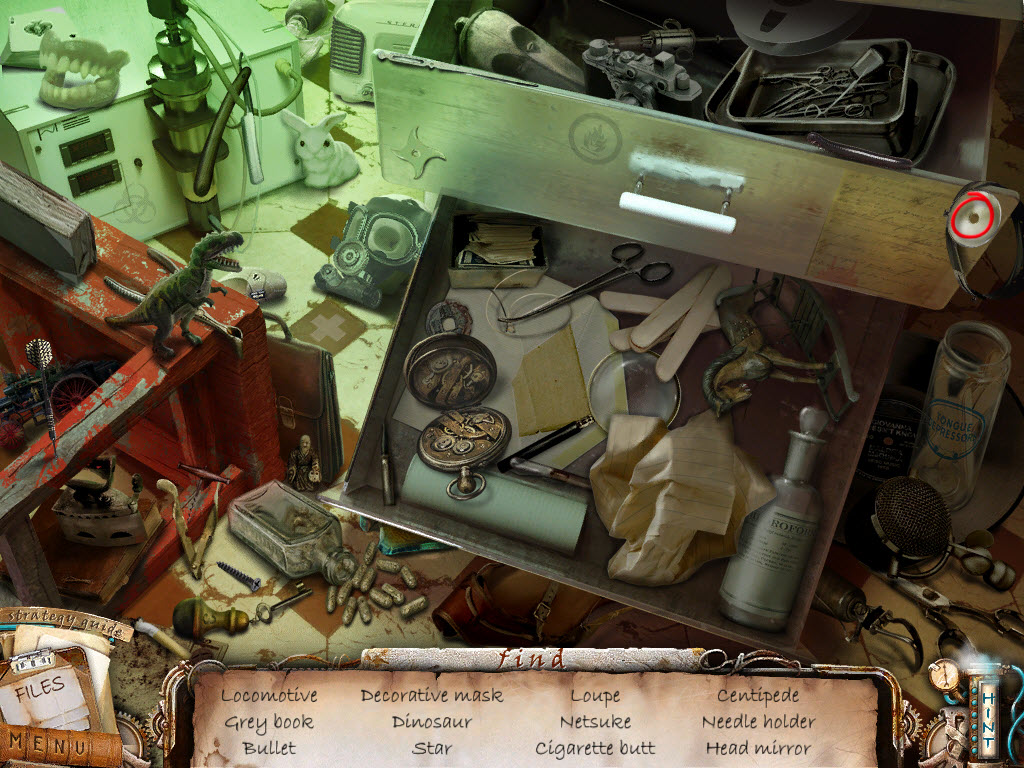
- examine the drawer - hidden object area
- take the Glass Shard 3/4
- exit the room and continue to the right
- examine the old telephone
- take the Glass Shard 4/4
- read the note by the door
- examine the door
- place the four Glass Shards in the broken window
- Glass Shard Puzzle
- replace the glass shards like a jigsaw puzzle
- right click to rotate the pieces
- look through the glass
- receive Keyboard Buttons
- return to the elevator
- push the "B" button
- go forward twice
- examine the dresser on the left
- open the top drawer
- take the Room Key
- pick up the Elevator Button 1/3 from beside the locked box
- examine the main screen
- take the Basement Fuse
- examine the keyboard
- replace the Keyboard Keys
- put the Data Disc in the drive behind the keyboard
- look at the main screen again
- place the Basement Fuse in the hole beneath the "B"
- Basement Fuse Puzzle
- the object is to move the nodes so all the lines are separated
- they will turn green when they are correct
- there are multiple solutions for these puzzles
- see video's for MY solution(s)
- place Third Floor Fuse in the hole under "3" and repeat puzzle
- read post-it note attached to dart board
- exit back once
- examine the area on the left - hidden object area
- take the Duct Tape
- enter the elevator and go back to the third floor
- read the note taped to the right column beside the gurney
- go to the right
- talk to the patient
- receive Knob
- go to the left
- examine the window
- use the Knob on the window
- open the window
- reach out and take the Photo (Consultation Center)
- examine the steps - hidden object area
- take the Flashlight
- look in the waste can
- move things aside until you find the Glove
- go to the side door
- read the note beside the door
- look in the sandbox - hidden object area
- take the Wrench
- go back down
- examine the grate
- use the Wrench on the bolts
- take the Coin
- examine the newspaper vendor
- put the Coin into the coin slot
- take the Gear 1/3
- look at the grate again
- use the Flashlight on the stairs to proceed down
- using the Flashlight shine it in the upper-right corner
- clear the cobwebs away and take the Gear 2/3
- locate the ladder and continue down
- use the Flashlight and shine it on the center-right area
- remove the bars and take the Cane
- shine the Flashlight near the top-center area
- use the Cane to reach the screwdriver
- examine the mess - hidden object area
- take the Screwdriver
- go down twice
- go to the side door
- examine the lock on the door
- use the Screwdriver to remove the three screws
- remove the cover
- look in the can of paint
- use the Glove to take the Gear 3/3
- examine the lock again
- place the Gears - you need solvent
- go back down
- examine the stairs - hidden object area
- take the Solvent
- go to the side door
- look at the lock again
- use the Solvent on the gear
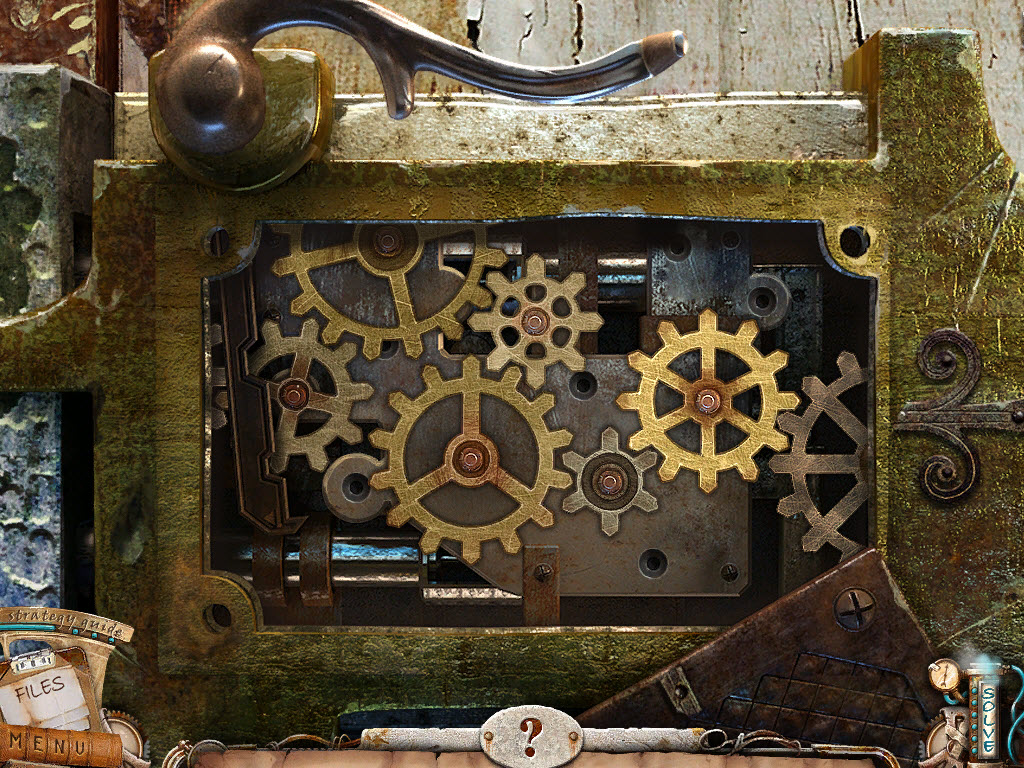
- Gear Puzzle
- place the gears in the correct places
- pull the lever
- see screenshot for solution
Third Floor
- examine the area directly in front of you - hidden object area
- take the Pruner
- go to the right
- examine the old telephone
- use the Screwdriver on the bells
- take the Bells
- return to the elevator
- examine the hazard panel
- use the Screwdriver to remove the three screws
- use the Duct Tape on the wires
- return to the basement
- enter the door on the left
- examine area to the left - hidden object area
- take the Handsaw
- go through the door on the right
- examine the laboratory area
- take the Elevator Button 2/3 (left side)
- look at the top of the stairs
- use the Handsaw on the lock
- go through the door
- examine the area below the reception desk - hidden object area
- take the Phone Disc
- examine the desk
- move the newspaper aside
- take the Elevator Button 3/3
- read the note attached to the desk
- return to the elevator
- replace the three Elevator Buttons
- go to the fourth floor and return to your cell
- examine the chest under the window
- use the Fourth Floor Key on the lock
- look inside the doors - hidden object area
- take the Second Floor Fuse
- return to the basement
- place the Second Floor Fuse above the "2"
- click the screen
- complete the fuse puzzle (same as before)
- return to the elevator and visit the second floor
- examine the rope holding up the board
- use the Pruners to cut the rope
- examine the switch on the right wall
- pull the switch to cut the electricity in the water
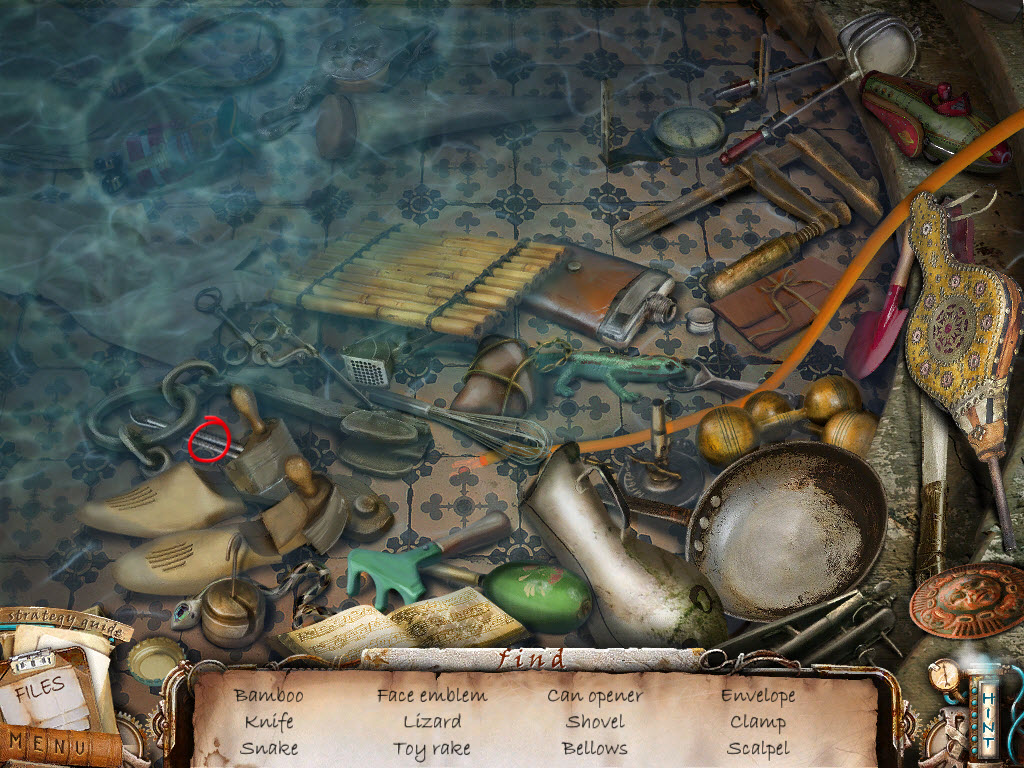
- examine the water - hidden object area
- take the Scalpel
- return to the third floor
- look at the gurney
- there is a "T" shaped lump under the fabric
- use the Scalpel to cut through the fabric
- take the Sterilizer Key
- return to the second floor
- use the Sterilizer Key on the container to the left
- Sterilizer Puzzle
- the object is to match three of the same colored balls in the center
- they must match one of the colors in the handle
- each handle has two random colors
- see video for the solution to MY puzzle (yours may be different)
- take the Developer Fluid
- go forward
- read the clipboard
- read the note on the door
- check the lock and window area
- return to the basement
- go into the boiler room
- examine the area to the left - hidden object area
- take the Ladder
- return to your cell on the fourth floor
- go to the right
- use the Ladder on the wall (grate)
- examine the grate - hidden object area
- take the Polaroid Photo
- return to the morgue in the basement
- examine the lab in the back of the morgue
- place the Developer Fluid in the bin
- place the Polaroid Photo in the fluid
- Photo Puzzle
- create the colors shown below the clear vials
- use the arrows on each side to move the vials under the color you need
- see video for solution
Photo - Inside Consultation Center
- examine the counter - hidden object area
- take the Meat Hammer
- go to the left
- use the Meat Hammer on the glass display case
- look in the display case - hidden object area
- take the Coffee Beans
- go to the left
- examine the staircase - hidden object area
- take the Lemon Pie Price
- go to the right twice
- examine the counter - hidden object area
- take the Water Bottle
- go to the left
- look at the coffee maker
- use the Coffee Beans and Water Bottle on the coffee maker
- take the Latte Price
- examine the cash register
- use the Lemon Pie Price and Latte Price on the red oval scanner
- take the Key
- go to the left
- examine the staircase - hidden object area
- take the Crowbar
- go to the right twice
- examine the lock on the fridge
- use the Key on the lock
- use the Crowbar to break the ice
- Freezer Puzzle
- press the buttons in the correct order to complete the equation
- solution: 7 - 6 /1 = 1
- exit the photograph
- return to the reception area
- examine the phone on the desk
- use the Scalpel to remove the Receiver
- return to the second floor
- go forward
- examine the cage
- use the Crowbar on the lock
- open the cage door
- replace the Disc, Bells and Receiver
- pick up the telephone when it rings
- take the First Floor Fuse from the little bin the opens
- return to the basement
- go forward
- replace the First Floor Fuse
- complete the fuse puzzle (same as before)
- return to the elevator and go to the first floor
- read the note on the bars
- examine the monitor
- take the Cloth
- return to the fourth floor
- examine the wheelchair - hidden object area
- take the Glass Eye
- return to the first floor
- examine the monitor again
- place the Glass Eye under the screen
- look at the keypad
- First Floor Puzzle
- find the correct combination of numbers
- the answer to this puzzle will vary per player/per game
- the area below the numbers will tell you if any numbers are in the correct place or not
- go forward
- examine the alcove on the left - hidden object area
- take the Old Man
- go forward
- read the note on the wall
- examine the end of the bed
- take the Pins 3/6 and the Photo Piece 1/2
- return to the second floor
- examine the area to the right - hidden object area
- take the Photo Piece 2/2
- look at the bust on the wall
- place the Old Man on top of the bust
- go up the stairs
- place the two Photo Pieces above the chair
- click on the photo
- Picture Puzzle
- place all the pieces like a jigsaw puzzle
- see screenshot for solution
Photo - Operating Room
- examine the cabinet on the left - hidden object area
- take the Chemical Flask
- look under the table
- move the chemicals around to find another Chemical Flask
- look in the sink
- take the Thick Gloves
- examine the chemical machine
- pour the purple Chemical Flask in the right tube
- pour the green Chemical Flask in the left tube
- examine the two blue screens on the right
- Chemical Machine Puzzle
- copy the picture on the right by connecting the dots on the left
- the picture will rotate after a few moves
- tip: make a drawing with the points on a sheet of paper for a visual
- see video for solution
- take the Acid
- go forward
- examine the area on the left - hidden object area
- take the Liquid Nitrogen
- use the Liquid Nitrogen on the metal door to the right
- use the Thick Gloves to break open the door
- examine the gate
- use the Acid on the lock
- take the Mechanical Key
- place the Mechanical Key on the right side of the machine and turn it
- exit through the doorway
- examine the staircase - hidden object area
- take the Sticky Tape
- examine the first aid box on the wall
- pick up the Hammer beside the box
- use the Hammer on the glass to break open the box
- take the Safety Flare
- look at the monitor
- use the Sticky Tape to lift a Fingerprint
- go down
- look over in the dark area to the left
- use the Safety Flare to light up the area
- open the box
- Circuit Board Puzzle
- move the pieces around to connect the four lights
- see video for solution
- look at the side of the train
- use the Fingerprint to gain access
- enter the train
- examine the skeleton - hidden object area
- take the Cabinet Key
- return to the engineer's building above the stairs
- use the Cabinet Key on the lock on the first aid kit
- open up the kit
- take the Control Panel Part
- look at the monitor again
- replace the missing Control Panel Part
- Railway Control Puzzle
- this is a basic slider puzzle
- move the trains until you can get the red one out the right side
- see video for solution
- why are you reading this! run to the train!
- examine the skeleton - hidden object area
- take the Throttle Grip
- examine the train console
- replace the Throttle Grip and push it up
- make a note of the code
- go down
- examine the area on the right - hidden object area
- take the Head Mirror 1/3
- return to the x-ray lab
- examine the drawer on the right - hidden object area
- take the Head Mirror 2/3
- return to the reception area
- examine the area at the base of the reception desk - hidden object area
- take the Head Mirror 3/3
- return to the first floor
- go forward three times
- examine the box to the left of the lasers
- place the Head Lamps in the box
- Laser Puzzle
- move the three balls around the board until they read the square with the matching symbol
- see video for solution(s)
- note: there is no video for the first solution
- first solution: move each ball up, right, and down
- go forward
- look at the clipboard
- take the Pins 6/6 surrounding the photo
- take the Photo
- return to the second floor
- go forward twice
- place the Pins, Cloth and Photo in the bin
- take the Voodoo Doll
- return to the basement
- enter the boiler room
- use the Thick Gloves to turn off the steam
- examine the valves to the right
- Boiler Room Puzzle
- turn the valves in the correct order to turn off the steam
- solution: turn off the right valve, the middle valve (directly to the left of the right valve), and the top valve in that order
- throw the Voodoo Doll into the oven
- return to the first floor
- go all the way forward
- turn the red valve on the left to open the door
- enter and talk to your father (wow, I did not see that coming!)
- look to the right side of his bed
- take the Tweezers
- return to the basement and enter the boiler room
- use the Tweezers to lift the Key out of the oven
- return to the fourth floor
- use the Key on the medication room door
- examine the cabinets - hidden object area
- take the Syringe
- look at the small drawers on the left side
- find the three drawers that open and take the Bloody Note from each one
- return to the third floor
- give the Syringe to the winged boy
- take the Morgue Fuse
- return to the basement
- place the Morgue Fuse in the correct spot
- click the screen and solve the puzzle like before
- enter the morgue
- look at the body drawer
- use the Bloody Notes on the drawer
- turn the dials to reflect the numbers on the notes
- take the Dead Hand
- return to the reception area
- go toward the exit
- use the Dead Hand on the panel
- look at the keyboard
- enter the code you got from your last photo
- solution (in case you forgot to write it down): 5 3 9 5 1
- return to the basement
- examine the area under the stairs - hidden object area
- take the Bat
- go forward
- use the Bat to break all the fuses
- return to the reception area
- go towards the exit and follow the light
The End...?
