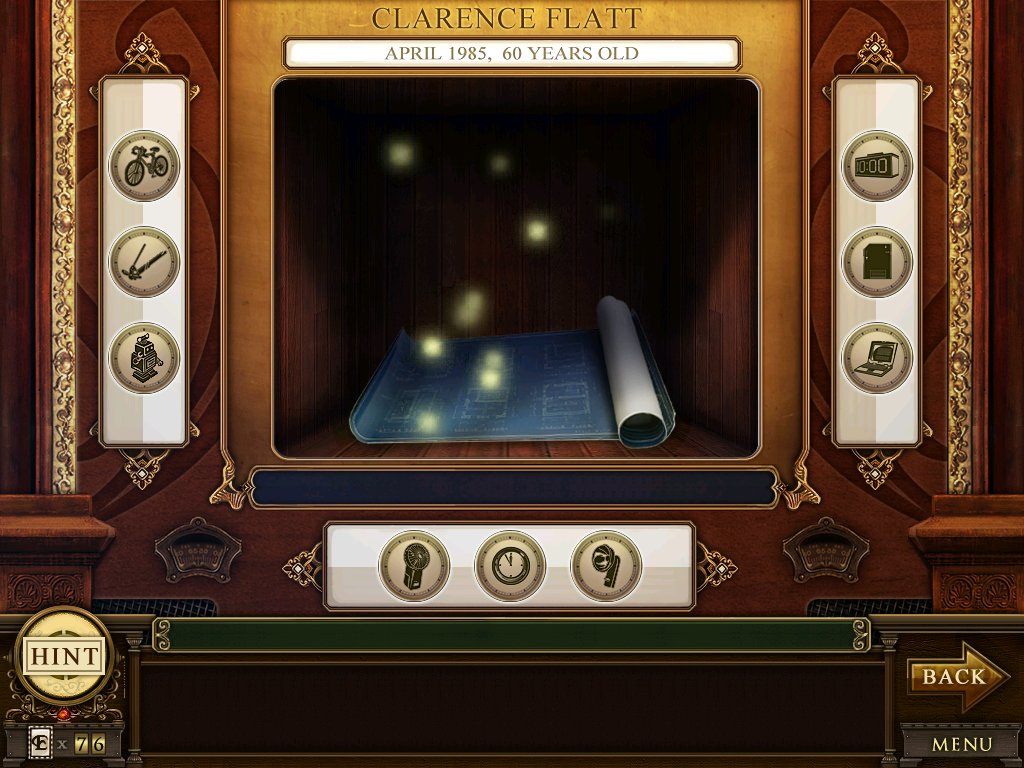
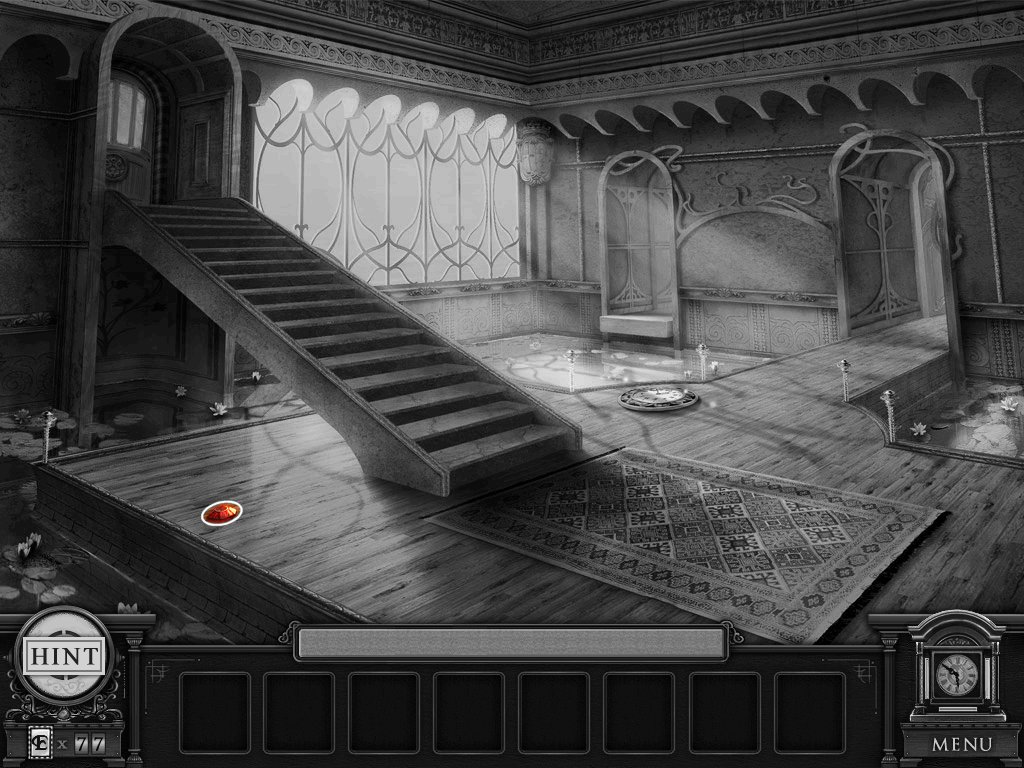
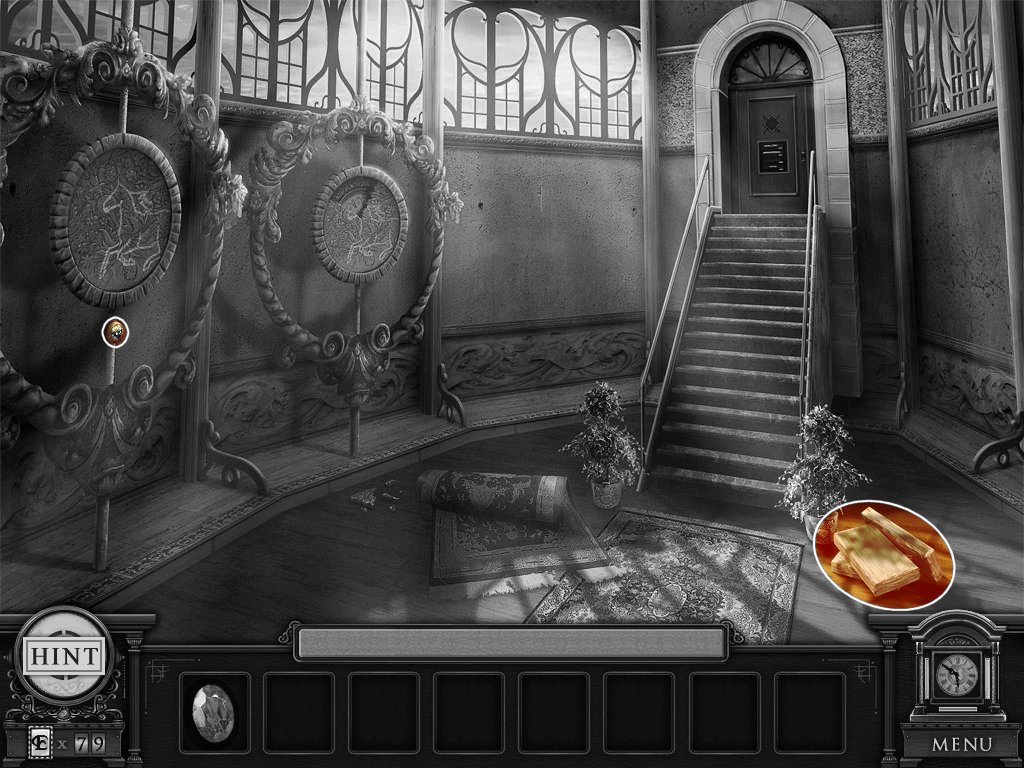
Images ©Big Fish Games & Blue Tea Games
Overview: In the second installment of the Englightenus series, you are off on a new adventure to the Timeless Tower, a place where you can relive your life.Hints: These are unlimited, but must “fill up.”
E Cards: You can find these in the locales, using one fills up the hint meter faster. There are two per hidden object locale.
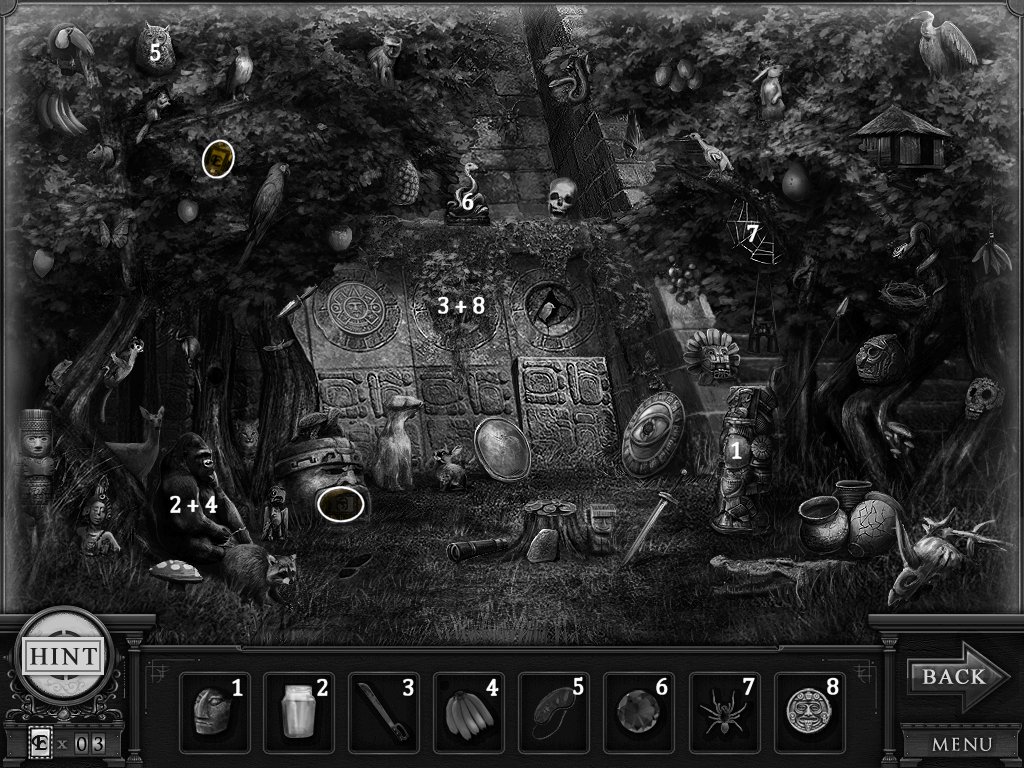
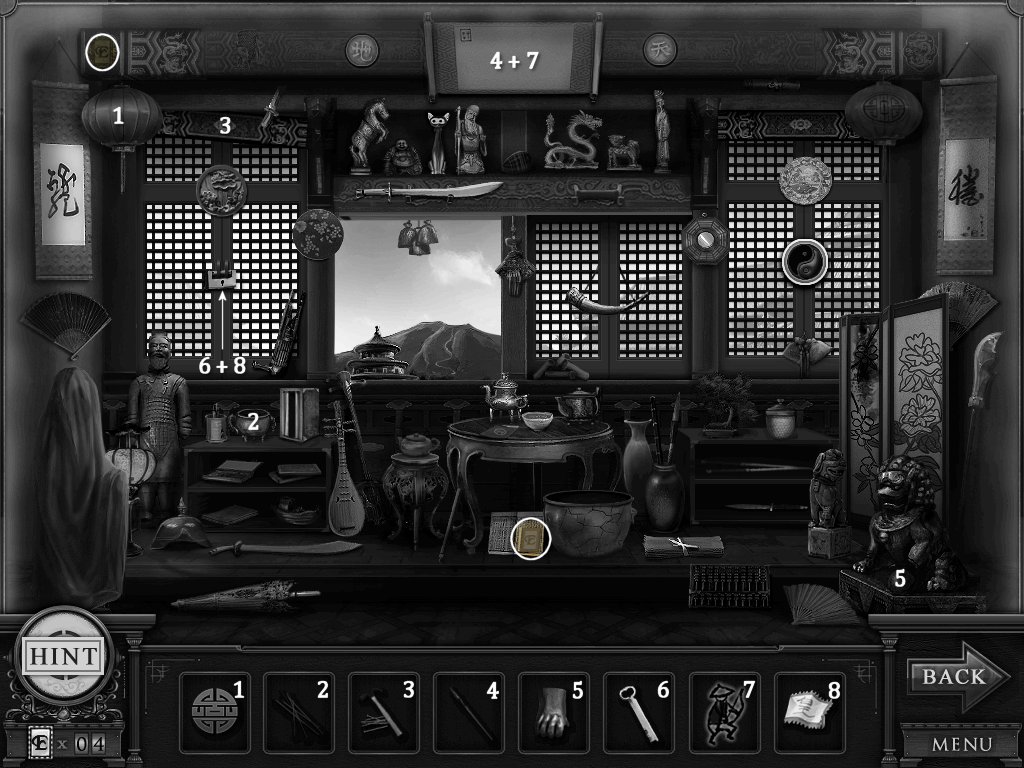
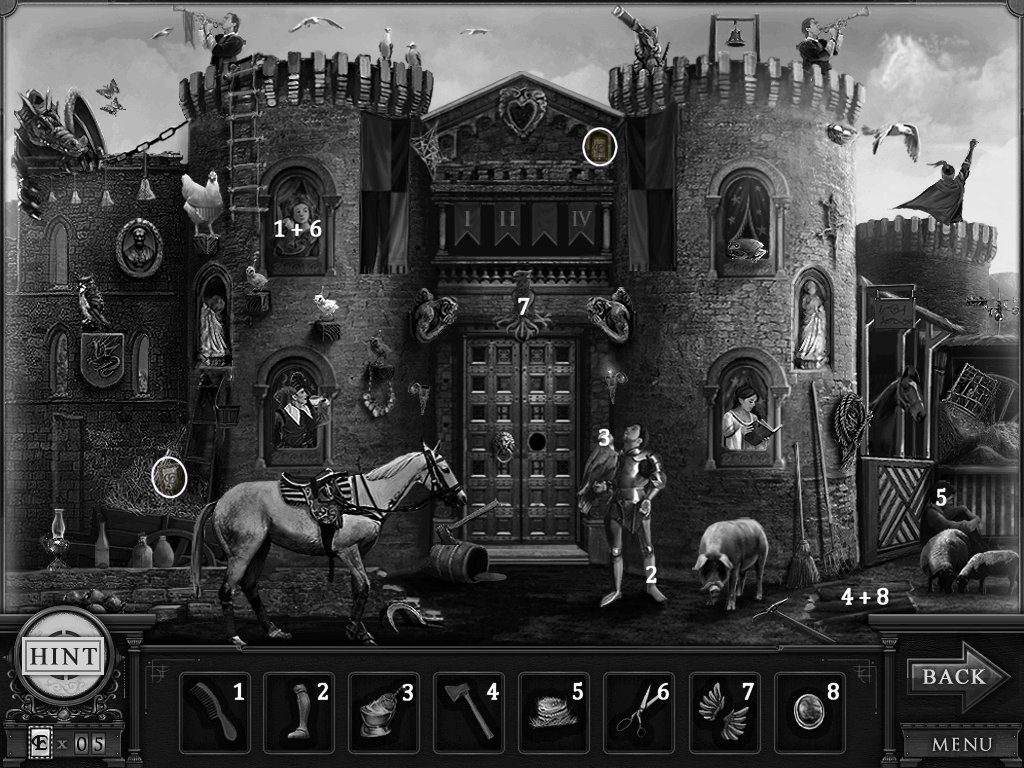
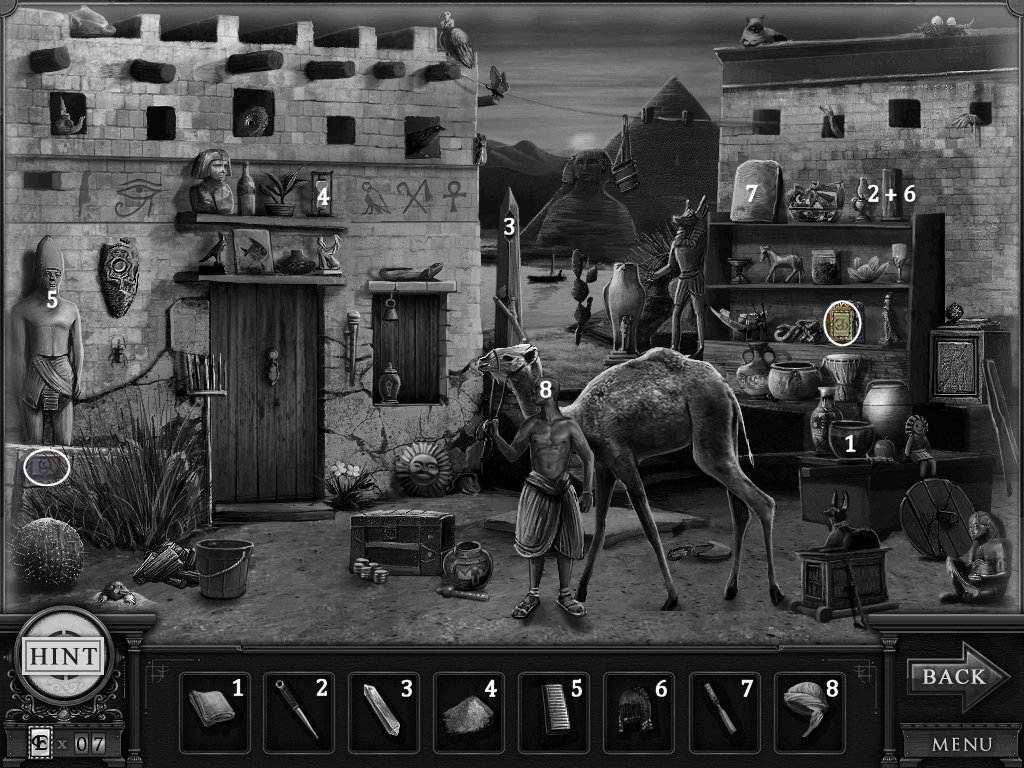
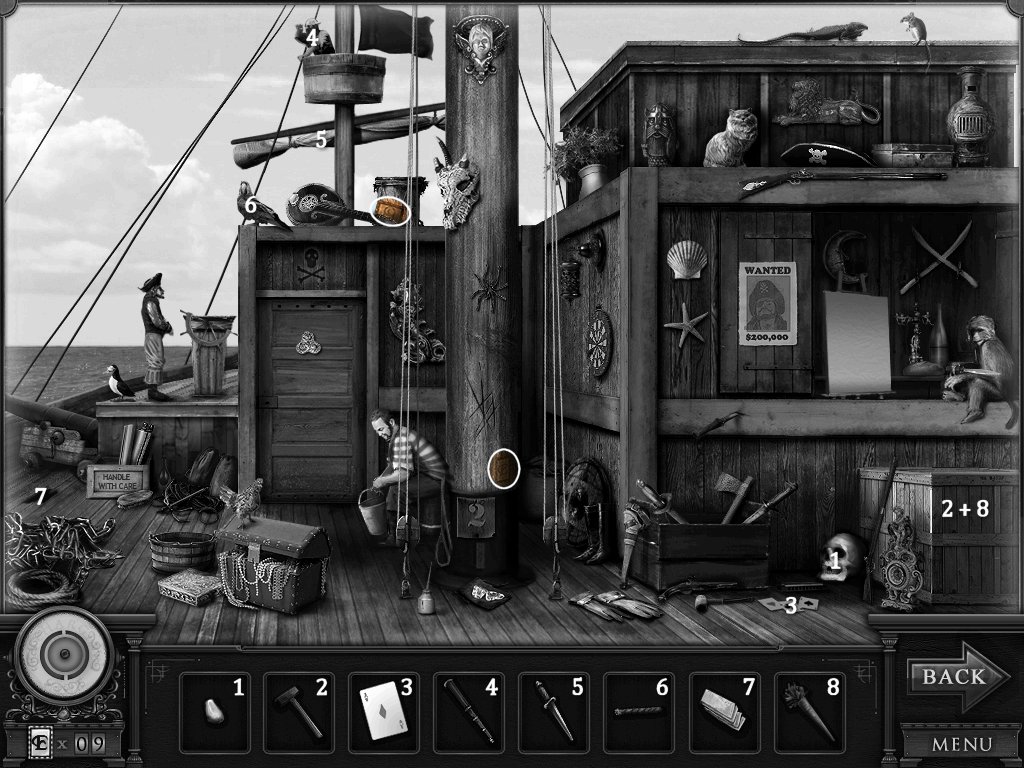
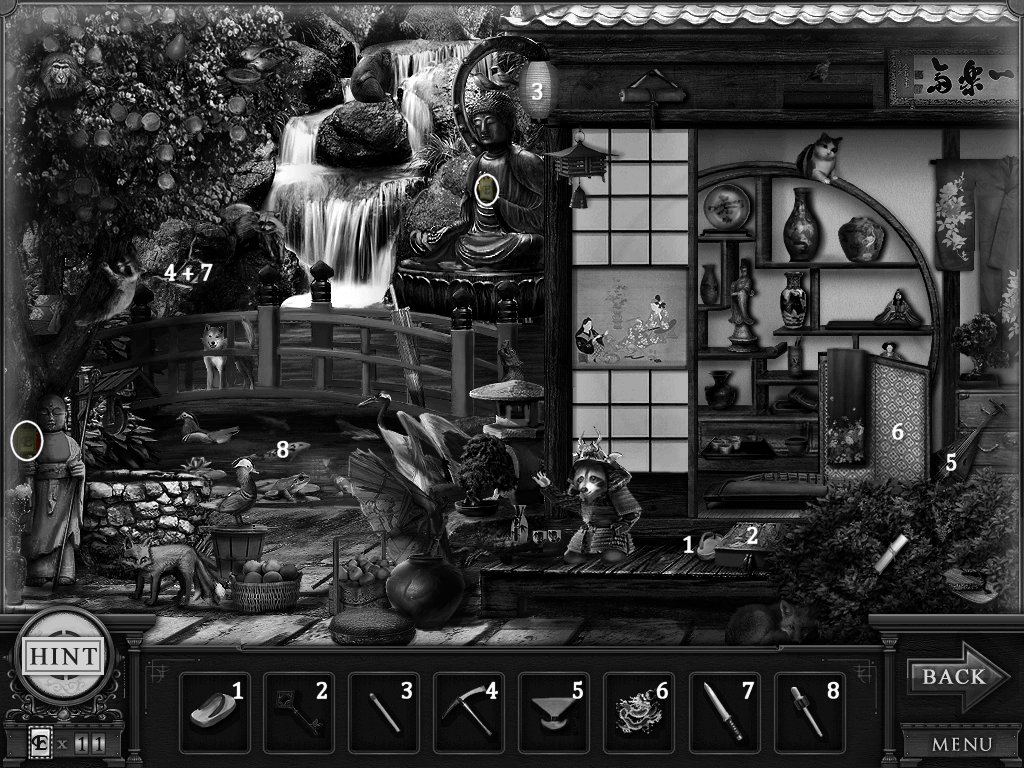
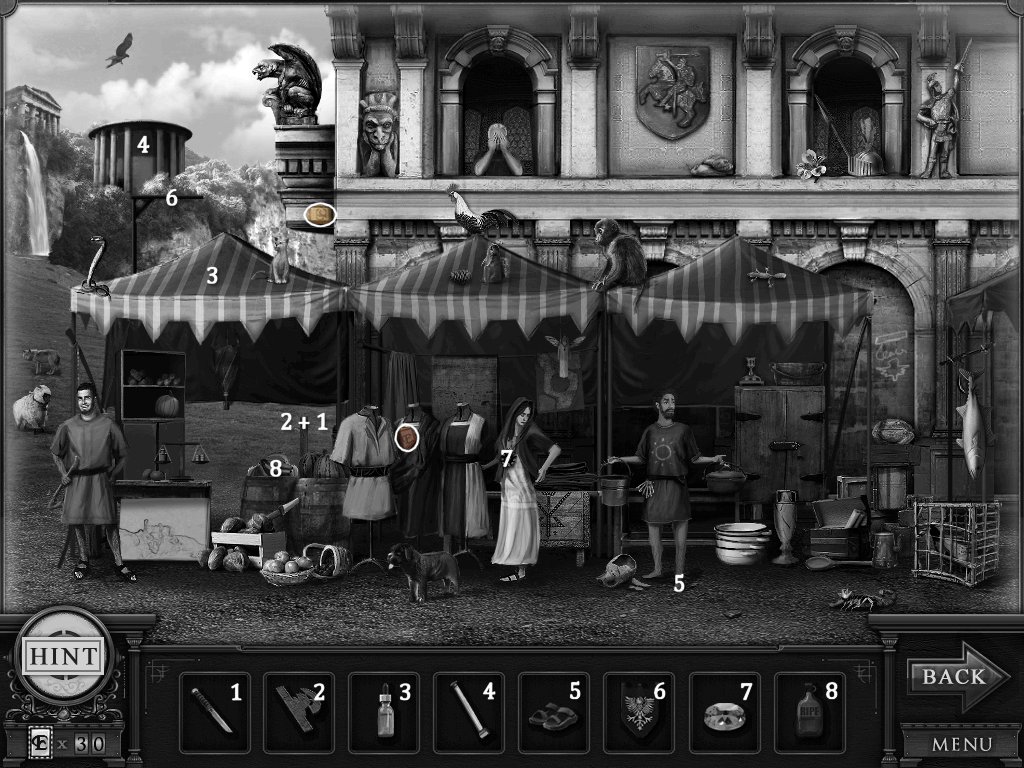
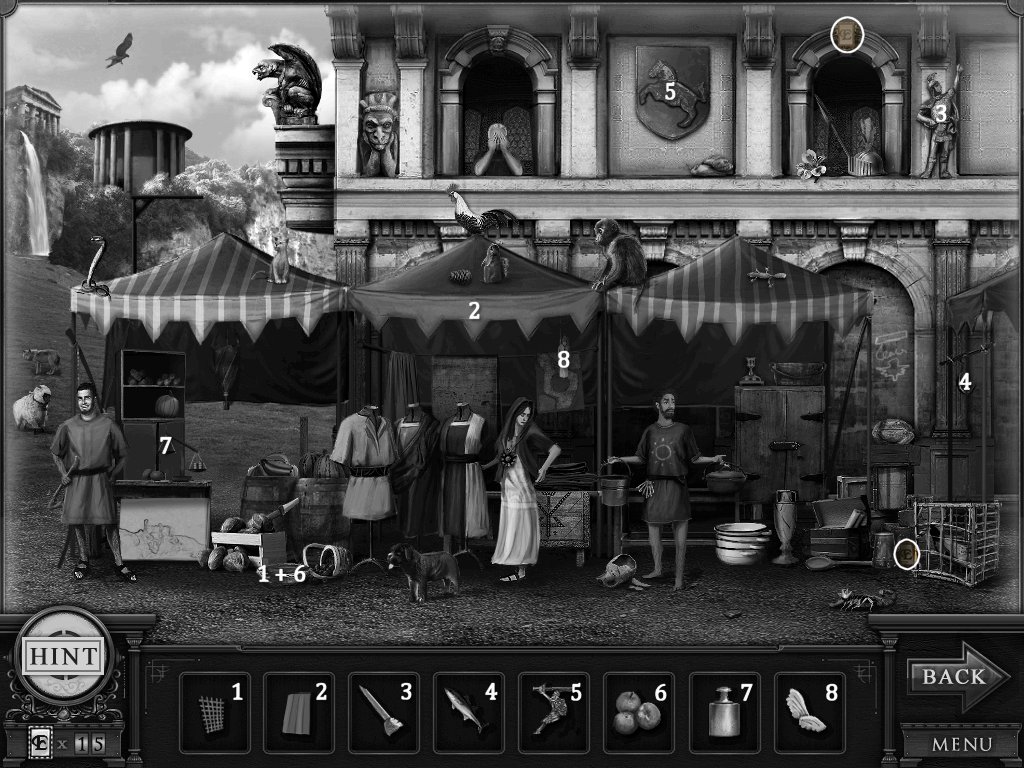
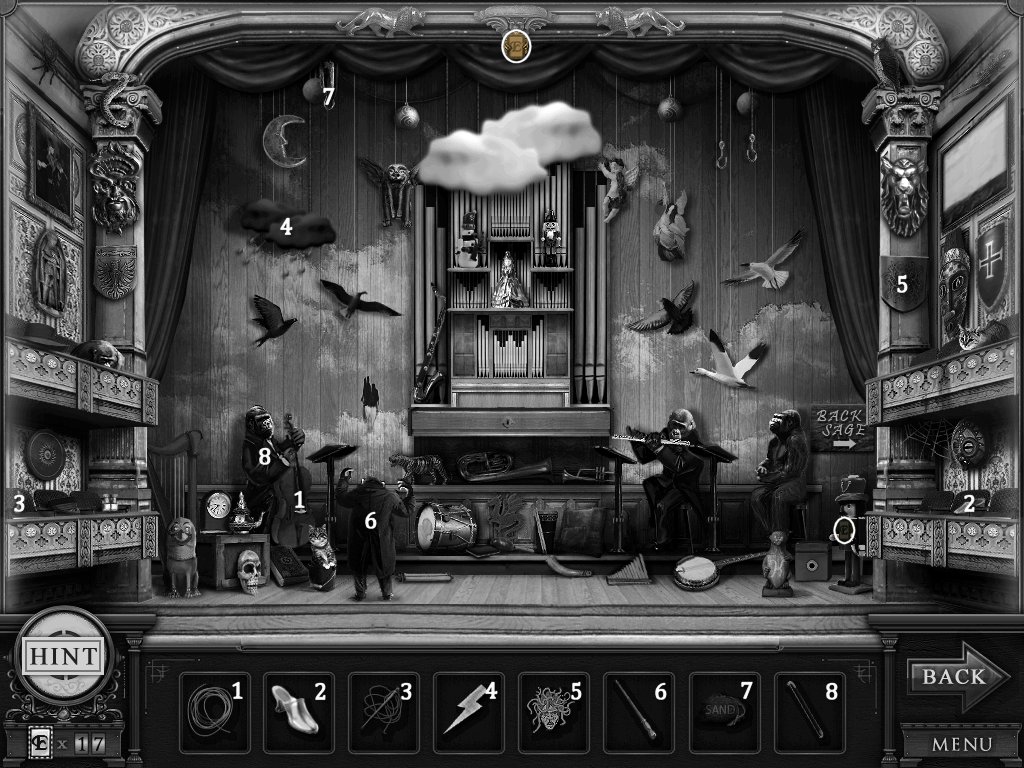
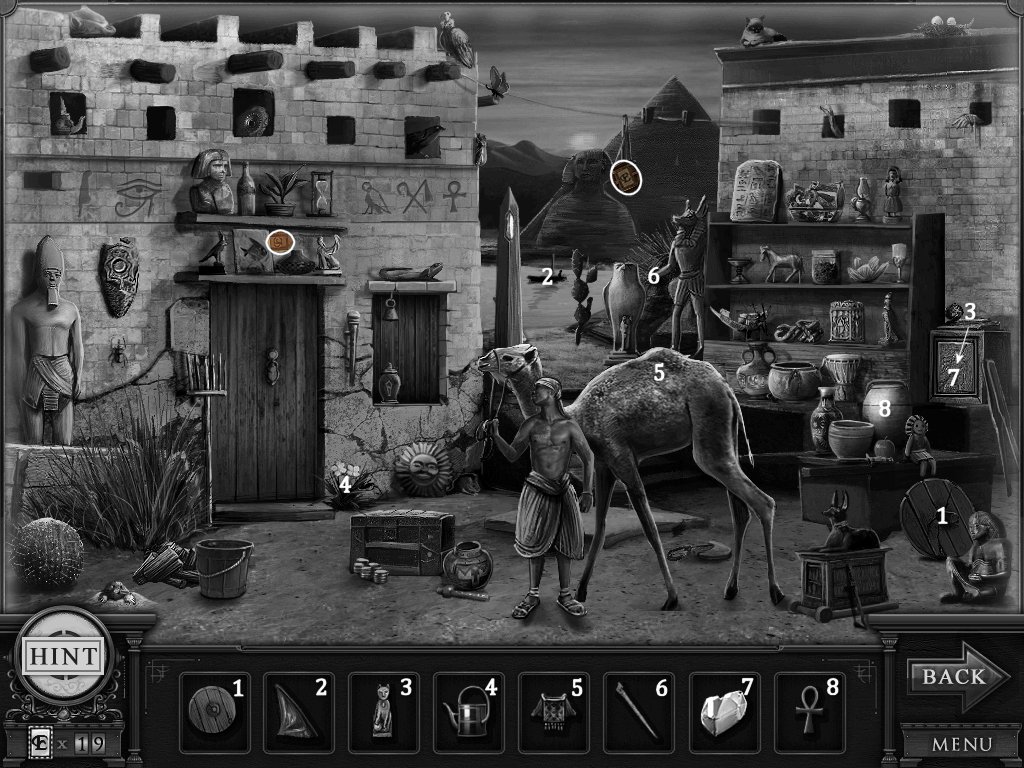
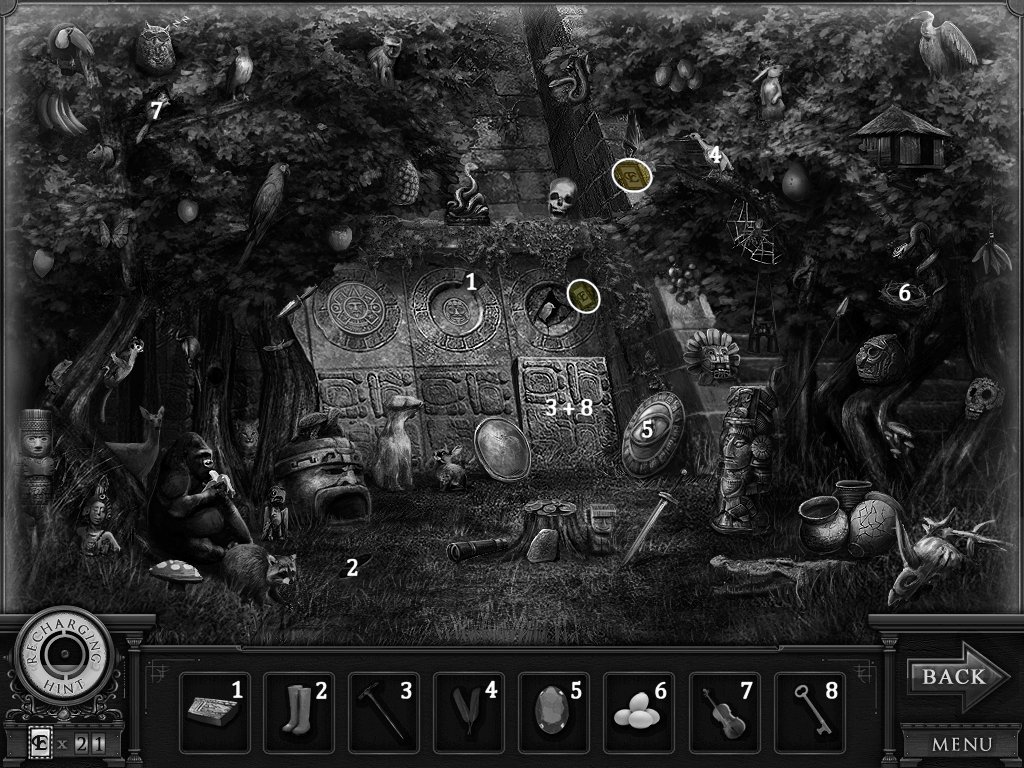
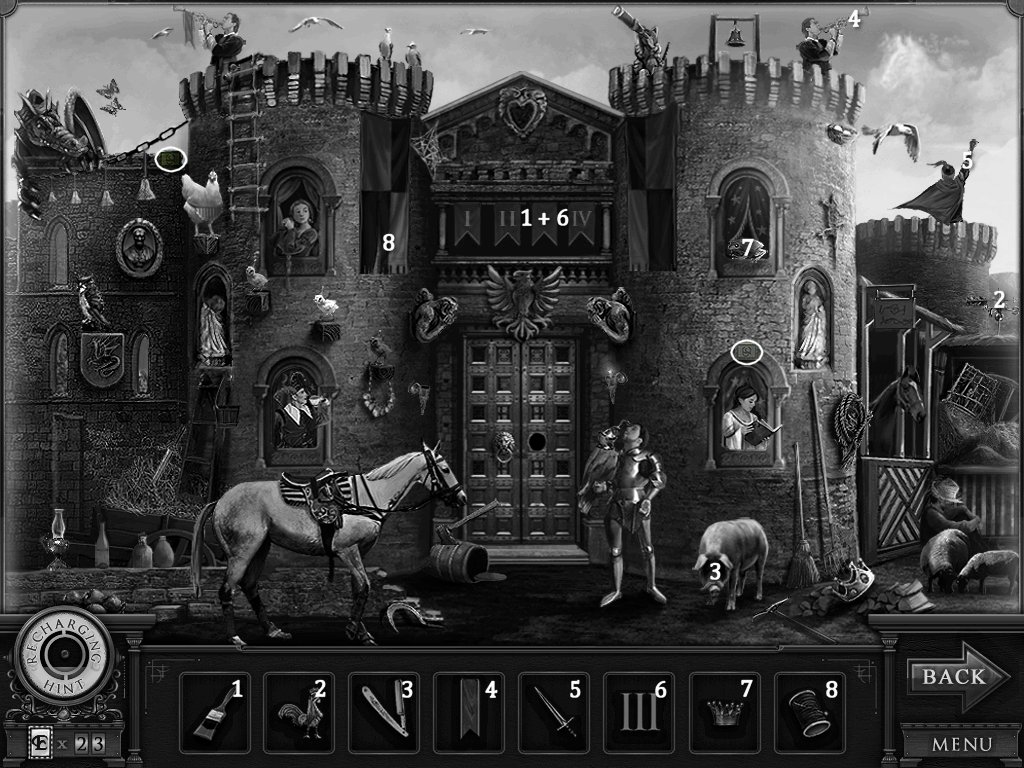
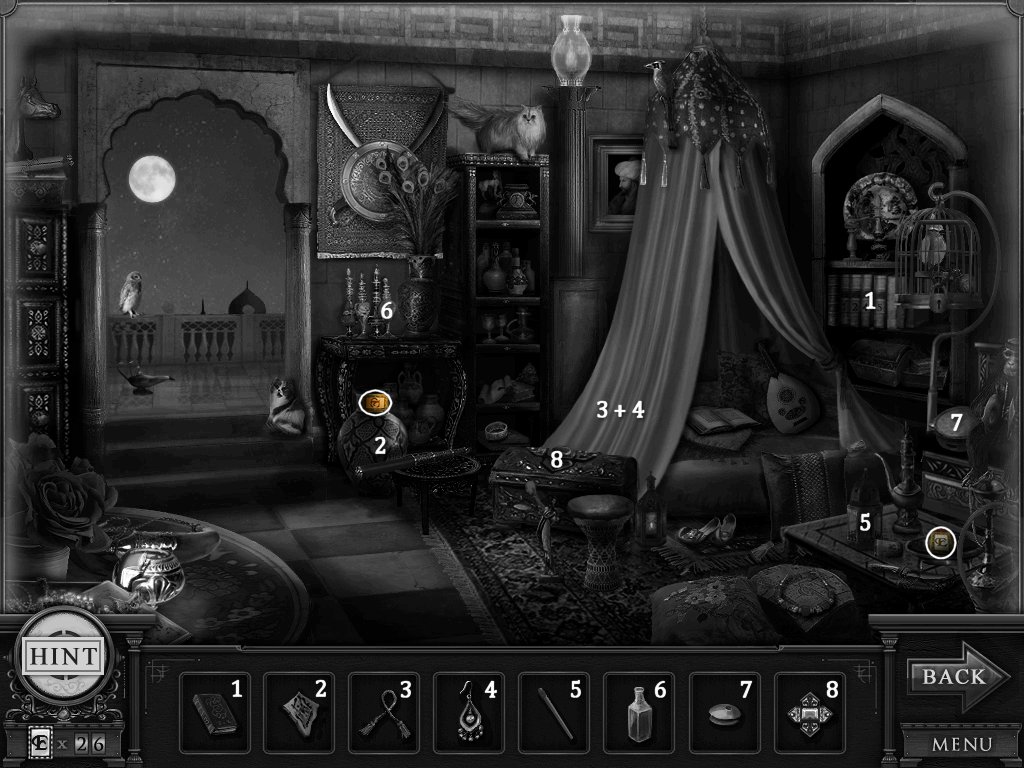
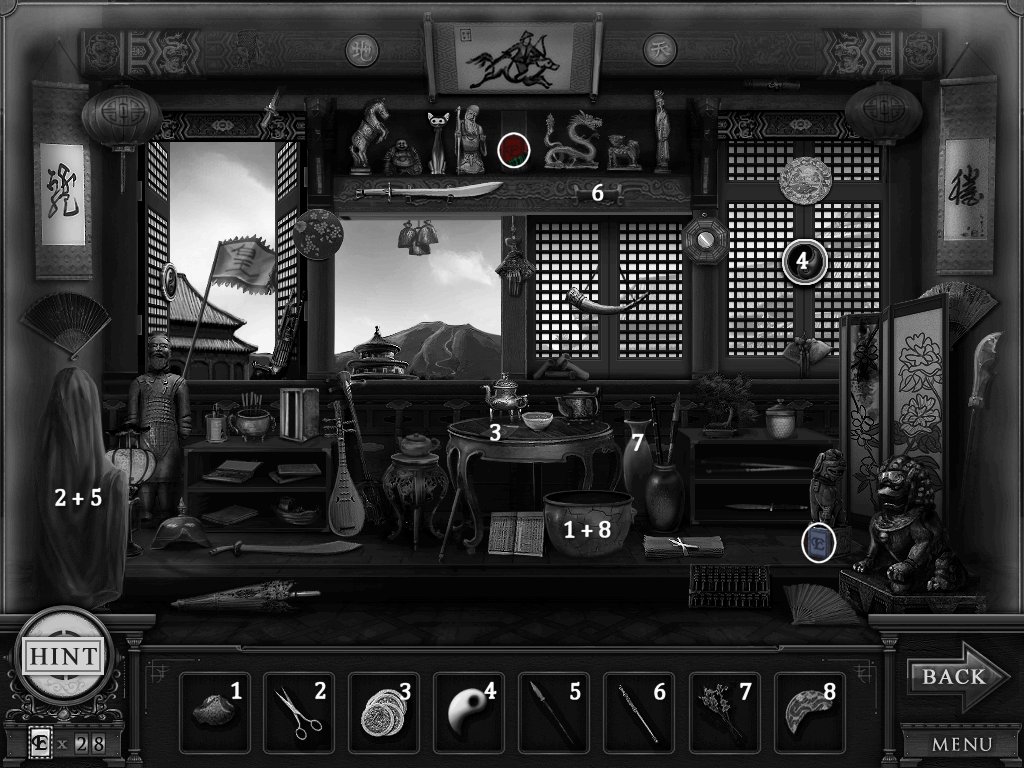
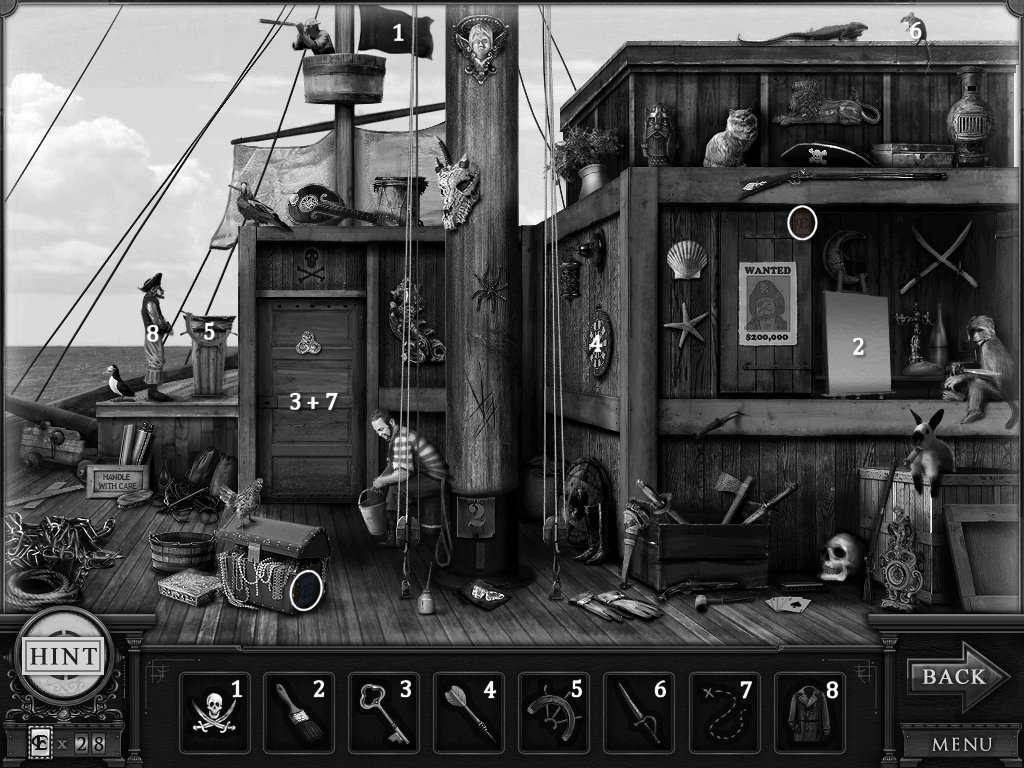
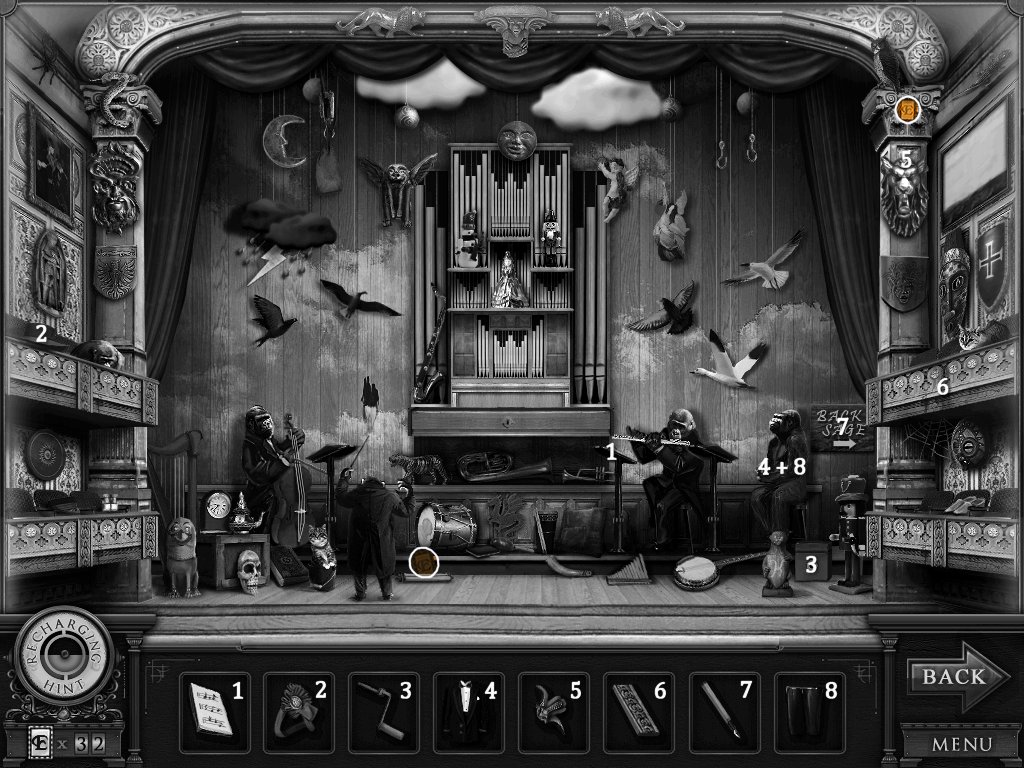
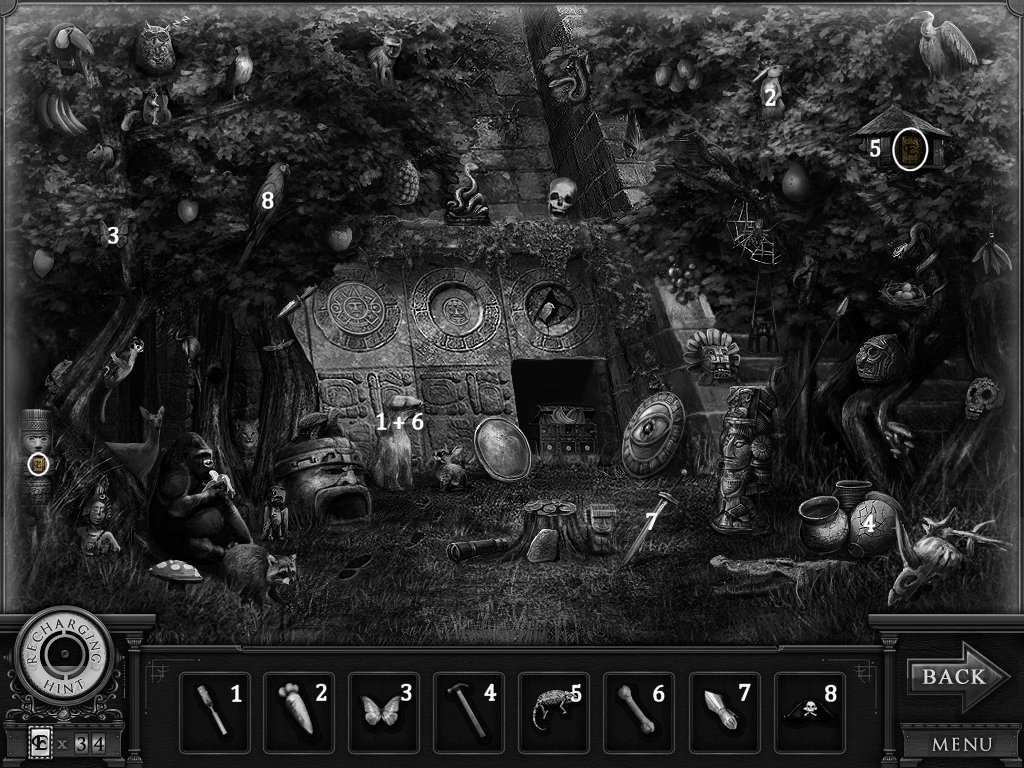
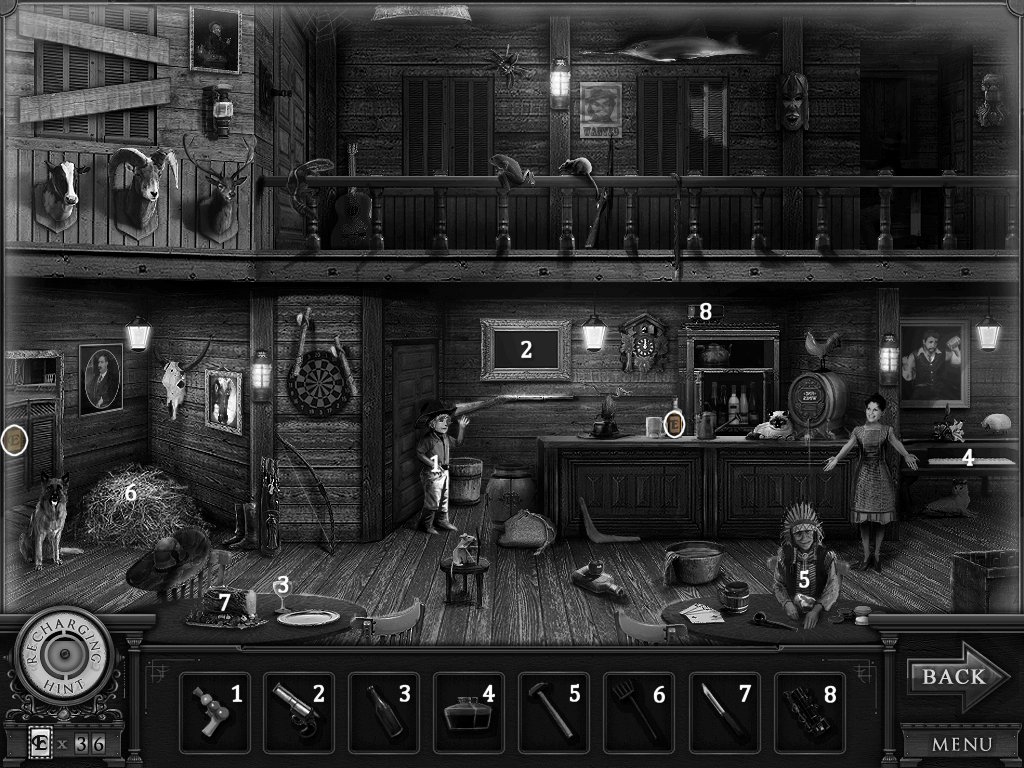
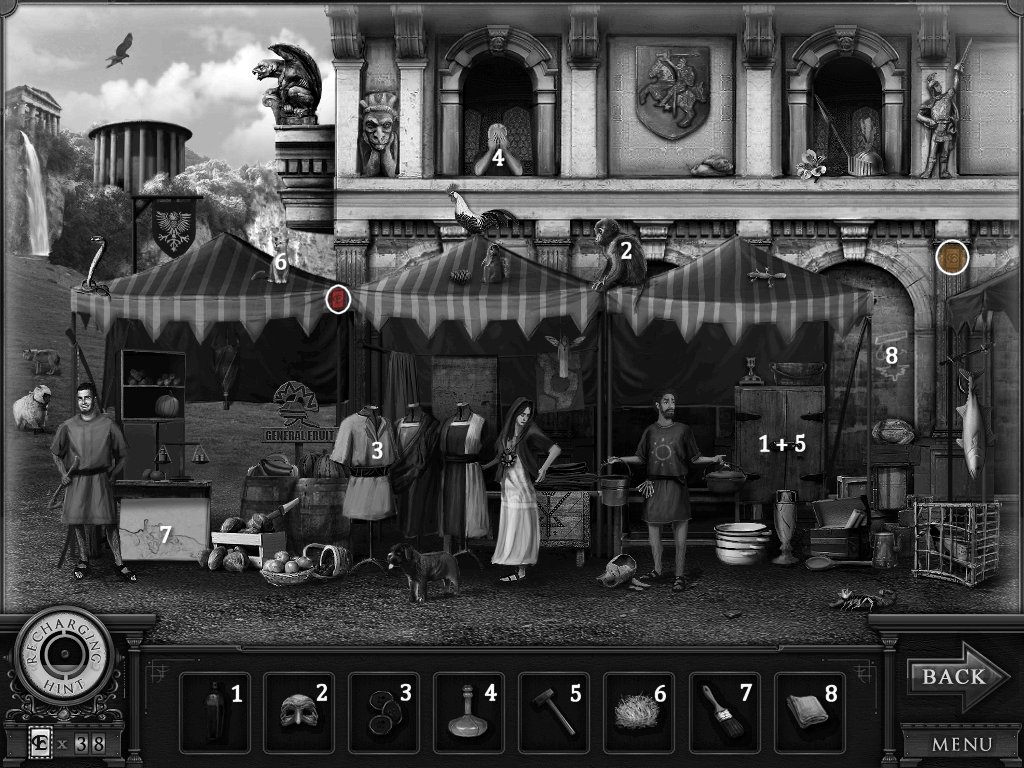
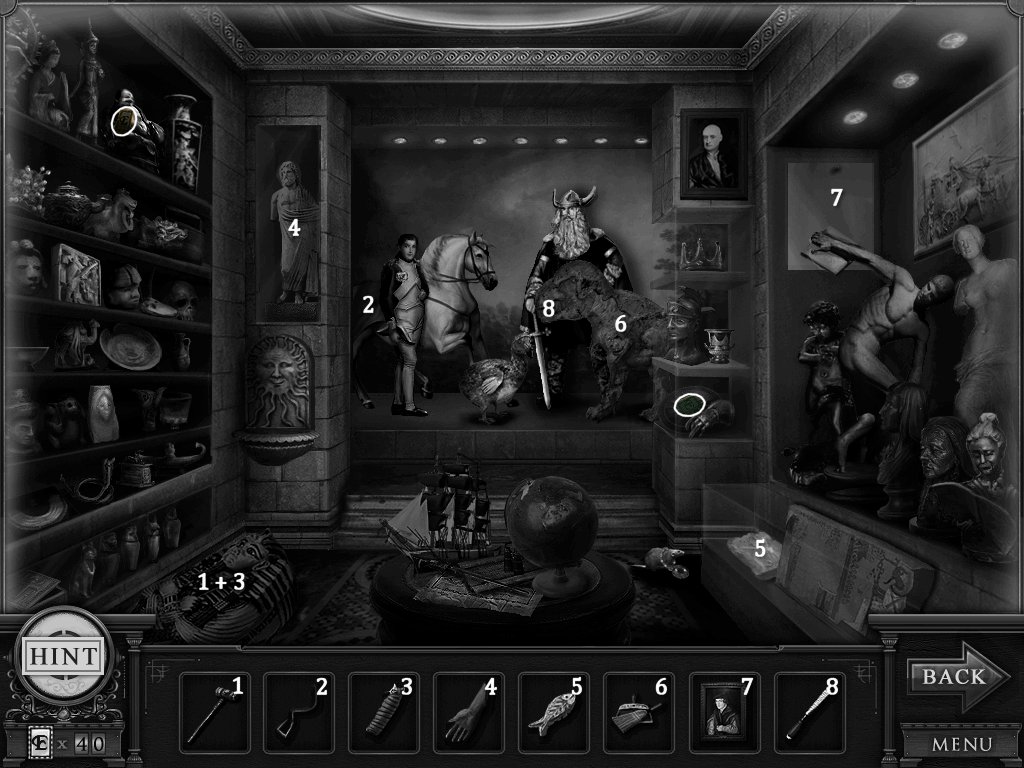
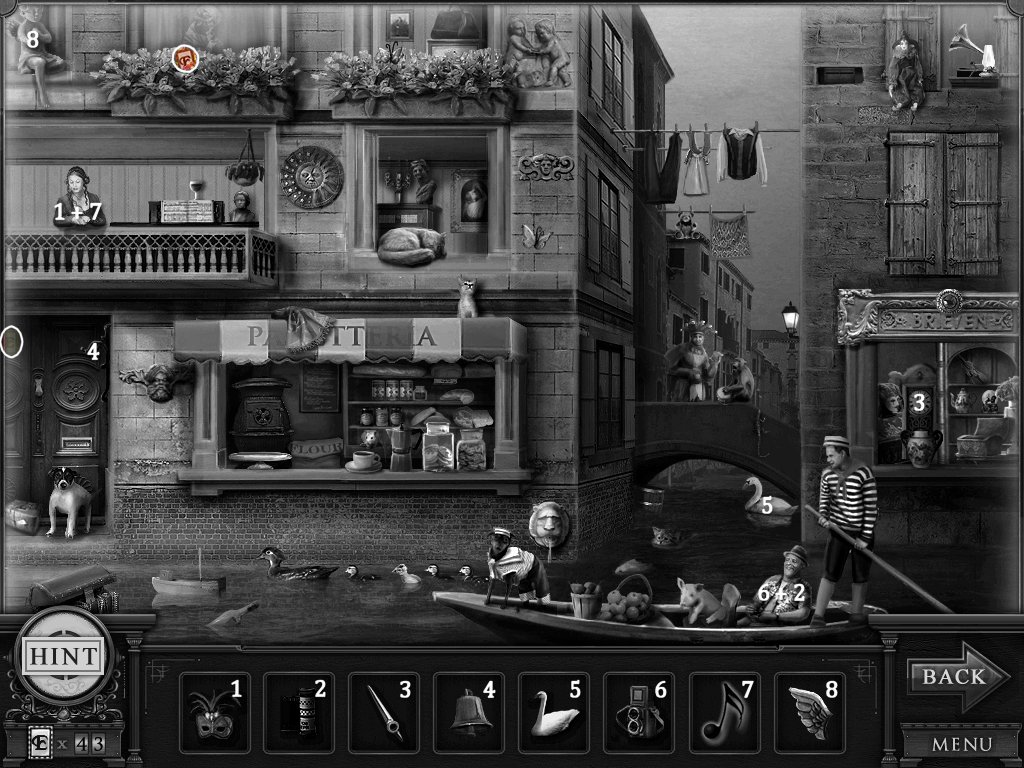
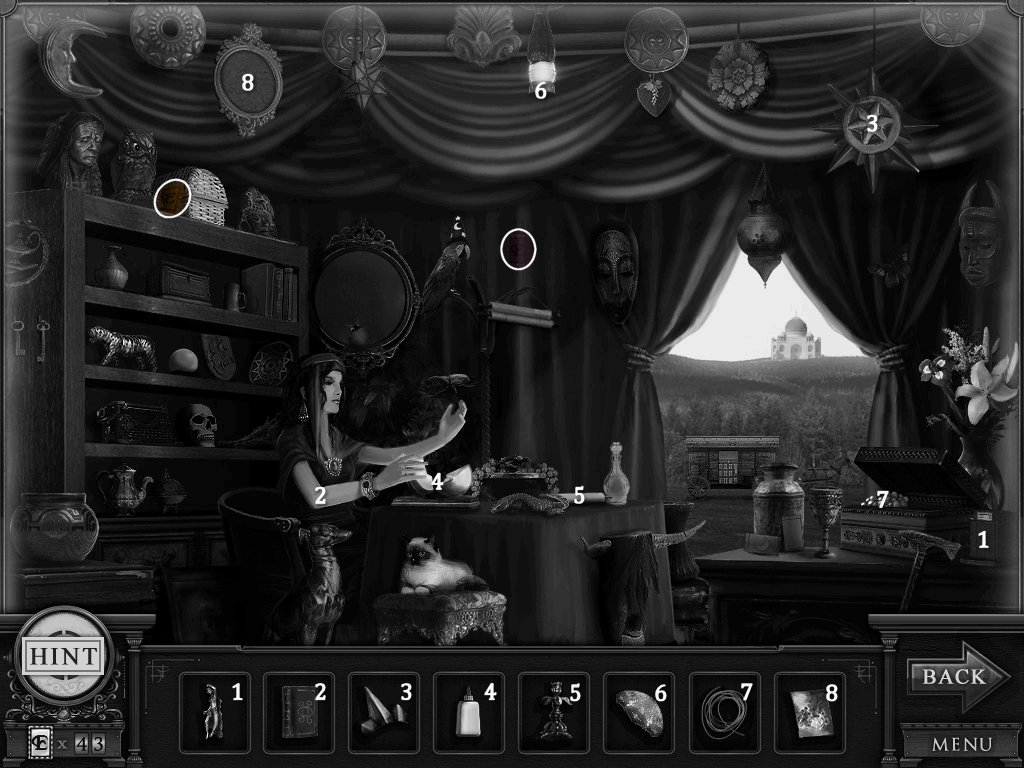
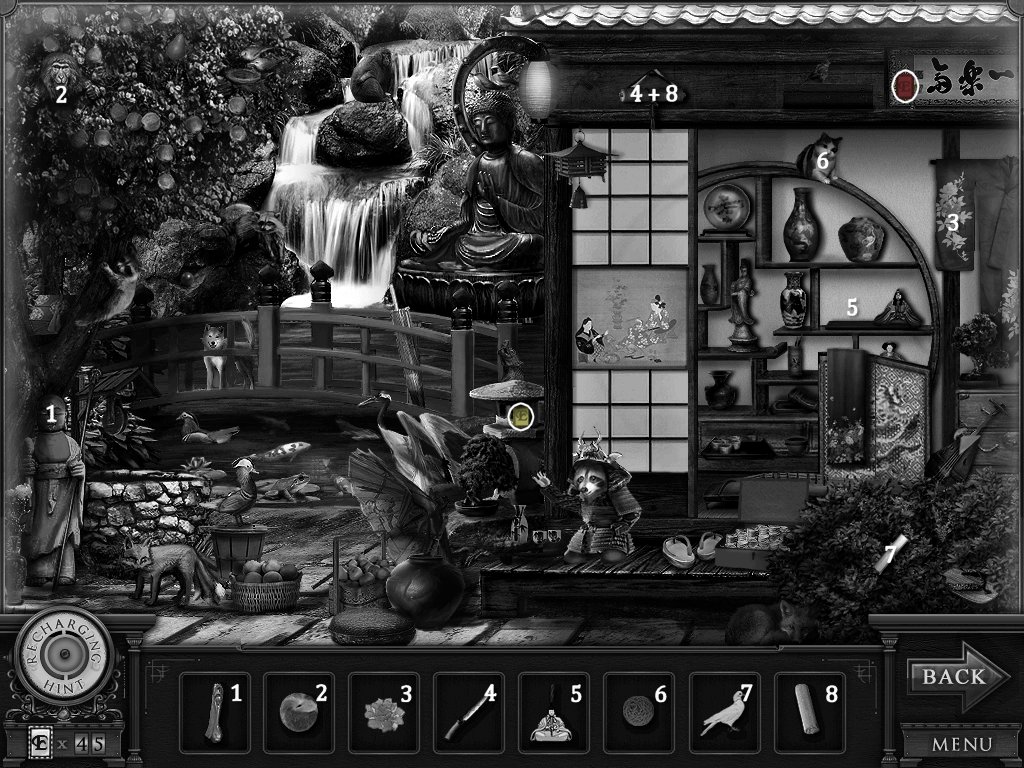
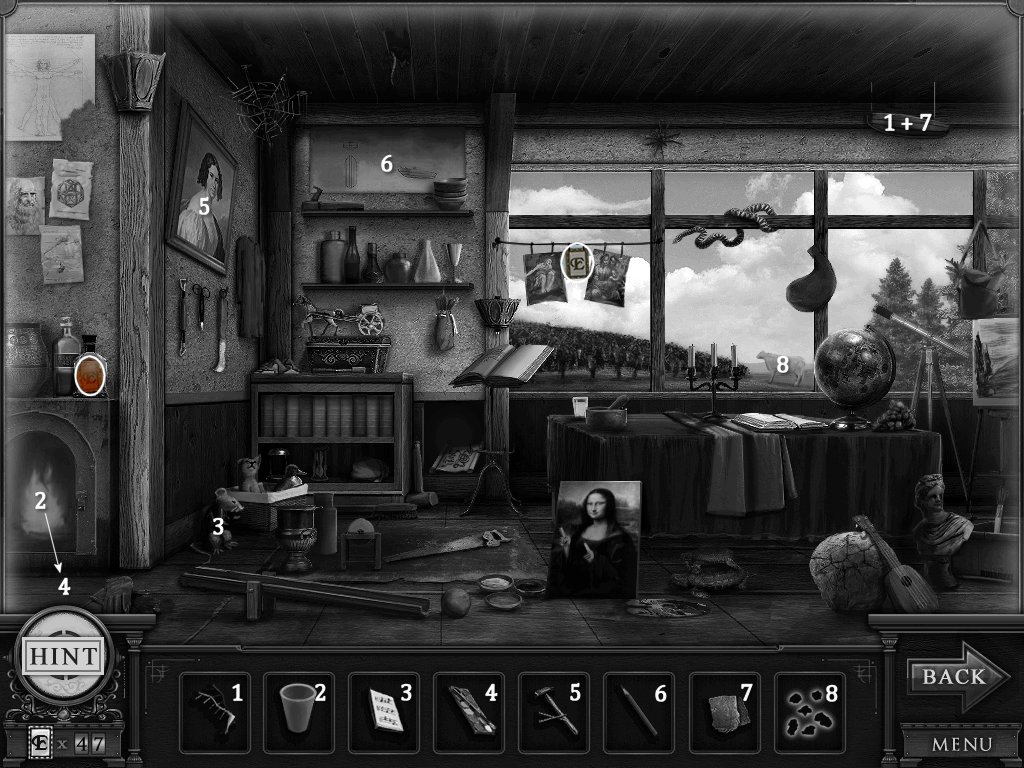
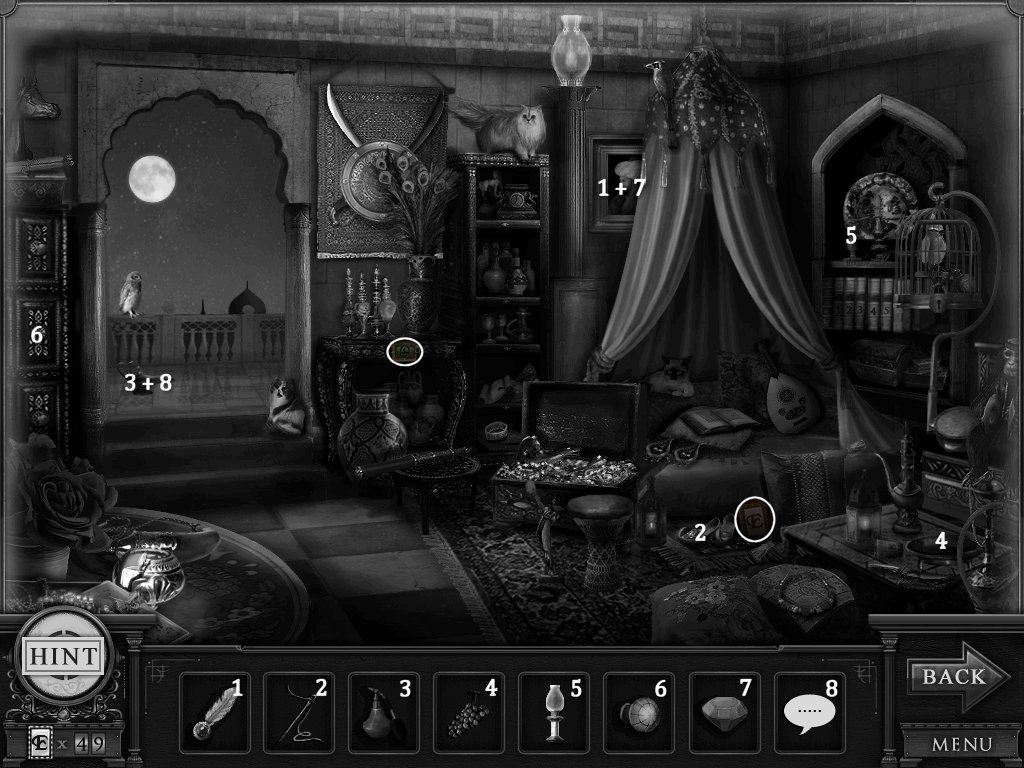
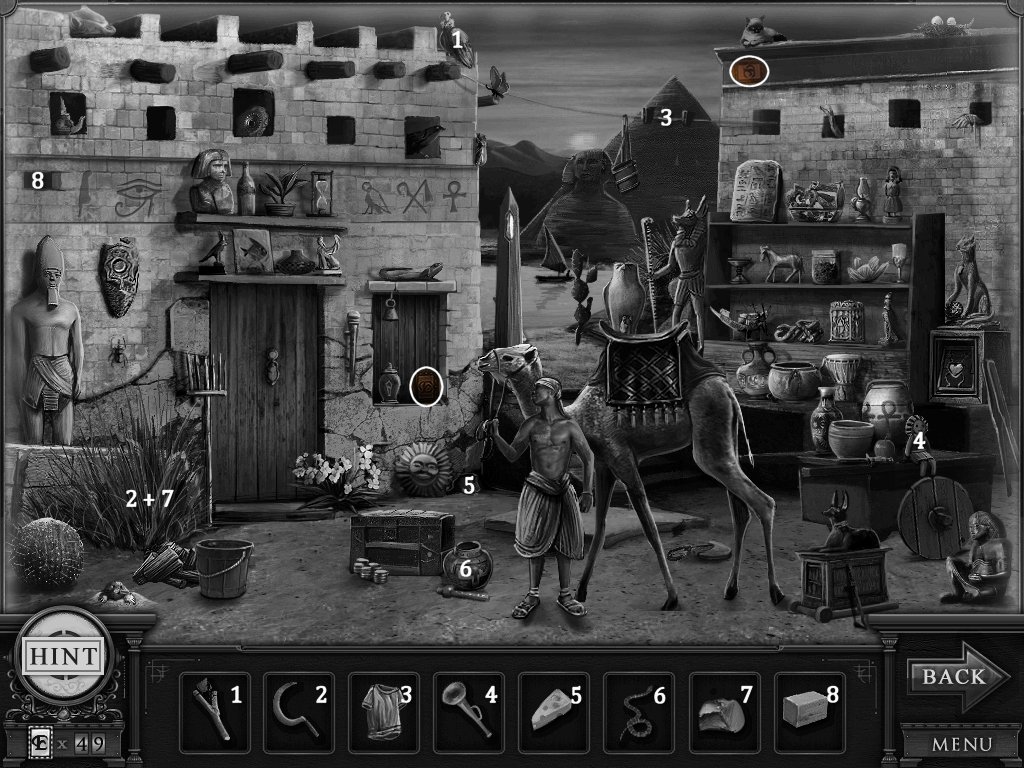
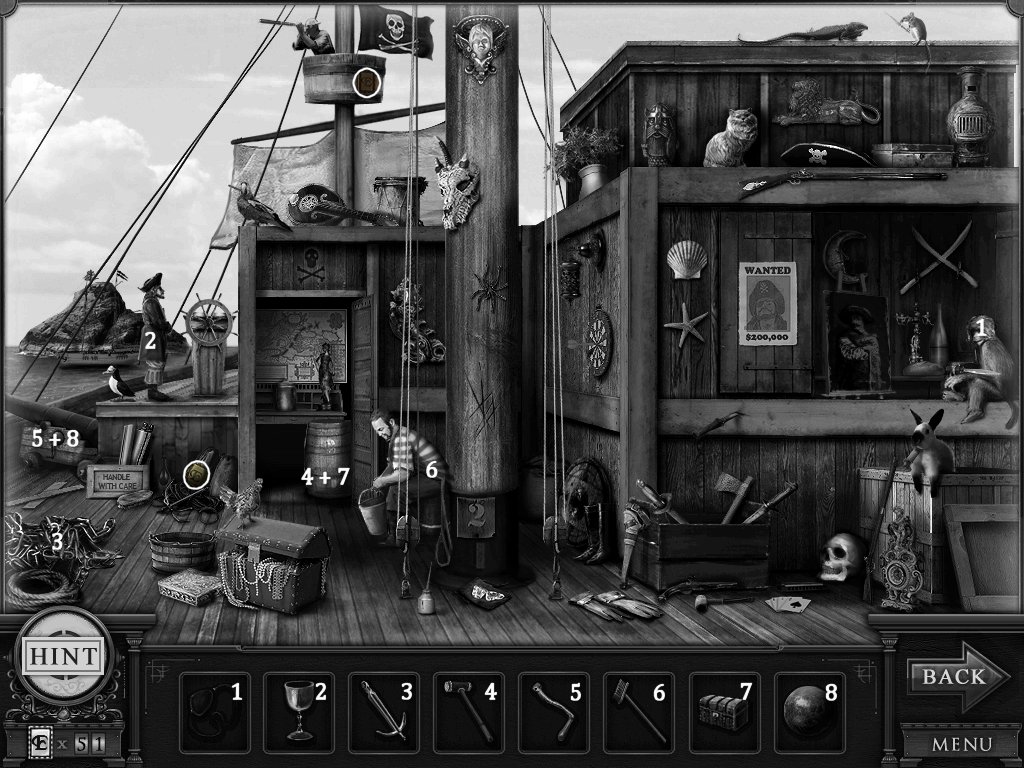
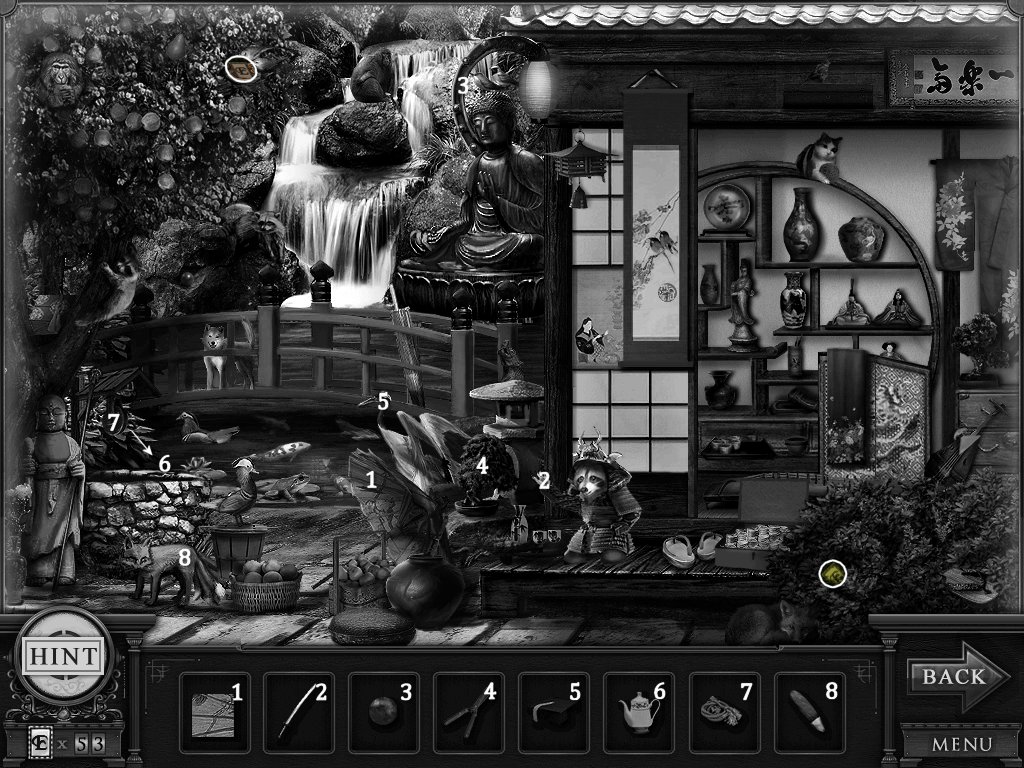
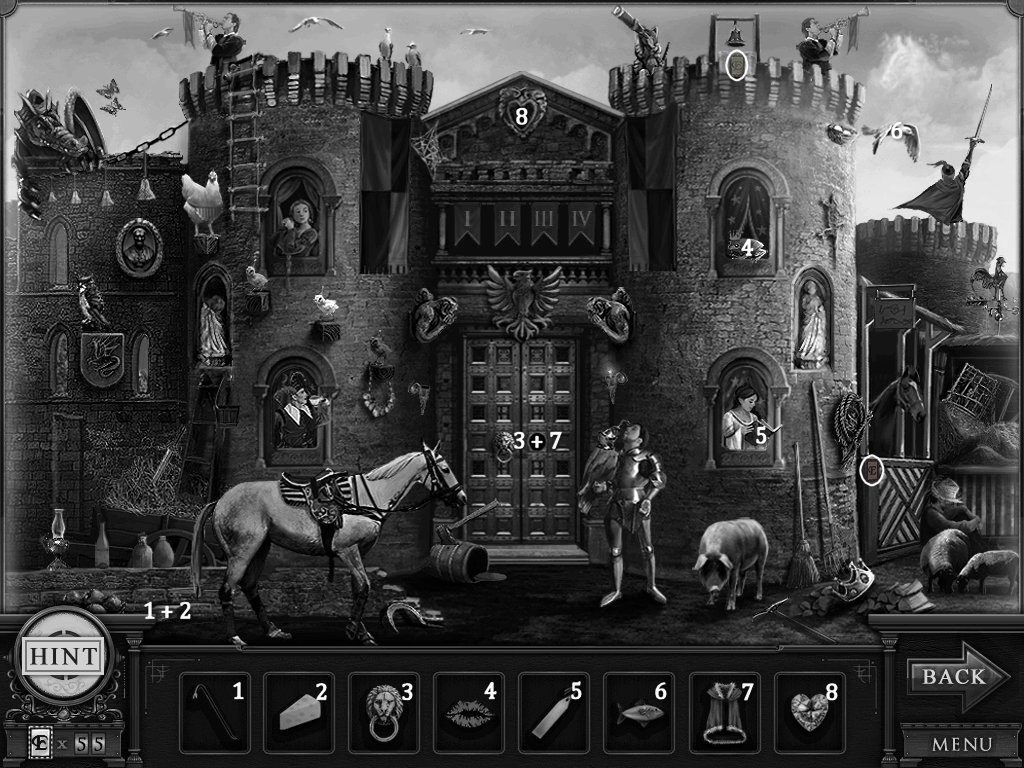
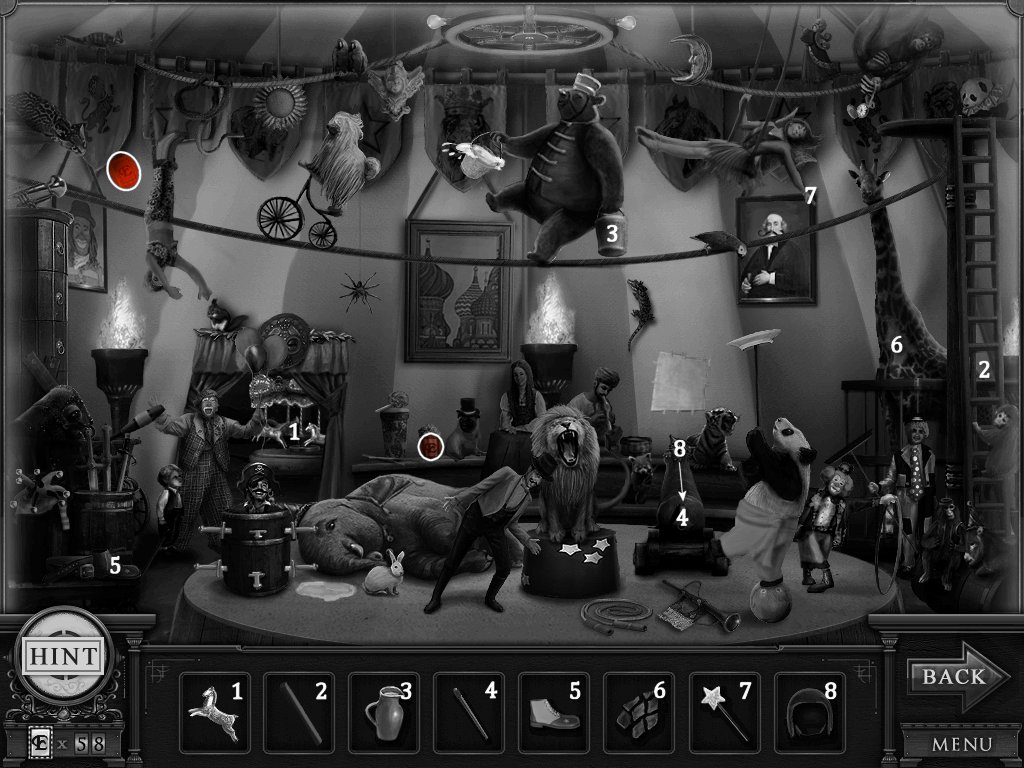
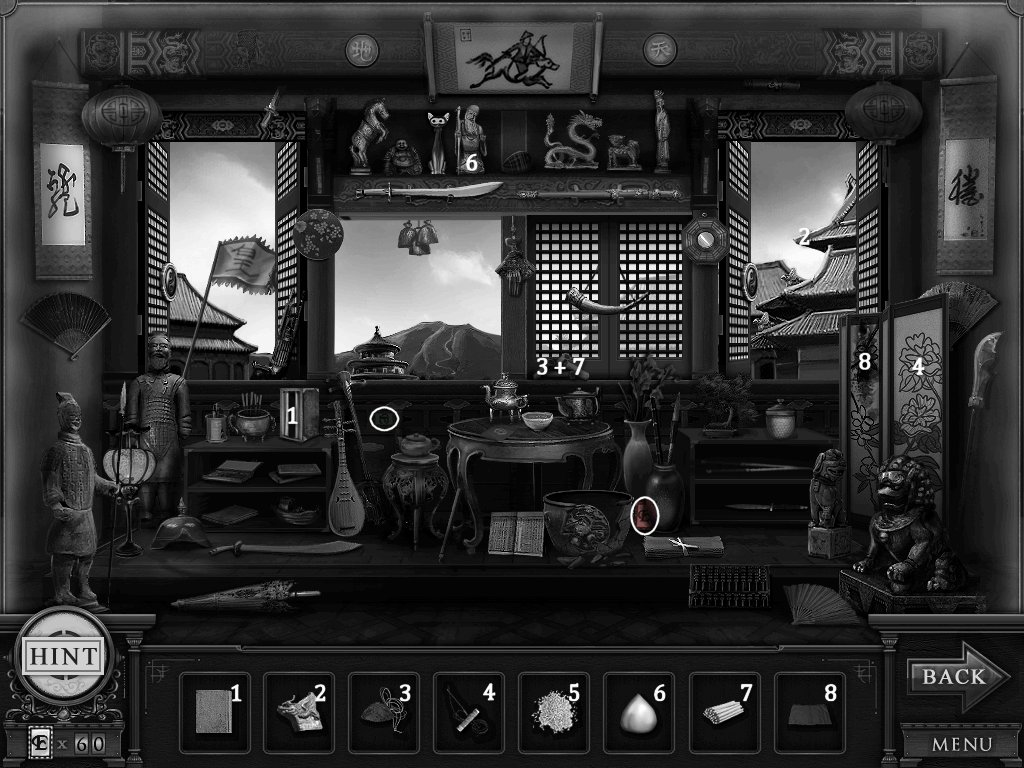
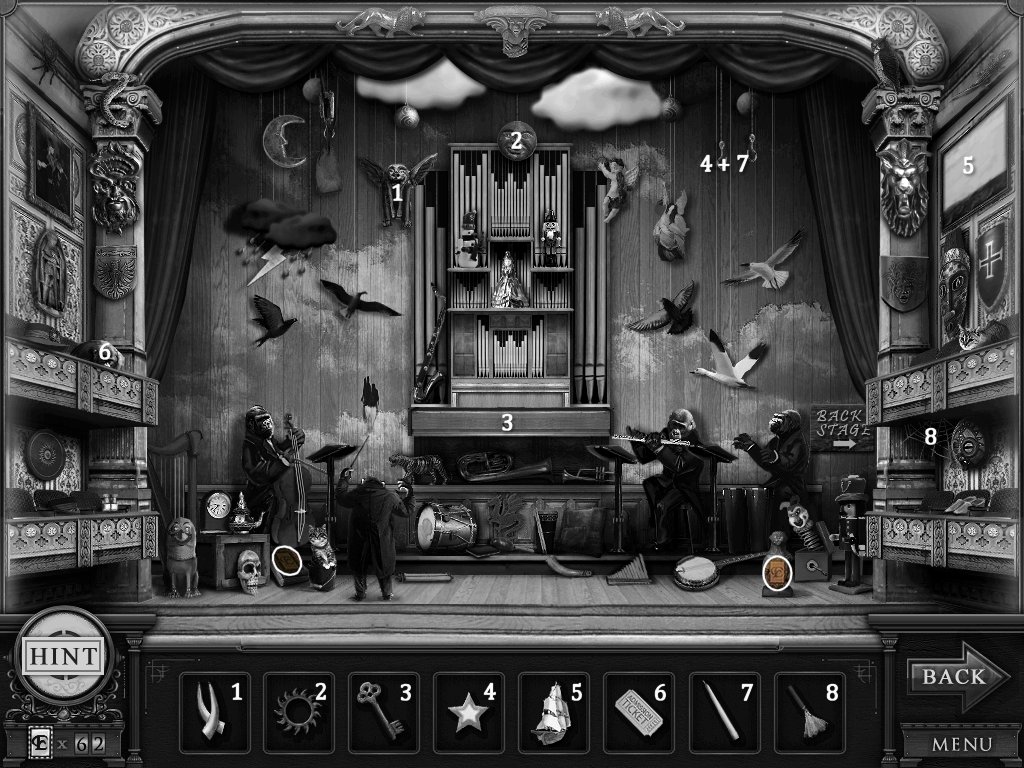
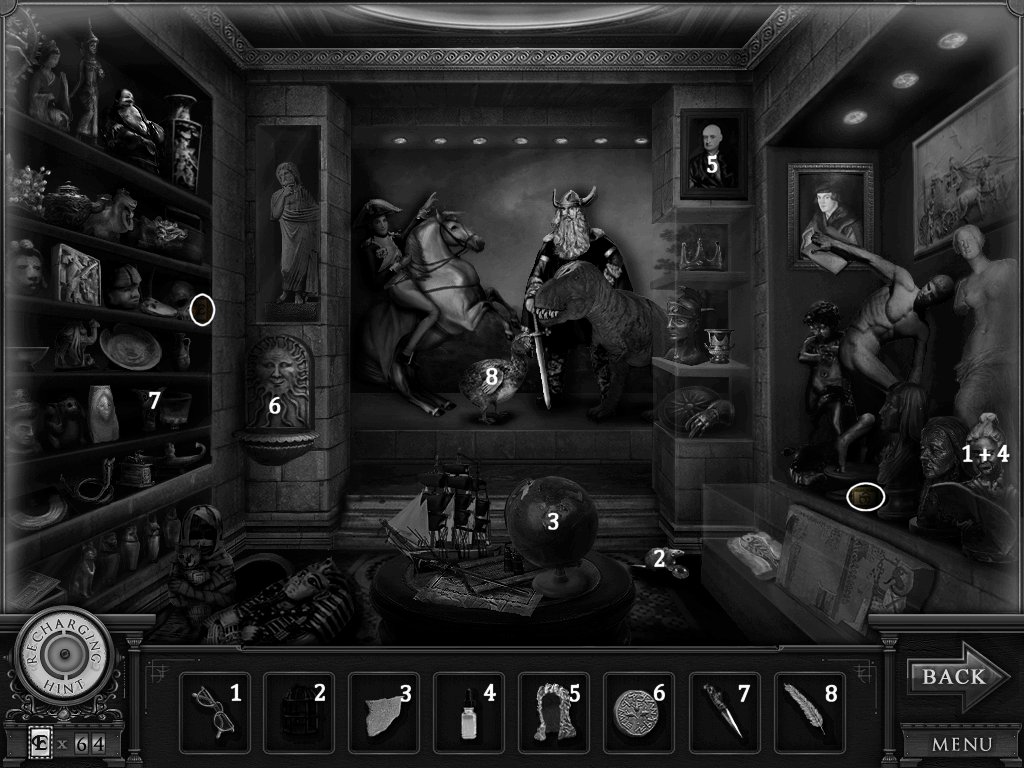
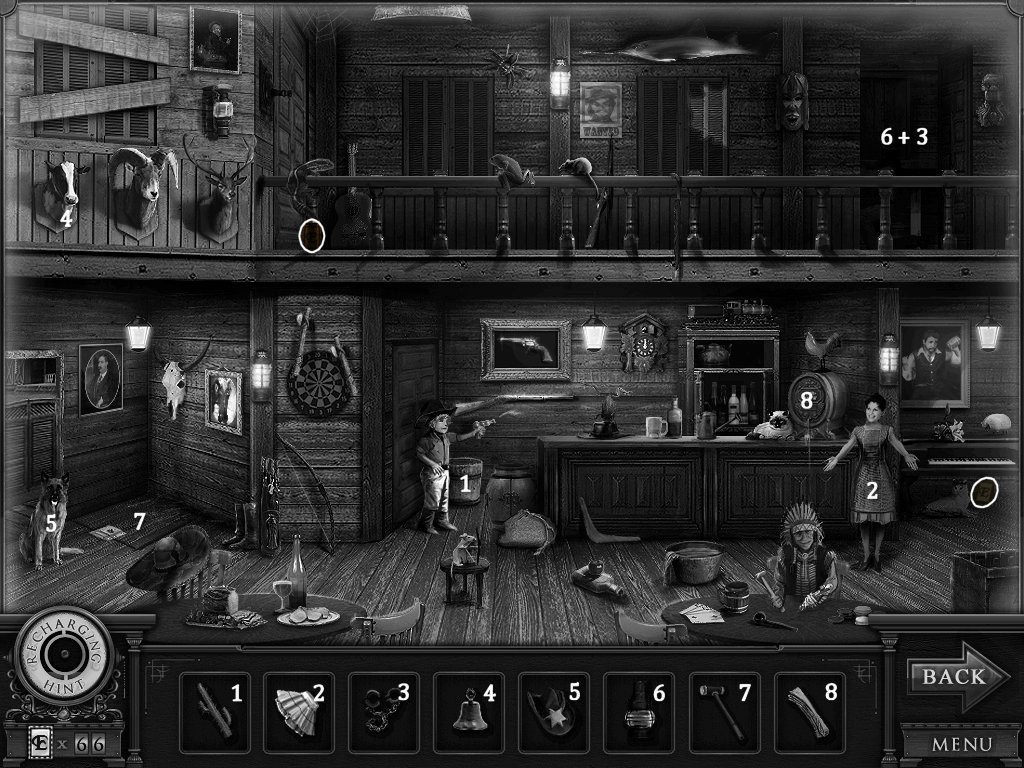
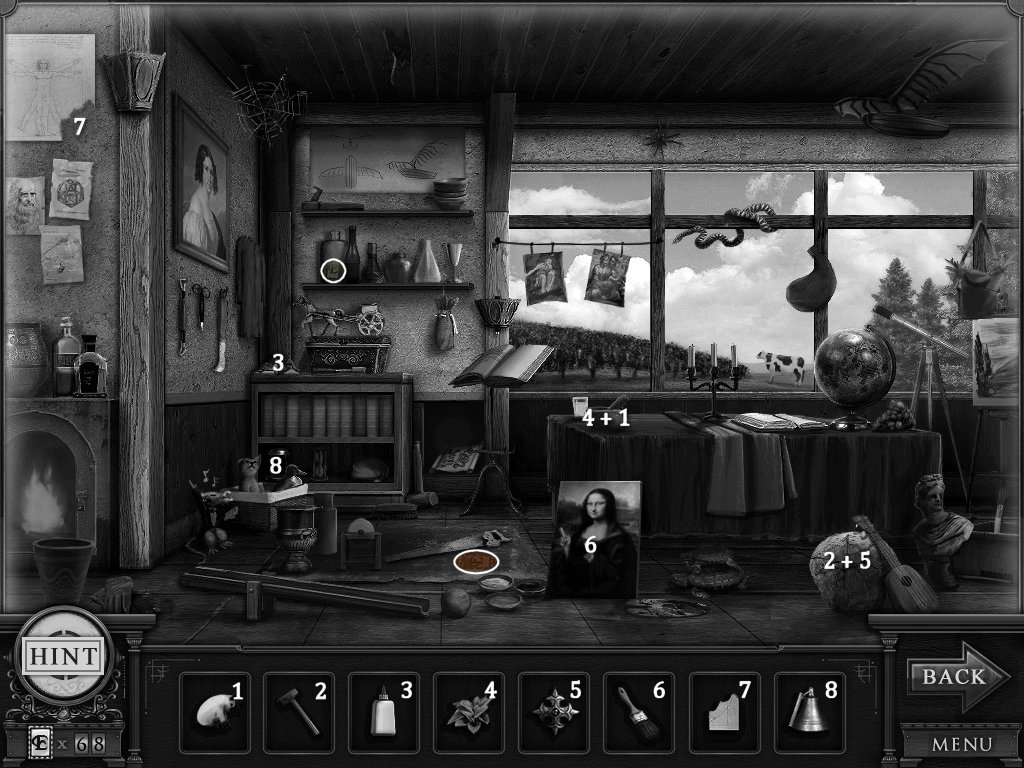
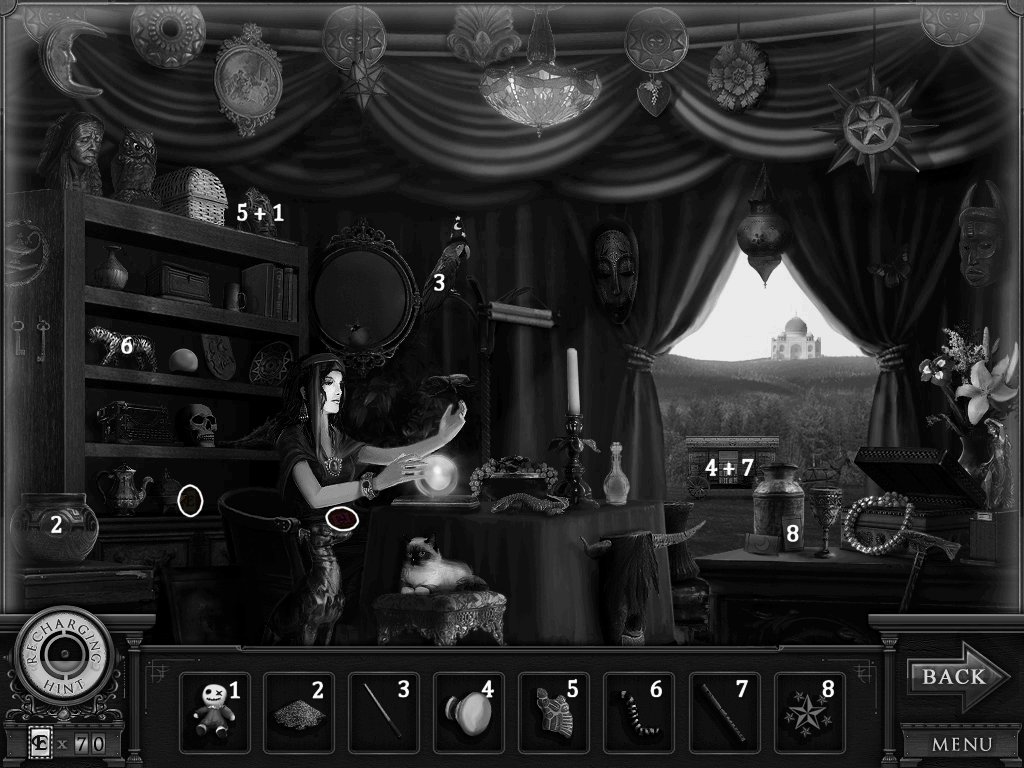
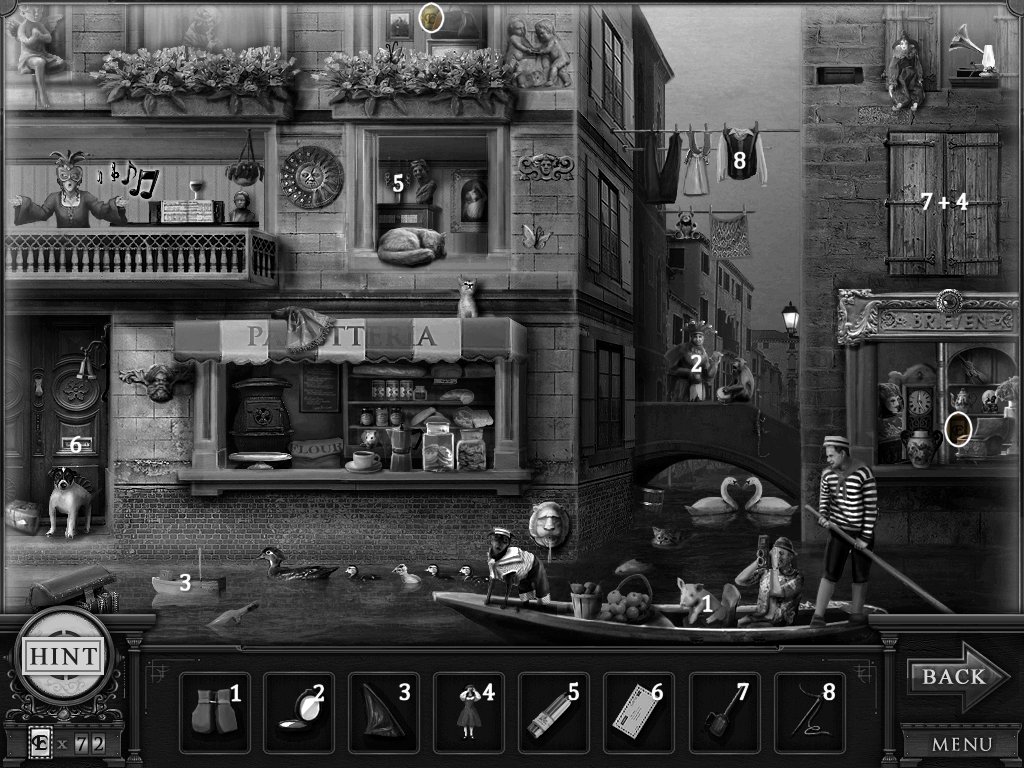
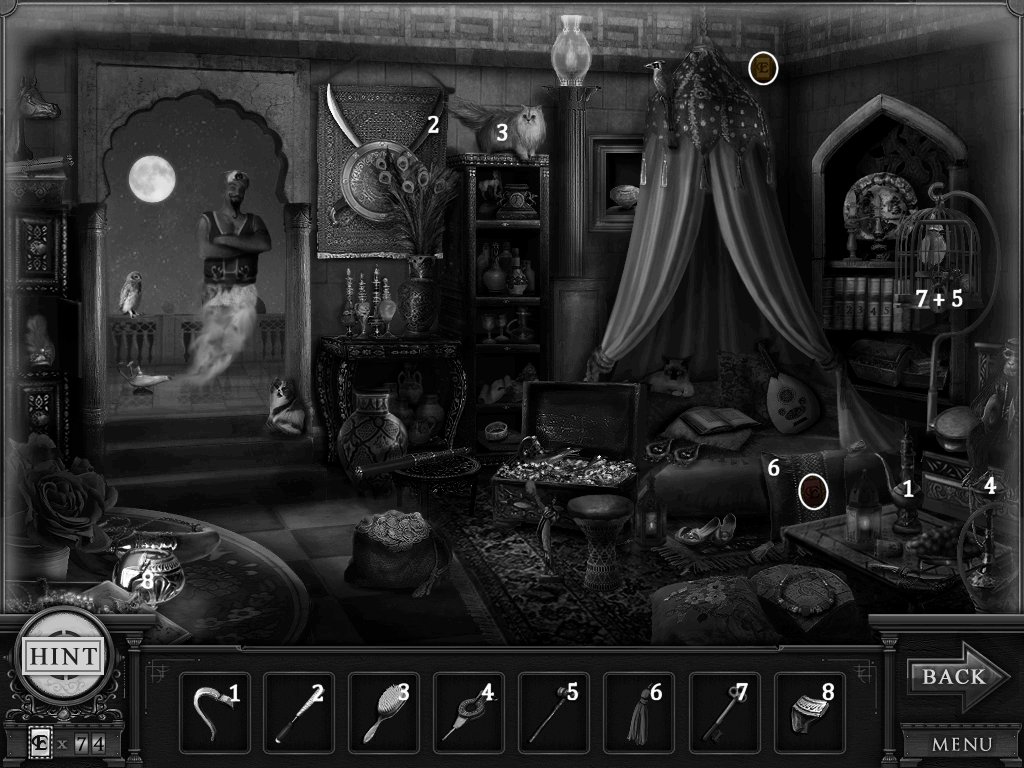
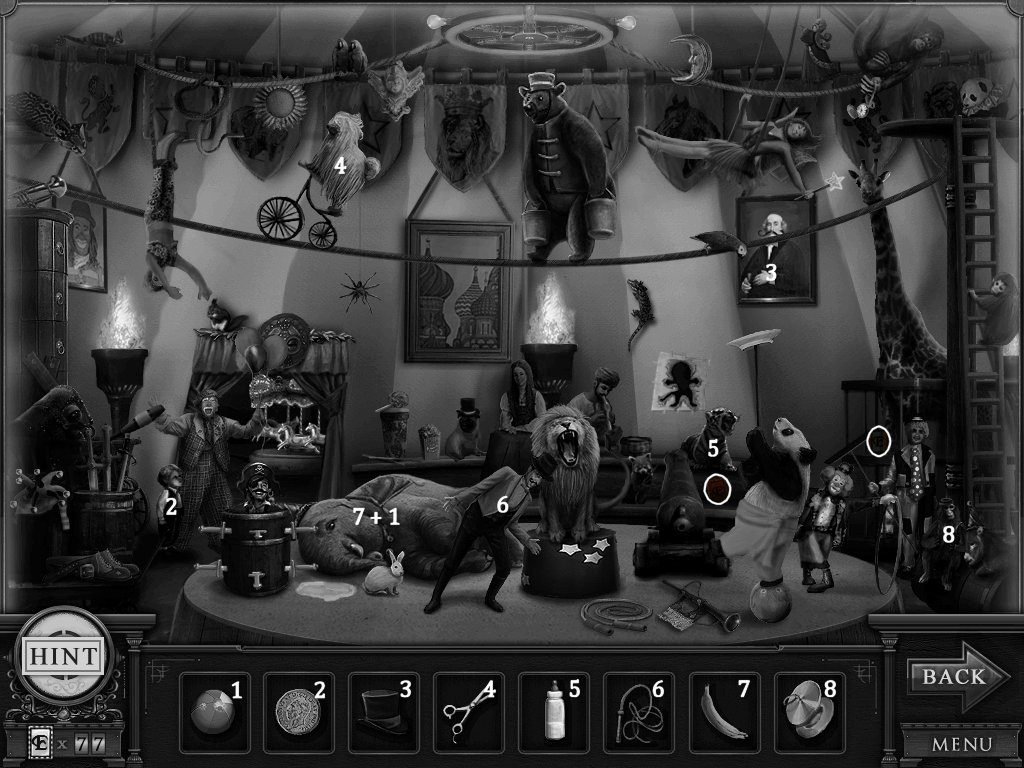
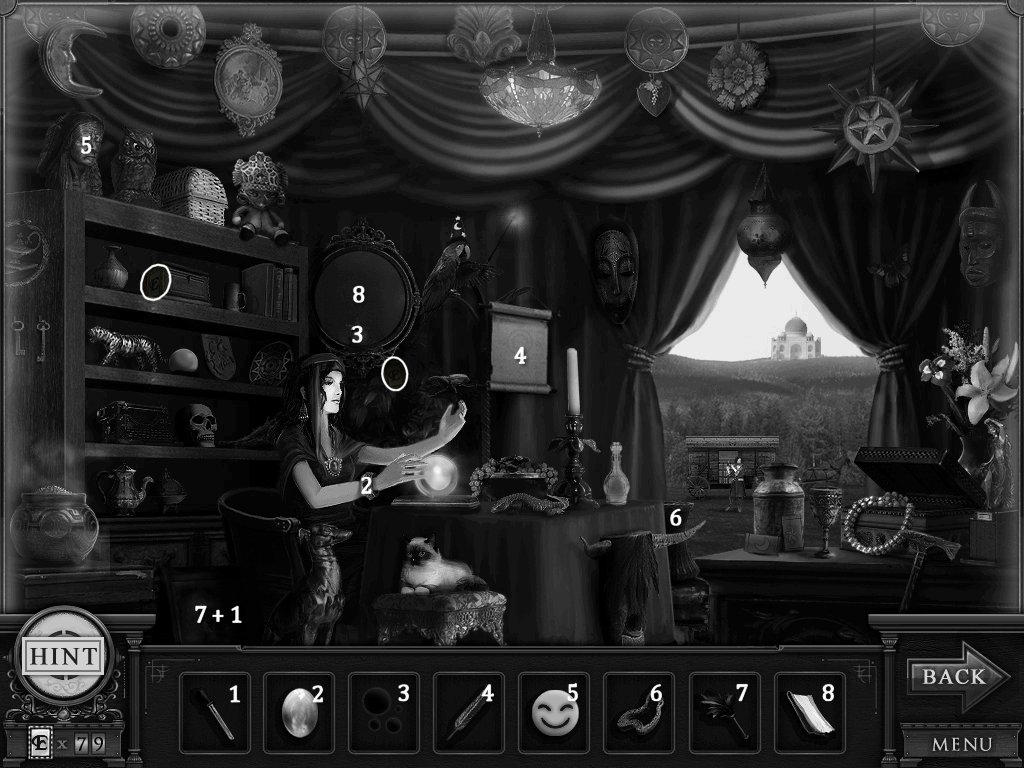
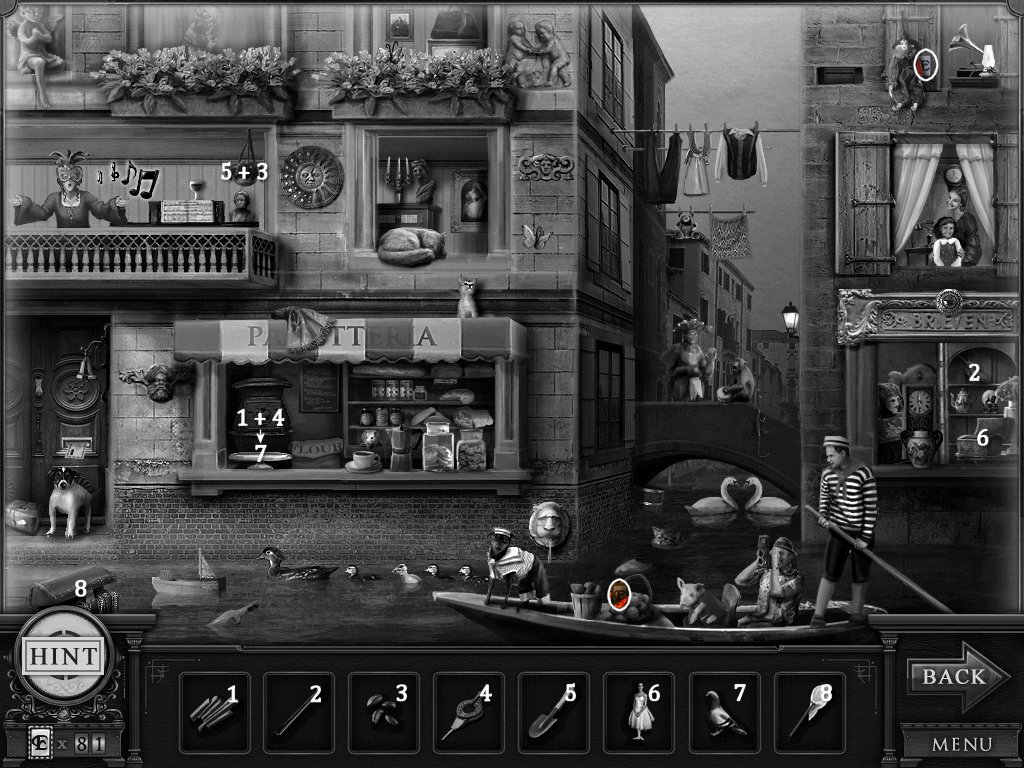
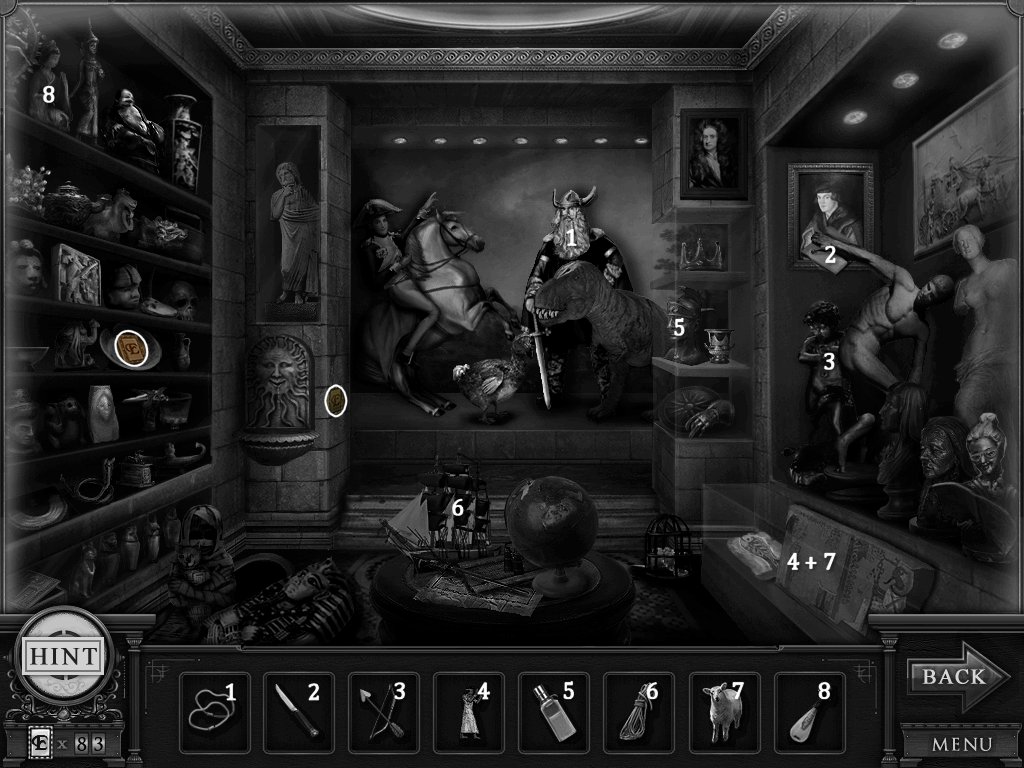
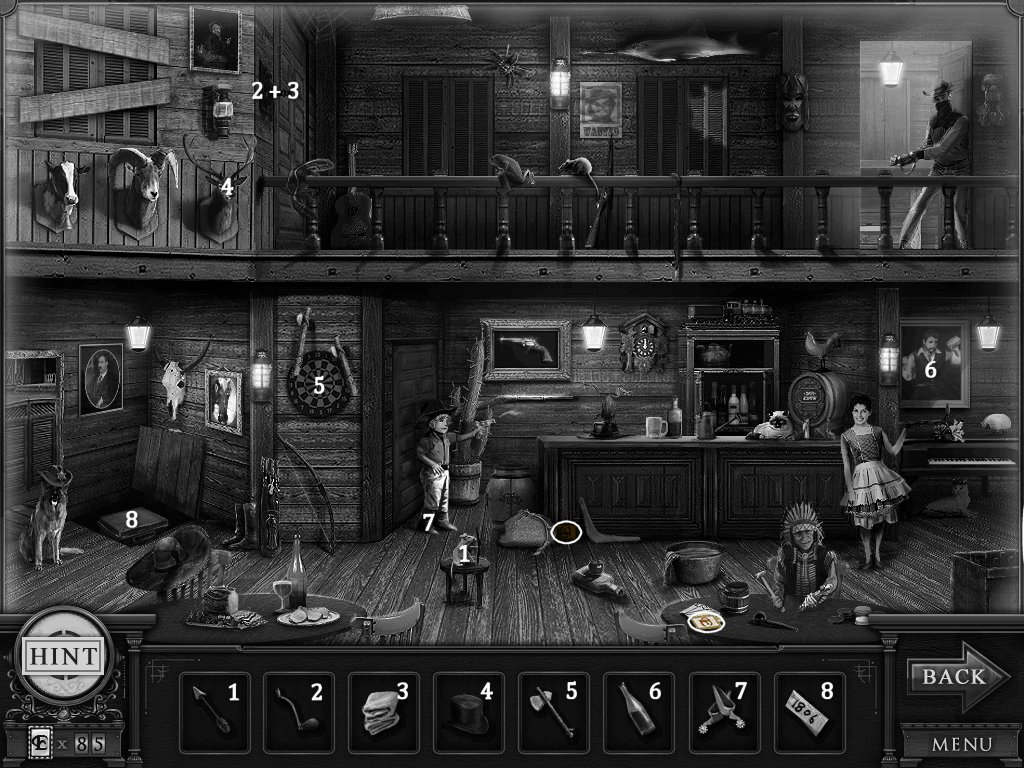
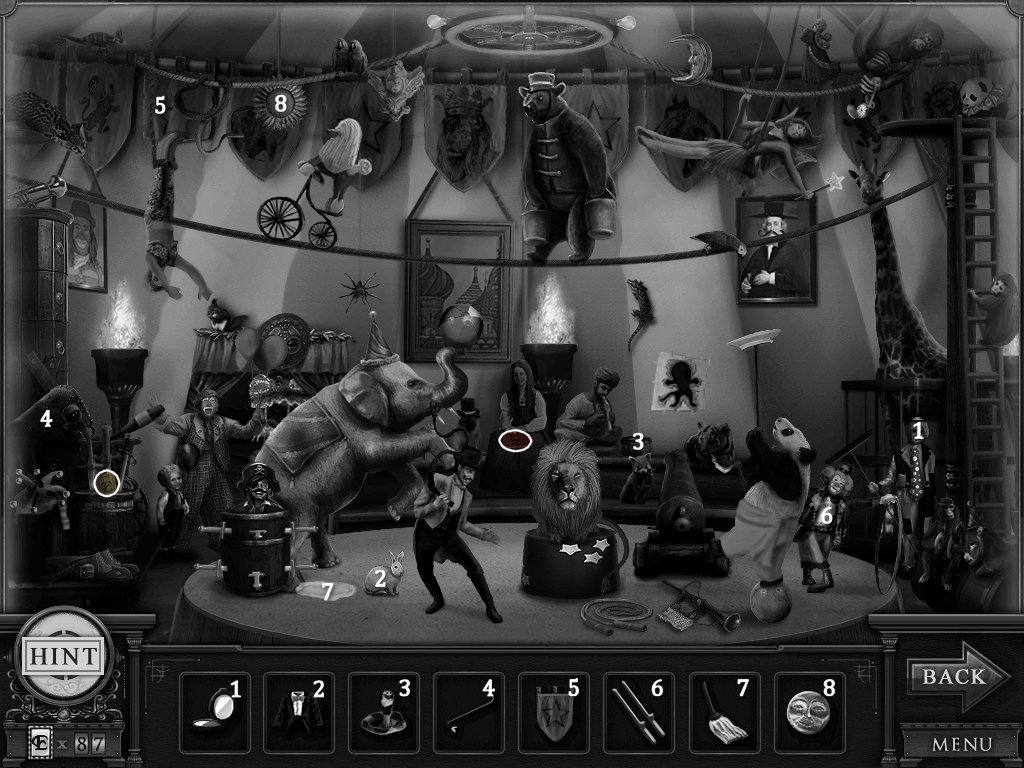
Hidden Objects: The objects aren’t actually hidden in this game. The objective is to match the object in the bar at the bottom to an object in the scene. Example: Spider + Web.
Levels:
Outside Tower
1. proceed up to the tower
2. place the emerald in the right deer
3. take the E cards and the tower emblem from the base of each deer
4. use the tower emblem on the gate
5. enter the tower
Floor One
Entry
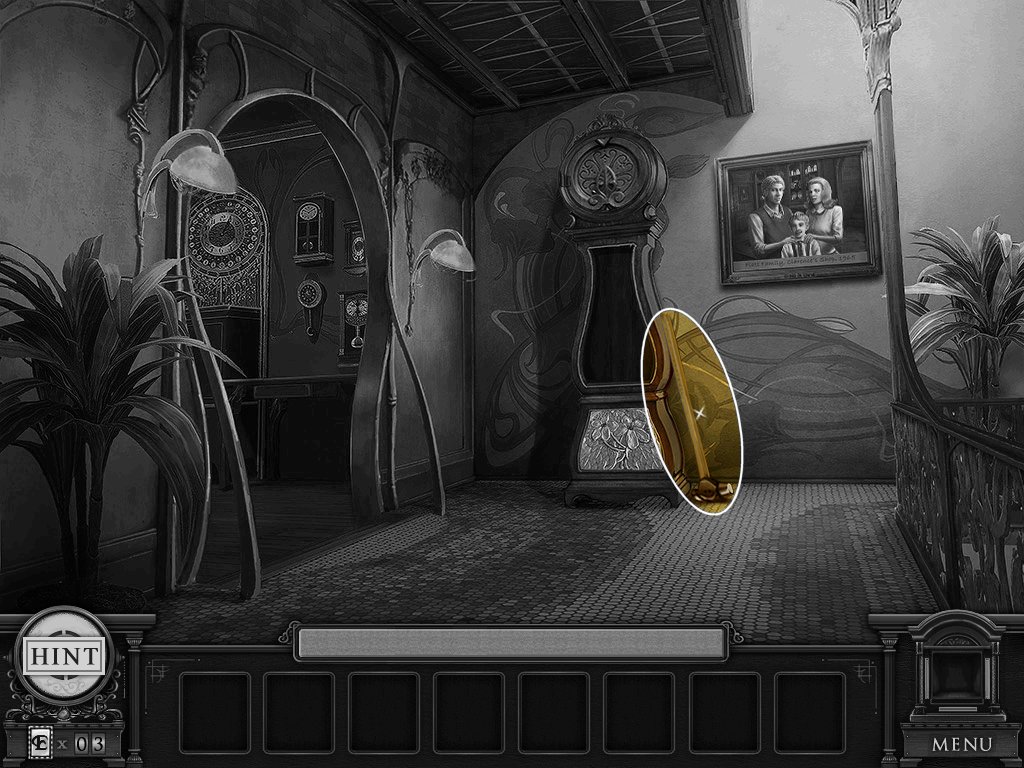
1. examine the portrait
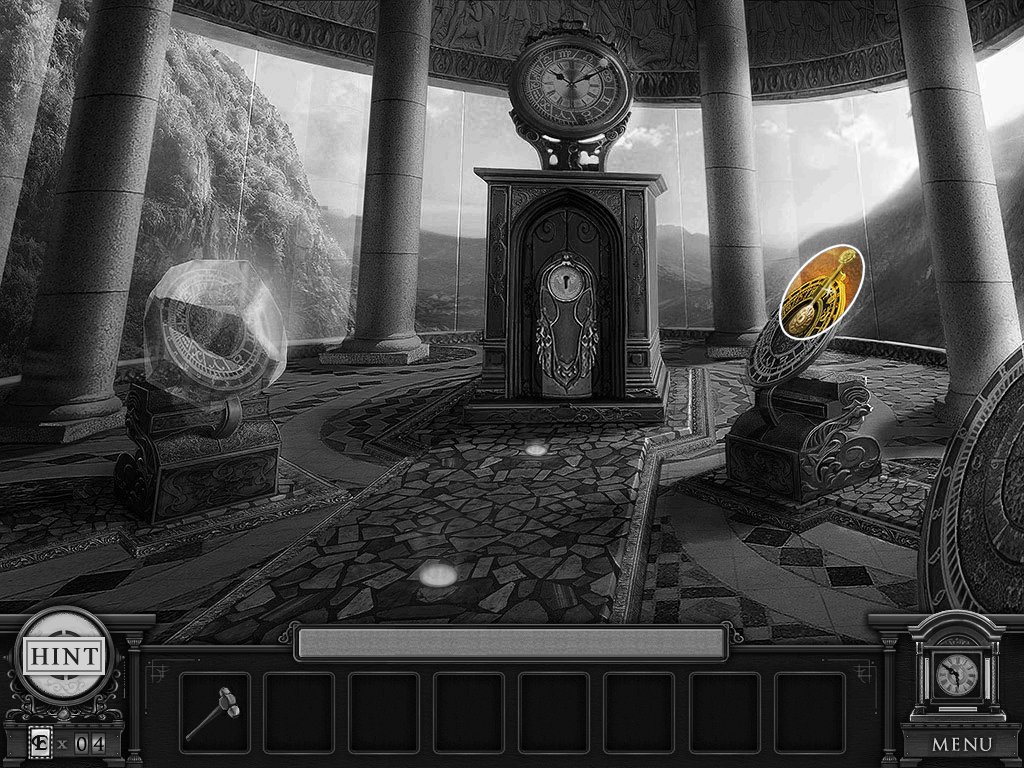
2. take the sledgehammer
3. exit left
Study
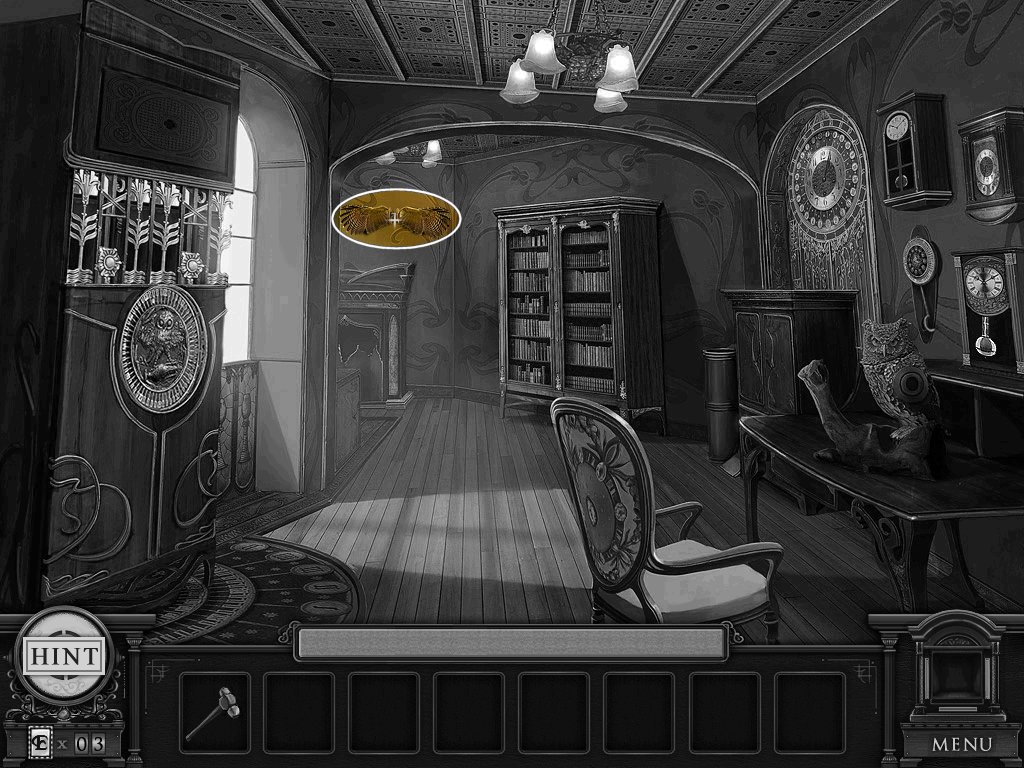
1. take the owl wings
2. place the wings on the owl
3. listen to the old man
4. examine the clock piece
Mayan Jungle, 300 BC
1. match the objects
2. follow the short tutorial
3. return to the study
Study
1. take the hardcover book
2. examine the bookshelf
3. place the book on the shelf
4. examine the hidden door – puzzle
· objective: don’t get electrocuted!
· click the pictures in the correct order
· solution: tree; cloud; rain; lightning
5. enter the passageway
Tower
1. take the pendulum
2. use the sledgehammer on the crystal
3. examine the clock piece
Forbidden City, 1650 AD
1. match the objects
2. return to the entry
Entry
1. use the pendulum on the clock
2. examine the clock piece
Medieval Castle, 450 AD
1. match the objects
2. return to the entry
Entry
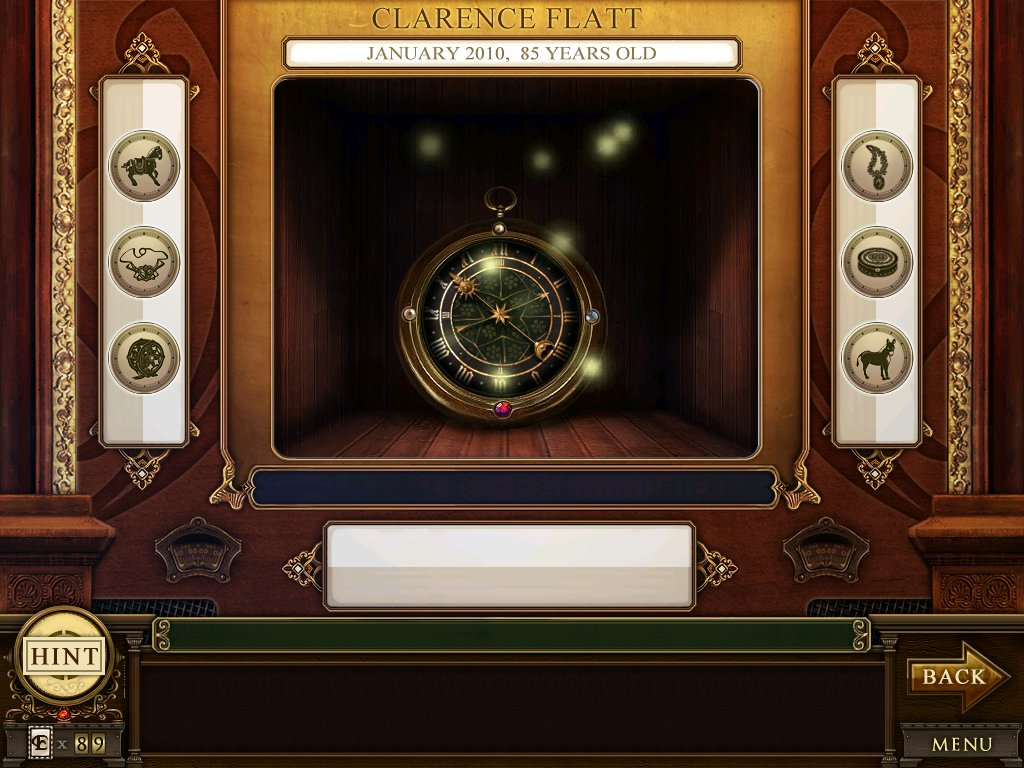
1. Click the clock above the menu
2. place the remaining symbols
3. take the key
4. return to the tower
Tower
1. use the key on the locked door
2. enter
Hallway
1. read the book
2. examine the painting
3. continue up the stairs
4. examine the painting
5. take the key
6. use the key on the door
7. enter
Floor Two
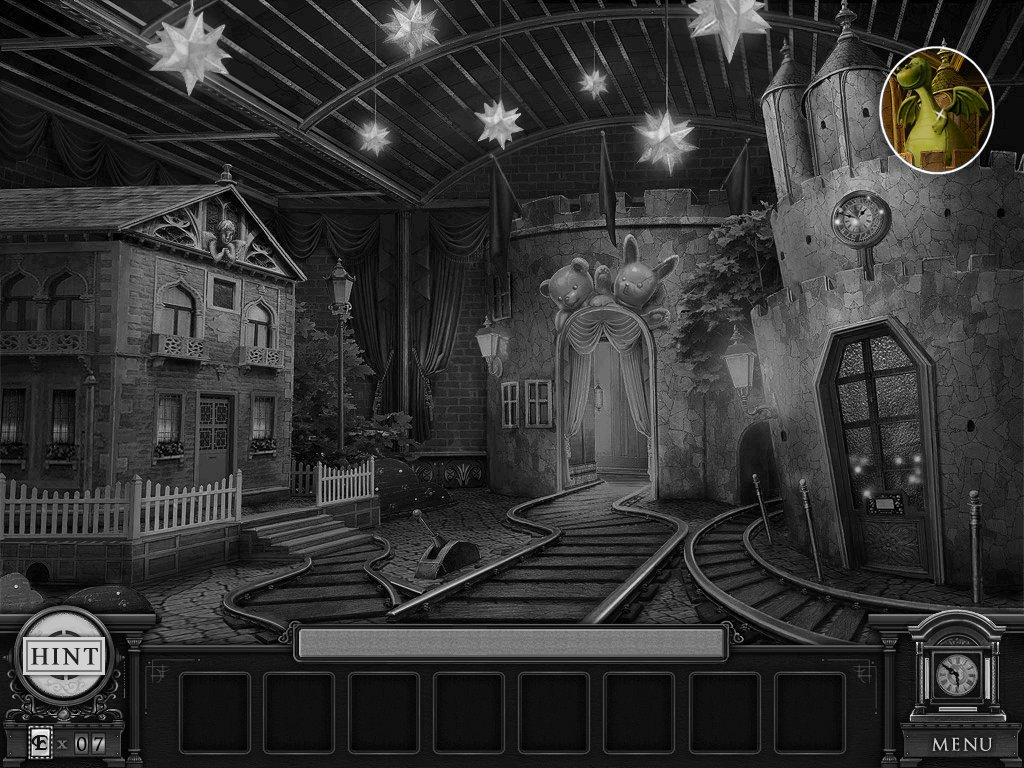
Train Room
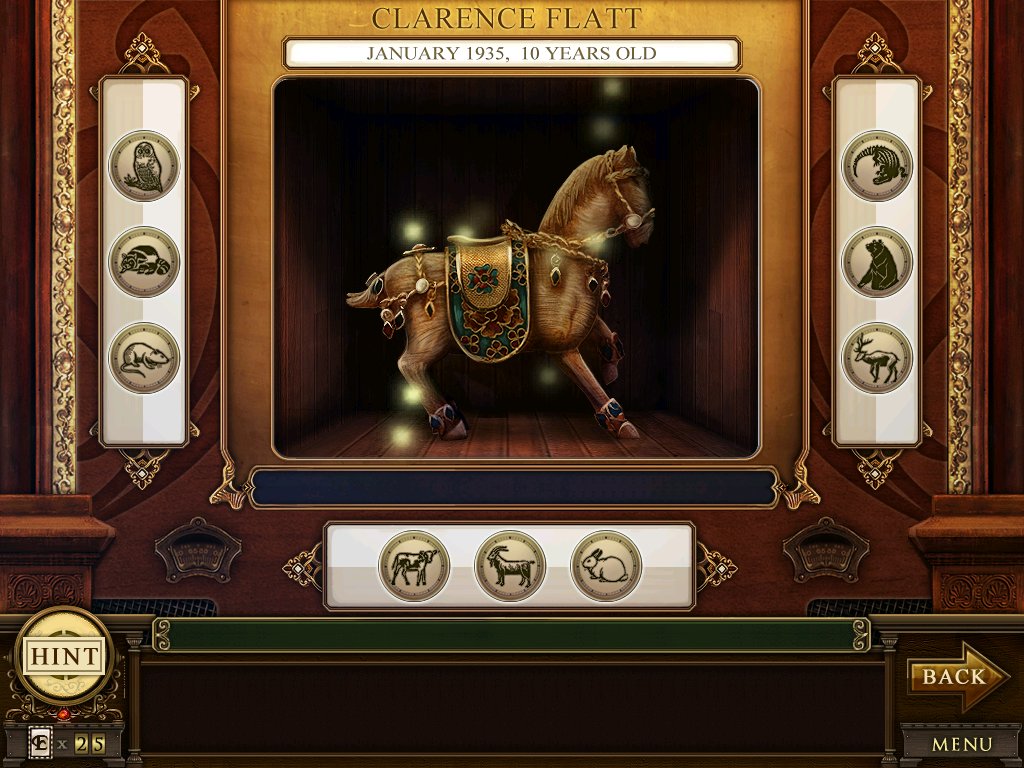
1. click on the clock and listen to Clarence, age 10
2. continue up
Dollhouse Room
1. take the toy dragon
2. examine the door on the right – puzzle
· objective: save the king!
· place the pictures in the correct order
· solution: horn, shield, door, arrow, sword
· take the paper crane
3. examine the clock piece
Ancient Egypt, 1000 BC
1. match the objects
2. continue up
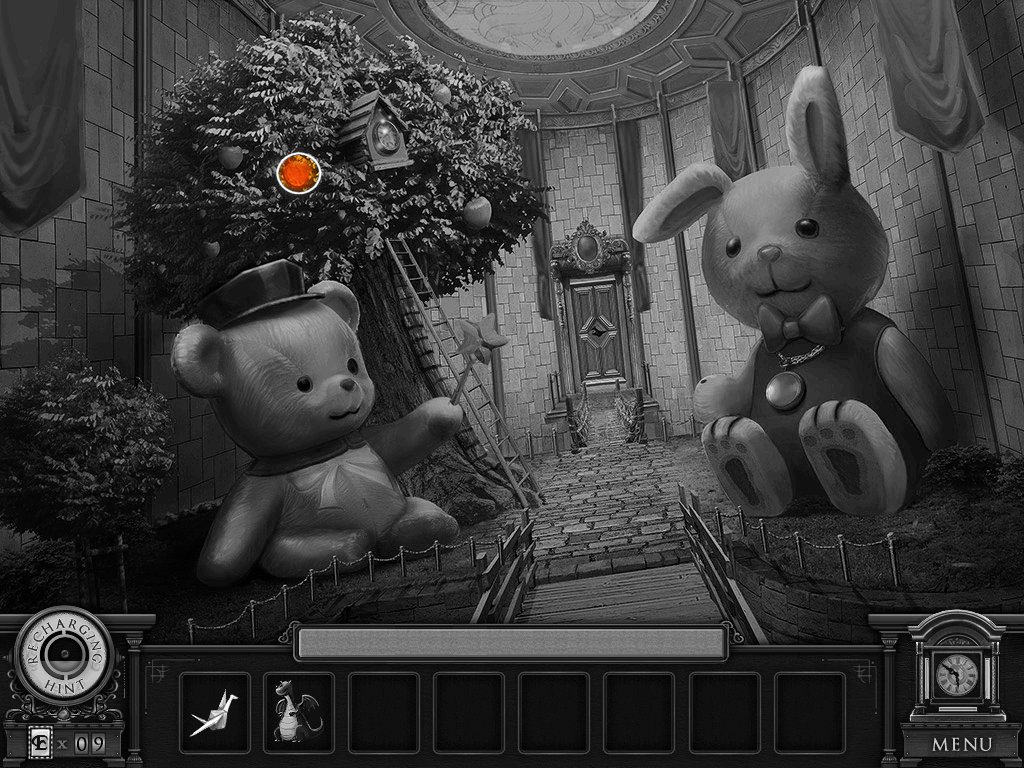
Apple Tree Room
1. take the red lens
2. examine the clock piece
Queen Anne’s Revenge, 1717 AD
1. match the objects
2. examine the door
3. use the paper crane in the door
4. enter
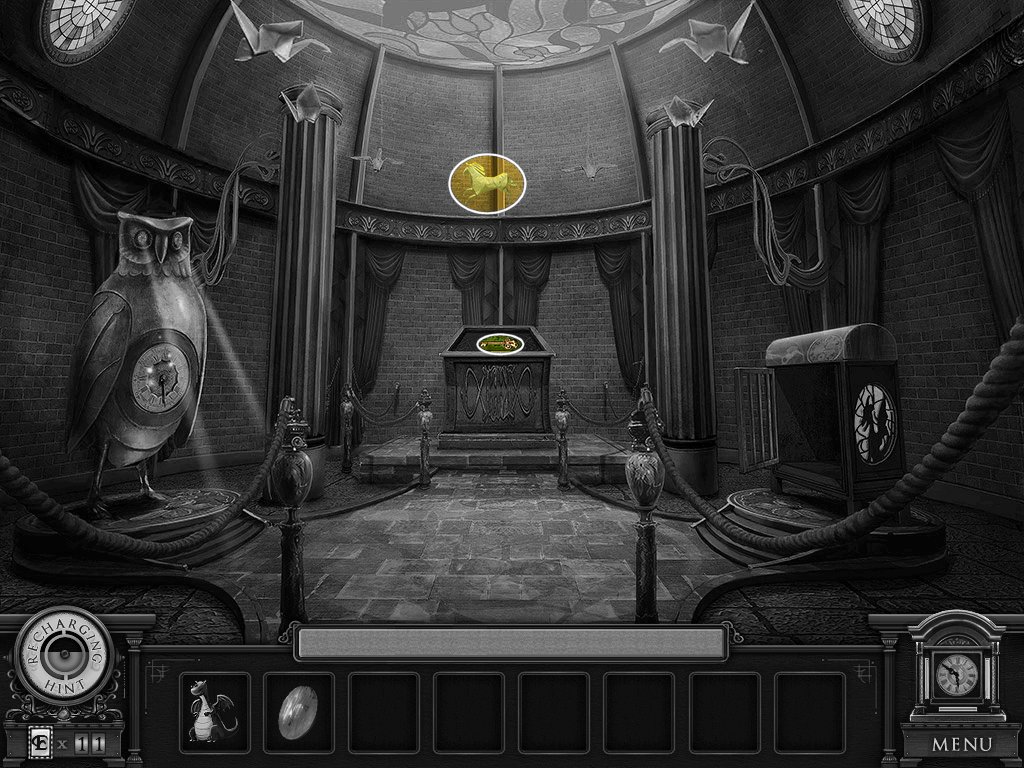
Owl Room
1. take the paper horse
2. take the key
3. place the dragon in the cage
4. examine the clock piece on the left
Japanese Garden, 960 AD
1. match the objects
2. examine the clock piece above the dragon
Leonardo da Vinci’s Study, 1505 AD
1. match the objects
2. exit back to dollhouse room
Dollhouse Room
1. examine the dollhouse on the left
2. use the key on the lock
3. enter dollhouse
Dollhouse
1. take the large wand
2. examine the doll on the right
3. examine the clock piece
Rome Marketplace, 700 BC
1. match the objects
2. examine the clock piece
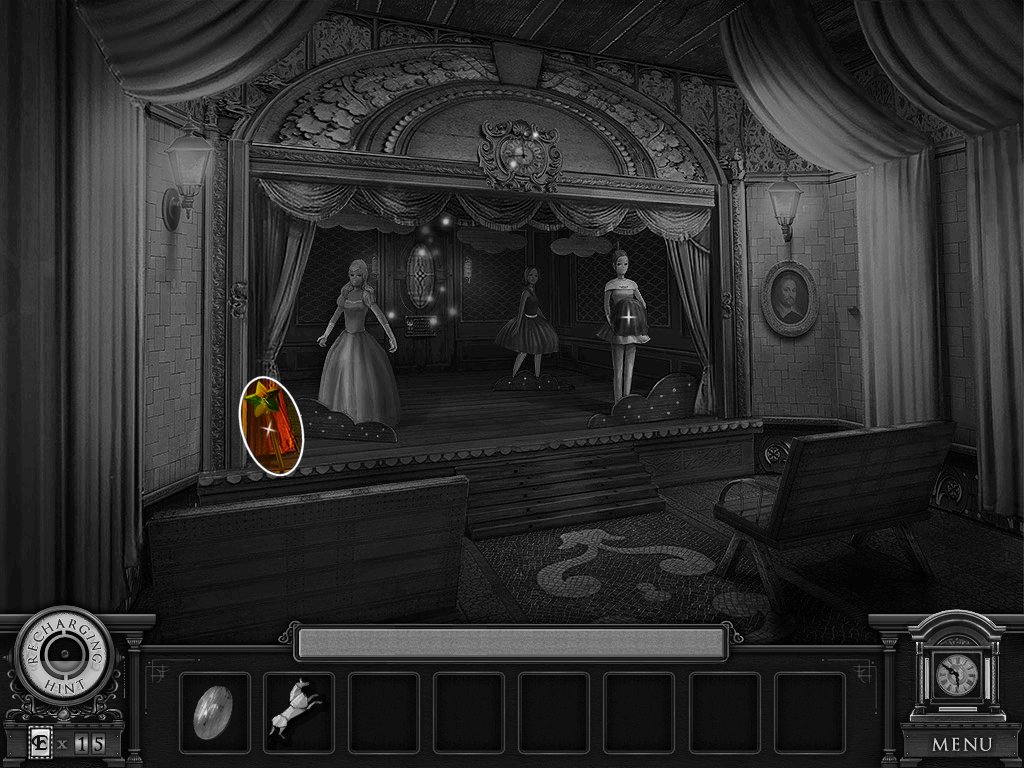
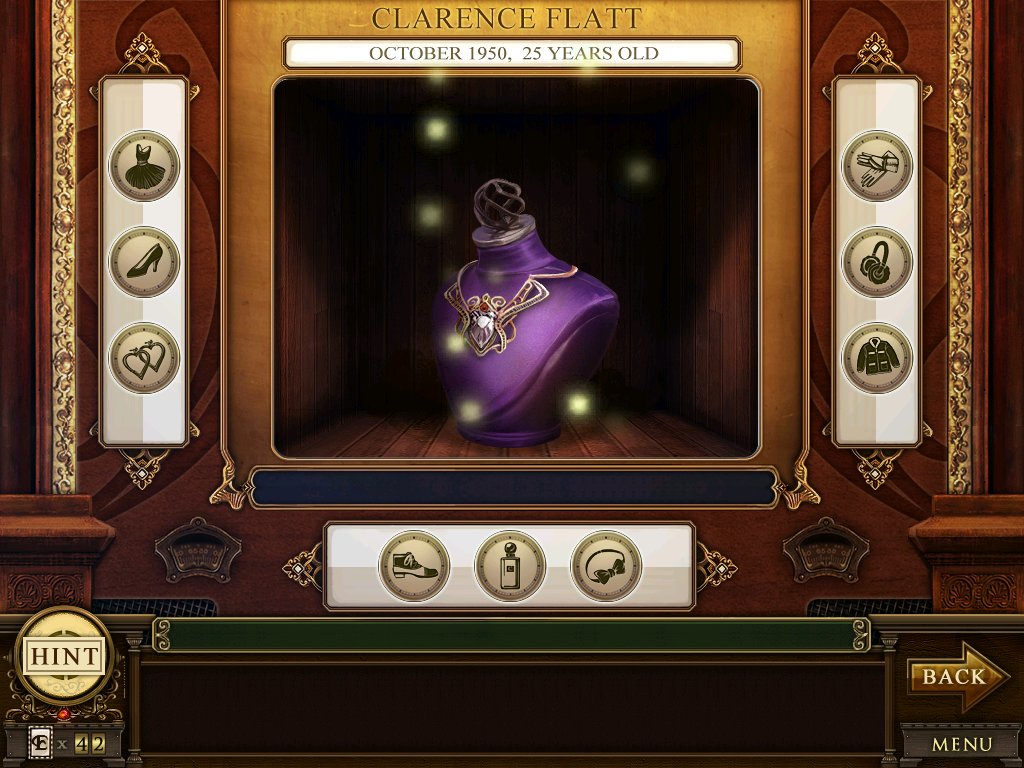
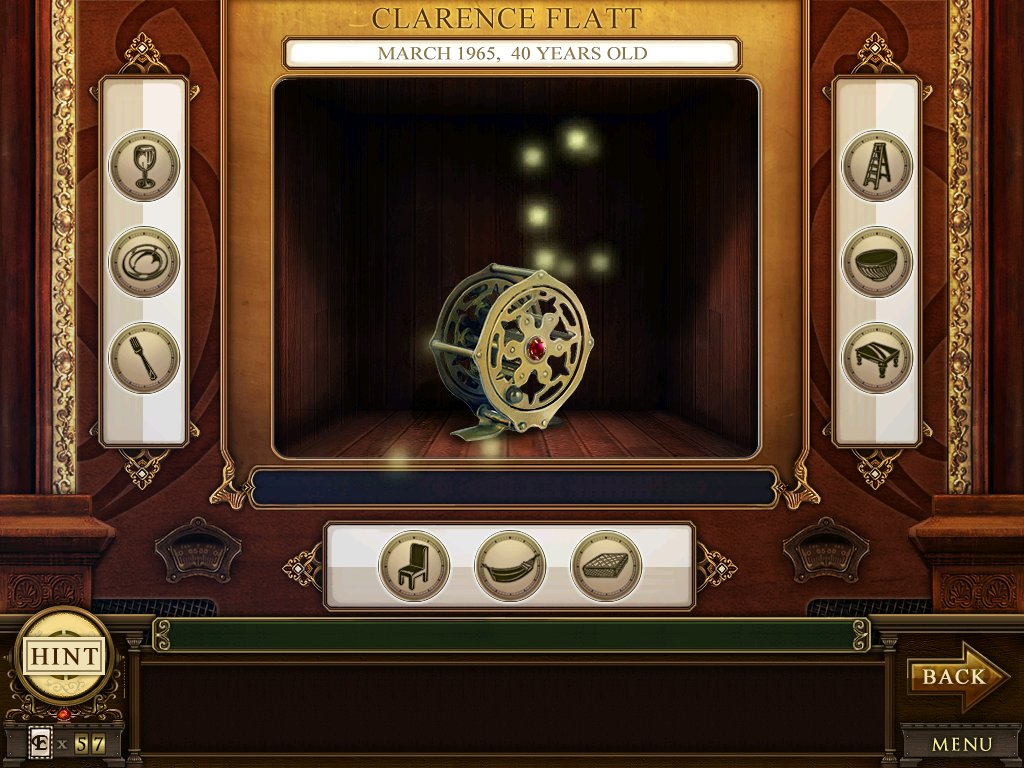
Opera House, 1810 AD
1. match the objects
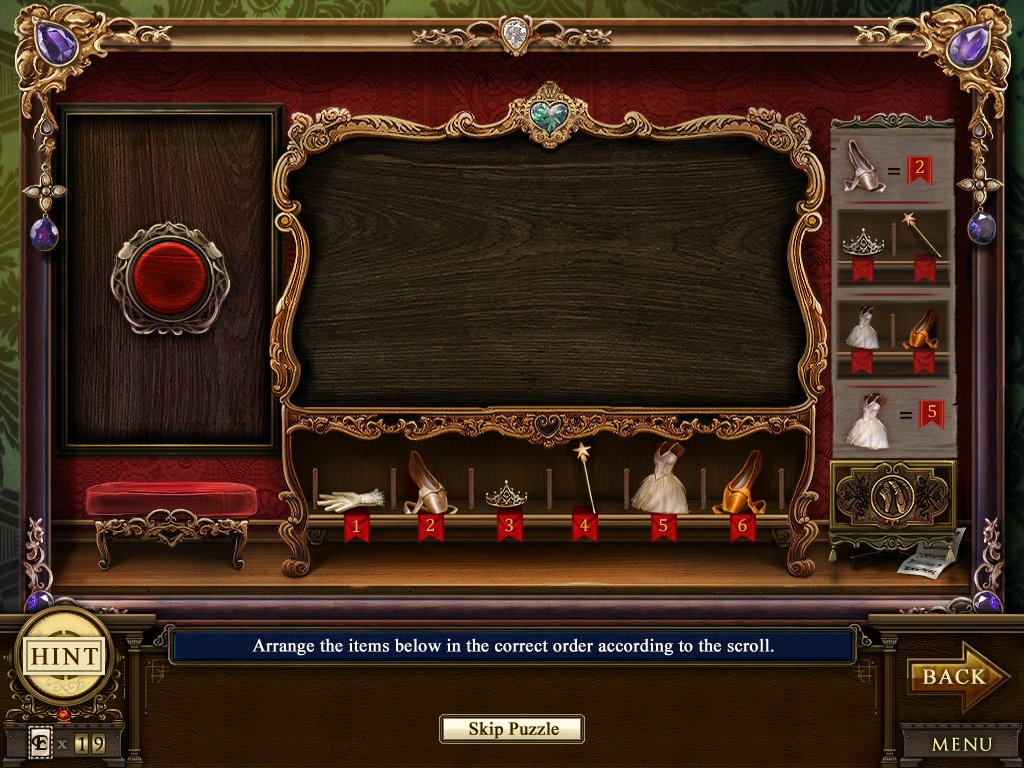
2. examine the door – puzzle
· match the body part with the clothing item
· put the items in order according to the scroll
3. enter
Small Room
1. put the paper horse in the horse slot
2. take the weather vane
3. exit out of the dollhouse
Dollhouse Room
1. place the weather vane on top of the dollhouse
2. examine the time piece
Ancient Egypt, 1000 BC
1. match the objects
2. enter the apple tree room
Apple Tree Room
1. give the rabbit the large wand
2. examine the time piece
Mayan Jungle, 300 BC
1. match the objects
2. exit to the train room
Train Room
1. replace the red lens
2. examine the clock piece
Medieval Castle, 450 AD
1. match the objects
2. examine the clock
3. place the symbols in the correct places
4. place the horse in the door
5. exit
Hallway
1. read the letter
2. take the card
3. go upstairs
4. examine the portrait
5. take the key
6. use the key on the door
7. enter
Floor Three
Street
1. examine the clock
2. listen to the dialogue
3. examine the time piece
Arabian Palace, 1100 AD
1. match the objects
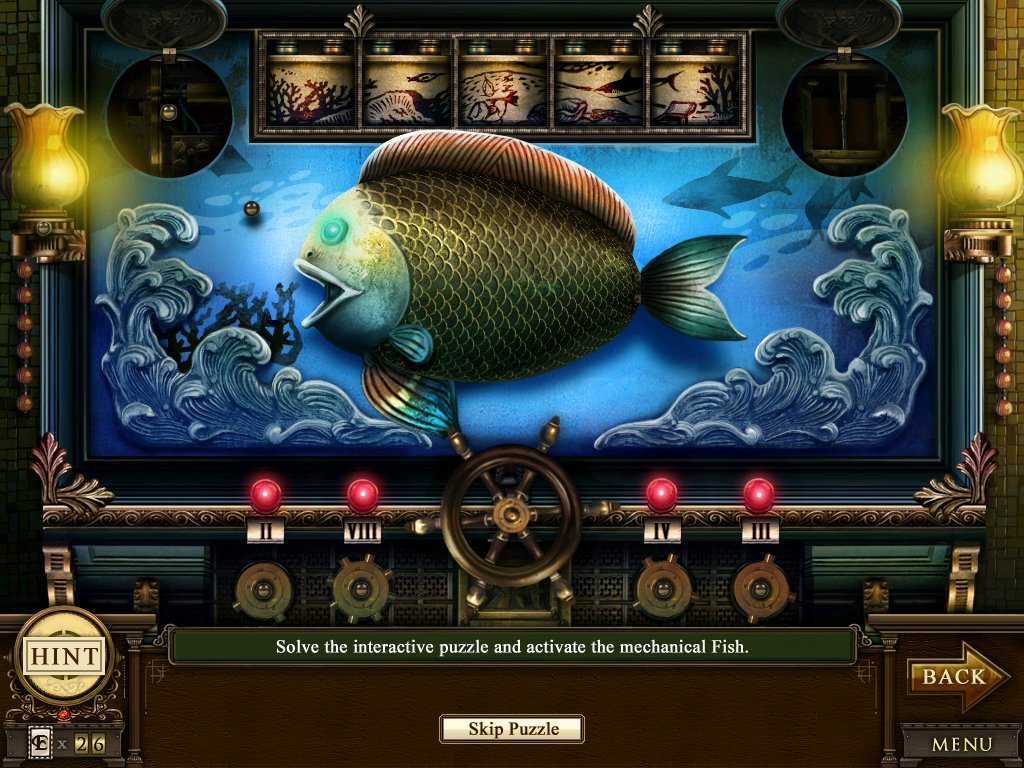
2. examine the left door – puzzle
· pick up the gears and put them in order at the bottom
· the gear is in the correct spot when the light turns red
· turn the wheel
· take the round pieces in the upper, right corner
· place it with the others at the top
· put them in the correct order to form a picture
3. enter
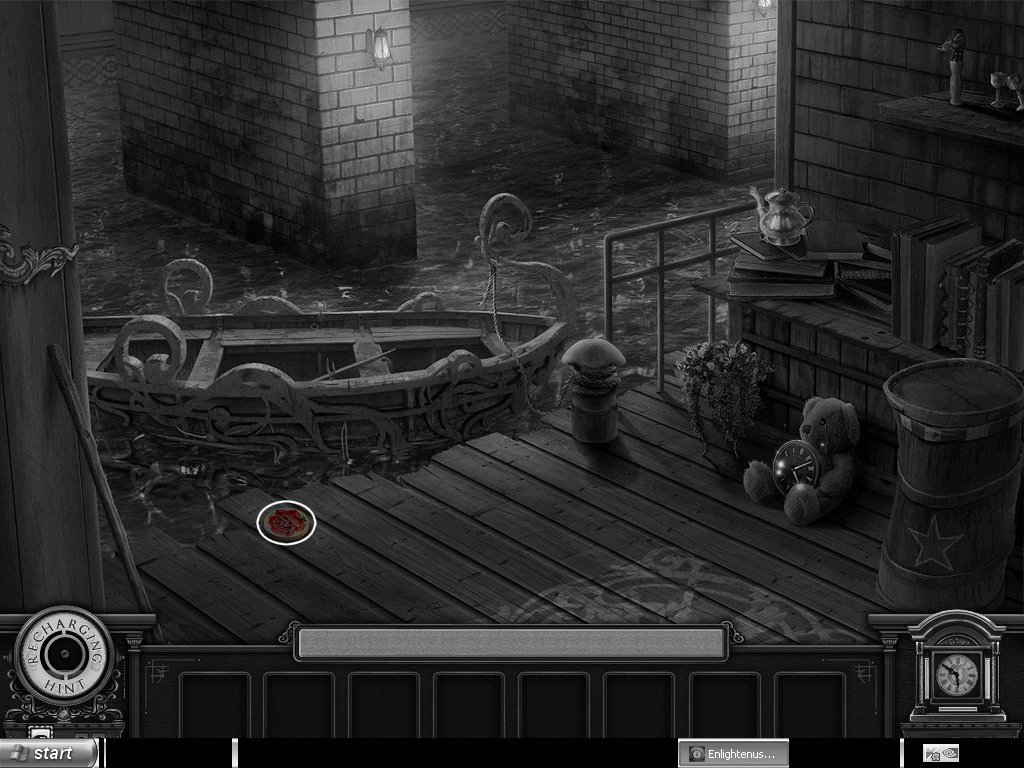
Dock
1. take the rose emblem
2. examine the books to reveal a time piece
3. examine the teddy bear time piece
Forbidden City, 1650 AD
1. match the objects
2. examine the other time piece
Queen Anne’s Revenge, 1717 AD
1. match the objects
2. exit and go up the stairs
Bridge
1. examine the signs
2. examine the grate
3. continue up
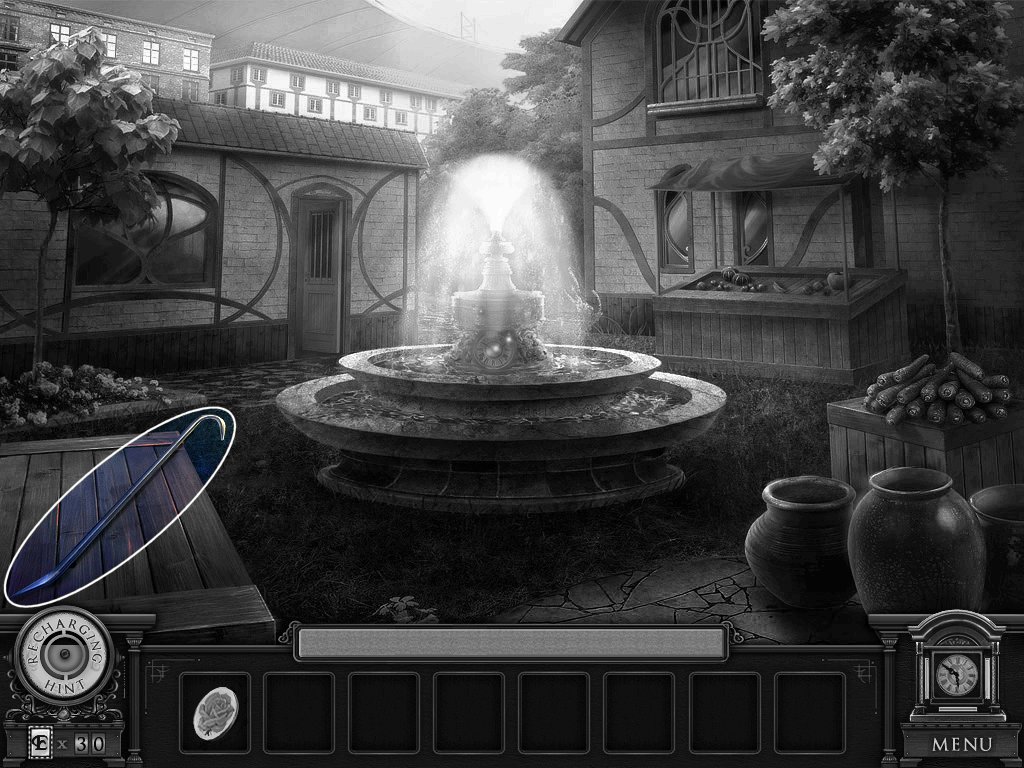
Fountain
1. take the crowbar
2. examine the carrots and reveal a time piece
3. examine the time piece in the fountain
Rome Marketplace, 700 BC
1. match the objects
2. examine the remaining time piece
Opera House, 1810 AD
1. match the objects
2. exit to the bridge
Bridge
1. use the crowbar on the grate
2. examine the time piece
Mayan Jungle, 300 BC
1. match the objects
2. go up and enter the door on the left
Kitchen
1. take the oars
2. place the rose emblem in the plate
3. examine the time piece in the cupboard
Old West Saloon, 1850 AD
1. match the objects
2. examine the star bottle in the cupboard
3. examine the time piece
Rome Marketplace, 700 BC
1. match the objects
2. exit to the dock
Dock
1. use the oars
2. go right
3. examine the heart – puzzle
· objective: catch the big fish!
· choose the symbols in the correct order
· solution: bucket, worm, moon, book, man
4. examine the time piece
London Museum, 1915 AD
1. match the objects
2. examine the clock
3. put the symbols where they belong
4. take the necklace
5. return to the street
Street
1. examine the right door
2. place the necklace on the lady
3. enter
4. read the letter
5. go upstairs
6. examine the portrait
7. take the key
8. unlock the door
Floor Four
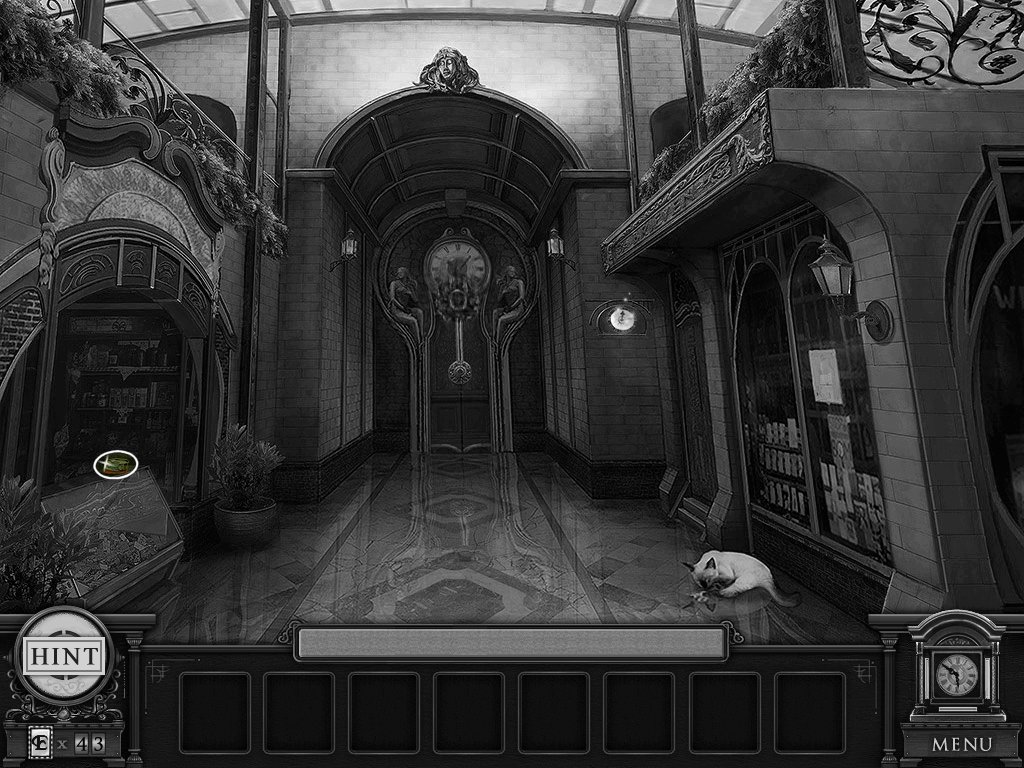
Shops
1. examine the clock
2. listen to the dialogue
3. pick up the cat food
4. feed the cat
5. take the key
6. examine the clock piece
Venice Sunset, 1980 AD
1. match the objects
2. use the key on the door
3. enter
Antique Shop
1. examine the cash register – puzzle
· use the red buttons to rotate the numbers
· line up the numbers as shown in the diagram
· you can skip this puzzle
· take the password paper
2. examine the clock piece
Gypsy Tent, 1600 AD
1. match the objects
2. go upstairs
Bedroom
1. use the password paper on the wardrobe
2. take the metallic clock hands
3. examine the clock piece above the bed
Japanese Garden, 960 AD
1. match the objects
2. exit and go through the door to the left
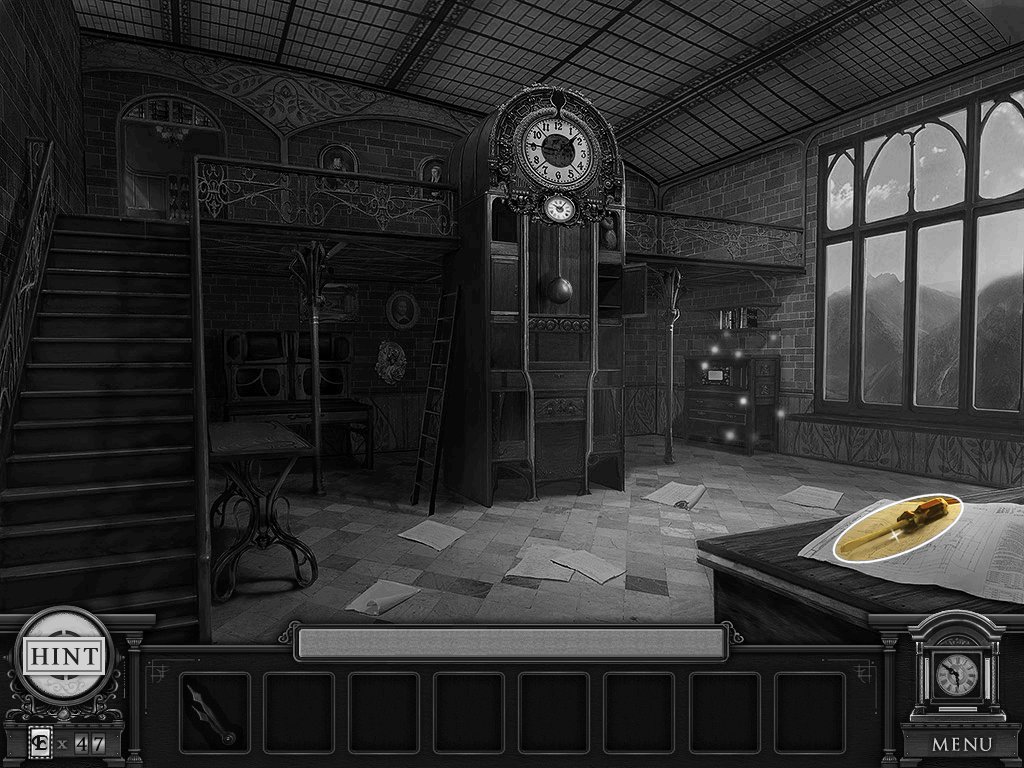
Grandfather Clock Room
1. take the screwdriver
2. examine the desk – puzzle
· objective: save grandma!
· click the symbols in order
· solution: left hammer, red boot, black boot, rifle, apple, right hammer
3. examine the clock piece
Leonardo da Vinci’s Study, 1505 AD
1. match the objects
2. go upstairs
Study
1. examine the papers and reveal a clock piece
2. examine the glass
3. use the screwdriver to remove it
4. take the owl statue
5. examine the clock piece
Arabian Palace, 1100 AD
1. match the objects
2. examine the other clock piece
Ancient Egypt, 1000 BC
1. match the objects
2. exit downstairs
Grandfather Clock Room
1. examine the grandfather clock
2. place the owl in the left hole
3. examine the top clock piece
Queen Anne’s Revenge, 1717 AD
1. match the objects
2. examine the second clock piece
Japanese Garden, 960 AD
1. match the objects
2. use the clock hands on the clock face
3. take the key
4. return to the bedroom
Bedroom
1. examine the rug
2. use the key on the trap door
3. examine the clock piece
Medieval Castle, 450 AD
1. match the objects
2. examine the clock
3. place the symbols in the correct places
4. take the gemmed clock hull
5. return to the shops
Shops
1. use the gemmed clock hull on the door
2. enter
3. read the letter
4. go upstairs
5. examine the portrait
6. take the key
7. unlock the door
Floor Five
Office
1. examine the door – puzzle
· using the arrows at the bottom move the crown to the castle without being captured
· solution: right, right, up, right, left, up, up, up, right, right
2. examine the clock piece
Traveling Circus, 1600 AD
1. match the objects
2. enter the building
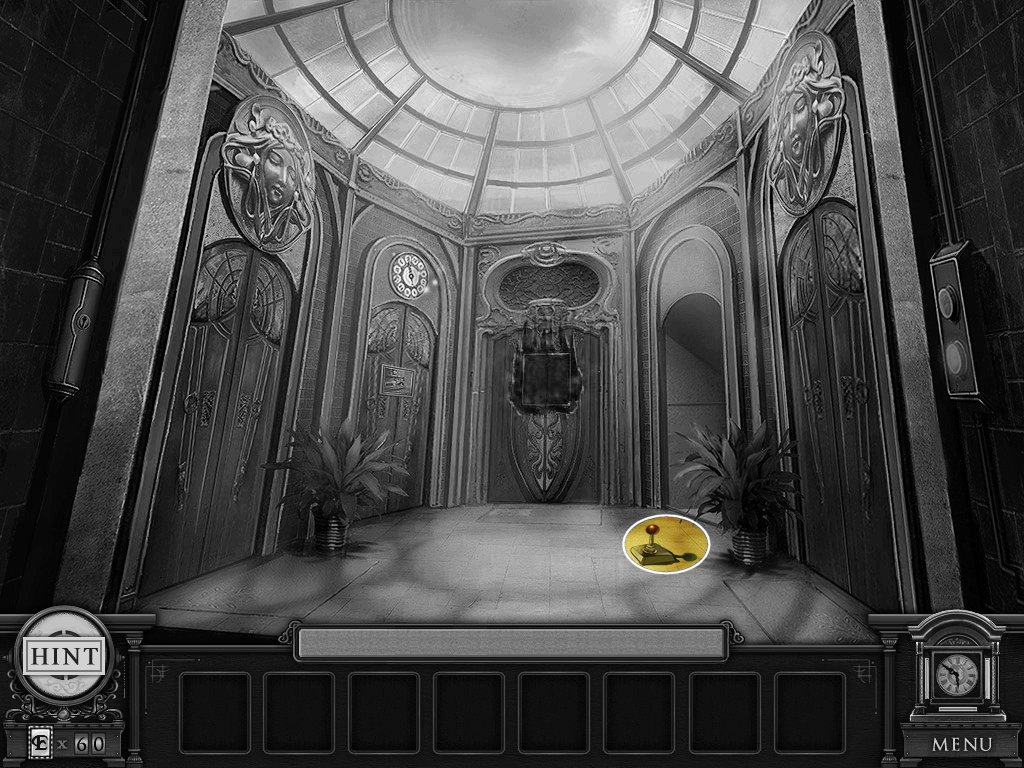
Elevators
1. take the joystick
2. push the red elevator button
3. examine the upper left clock piece
Forbidden City, 1650 AD
1. match the objects
2. examine the elevator clock piece
Opera House, 1810 AD
1. match the objects
2. exit though the door
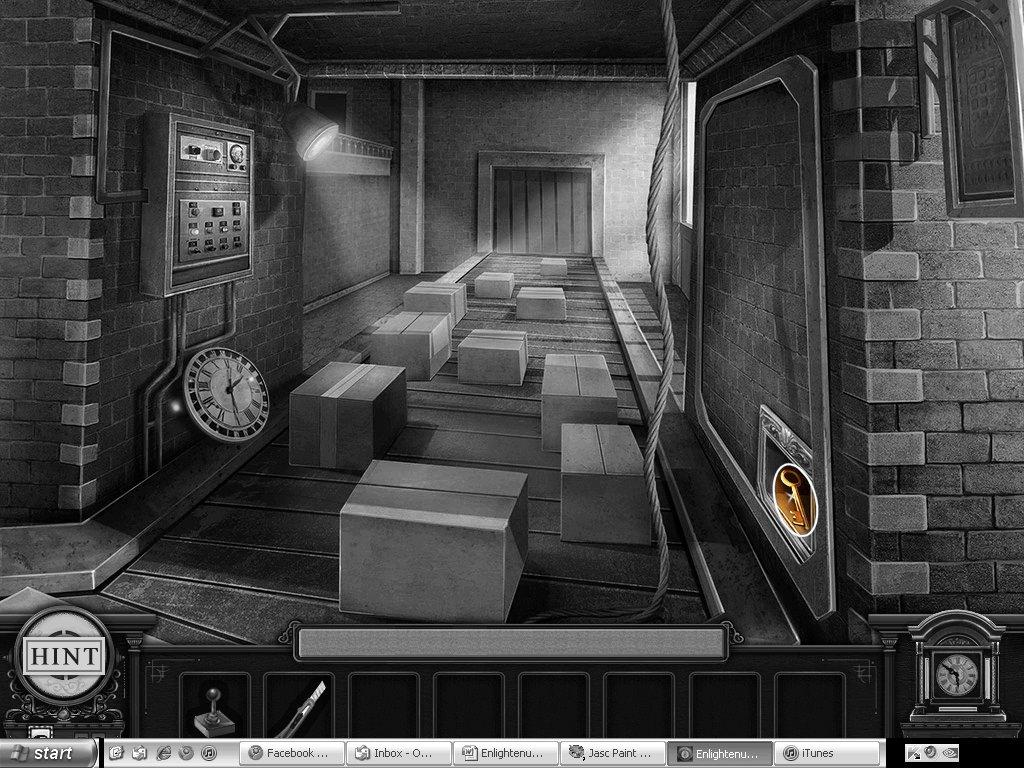
Conveyor Belt
1. open the package
2. examine the clock piece inside the package
London Museum, 1915 AD
1. match the objects
2. examine the clock piece
Old West Saloon, 1850 AD
1. match the objects
2. open the door
3. go upstairs
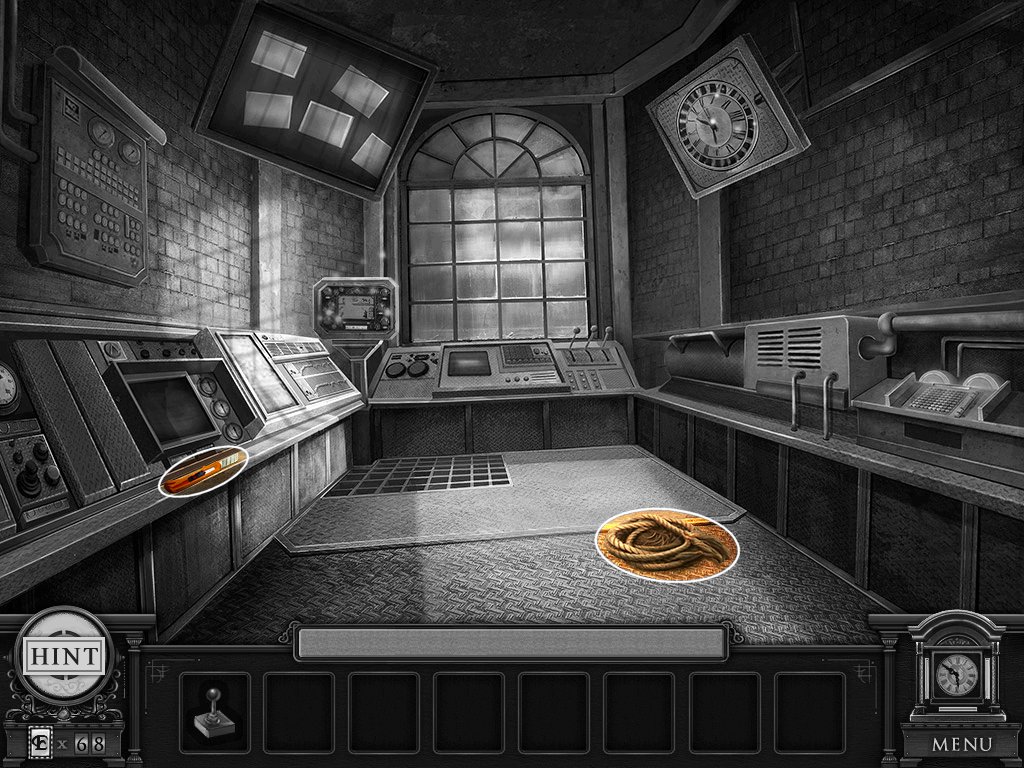
Control Room
1. take the rope
2. take the box cutter
3. examine the large screen on the top
4. you’ll see a container with the items you need to open one of the doors
5. examine the smaller screen below it – puzzle
· objective: escape the witch!
· click the symbols in the correct order
· solution: wand, bone, umbrella, mirror, bread
6. examine the clock piece that is revealed
Leonardo da Vinci’s Study, 1505 AD
1. match the objects
2. examine the other clock piece
Gypsy Tent, 1600 AD
1. match the objects
2. exit
Conveyor Room
1. use rope where the railing is missing
2. go down
Conveyor Belt
1. use the box cutter on the bottom, left box with the tape on it
2. take the key
3. examine the clock piece
Venice Sunset, 1980 AD
1. match the objects
2. exit back to the elevators
Elevators
1. read the instructions on the elevator door
2. use the key on lock next to the left elevator door
3. enter
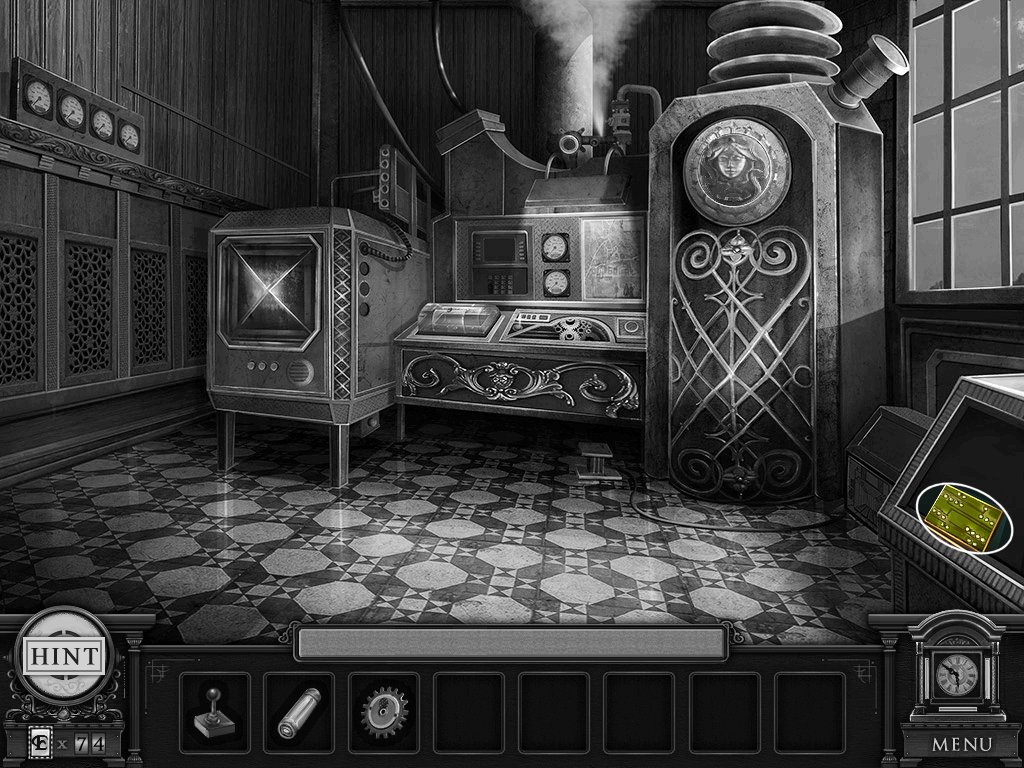
Machinery Room
1. pick up the chip
2. examine the machinery
3. place the items you found in order
· gear, joystick, chip, energy cell
4. examine the clock piece
Arabian Palace, 100 AD
1. match the objects
2. examine the clock
3. place the symbols in the correct places
4. take the blueprints
5. go to the elevators
Elevators
1. use the blueprints on the elevator
2. enter the elevator
3. read the letter
4. go upstairs
5. examine the portrait
6. take the key
7. use the key to unlock the door
Floor Six
Water Room
1. examine the clock
2. listen to the dialogue
3. take the garnet gem
4. examine the clock piece
Traveling Circus, 1600 AD
1. match the objects
2. exit through the door
Oval Room
1. take the floating steps
2. take the diamond
3. examine the right picture
4. examine the clock piece
Gypsy Tent, 1600 AD
1. match the objects
2. exit
Water Room
1. use the floating steps on the left door
2. enter
Library
1. click the gem on the front of the statue
2. take the key
3. examine the clock piece
Venice Sunset, 1980 AD
1. match the objects
2. exit and enter the oval room
Oval Room
1. use key on the door
2. enter
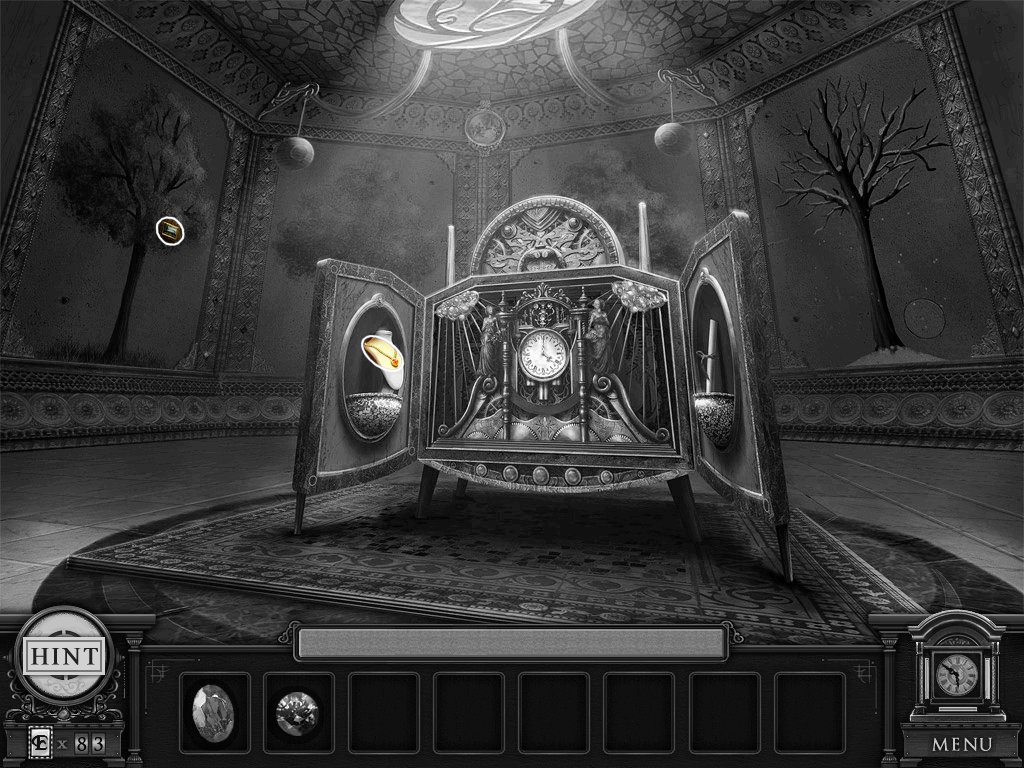
Four Seasons
1. take the necklace
2. take the sapphire gem
3. examine the circle by the tree in winter
4. examine the clock piece
London Museum, 1915 AD
1. match the objects
2. exit to the library
Library
1. place the necklace on the other bust
2. go through the secret door
Map Room
1. move the books
2. take the key
3. open the glass cabinet
4. examine the clock piece
Old West Saloon, 1850 AD
1. match the objects
2. exit back to the water room
Water Room
1. use the key on the locked door
2. place the three gems in the door
3. enter
Tower Top
1. examine the time piece
Traveling Circus, 1600 AD
1. match the objects
2. examine the clock
3. place the symbols in the correct spots
4. take memory chip
5. place memory chip in the door
6. exit though the door
7. read the note
8. go upstairs
9. examine the portrait
10. take the key
11. use the key on the door
The End!
Content(s) of this game guide may not be copied or
published on any other site without permission from Casual Game Guides.
©CasualGameGuides.com 2006 - 2021
